

Trimmer - a necessary and useful tool for a summer cottage and a private house. Many own and actively use it, but not everyone knows how to replace the fishing line in the trimmer, especially at first.
In this manual, we will analyze the entire replacement process step by step. Looking ahead, there are two ways to thread a trimmer spool with line. There is no fundamental difference - the difference lies in the fact that in the first case one fishing line folded in half will be refueled, and in the second there will be two such lines.
Content:
Content:
 Read also: Plastic bottles, what can be done from them? Useful DIY crafts: for home and garden (60+ Photo Ideas & Videos) + Reviews
Preparing for a replacement
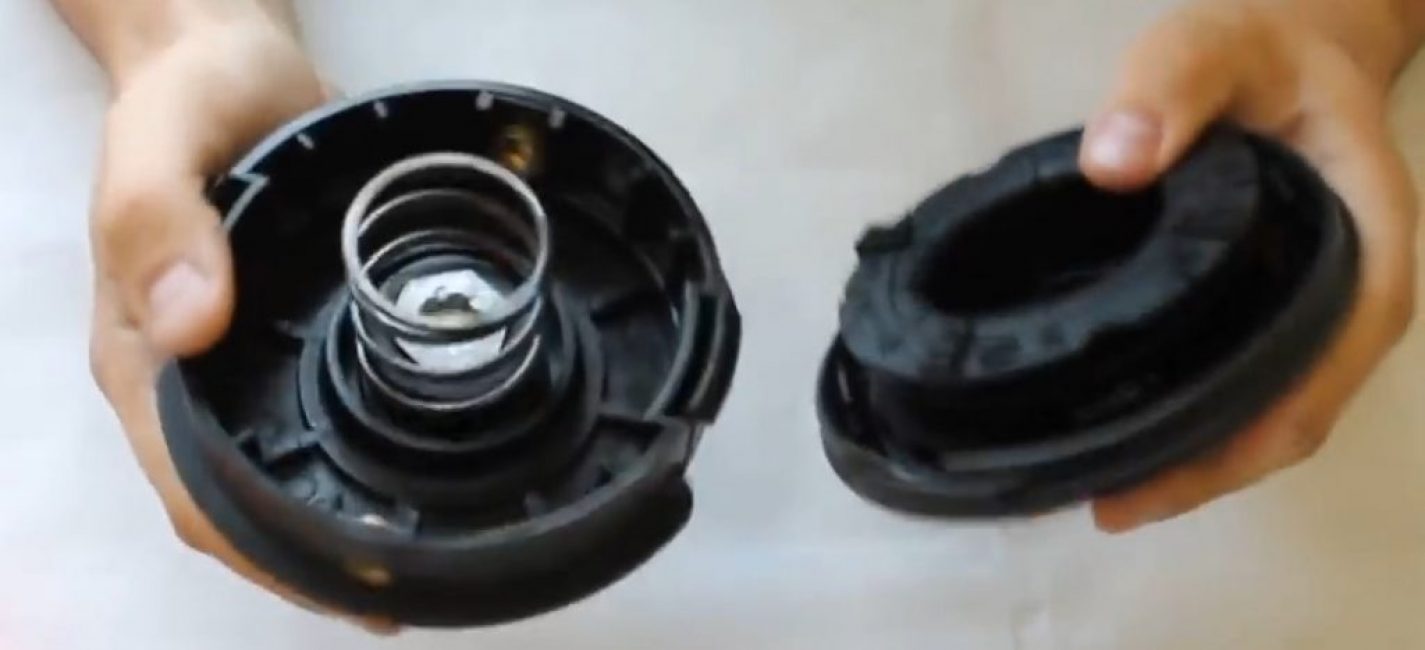
We disassemble the trimmer spool
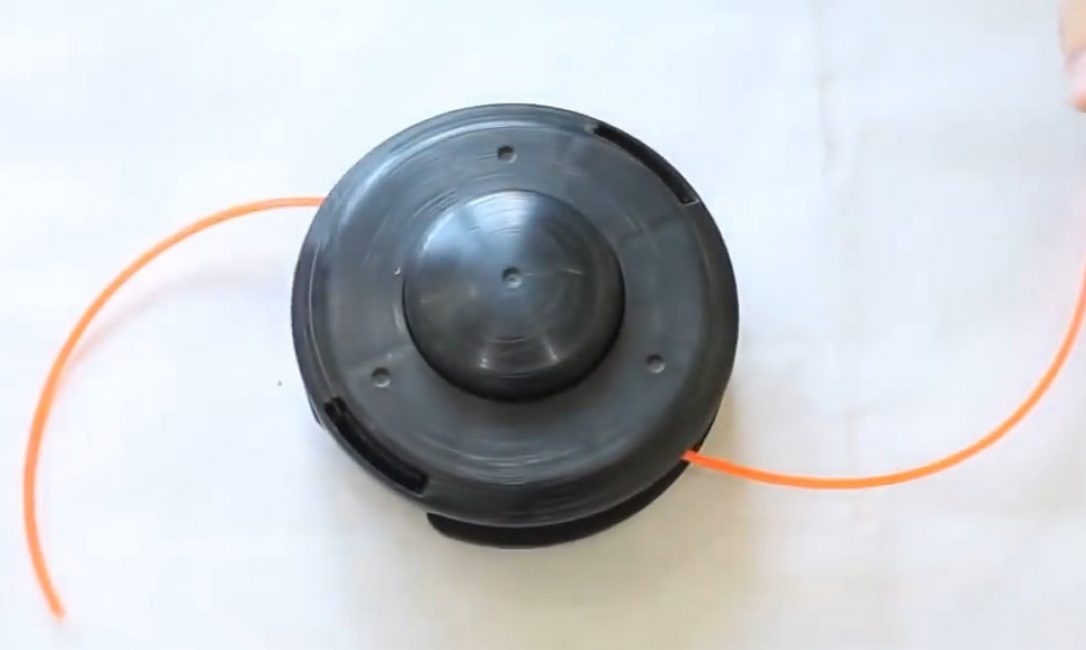
For clarity, the mowing head (spool) was removed from the lawn mower. To replace the fishing line, you do not need to remove it, everything is done in place. It doesn't take much time.
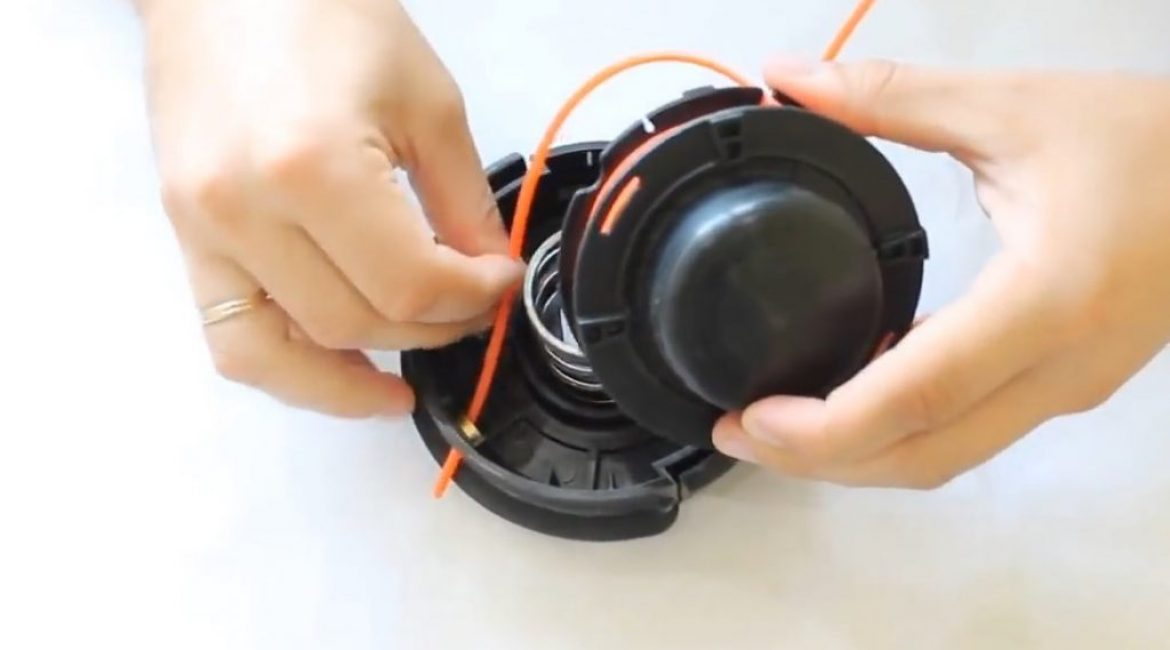
We disassemble the trimmer spool - it rests on the latches. Remove the cover by pressing on the latches. If there is not enough effort to do this with your hands, then use a screwdriver.
The spool consists of the following:
- Housing with spring
- Lid with locking latches
- Coil with button
The principle of operation is the following. By pressing the button, the coil presses on the spring and comes out of the fixing grooves in the spool cover. Holding in this state, the reel can be twisted, thereby adjusting the length of the fishing line. When the button is released, the body spring returns the coil to its original fixed state.
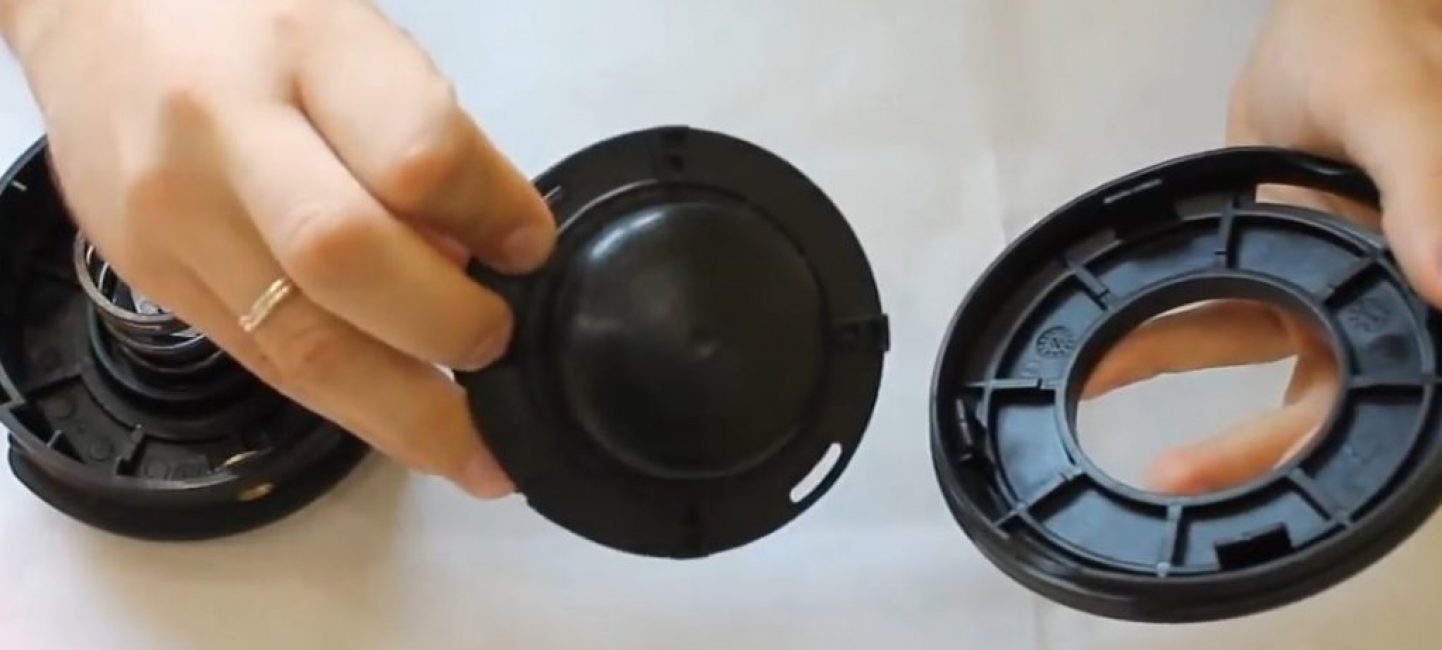
Disassembled trimmer spool
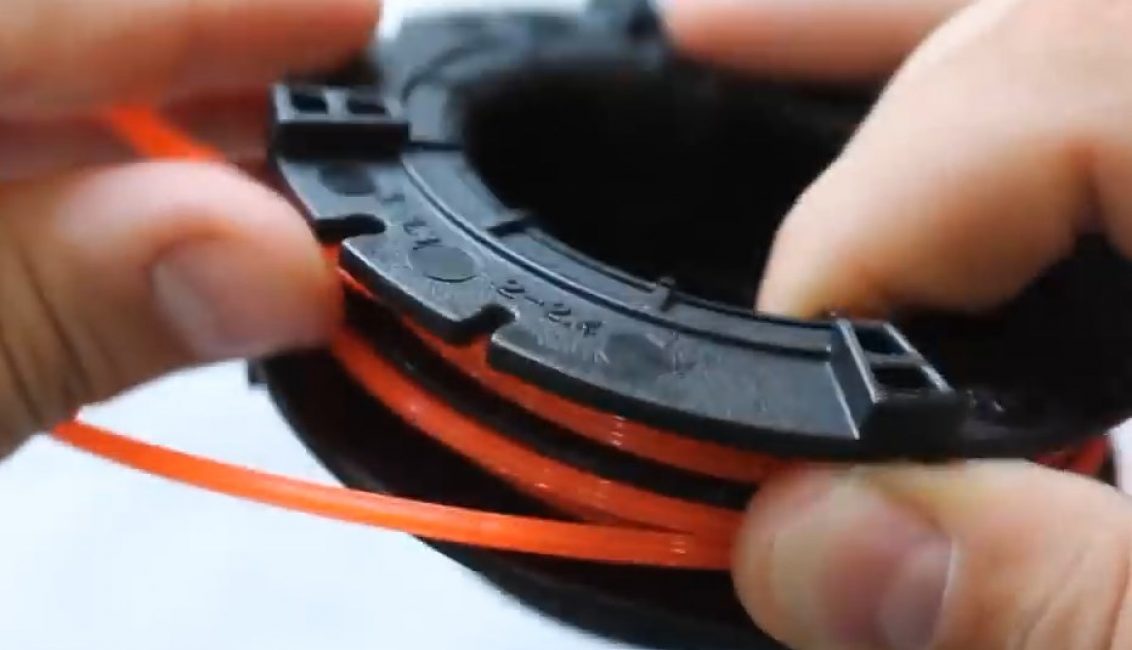
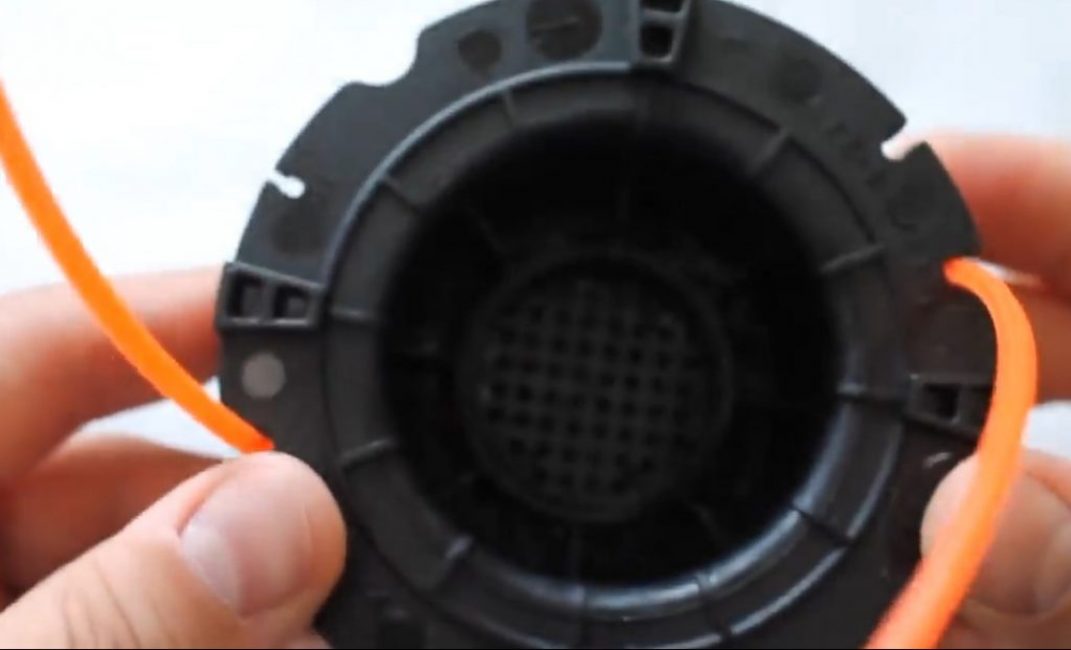
There are several holes on the bottom of the reel for different diameters of the lines. Different manufacturers of trimmers may differ. In some cases (as here) they are signed, in others they are not.
These holes are needed to fix the fishing line when replacing it. After winding the fishing line on the reel, the ends of the latter are inserted into them. This is necessary so that the scaffolding does not unwind when the coil is installed in the trimmer body. In other words, it makes it easier to change the line.
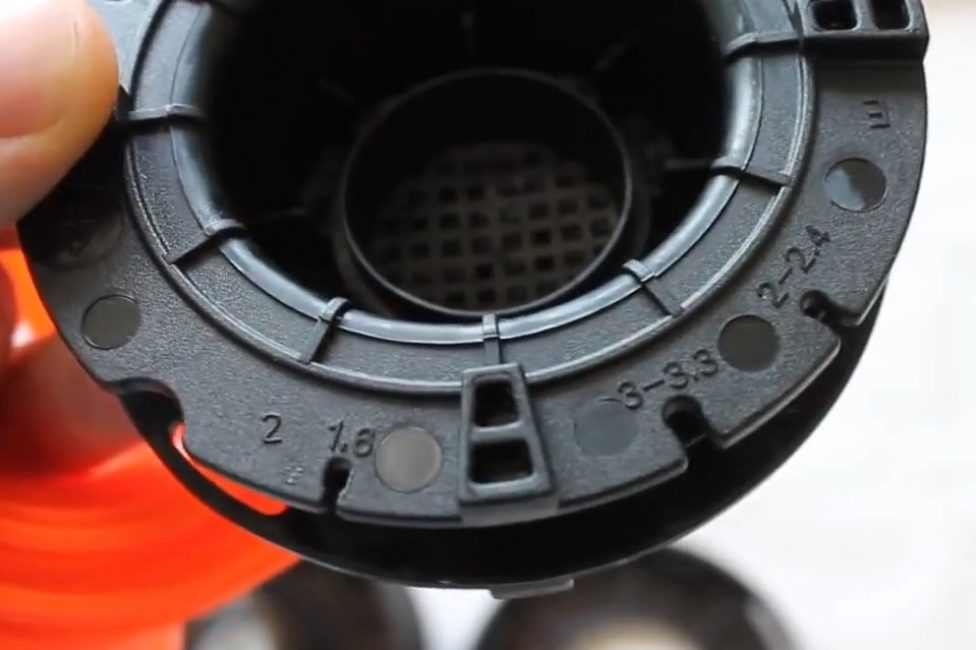
Holes for fixing fishing line
There are models without specifying the diameter of the consumable. Then, in order to find out what maximum diameter of the line can be used, it is tried on through the holes for the line output from the trimmer spool body (see the figure below).
Trying on the holes for the output of the fishing line
The reel has two sections for fishing line, separated by a partition. They may not be. They are needed only to distinguish and facilitate the winding of the consumable.

Two line sections
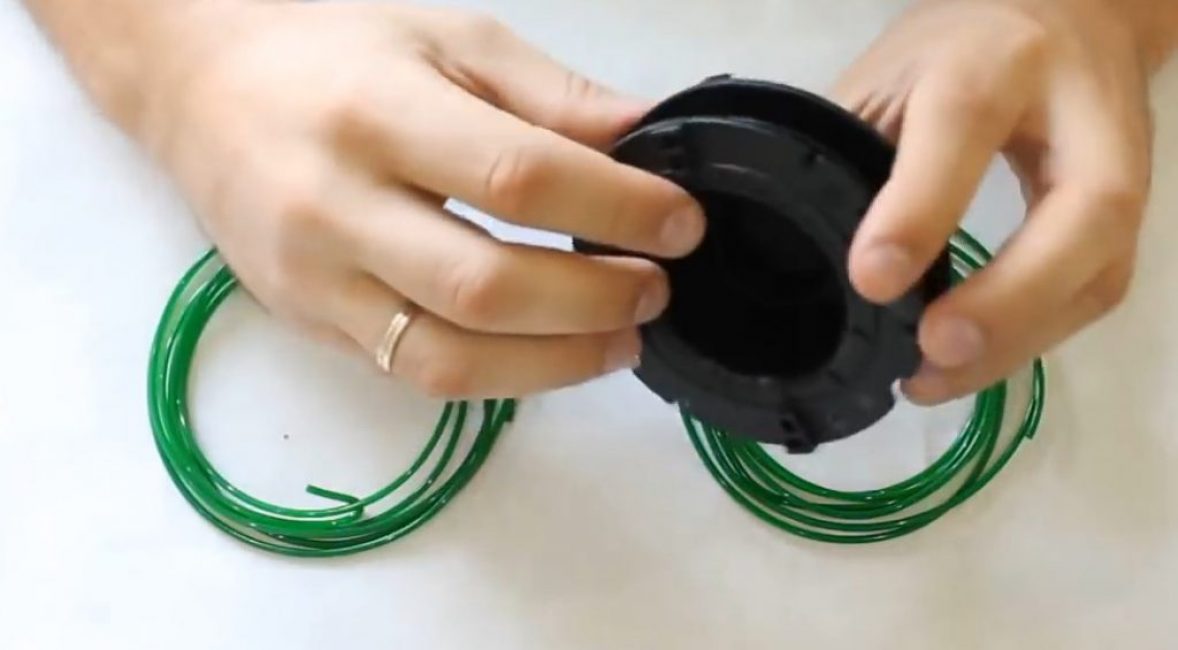
First, they are determined with the required length of loess. The latter is wound into one of the sections of the coil so that it does not go beyond its limits. In this case, 3 mm was wound, the length turned out to be about 2 meters. Those. for two sections you will need a segment of 4 meters - this is for the 1st method. For the second method, you need two segments of 2 meters each.
Determining the required line length
Now you need to figure out in which direction you need to wind it. To do this, many manufacturers of trimmers apply special designations to the coils, such as in the figure below.

Special designation on the reel
If such designations were not found, then you need to pay attention to the body of the spool. There is necessarily an arrow that indicates the movement of the mowing head. The line is wound in the opposite direction.
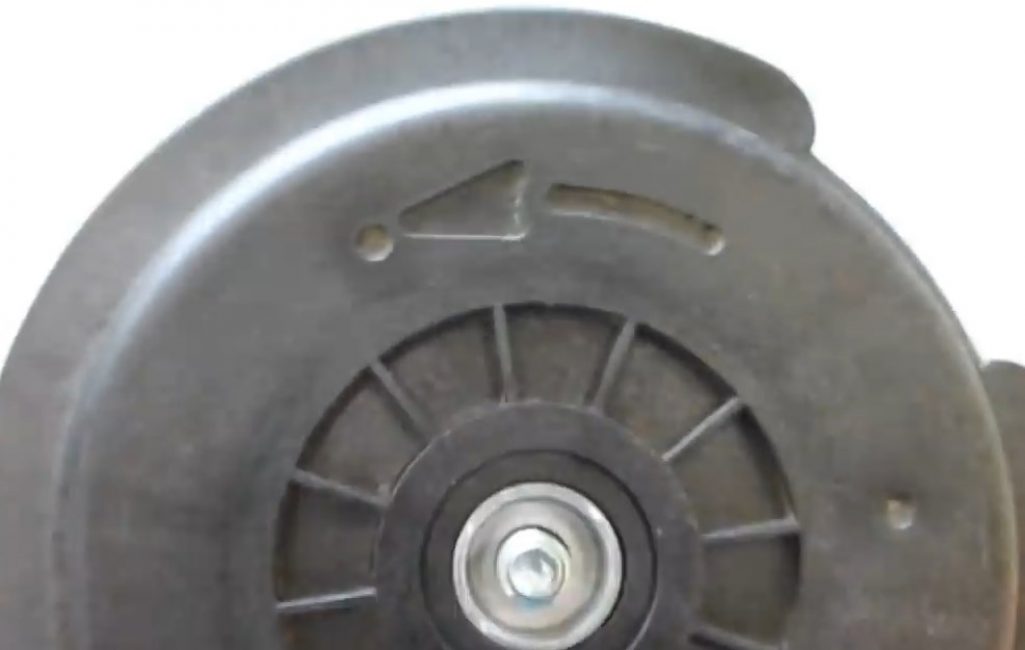
Designation on the body of the spool
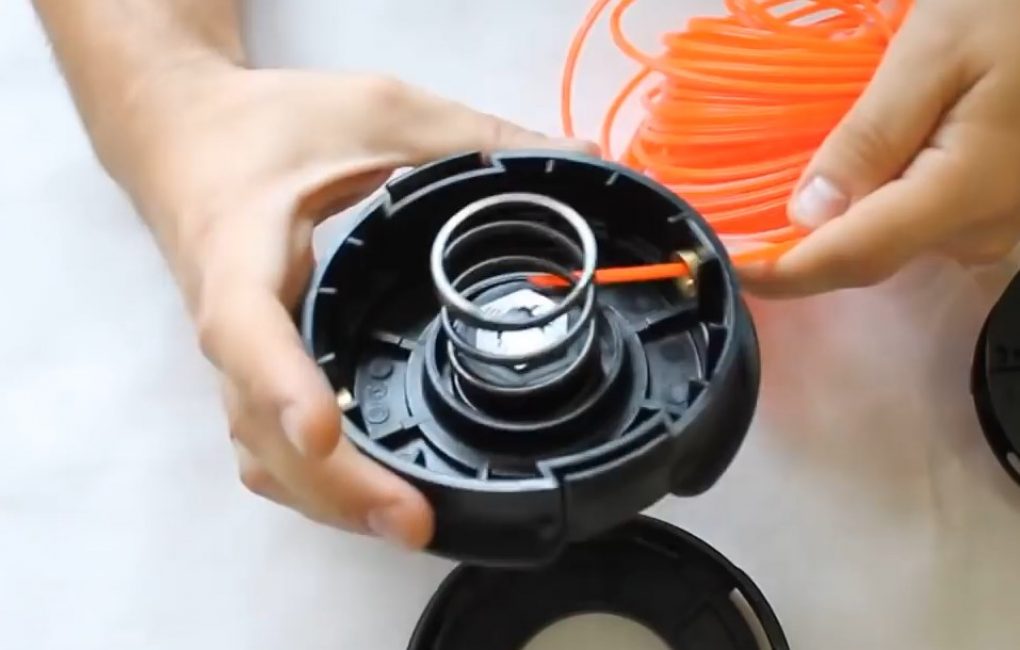
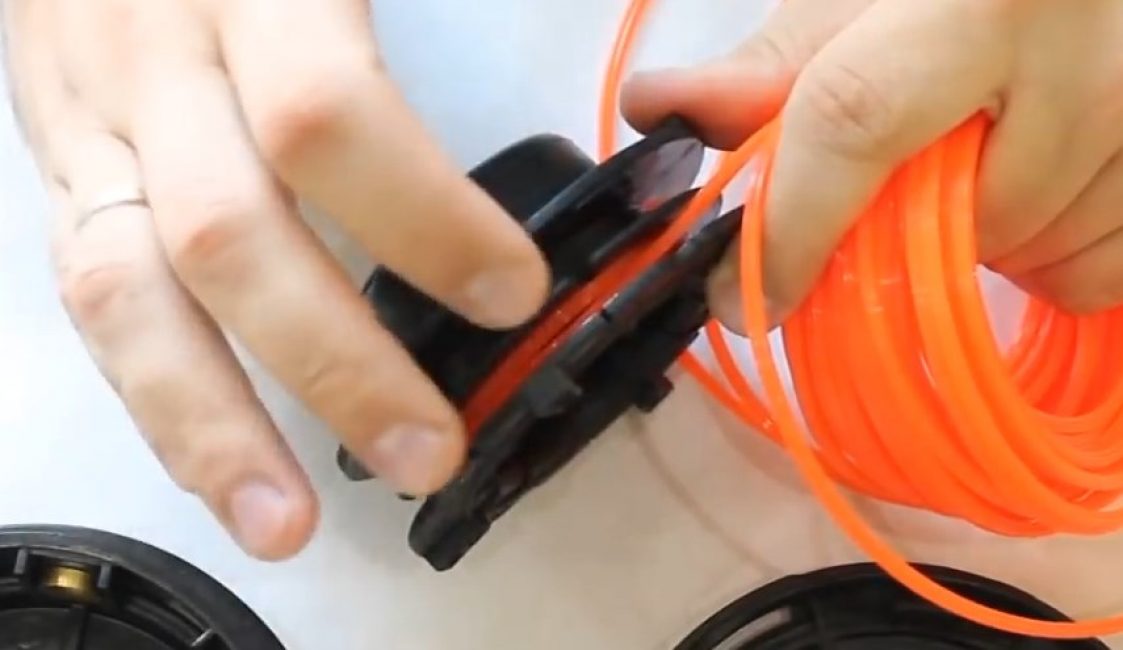
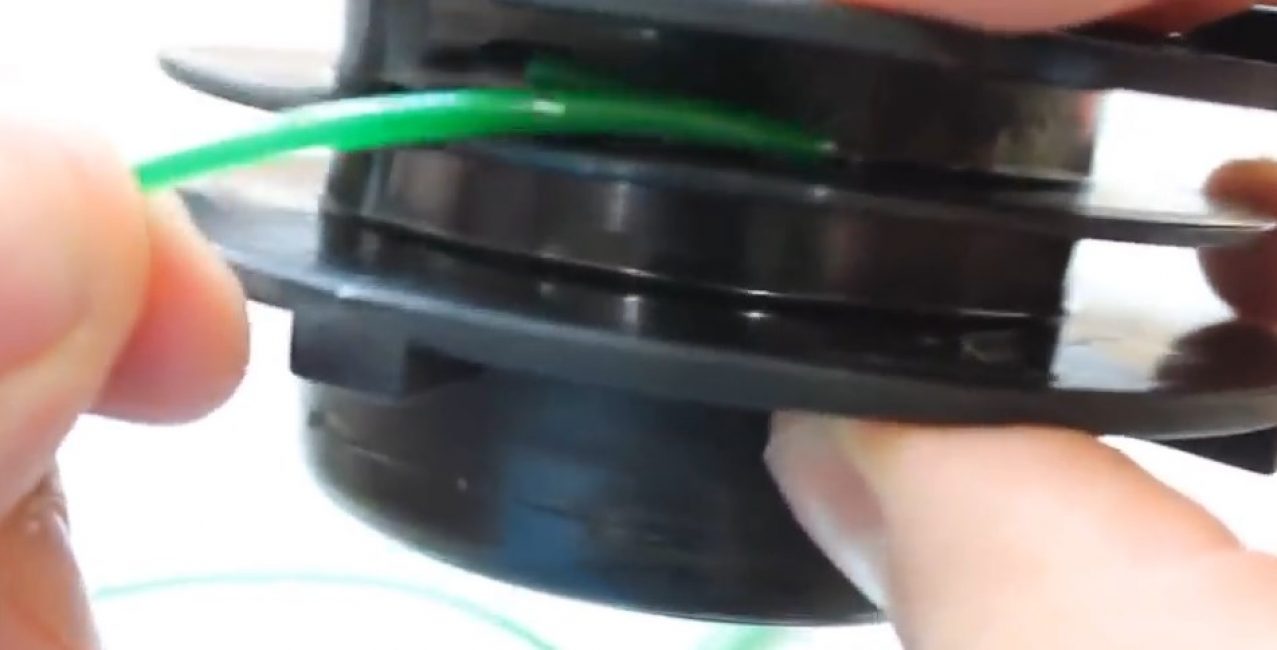
First way

Line bent in half
The prepared segment (in this case, it is 4 meters) is bent approximately in half - one segment should be 15-20 cm longer, and inserted into a special slot located on the dividing wall.

The line is inserted into the slot
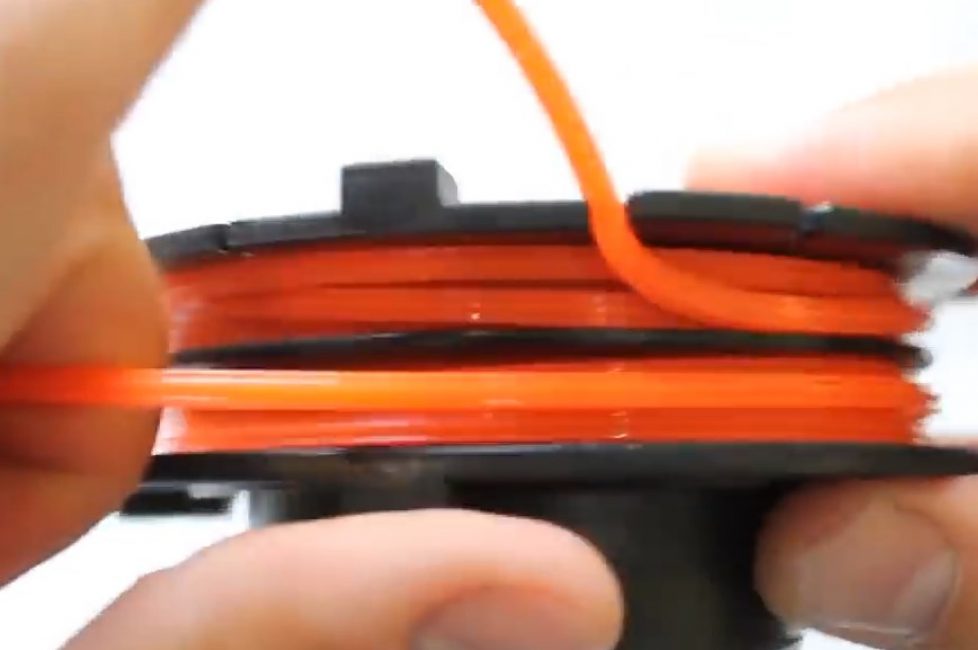
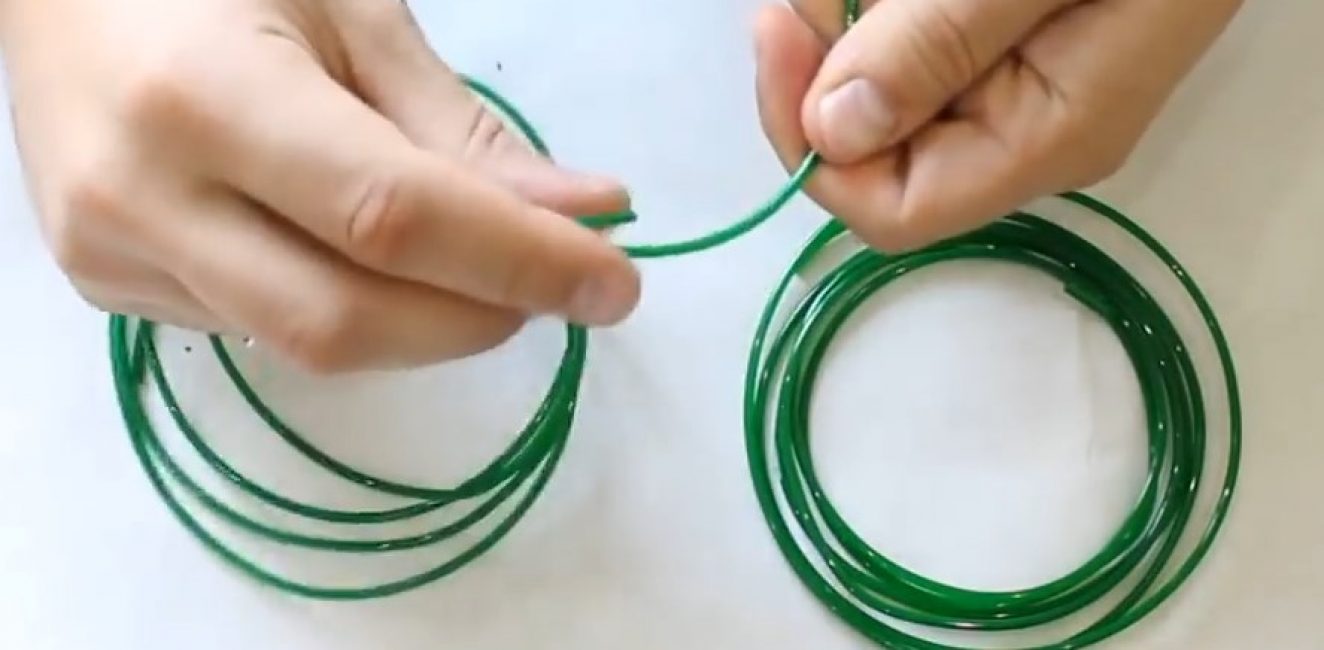
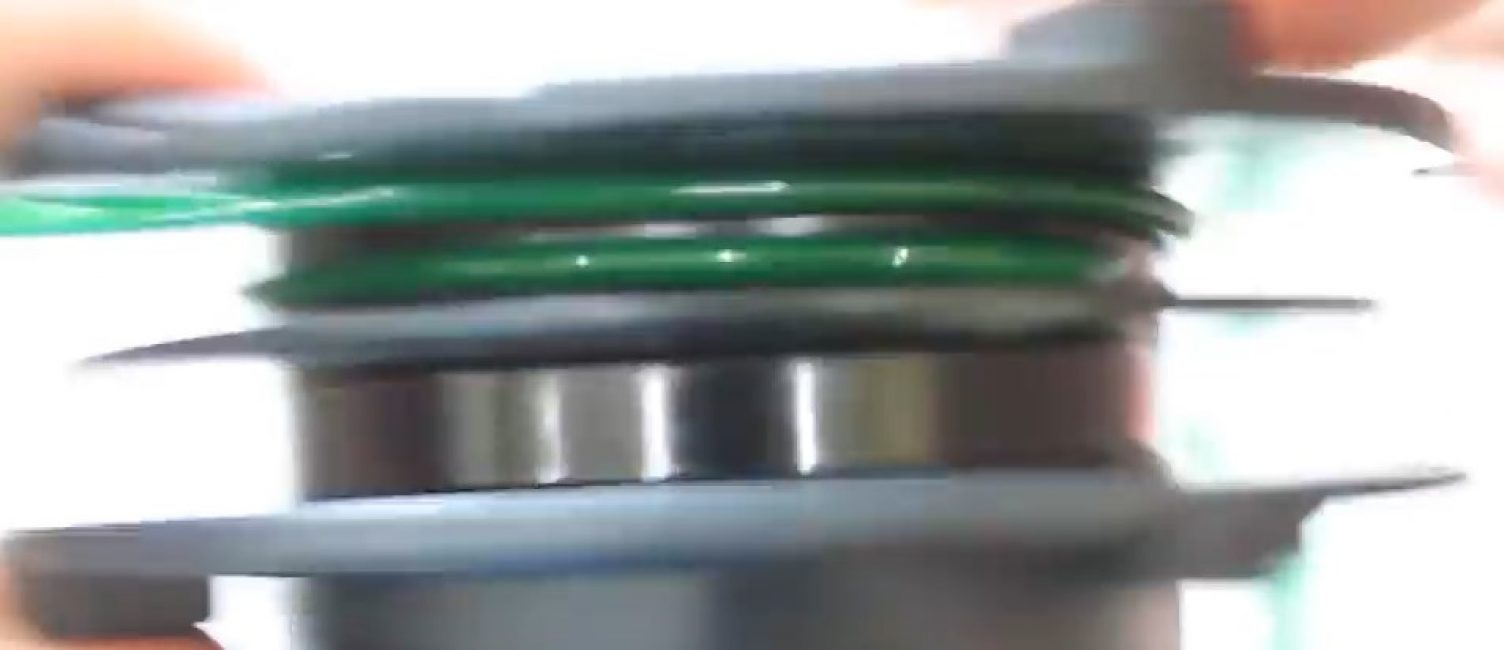
The fishing line is wound in the previously determined direction.This is done in tension, the line is neatly distributed. In this case, you need to wind the segment that is longer into the section that is closer to the button.
There are designs that do not provide for the division of the coil into two sections. This does not change anything, the line is wound in a similar way. You just need to make sure that the segments do not overlap with each other.
Winding up the fishing line
The segment that is located at the bottom of the coil should end first, i.e. the one closest to the fixing holes.
This tip is placed in a hole of the appropriate diameter. The strap is securely fastened.
The string is securely fastened
A long piece is wound another half turn. There it is fixed in the same way. In this case, the segment intersects another section of the coil.
A long piece is wound another half turn
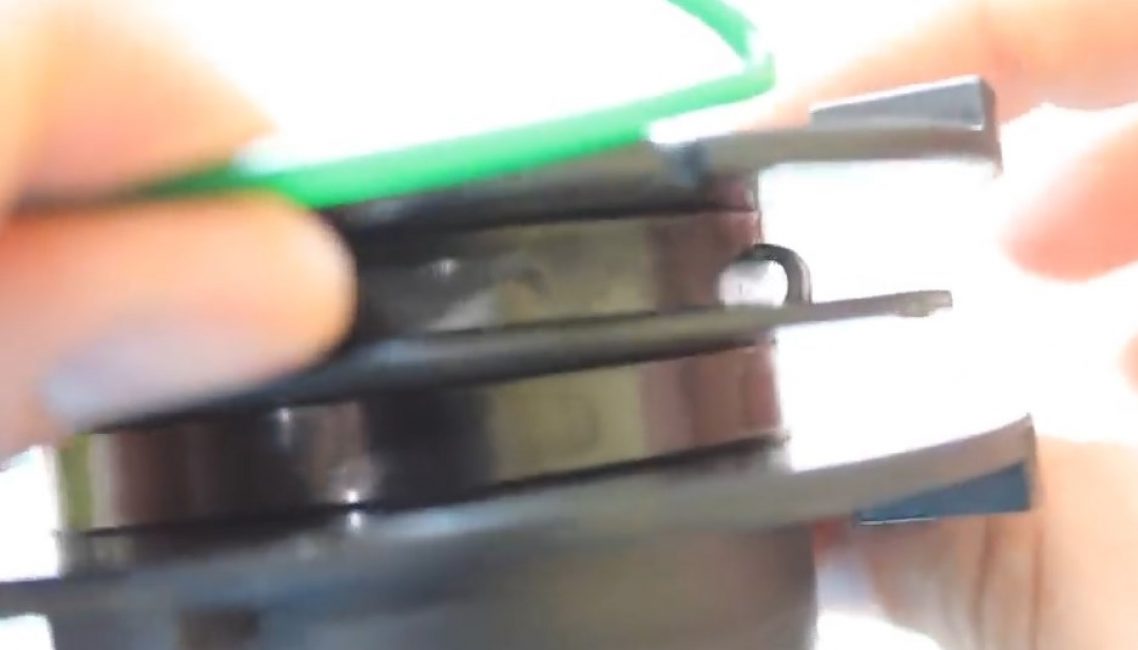
The fixed ends of the wound line are inserted into the holes in the body of the trimmer spool.
The fixed ends of the wound line are inserted into the holes in the trimmer spool body
The coil is attached to the body. The ends of the fishing line are pulled with effort so that the fishing line previously fixed in the holes of the reel pops out from there. This is easily determined by the characteristic sound (click).
The ends of the fishing line are pulled with effort
The coil with the button is snapped into the body of the trimmer spool.
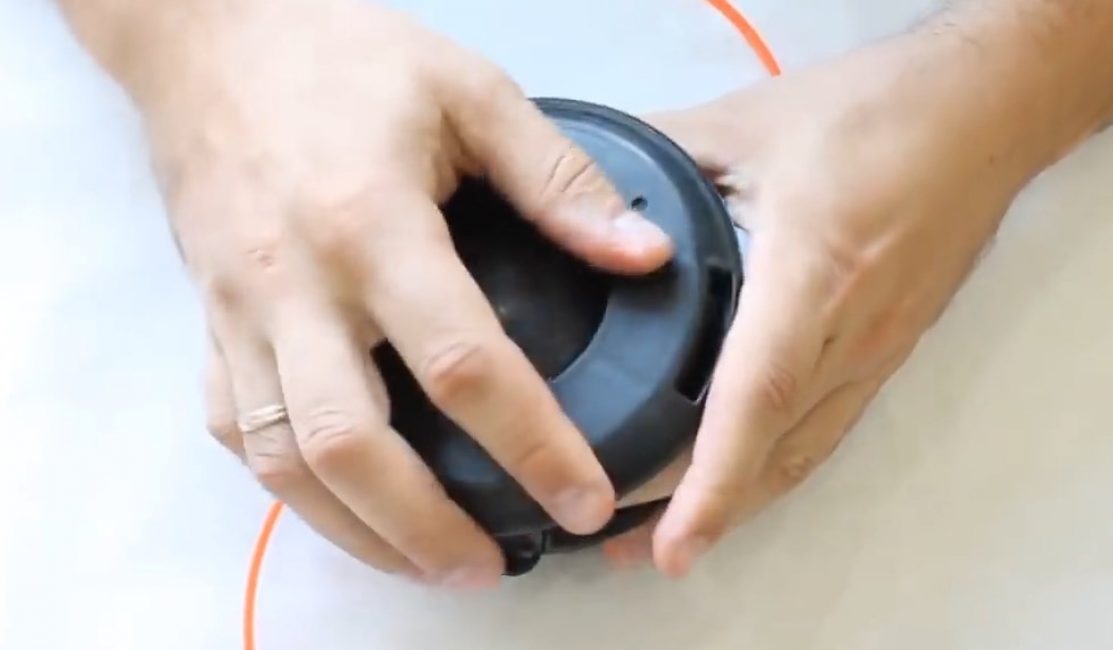
The coil with the button snaps into the trimmer spool body
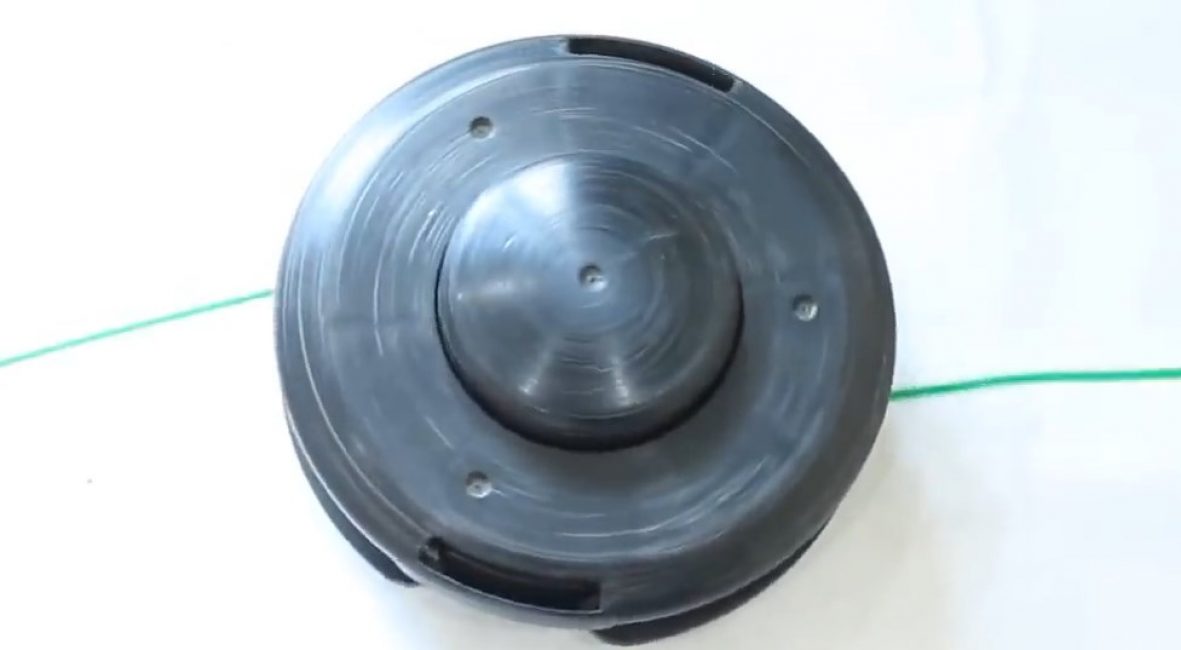
Line change completed successfully. In this case, you need to install it back on the trimmer and you can start mowing the grass.
It should be repeated, you do not need to remove the spool from the trimmer - this was done to illustrate the process of replacing the fishing line. You can disassemble the spool in place, wind it on a spool and put it back.
Line change completed successfully
The tips, so that they do not hit the trimmer casing, can and should be cut.
Method 2 - two segments
Two spoolable line lengths
Method #2 is basically the same as Method #1. The only difference is two reeled pieces of fishing line, instead of one.
The end of each segment is folded
The end of each segment is folded over.
Two special fixing sockets
There are two special fixing sockets on the coil (see the picture above).
We start winding the line
They hook it with a hook formed earlier on the fishing line, and begin to wind the fishing line.
Winding is carried out in a special order
Winding must be carried out in the following order: first, the lower line, i.e. the one that is closer to the fixing holes at the bottom of the coil, and only then the top one, i.e. the one that will overlap the bottom section.

The bottom line is wound
The tips are made into the holes in the body of the trimmer spool. They are pulled up to a click, which means that the fishing line has come out of the latches.

The tips are threaded into the holes in the body of the trimmer spool
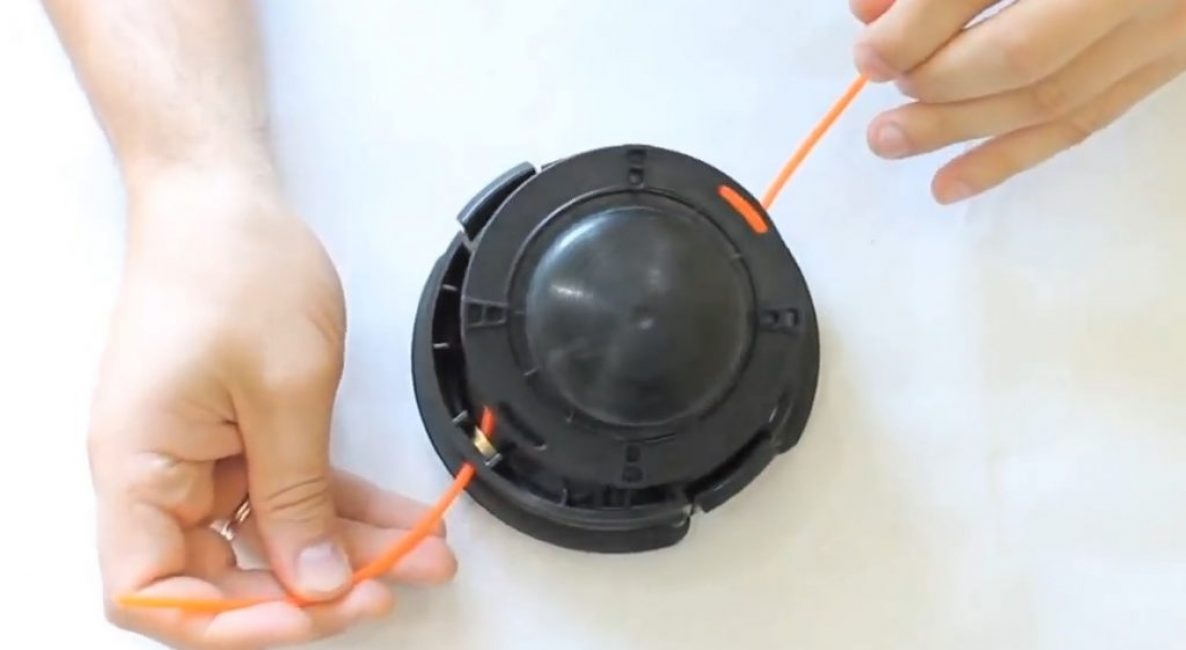
The coil is fastened into the body. The line in the spool has been replaced.
Line in spool replaced
VIDEO: How to wind a fishing line on a trimmer mowing head or lawn mower

How to wind the line on the mowing head of a trimmer or brushcutter
Replacing the fishing line in the trimmer: 2 easy ways


