

Most of you have probably encountered a problem when the right tool fell through the ground at the most inopportune moment. And when you need several tools, you have to run after them every time.
And all why? Because you do not have a special box for storing and carrying the most popular tools. We suggest you make such an organizer from a simple plastic canister.
Content:
Content:
 Read also: How to install a water-heated floor with your own hands: step-by-step installation instructions for all types of coatings (20+ Photos & Videos) + Reviews
Materials for manufacturing
To make a tool box, you will need:
- plastic canister;
- marker;
- screwdriver;
- Bulgarian;
- insulating tape;
- PVC window sill blank;
- self-tapping screws.
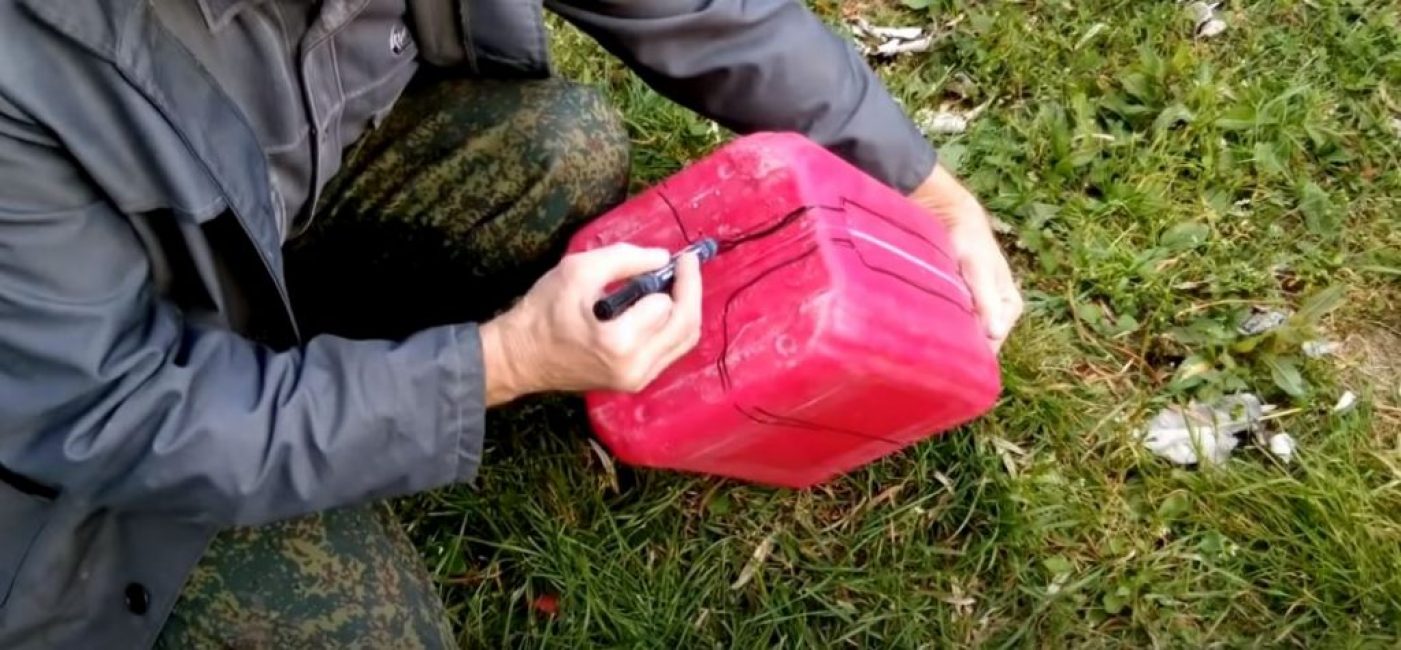
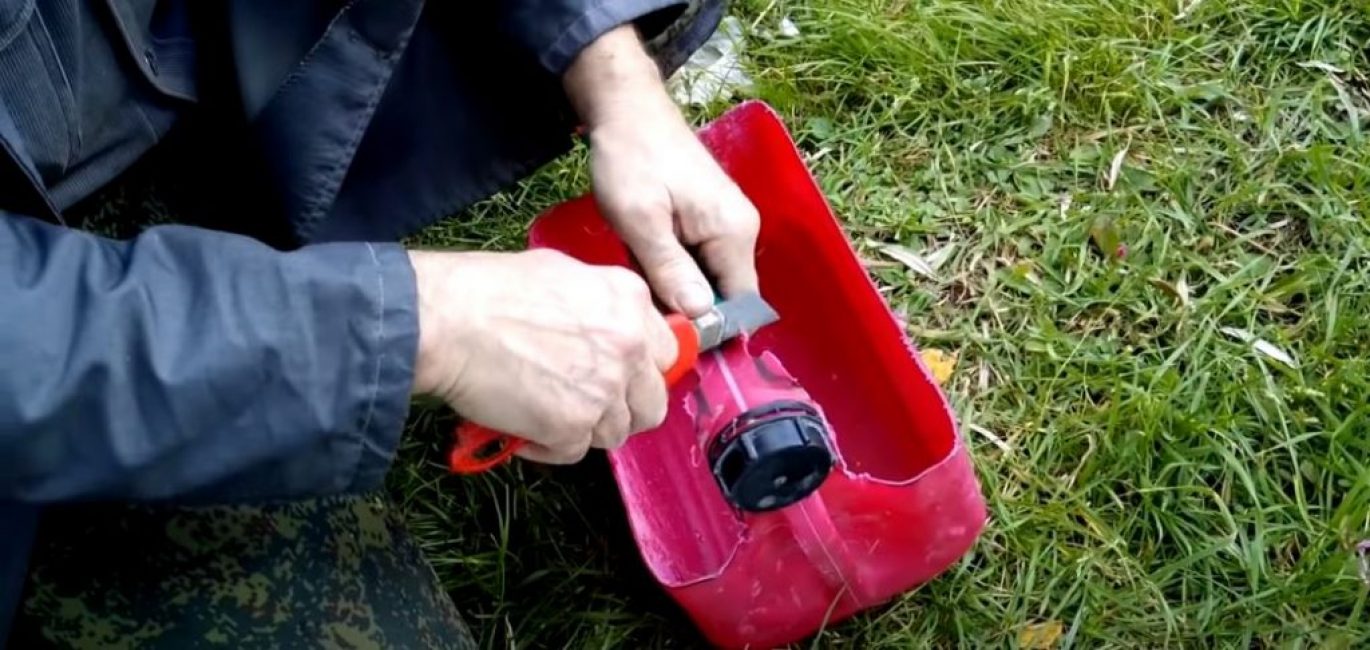
Step 1. Draw the outline of the box
Having put the canister on a large side, with the help of a marker we outline the outline of our future tool box. You choose its height yourself, depending on the size of the tool that you are going to store in this box.
On the top side we draw a handle for transportation. Moreover, the central part of the handle (where it is supposed to be taken) should be almost twice as wide as the rest of the handle. We make the transitions between the handle and the box smooth.
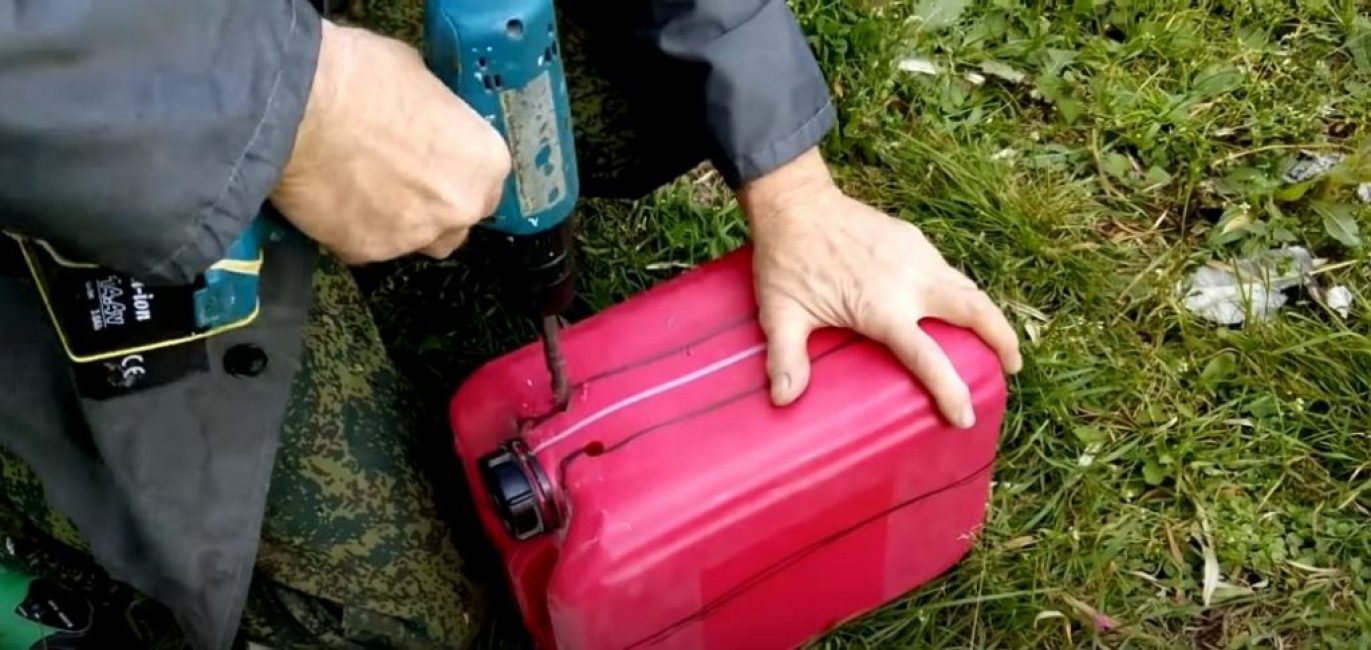
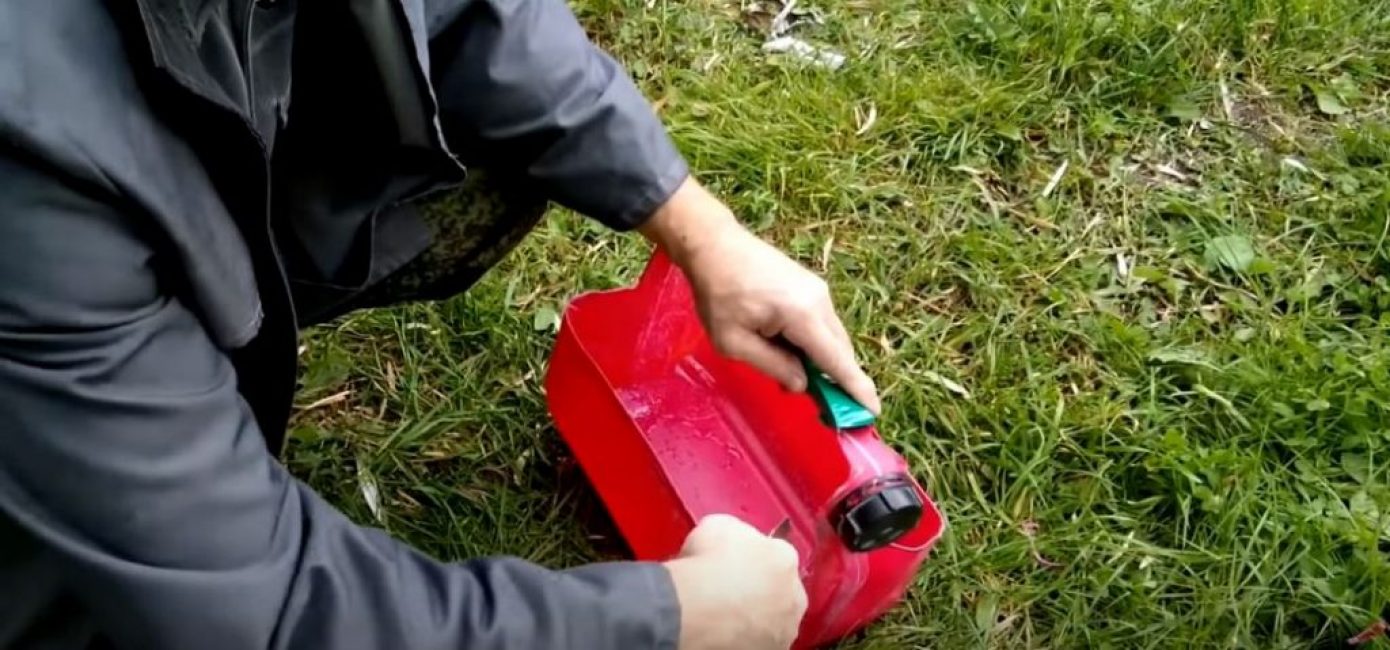
Step 2. Making the frame of the box
Using a screwdriver, we make auxiliary holes in the places where the contour is bent.
Using a grinder, cut off the excess between the auxiliary holes.
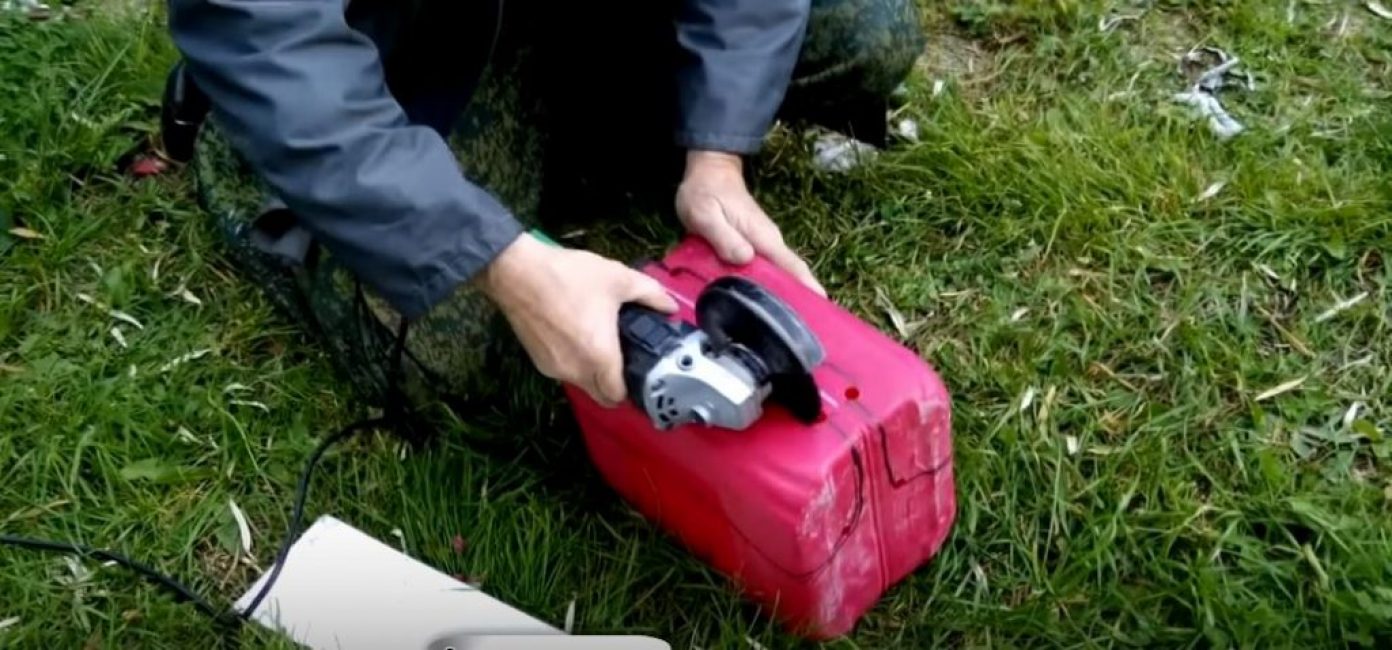
Cut out the sides.
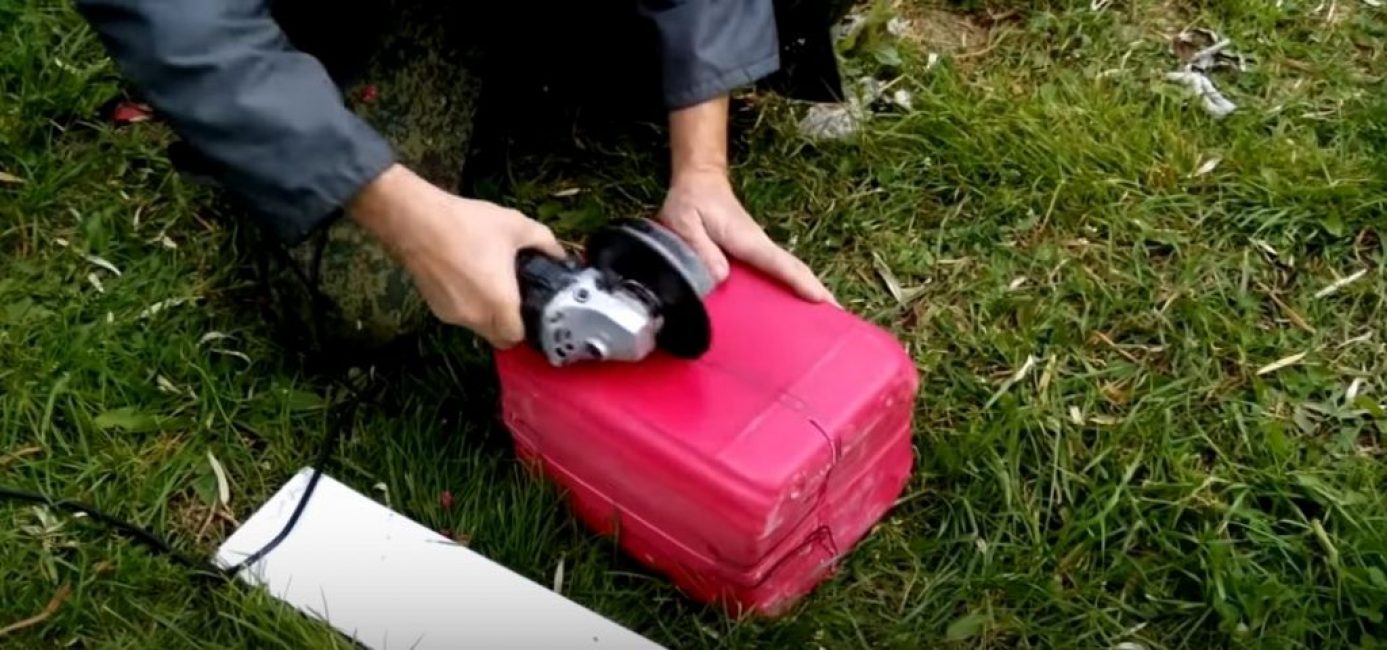
We remove unnecessary parts of the canister.
It turned out here is such a preparation.
Step 3. Making the Drawer Handle
Bend the edges of the widest part of the drawer handle up to seal it.
Wrap the handle with electrical tape twice.
Using a knife, we correct the shape of the handle in the places of bending.
Using a knife, we clean the ends.
Step 4. Making "pockets" for tools
We take a PVC window sill blank, equal in height to our box, and draw the outline of the future tool compartment with a marker.
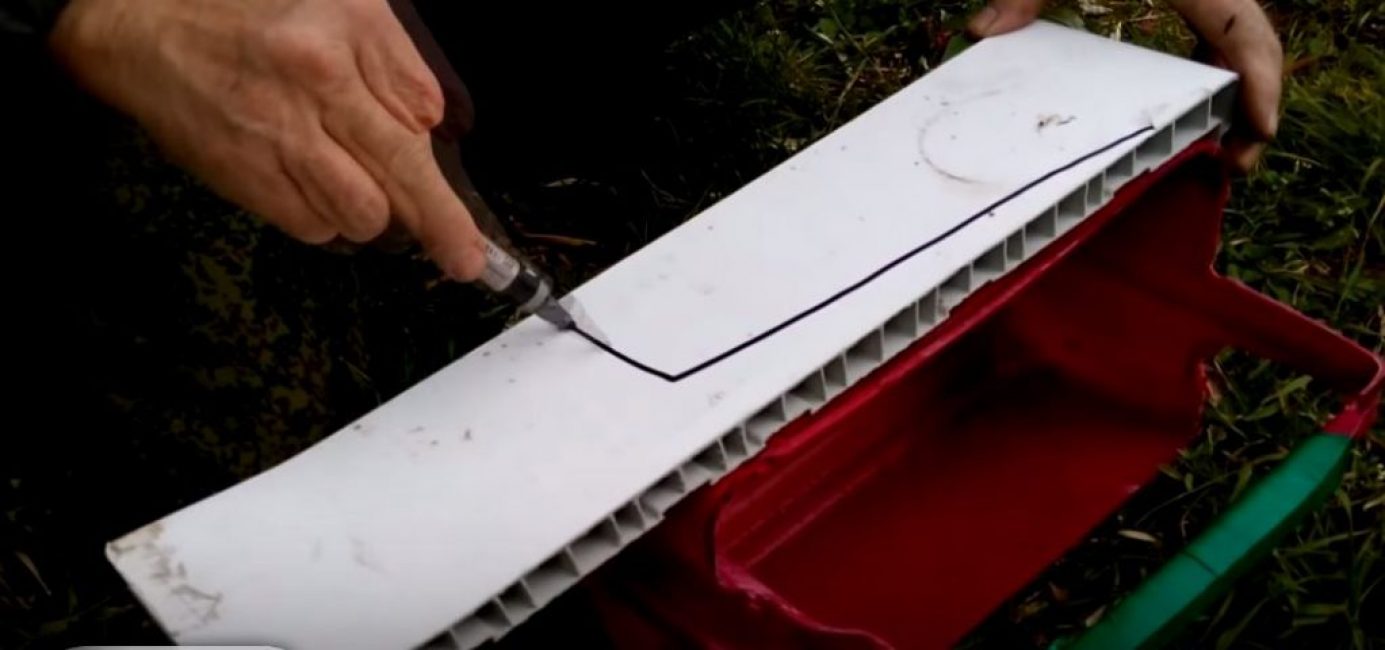
We cut along the outlined contour with a grinder.
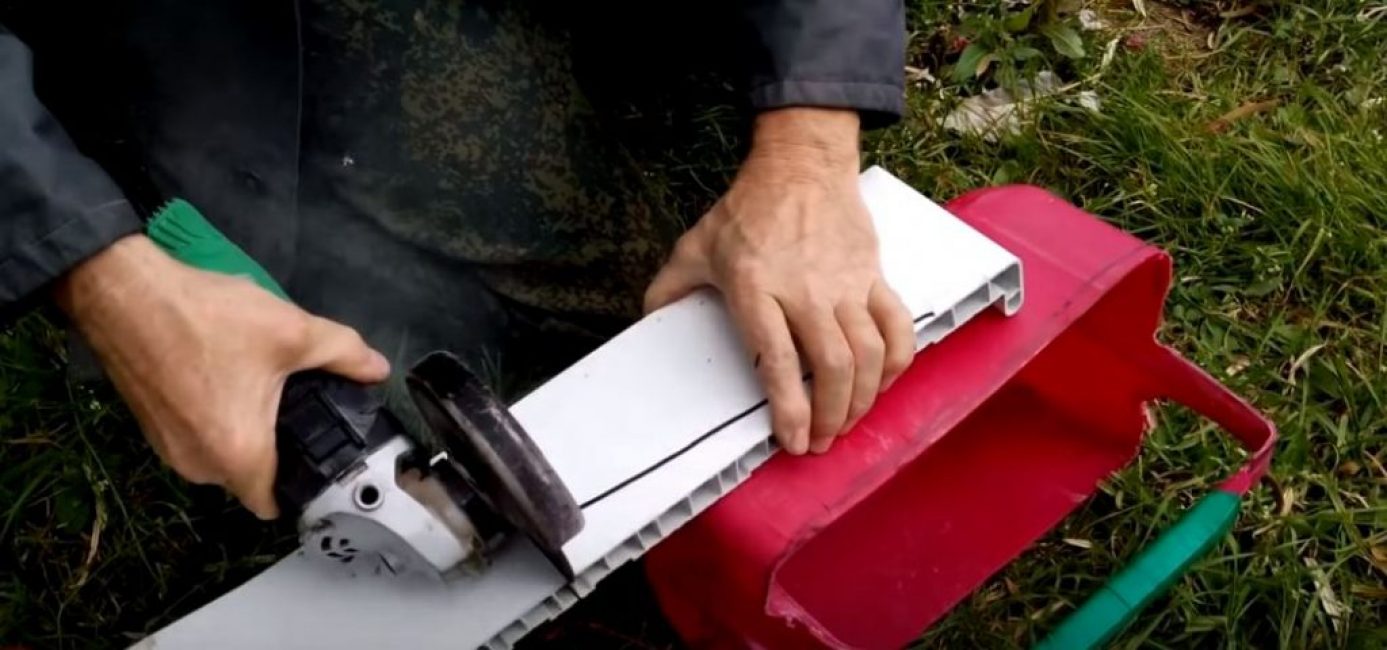
We insert the resulting workpiece inside the box.
We fasten it to the side of the box with self-tapping screws.

Here is the result.
Video: Unusual use of a plastic canister

Unusual use of a plastic canister
Toolbox ? with your own hands | Useful transformation of a plastic canister


