In most regions of Russia, to obtain a full-fledged harvest, it is necessary to grow seedlings at home. We will describe in detail the timing and methods of planting most garden crops - tomatoes, peppers, cucumbers, cabbage, the rules for planting flowers, as well as the types of lamps used for lighting.
Content:
 Read also: Potatoes: description of 73 best varieties (Photo & Video) + Feedback from gardeners
How to choose quality seeds?
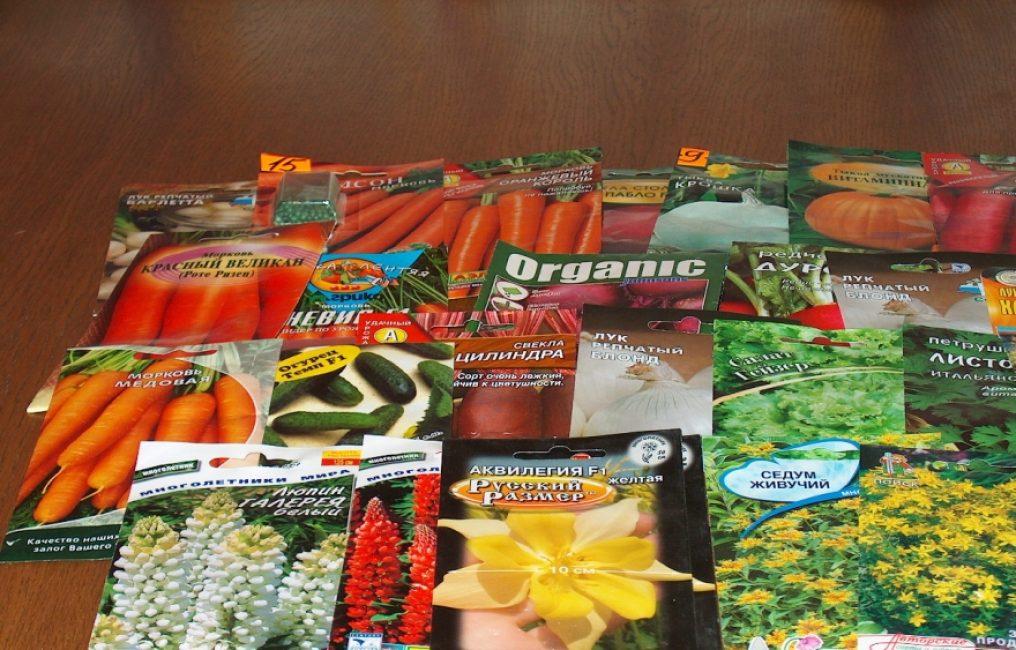
An abundance of seed selection
The quality of cultivated crops and their yield largely depend on the correct selection of seeds. Unfortunately, in recent years, re-sorting often goes on sale - instead of the indicated varieties, not only other varieties, but even seeds of other crops are packed in bags. Yes, and their germination leaves much to be desired.
Good seeds are sold by the firms "Sedok", "Russian Garden", "Gavrish". The companies "Aelita", "Biotekhnika", "Agrofirma", "Search", unfortunately, have ceased to monitor the quality - many gardeners complain about their products.
When buying seeds, be sure to pay attention to the area where a particular crop grows. For example, tomato seeds for open ground of southern varieties for growing in Siberia may not be suitable.
 Read also: Bulgarian pepper for the winter: 3 ways to store a vitamin record holder and 5 most delicious recipes for blanks
 Is it possible to collect seeds at home?
Well-ripened seeds, collected from their own garden, sprout together. Plus, you will always know exactly what year you prepared them.
Less hassle with flower seeds. Ripened flower-bearing shoots dry well and peel seeds from them, which are laid out in paper bags. Slightly unripe seeds may well reach indoors. Do not forget to just sign the name of the variety and the date of collection (after all, the seeds remain viable for only a few years).
selected seeds
The fruits of tomatoes, peppers, cucumbers must be selected the largest, even, well-ripened, even slightly overripe. It is allowed to leave them to ripen on the window. Then the seeds, together with the juice, are squeezed into a small container and sent for fermentation in a warm place for 2-3 days. If there is not enough liquid, you can add a little water.
Such fermentation (fermentation) is necessary for several reasons:
- in the process of it, the seeds are disinfected, bacteria brought from the garden, pathogens, die;
- a fragile sprout does not always manage to quickly break through the thinnest film (placenta) covering each seed; in the process of fermentation, it dissolves;
Sticky seeds are very difficult to disassemble one seed at a time; after fermentation of the pulp (crushed mass of the fruit), this problem disappears. As soon as a thin dark film of mold appears on the surface, the seeds are washed well (it is more convenient to do this with a strainer) and laid out on a small piece of gauze or a thin cloth to dry.
 Read also: Interesting ideas for decorating your favorite dacha with your own hands | 150+ original photo tips for craftsmen
Seed storage
In order for them not to lose their germination, it is necessary to store the seeds in a dry place at room temperature. To avoid mold, it is not recommended to pack them in plastic bags - they must breathe.

Cold Storage - USDA Gene Pool in Ames, Iowa
The shelf life of seeds in different crops is not the same. In cucumbers, this period is 3-4 years. In principle, they are stored much longer (sometimes up to 10 years), but after the specified time, the germination percentage gradually decreases. Cabbage and pepper seeds are stored a little longer - 3-5 years. Good germination of tomatoes is guaranteed only in the first 3-4 years. In flowers, depending on the species, it can vary from 2-3 to 8 years.
| Vegetable seeds | Germination retention (years) |
| Parsnip, celery, onion, chives | 1-2 |
| Leek, parsley, dill, sorrel, rhubarb | 2-3 |
| Carrot, pepper, lettuce | 3-4 |
| Eggplant, turnip, beetroot, cauliflower | 3-5 |
| White cabbage, radish, radish, tomato Pea | 4-6 |
| Corn, beans, beans | 5-7 |
| Melon, zucchini, cucumber, squash, pumpkin | 6-8 |
 Read also: Landscaping your site with your own hands - (130+ Photo Ideas & Videos) + Reviews
 Soil preparation
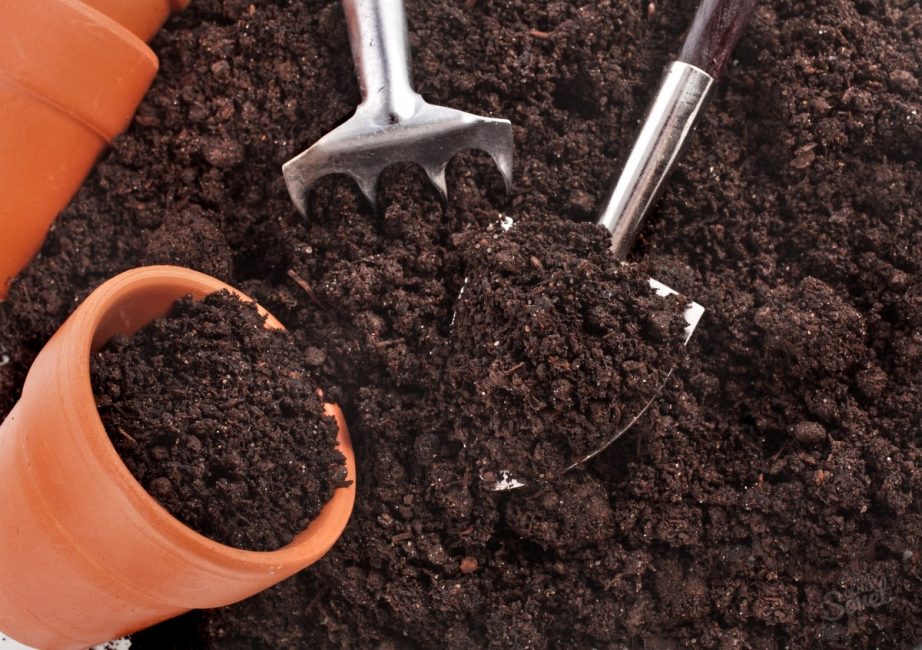
Plant sprouts in well-fertilized soil will be strong and healthy.
The most popular soil for seedlings is a mixture of garden soil, humus and peat (in a ratio of 2: 1: 1). If the land is fertile enough, you should not get carried away with fertilizers - if necessary, they are applied only after the plants have real leaves. Before picking (transplanting dense young seedlings into separate pots), the seeds are planted in one container.
Immediately throwing seeds into the cold ground brought from the street is not worth it. To start metabolic processes, it must first be shed with warm water, and then left for several days for fermentation. Regardless of whether the soil is bought in a store or taken from your own garden, it requires disinfection.
Otherwise, fragile seedlings will quickly begin to be affected by the most dangerous diseases and pests that fall on seeds from infected fruits. It is unrealistic to qualitatively fry a large amount of soil due to the strong smell in an apartment. A small amount can be steamed in a water bath.
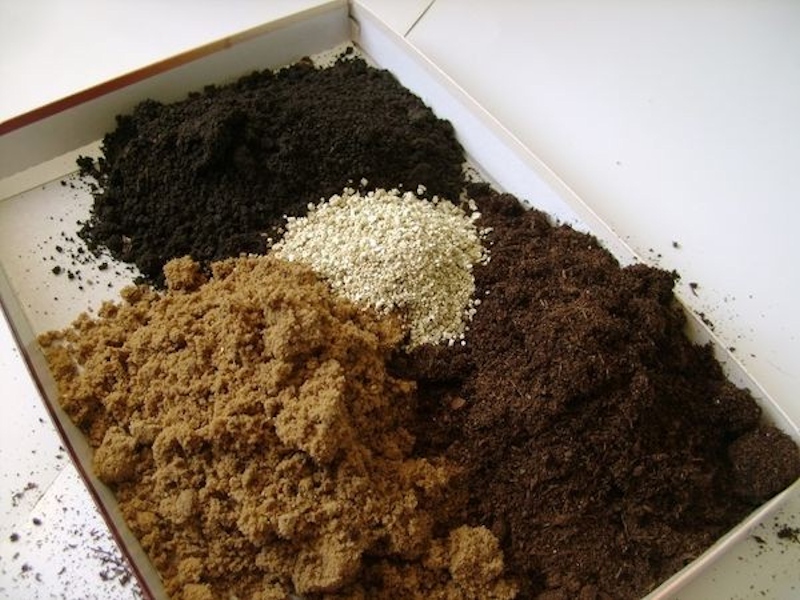
To obtain high-quality seedlings, not too heavy fertile soil is required.
More often, to destroy bacteria, the earth is watered with disinfectant solutions of manganese or biological products: Fitosporin, Fitop, Barrier, etc. To prevent pathogenic bacteria and insect larvae from entering the soil, the containers used for seedlings in past seasons must also be thoroughly washed and treated with any of the above solutions.
Destroy insect larvae in this way will not work. Therefore, the land brought from the store must be frozen three times. First, they put her on the balcony for a week, then they bring her into the house for several days, etc. Before planting seeds, the earth should warm up well.
 Read also: Cucumbers: description of 29 varieties, main characteristics and gardener reviews about them | (Photo & Video)
When to plant tomatoes for seedlings?
Tomatoes for growing in greenhouses in the central and northern regions of Russia are grown only in seedlings. seeds ground tomatoes it is allowed to plant immediately in the ground, without the use of seedlings. But, if you want to get an early bountiful harvest, it is also better to pre-grow them at home.
The timing of sowing tomatoes in different regions may vary.
- For example, planting greenhouse tomato in the Moscow region for seedlings is already produced on March 5-10
- Although this time depends on the varieties - some of them have a longer or shorter growing season.
- For example, seeds of large-fruited tomatoes that ripen slowly are planted at the end of February.
- Tomatoes for open ground are sown later, March 20-25
- It is easy to calculate the landing time in a particular region
- Seed producers must indicate on each pack the growing season (time from first shoot to harvest) of each variety
- For example, for mid-ripening tomatoes, it is 90-100 days.
How to plant tomato seeds correctly?
Immediately before planting, the seeds are immersed in a solution of salt, soda or manganese for 10-15 minutes, and then washed. To speed up germination, if desired, they can be wrapped with a damp cloth, put on a plate and kept for a day.
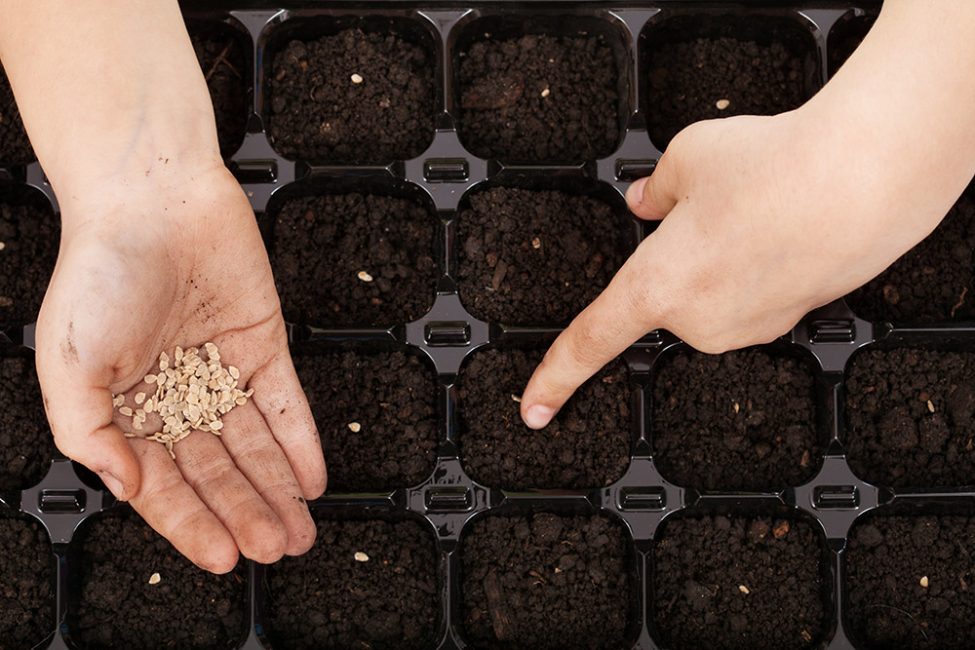
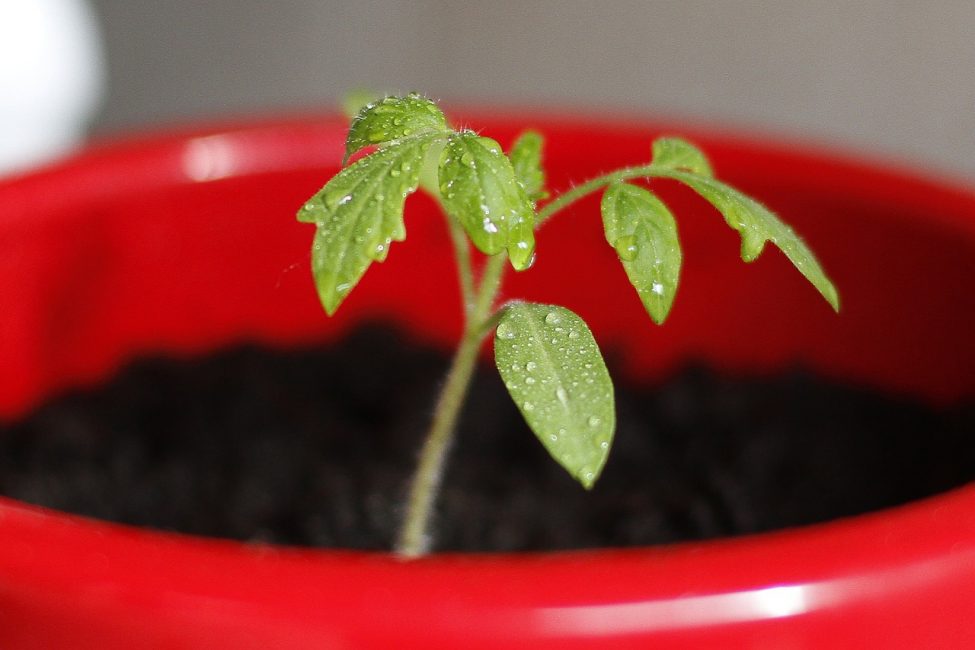
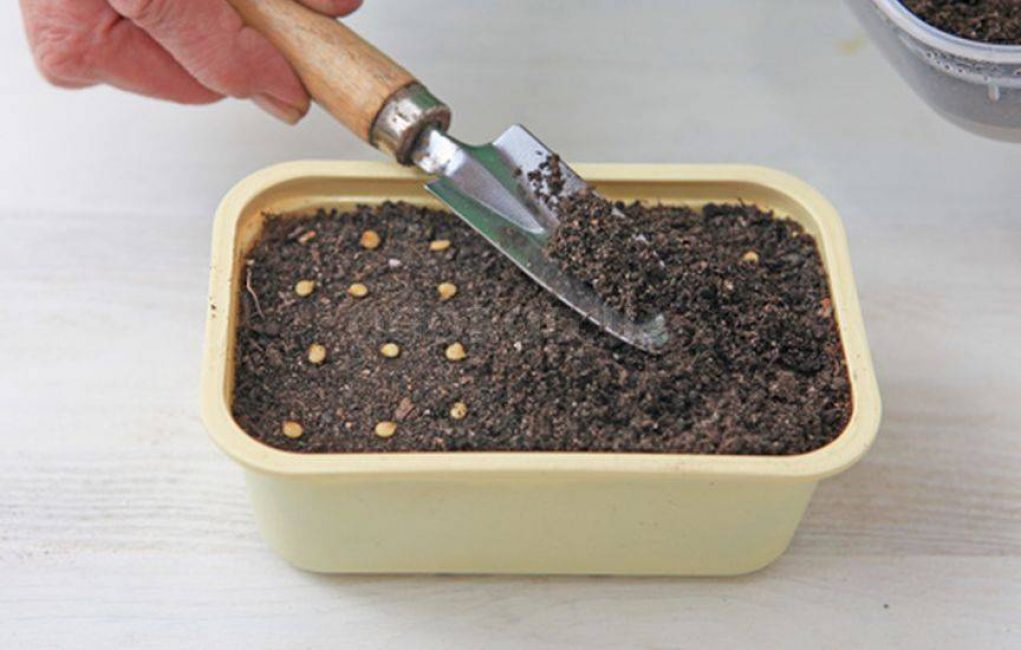
Planting tomato seeds
After disinfecting the seeds, they begin planting. To do this, they are laid out in grooves 1 cm deep at a distance of 3-4 cm, or simply scattered over the surface, and then covered with a sufficient layer of earth. So that it does not dry out, it is better to close the container with a film - after all, the seeds lying in the ground do not need light yet.
Immediately after the appearance of the entrances, it is removed, and the container is transferred closer to the light. If the seeds were pre-soaked, then the sprouts can jump out already for 2-3 days. When planting dry seeds, the plants will begin to hatch only for 4-5 days.
Seedling care
- The optimum temperature for tomato growth is 22°C, at night - 18°C
- When planting seedlings early in February-March, natural light is still not enough. To prevent plants from being overtightened, use backlighting.
- Watering is carried out as the topsoil dries.
- At first, little moisture is required, and they are watered after 2-3 days.
- On sunny days, the earth dries out a little faster.
- As the growth and growth of the roots grows, more water is required, and it should be watered more often - every other day, and on hot days, daily.
The first feeding of tomatoes is required only a couple of weeks after the appearance of sprouts.
In the future, fertilizers are applied little by little no more than 1 time per week. It is better to use natural ingredients - wood ash or an infusion of dry plants (ideally - nettle infusion), stored since the summer.
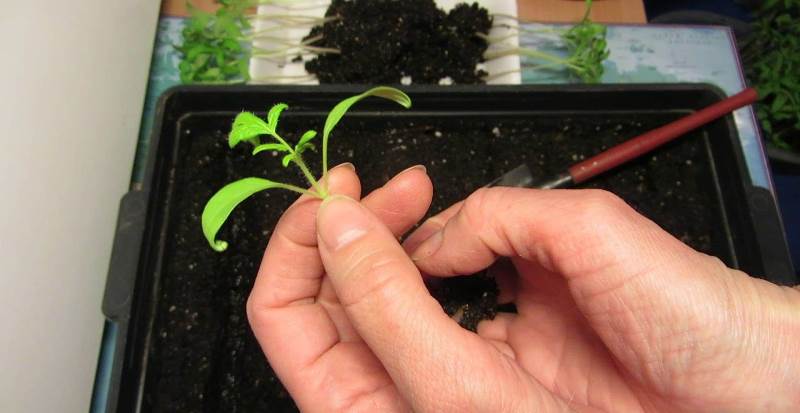
picking
After the appearance of 2-3 real (toothed) leaves, they start picking - transplanting into containers with a volume of about 0.5-0.7 liters. Teach that the plant will have to grow for another couple of months, so planting in smaller pots is not recommended - tomatoes need to grow good roots. Otherwise, the yield will be low.
To prevent water from stagnating at the bottom of the container, be sure to make small holes in it. The window sill will stay clean if you use pallets. A couple of hours before picking, the seedlings must be well shed with water - it will be easier to get it out of the ground without damaging the roots.
For transplantation, choose the strongest sprouts with a thick stem and well-developed roots. Stunted and diseased plants are discarded - they will no longer give a big harvest.
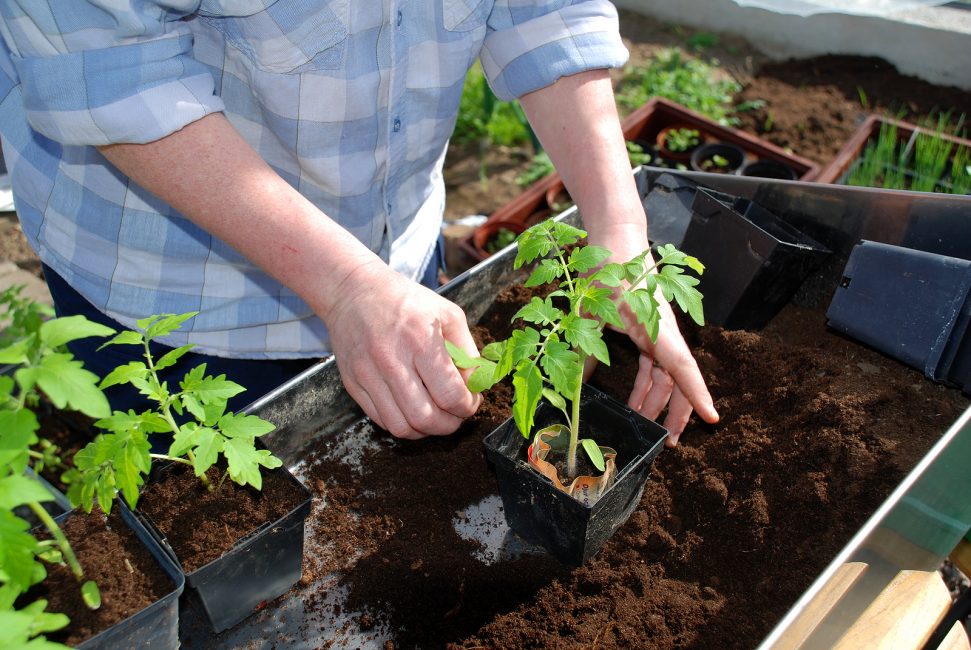
Picking tomatoes
Using a small spatula, carefully remove the sprout from the ground and transfer it to the prepared container. Unlike many other types of plants, it is allowed to bury tomato sprouts to the very leaves - part of the stem, once in the ground, will immediately give new roots. Make a hole 4-5 cm deep in the ground, pour it well and carefully place the sprout there.
Some gardeners pinch the roots slightly for better branching. However, this issue is considered controversial - someone, on the contrary, claims that such a procedure only harms natural growth.
Tomatoes perfectly tolerate a pick - almost all plants take root. Moreover, it promotes the rapid development of lateral roots. But still, so that the sprouts suffer less, move them to a shady place away from bright light for a couple of days.
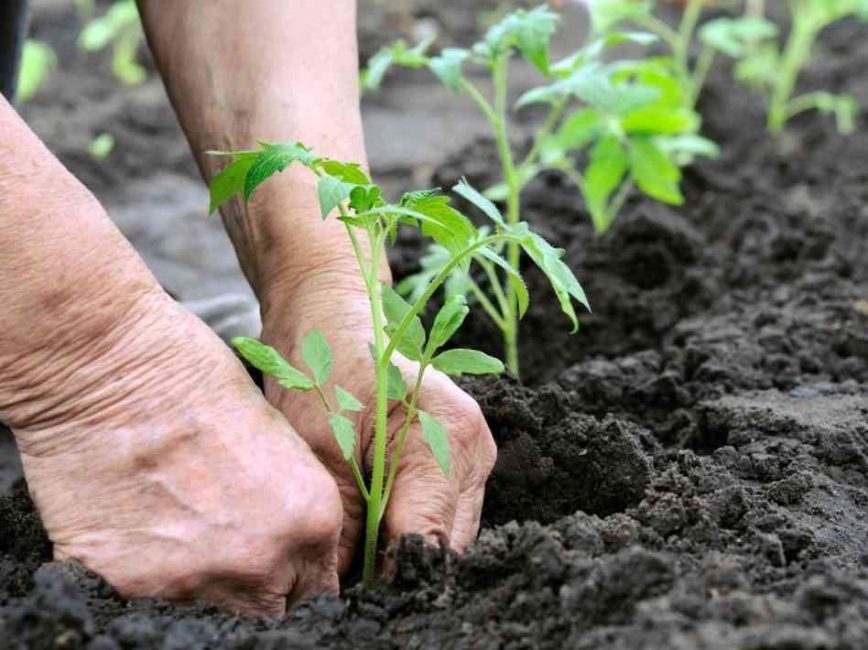
Transferring seedlings to the ground
In the Moscow region, tomatoes are transferred to the greenhouse at the end of April - May. They are planted in open ground only after the end of return frosts, which often occur in early June.
The land must be prepared in the fall - remove the roots of weeds and fertilize well. Before planting, at a distance of 60 cm, holes are prepared with a depth of a shovel bayonet. To 1 sq. m fit more plants, you can plant them in a checkerboard pattern.
It is better to put a couple of handfuls of humus at the bottom of each hole (clean manure will simply burn the roots)
If the plants are too stretched out on the window, it does not matter. When using an inclined planting, you will only increase the yield. To do this, prepare a long furrow and carefully spread the stem along its entire length, lifting only its upper part above the surface, and then cover it with earth. Try to be careful not to break the plant.
On hot days, it is better to cover the seedlings with burdock leaves or newspapers for several days. This way they will get used to it much faster.
 Read also: Making a greenhouse with your own hands from a profile pipe and polycarbonate: a complete description of the process, drawings with dimensions, watering and heating (Photo & Video)
 pepper seedling
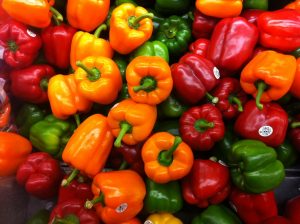
This crop is more capricious and demanding than tomatoes, and requires special growing conditions. Even in the southern regions, it is never planted directly into the ground - in order to increase the fruiting period, pepper is grown only through seedlings.
pepper seedling
For greenhouses, it is necessary to choose tall varieties. For growing on ridges under a film, medium and undersized are ideal. Early varieties are sown 2 months before being transferred to the ground, and late varieties - 70-75 days before.
Planting seeds
Pepper is extremely picky about the quality of the soil. Both fresh manure, pure peat, and dense acidic soil are harmful to him. For planting seeds, it is better to use a light mixture of peat, humus, river sand and earth. It is advisable to add a little wood ash.
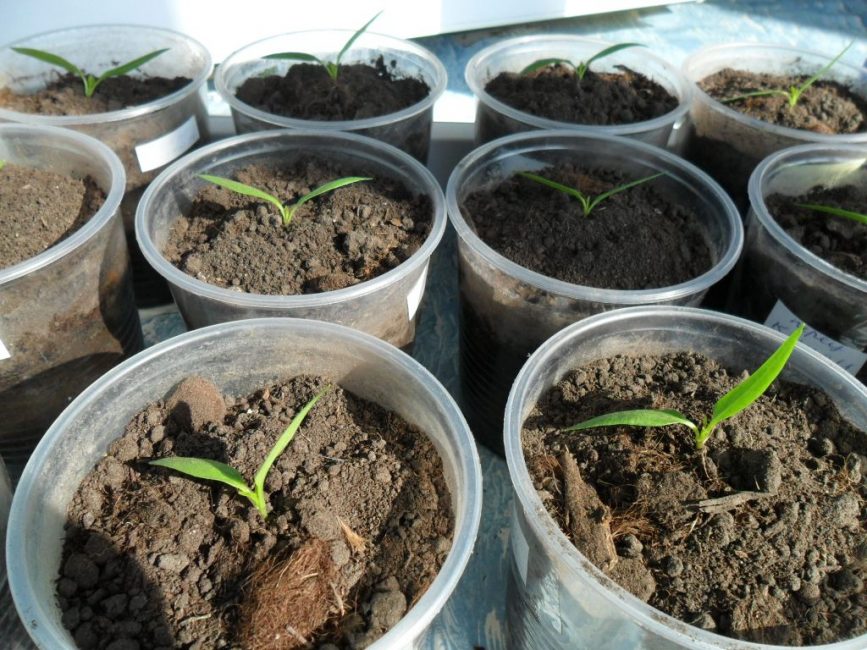
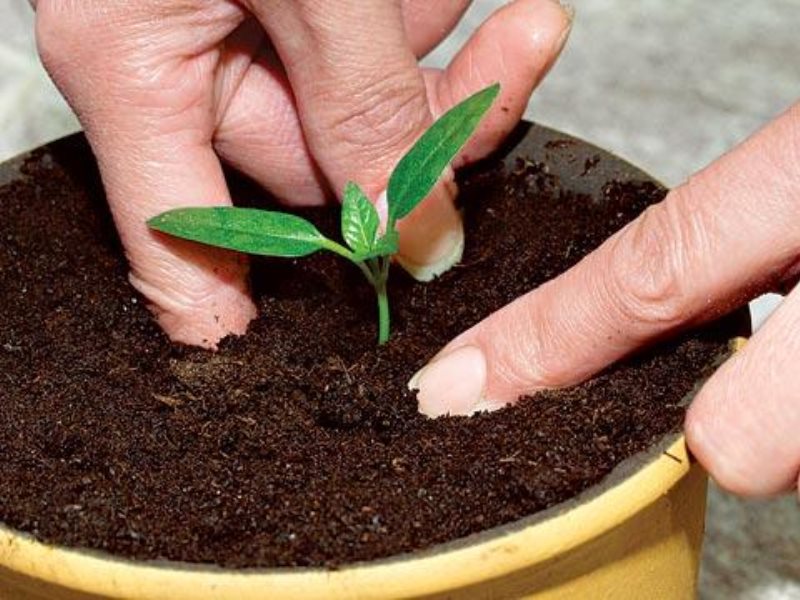
Planting pepper seedlings
Disinfected pepper seeds, as well as tomatoes, are buried to a depth of 1 cm. They are planted immediately in a permanent place in pots up to 8 cm in diameter. Since the roots of this plant are not too branched, large containers are not required.
Watering seedlings. Optimum temperature

Watering seedlings
- Despite the high drought tolerance, pepper seedlings respond well to watering.
- It is required to do this infrequently, once every 5 days
- Optimum daily temperature for growth +22-25°C
- 11-14°C is enough at night
- Just like tomatoes, peppers must be prepared for planting in the ground by hardening
- When establishing a night temperature of + 15 ° C, it is better to put it on the balcony
Does pepper need picking?
This culture does not tolerate picking very well - sprouts take root slowly and get sick for a long time. Since at this time the pepper stops growing, the yield may decrease due to the time lost during transplantation.
Pepper watering
If picking is still necessary, you must wait for the first two true leaves. It is not worth delaying the transplant - the grown sprouts will take root worse. Pepper does not tolerate a strong penetration of the stem into the ground - it dives only to the cotyledon leaves.
Landing in the ground
Peppers are planted when the threat of frost has passed. In the central part of Russia, seedlings are transferred to a greenhouse already at the end of April, under a film - until the end of May, in open ground even later - at the beginning of June.
Peppers do not tolerate frost. If tomatoes can easily survive zero temperature, then even a long drop to + 3 ° C can be fatal for pepper. At temperatures below 15 ° C or its sudden changes, it simply stops developing, so do not wait for the crop outside the greenhouse in cold weather. It does not ripen in partial shade or thickened plantings - enough sun is required for the development of the plant.
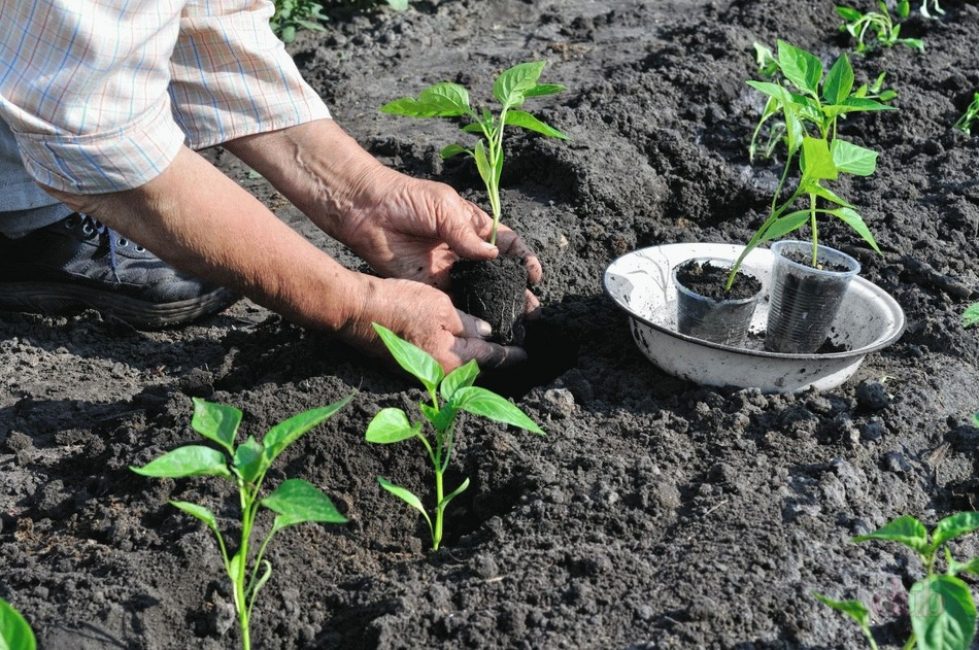
Planting pepper in the ground
For this culture, choose the sunniest place, protected from drafts. When planting in open ground, it is better to raise the beds by 30-50 cm for good warming of the soil. On clay soils, the earth must be dug up with the addition of humus, sand and sawdust.
Sandy soil requires the addition of peat, a little clay soil and humus. When planting in open ground, it is necessary to wait for the soil to warm up to 15 ° C. You should not rush - in the cold, the pepper will stop growing, and the yield will decrease.
The optimal distance between plants is 40 cm, between rows 70 cm. For tall peppers, this distance must be further increased. Do not bury the stem in the ground! Try to plant the plant exactly as it grew in the pot.
 Read also: 56 The best productive varieties of cucumbers for greenhouses: description and photo | +Reviews
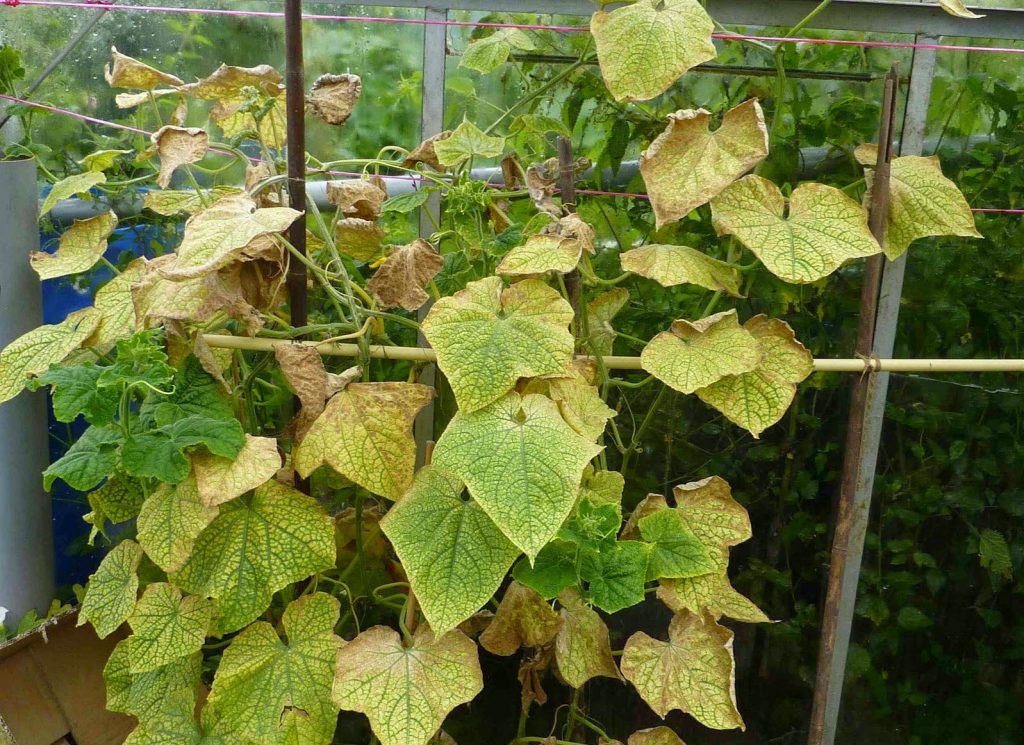
 cucumber seedling
Growing this crop seedlings is not so easy. After all, its sprouts are tender and cannot stand a sharp drop in humidity and temperature. To avoid such drops, even in the house it is better to grow seedlings under a film in which holes are made to let excess moisture out. The root system of cucumbers is also very capricious - it is enough to damage the thin roots, and the plant will not take root well.
Seeds must be sorted before planting. To do this, they are placed in a small container with water. For disinfection, salt, baking soda or potassium permanganate are added to it. Floating light seeds are discarded. The rest are thoroughly washed with water - salt and soda should not get into the ground.
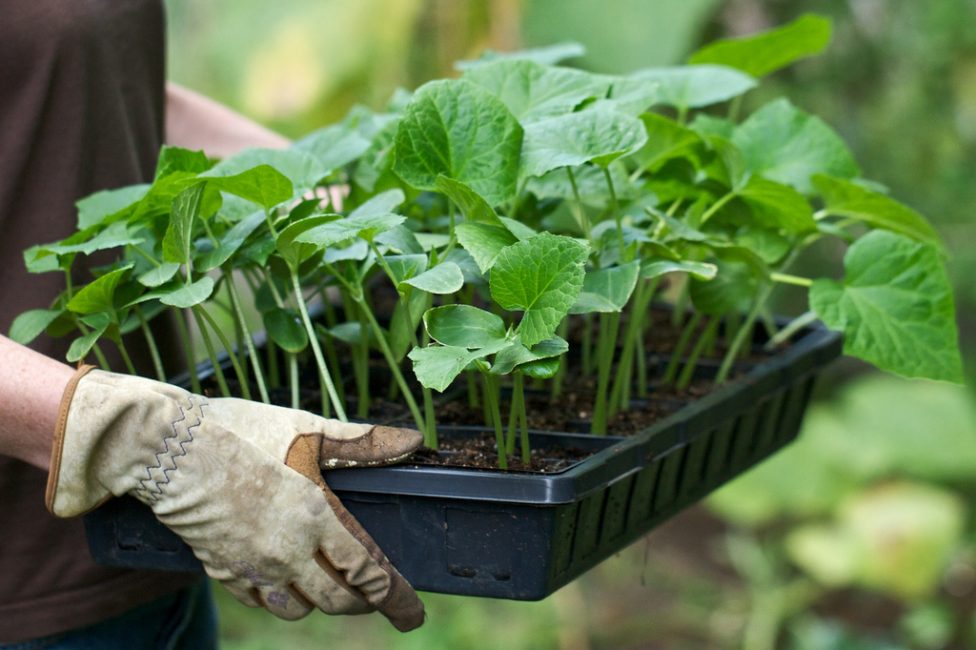
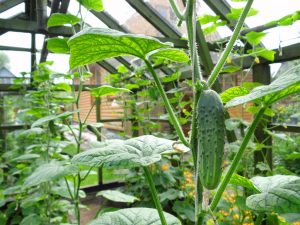
cucumber seedling
Ideal soil for seedlings cucumbers - a mixture of peat, sawdust with the addition of a small amount of mullein. It is better to choose a small capacity, because planting in open ground is carried out at the age of 25-30 days (too large plants will take root worse). In large pots, the soil can turn sour.
The seed is buried in the ground by 1.5 cm. It is better to plant 2 pieces at once - in the future, the weaker sprout is removed. After planting, the ground is well spilled with water, and the container is covered with glass and placed in a warm place.
To the main place in greenhouse cucumbers are planted in mid-May, when the threat of frost has passed.It is not worth thickening the plants - they are seated at a distance of 50 cm in a checkerboard pattern. Too frequent planting due to lack of air circulation is fraught with the development of the most dangerous disease - powdery mildew.
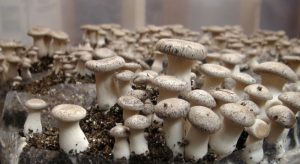 Read also: Growing mushrooms at home - instructions for beginners: a description using the example of oyster mushrooms, champignons, mycelium. The subtleties of this business (Photo & Video) + Reviews
 Growing seedlings of cabbage
The timing of sowing cabbage depends not only on the region, but also on the plant variety. The vegetative period of late-ripening varieties, such as Moskovskaya, Amager, Kolobok, Sugar Loaf, is considerable and is 160 days, so they are planted at the end of February. Mid-season varieties ripen for about 100 days. Vegetation of early ripe varieties up to 80 days.
Seedlings of mid-season and early-ripening varieties are best planted immediately outside in a small greenhouse. After all, the home microclimate - lack of moisture and temperatures above 16-20 ° C cabbage does not tolerate well.
When growing late-ripening varieties for seedling pots, you need to choose the coolest place in the house. On the window next to the batteries, it will be stunted; you will not get large tight heads of cabbage from it. If possible, it is better to take seedlings to a balcony or unheated veranda.
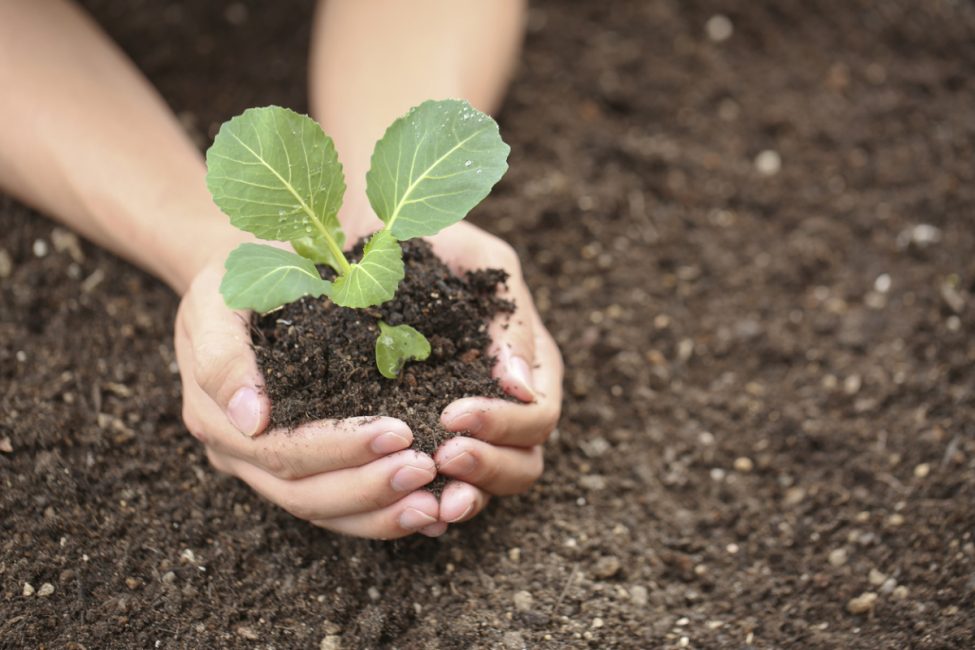
cabbage seedling
Seeds are planted in grooves 2 cm deep at a distance of 4-5 cm from each other. If they are located more often, after the appearance of the first leaves, the plants are thinned out. Before the seedlings hatch (this happens on the 5-7th day), the containers with the earth are covered with a film.
Plants do not dive, and after the appearance of 3-4 leaves they are transferred to open ground. Cabbage calmly tolerates a cold snap to -5 ° C, therefore it is planted in open ground already in May-June, and under a film even at the end of April.
 Read also: Cabbage: types (white, Savoy, broccoli, Brussels sprouts), description of the 33 best varieties, features of agricultural technology (Photo & Video) + Reviews
 eggplant seedling
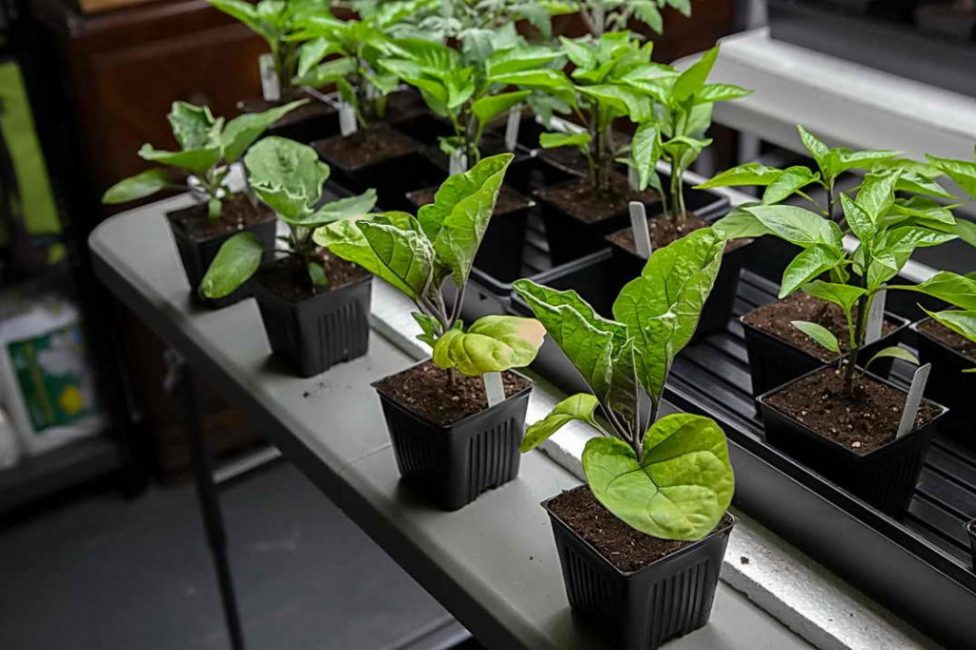
eggplant seedling
- This southern plant requires light, moisture-intensive, well-fertilized soil - a mixture of humus, sawdust, peat (2: 0.5: 1) with the addition of sand
- Seeds are planted into the soil at once, several pieces in one hole to a depth of 1.5-2 cm at a distance of 2-3 cm
- After the appearance of sprouts, the strongest of them are left
- A pick is carried out only as a last resort - eggplants do not tolerate it well
- The growing season of eggplants is 130-160 days, so they must be sown for seedlings in February
- They are transferred to greenhouses in May-June. Even experienced gardeners often shrug
- No matter how they take care of the seedlings, they develop very poorly or even stop growing.
There may be several reasons:
- lack of minerals: eggplants are very demanding on the soil; seedlings will develop well only on well-fertilized soil
- stunting is possible even with a lack of light
- excess moisture and, as a result, damage to the root system
- cramped container: if you pull the plant out of the pot and find that the roots are turning brown (the first sign of lack of soil), transplant the seedlings into a larger container.
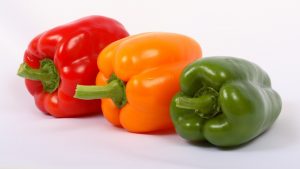 Read also: Sweet bell pepper: description and characteristics of the 19 best varieties by ripening time (Photo & Video) + Reviews
 strawberry seedling
This berry can be planted on seedlings from self-collected or store-bought seeds. To get strong sprouts, this must be done in February. To do this, prepare loose soil from a mixture of humus, wood ash and garden soil (proportions 3: 0.5: 3).
You can simply mix humus with sand 5: 3. Decontaminated seeds are laid out with a toothpick at intervals of 3-4 cm and, without falling asleep with earth (they germinate only in the light), immediately cover the container with a film.
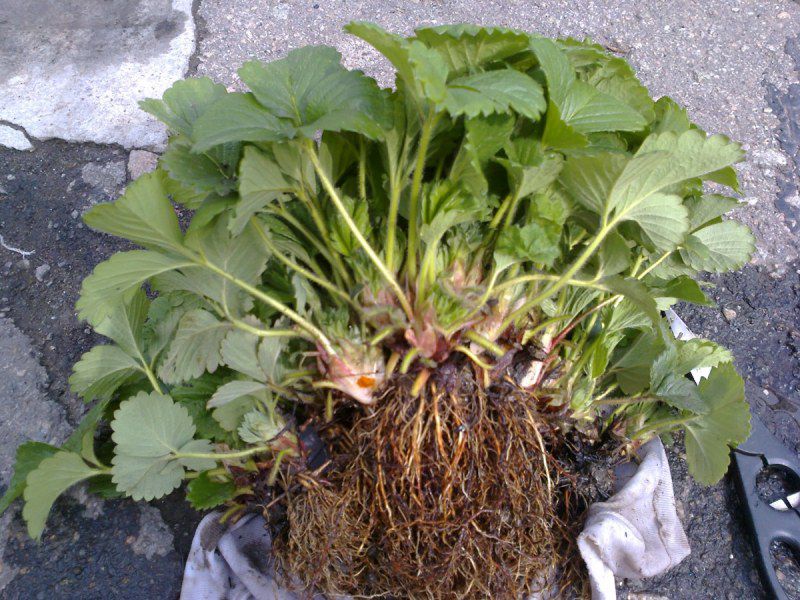
The root system of strawberries must be well developed before planting.
You can also use peat pots - picking in this case is no longer required.You will have to wait for the entrances for a long time - 2-3 weeks. Plants are gradually accustomed to lowering the temperature, briefly removing the film (first for an hour, then for two, etc.), only after the appearance of true leaves.
Plants dive when 3-4 toothed (true) leaves appear. If strawberries develop rapidly, transplanting into large containers can be repeated. to a permanent position in priming it is transferred when the soil temperature reaches 12 ° C in May-June.
petunia seedling
To obtain profusely flowering plants, planting of these flowers should begin as early as February-March (planting dates depend on the specific region). The soil for them should be sufficiently nutritious and loose - you can use both special soil that is sold in the store, and a mixture of earth, humus, sand and peat.
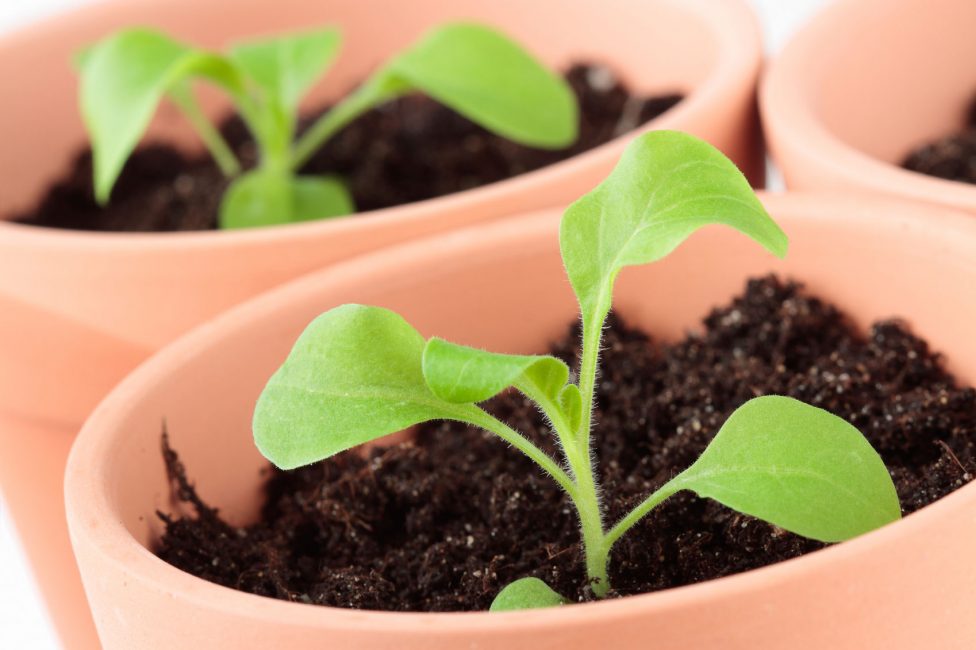
petunia seedling
Small petunia seeds do not fall asleep with earth - heavy soil will not allow them to sprout. Therefore, when landing, snow is used. It is scattered over the surface, and the seeds are carefully laid out on top with a toothpick. When the snow melts, it will “pull” them into the ground.
So that the earth does not dry out, and the seed coat gets wet and dissolves well, the container is immediately covered with plastic wrap. It should not be removed abruptly in one day. After the appearance of real leaves, the film is pushed back daily, first for half an hour, then an hour, etc. Petunia is transferred to open ground after the establishment of warm weather. In central Russia, this time falls in May - early June.
Seedling lamps
When planting late-ripening plant varieties in February-March, when the sun is still not enough, or when growing seedlings on windows facing the shady side, mandatory lighting is required. Otherwise, the plants will be pulled over, will be stunted, which will affect their future productivity.

LED phytolamp
Ordinary incandescent lamps are not suitable - for these purposes it is necessary to acquire fluorescent ones. At a distance of about 1 m from the light source, about 150 watts are required per square meter. For illumination, you can also purchase a special phytolamp with blue and red light waves, the most important for plant growth.

How to make a grow light bulb
With your own hands