
It's no secret that plastic gears are increasingly replacing metal counterparts in household appliances, cars, medical and industrial equipment, and more. But they have one drawback - they are less durable than metal counterparts. What to do if a gear in a car or household appliance has worn or broken teeth? You really don't want to spend money on a new one. Moreover, it is not always easy to find exactly such a detail. We will tell you how to extend the life of a plastic gear.
Content:
Content:
 Read also: The best hacksaw: choosing saws for wood and metal for household and professional work | TOP-10: Rating + Reviews
Work materials
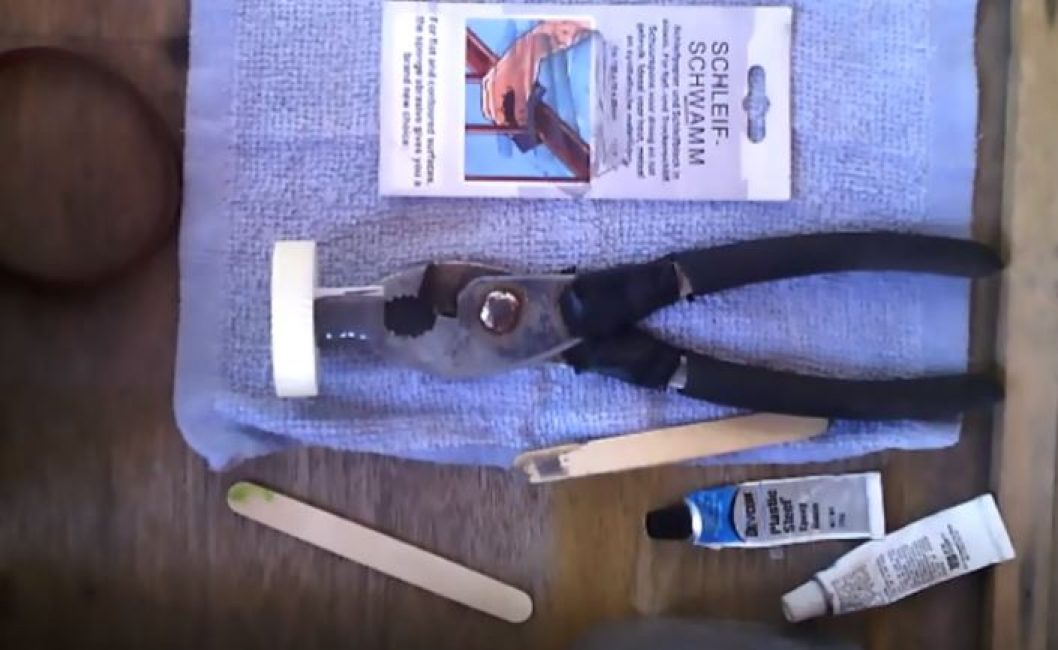
In order to restore the plastic gear, you will need:
- two-component epoxy adhesive for plastic;
- old toothbrush;
- degreaser;
- a container in which the gear can completely fit;
- cardboard and stick for mixing glue components;
- machine oil.
Step 1. Degrease the surface
Pour warm water into a small container and add fat solvent to it. Using a toothbrush, carefully wash the damaged gear so that the glue grabs better. Rinse under running water. Let the gear dry completely.

Step 2. Prepare the glue
We squeeze out the required amount of glue from one and then from the other tube in the proportions indicated in the instructions and mix the components with a stick. If you get liquid glue, then you need to give it time to thicken a little to the consistency of homemade sour cream. At the same time, it must remain plastic. Don't forget to stir it.
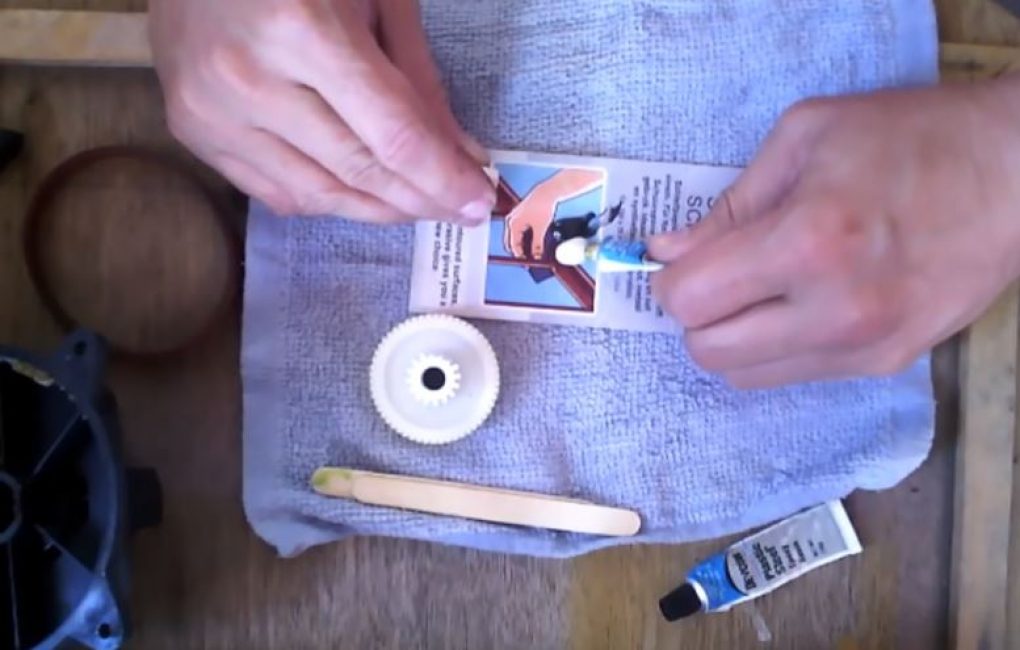
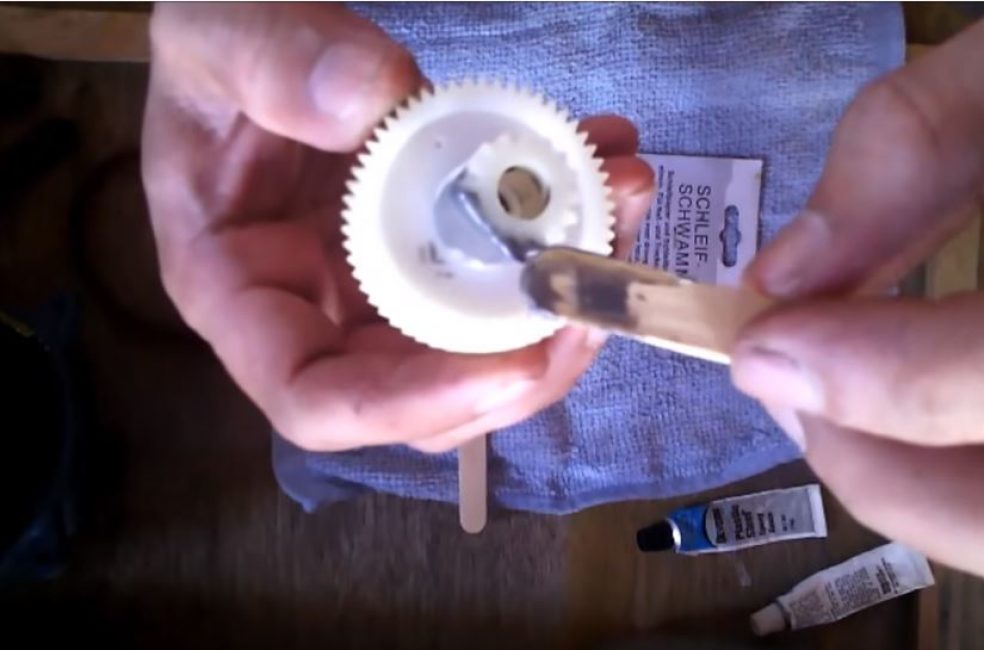
Step 3. Apply glue
When the glue reaches the desired consistency, apply it with a stick to the damaged part of the gear.
We make sure that all damaged parts of the gear are well processed.
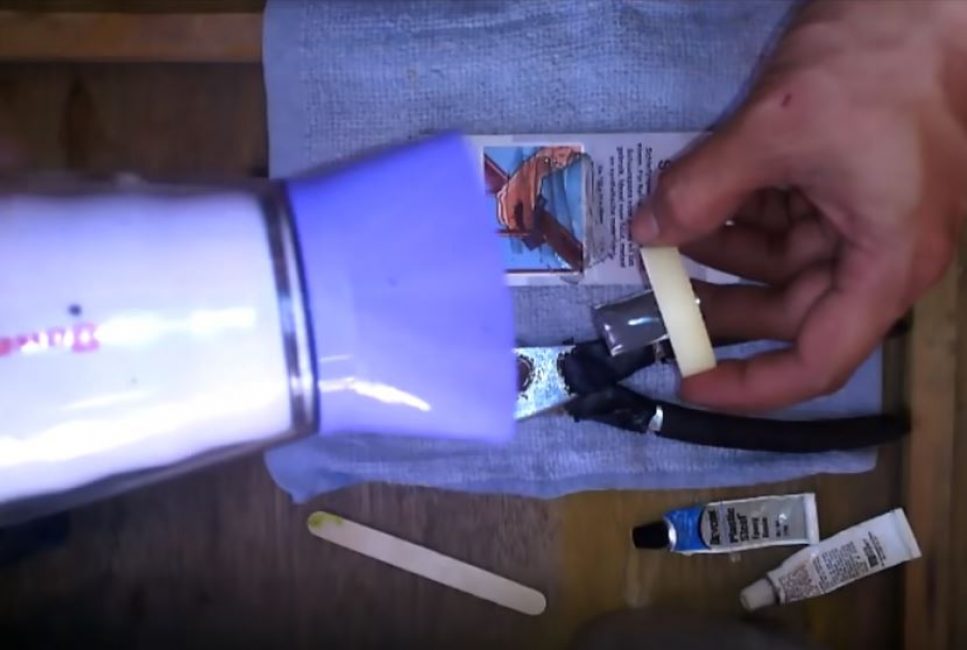
Step 4 Let the glue dry
To do this, we put the gear so that the surface treated with glue is on top and does not come into contact with anything. You can put something under the bottom part so that the gear remains in a fixed position.
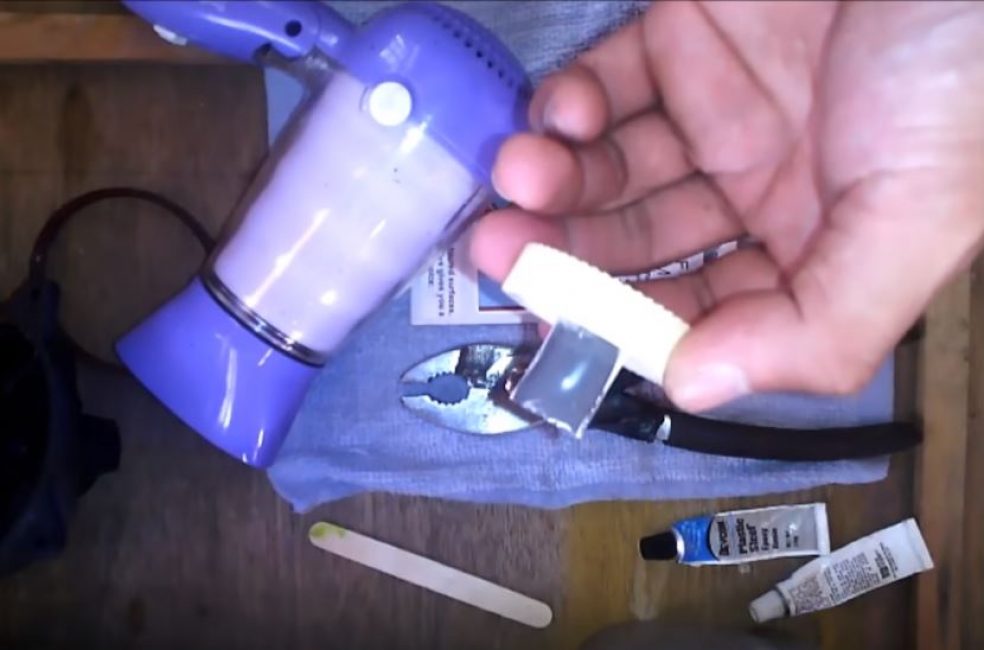
To speed up the drying process of the glue, you can use the usual household or building hair dryer.
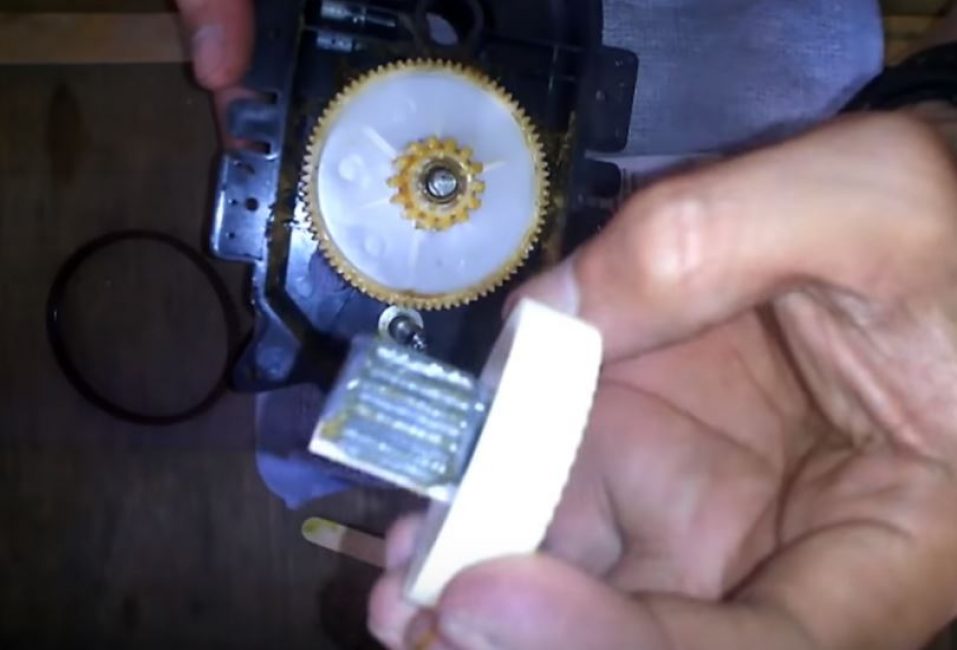
As a result, we received a workpiece from which we will restore the damaged section of the gear.
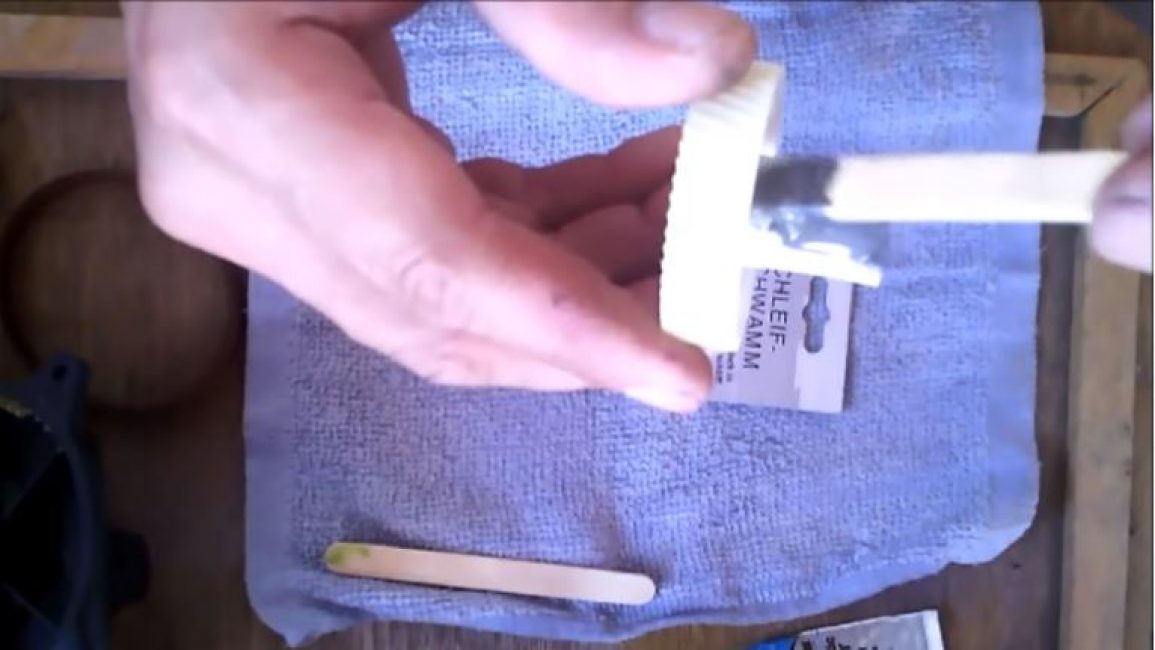
Step 5: Shaping the Gear Teeth
We take a part of the mechanism in which the damaged gear was used. We process the gear, with which the broken part came into contact during work, with machine oil or grease.
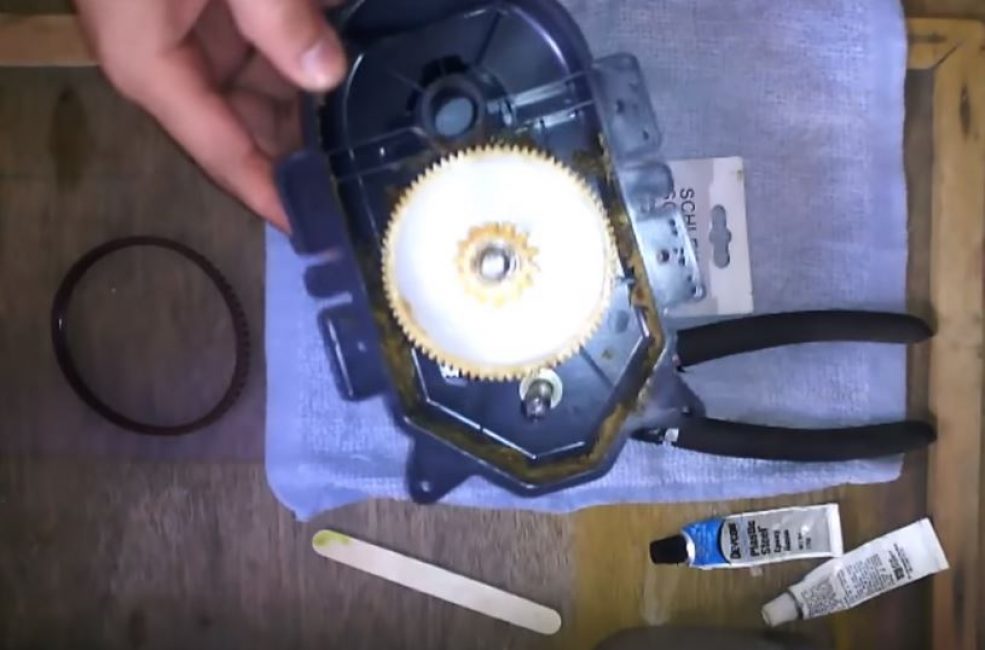
We put the damaged gear in its original place.
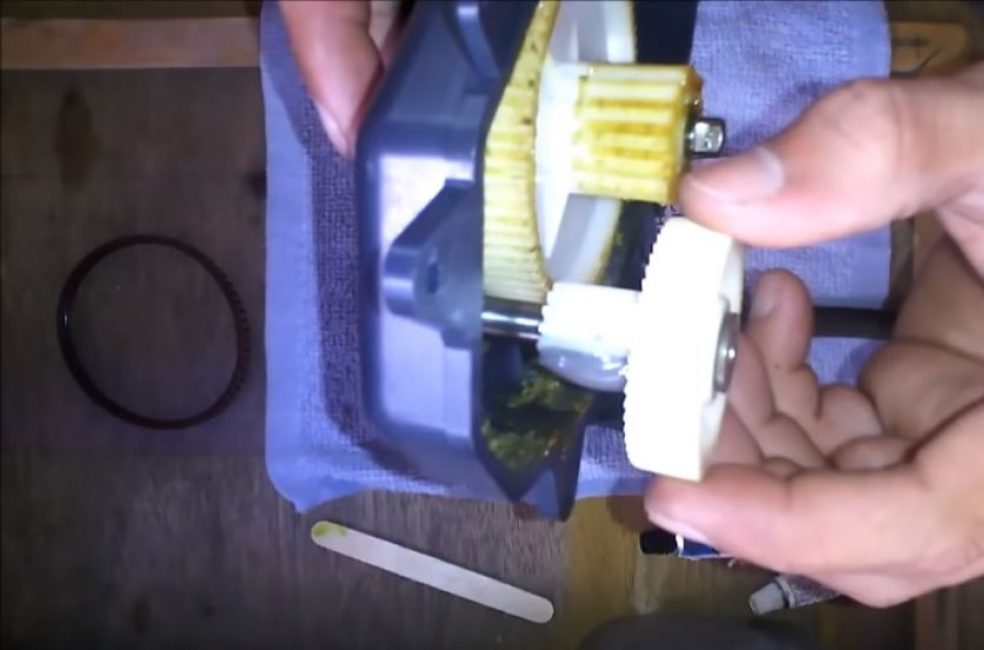
Rotating the workpiece around the axis in one direction or the other, we roll it along the gear treated with oil, thereby forming teeth.
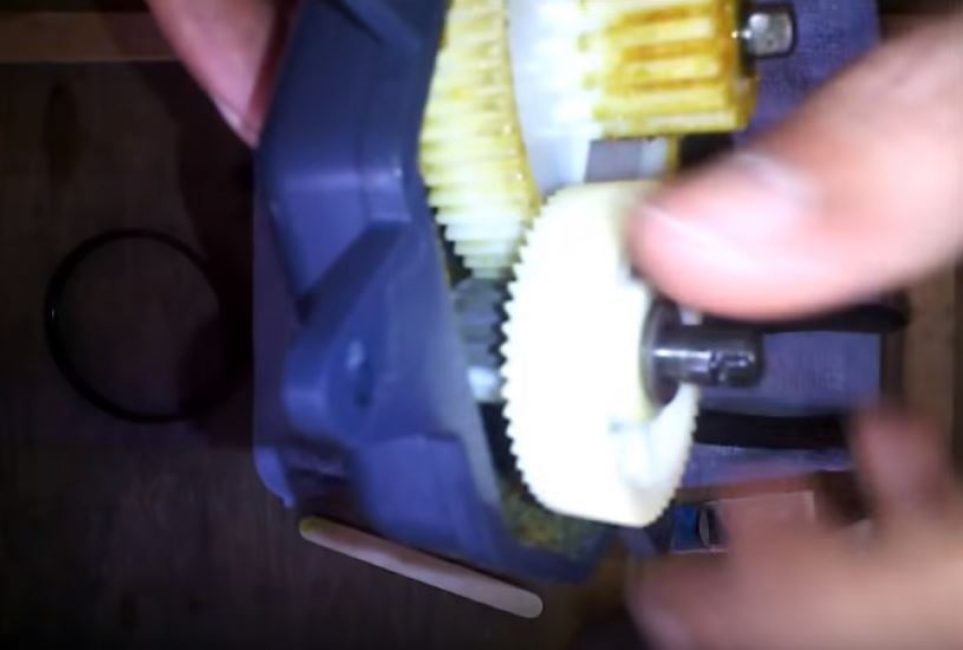
The result is a complete gear.
VIDEO: An easy way to restore a plastic gear

An easy way to restore a plastic gear
How to restore a plastic gear ⚙️ with your own hands: a simple but effective way


