
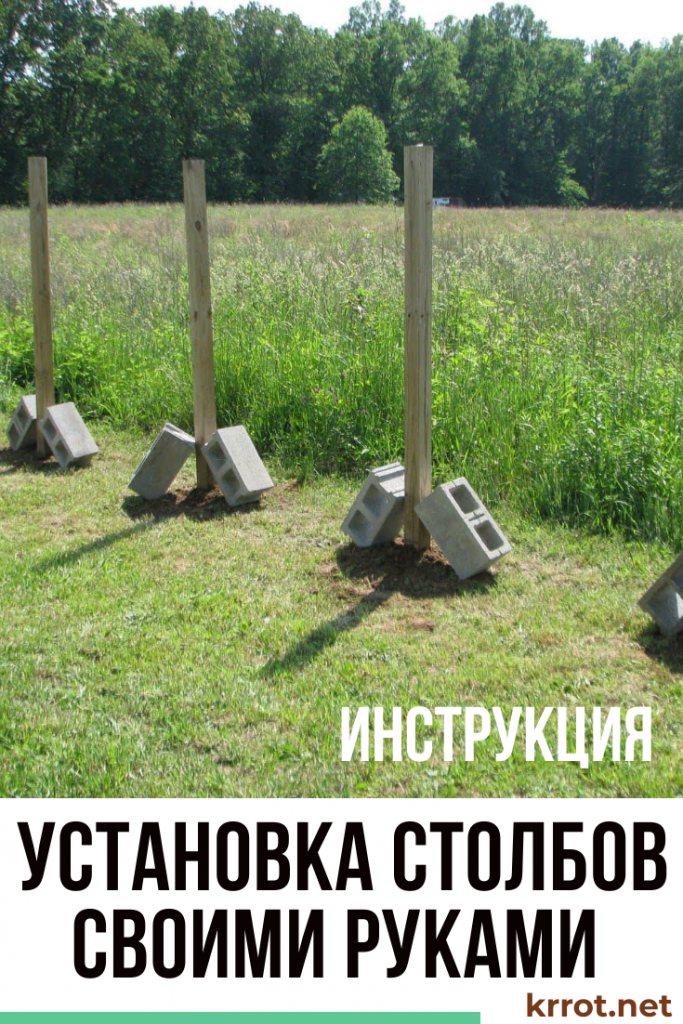
Are you planning to demarcate your summer cottage with your neighbor's? Do not want to invest a lot of money and your time? Need a quality result? There is a way out - a simple and quick installation of pillars with your own hands with minimal investment.
There is no need to order concrete, no need to hire specialists. It is only necessary to mark, drill and fill the pillars in a “cunning” way, which we will discuss below.
Content:
 Read also: How to make a beautiful and inexpensive fence in the country with your own hands: wood, metal and polycarbonate | (70+ Photos & Videos) + Reviews
Stage number 1 - preparation
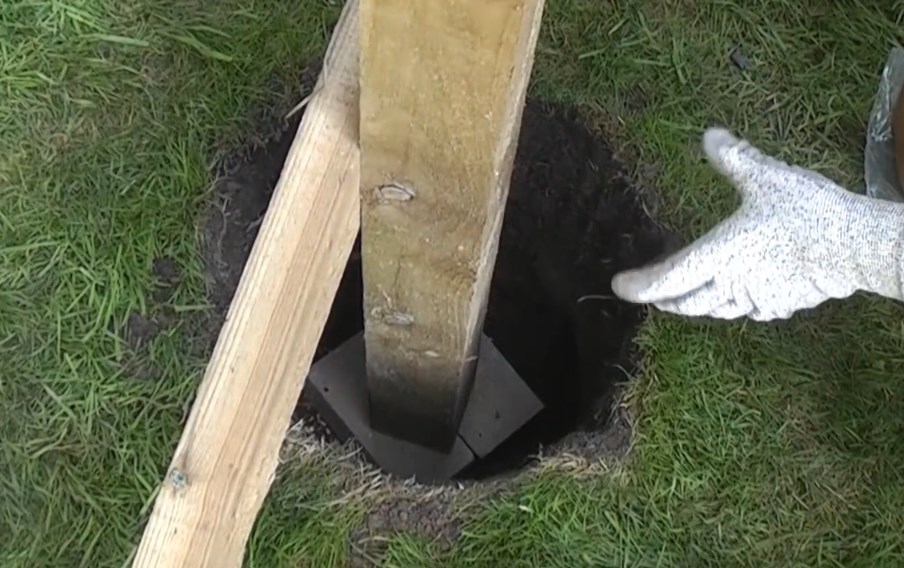
There are two bricks at the bottom of the pit, and a post on them.
First you need to mark the location of the installed pillars and drill. The depth of the pits should not be less than the level of soil freezing in your region - in central Russia it is 1-1.3 m. And do not forget to purchase the required amount of dry cement mixture.
At the bottom of a dug hole or a drilled hole, one or two bricks are placed to support the pillar.
 Read also: How to make a tapestry with your own hands? Original ideas and drawings (110+ Photos & Videos) + Reviews
 Stage number 2 - preliminary fixation
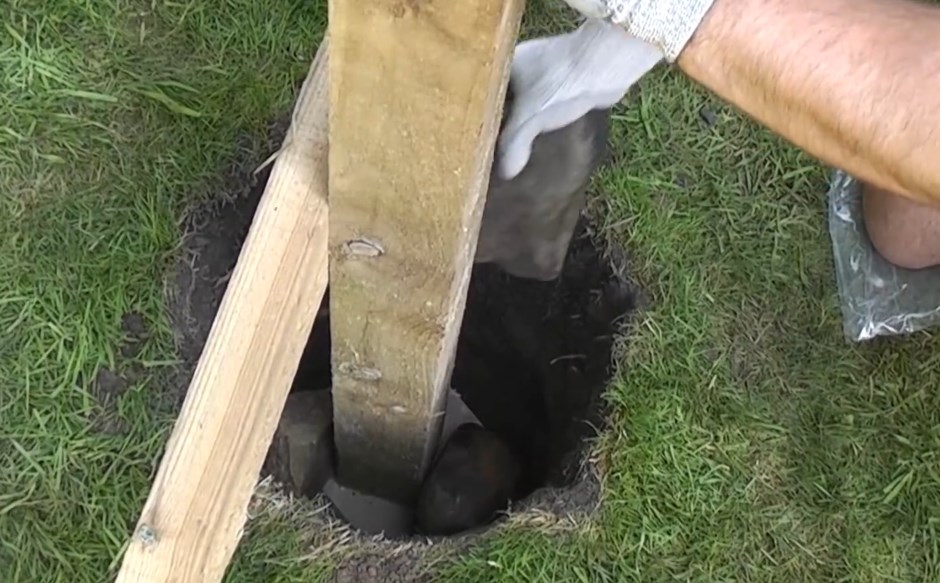
Post fixation
Fixing the pillar with fragments of brick or stone. This is done for the primary fixation of the column, as well as to reduce the consumption of sand-cement mixture.

Set the level using a level
Before pouring, you need to set the level.
 Read also: How to make a children's house with your own hands: from wood and other materials. Dimensional drawings | (80 Photo Ideas & Videos)
Stage number 3 - concreting the column
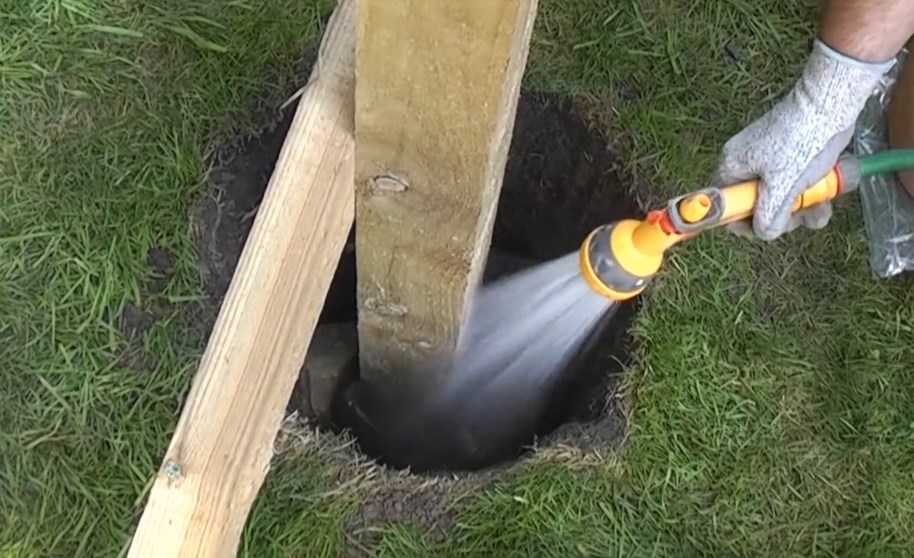
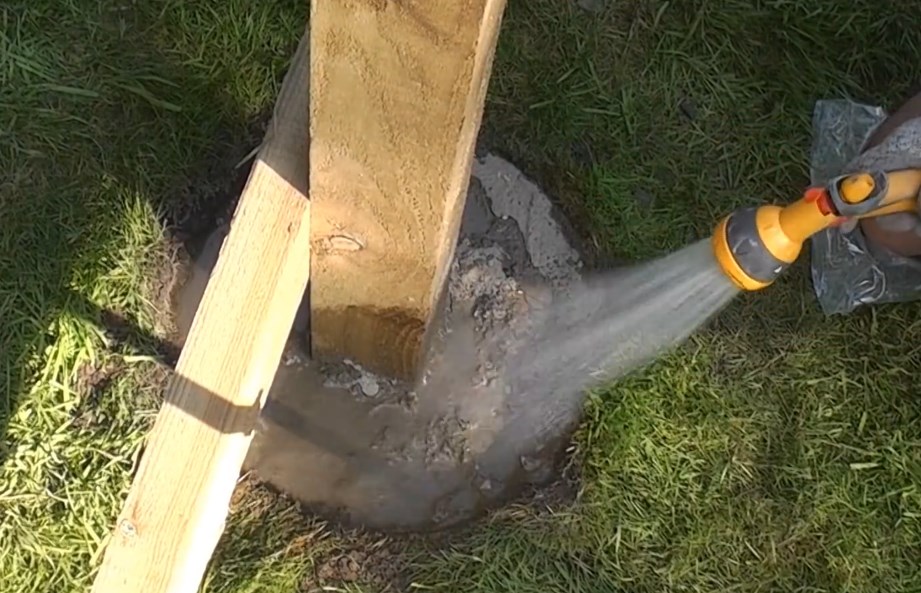
Pour a hole from a watering hose
We will divide this stage into several parts: pouring the well with water and backfilling with a cement-sand mixture. This will require access to water and cement mixture in bags, at the rate of 2-3 bags per well.
Well poured concrete pit.
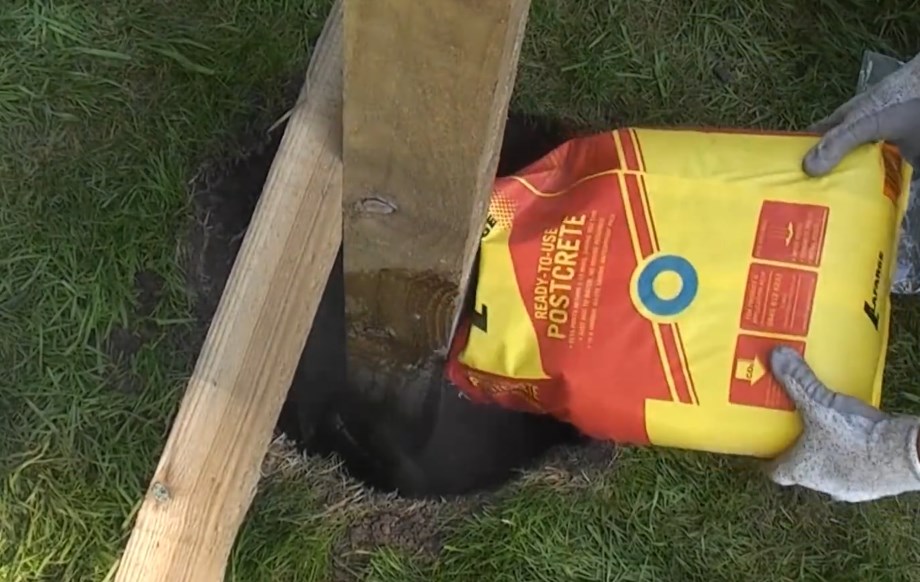
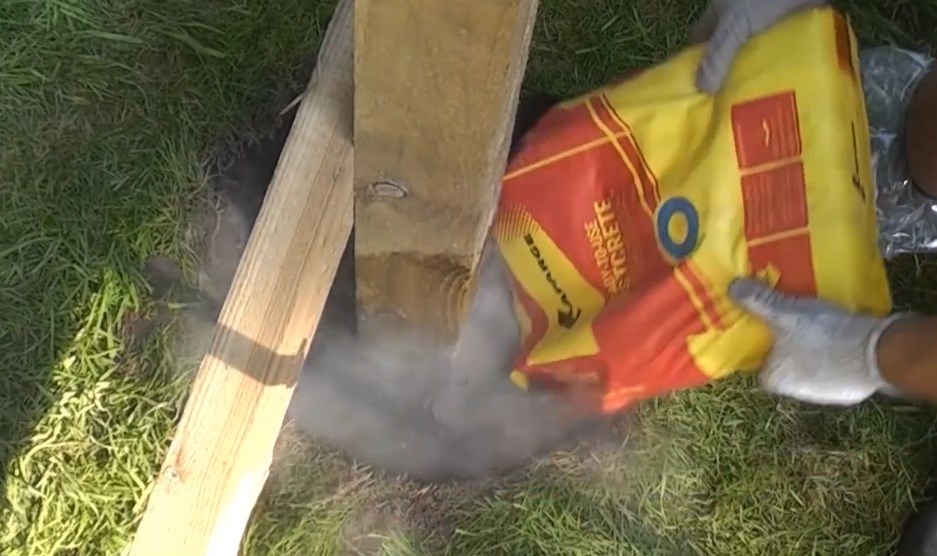
Pour dry mixture
Pour the mixture out of the bag. It will be dusty, so you should use a protective respiratory mask and goggles.

One bucket will be enough
Pour the poured dry mixture. If we use a bucket, then we pour water slowly.
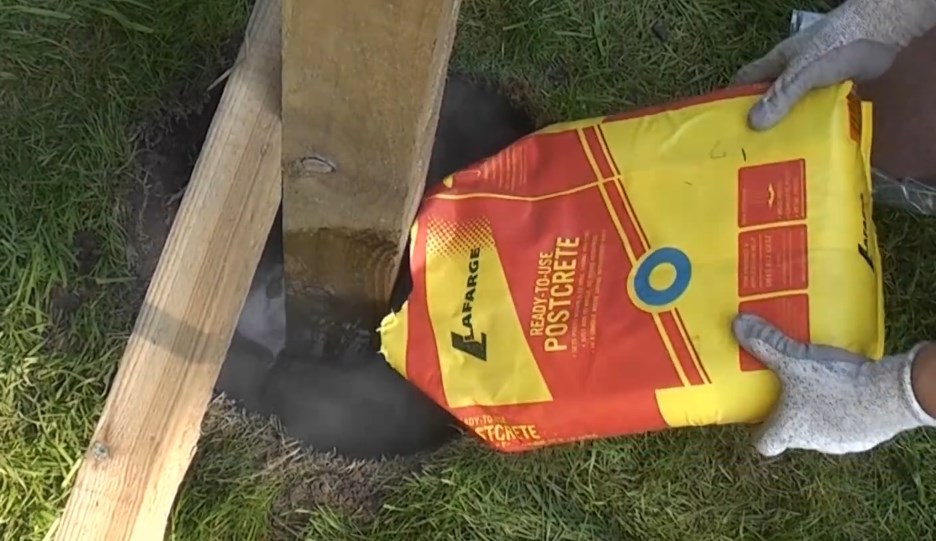
We fall asleep the second portion of cement with sand
Immediately pour out the second bag of dry cement mixture.
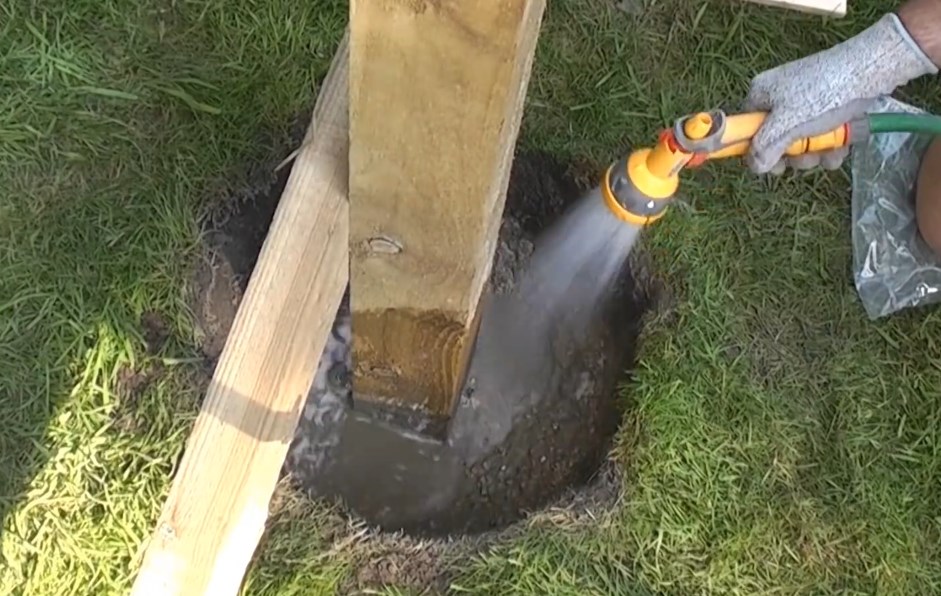
Don't forget to spill well
Pour and add a mixture of sand and cement until the entire hole is filled.
Repeat until the hole is completely filled up.
When we are equal to the upper level of the soil, we spill especially carefully. Water must be added in parts so that the mixture absorbs it properly.
Concreting is coming to an end
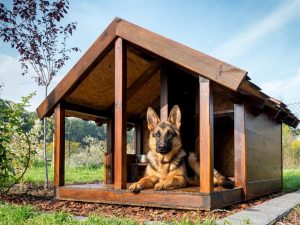 Read also: How to make a booth for a dog with your own hands: building a home in the yard and in the apartment. Drawings, dimensions and original ideas (55+ Photos & Videos) + Reviews
 Stage number 4 - checking the level and fixing the column
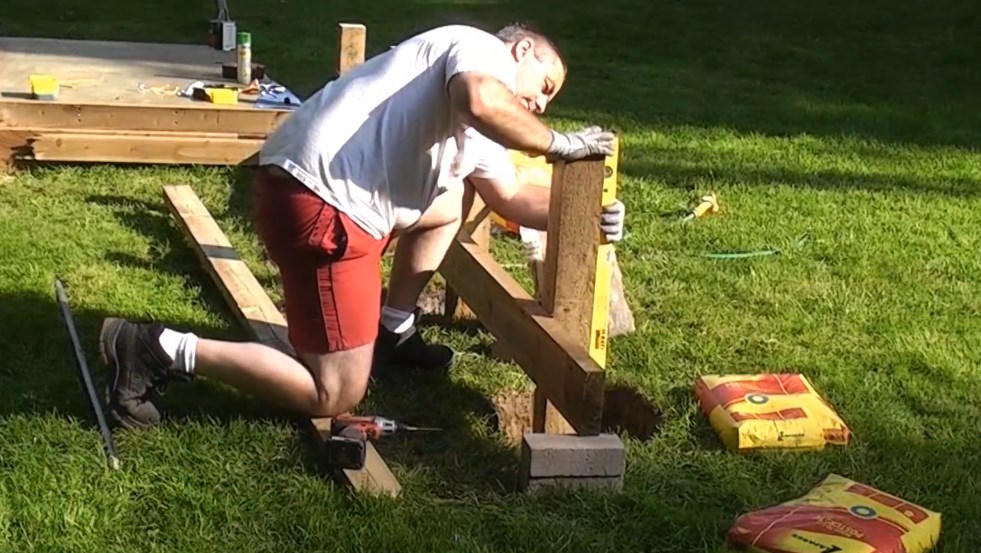
We set the level
During concreting, the pillar could have been taken to the side, so it needs to be checked. The vertical level is checked on two planes - the bubble level is applied to two adjacent planes. It's enough.
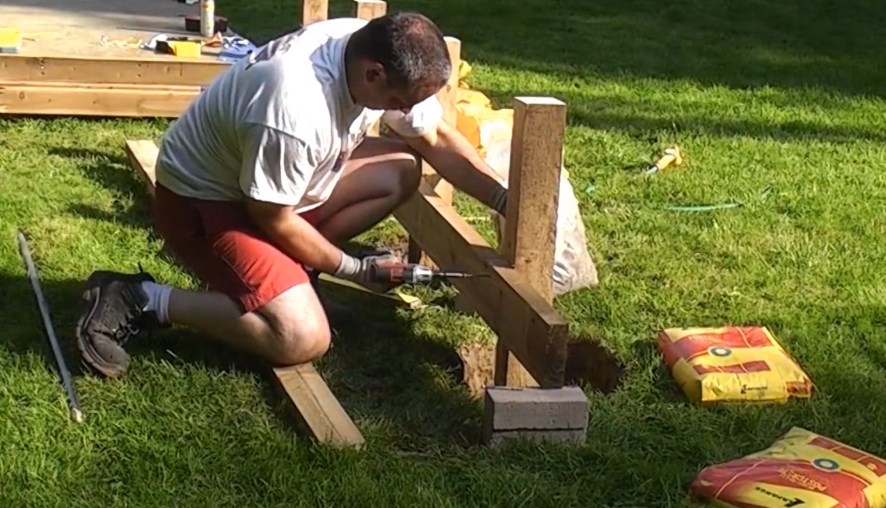
We fasten the crossbars
If it was planned to install crossbars for fencethen it's time to install them. This will further strengthen the structure during the “rising” of the foundation.
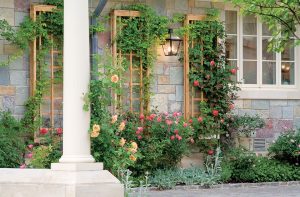
![[Instructions] How to make beautiful and unusual wall shelves with your own hands: for flowers, books, TV, kitchen or garage (100+ Photo Ideas & Videos) + Reviews](https://iherb.bedbugus.biz/wp-content/uploads/2018/05/19-6-300x213.jpg) Read also: [Instructions] How to make beautiful and unusual wall shelves with your own hands: for flowers, books, TV, kitchen or garage (100+ Photo Ideas & Videos) + Reviews
Read also: [Instructions] How to make beautiful and unusual wall shelves with your own hands: for flowers, books, TV, kitchen or garage (100+ Photo Ideas & Videos) + Reviews
Stage number 5 - formwork

We make formwork
The final action is the formation of formwork at the base of the concreted column. It is needed so that water does not accumulate near the pillar, and the latter does not rot.
To do this, you need to form a small elevation - this will be sufficient.
In conclusion, it should be noted that the quality of concreting is in no way inferior to its “raw” counterpart. It is also economically beneficial - by the way, the volume of the mixture can be significantly reduced by increasing the amount of broken bricks. Yes, and there is less trouble - there is no need to order concrete or make it yourself.
VIDEO: Do-it-yourself installation of poles

How to install decking posts
Do-it-yourself fence post installation: simple and reliable


