
Paving slabs are one of the most popular materials for paving paths in private areas. It has many advantages, the main of which are strength, durability, low cost and relative ease of installation.
Put on your lot paving slabs under the power of any person, even without experience in this matter. The whole process is quite simple and understandable. Even significant flaws and errors that may accompany styling are quite easily eliminated. The article discusses the main stages of laying paving slabs on a small area.
Content:
 Read also: How to make a patio in the country with your own hands: a variety of design options, decoration and arrangement (85+ Photo Ideas & Video)
Step #1 Preparing the substrate
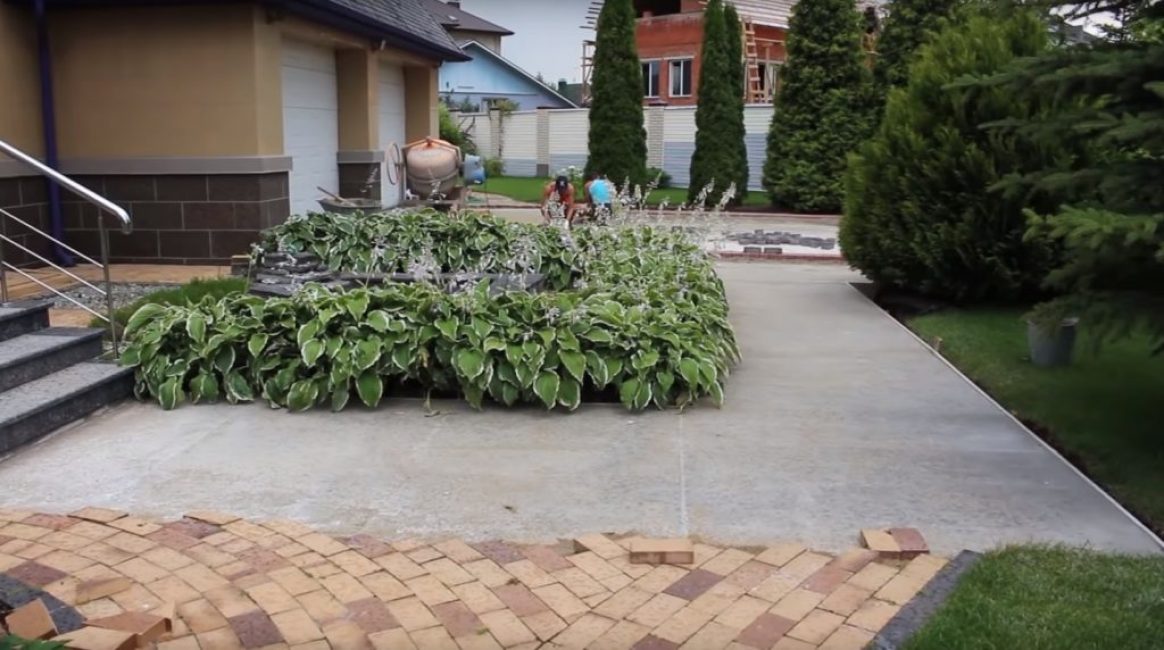
The area prepared for laying the tiles is fenced, covered with a horn and leveled with a rammer
Plots may have irregularities, and tiles imply a flat surface. Therefore, it must be laid on a layer of some material with which the surface of the site will be leveled. This material is called a backing or cushion.
The substrate can be:
- sand
- granular slag
- special composition - carving
The use of carving is more preferable. As it can be used either industrial or self-prepared mixture. The composition of the carving is very simple: 3 or 4 parts of sand (or granulated slag) and 1 part of cement grade 300 or 400.
The area that needs to be tiled should be enclosed with some formwork and covered with an even layer of carving. After that, the carving must be tamped with a special rammer. Alignment of the substrate layer is carried out using a level.

Action # 2 Setting the level (pegs)
Ropes indicating the level of laying tiles
The tile must be laid in one layer, and its height must be the same. To do this, it is necessary to mark the area with the help of level indicators, above which the tile elements should not protrude. Usually, such marking is carried out using a stretched rope.
There should be several ropes, but they should all be located in the same plane. Checking the correct tension of the ropes is carried out using a level.
![[Instruction] Do-it-yourself laminate on a wooden floor: a complete description of the process. Laying schemes, what materials should be used (Photo & Video) + Reviews](https://iherb.bedbugus.biz/wp-content/uploads/2018/05/laminat-300x200.jpg) Read also: [Instruction] Do-it-yourself laminate on a wooden floor: a complete description of the process. Laying schemes, what materials should be used (Photo & Video) + Reviews
Read also: [Instruction] Do-it-yourself laminate on a wooden floor: a complete description of the process. Laying schemes, what materials should be used (Photo & Video) + Reviews
Action number 3 Laying tiles along the boundaries of the site
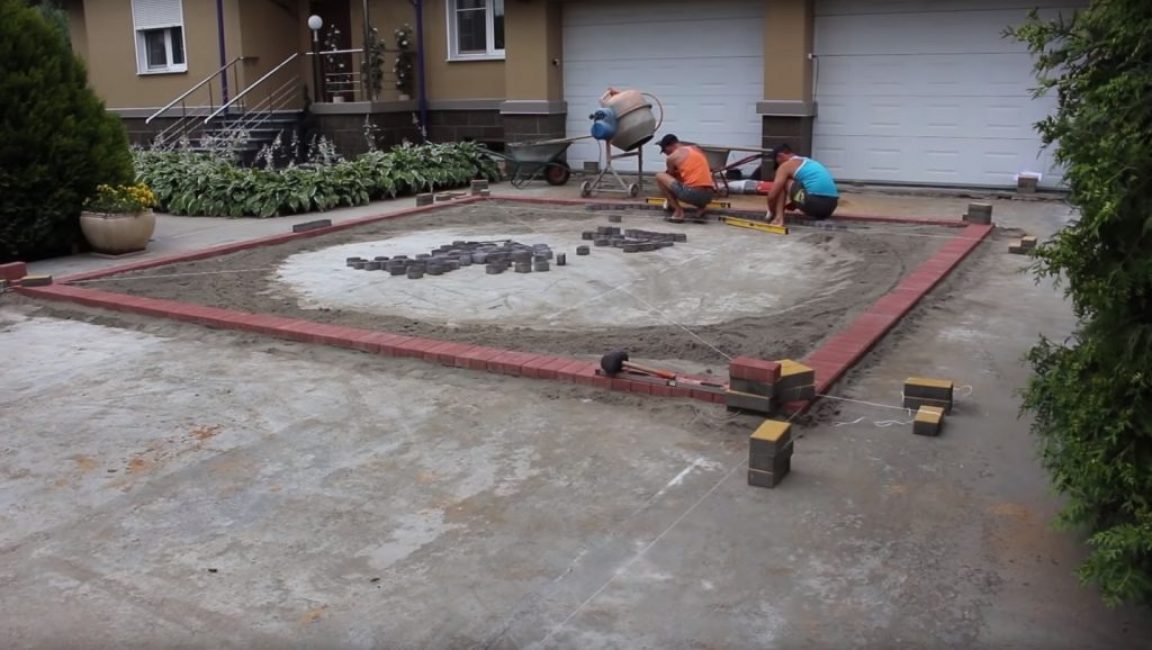
Laying out the perimeter of the site
Tiles are laid in parts. To do this, the entire area of \u200b\u200bthe site is divided into several smaller sections and they are filled one after the other, since it is easier to maintain a single level of tile laying.
First, a layer of tiles is laid around the perimeter of the site. Each tile is aligned with previously stretched ropes.
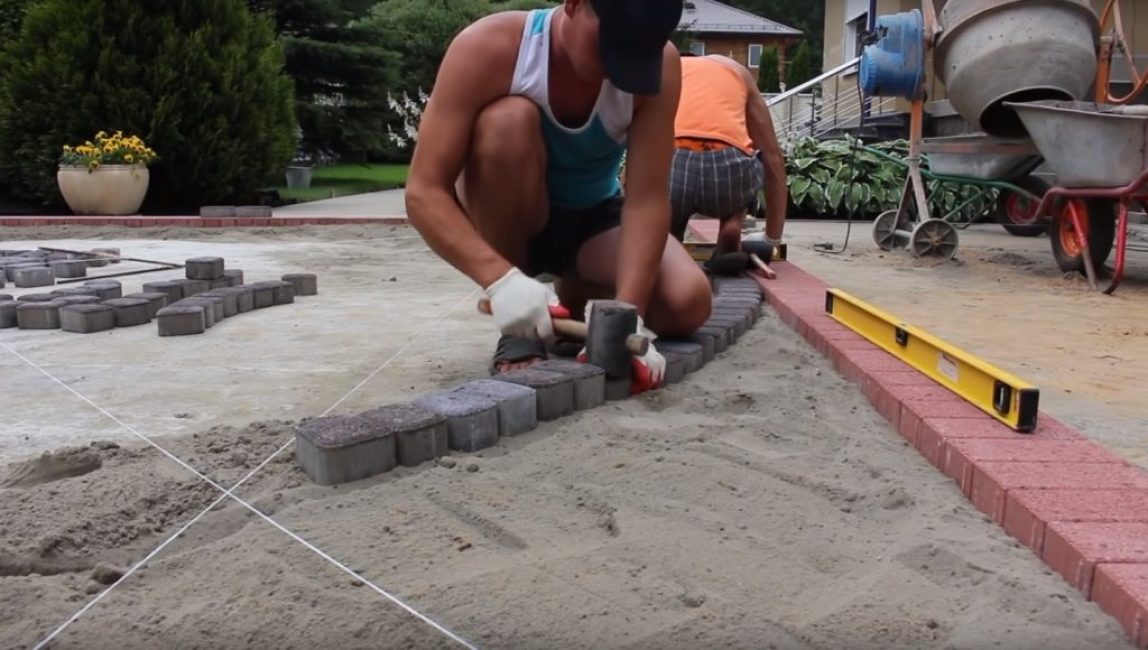
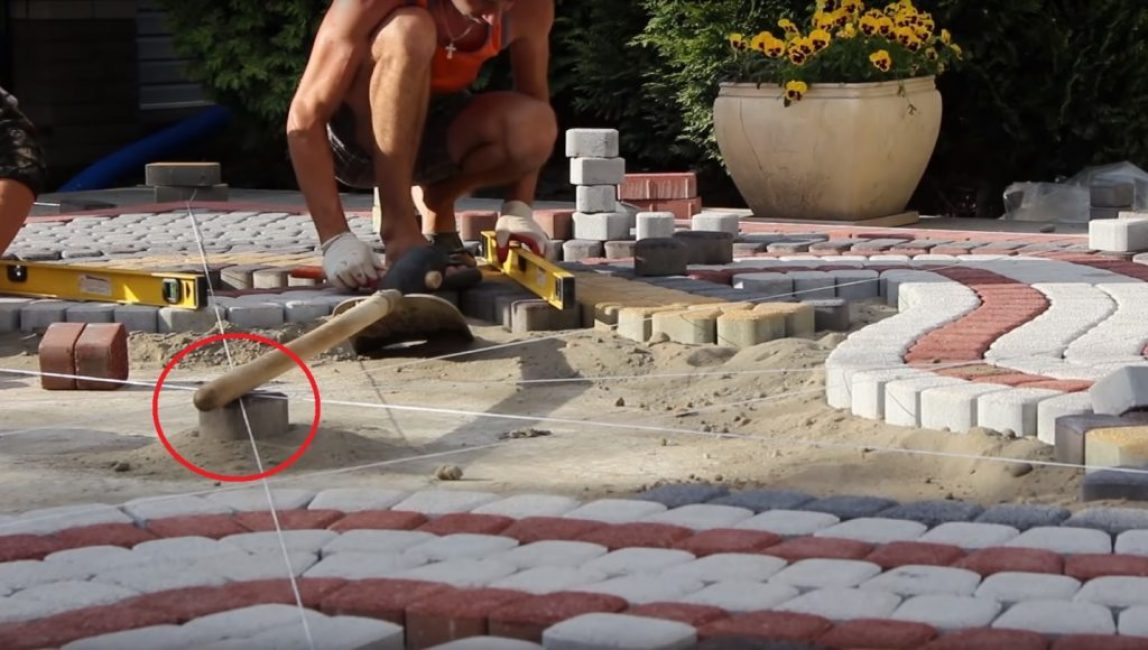
First, the tile is laid in its place and lightly rammed with a mallet to the height indicated by the rope
The tiling process itself is very simple. For this, a rubber mallet is used.
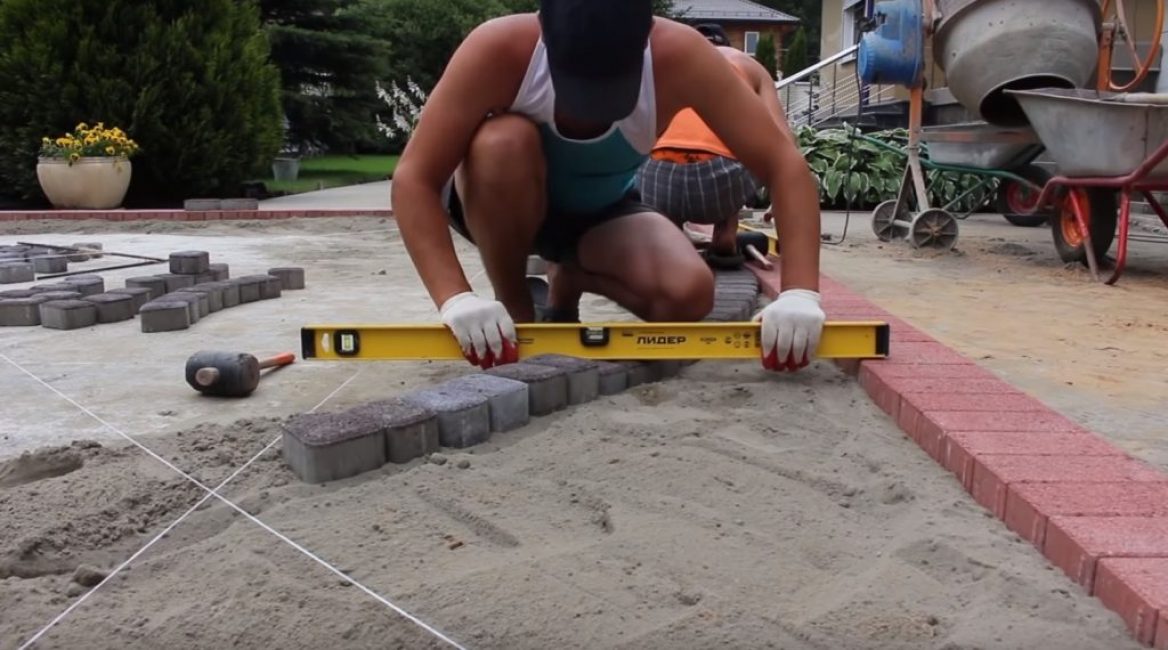
Then the final check of evenness of laying is carried out using the building level.
If the height of the tile does not match, it is additionally tamped and again checked by the building level.
 Read also: Do-it-yourself construction and arrangement of a summer kitchen in the country: projects, design, device, with barbecue and barbecue (60+ Photos & Videos) + Reviews
 Action #4 Filling in local areas
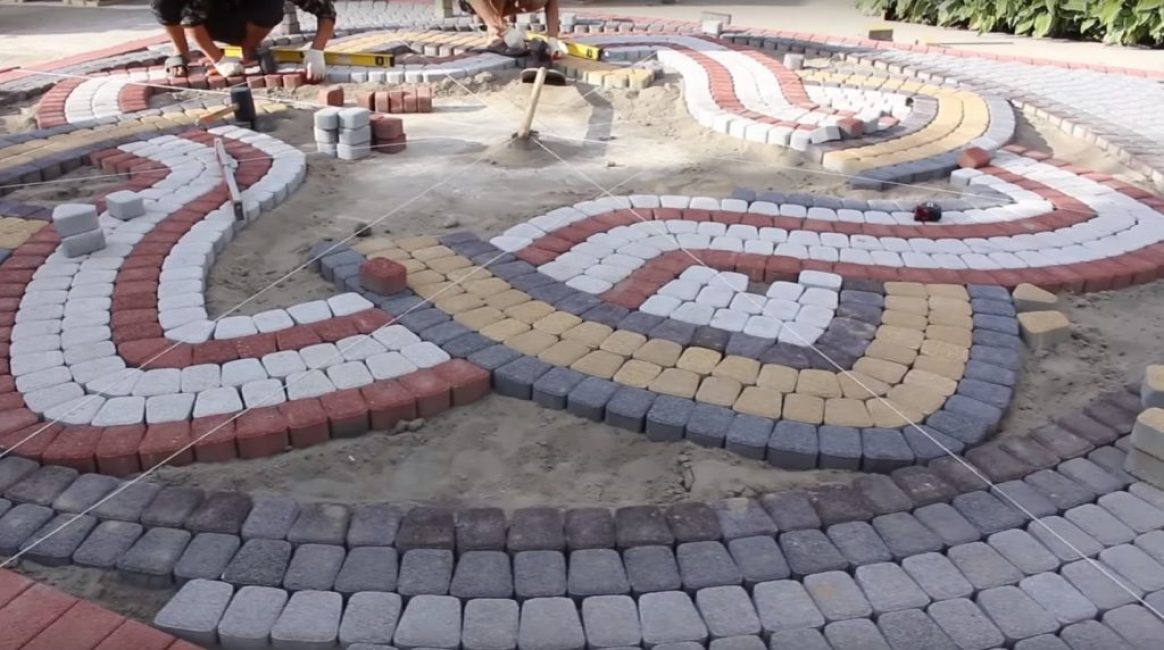
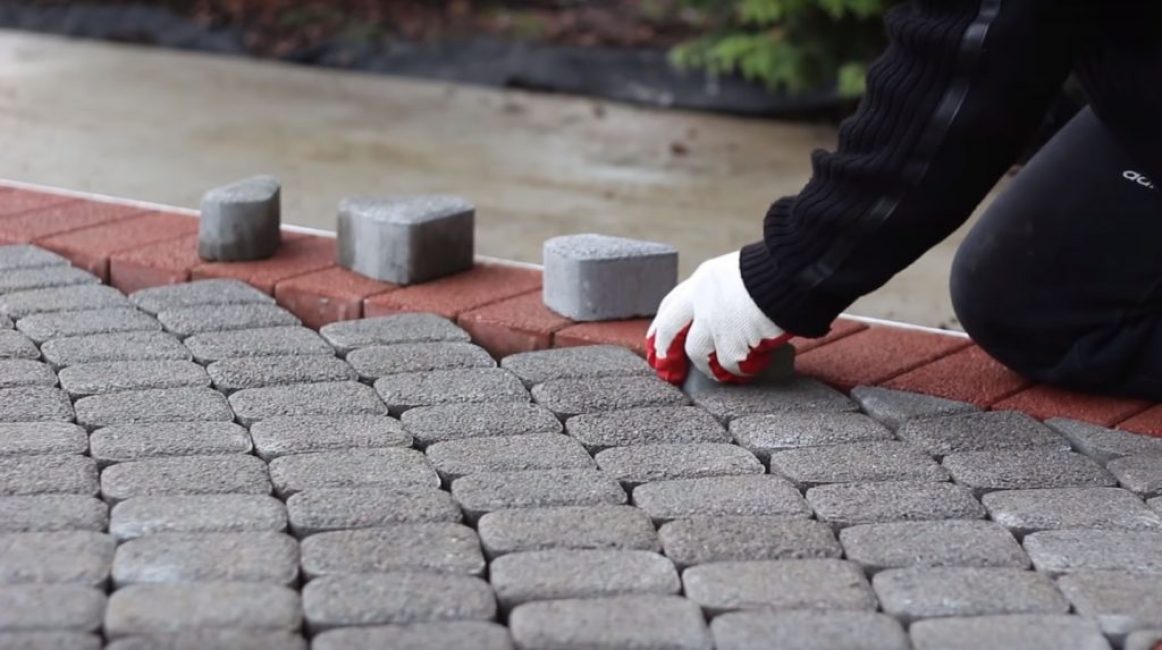
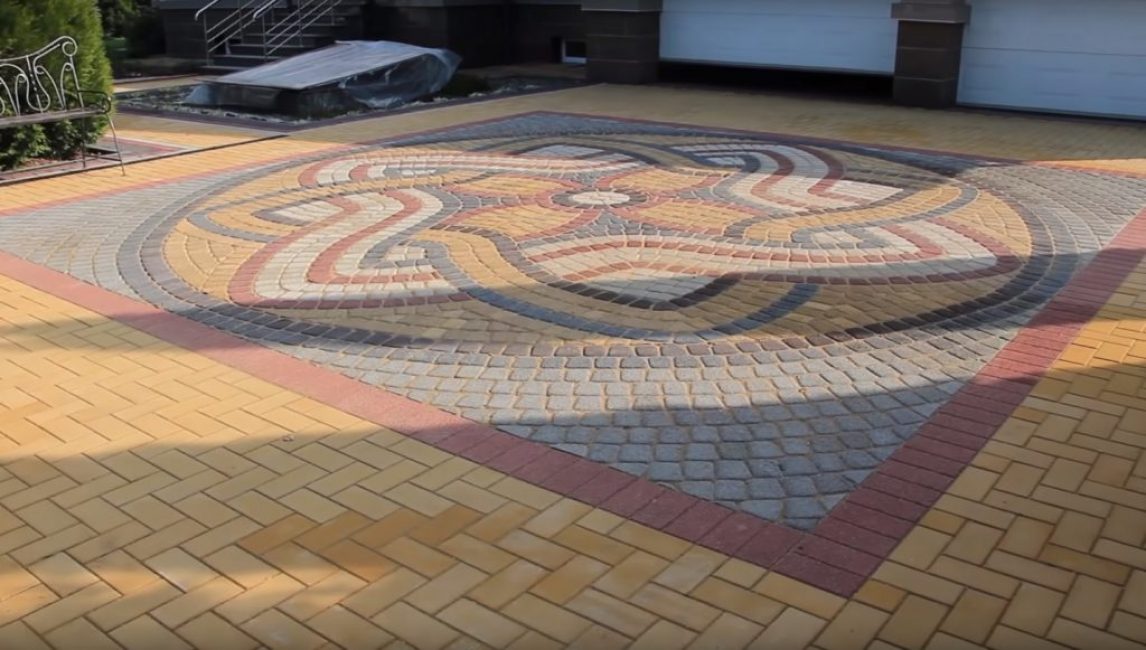
Filling in an area with a pattern
After the perimeter is laid, the space inside it is filled with tiles. If at the same time some kind of pattern is realized and tiles of different colors are used, then the area is filled either by the color of the tile or by the elements of the pattern - as it will be more convenient in a given situation.
The process of laying tiles is similar to that discussed earlier (preliminary tamping, level checking, final tamping).
 Read also: Making and laying paving slabs with your own hands: step-by-step instructions for dry and wet mix. Making a mold, vibrating table (Photo & Video) + Reviews
Action #5 Filling in irregularly shaped areas
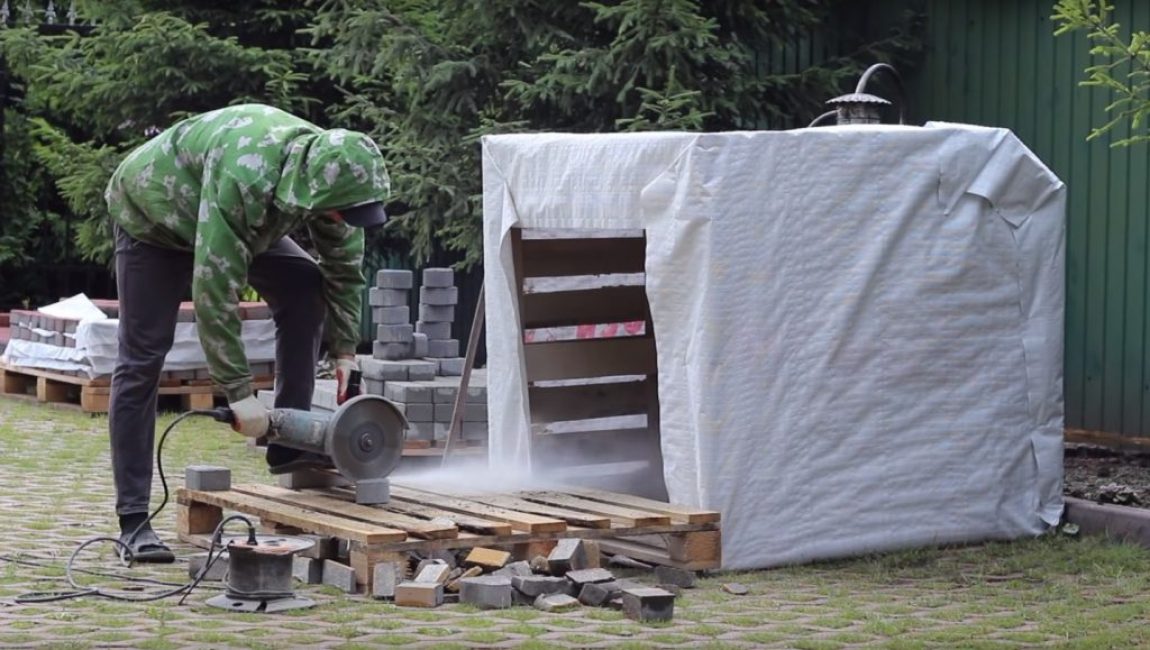
Cutting tiles is carried out using a grinder with circles for working on concrete
The tile has a rectangular or square shape. But, no matter how well the site is planned, it is not always possible to guess with the dimensions in order to put a whole number of rows of tiles into it. In addition, areas with complex patterns in any case will require filling with elements whose shape differs from the standard.
Filling small irregularly shaped areas will require cutting the tile into pieces capable of filling voids, formed for the above reasons. Usually, such situations arise either at the boundaries of the site, or in some complex compositions in patterns.
Filling small areas with cut tiles
Action #6 Plot boundaries
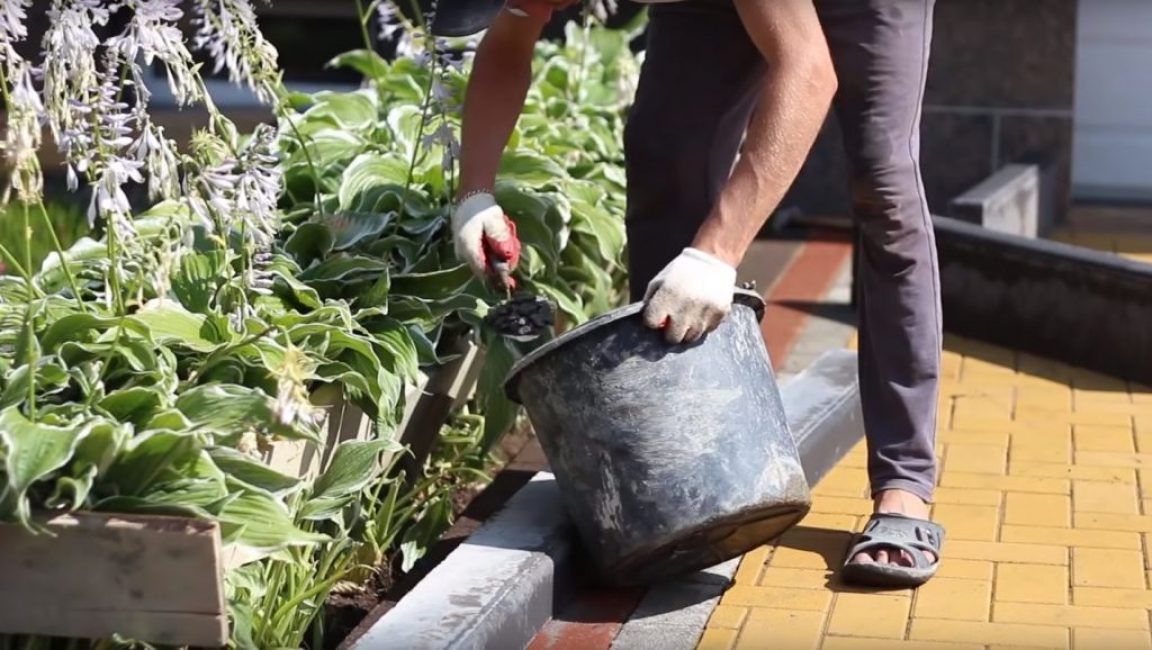
Laying rubble under the curb
Usually, the boundaries of the areas that are covered with tiles are trimmed with borders. Various types of stone can act as borders; borders made of the same material as tiles; brick, etc.
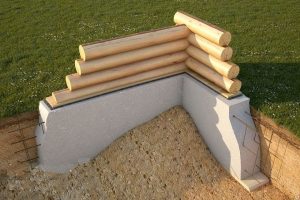
The border must be placed on a solid foundation, which is used as crushed stone, on which mortar is placed on top.
Also, concrete can be used as a substrate under the curb.
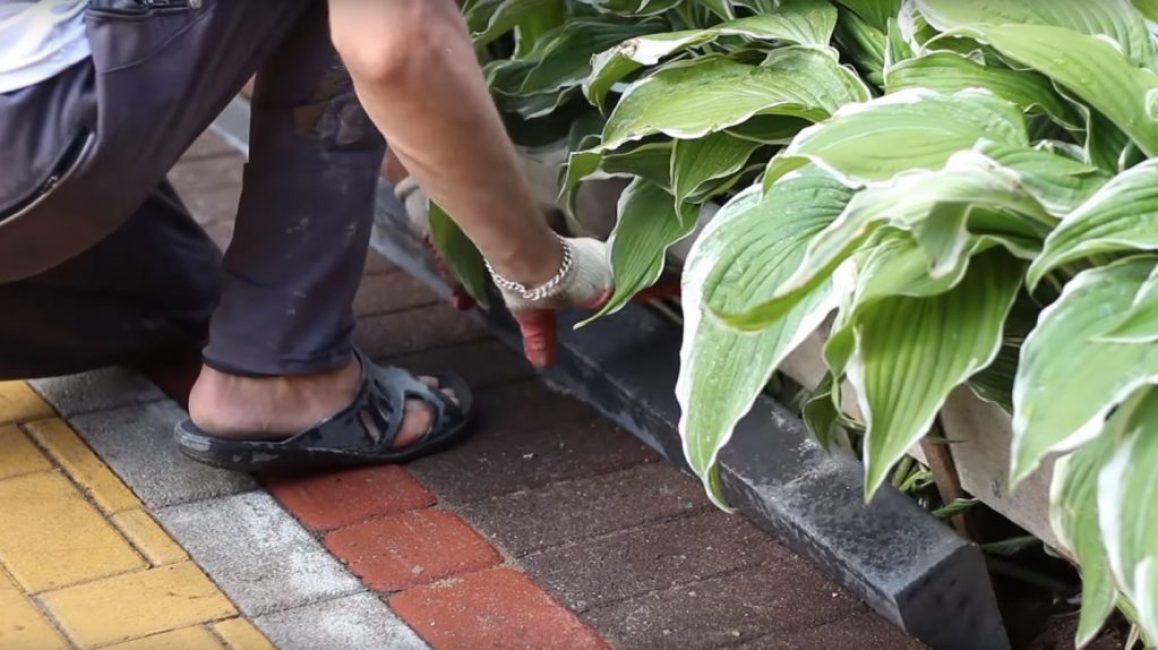
After the crushed stone with the mortar is laid, it is necessary to install a curb
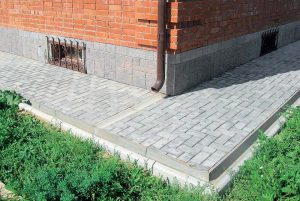
The height of the curb will be determined by its purpose. If it is a lawn limiter, it may be flush with the tile. If the footpath is laid with tiles, it is advisable to place the curb a little higher than the level of the tile.
 Read also: The blind area around the house: views, device, schematic drawings, instructions on how to do it yourself (30 Photos & Videos) + Reviews
 Action #7 Filling the seams
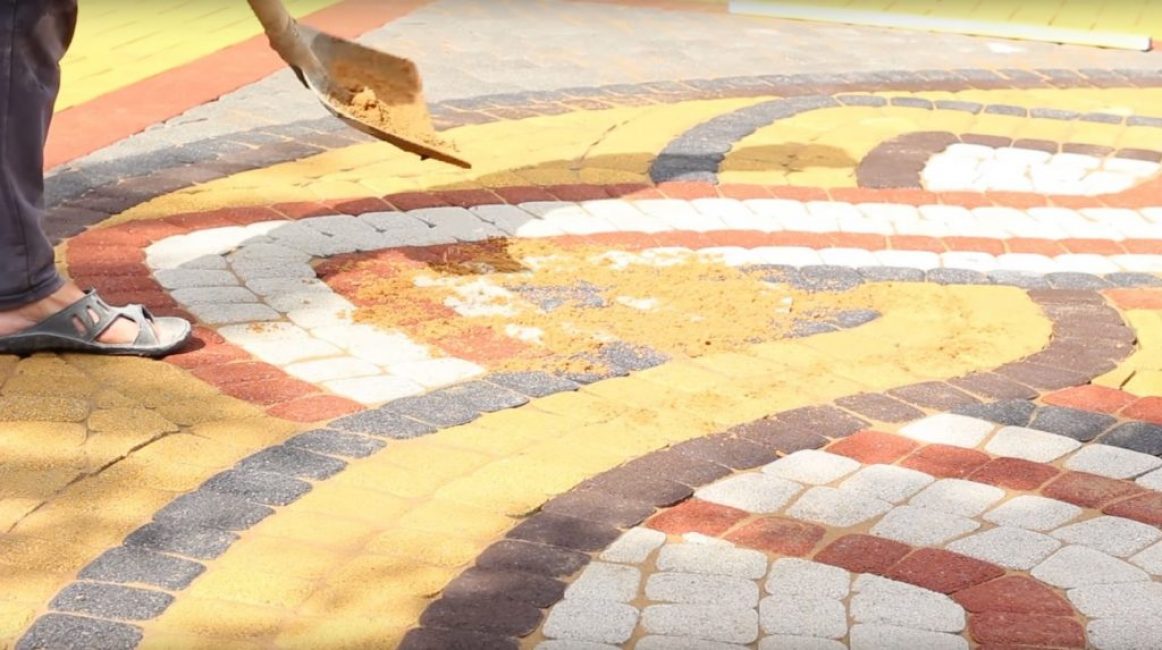
Sand is poured in a small layer on top of the laid tiles
The tiles are laid close to each other, however, irregularities in its manufacture still make themselves felt. To solve this problem, it is recommended to fill the voids between the tiles with some kind of filler. Most often, ordinary sand is used in this role.
Usually, sand consumption is 1-2 shovels per 1 sq. m.
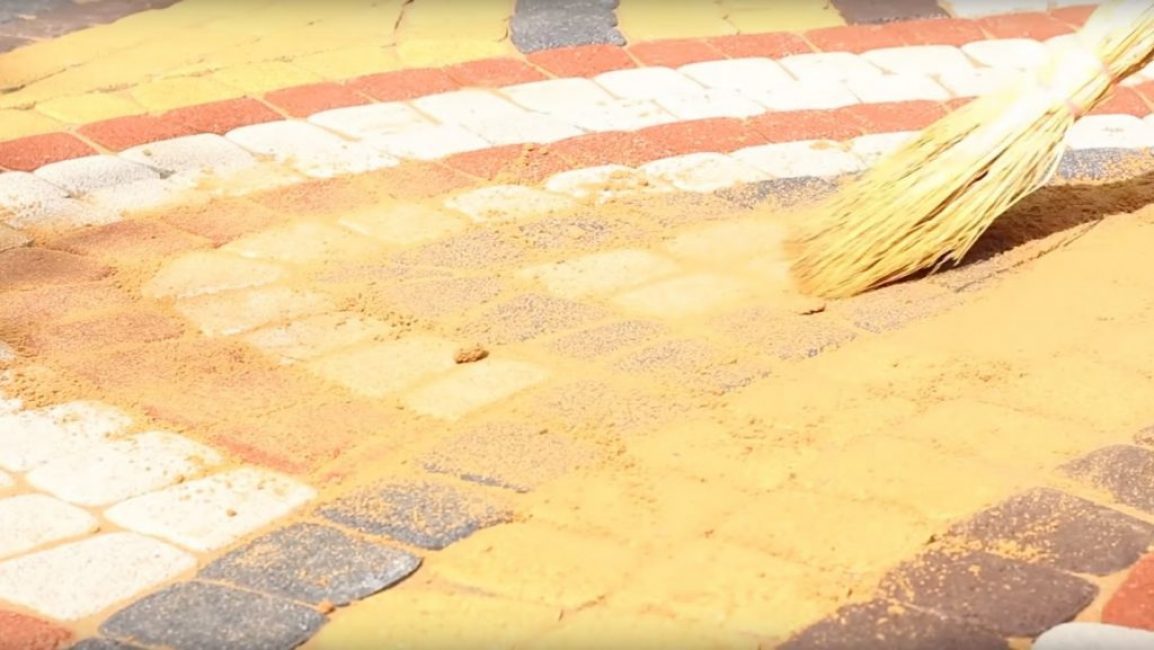
Next, the sand is evenly distributed over the surface using a conventional broom.
Sand fills all the voids in the seams, after which its excess is removed.
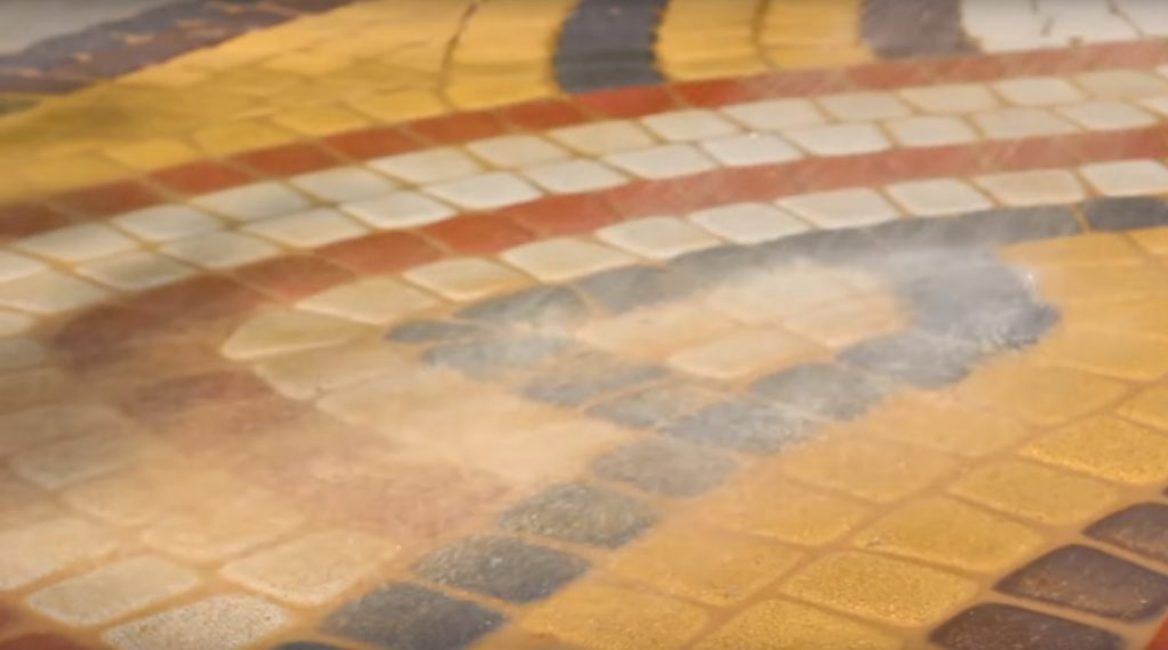
Removal is done with a water jet from a hose
At the same time, the sand sags a little, but its excess fills the seams to the very top.
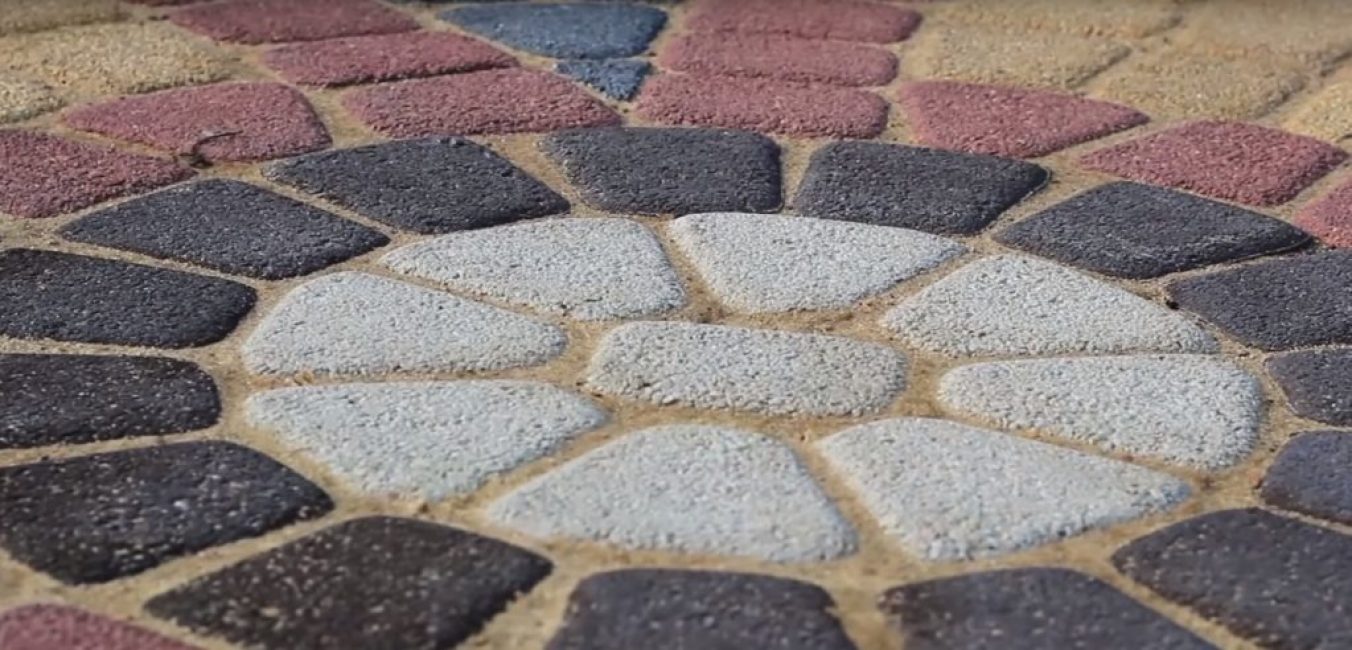
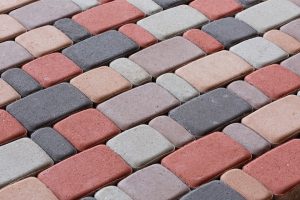
The result is something like this
If there is not enough sand to fill the seams, the procedure is repeated. On this, the process of laying paving slabs can be considered complete.
Exterior view of the tiled area
VIDEO: Laying paving slabs | Process
![7 Surprisingly Easy Steps to DIY Paving Slabs [Instructions]](data:image/gif;base64,R0lGODlhAQABAIAAAAAAAP///yH5BAEAAAAALAAAAAABAAEAAAIBRAA7)
Paving slab laying | Process
7 Surprisingly Easy Steps to DIY Paving Slabs [Instructions]
![7 Surprisingly Easy Steps to DIY Paving Slabs [Instructions]](https://iherb.bedbugus.biz/wp-content/uploads/thumbs_dir/Kak-sdelat-polku-dlya-knig-svoimi-rukami-obhzsmqmybpibjz3gdvrh2uyz2kglk2j66w987uybg.jpg)
![7 Surprisingly Easy Steps to DIY Paving Slabs [Instructions]](https://iherb.bedbugus.biz/wp-content/uploads/thumbs_dir/sea-buckthorn-2911630_1920-e1518126429529-nll4vsy6l0memzw2pjj3xotlpkwbp13wuvk86npq9o.jpg)


The video explains how to lay tiles without problems.