
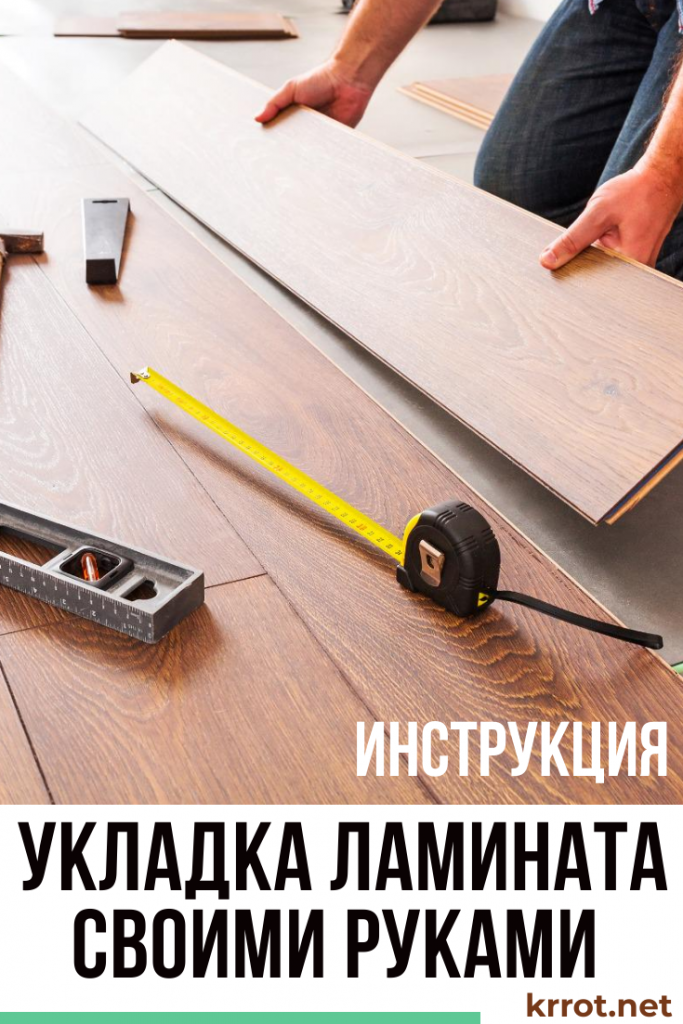
Laminate manufacturers, complete with their product, recommend a laying method where one person cannot do it. But what if there is no assistant? Consider a technology where laying a laminate with your own hands without outside help is possible.
Content:
- One person installation method
- Step number 1 - preparing the surface for laminate
- Step number 2 - trying on the laminate
- Step 3 - laying the first row
- Step 4 - install the pads
- Step number 5 - installation of the first board of the second row
- Step number 6 - how to install the subsequent laminate
- Step number 7 - continuation of installation
 Read also: What should be the wiring in a private house, do-it-yourself installation, instructions for beginners
One person installation method
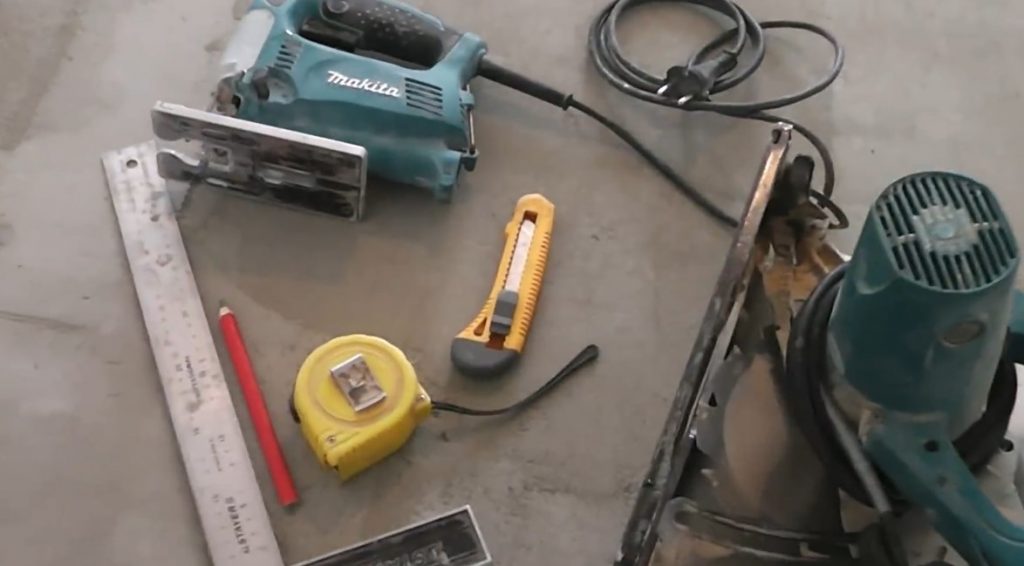
This tool is needed
Conventional laminate installation technology involves the formation of a row, i.e. fastening it to the locks, followed by its (a whole row) fixing to the previous one.
However, only a few people can perform this operation - one cannot cope with this task. Fixing one edge of the row, the other will diverge, the end connections will shift - in a word, this is a hassle. But there is a way out!
Before starting work, you need to prepare everything you need. In addition to the laminate and the substrate under it, you will need:
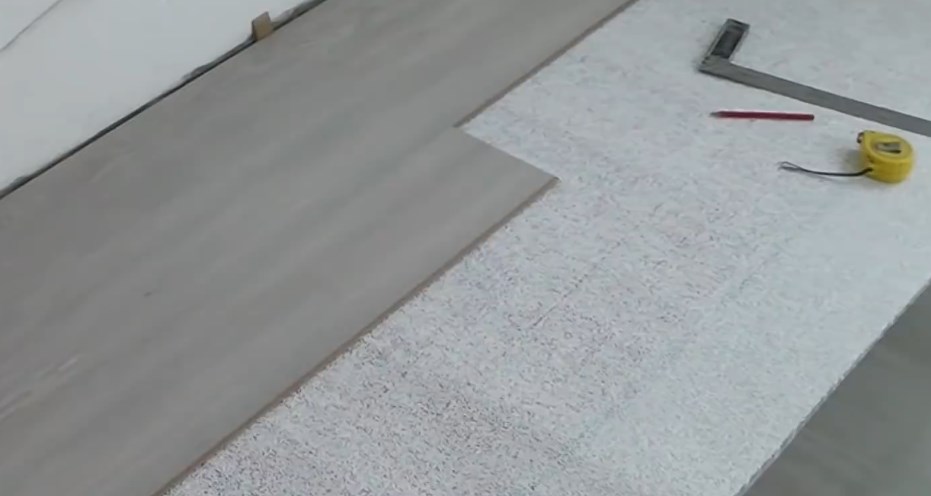
- square, pencil and tape measure
- construction knife
- hand circular saw or electric jigsaw
If there is no power tool, then a hand saw for wood is suitable.
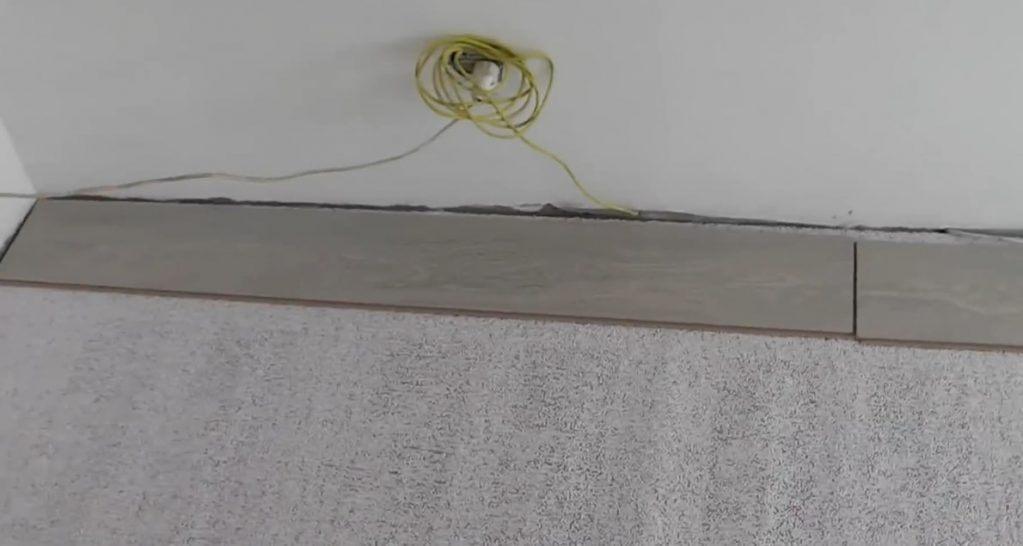
Step number 1 - preparing the surface for laminate
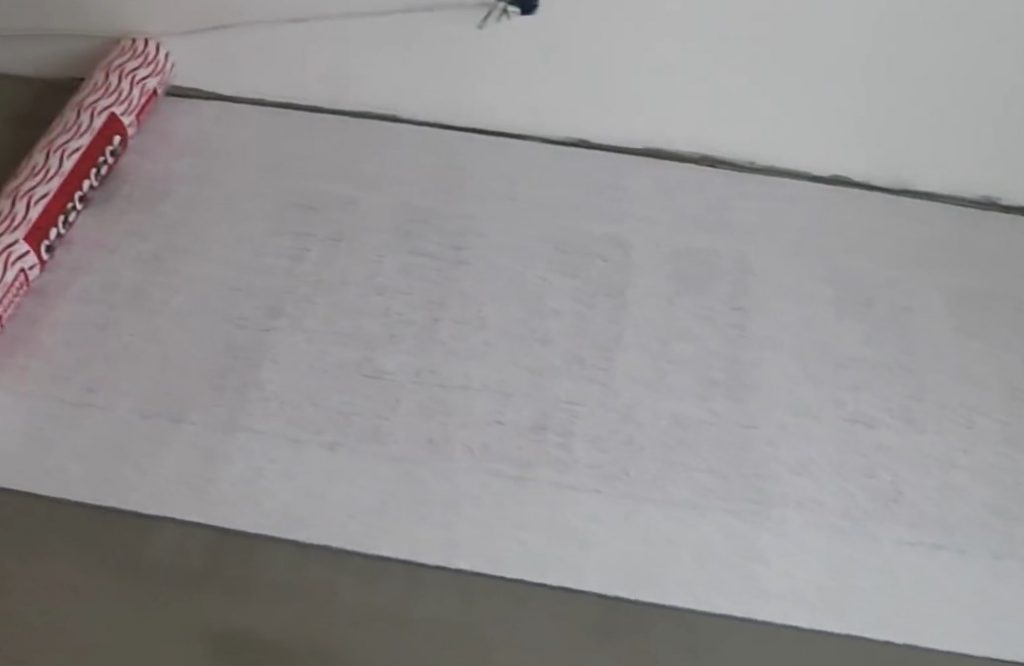
Don't forget the underlay
The subfloor must be level enough so that, after installation, laminate he lay tightly, otherwise, in further operation, the locks of the latter may unfasten. The floor also needs to be swept.
Fits substrate, it is not necessary to roll it all out. This is done as needed.
Step number 2 - trying on the laminate
We do not fix locks
Lay out the first row from left to right. castle to the wall, to the room. There should be a gap of 8-10 mm between the laminate and the wall.
The last one needs to be cut.
The last laminated board is usually larger in size. It is unacceptable that it be shorter than 30 cm. If this happens, then the first board in the row is cut.
Step 3 - laying the first row
Laying out the first row
We fix the laminate of the first row on locks, except for the last board. The end of the inserted board is attached to the end of the board lying on the floor, inserted into the lock and lowered to the floor. The castle is closed.
It should be ensured that the row geometry is correct - there should not be any stepped protrusions.
Do not forget to take into account the gap
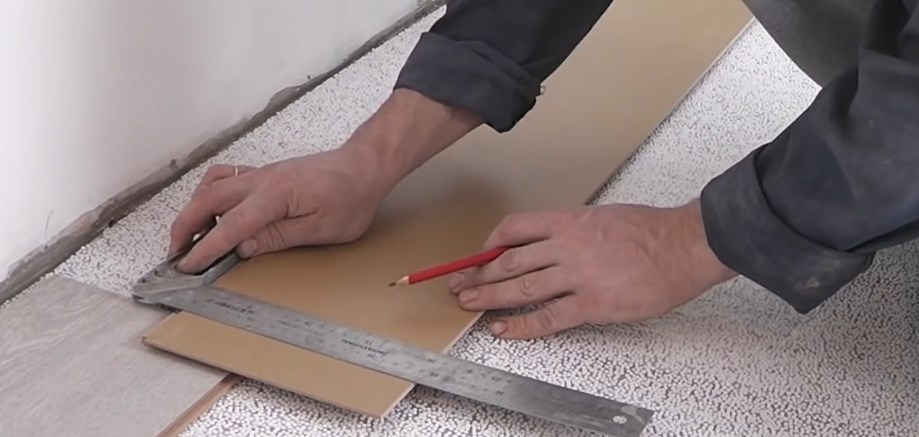
The last board needs to be cut. To do this, turn it over so that the edge that should be against the wall is at the penultimate laminate, and the edge that will be attached is attached to the wall.
Marking is done locally. Do not forget to indent 8-10 mm. Cut off the excess with a jigsaw. We set the board in a row.
Step 4 - install the pads
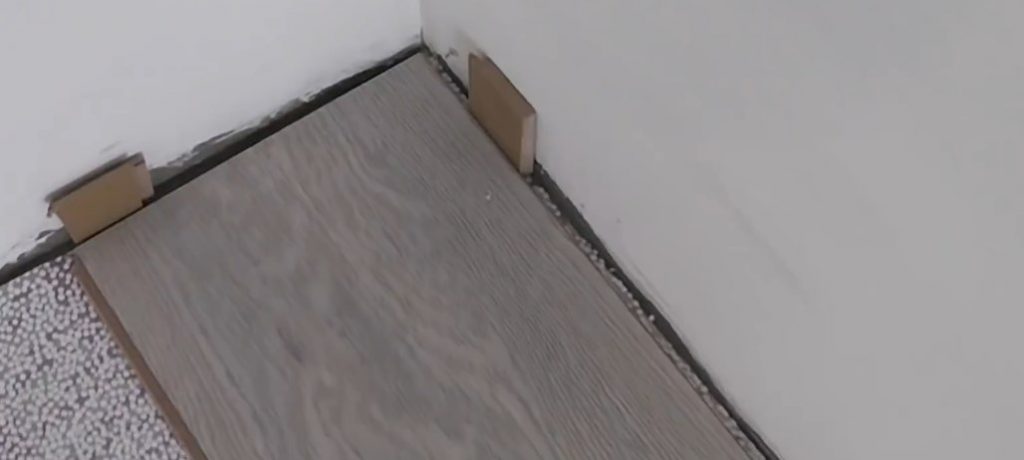
One lining - from the end, and several along the wall
We make several linings from scraps and place them between the wall and the first row.
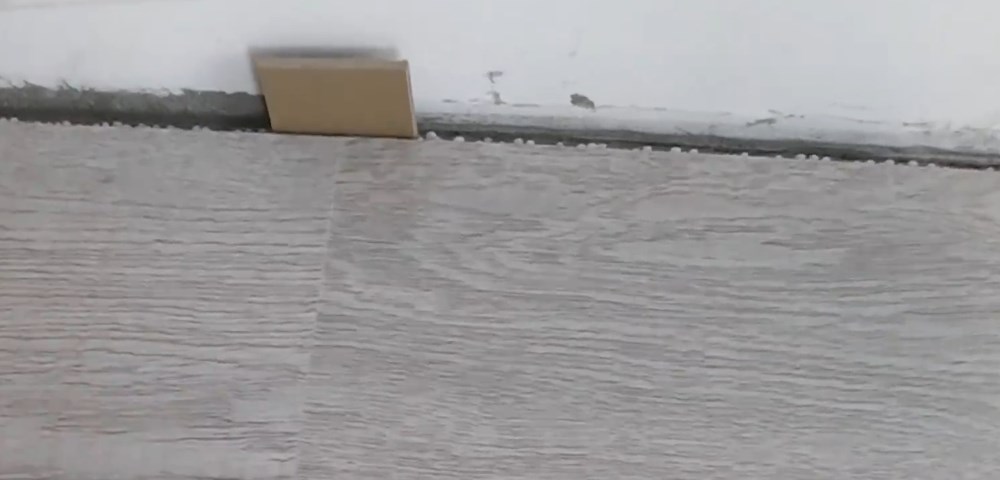
We install linings at the joints of the boards
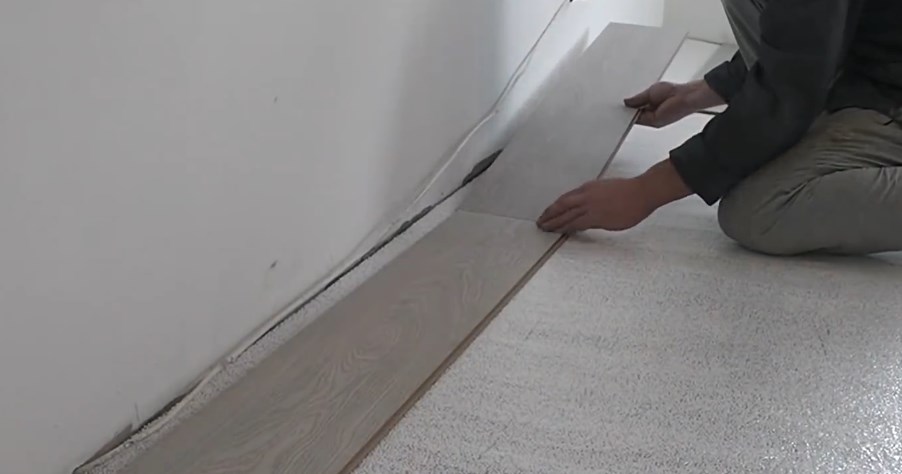
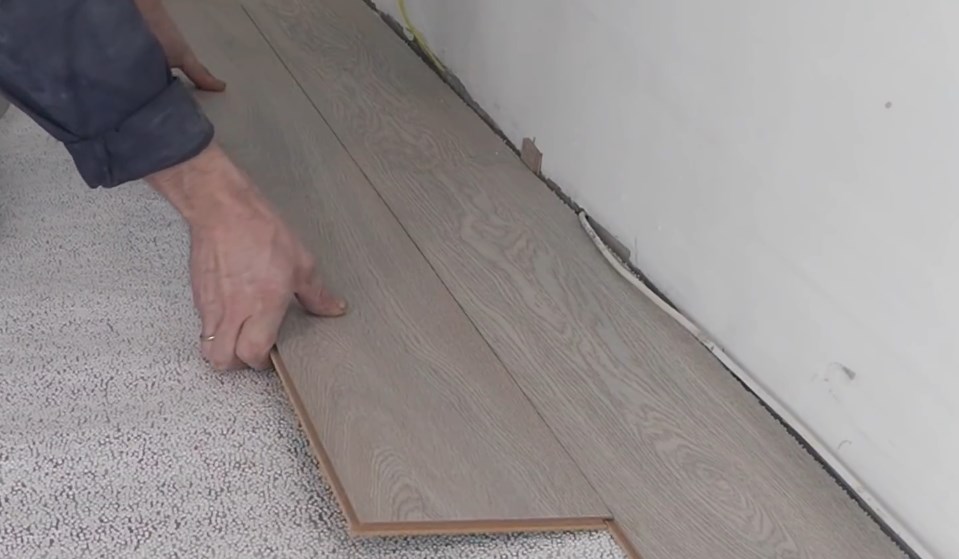
Step number 5 - installation of the first board of the second row
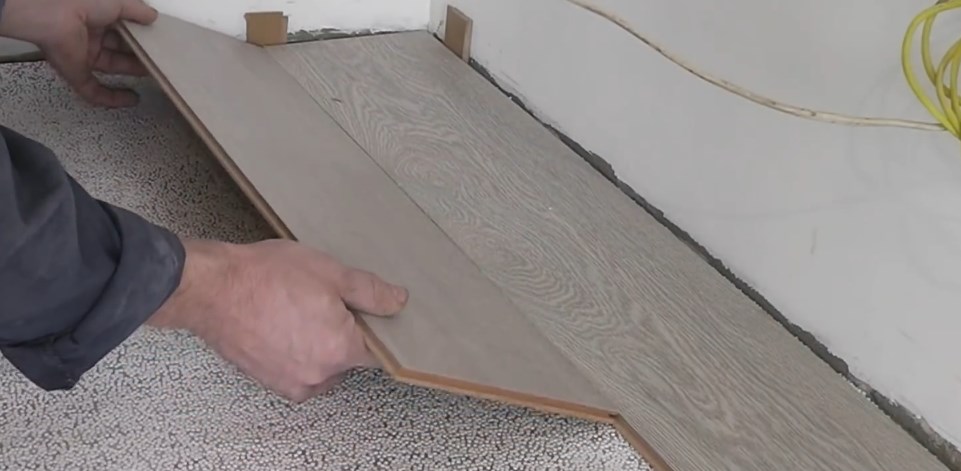
Fixing the first board of the second row
We fix the first board. It should be more or less than the board of the first row by at least 30 cm.
We attach the board to the board of the first row, raise it, insert it into the lock, lower it. Laminate in place, lock closed.
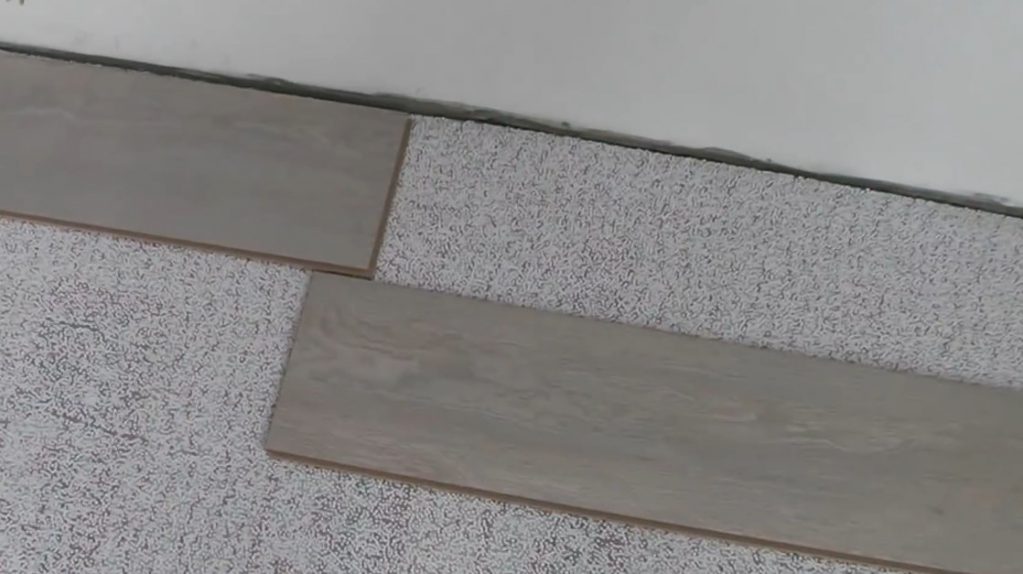
Step number 6 - how to install the subsequent laminate
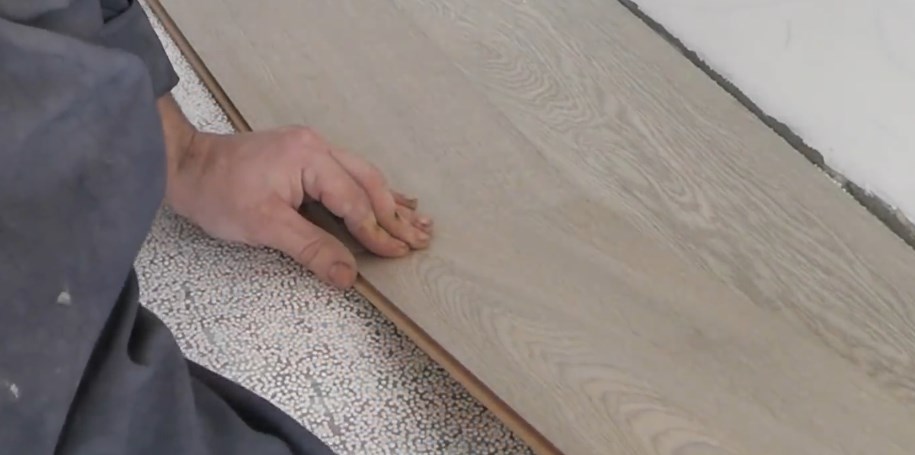
We connect end locks
We insert the end of the next board into the lock, lower the laminate.
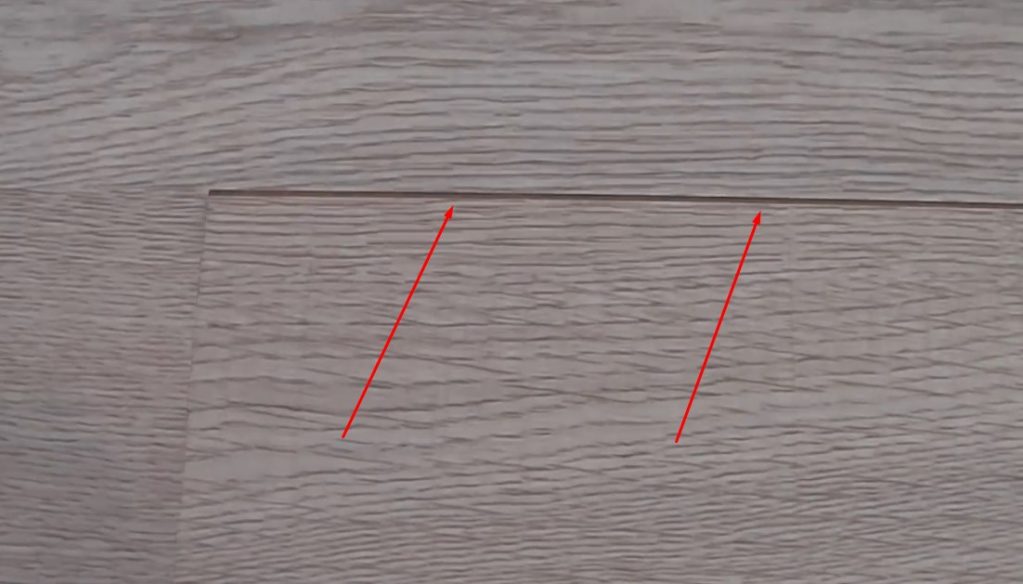
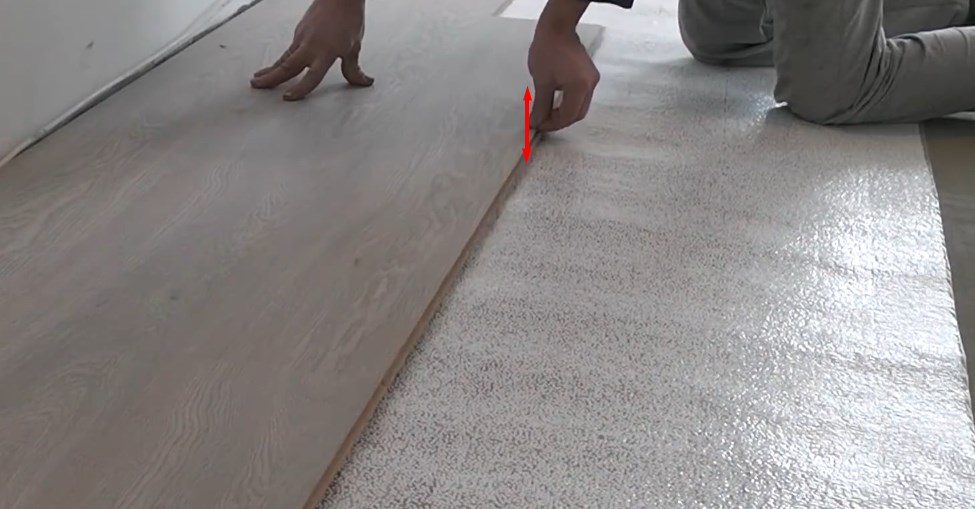
Longitudinal gap with an adjacent row - the board did not go into the lock groove
A longitudinal gap formed, as shown in the photo above.
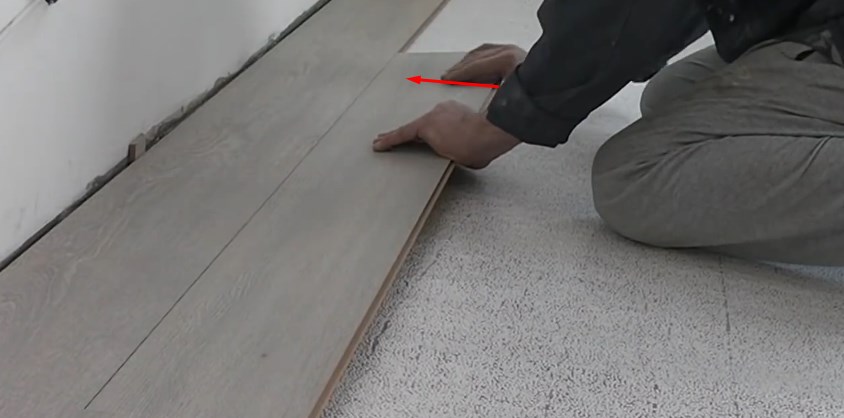
Raise the laminate by 1-2 cm
In order to connect the longitudinal locks, you need to raise the stacked board 1-2 cm up.
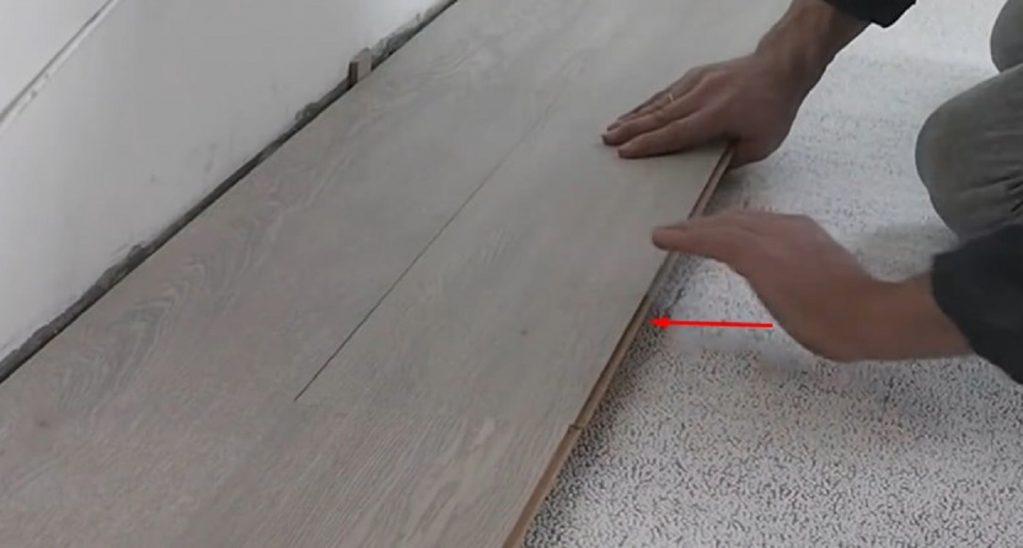
While holding the laminate in a raised state, the right edge is inserted into the lock with force.
Slide the right edge of the laminate into the lock
After that, we insert the left edge with effort - it enters the groove with a characteristic click.
If the right edge enters the groove relatively easily, then a similar effort is not enough for the right edge. It will be necessary to hit the left edge of the board with a sharp movement of the palm one or two times.
With a blow of the palm we drive the board into the castle
It happens that after the laminate does not fit tightly on the base of the floor, it bristles.
With translational movements up and down, we eliminate the installation defect
Then you need to take it by the lock with your fingers and shake it with translational movements up and down several times. After that, the board fully enters the groove and lies on the floor.
Step number 7 - continuation of installation
We continue in the same way
Similarly, we continue the work, until its completion. In this simple way, you can lay a laminate of any length by one installer without the involvement of outside help.
VIDEO: Do-it-yourself laminate flooring step by step instructions

How to lay a laminate in one part 1
Laying laminate on the floor with your own hands: step by step instructions


