
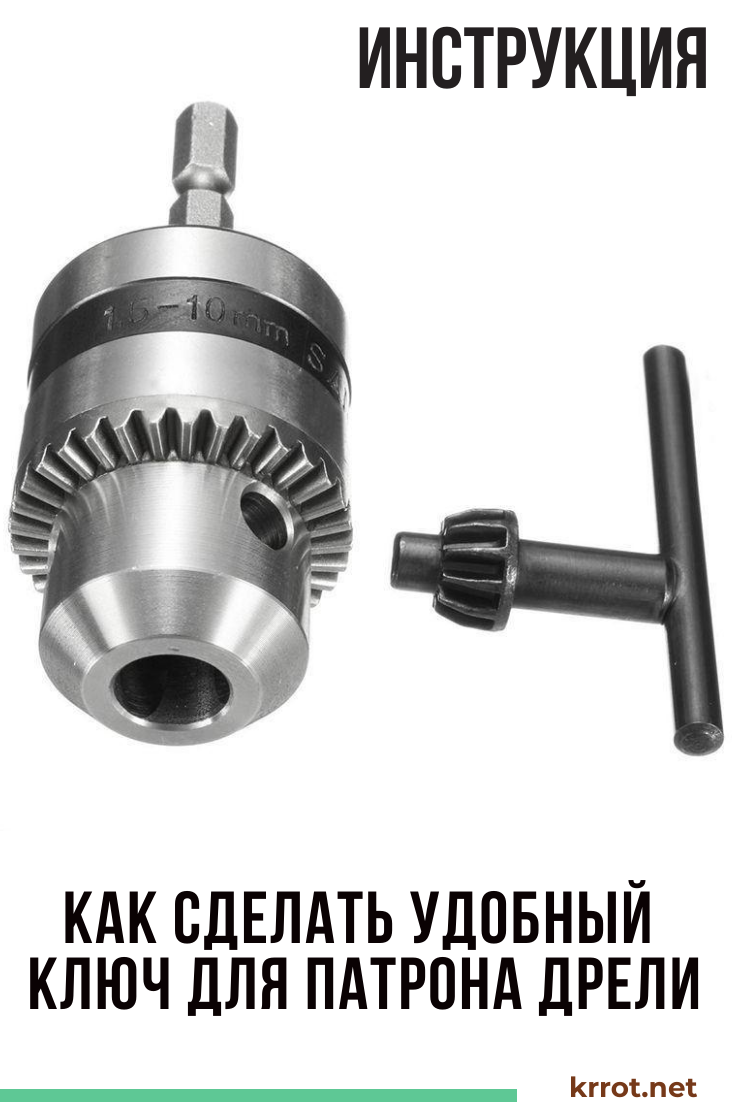
Electric drills all are good, but the key for the cartridge supplied in the kit leaves much to be desired. It is extremely inconvenient for them to fix the drill, - the main thing is that it constantly jumps off the grooves. Therefore, we propose to modify it a little, and make a convenient key for the drill chuck.
Content:
![[Instructions] How to make beautiful and unusual wall shelves with your own hands: for flowers, books, TV, kitchen or garage (100+ Photo Ideas & Videos) + Reviews](https://iherb.bedbugus.biz/wp-content/uploads/2018/05/19-6-300x213.jpg) Read also: [Instructions] How to make beautiful and unusual wall shelves with your own hands: for flowers, books, TV, kitchen or garage (100+ Photo Ideas & Videos) + Reviews
Read also: [Instructions] How to make beautiful and unusual wall shelves with your own hands: for flowers, books, TV, kitchen or garage (100+ Photo Ideas & Videos) + Reviews
What needs to be done to make the key convenient?
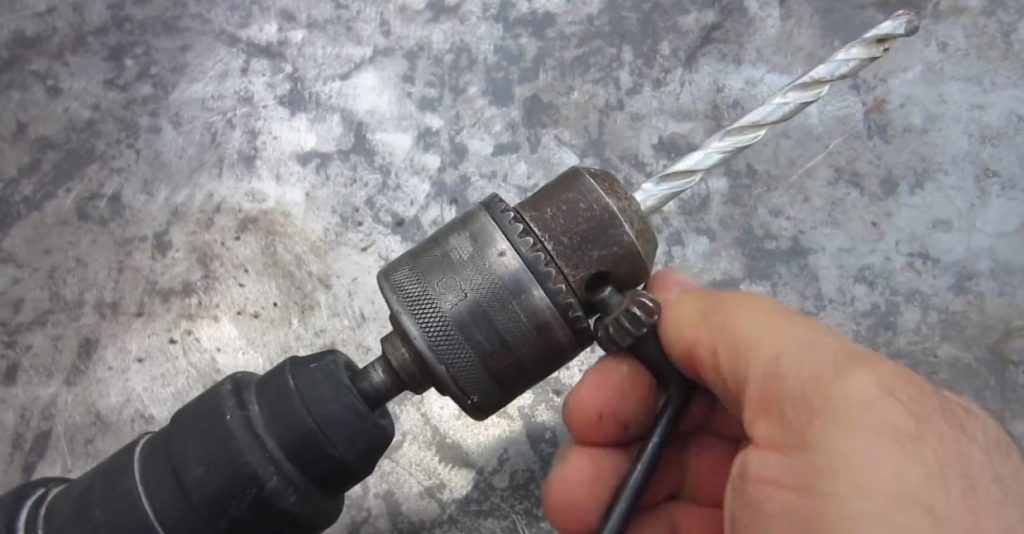
The wrench slips off, making it difficult to tighten the drill
The construct itself is true and beyond doubt. However, as for the handle, it is inconvenient, - it is difficult for her to leave the position of the working part of the key in that desired position, when its teeth are in close contact with the cartridge. So the handle needs to be changed.
For this we need:
- Bulgarian with cutting and abrasive wheels
- Welding inverter with "cartridges"
- Hammer and pliers
- Ring wrench for 8
Stage #1

Measure seven times...
We mark the workpiece. We retreat from the base of the working part of the key about 1 cm.
Stage #2
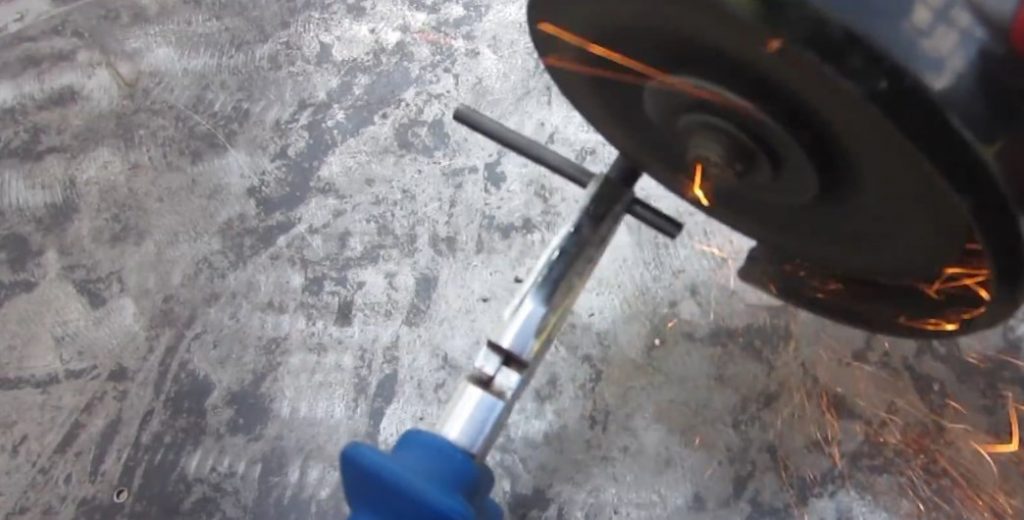
When working as a grinder, take care of your eyes and hands
According to the markup, we cut off the handle with a grinder.
Stage 3
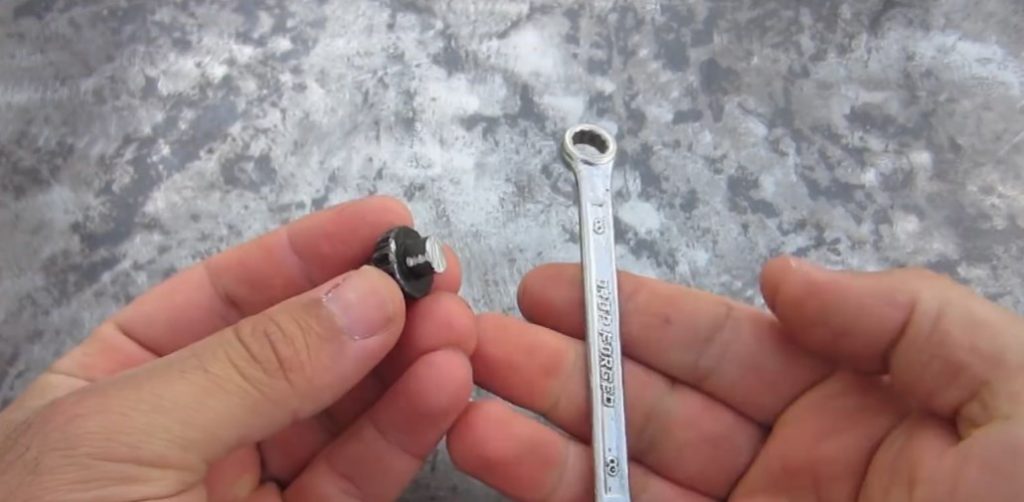
Open-end wrench for 8m
We take an 8 mm key and put it on the sawn-off handle for fixing the cartridge.
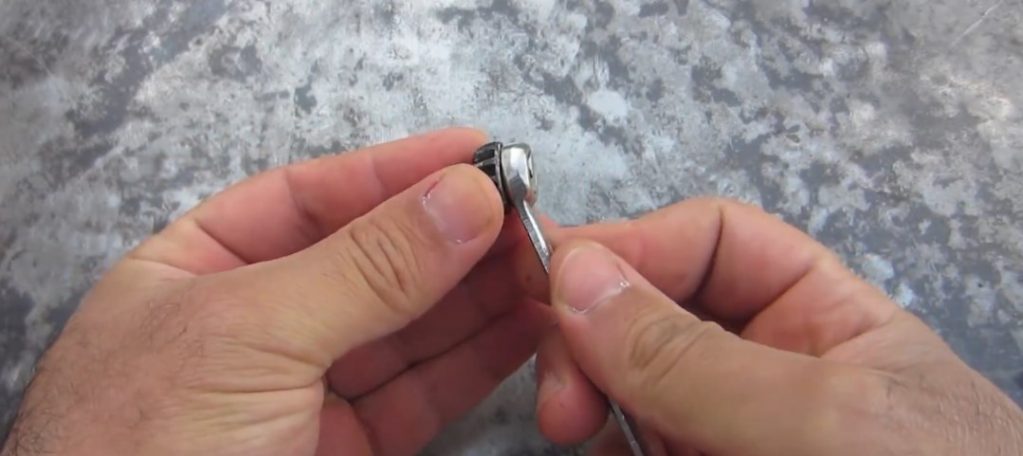
Combining the elements of a “convenient” key
Stage 4
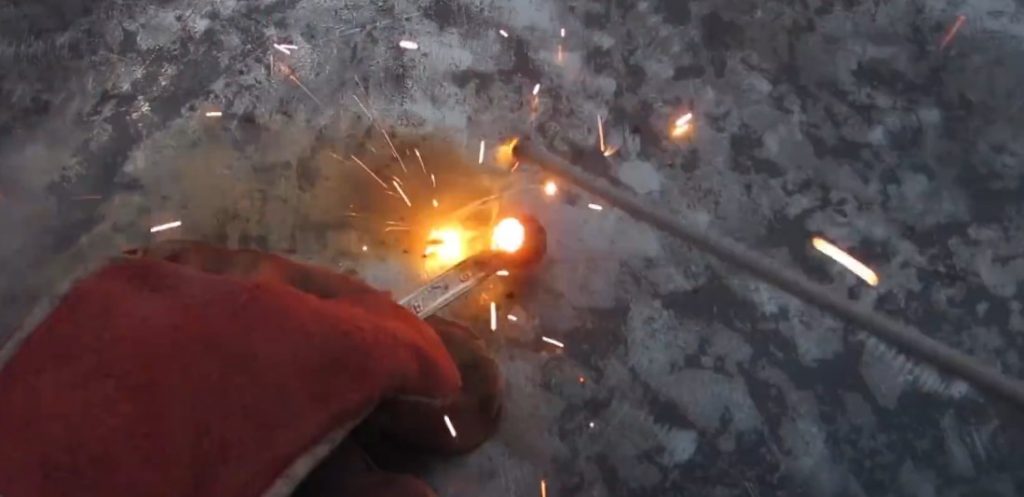
We weld the remaining key handle spindle
We press the working part of the drill key and grabs the combined parts as shown in the photo above.
Stage number 5
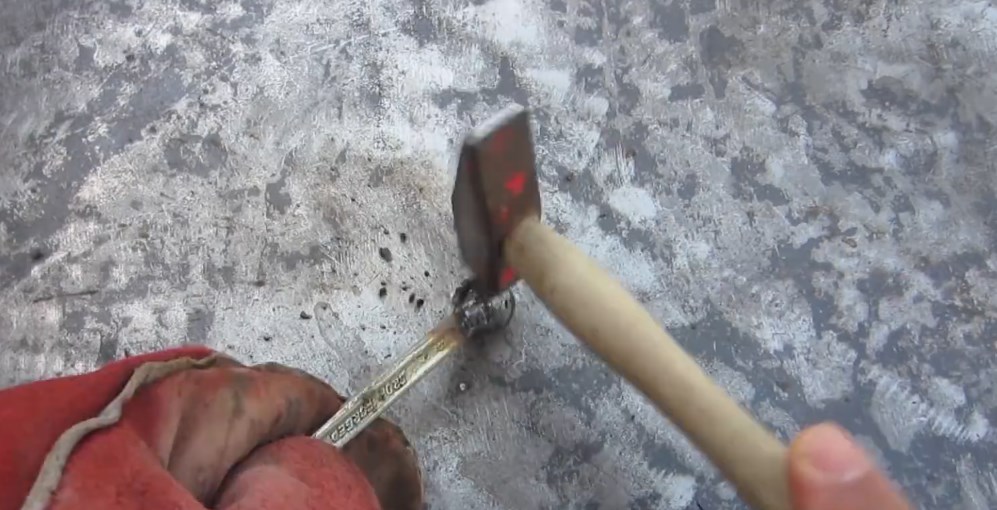
Slag is not needed
We tap the welded part with a hammer - remove the slag.
Stage #6
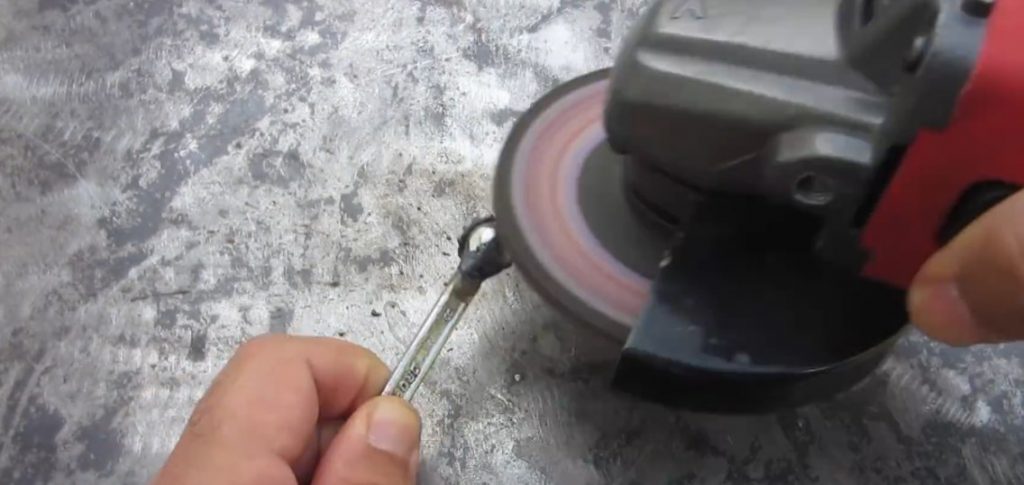
Flap wheel grinds perfectly
Decorative processing grinder. The key will not only be “beautiful”, but also safe.
Stage number 7

Very convenient and reliable
We check the key in operation. It has become much more convenient to hold it - the teeth of the key are in rigid contact with the cartridge, the tightening of the drill is reliable. Hands do not hurt, the drill does not slip.
VIDEO: How to make a convenient key for a drill chuck

Brilliant Ideas & DIY
How to make a handy wrench for a drill chuck: a simple life hack


