

When you buy a gift, a natural question arises: “How to arrange it?” Sometimes you don’t want the banal decoration of a gift box with shiny bows, which are so often used in stores. Try to spice up your gift by decorating it with a bouquet of handmade paper roses. The size you choose is up to you. But the recipient will appreciate your efforts.
 Read also: 56 The best productive varieties of cucumbers for greenhouses: description and photo | +Reviews
Materials for works:
In order to make a flower from a square of paper, you will need:
- two squares of colored double-sided paper of the desired size;
- toothpick.
Option 1
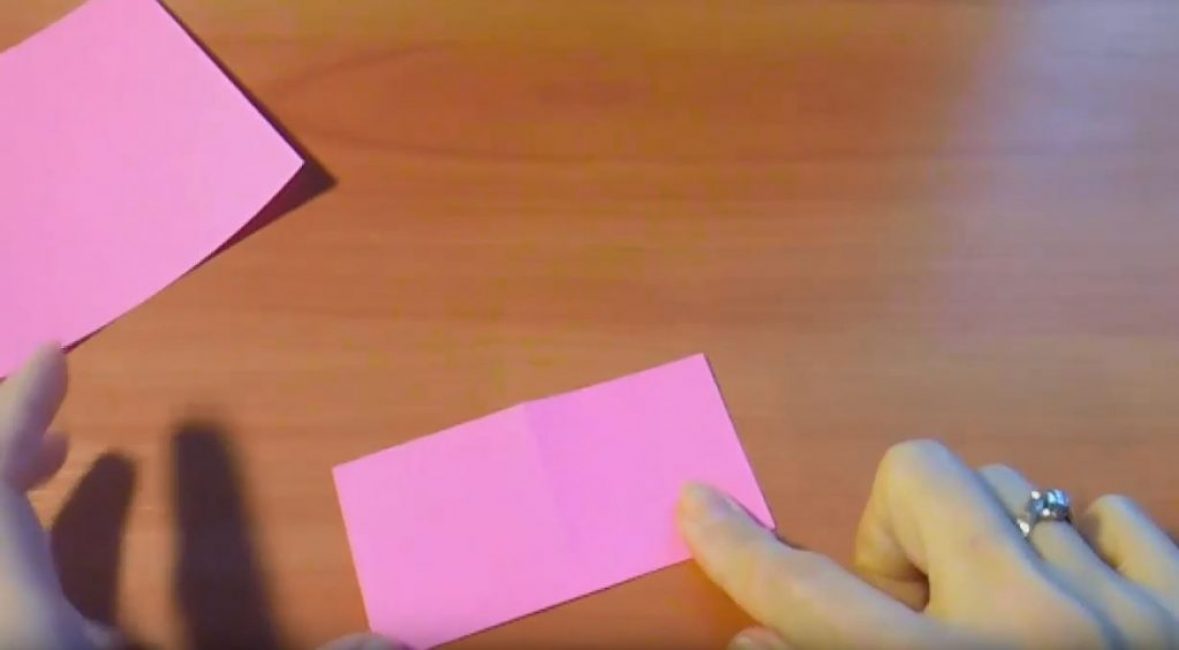
We take the first square of paper (in this case, 12x12 cm in size) and fold it in half. First on one side, and then, turning, and on the other side.
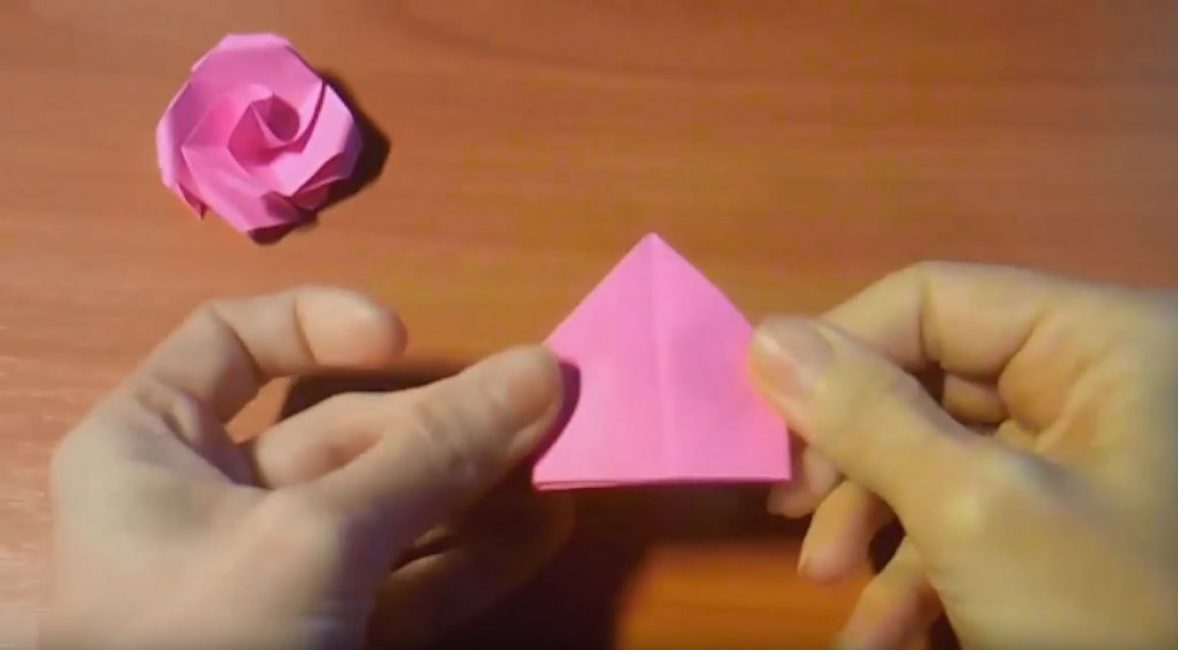
We unfold and turn the workpiece. We fold the square one at a time, and then along the second diagonal.
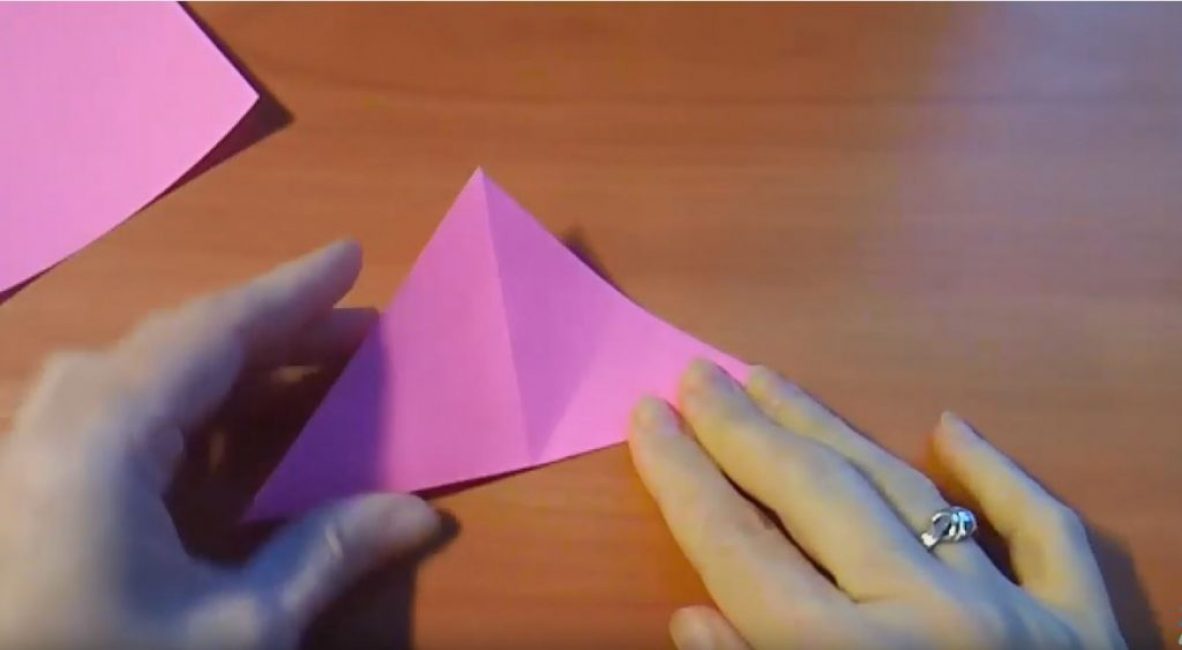
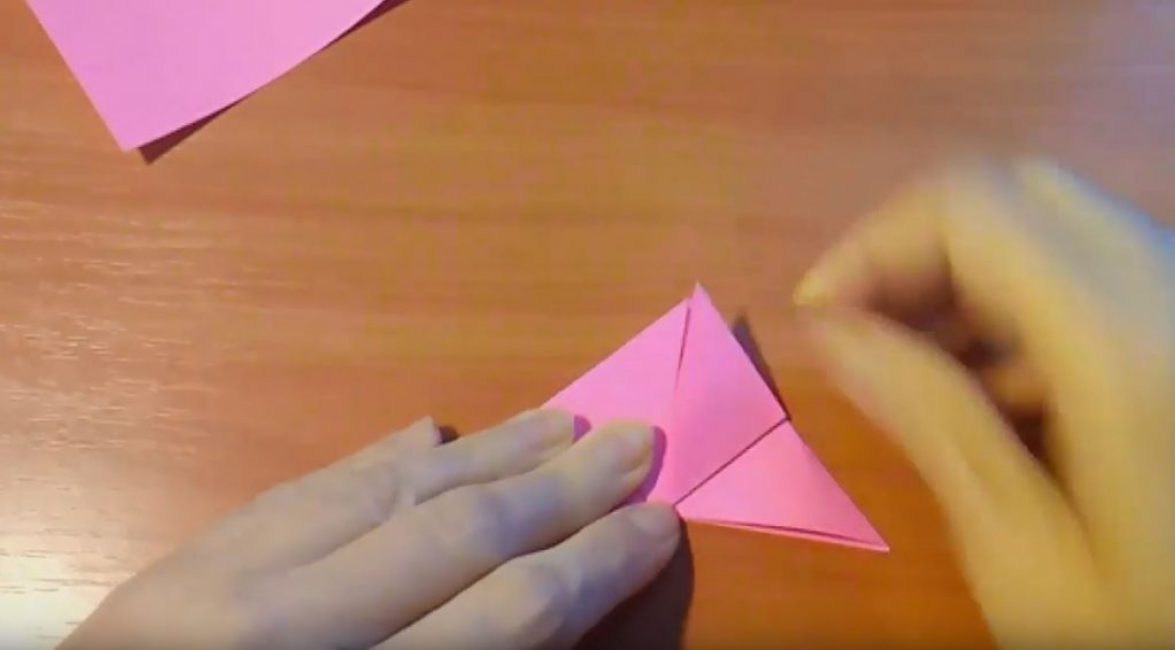
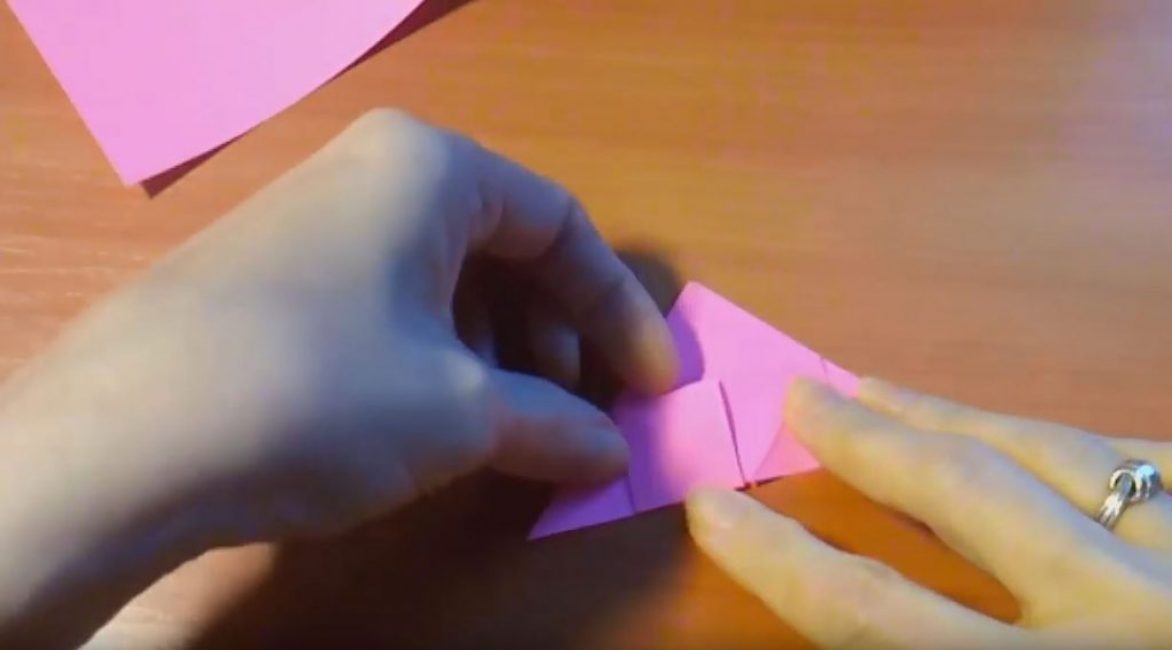
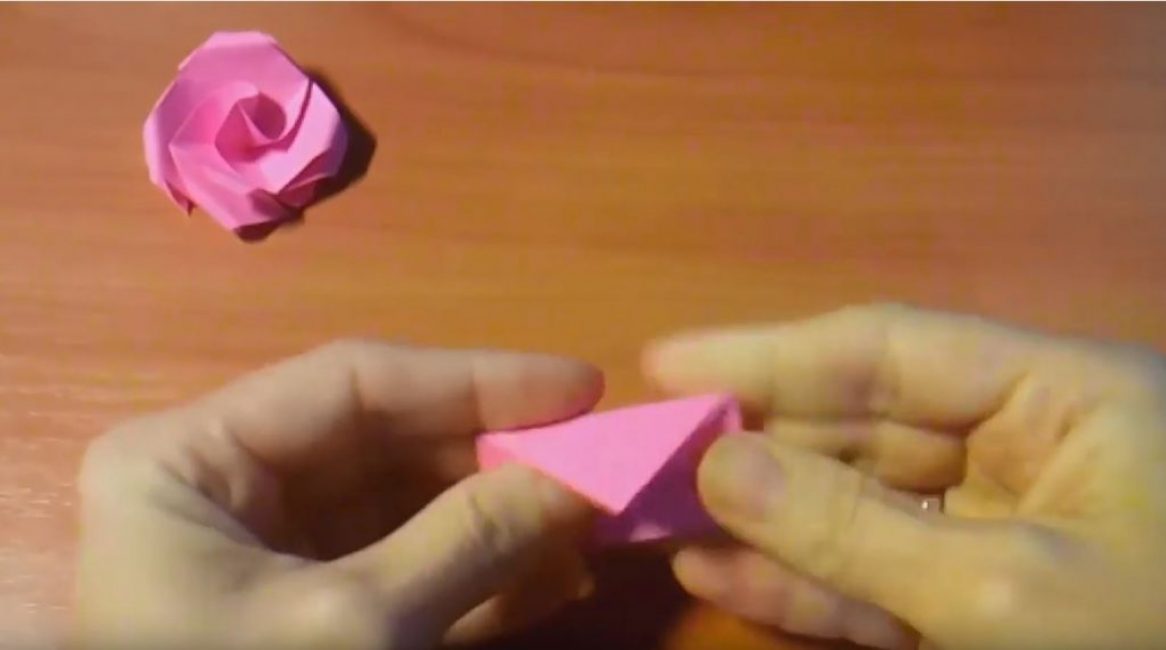
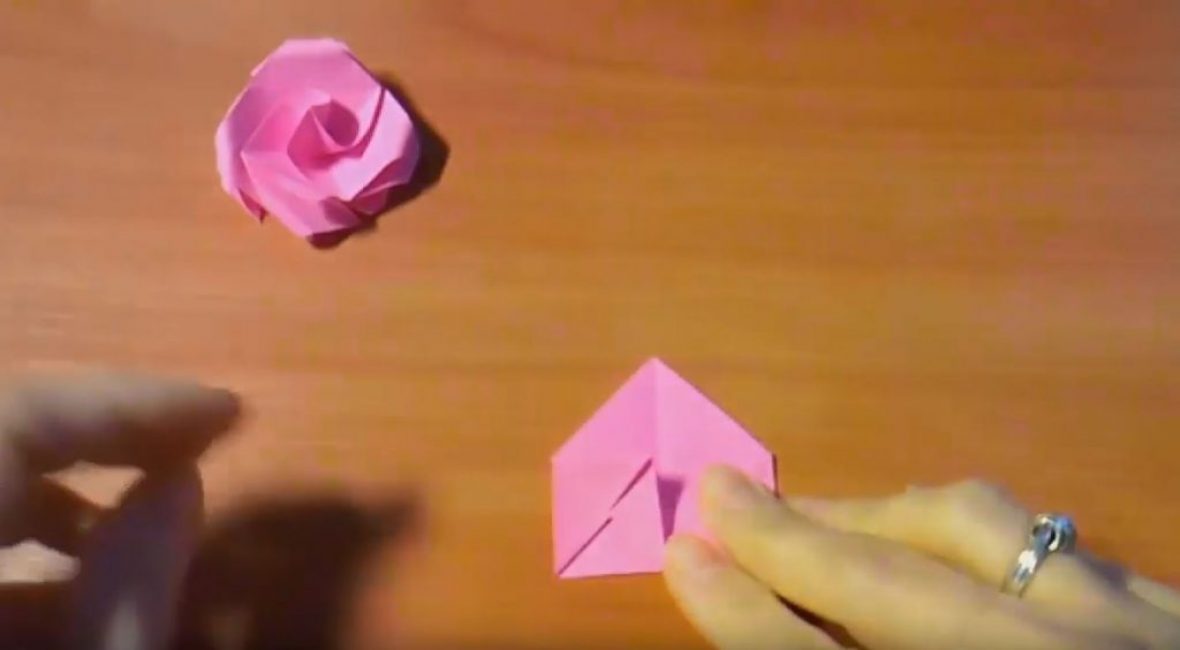
Without expanding the second diagonal, we bring the two sides of the triangle to the center.
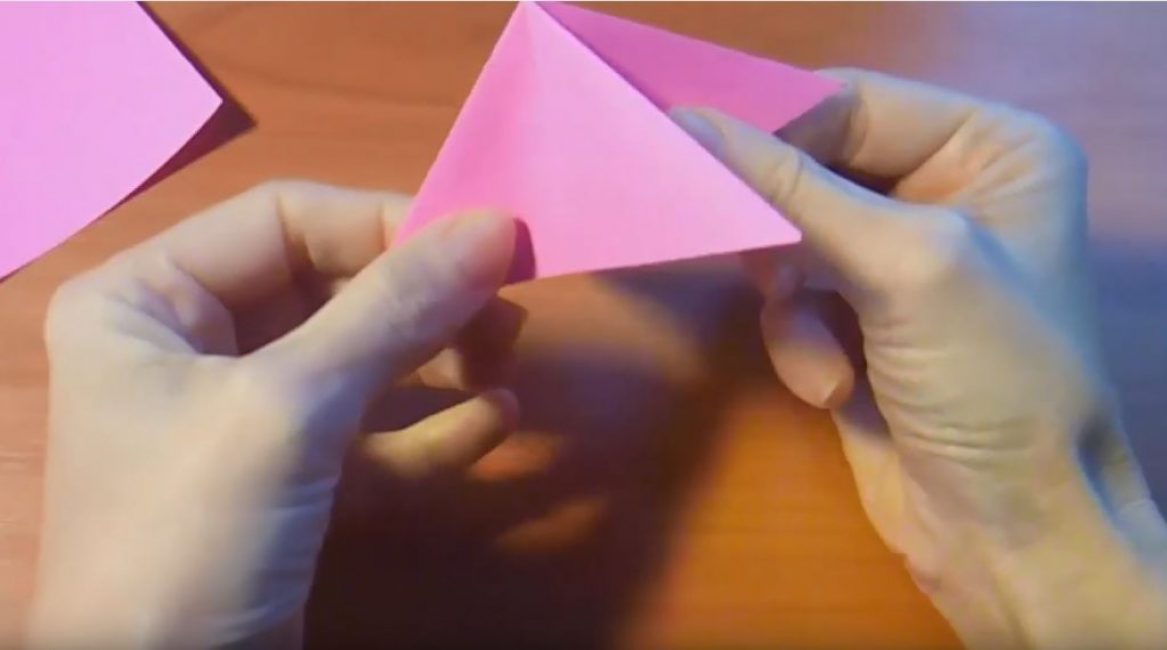
Bend the lower left corner to the middle.
Do the same with the second corner.
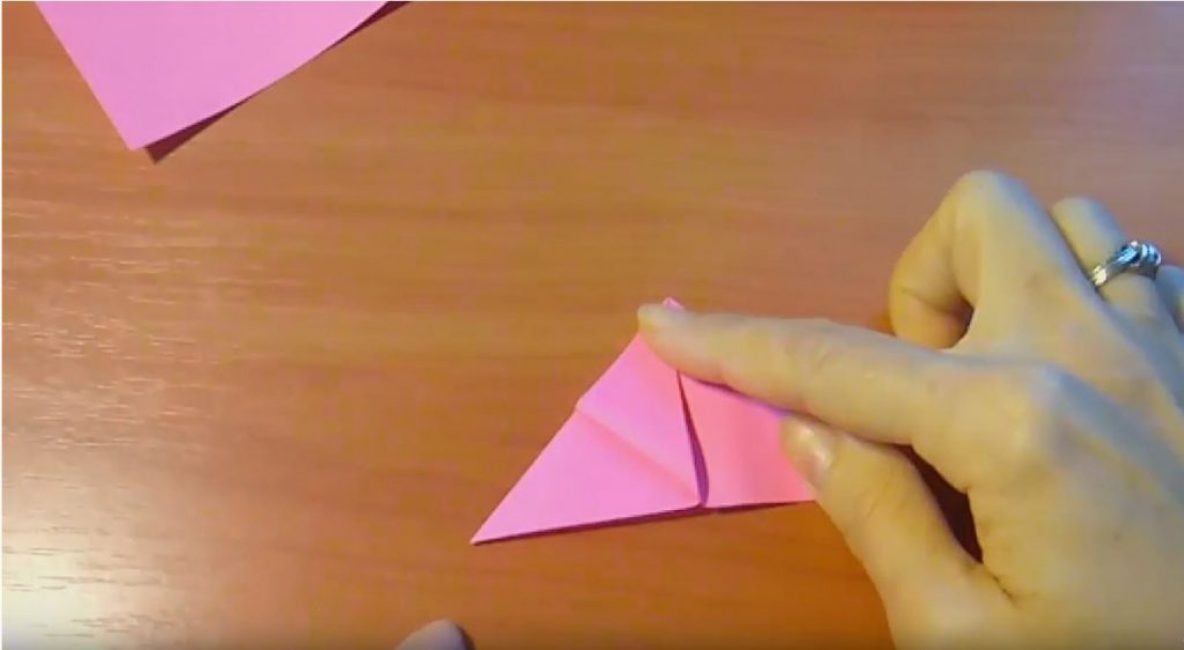
We bend the first and second corners in half again, bending up.
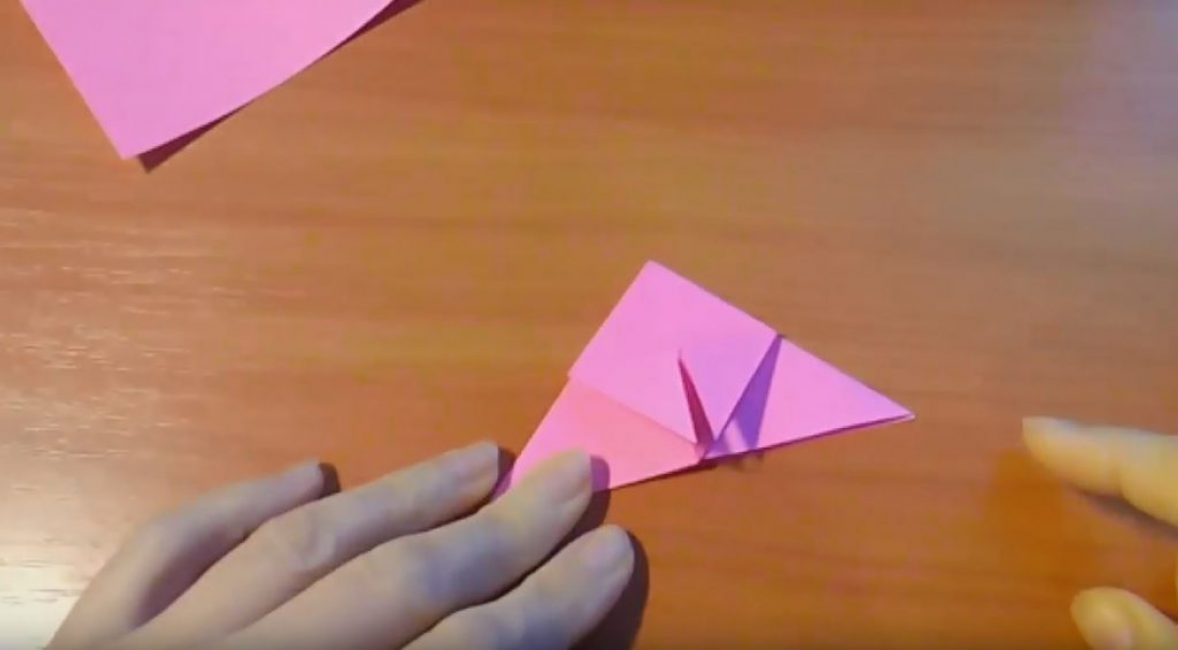
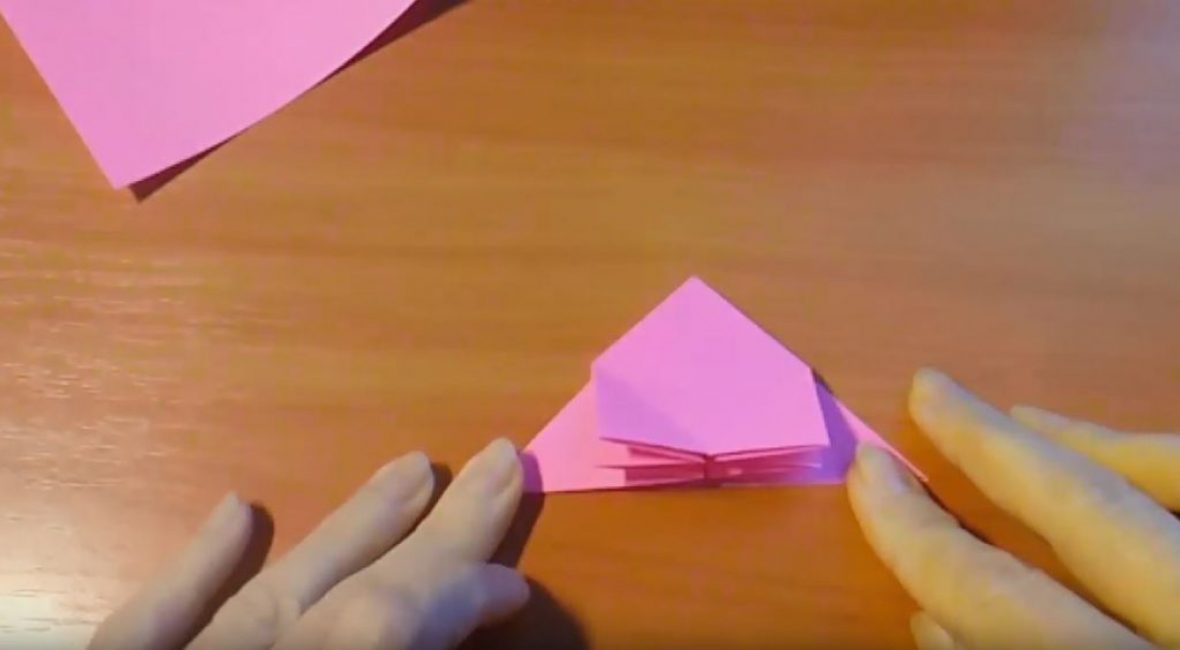
Turning the corner, we get two triangles.
We press on the fold so that we get a rectangle.
Do the same with the second triangle.
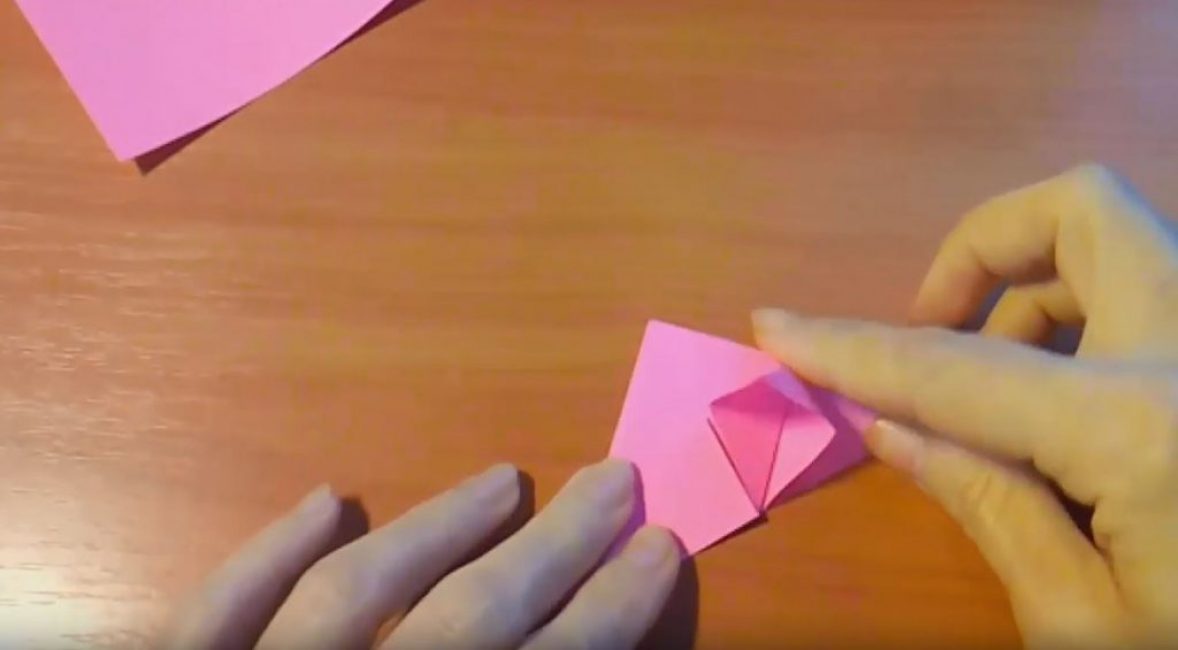
We lower the inner parts of the rectangles down.

Do the same with the second rectangle. The workpiece looks like this.
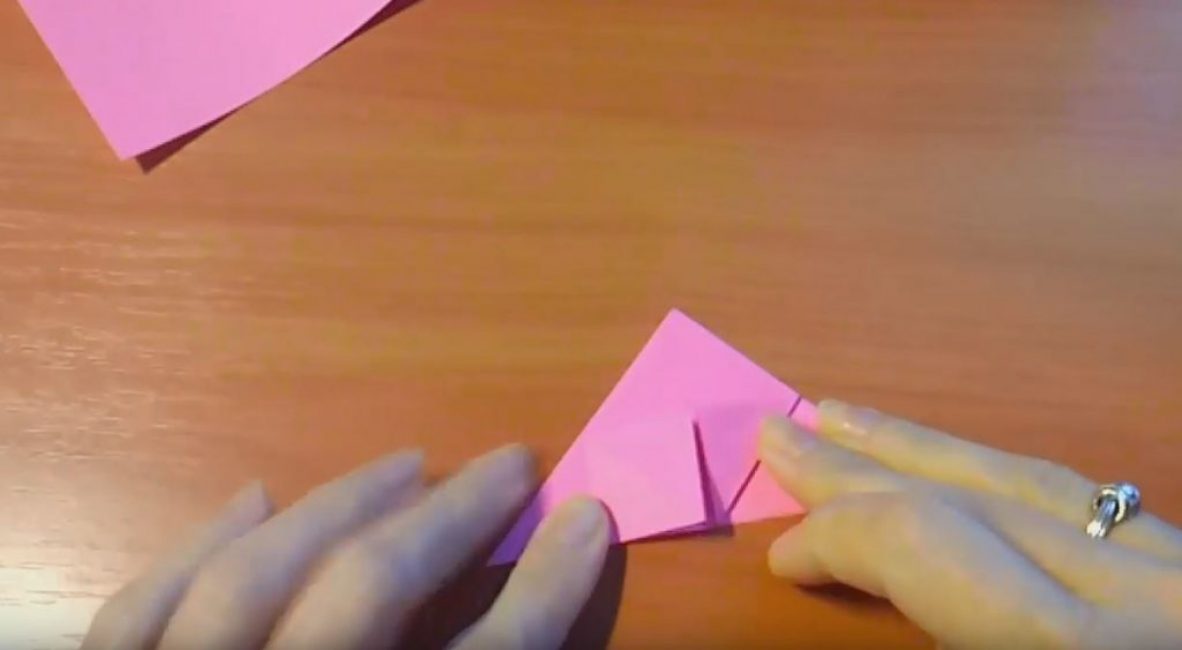
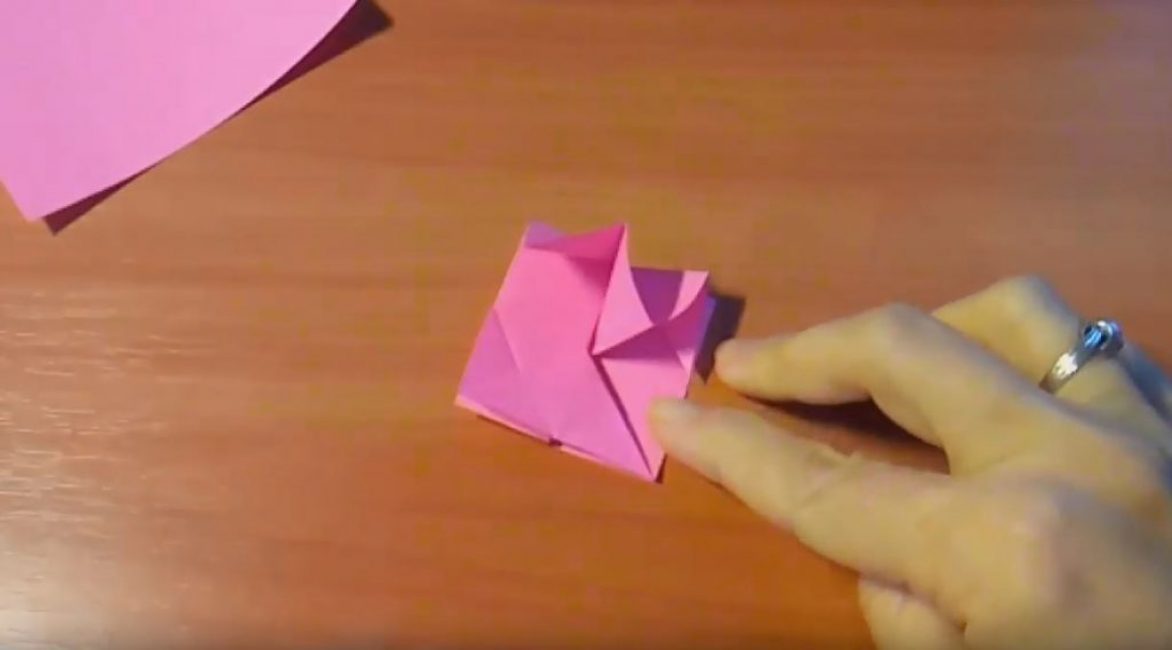
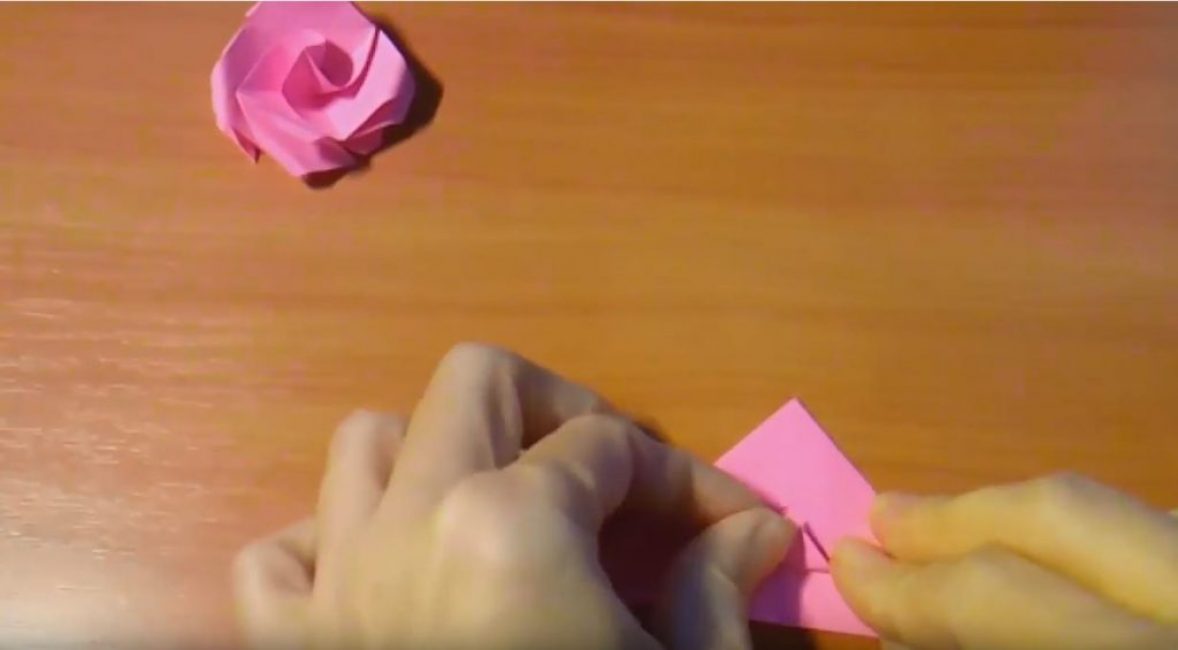
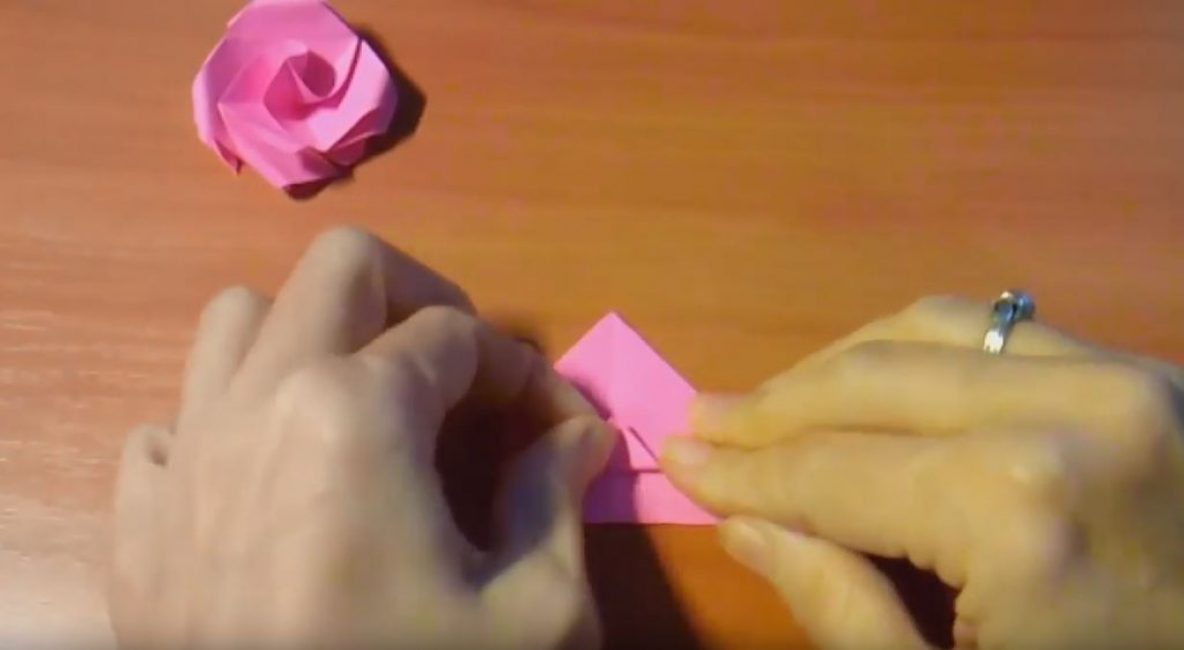
Turning the triangle over to the other side, we do the same steps. Bend two corners to the middle, and then bend them in half.

Having turned away the corners, we press on the folds and we get two rectangles. We lower the inner parts of the rectangle down and on the other side we get exactly the same blank.

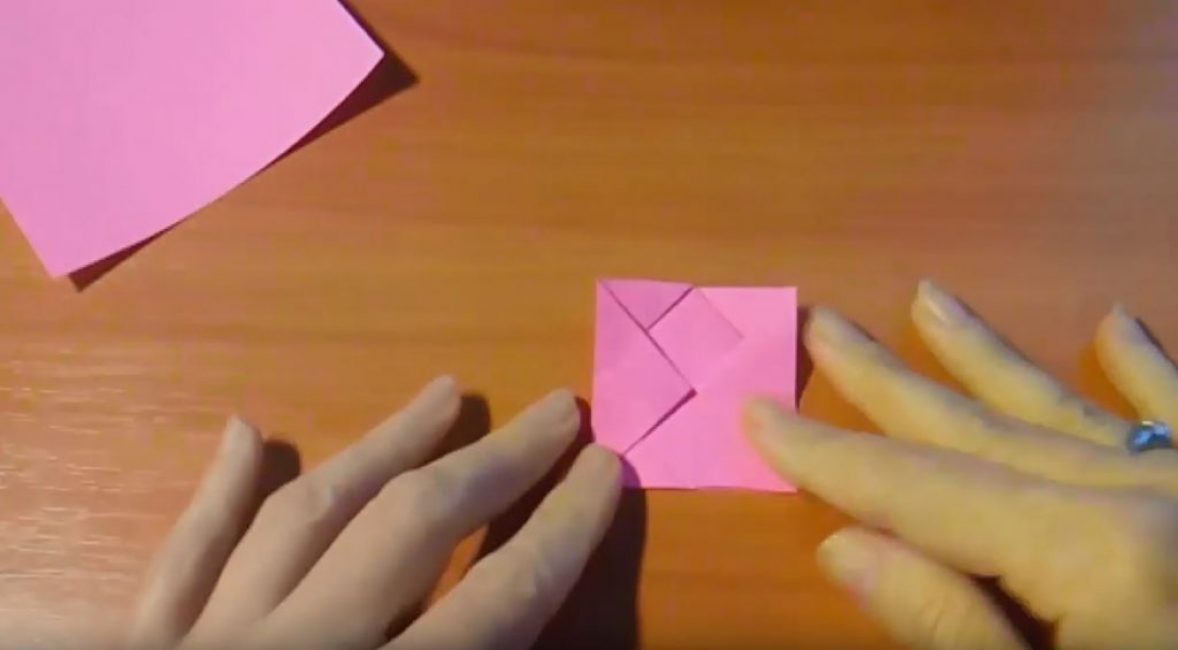
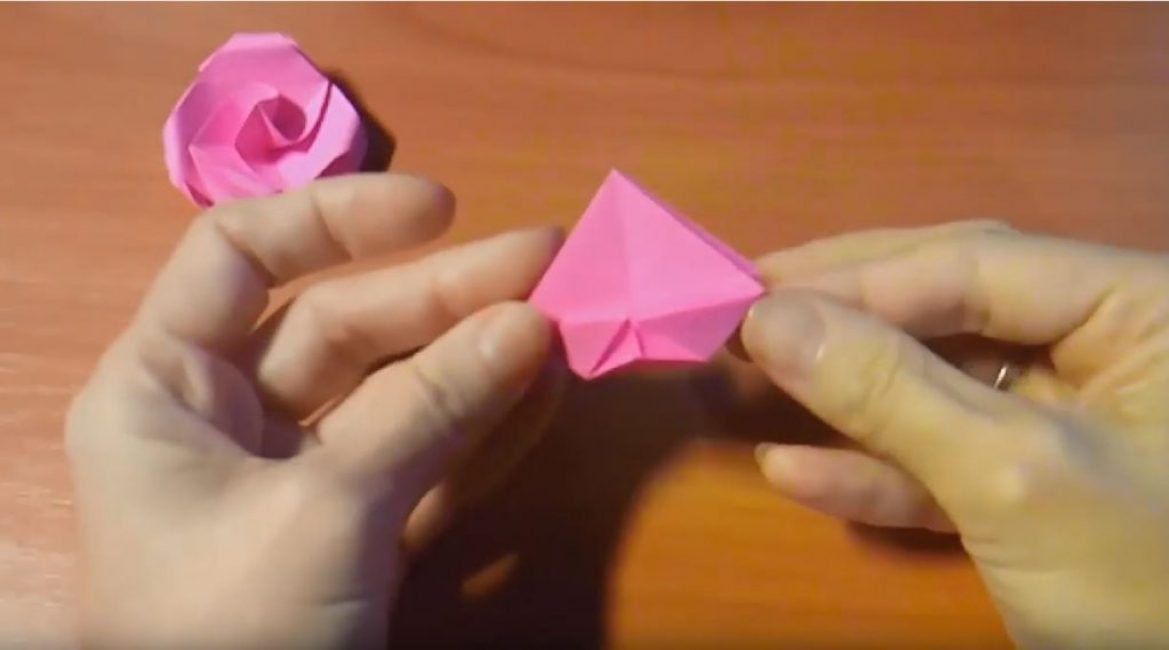
We bend the top of the workpiece down and turn it back.
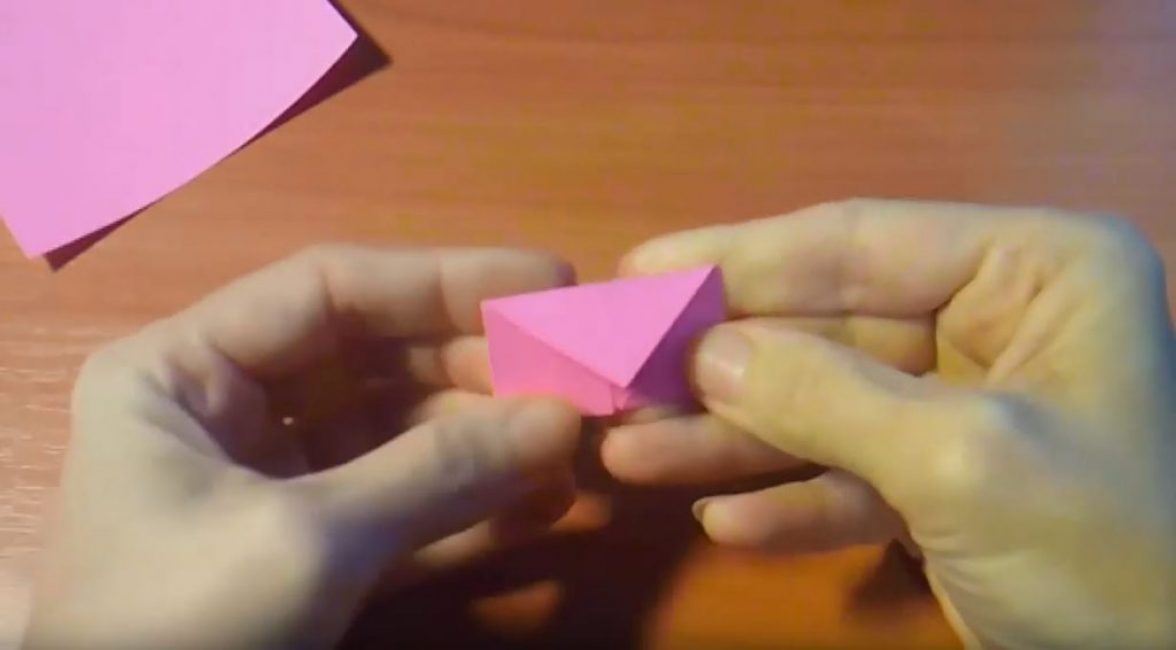
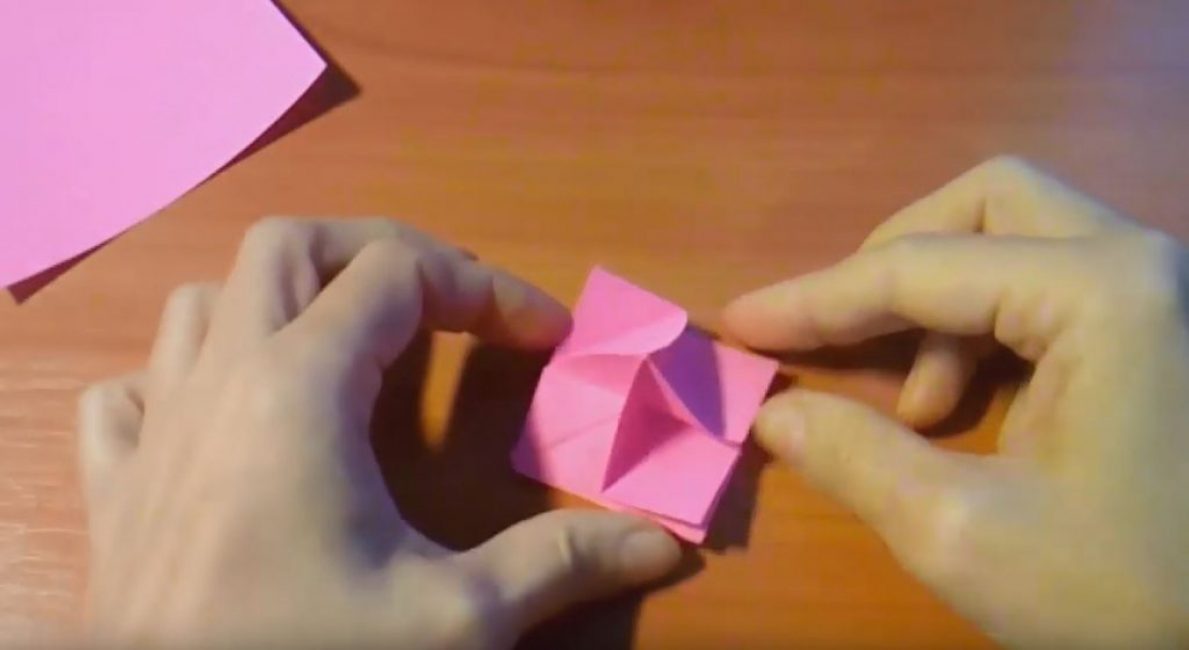
Opening the bottom of the part, we find the center.
Source: https://youtu.be/BaIZSa8Hxx4
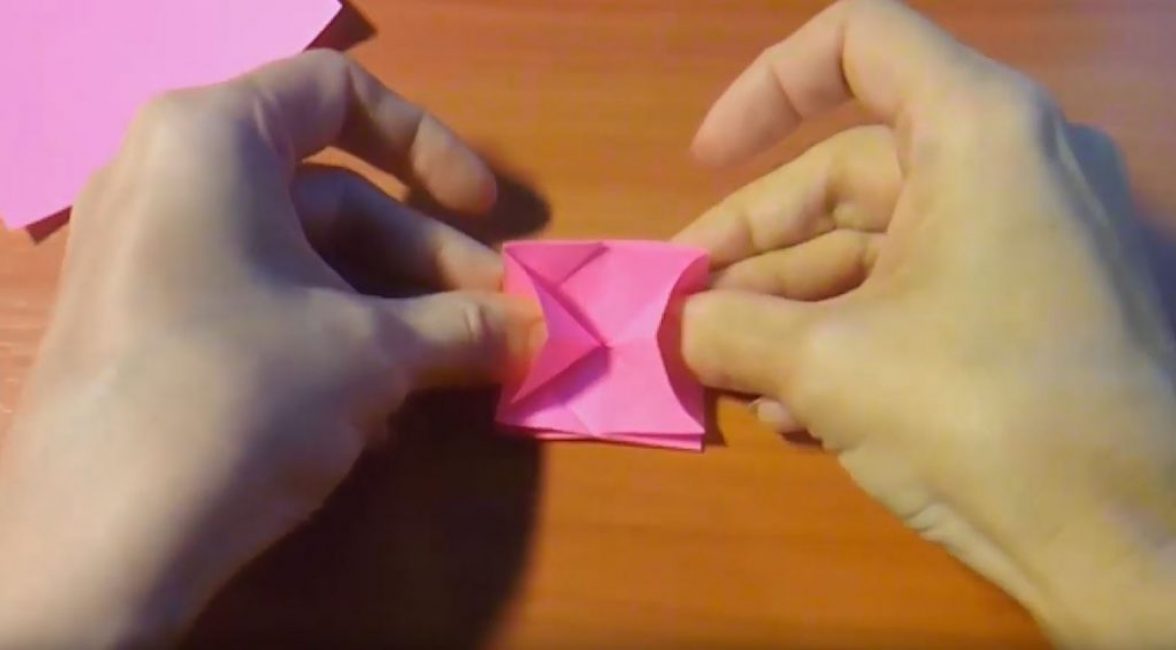
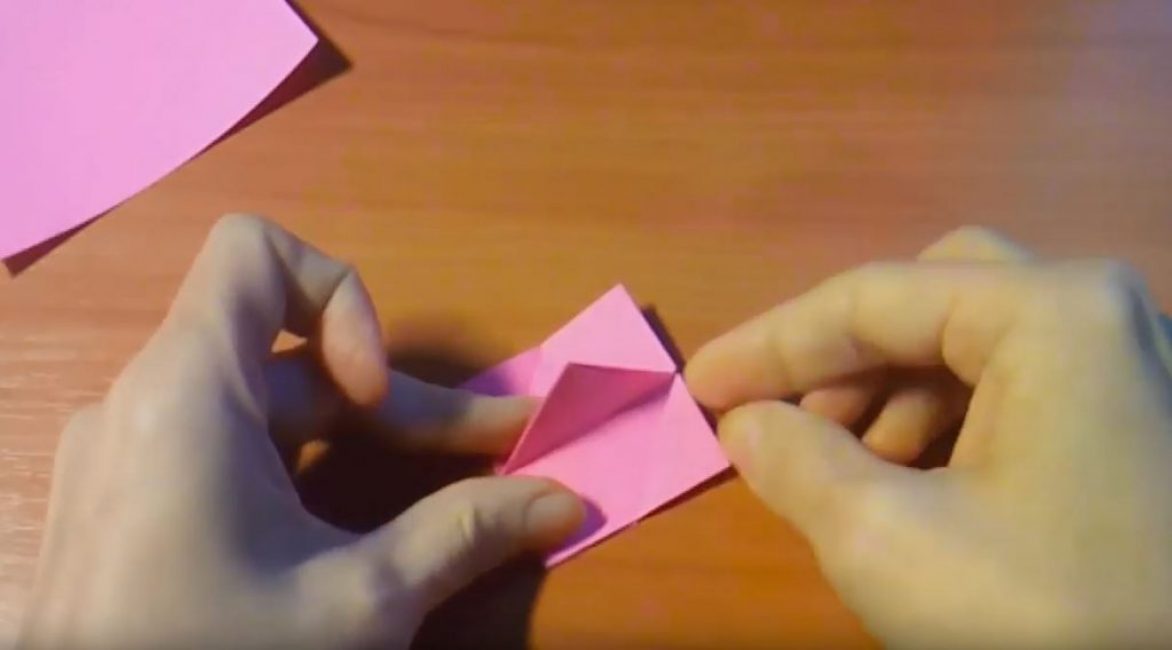
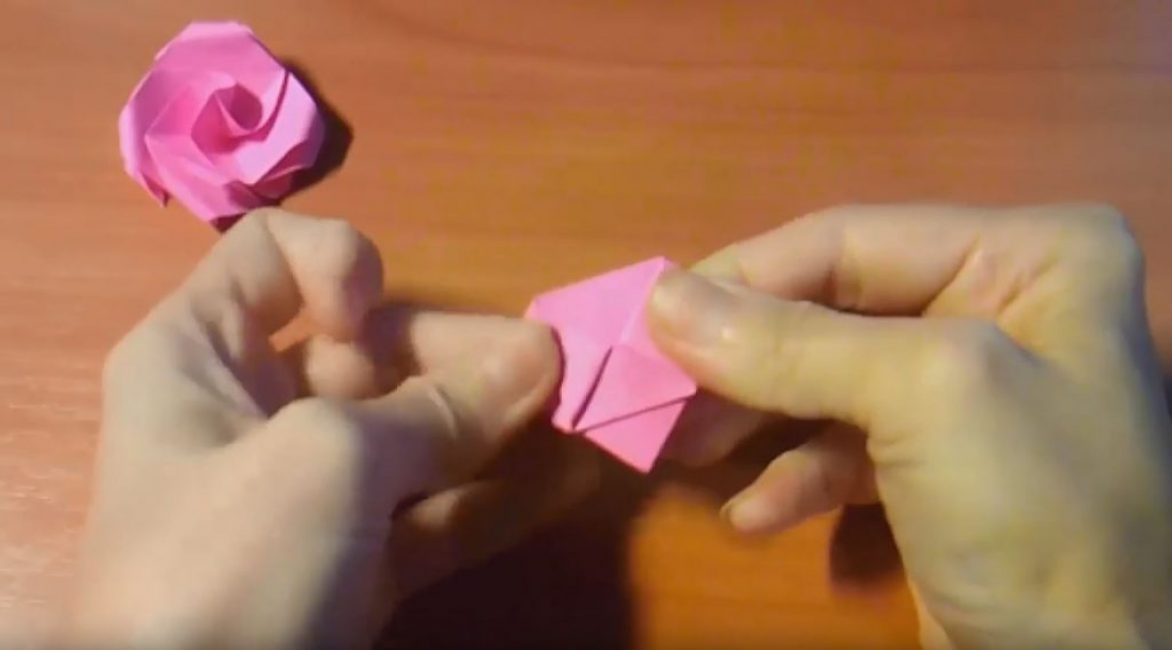
We press on the central triangle and lay it flat.
We repeat this operation with another triangle.
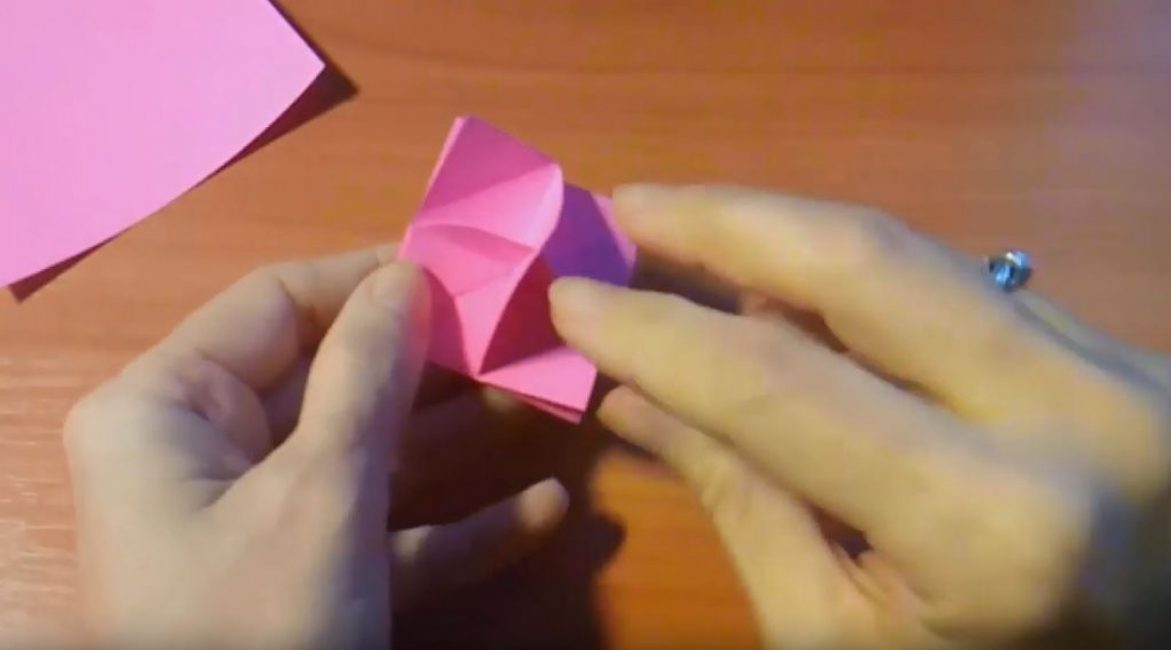
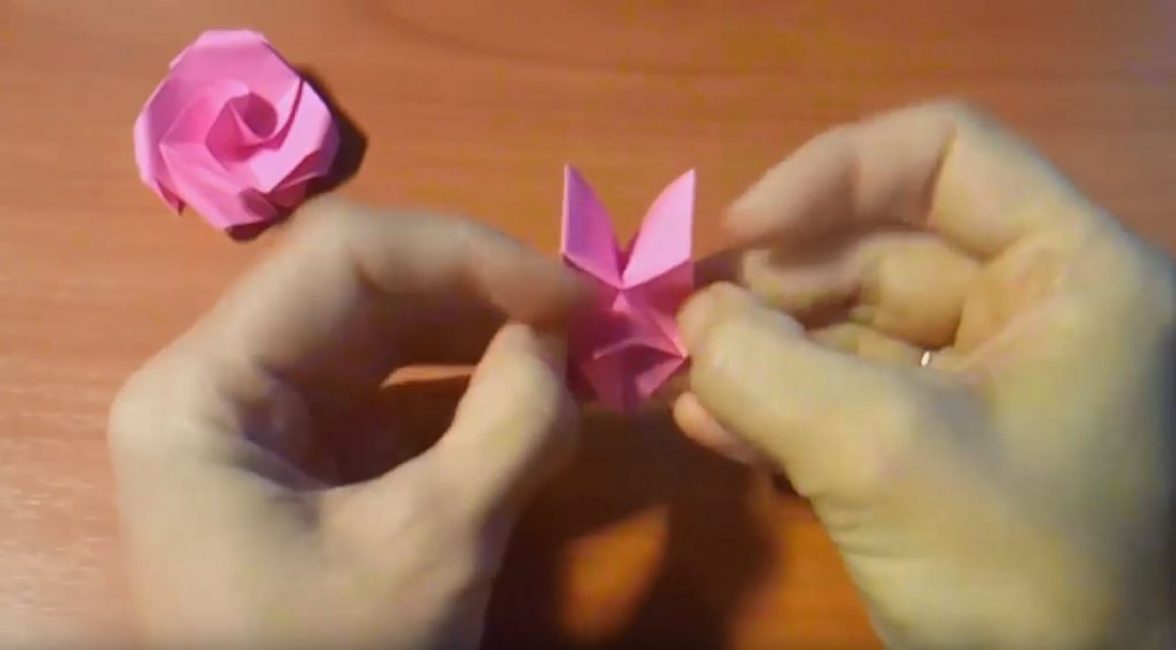
Flip the piece over to the other side. We raise the corner.
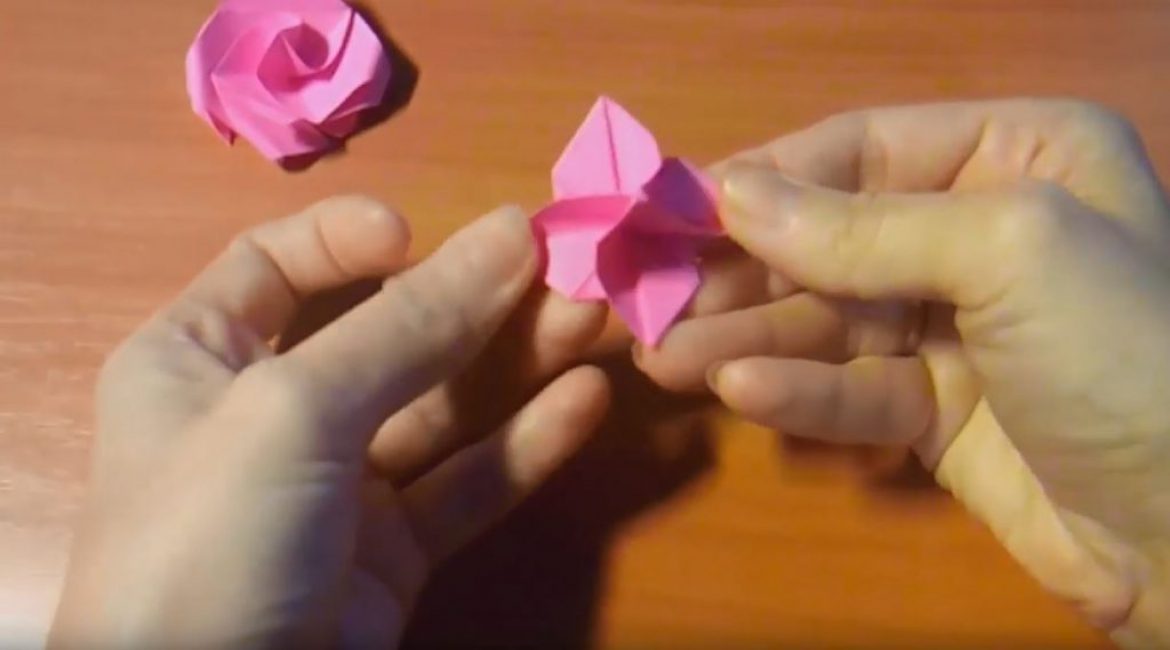
Lift the top layer of paper and fold it over.
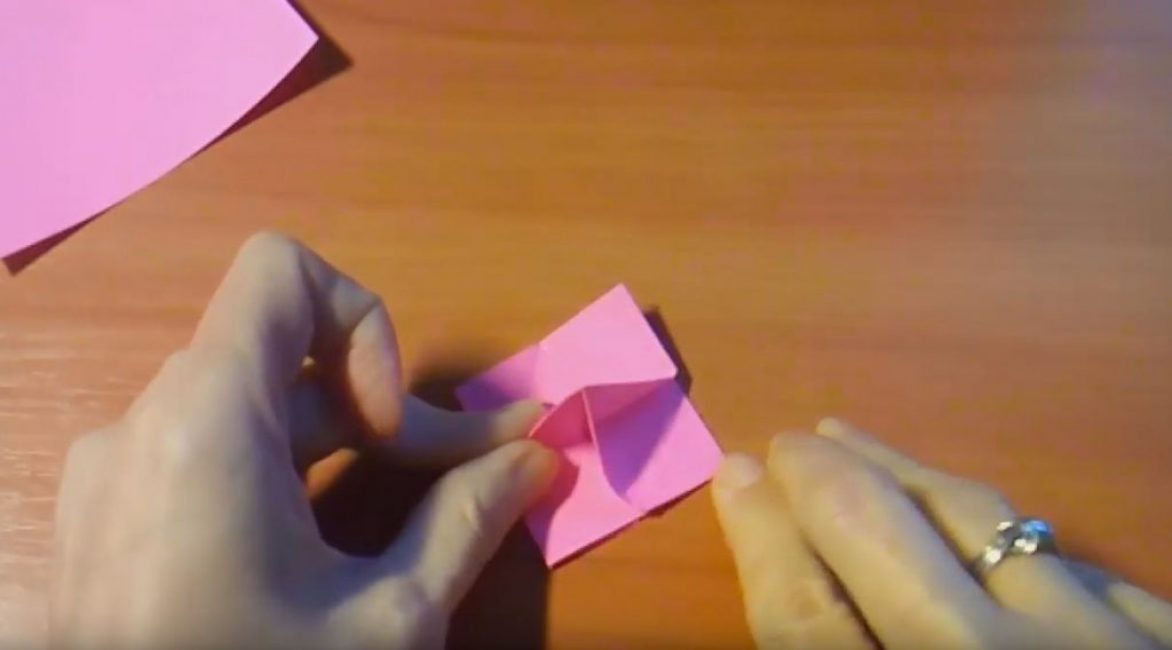
We repeat the same on the other side. You should get something like this.
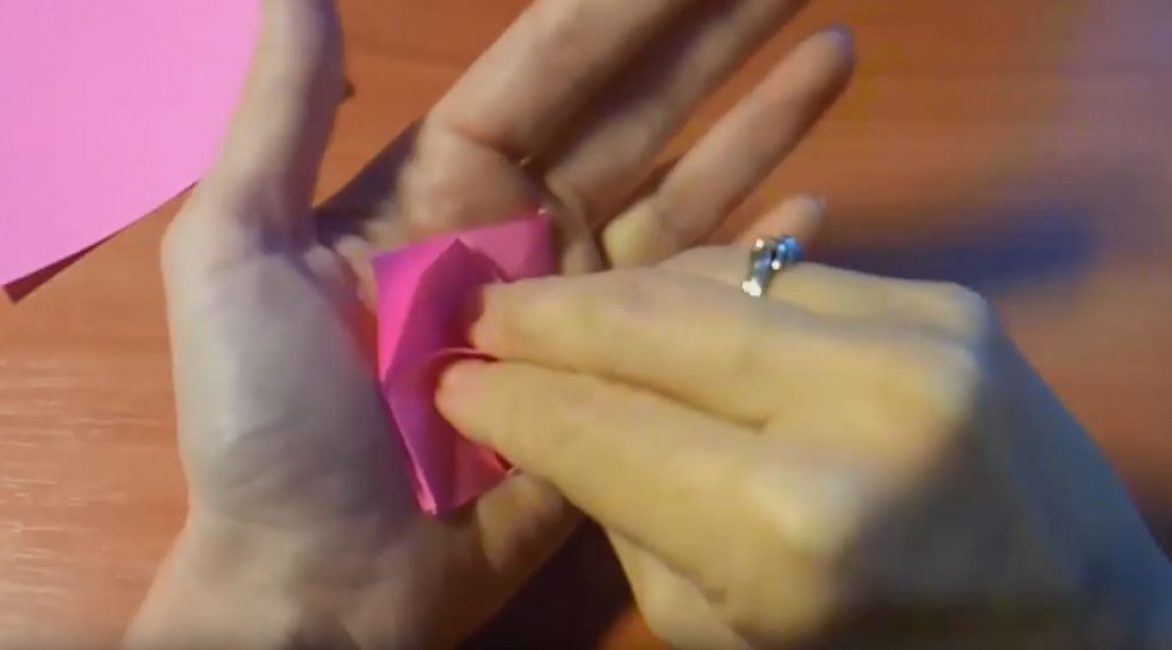
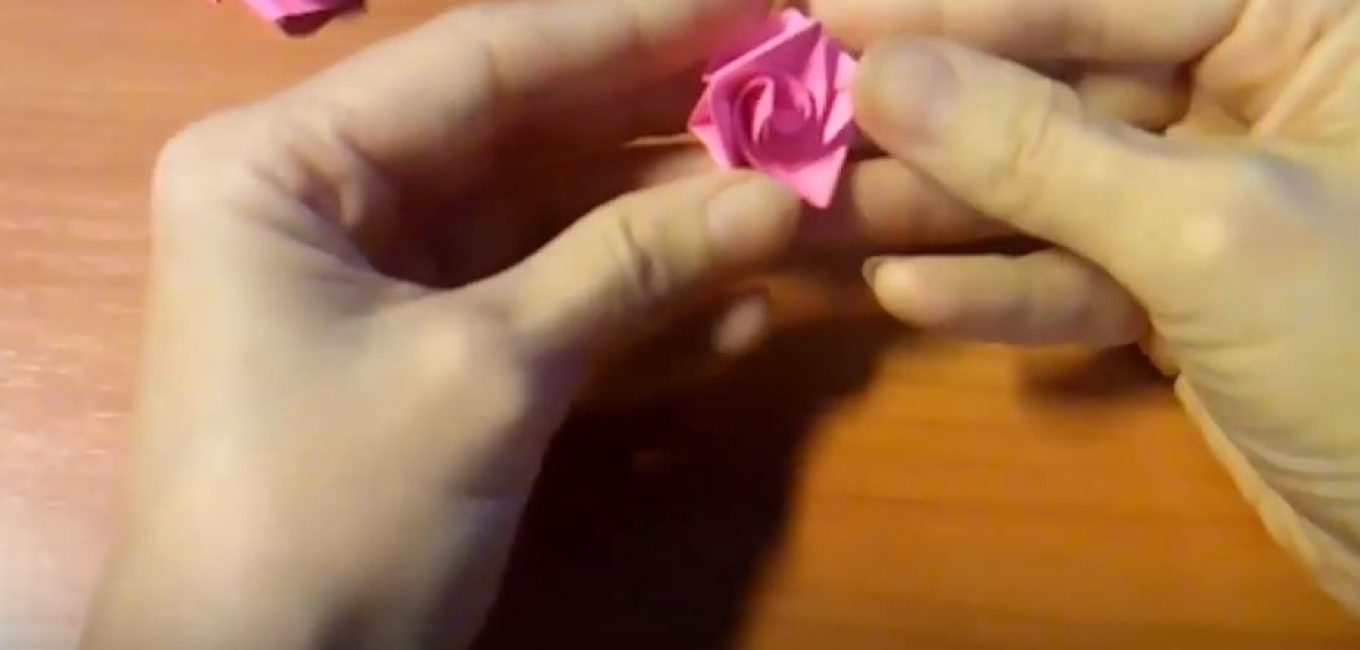
Now using 4 fingers of the right hand, we twist our rose petals clockwise, giving them volume.
Source: https://youtu.be/BaIZSa8Hxx4
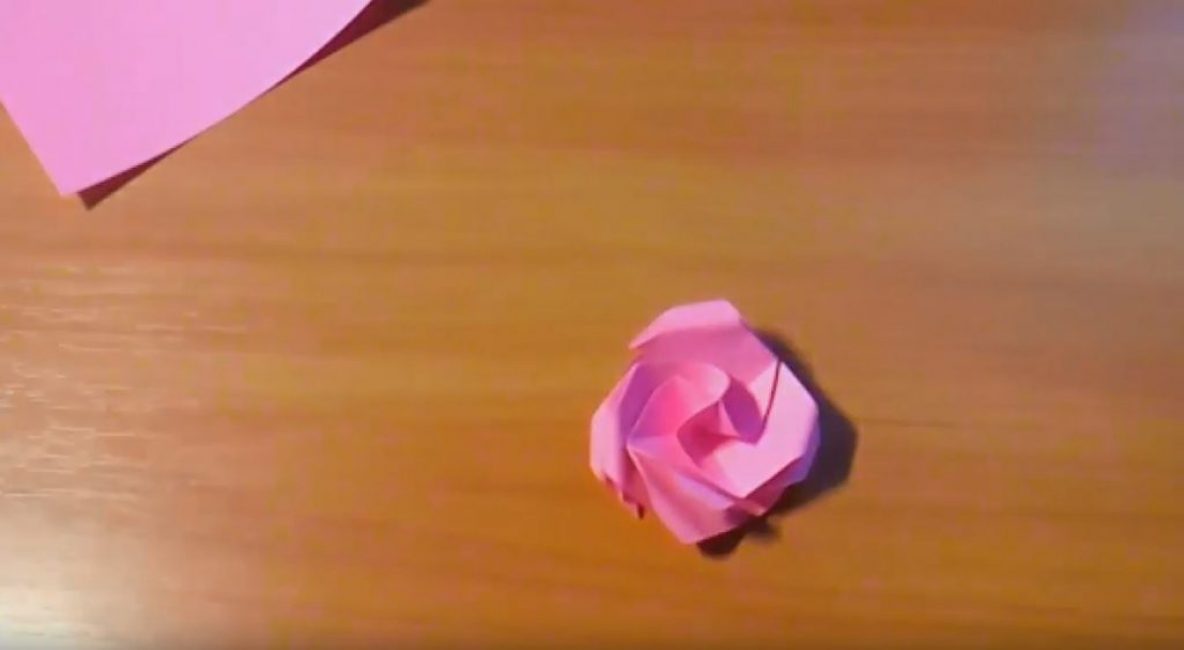
As a result, we get such a rose.
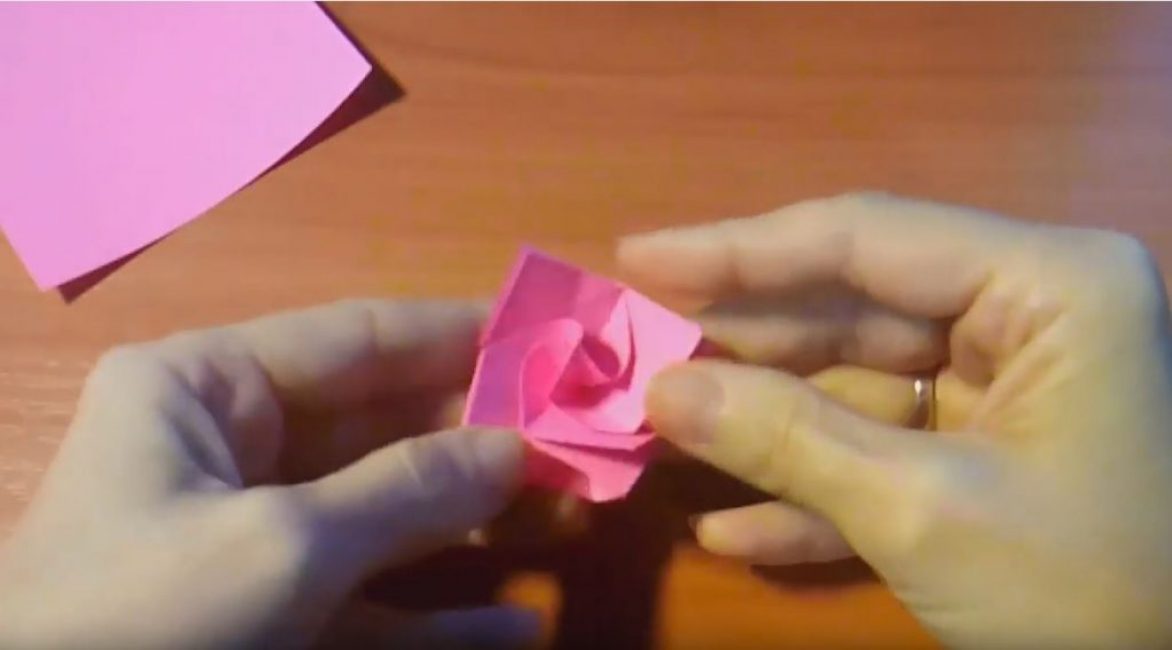
The first version of our rose is ready.
Option 2
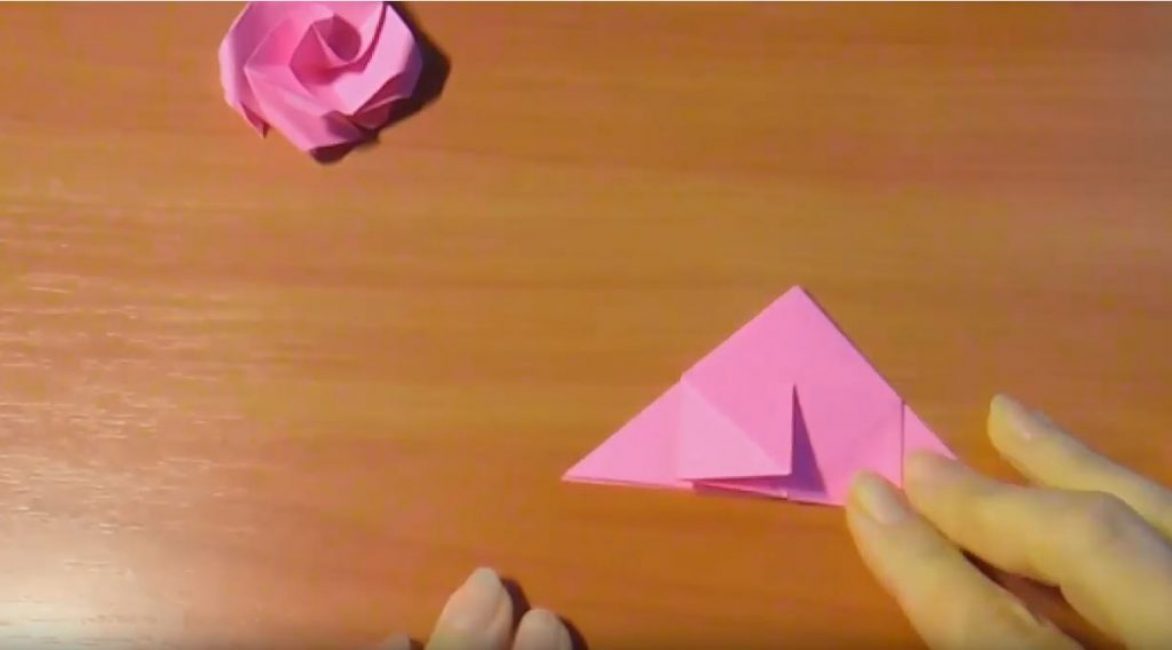
Take the second square of paper. We add everything, as in the previous rosette, repeating points 1 to 10. We get such a preparation.
Only here we bend the corners of the rectangles up from one side and the other.
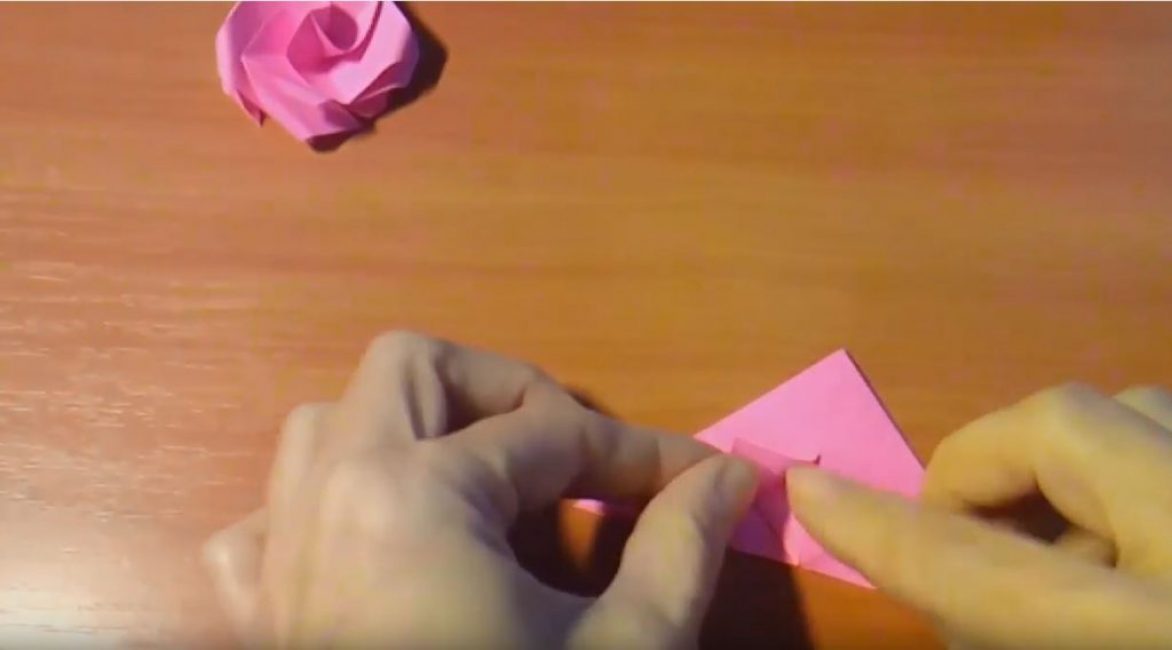
We also bend the central corner up.
Flip over to the other side and repeat the same steps. We get such a preparation.
Source: https://youtu.be/BaIZSa8Hxx4
As in the first rose, bend the top down and align it back.
We turn over the part so that there are no bends on the deployed sides.
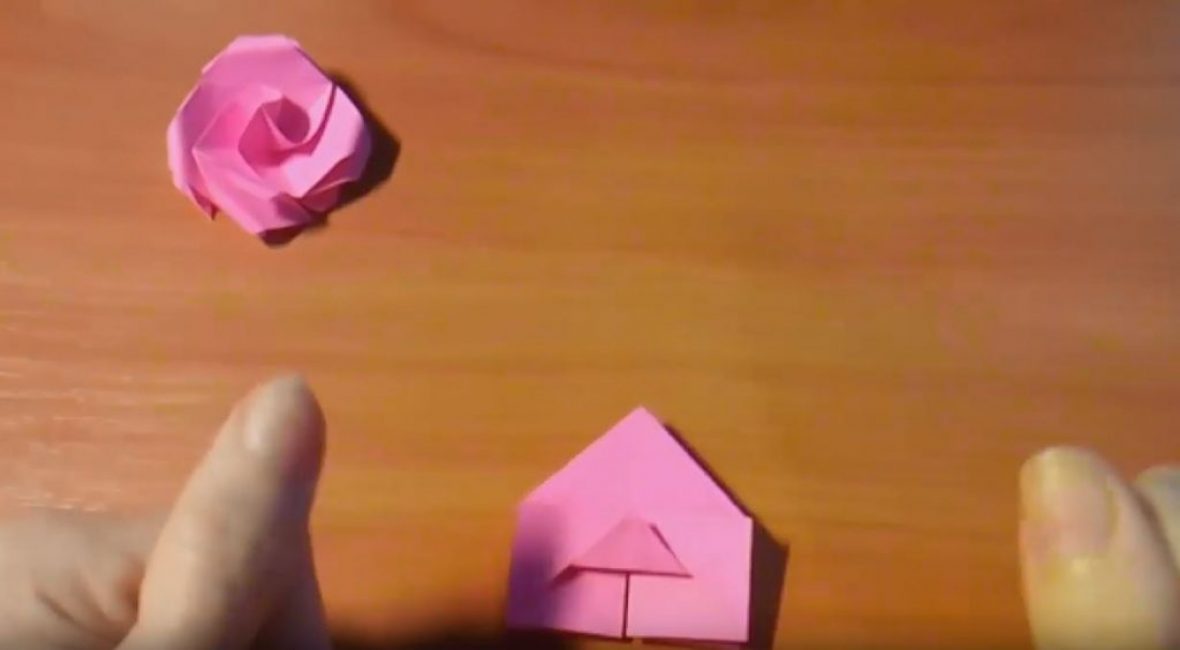
And on these sides, in turn, we fold the corners to the center.
We also raise the top of the central triangle to the center.
Turn over the workpiece and repeat the same steps. In turn, we bend first one, then the other corners. Do not forget about the central triangle, which we also bend.
Expand the bottom of the rose.
We fold the fragments so as to get a flat workpiece.
We turn the workpiece over and, as in the previous rose, bend the petals.
With the help of 4 fingers and a palm, we twist our rose.
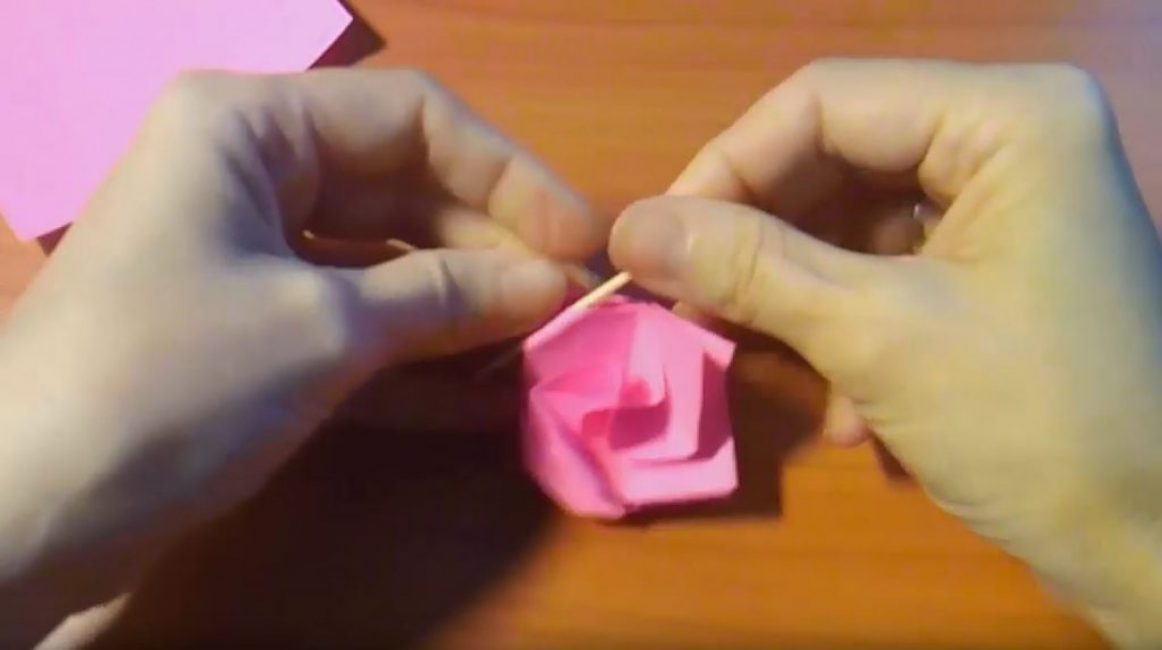
Again, using a toothpick, twist the edges of the rose petals.
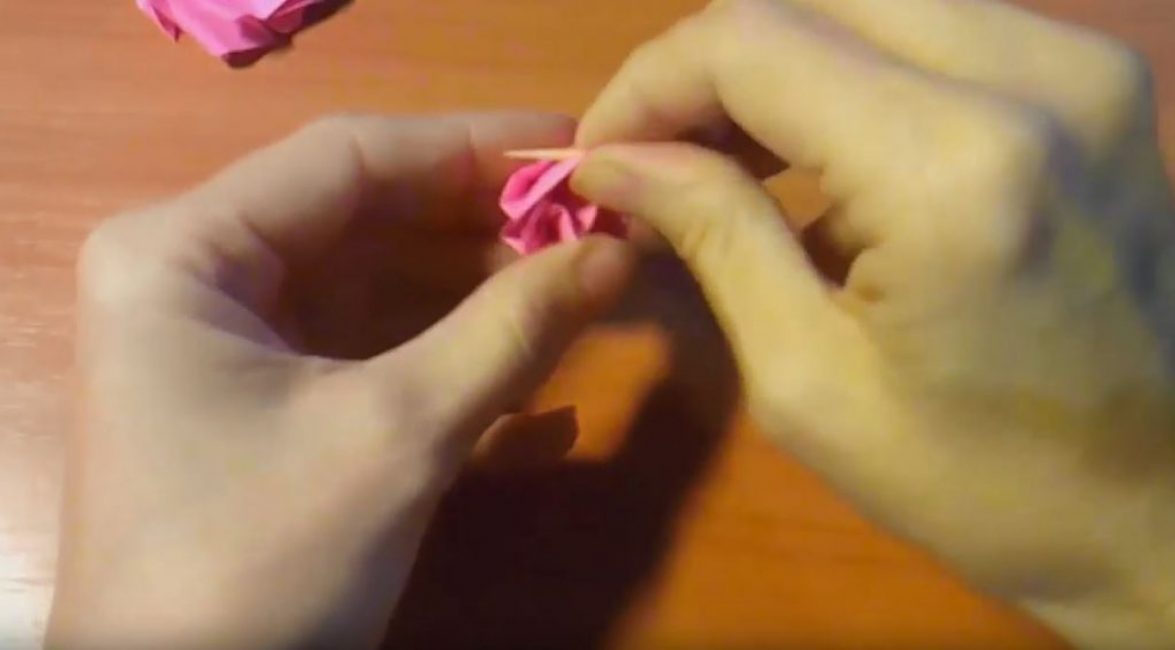
Our roses are ready.
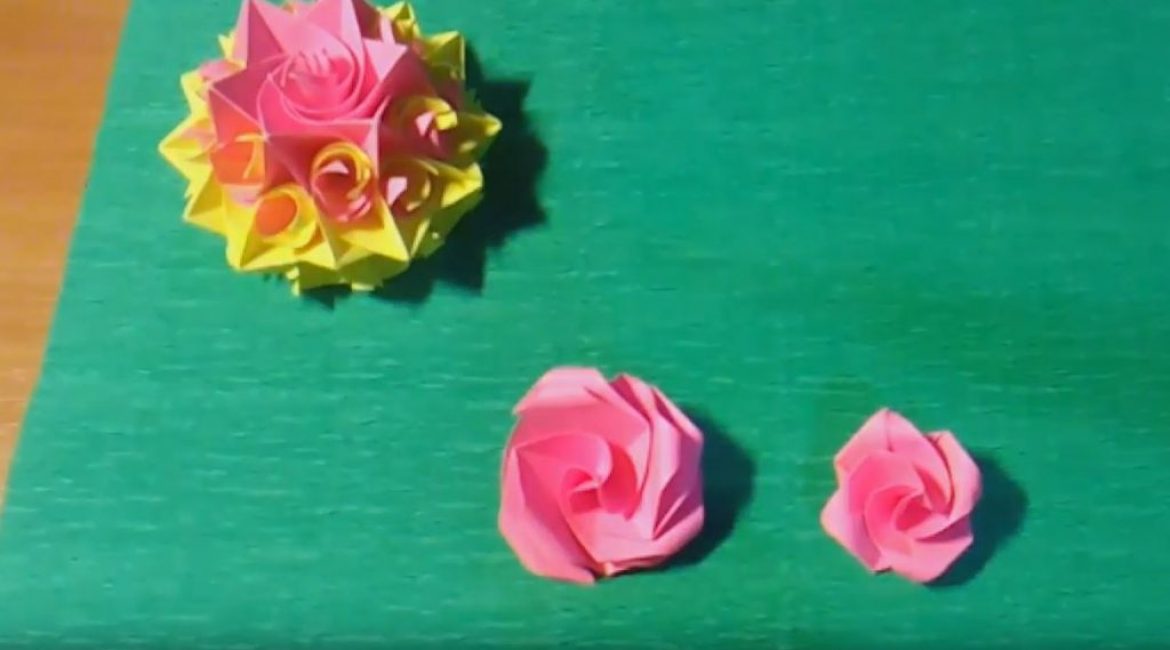

How to quickly make a rose from one square of paper
Flower from a square of paper: how to make chic roses? to decorate a gift


