

A vice is a tool for firmly fixing parts during their processing (welding, sawing, drilling, etc.). He's pretty in demand. The scope of the vise is not limited to solving household problems, but also includes industrial scales. A good tool is quite expensive. If you don't have a vice, no problem. We will tell you how they can be built from old shock absorbers.
Content:
 Read also: How to unscrew the strainer nut in the plumbing system: step by step instructions
Materials for manufacturing
To make a vise, you will need:
- automobile shock absorbers;
- multilayer plywood;
- glue "Moment";
- threaded rod;
- pipe tee;
- round wooden rod;
- Bulgarian;
- hammer;
- Scotch;
- vise;
- metal brush;
- Circular Saw;
- milling cutter;
- polishing head;
- end mill;
- sandpaper;
- welding machine;
- WD-40 lubricant;
- paint can;
- clamps;
- washers, screws, screws, bolts and nuts.
Step 1. Prepare shock absorbers
We clean the old shock absorbers first with a metal brush. We remove unnecessary parts with a hammer or cut with a grinder.
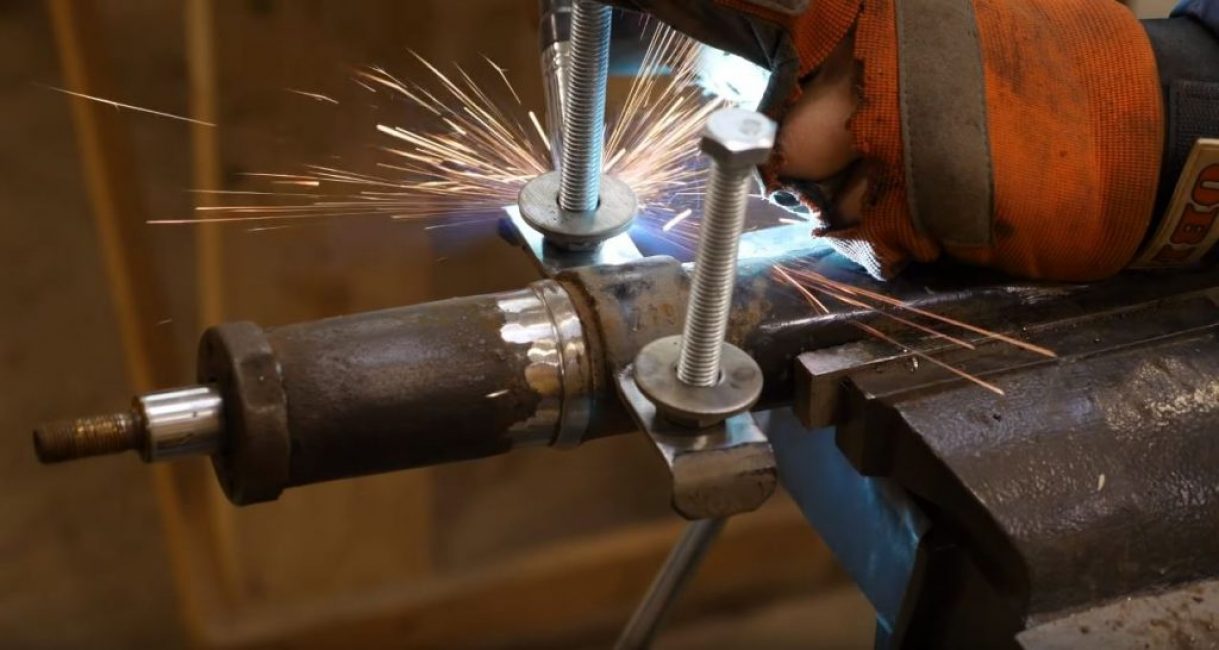
Washers are welded with nuts and nuts are welded down on both sides to the holes in the shock absorbers.
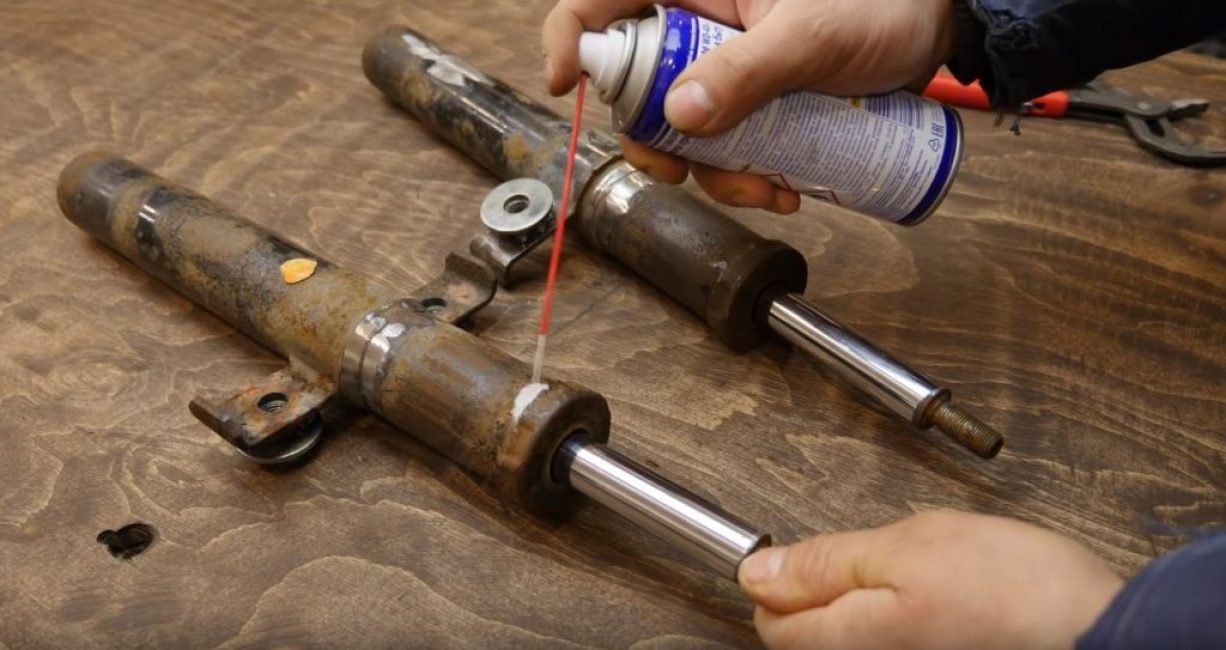
We treat with WD-40 grease the places where the caps fit to the shock absorber bodies and remove them with a hammer.
We wrap the nickel plating areas with adhesive tape and paint the shock absorbers with spray paint.
Step 2. Let's move on to working with wooden blanks
Using a circular saw, we cut out 4 rectangles 12.5x30 cm in size from dense plywood.
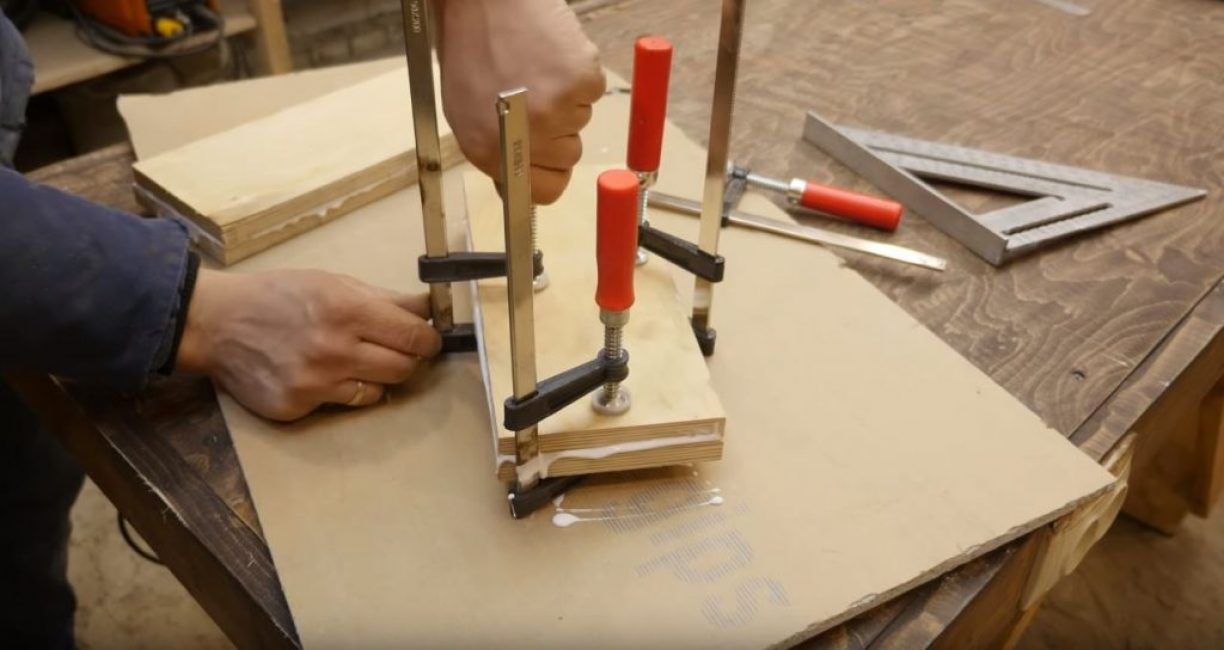
We apply Moment glue on the rectangles and glue them two by two, holding them with clamps. We are waiting for some time.
Then remove the clamps and clean with a polishing head.
We number the workpieces and use a router to smooth the sides.
We mark the center of the second workpiece and, stepping back the same distance, we make two more marks.
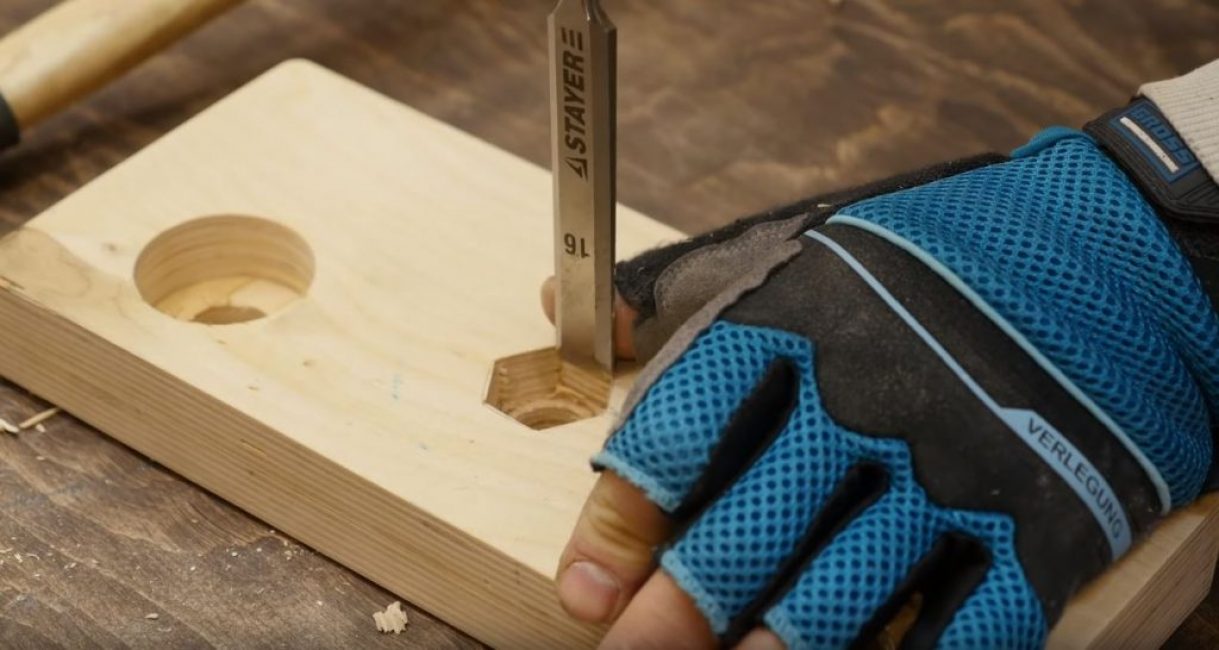
On both sides of the center, along the marks, we make stepped non-through holes with an end mill.
Turn the workpiece over to the other side and drill a hole.
We drill a central stepped hole and use a chisel to form a hole for the nut.
We put the second workpiece on the first and mark three holes in the first.
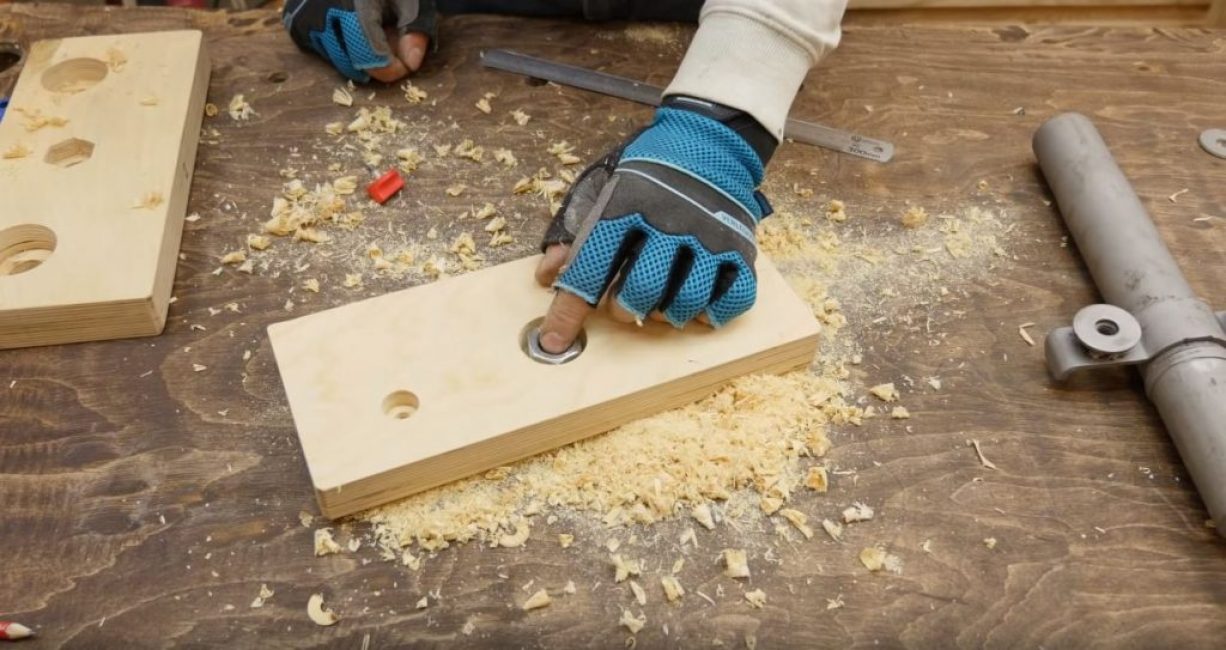
We drill the central hole under the washer.
Step 3 Assemble the Vise
We screw the nut onto the threaded rod and with the help of Moment glue we fix the nut in the workpiece No. 2.
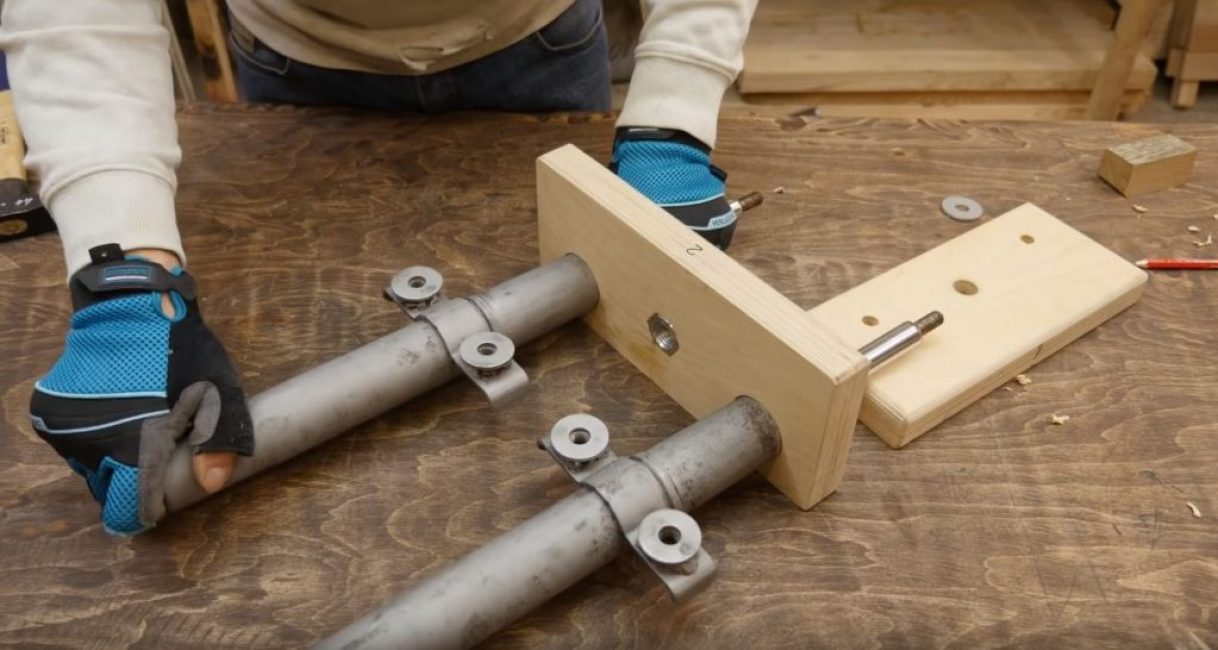
We insert shock absorbers into the side holes, rods forward. Using a wooden block and a hammer, we seal the joints.
We insert a washer into the central hole of workpiece No. 1 and fix it with self-tapping screws through pre-drilled holes.
We turn over the workpiece No. 1, put the washer into the central hole. We wind the nut onto the threaded rod and insert it into the workpiece.
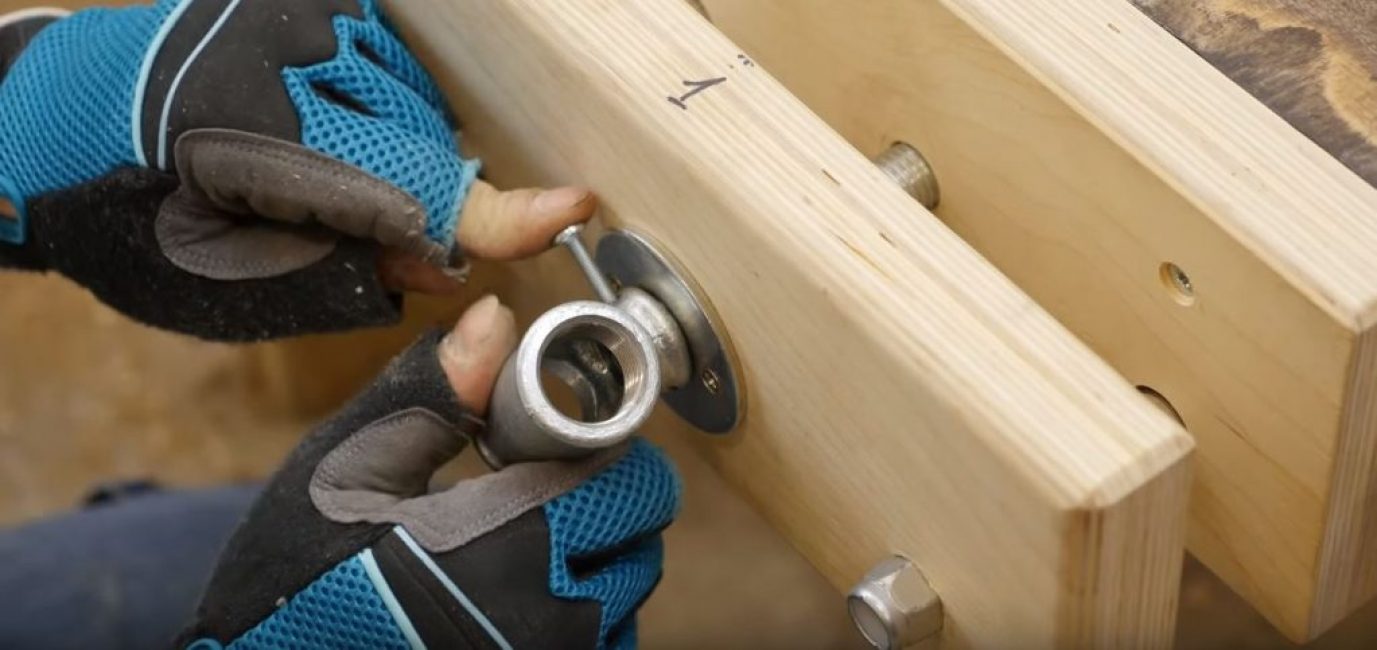
We wind the pipe tee onto the rod from the front side.
In the nut wound on the rod, we make a through hole.
We make a similar hole in the tee.
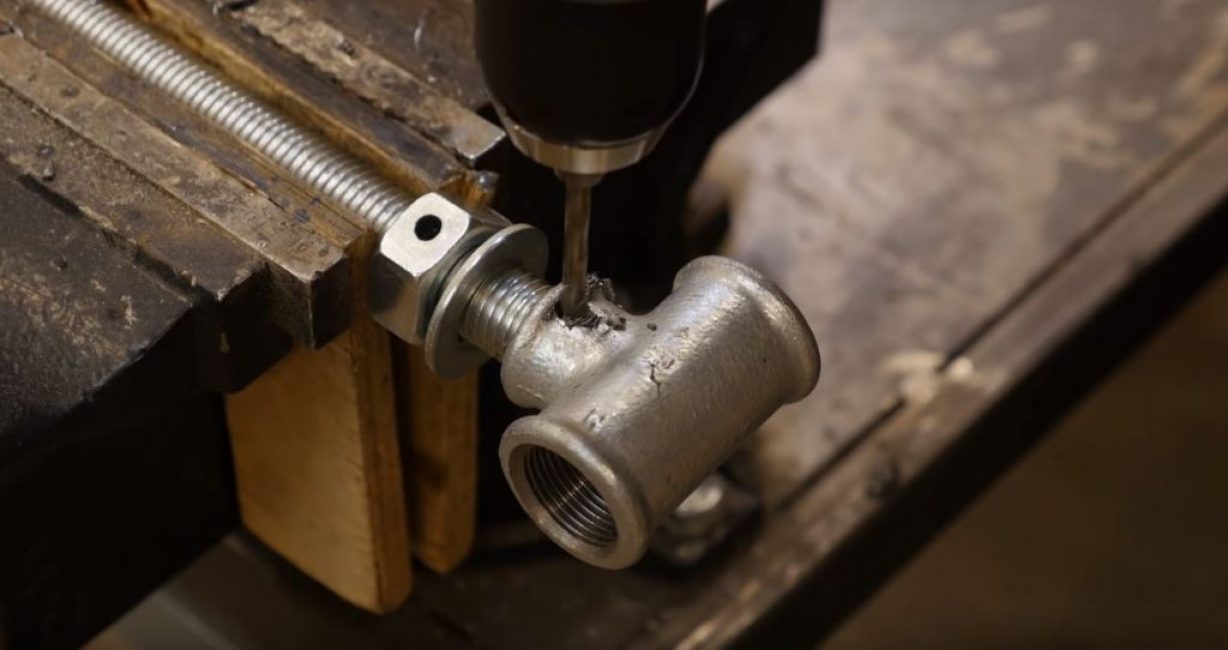
Using a screw, fix the nut on the rod. We remove the excess length with the help of a grinder.
We wind the rod into blank No. 2.
We fix the workpiece No. 2 with screws to the tabletop of the workbench.

We fasten shock absorbers with self-tapping screws with washers from below to the table top of the workbench.
We put blank No. 1 on the rods, securing it with nuts.
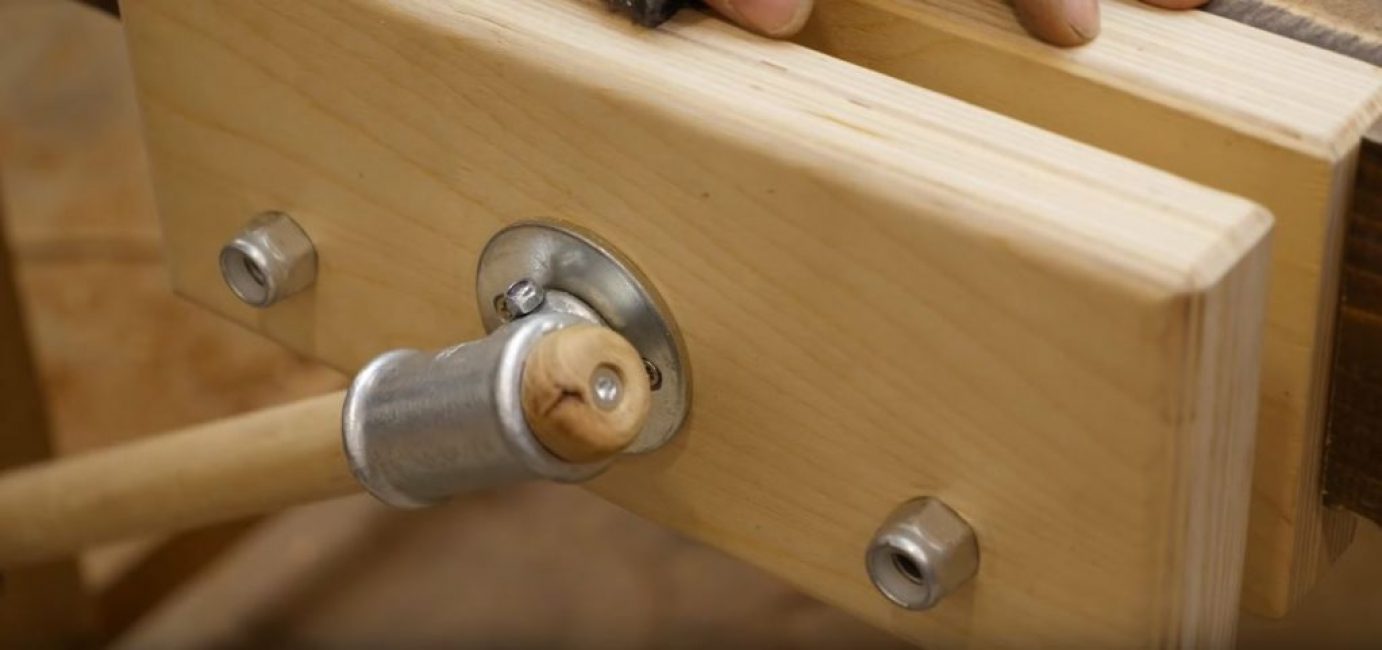
We shift the workpiece No. 1 forward, screw the pipe tee onto the end of the threaded rod and fix it with a screw and nut.
From a round wooden rod, with a diameter greater than the end of the tee, we cut off two blanks and, fixing them on an electric drill, we make two washers with sandpaper.
We insert a wooden rod, 20-25 cm long, into the tee. We attach the manufactured washers to its ends using self-tapping screws.
Our vise is ready to use.

Vise shock absorbers
Vise from old shock absorbers? | An indispensable assistant in the workshop


