
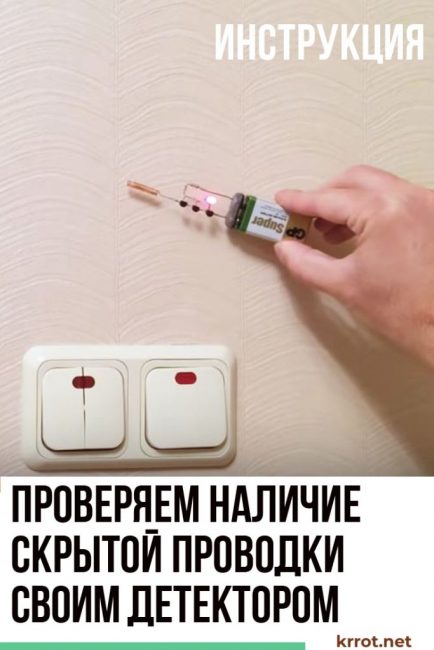
Very often, when carrying out repair work, it is necessary to know where hidden wiring is laid in the walls. Otherwise, you risk hitting it with a drill, hammer drill, grinder or other power tool, which can lead to a short circuit or electric shock.
To track hidden wiring, there is a “wiring finder in the wall”. However, if you do not have such a device, then you can make a super detector yourself with your own hands. It is enough to purchase all the necessary parts and some free time to create a device that will protect you from short circuits during repairs.
Knowing where hidden wiring is laid is necessary not only during repairs. Even if you're going to drive a nail into the wall to hang a picture, it's best to check the area first with a detector.
Content:
 Read also: Landscaping your site with your own hands - (130+ Photo Ideas & Videos) + Reviews
Materials for manufacturing
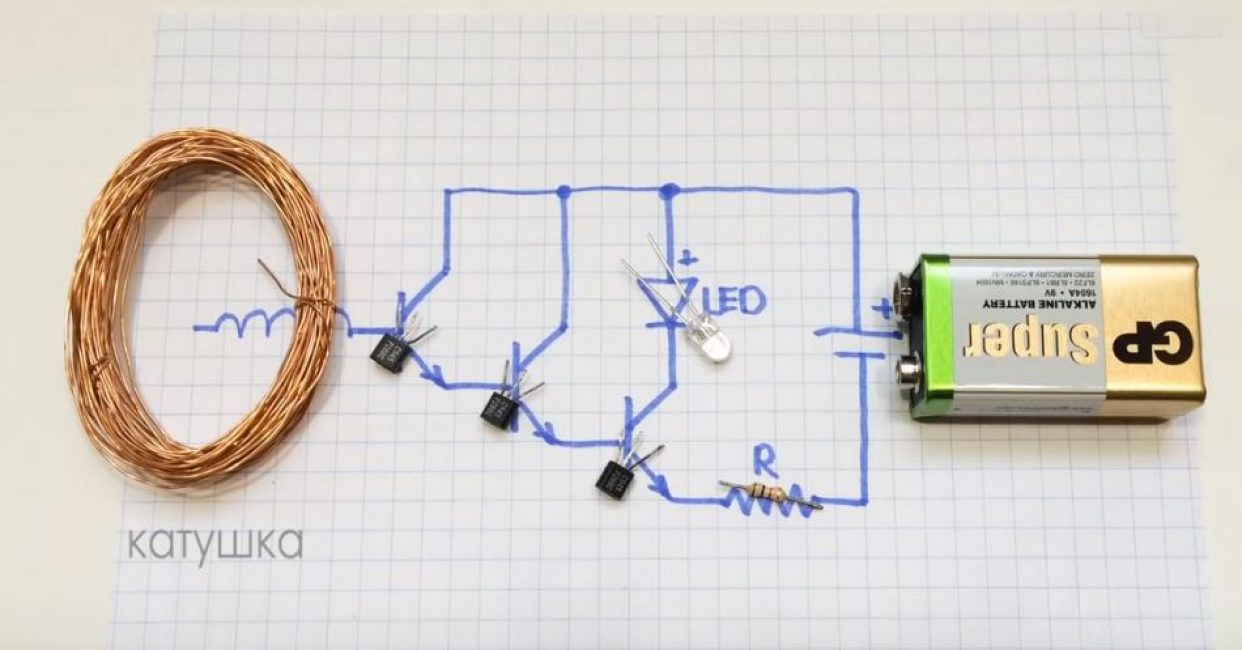
In order to make a hidden wire detector, you will need:
- 3 any bipolar NPN transistors;
- LED 5 mm (preferably red);
- resistor with a resistance of 1 kOhm;
- thin insulated copper wire with a diameter of 0.5 mm;
- connector for "Krona";
- battery "Krona";
- soldering iron;
- solder;
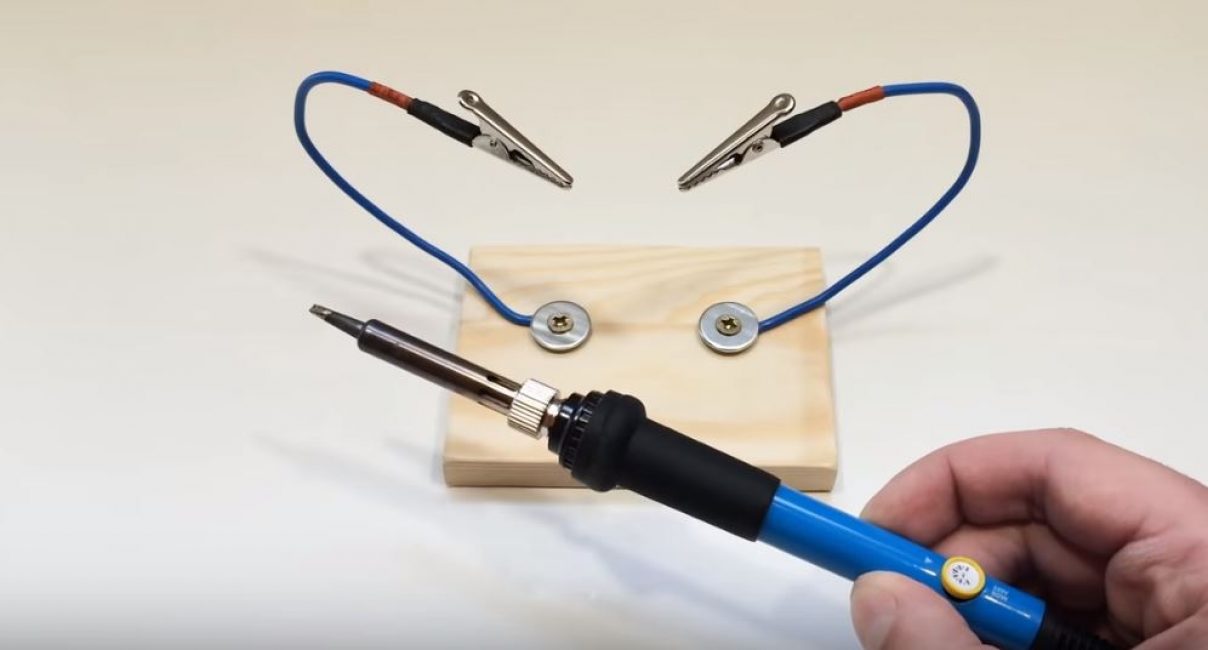
- a soldering holder that you can make yourself, or fixed "crocodiles";
- ruler;
- wooden skewer or other thin stick with a diameter of about 4 mm;
- scissors;
- tweezers.
Step 1. We make a measuring antenna
- We measure and cut 30 cm of wire.
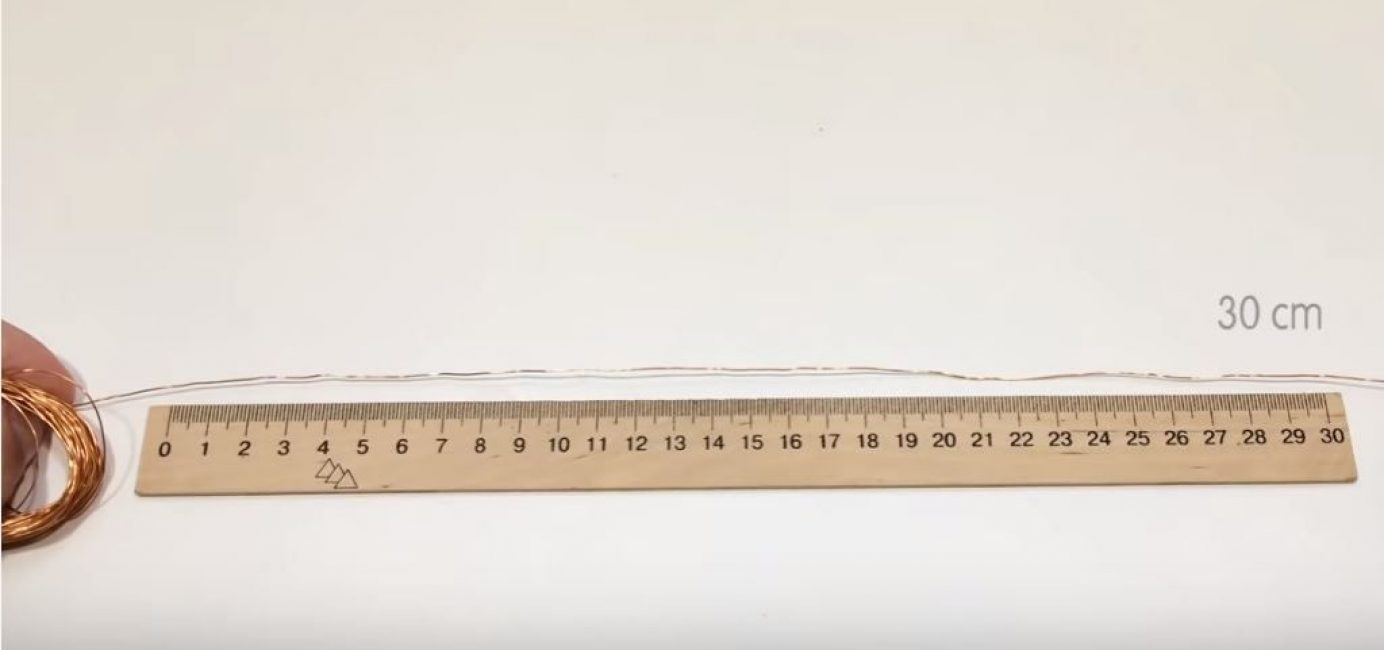
- We wind the wire on a thin stick, leaving about 2 cm at the end.
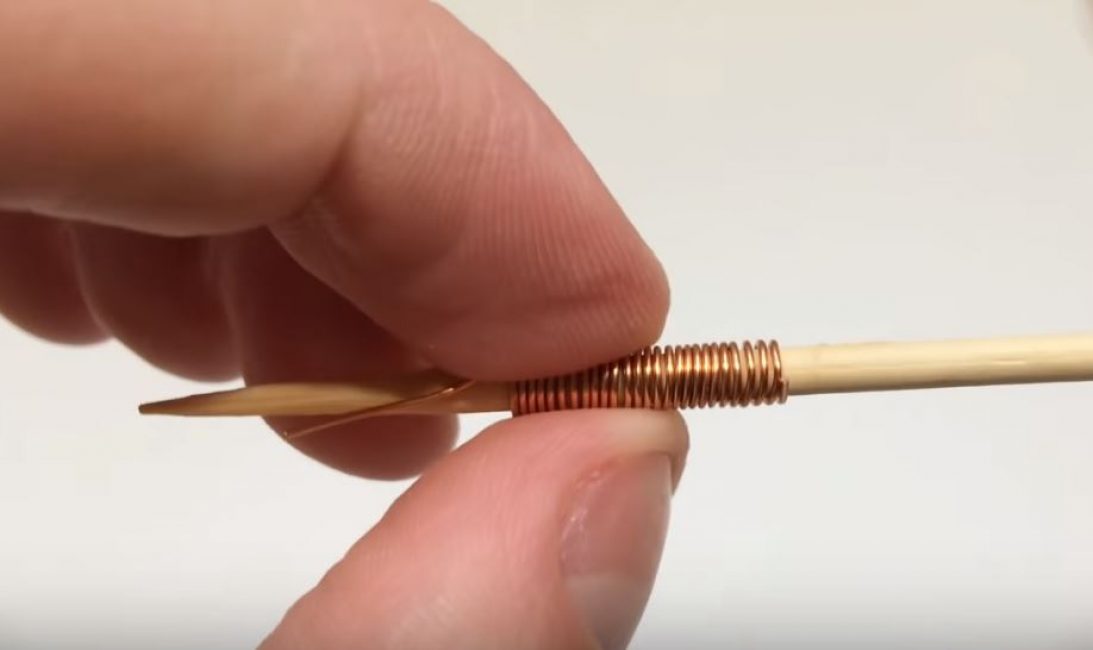
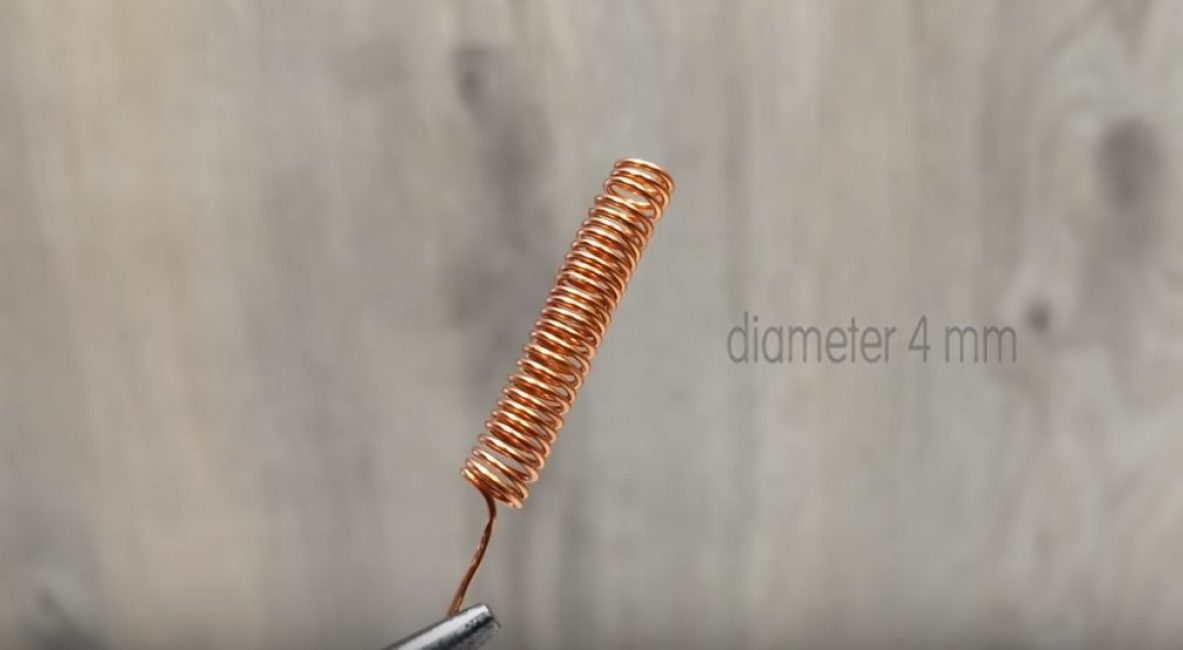
- The result is a small coil.
Step 2. Preparatory stage
- We prepare all the details that are indicated in the diagram.
- We install the holder for soldering in a convenient position and heat up the soldering iron.
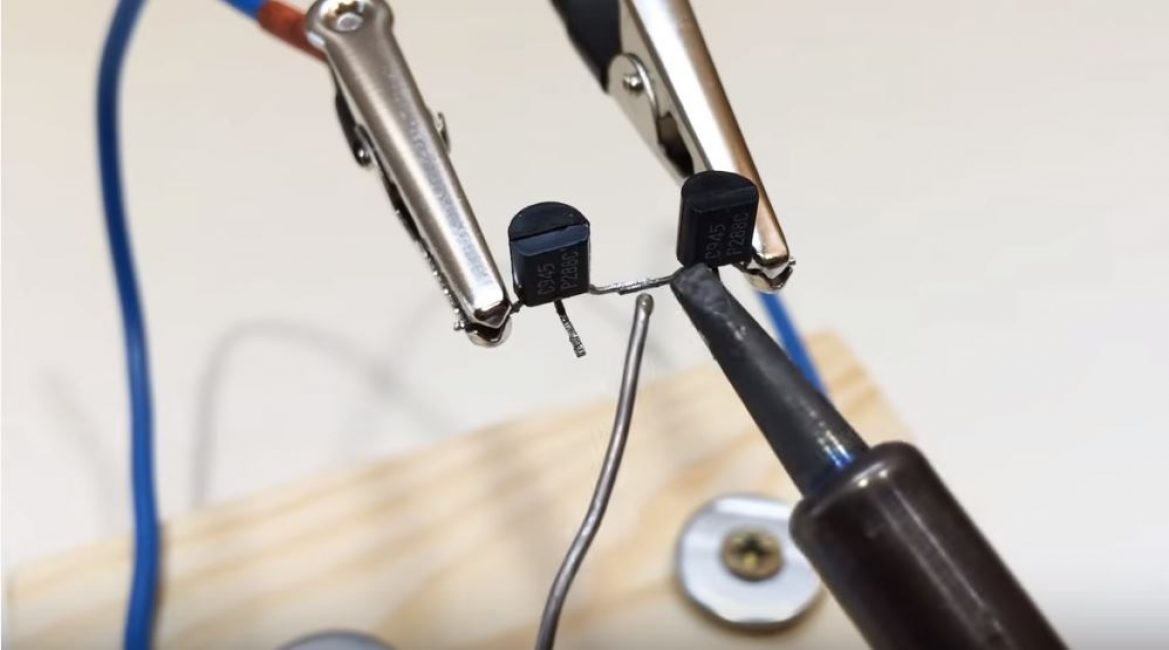
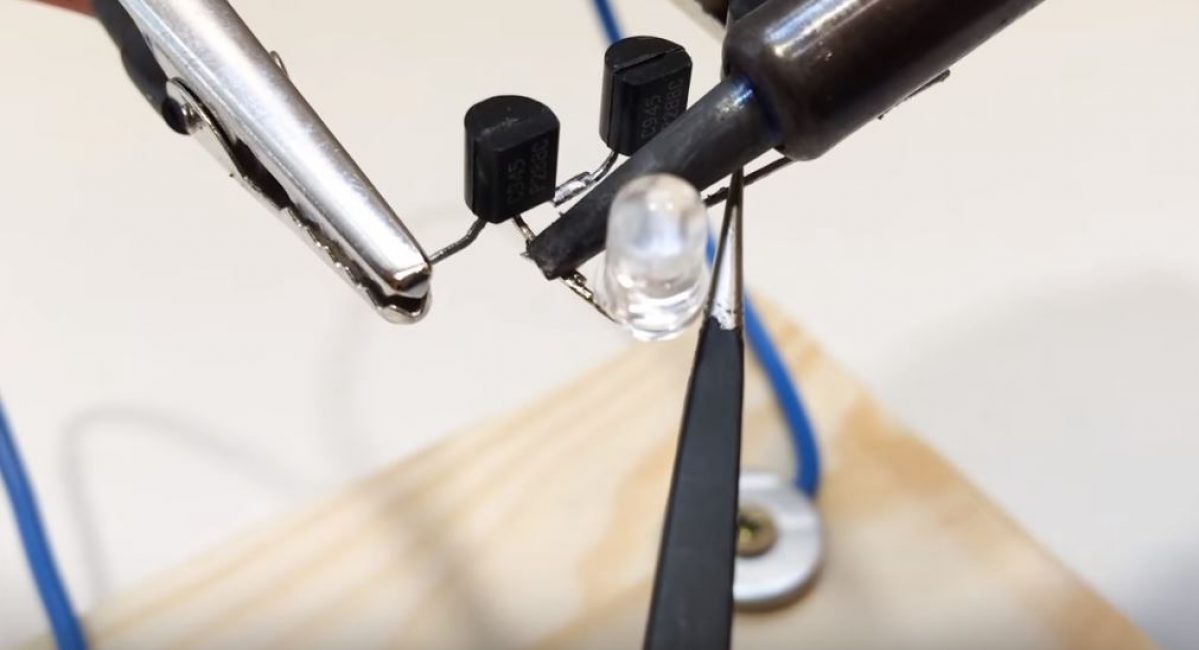
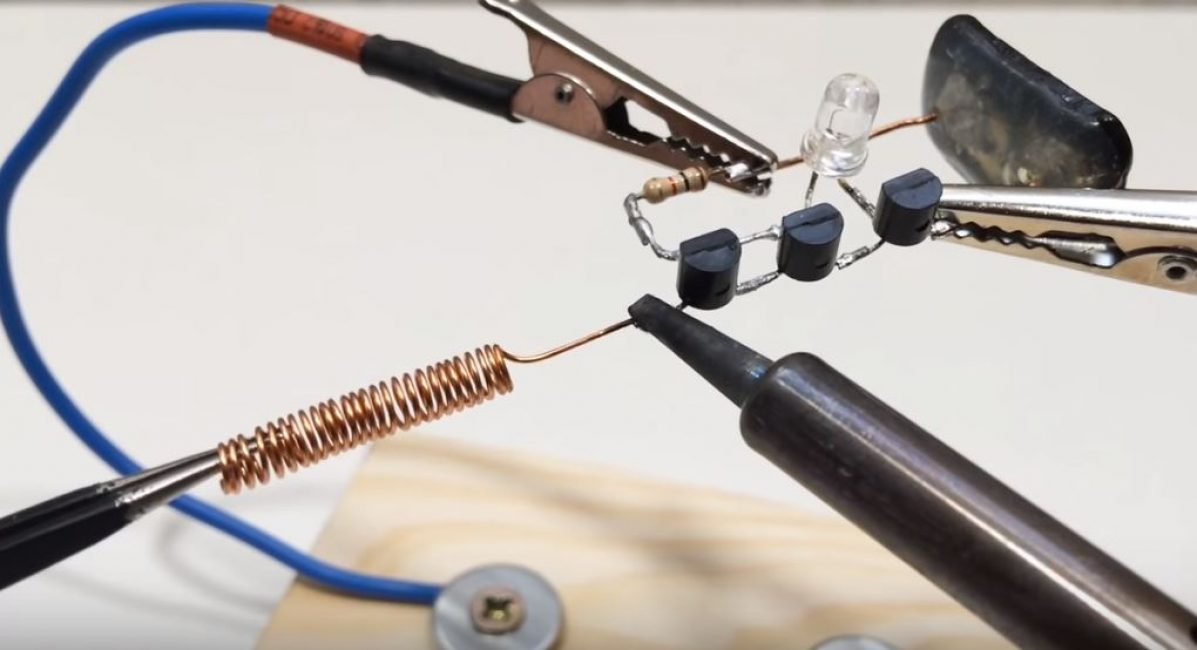
Step 3: Solder the transistors
- For transistors, we take the side leads in different directions. We fix the first 2 transistors in the soldering holder, and using solder, solder 2 outputs.
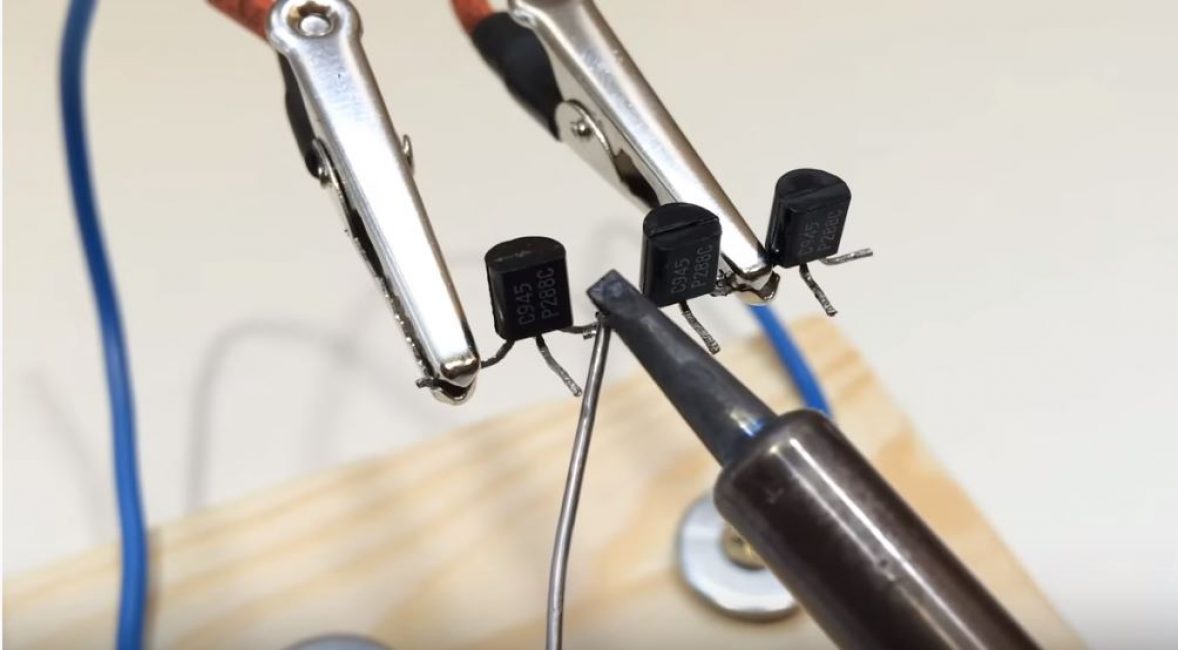
- We fix the 3rd transistor and 2 already soldered transistors in the holder and solder their conclusions.
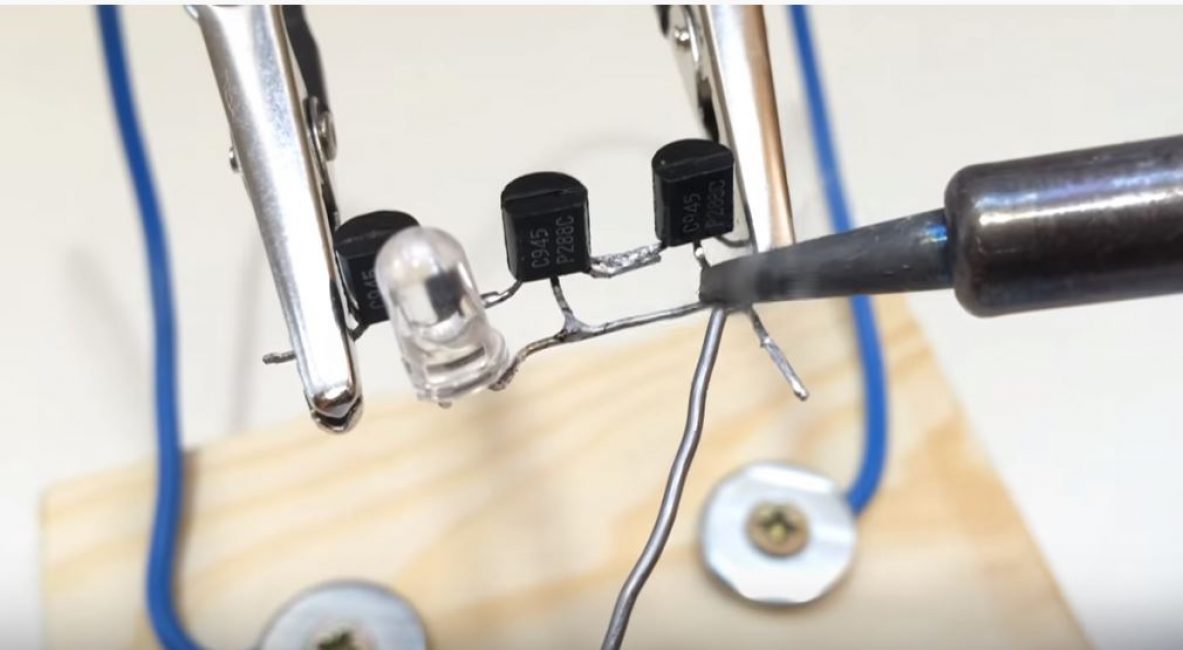
Step 4 Solder the LED
- We solder one of the terminals of the LED lamp to the central terminal of the extreme transistor, holding it with tweezers by the other terminal.
- An aluminum wire about 5-7 cm long, to which the second output of the LED is soldered, is soldered to the central output of the 2nd and 3rd transistors.
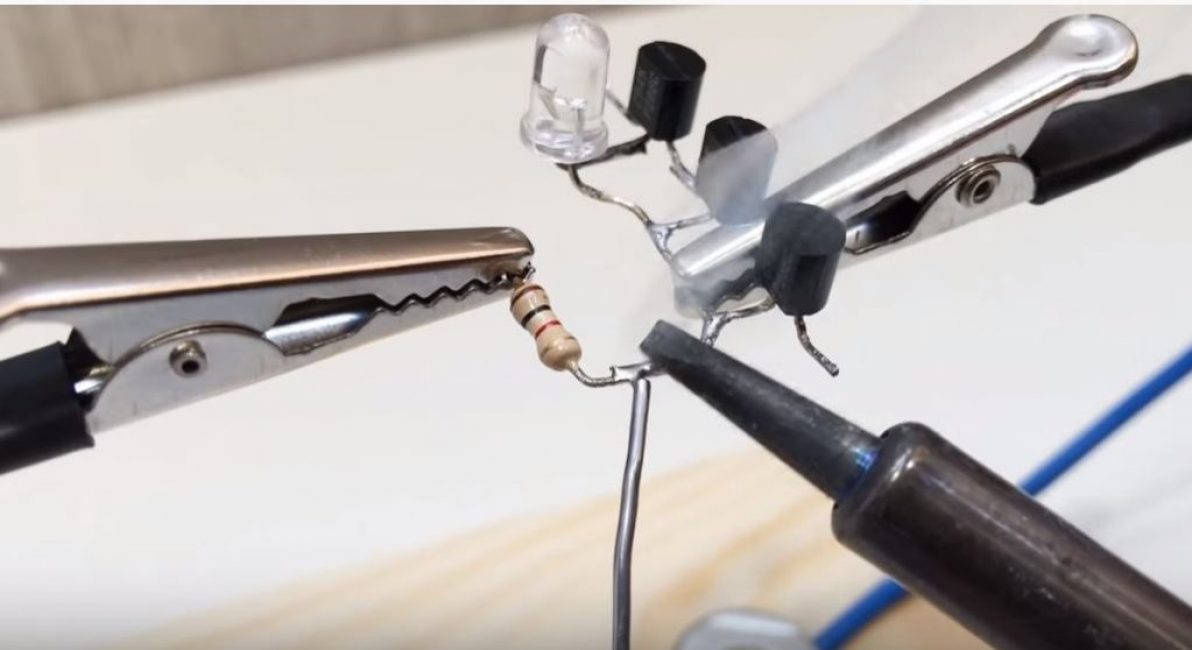
Step 5 Solder the Resistor
We fix the resulting structure in the holder and the edge of the aluminum wire, bent at an angle of 90 degrees, solder one of the resistor leads.
Source: https://youtu.be/uOhEbo4vW9k
Step 6. Solder the connector for the "Krona"
We solder the second output of the resistor to one terminal of the connector, to the other - the free terminal of the transistor, to the central terminal of which the output of the LED is soldered.
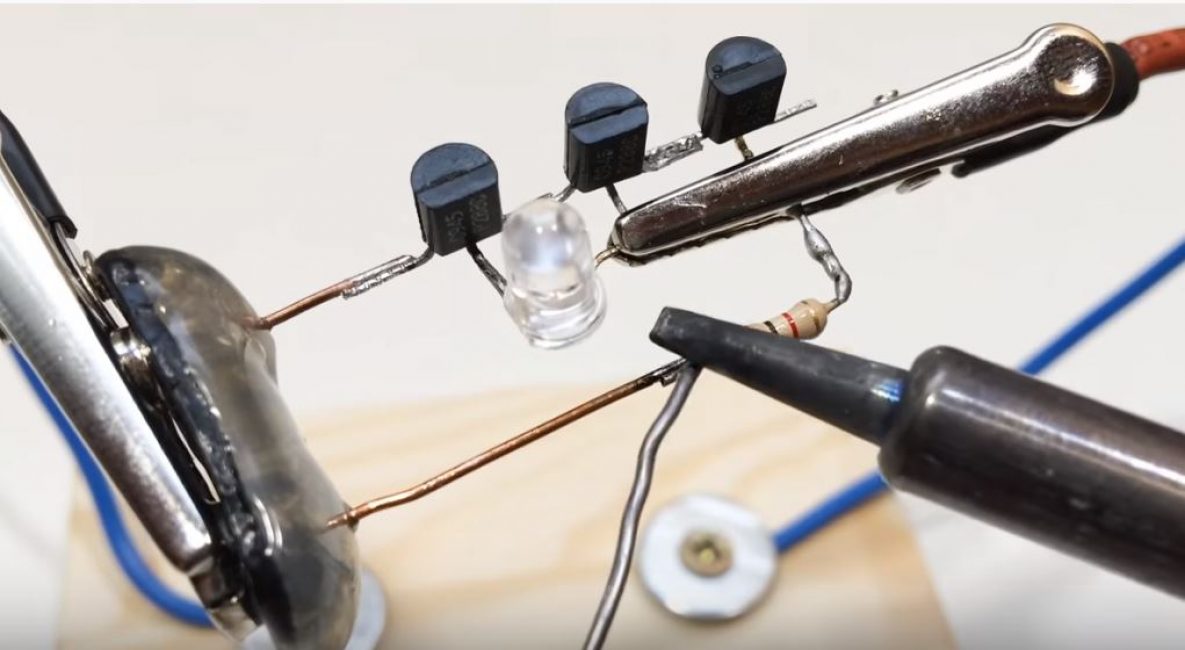
Step 7 Solder the Antenna
We solder the long edge of the coil made of copper wire to the free terminal of the extreme transistor.
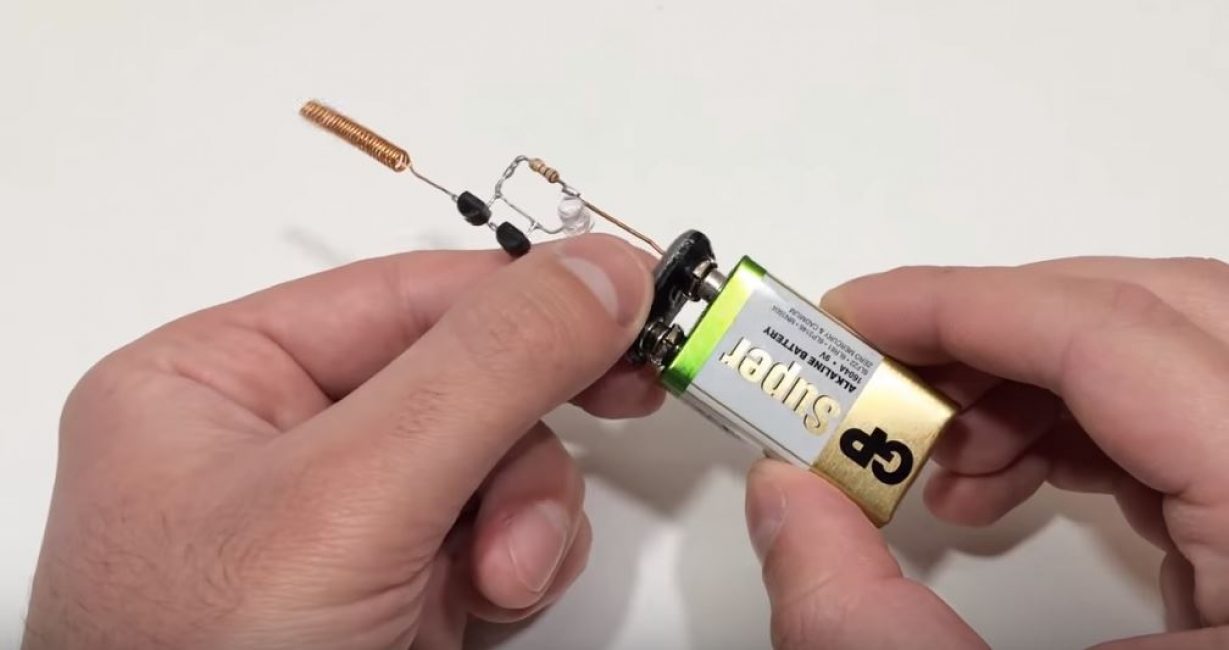
Step 8. We connect the Krona battery
Finally, connect the power supply.
 Read also: Perennial flowers (TOP 50 species): garden catalog for giving with photos and names | Video + Reviews
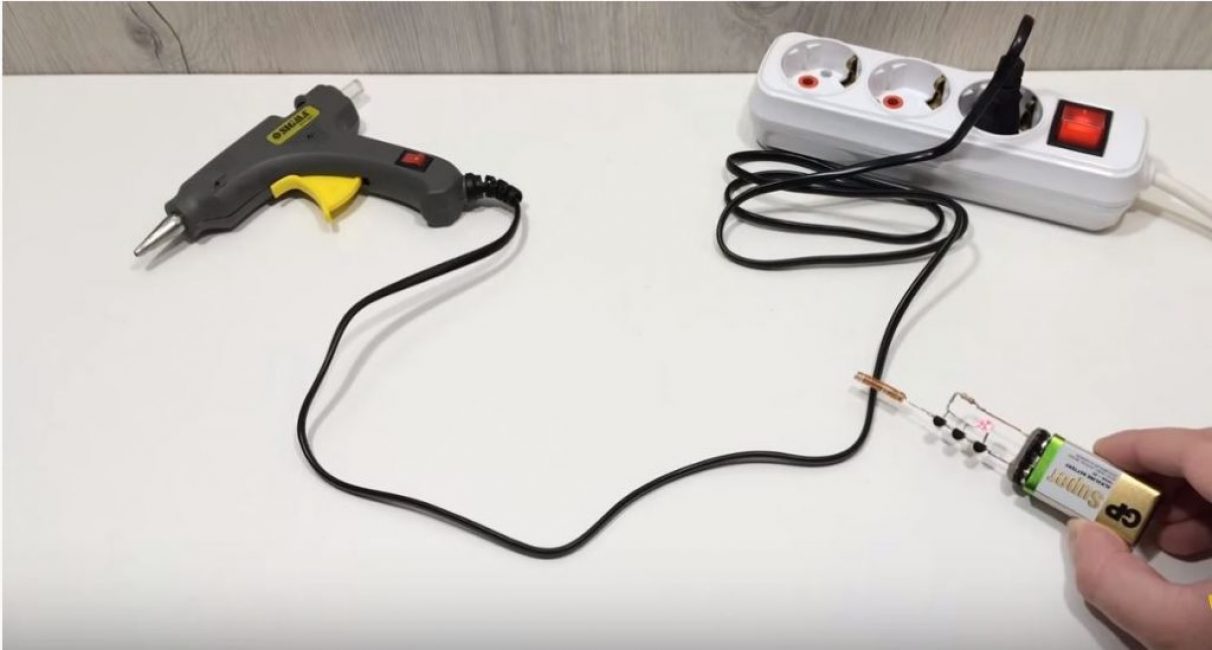
 We conduct testing
- We pass the detector over the wires or the body of any electrical appliance plugged into the outlet at a distance of about 2-3 cm. The LED lights up.
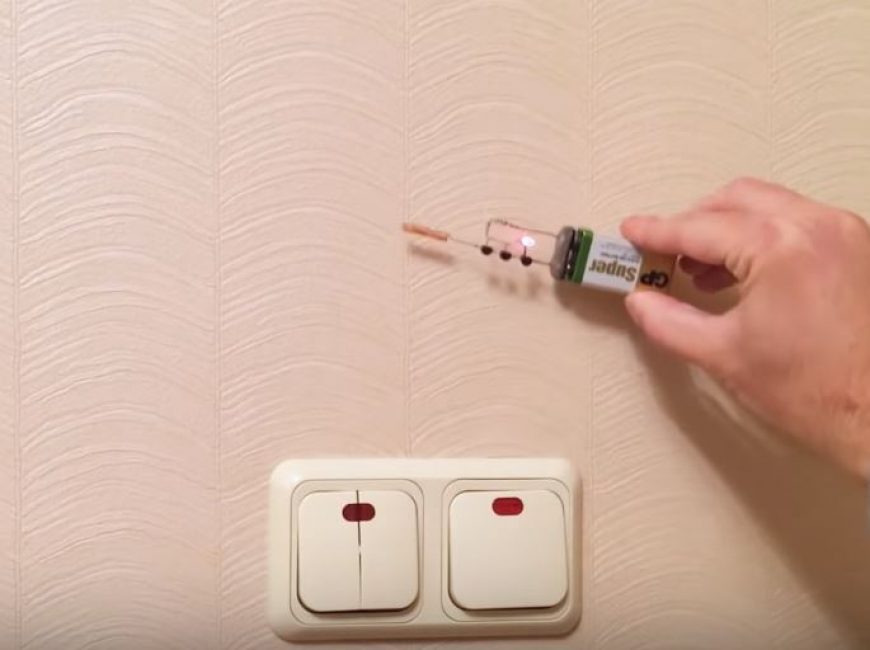
- We move the device along the wall. Above the wiring embedded in the wall, the indicator also lights up.
Video: How to make a hidden wiring detector? Super device with your own hands!

How to make a hidden wire detector? Super device with your own hands!
Do-it-yourself hidden wiring detector ??? | Scheme + Instruction


According to the drawing, the wire is without insulation.
Helpful and helpful tips!
Sergei! It's not entirely clear what you mean?
If possible, a little more about soldering aluminum wire ...
simple, fast and practical...