

With seed cultivation, it is important to achieve high germination rates. To do this, it is necessary to carry out a special processing of seed material prior to planting, which is called stratification.
The use of these methods allows you to grow seeds of various crops in conditions as close to natural as possible.
Content:
 Read also: Rose home (room) in a pot: care after purchase, cultivation (20+ Photos & Videos) + Reviews
Introduction
This is a special process of simulating the effects of winter conditions on plant seeds. The essence of this procedure is to keep them at a certain low temperature for a long time. This is done so that the seeds go through the state of sleep of the embryo, otherwise the process of shoot formation will not start in them. In different biological species, the duration of sleep is different, but in most cases the duration of the process does not exceed 2-3 months.
In most crops, seeds after ripening are in a state of deep dormancy. If they are kept at relatively high temperatures before planting, only a fraction of them will sprout. The purpose of stratification is to increase germination, which is carried out by artificially reducing the dormant period.
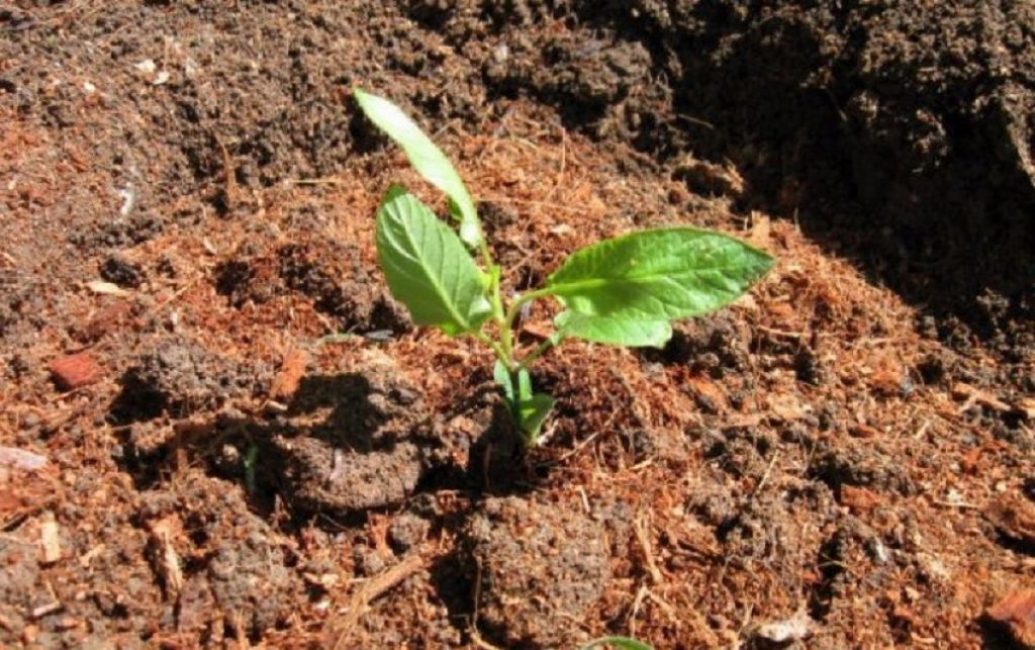
Under natural conditions, seeds spend their dormant period in the ground. At this time, due to exposure to moisture and negative temperatures, their outer part becomes softer and partially collapses. We can say that in this way the planting material is stratified in a natural way.

Growing primrose from seeds at home
It is the low temperatures at this stage that stimulate the growth of the embryo. As soon as their exposure ends, the embryo enters a cycle of awakening. They begin to lead a natural search for light and nutrition. It destroys the shell partially damaged by moisture and cold and germinates.
Thus, in order to accomplish this process artificially, it will be necessary to create the necessary conditions for the seeds corresponding to natural ones. These will include exposure to moisture and low temperatures.
There are several methods of stratification using different temperature conditions, as well as different degrees of moisture. A partial case of stratification is freezing, when the seed material is placed in conditions of not just low, but even negative temperatures. The article discusses various ways to properly organize the stratification of seeds at home.
 Read also: Projects of country houses for 6-10 acres: 120 photos, description and requirements | The most interesting ideas
 Seed stratification methods

How to Stratify Seeds at Home
In general, the term "stratification" means the following activities:
- Various measures to accelerate the germination of seed material and increase its germination. Usually, at the same time, they strive to ensure the friendly germination of all available seed material.
- Creating artificial conditions for seeds that mimic natural cooling for a long time
In any case, the methods used for the listed actions are approximately the same. They differ only in technical parameters (temperature, humidity and exposure time).
There are three types of stratification:
- cold
- warm
- stepped or mixed
 Read also: Growing potatoes from seeds: is it necessary? Full description of the technological process suitable for this variety (Photo & Video) + Reviews
Stratification rules

Pre-plant seed treatment procedures have some limitations, which should be mentioned in advance. These relate to processing times as well as temperature and humidity parameters.
Temperature regime and terms
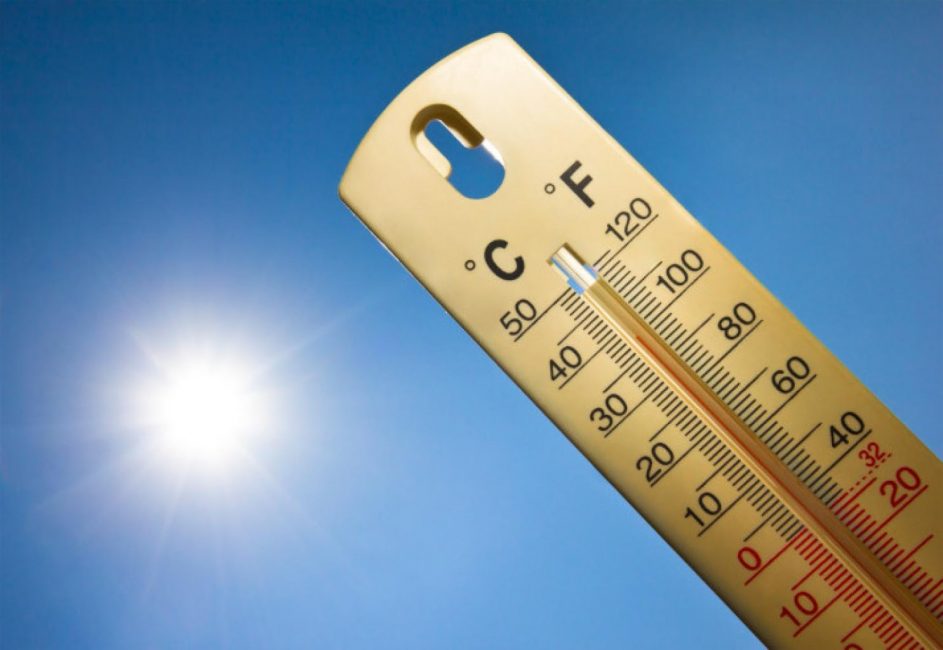
During stratification, it is not permissible to lower the temperature below 0 ° C
The temperature during cold stratification should be in the range from +1 to +5°C. Warm stratification is carried out in the range from +18 to +28°C. Temperature fluctuations of more than 5 degrees are undesirable. During stratification, it is not permissible to lower the temperature below 0 ° C, since the seeds may die.
On the other hand, exceeding the specified temperatures is also undesirable, as this may cause the seed to germinate too early. In this case, it will be necessary to transplant hatched plants into a substrate for seedlings. Of course, they will grow, but their development will be delayed and the plants themselves will be underdeveloped and weak.
The length of time seeds stay in the process of stratification depends on the type of plant. They can vary from a few weeks to several months. In some species, the duration of stratification can be several years.
The timing of the stratification of the most popular crops is shown in the table
| Plant | Duration of stratification |
|---|---|
| Strawberries, phloxes | 3-4 weeks |
Lavender, aquilegia | 4-6 weeks |
Walnut | 2-3 months |
Almond | 50-150 days |
Barberry | 70-90 days |
Quince, pear, honeysuckle, rosehip | 70-100 days |
Apricot | 80-100 days |
Peach | 100-120 days |
Cherry, sweet cherry, chokeberry | 150-180 days |
Grape, magnolia | 4-5 months |
Cherry plum, mountain ash, blackthorn, plum | 4-6 months |
Kalina, hawthorn | 7-8 months |
Aconite | 30-50 days |
Coniferous undersized perennials | 6-12 months |
Siberian pine | 1-3 months |
Thuja, blue spruce | 2-3 months |
Yew | 12-18 months |
Ginseng | 20-22 months |
Humidity

Bookmark for stratification
An integral part of stratification is the presence of a moist environment. The water content should be approximately the same as that present naturally in the winter soil.
Usually a cloth or gauze soaked in water is sufficient, which should be moistened from time to time, because without liquid, the seeds can dry out and die. If there is too much moisture, the seeds may germinate ahead of time and rot.
Substratum or substrate
In most cases, the use of the previously mentioned wet gauze is sufficient for stratification. Some seeds (especially large ones) may require the use of wet foam rubber or a special substrate as a “substrate”.
Small seeds can be stratified in different ways. The most popular is the use of small plastic bags with zippers.

Plastic bags for stratification of small seeds with a substrate for convenience should be signed with a marker
In this case, the best substrate is perlite or sphagnum moss. It is not enough to simply soak the seeds by adding water to the substrate.You should periodically check the degree of its moisture, and also prevent the complete sealing of the bags in order to avoid the death of the planting material.
More often flower growers use a different method. It consists in using gauze, napkins, cotton wool or a cotton pad instead of a substrate.
At the same time, your seeds can also be placed in plastic bags or you can use some plastic containers for this purpose - from the smallest in the form of lids for disposable cups to deeper and larger ones, the size of which is comparable to the size of a seedling box.

Stratification of seeds on a napkin in a bag
Moistened foam rubber can also be used as a substrate. Moreover, both the use of a multilayer structure and the use of an ordinary kitchen sponge with vertical slots are acceptable.

The use of a foam sponge for stratification
Another popular way is snow stratification. To implement it, you need to pour a substrate of the appropriate composition into the container, on top of which snow is laid. Seeds are laid directly on the snow.

Using a container with substrate and snow
The container is placed in the refrigerator, after which the process of snow melting begins and the seeds fall onto the substrate, going a little deeper into it.
For large seeds, a different approach is used. Usually, for their stratification, a special substrate is used, consisting of the following components:
- sand
- vermiculite
- peat
All components are taken in equal proportions.
coco substrate
Before use, the substrate should be disinfected with antifungal drugs or potassium permanganate solution. The substrate is placed in a plastic container, in the bottom of which holes are made to drain excess moisture.
Next, the seeds are either mixed with a moistened substrate and placed in a container, or simply pour the soil into it, and the seeds are brought in, as in a normal planting.
There is also an alternative to the substrate in the form of a hydrogel. This substance is mainly used in the stratification of coniferous plants.
 Read also: Growing Lavender from seeds at home: description, varieties, planting and care, stratification | (50+ Photos & Videos) + Reviews
 No. 1 Cold stratification

This method of stratification is used for most pome and stone fruit crops, flowers and some perennial garden plants.
It is most common in amateur gardening. At the same time, the temperature of the seeds should be in the range from +1 to +5 ° C, and the air humidity should not exceed 75%. It is discussed in more detail below.
In general, this method includes two stages:
- training - pre-swelling of planting material
- direct stratification - its cooling and keeping at the right temperature for a long time
Swelling is carried out in warm water (temperature 15-20 degrees). Sometimes fungicides are added to the water to protect against rot, mold, and other types of fungi. In addition, in some cases, it will be necessary to add nutrients to the water, for example, sodium humate.
The amount of water depends on the size of the seeds. For small ones, it is recommended to take water in a ratio of 2 to 1, for large ones - 1 to 1.
The duration of pre-soaking depends on the type or variety of seeds, as well as on their size. Large seeds (for example, pumpkin or sunflower seeds) are soaked for about 2 hours, medium ones (tomatoes, peppers) - up to 12 hours, small ones (poppy seeds, onions, lettuce, etc.) - from 24 to 48 hours.

Containers with stratified seeds in the refrigerator
After swelling, the seeds are cooled to the required temperature and placed in containers for subsequent storage in a refrigerator at a low temperature.. This algorithm has been described previously.
An alternative to a refrigerator can be a layer of snow. Planting material is placed in the substrate in the manner described earlier, and then the container is tightly covered with a lid (sometimes sealed with tape) and placed under a layer of snow at least 30 cm thick.
For example, you can take the container to an open balcony, where it can also be put under a layer of snow and kept there almost all winter until the end of the stratification period.
Another interesting way of cold stratification is use of cabbage stalks. In this case, pre-prepared stalk is used, in which the core is removed, and seeds are placed inside. Lids are made from the removed part, with which the stumps are closed. Then they are buried to a depth of 40 cm at the end of autumn. Marks are placed at the site of instillation.
Stumps are removed from the soil in the spring, when the soil is thawed and warmed up. Usually, at this time, the seeds are already cracking and sprouts appear.
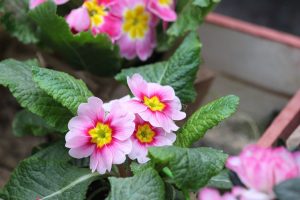 Read also: Primula: description, varieties for home growing from seeds, compliance with the rules of cultivation and care (50+ Photos & Videos) + Reviews
#2 Warm stratification

Warm or thermal stratification is actually not such
This process is not an imitation of winter conditions, but an acceleration of seed germination before sowing. It is used either for seeds that do not need long-term stratification, or for those that have already passed it. The duration of warm stratification is 1-2 days. On average, it will speed up the process of seed germination by about 3-4 times.
Basic rules of warm stratification:
- the temperature in this method is in the range from 18 to 22°C
- air humidity - no more than 70%
- do not leave the container with seeds near open heat sources

Warm stratification of seeds before planting
Usually, the seeds are simply placed on a napkin moistened with water and brought into the light in a cooler place for a speedy spitting.
In some cases, foam rubber or sand can be used instead of a napkin.
With warm stratification, it is recommended not only to change the water daily (or top it up), but be sure to ventilate the seeds with fresh air.
After hatching, the seeds can be sown in seedling boxes or on a bed in open ground.
 Read also: Snapdragon: description, types, growing from seeds, planting in open ground and plant care, medicinal properties (85+ Photos & Videos) + Reviews
 No. 3 Combined stratification

Seed stratification before planting
The combination of cold and warm stratification is used in cases where the seeds do not germinate for a long time. The combination of warm and cold exposure is used as an agricultural technique that is guaranteed to increase the germination of some ornamental crops. Naturally, each crop may require different pretreatment techniques.
For example, lemongrass seeds should first be kept for about a month on a sandy moist substrate at a temperature of + 18-20 ° C, and then for another month place in the same container in the refrigerator with a temperature of + 1-5 ° C.
Primrose, on the other hand, requires first a stay in the refrigerator for two weeks, and then several days of warm stratification. Seeds in the refrigerator should be stored at a temperature not higher than + 3 ° C and regular moistening of the substrate (in the form of a napkin or cotton pad).
 Read also: Growing roses from seeds: stock rose (mallow), Chinese, stone, angel wings, polyanthus and other popular types and varieties (35+ Photos & Videos) + Reviews
 №4 Freezing

How to prepare seeds for sowing by freezing
Some cultures (mainly decorative annuals) to reduce the time of stratification, they are subjected to relatively short-term exposure to negative temperatures.
The following is an instruction for freezing seeds:
- Seeds are placed in a container that is filled with water so that it completely covers the seed.
- In this form, the seeds are kept for several hours at room temperature.
- The container is placed in the freezer and kept there for several hours until the water freezes completely.
- Take the container out of the freezer and let it thaw completely, then put it back in the freezer
- Items 3-4 pass up to 6-7 times
After that, the seeds are subjected to the usual cold or warm stratification.
 Read also: Do-it-yourself furniture and other wood products: drawings of benches, tables, swings, birdhouses and other household items (85+ Photos & Videos)
 No. 5 Dry stratification

Seed stratification
In fact, this name is arbitrary, since moisture will still affect the seeds, but its quantity will be significantly less. It is believed that such a method of stratification is guaranteed to save the seeds from waterlogging and subsequent decay.
Its meaning lies in the fact that the seeds are placed on a dry substrate or mixed with it. Most often, sand is used as a substrate. The package in which the seeds are placed and the substrate should have a lid with small holes for air and moisture circulation. Sometimes they are dried before laying the seeds, but this is not necessary.
It is either put in the refrigerator or placed under a layer of snow at least 30 cm thick. Seedlings are planted as soon as weather conditions permit.
 Read also: Do-it-yourself construction and arrangement of a summer kitchen in the country: projects, design, device, with barbecue and barbecue (60+ Photos & Videos) + Reviews
 Features of stratification of various plant species

Stratification of rhododendron seeds
Each crop has its own growing characteristics, Moreover, they may differ slightly in different climatic zones. However, each individual plant species has its own special stratification technique.
It exactly repeats the necessary conditions of temperature and humidity, which in nature lead to the acceleration of seed germination. Further, the features of stratification will be considered for various plants.
pome crops

Apple seeds
Stratification of seeds of apple, pear, quince and other similar plants is carried out in a substrate consisting of washed river sand. Its amount should be three times the volume of seeds. A mixture of sand and seeds is placed in a container that is not closed with a lid and placed in a refrigerator, cellar or cellar at a temperature of +3-4°C for 3 months.
Often gardeners practice substrateless stratification - seeds are placed in a linen bag and dipped in water poured into a plate. Its duration is about 3 days.
Water is changed daily. Then the seeds need to be dried and put in bags on napkins, as described earlier. The timing of stratification and temperature are similar to the conditions with the use of the substrate.
Strawberries and wild strawberries

Growing remontant strawberries
A layer of soil is placed in the container, on top of which a layer of snow 2 cm thick is laid. Seeds of culture are placed directly on the snow. Carefully place them at a distance of 1-2 cm from each other. This is easy to do with a toothpick. They are not covered with anything on top.
Next, the container is placed in the refrigerator for 36-48 hours. After the snow melts, the seeds will enter the soil to the required depth. Keep them in this state for about a week, after which place the container on a lighted windowsill. To create a greenhouse effect, cover it with plastic wrap. Friendly shoots appear in about a week.
coniferous plants

Growing blue spruce from seeds
In this case, peat is used as a substrate. It is preliminarily disinfected in potassium permanganate, after which it is squeezed out and placed in a layer of 2-3 cm on the bottom of a plastic container.
Seeds are placed on top of the substrate, covering them with another 2 cm of peat. The container is closed with a lid and sent to the refrigerator for 2-3 months (thuja, spruce, pine) or for longer periods for juniper and yew. Seeds can be sown as soon as cracks appear in the hard shell.
Grape

Seeds are mixed with an equal volume of sand, placed in a plastic container and sent to the refrigerator for 2-4 weeks. The temperature of stratification of grapes is 2-3°C.
After the completion of the "cold" stage, the container with seeds is transferred for 5-6 days to a warm place with a temperature of at least +25°C. Sand should be watered daily.
Lavender

Small lavender seeds are laid out on cotton pads and covered with the same disks on top. After moistening, the discs are packed in plastic bags and sent to a refrigerator with a temperature of no more than +5°C.
The duration of the stratification of lavender - about 2 months.
Clematis

This culture is characterized by a two-stage stratification, and the duration of each of them can be quite substantial. Everything starts with cold stratification. Since the seeds are large enough, they undergo stratification in the substrate. As such, peat or sand is used, sometimes a mixture of them is used in a ratio of 1 to 1.
Clematis has a large varietal diversity, so each variety has its own stratification period:
- clematis burning - from 2 to 6 months
- Manchu - from 2 to 5 months.
- paniculate - from 2 to 8 months.
- Tunguska - from 3 weeks to 3 months.
- purple - from 2.5 to 8 months.
At the same time, the algorithm for placing seeds for all varieties is approximately the same. Substrate, after disinfection with an antiseptic agent (for example, potassium permanganate).
Then it is moistened and the seeds are placed to a depth of no more than 1.5 cm. Optimum temperature +1-2°C, humidity - from 65 to 70%
Warm stratification is carried out on a gauze substrate at a temperature not exceeding +20°C. Its duration in different varieties of clematis can take up to 30 days. All the time you should monitor the temperature and regularly moisten the gauze. Sowing should be done immediately after spitting seeds.

Propagation of clematis by seeds
Delfinum

This culture may also require stratification, but its duration is relatively short - from 1 to 2 weeks. A feature of delphinum stratification is that the seeds must be in contact with water and air at the same time, that is, the use of two layers of gauze or a napkin is undesirable.
Usually, the seeds are placed on top of a moistened substrate, and nothing is covered on top. In this form, the container with seeds is placed in a dark room with a temperature of + 5-6 ° C. The condition of the seeds is regularly monitored, water is added as needed.
In some cases, the seeds are laid out on a long strip of cloth, which is rolled into rolls. The edges of the rolls are wrapped inside. Then the rolls are placed upside down in a container of water.
Gentian

We sow gentian. Stratification
Gentian seeds are sown in a pot with vermiculite or sphagnum or placed in bags with a napkin. They are kept at room temperature for two weeks, periodically moisturizing. Then the bag or pot is transferred to a refrigerator with a temperature of +1-2°C.
In the refrigerator, the seeds are kept for about 2 months, after which they are again transferred to room conditions. They will sprout in about 2-3 weeks. If the stratification was successful, the gentian blooms the very next year.
Lumbago

Flower lumbago: growing from seeds
Stratification of the lumbago takes about 2 months and is carried out in a dry substrate. Usually, peat is used, taking it in an amount at least three times larger than the volume of seeds.
Make holes in the lid of the container. The stratification temperature should be within +2-5°C.
peonies

These beautiful flowers require a two-stage stratification. The first step is to keep the seeds in the soil at room temperature for two weeks. They should be watered every 2-3 days with warm water.
Then the peony seeds, without removing from the soil, are placed in the refrigerator for up to 2 months. Moreover, the temperature should be slightly higher than the "classic" - from +5 to +10°C. Next, the container with soil and seeds is removed from the refrigerator and placed in the light. Young peonies germinate in about 1 week. They are planted in open ground at the end of April.
Thematic video: What is stratification. How to properly stratify

Seed stratification
Stratification of seeds at home: how to properly enlighten the procedure in the refrigerator | TOP 5 Ways | (Photo & Video)+Reviews


I have strawberry seeds in the wither 4 *. After stratification, plant the same or keep them at room temperature in a humid environment for 12-48 hours?
If the strawberries are small-fruited, it is possible without soaking, and without stratification too.
Large-fruited strawberries or valuable varieties are recommended to be soaked before planting. And, for the time required for germination. It may not be 0.5-2 days, but more - up to a week.
The soaking procedure is as follows: seeds are placed in a saucer, between two cotton pads moistened with settled water. Everything is placed in a plastic bag in a sunny and warm place. Ventilate the bag daily, remove condensate. As it dries, add water to the cotton pads.
As soon as they germinate - transfer to the substrate. Next, the standard cultivation of seedlings.