

An electric drill is in the arsenal of almost every master, which cannot be said about a lathe. In our article, we will tell you how to easily and inexpensively make a lathe from a drill with your own hands. The main material used in its manufacture (with the possible exception of the bearing, bolts and self-tapping screws) is wood. Therefore, you do not need to carry out welding work. By the way, the drill is easily released from the machine and can be used for its intended purpose.
Content:
 Read also: Do-it-yourself furniture and other wood products: drawings of benches, tables, swings, birdhouses and other household items (85+ Photos & Videos)
Materials for manufacturing
To make a machine, you will need:
- electric drill;
- bearing;
- bolts, nuts, washers, self-tapping screws;
- thick plywood;
- wooden slats;
- glue;
- hacksaw or circular machine;
- wood blank, chisel, wood cutter, sandpaper for testing.
Step 1. We make the base and mount for the drill
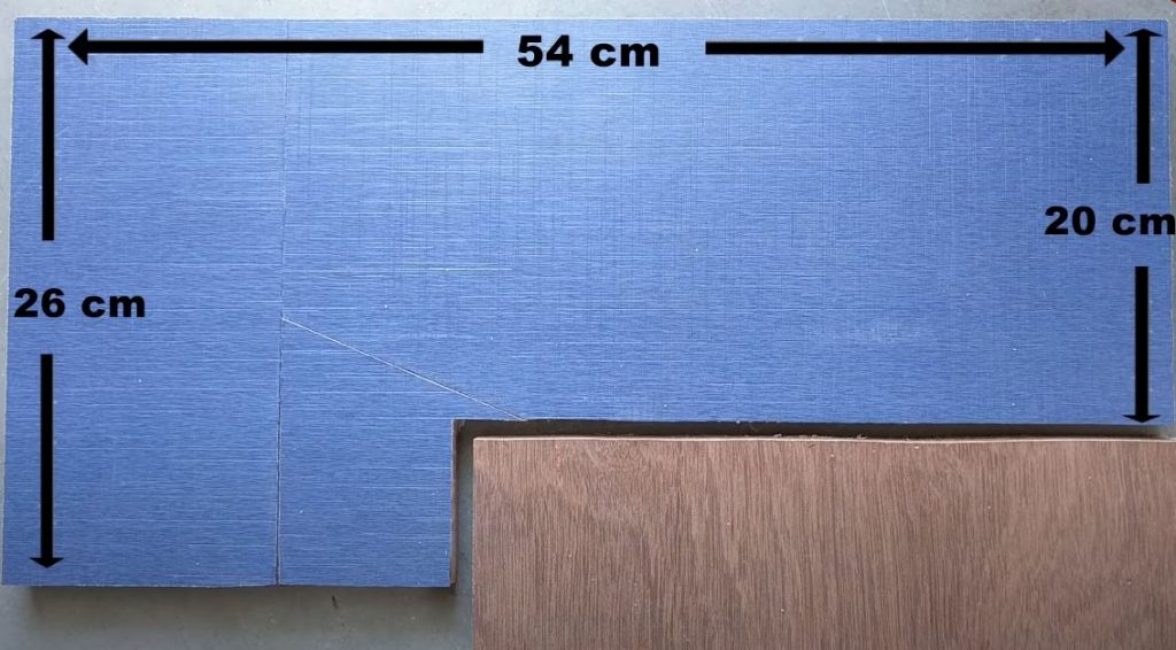
From plywood we cut out an L-shaped base for the machine. Its dimensions depend on the size of your drill and the dimensions of the workpieces that are supposed to be processed on the machine. (In the example, the dimensions are 54x26x20 cm).
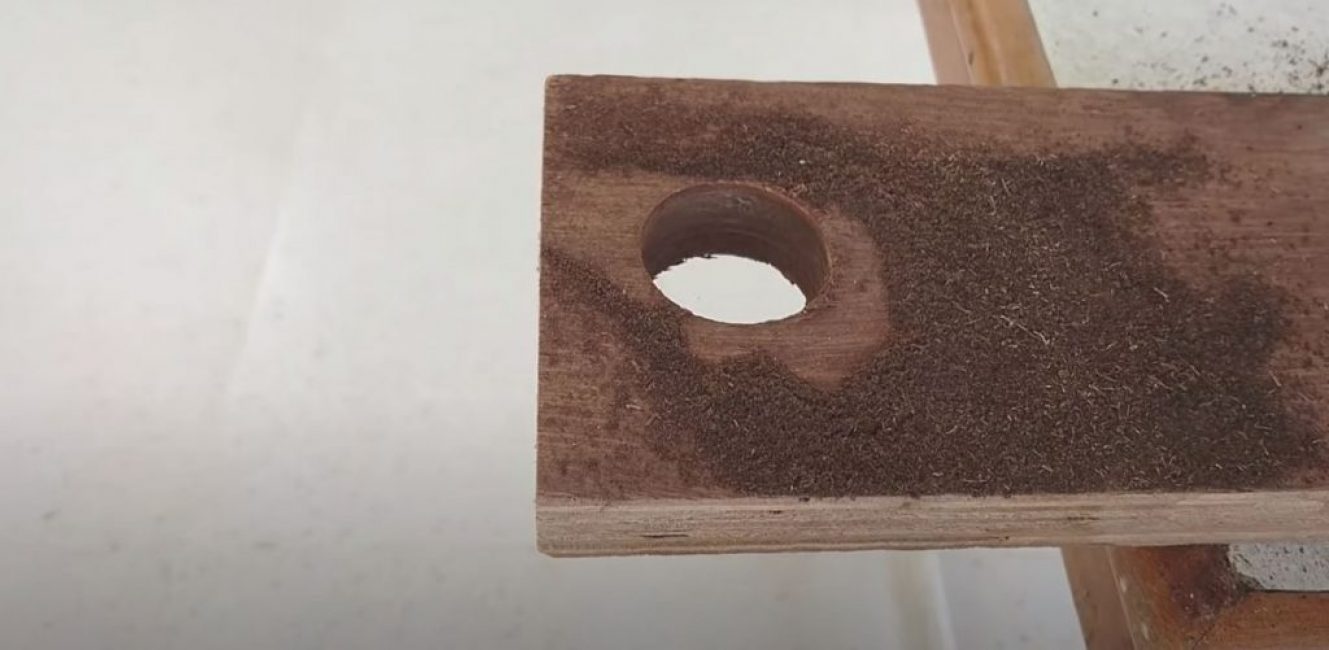
We also cut out a rectangle for attaching the drill and drill a hole in it for the drill chuck. The hole must be drilled at such a height that the drill inserted into it lies on the base of the machine.
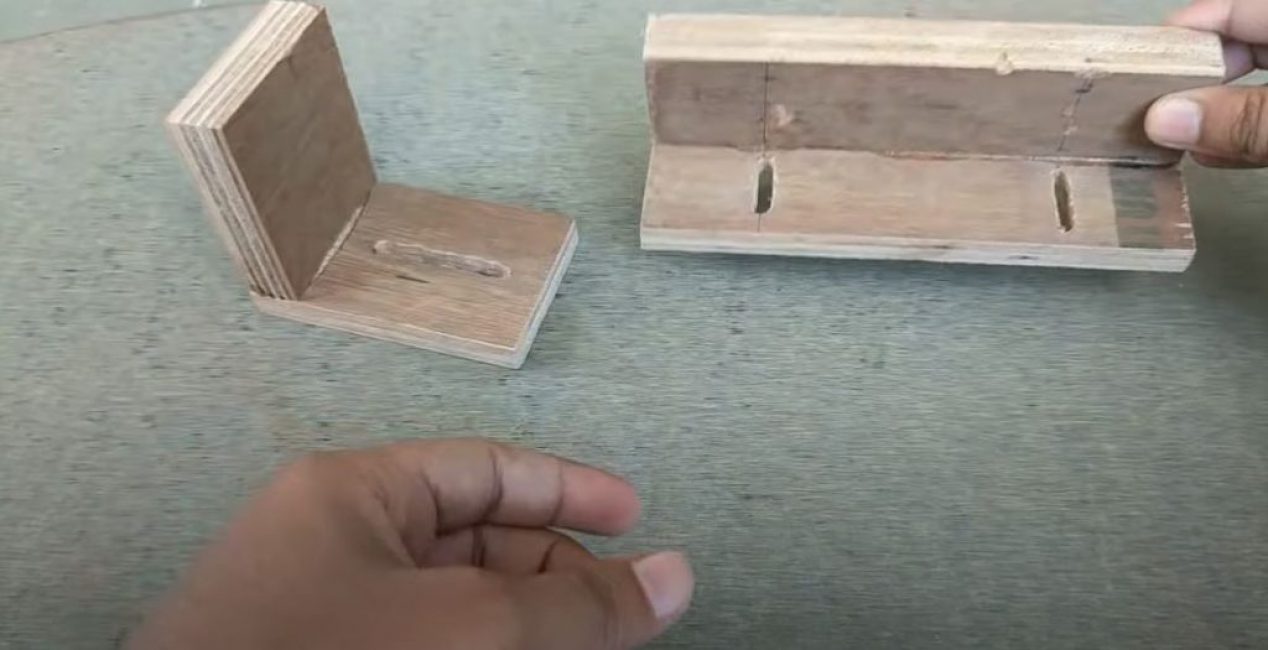
Step 2. Making the tailstock and handpiece
We cut out two blanks for each element and glue them at an angle of 90 degrees.
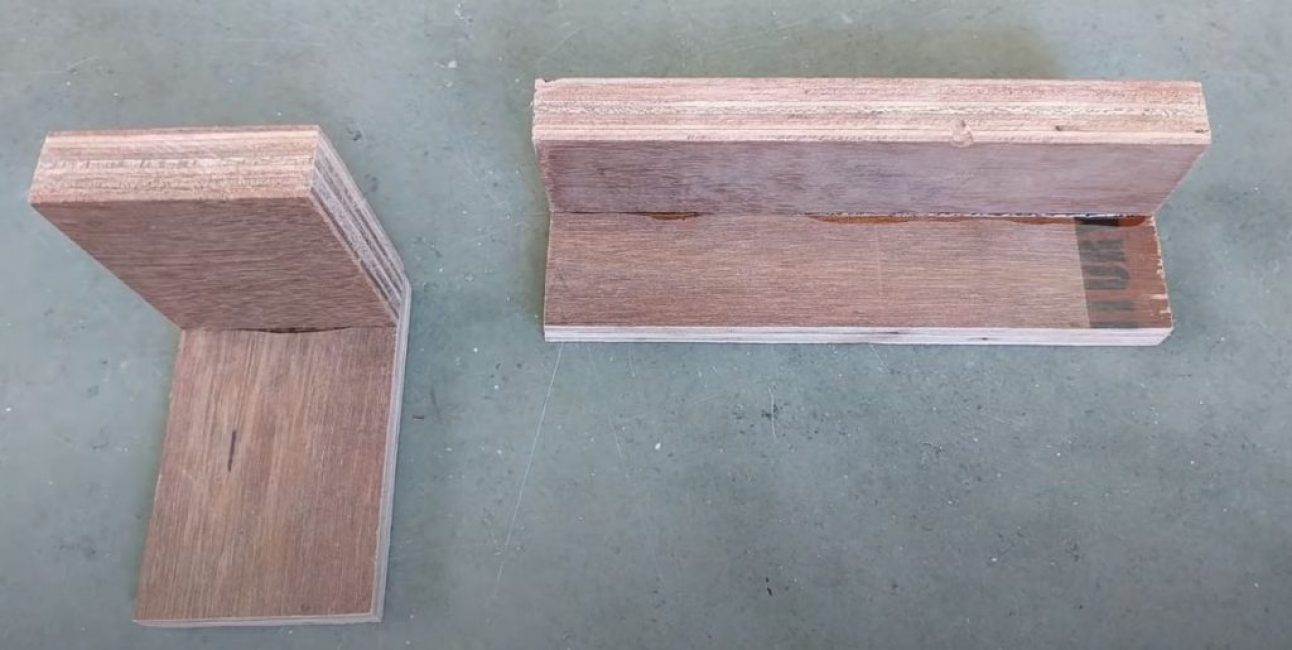
The blank that is wider is a handyman. A tool will rest on it during turning work, so its height should be equal to the height from the base of the machine to the middle of the drill chuck.
The one that already is the tailstock. It is necessary to drill a through hole for the bearing with an emphasis in it. Its center should correspond to the center of the hole for the drill chuck.
We will use a regular bolt as a stop for the tailstock. We screw it into the bearing, and glue the bearing into the prepared hole.
At the base of the armrest we make two slotted holes, for the possibility of its movement along the bed. We also make one such hole at the base of the tailstock.
All details, if desired, can be painted.
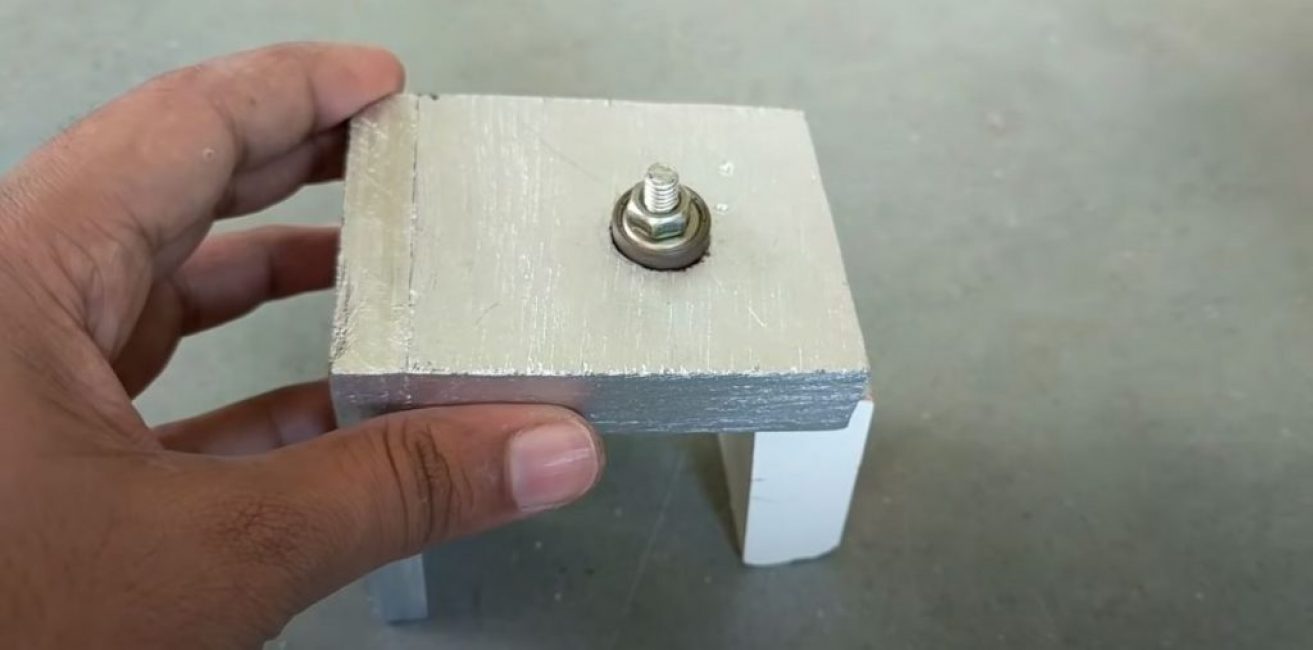
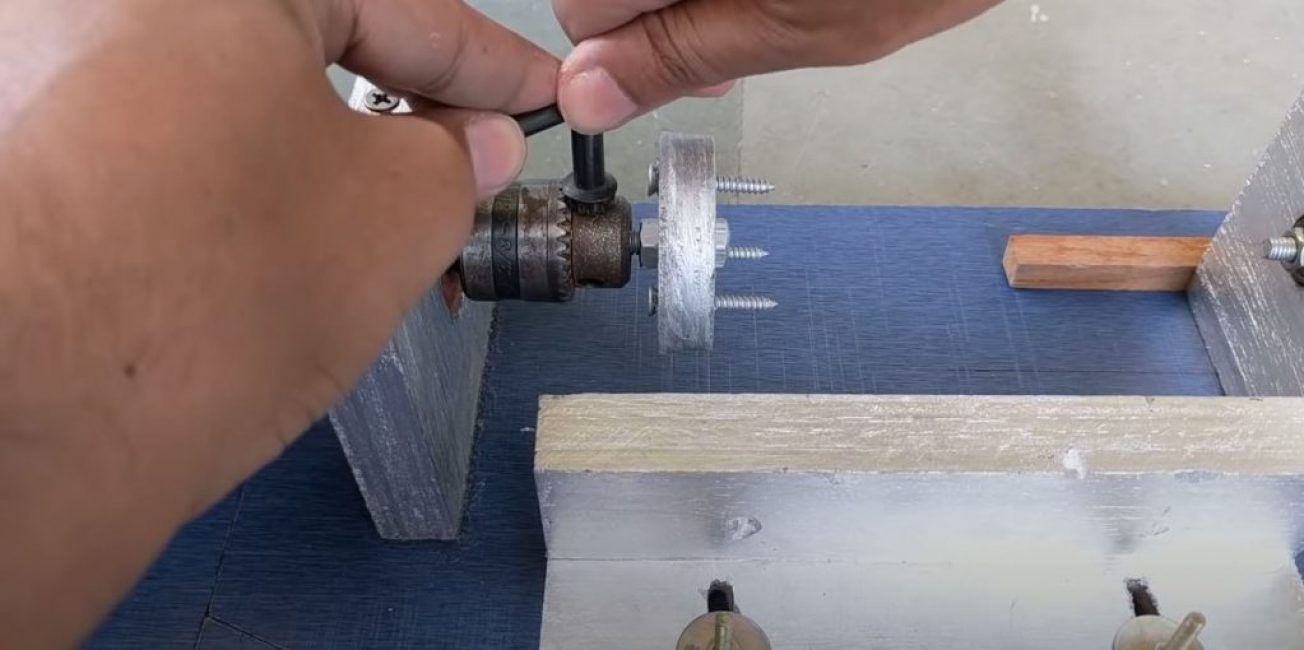
Step 3. Making the headstock
From thick plywood with a “crown” nozzle, we cut out a round blank for the headstock.
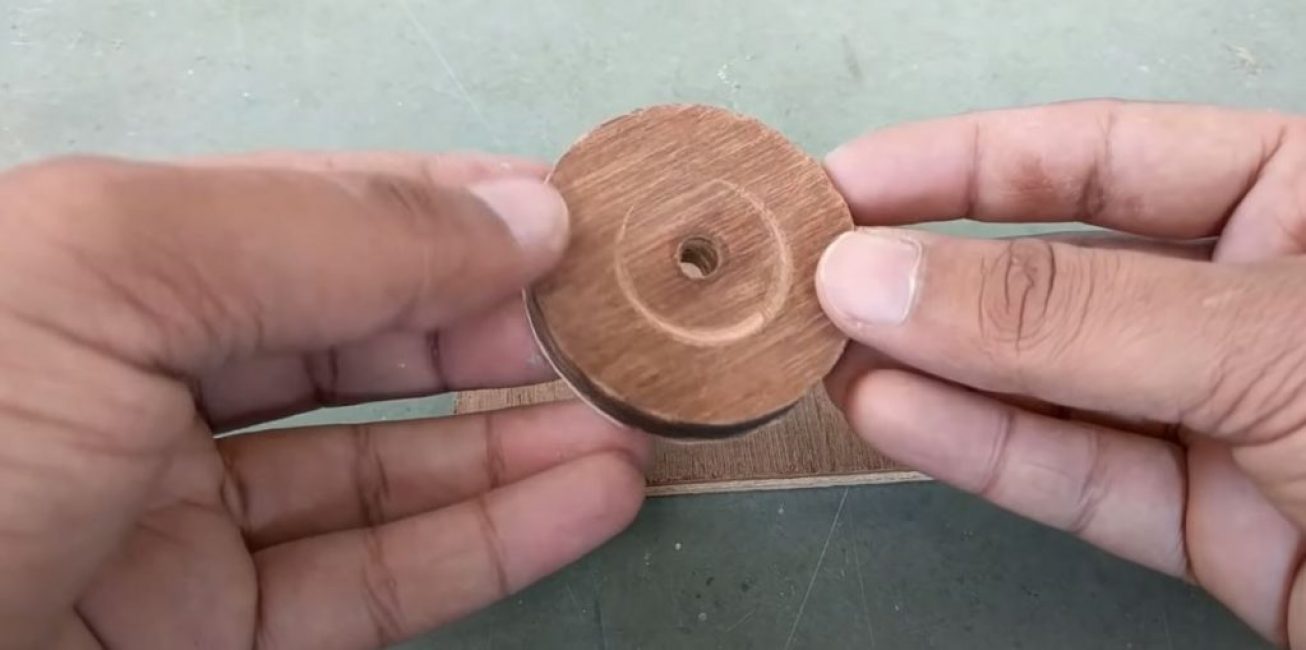
We drill three holes in it for stops. We will use ordinary self-tapping screws as stops, which we twist into the drilled holes.
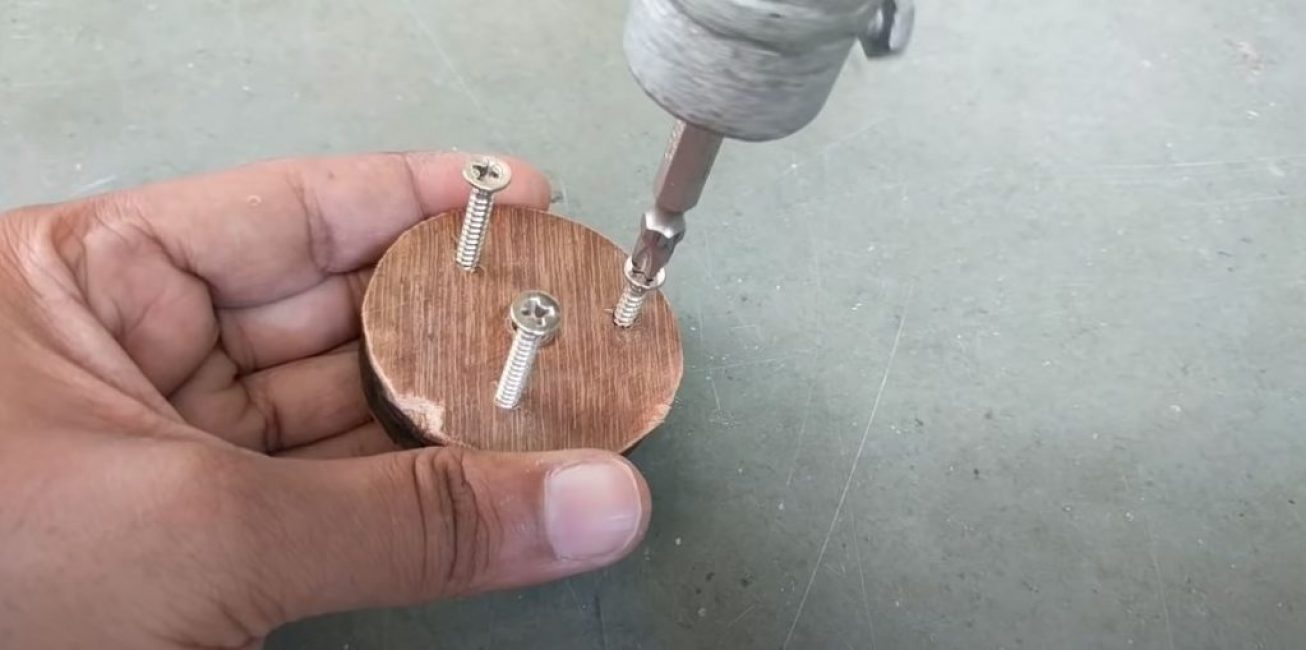
We insert a bolt under the chuck of an electric drill into the central hole and clamp it with a nut.
Step 4. Assemble the lathe
We fasten the mount for the drill to the base.
On top of the base we glue two wooden guides for the tailstock. We drill holes for attaching it and the handpiece and install them in place.
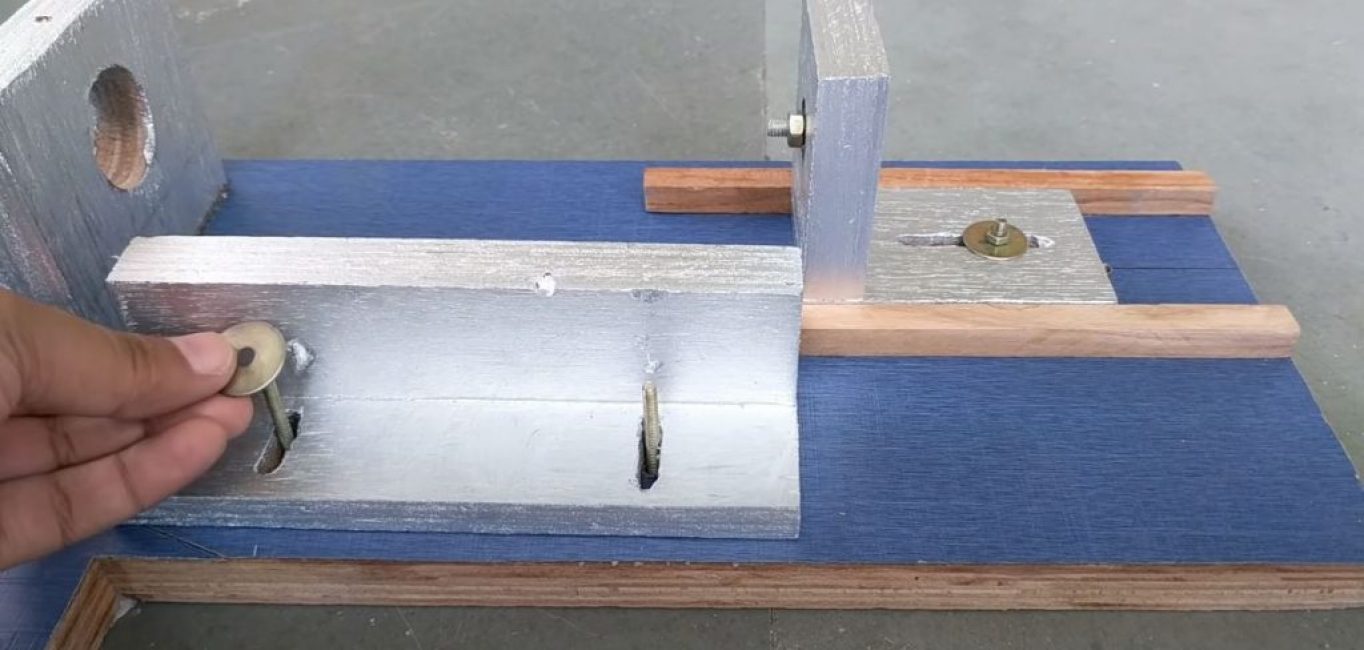
We insert the drill into the mount and clamp it on top with a self-tapping screw. We glue a small piece of wood under the drill handle.
Step 5. Testing
Clamp the headstock in the drill chuck.
We drill holes in the wooden blank for the stops and place the blank between the back and front headstocks.
We turn on the drill and fix the button in the “on” position.
First, with a chisel, and then with special cutters, we give the workpiece the desired shape.
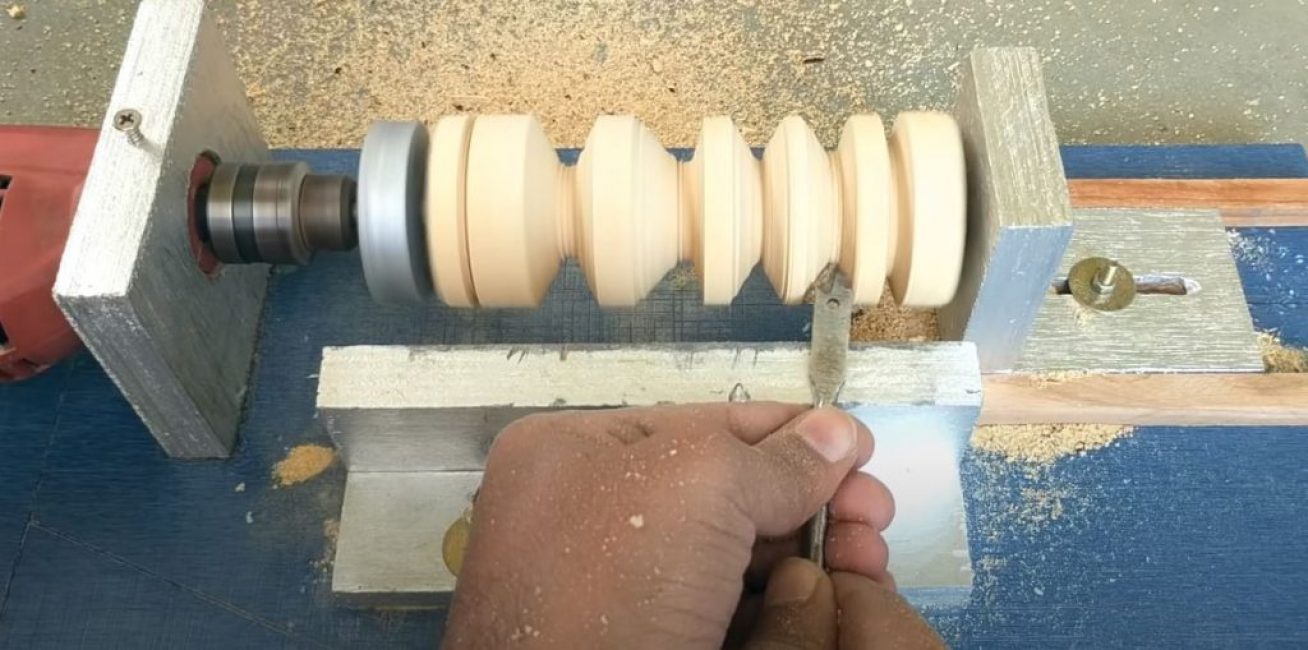
At the end of the work, without turning off the drill, we grind the machined product with sandpaper.

Do-it-yourself drill lathe
Do-it-yourself wood lathe from a drill | Video + Drawing


