

For many centuries, stained-glass windows have delighted the human eye with their extraordinary beauty. Despite the fact that this is far from a new art form, it does not cease to be relevant and in demand.
A neatly executed beautiful stained-glass window can be an excellent addition to any interior, as well as add zest and a touch of originality to it.
 Read also: Lemon: description, care, growing from the stone at home, recipes for vitamin juice and lemonade (Photo & Video) + Reviews
Techniques
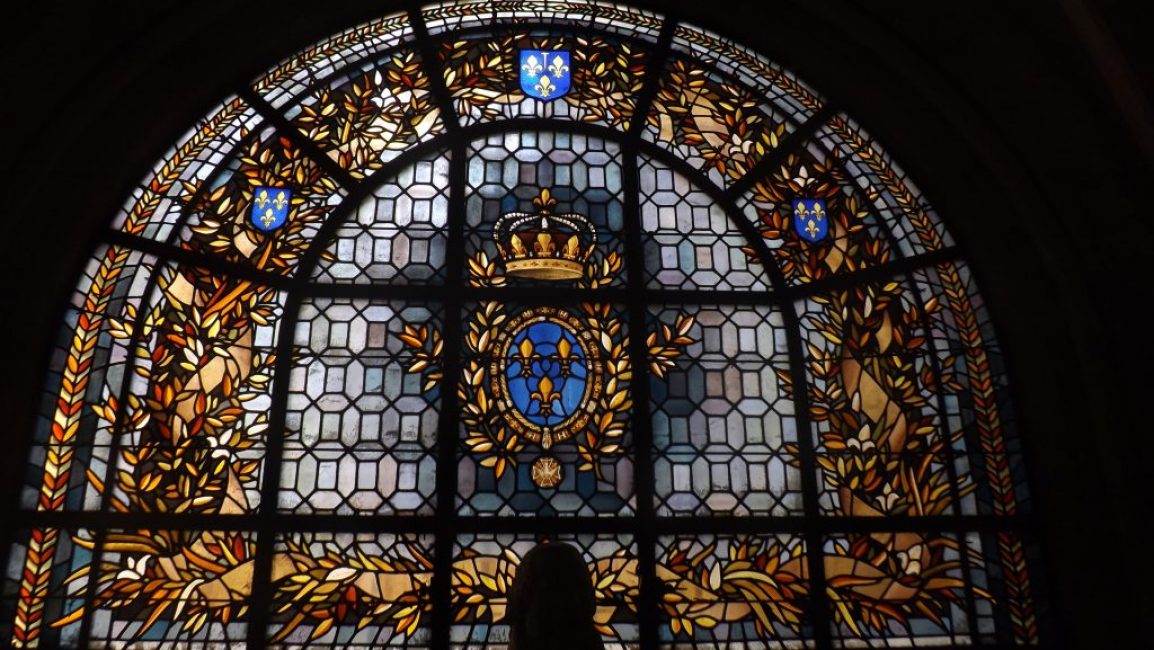
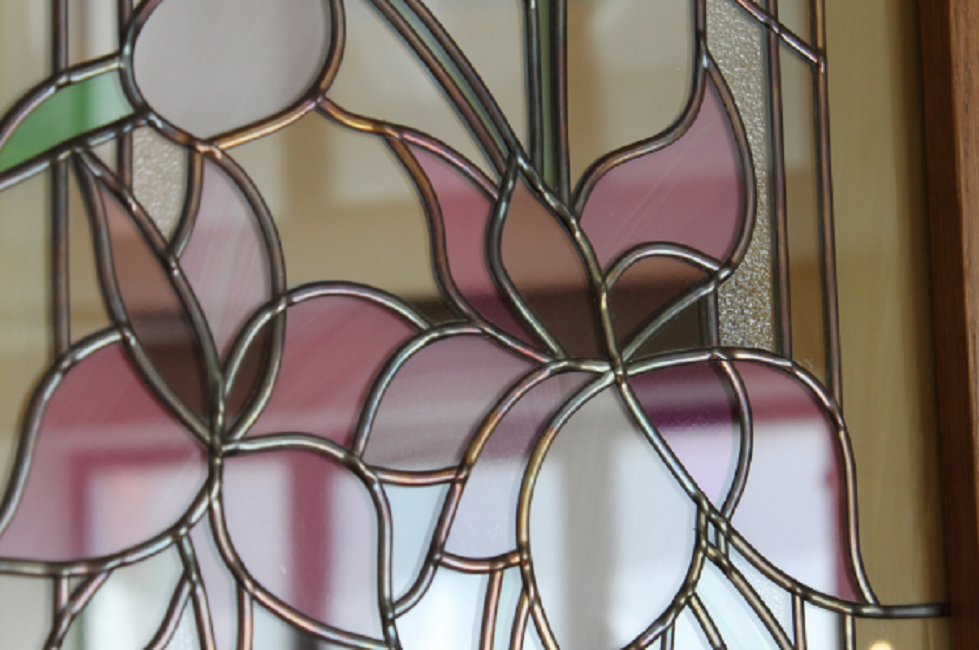
Amazing work of the master, incredibly complex stained glass
Any novice master and even a person who has never done this can create glass paintings, if you choose the right technology. Now there are ways to create stained glass windows that give a result that is not much different from the classical performance, but the process itself is much simpler.
And materials for this type of art can be found in art stores, they are available to everyone.
Stained glass techniques have evolved over the centuries, combining the knowledge of the old masters and new methods, a large number of them are used to this day.
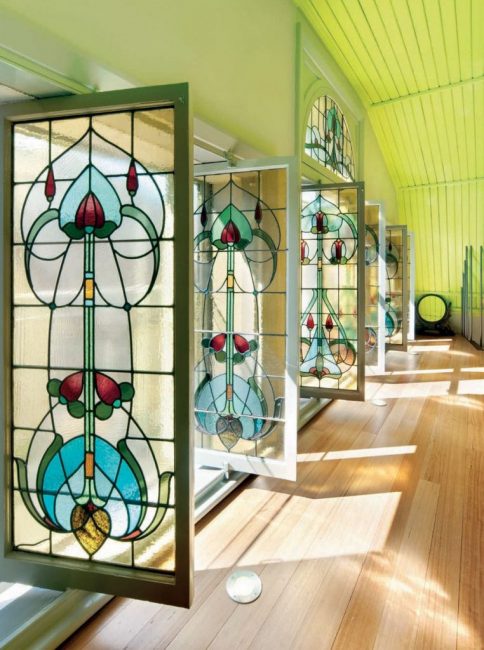
Beautiful stained glass windows
Depending on the conditions in which the finished stained-glass window will be located, it can be made both in the old spirit and more modern. Each of the styles and methods of performance finds its application, as they say, "for an amateur."
Now there is an unthinkable variety of ways in which stained-glass windows are made with their own hands, but only a few of them are basic, supporting.
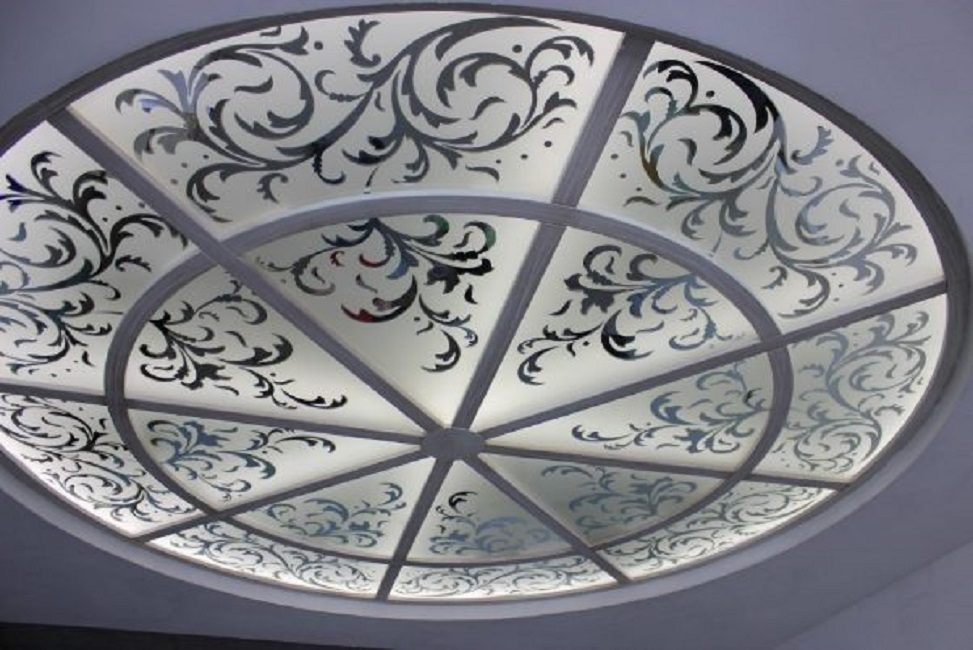
classical technique
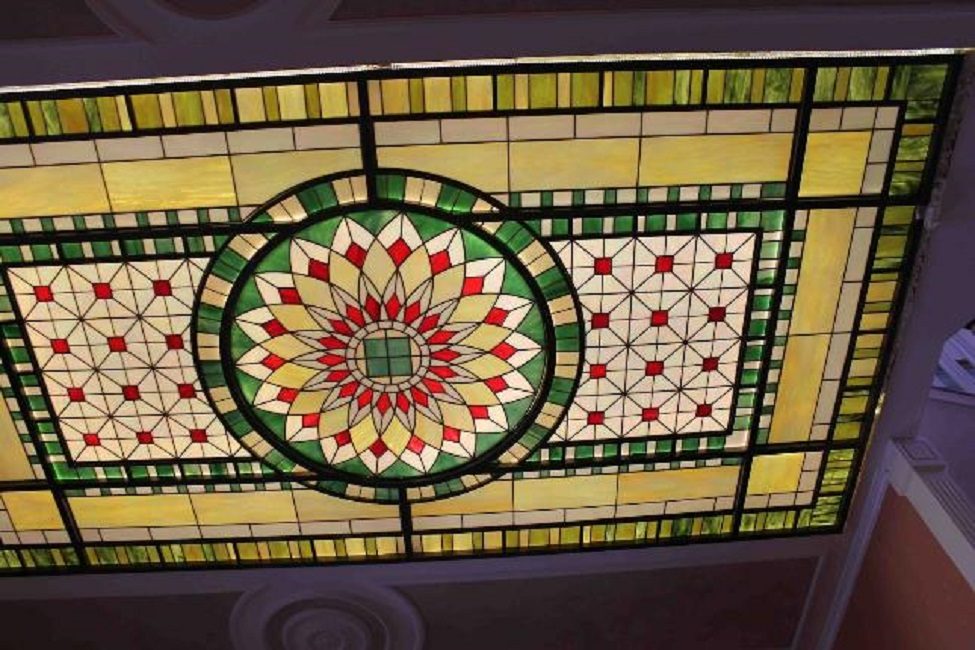
Classic stained glass ceiling
Classical technique gained its fame in the Middle Ages. Its peculiarity lies in the fact that each fragment of the picture, cut with a glass cutter, for example, diamond, and having a different shade, is enclosed in a metal frame.
This method is the most difficult and very painstaking, glass paintings suggesting its use are trusted only by highly qualified craftsmen with extensive experience who have their own secrets of technology.
To work, you need a large number of special tools designed for cutting fragments (glass cutter), a soldering iron and solder. It is also necessary that the workplace is well lit.
It makes sense to buy all tools only if the goal is to do it professionally, since the equipment is quite expensive.
In this technique, for example, stained-glass windows with facets are performed - very popular and beautiful glass paintings.
Film technology
Delicate film stained glass
It is also called English technique, and it is much lighter than the previous one. The essence of the method is to apply a self-adhesive film on the prepared glass according to a pre-prepared sketch of the picture.
Then each of the parts is framed with lead tape to simulate a metal frame. This tape does not need to be soldered. Also, the film gives a slight mirror effect, which looks very nice.
This method is much simpler than the previous one, since it does not involve cutting a huge number of small pieces of glass and processing them. The English technique requires much less time, and a novice master can easily master it and create a stained glass window with his own hands.
Fusing technique
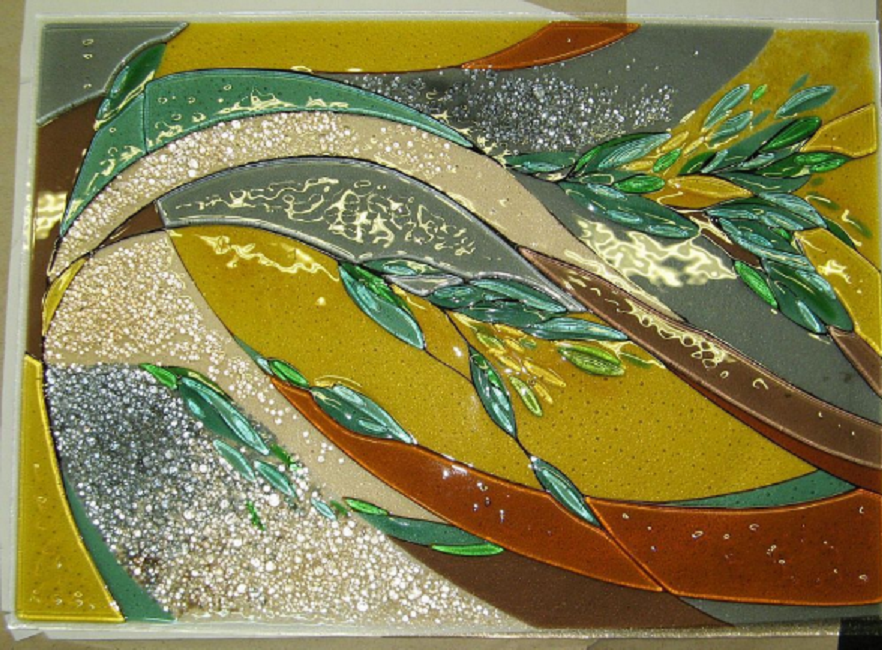
Fused glass looks unusual
The technique has existed for exactly as long as glass has been produced, and during all this time it has been significantly improved by craftsmen. The name comes from the word "fusing" - mixing.
It is on the mixing of glass fragments that this method of creating stained-glass windows is built. The technique requires special equipment, so at home you will not be able to familiarize yourself with this method.
The principle of the technique is as follows:
- First of all, a drawing is prepared, which is applied to a sheet of paper.
- Glass covered with special glue is laid on top of the sheet.
- Colored parts are laid out on a layer of glue
- The blank of the picture is placed in the furnace, where the glass is melted and the fragments are fastened together.
The mosaic is gradually heated and maintained at a temperature of about 800 degrees. The process must proceed under the strictest control, because if you miss the moment of readiness, the material will begin to change the structure and crystallize.
- After the product has become homogeneous, it is cooled
- The procedure is repeated
- The product is not only heated and cooled, but also processed
At the end of the work, the output is a solid picture of the fragments of colored glass firmly soldered together, having no sharp corners in the image, in which bubbles can be seen.
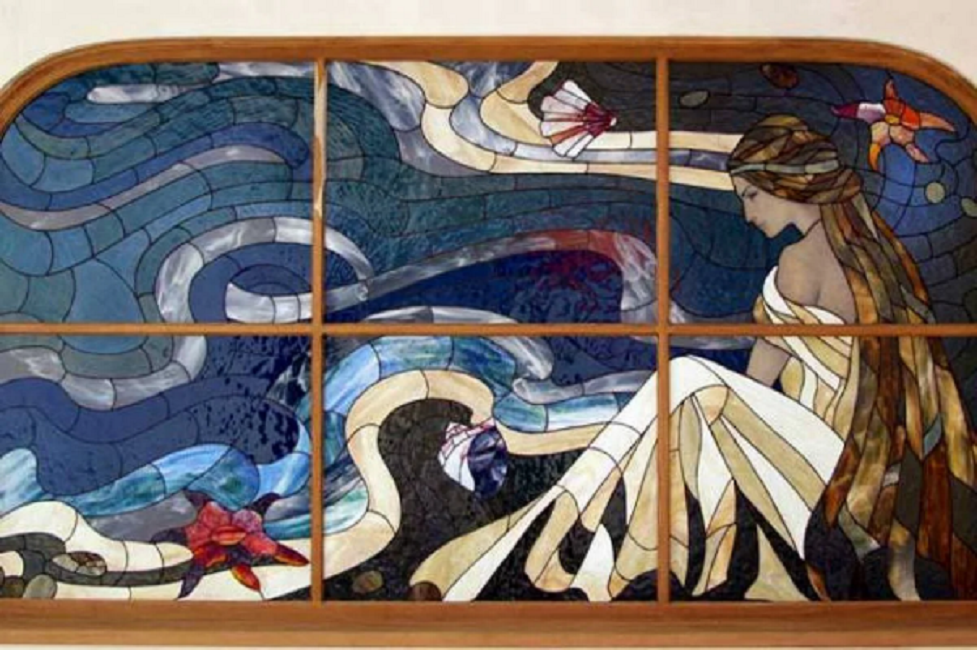
Stained glass "Tiffany"
Elegant Tiffany glass painting
This method is somewhat similar to the classical one. For work, it is necessary to prepare two full-size sketches in duplicate. One of them is cut into fragments, colored glass will be cut into them.
Each fragment of the stained glass window is processed, framed with a copper tape, which is soldered when the picture is assembled. Copper tape is much easier to use than lead due to its flexibility, so products made using this technique are used for decoration not only windows and doorsbut also interior items.
Such a stained-glass window looks especially beautiful in combination with wooden elements coated with varnish.
Cast technique
Variety of interesting shapes
One of the most difficult and rarely used methods. Its complexity lies in the fact that colored fragments of glass are not cut, but blown by hand according to an already conceived shape and folded into a kind of panel.
Then all the fragments are collected using mortars. Such applications are especially beautiful, because they create a special play of light.
It is difficult to apply this technique at home, and as a rule, such paintings are not used for the interior, but are separate pieces of art.
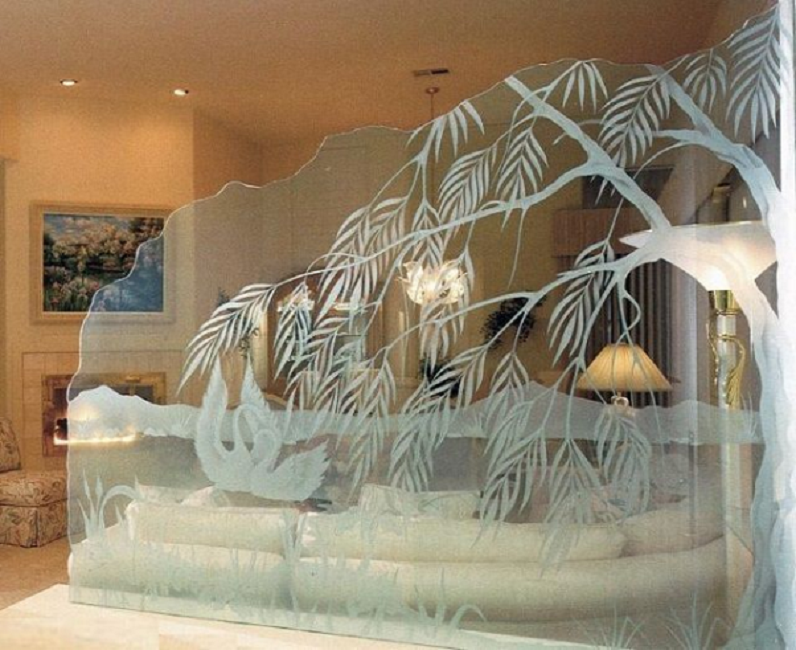
sandblasting method
Fascinating stained glass
To work in this technique, you need special equipment that delivers a jet of sand under high pressure. Very often used for stained-glass ceilings using curvilinear patterns.
The work consists of the following stages:
- The layout of the picture is fixed on the transparent glass
- Free areas of the stencil are processed using equipment that supplies sand. After processing, the glass becomes frosted and opaque
The stencil is removed, a light drawing is obtained. It does not require glass cutting or soldering, but without equipment at home, it is almost impossible to do this. Of course, you can use sandpaper and make a stencil out of metal, but the quality of the work will still be much worse.
Etching technique
Unobtrusive addition to the interior
Here you need to use hydrofluoric acid, which has a destructive effect on silicon dioxide - the main component of glass.
In order for the acid to act only on certain areas of the stained-glass window, stencils are used from an acid-resistant material. Thanks to such stencils, you can create multi-layered patterns with different reliefs, which are even used to decorate tableware, such as glasses.
It is better not to engage in such activities on your own, because you can easily burn the skin and mucous membranes.
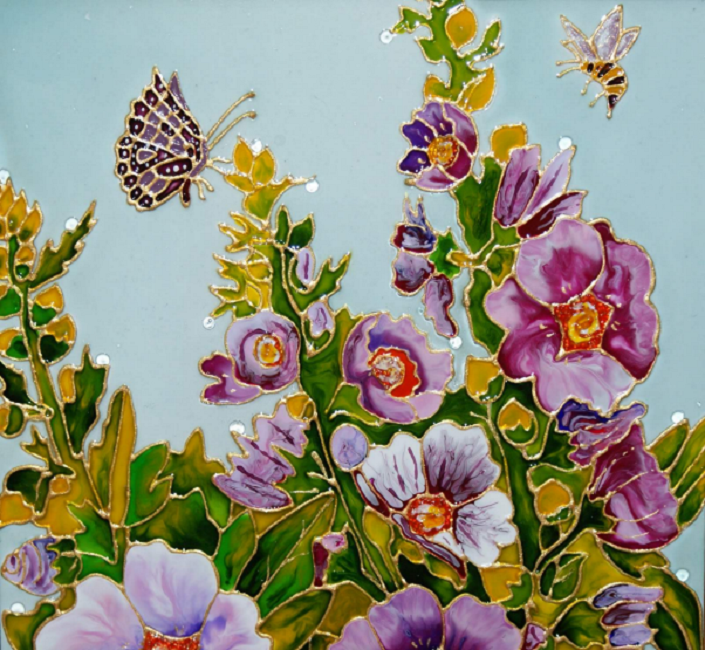
painting

Painted stained glass
Painted stained glass imitates any possible technique, for example, lead binding can be imitated in this way.
The process takes place in several stages:
- It is necessary to develop a sketch, prepare glass
- Laying glass on top of the picture
- Repetition of contours on glass, most often black paint is taken for this
- After the contour dries, the drawing is filled with colored paints.
This technology is one of the most accessible it will be discussed in more detail later as a step-by-step instruction. Even children can be involved in the painting process - it is absolutely safe and interesting, and in the future, the finished creation can be placed in the children's room to create more comfort.
Contour fill stained glass window

Filled stained glass
Just like the previous method, this one allows you to simulate all other methods for creating stained glass paintings, it is also very easy to make a stained-glass window by watching the corresponding video master class.
First, the contour is transferred to the glass, and then stained glass paint is poured in a rather thick layer.
Stained glass styles
Refined floral stained glass window
The appearance of a future glass painting is influenced not only by the method, which it will be made, but also a style that is selected in accordance with the rest of the interior elements in order to achieve a harmonious environment for the premises.
There are quite a lot of styles of stained glass compositions, and subspecies of styles - even more, because sometimes it is quite difficult to attribute a drawing to a particular style. First of all, you should rely on the distinctive features of the image, the selection of colors and the main characteristics.
Antique stained glass
Antique motifs
This style largely gave rise to others, later. It is based on ancient Greek culture.
Such stained-glass windows can be executed by any technique, but necessarily consist of a huge number of fragments. The peculiarities of antiquity in stained-glass windows include the presence in the paintings of amphoras, columns, nymphs and triangular pediments of buildings.
Gothic
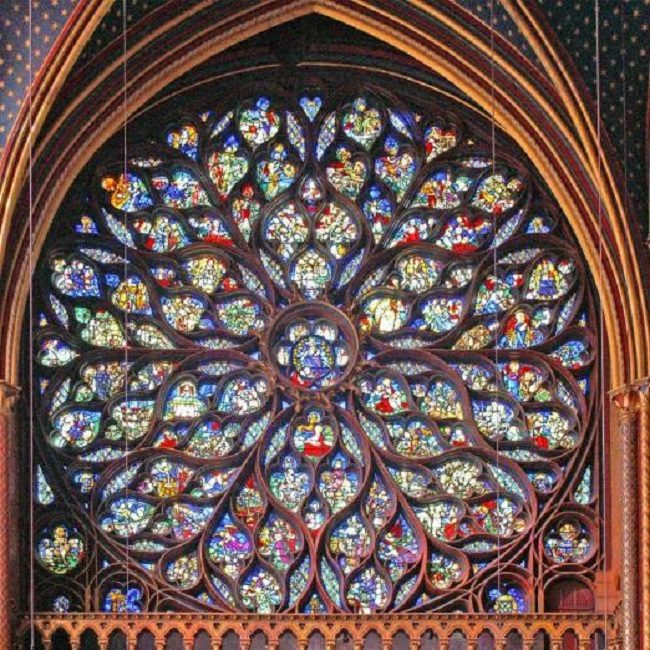
Intricate Gothic stained glass windows
It originates from Western Europe during the Middle Ages. Initially, only religious scenes were used, then animal figures, hunting scenes were included.
The style is characterized by deep shades: black, purple, blue, dark green.
Ancient Egyptian stained glass
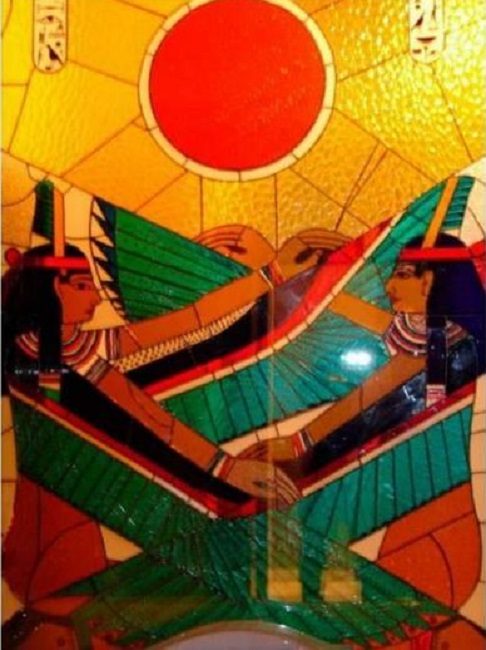
Vibrant colors and recognizable images
In Europe, this style of stained glass became popular thanks to Napoleon, who brought it back from Egypt after his journey there.
A distinctive characteristic is the use of golden, sandy, ocher shades in combination with brown, green and cobalt. Hieroglyphs, Egyptian ornaments are used.
Indian stained glass
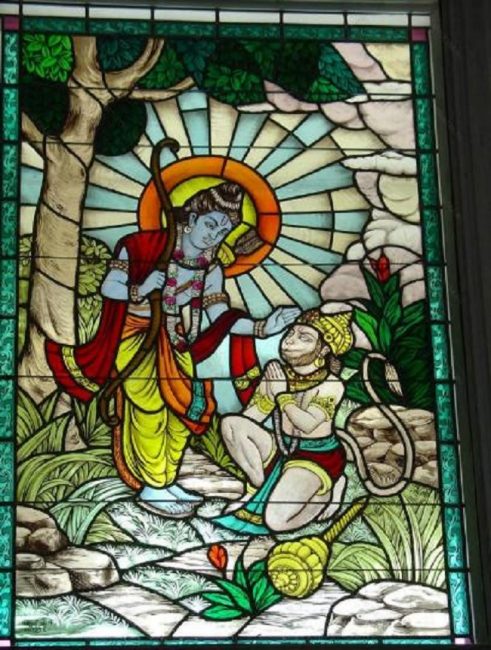
Indian style
Initially, such paintings were used to decorate the rich houses of India.
It is characterized by bright colors that uplift the mood: light blue, bright red and yellow. The presence of gilding is often observed. Indian deities, ornaments are depicted, paisley, aka “cucumber”, is especially popular.
Modern
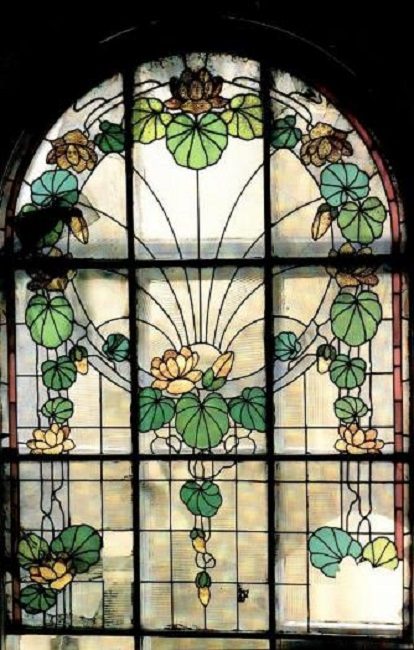
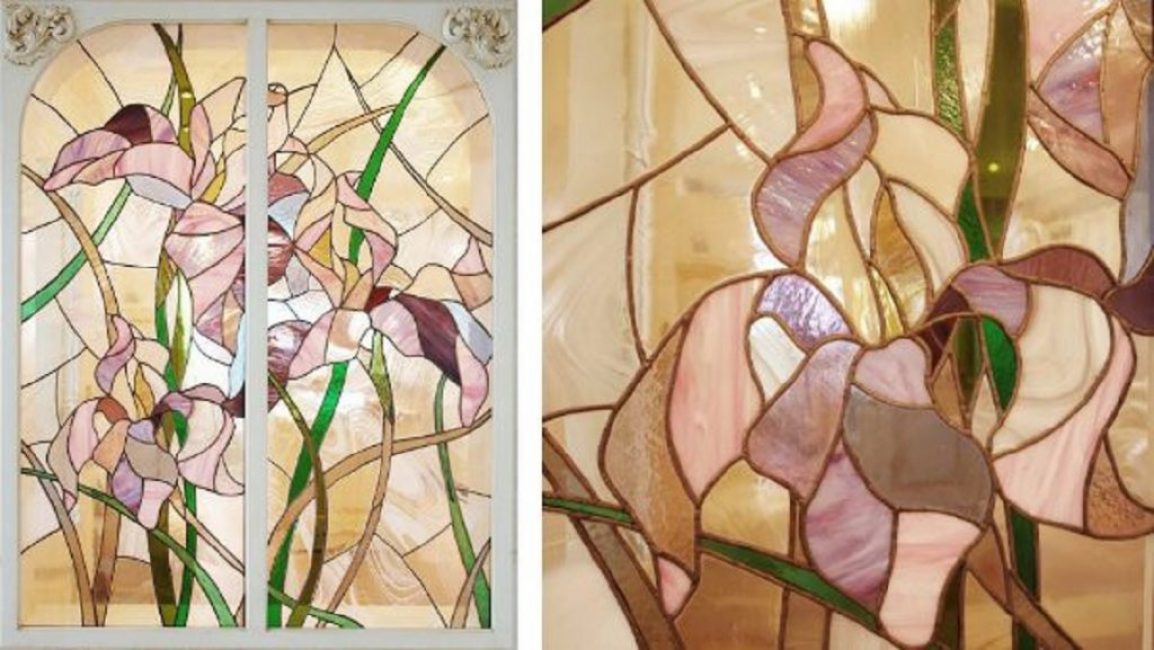
Delicate stained glass
The style became popular after an exhibition in Paris in 1990, since then, he has firmly established his position in art.
The main principle in such paintings is “form is more important than content”. Stained-glass windows are distinguished by exquisite lines, delicate tones, often there are plants or bouquets in them.
Art Deco
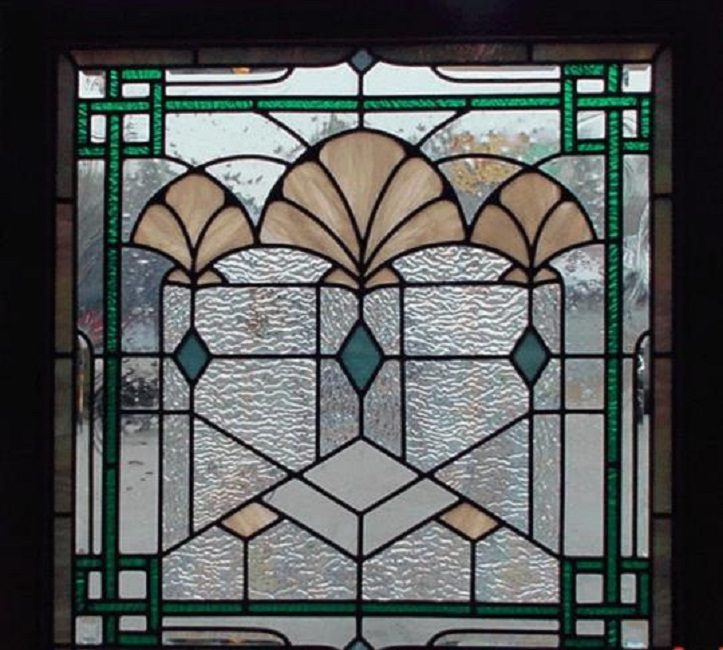
Simplicity and symmetry
Based on simple, uncomplicated forms.
Stained glass windows of this style are characterized by symmetrical figures, clear lines and repetitions of patterns.
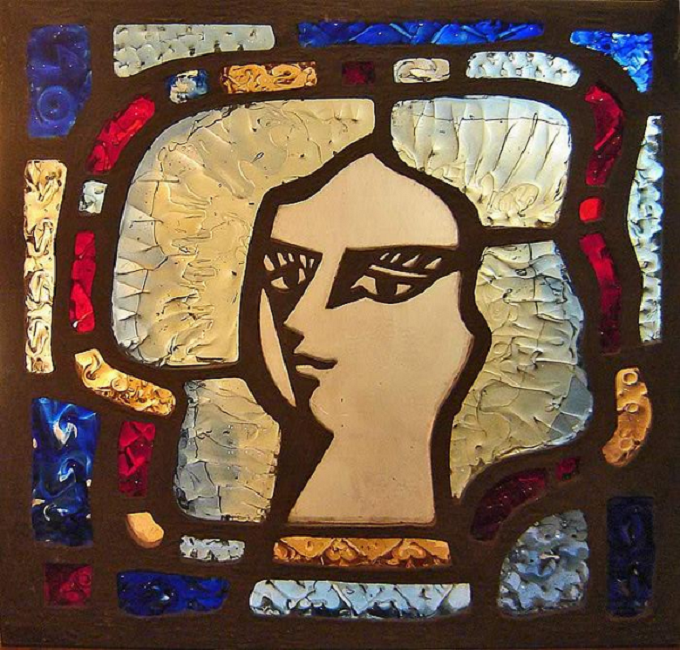
Abstract stained glass
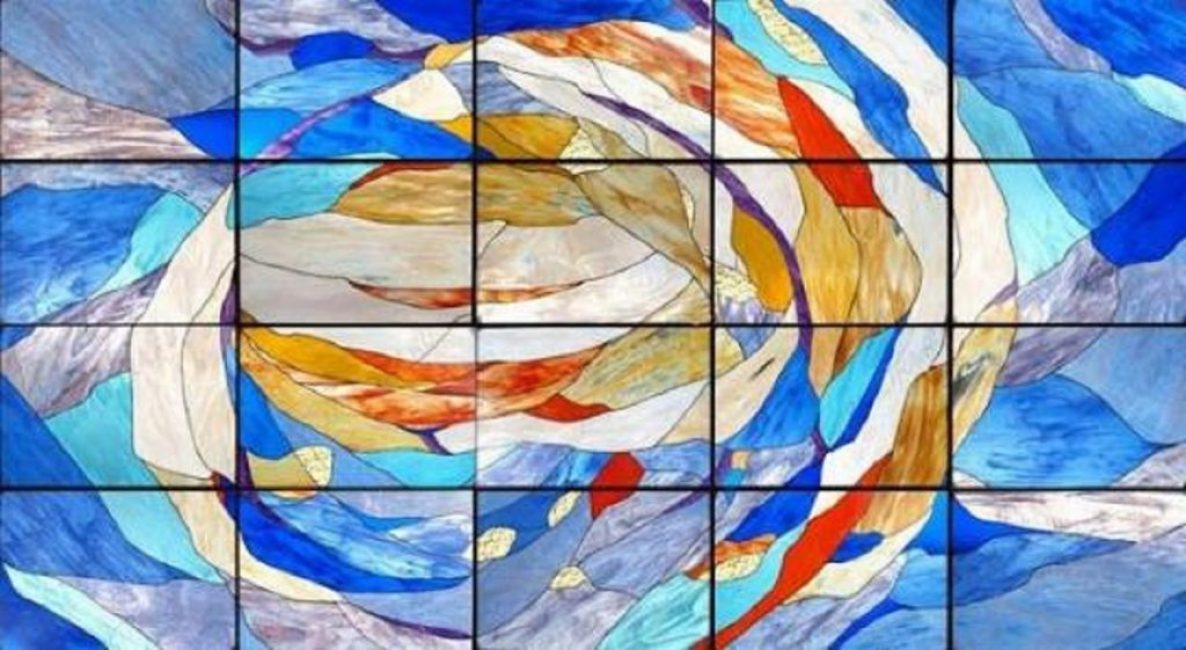
Unusual abstraction
Abstractionism is characterized by a combination of regular and irregular shapes, the brightness of colors, as well as expression, which is transmitted to the entire interior.
 Read also: How to make flower pots with your own hands: outdoor, indoor, hanging | Step by Step Charts (120+ Original Photo Ideas & Videos)
 Step by step master class
Creating a stained glass window
Making stained glass windows yourself is actually not difficult, it does not require special skills. Film and painted techniques are best for creating a stained glass window with your own hands. It is them that we will consider step by step and make a simple stained glass window in each of these two ways.
Painted technique
Basis for stained glass
In order to make such a picture, first of all, it is necessary to take the dimensions of the glass, which will later turn into a stained-glass window. Then, according to the dimensions, a template is selected or drawn by hand with a pencil or marker. If the drawing is taken from the Internet, and the size of the glass is larger than A4, then it must be printed on sheets of paper, and then these sheets should be joined together into a single whole. Cardboard is also suitable as a base, it is denser and the glass will slip less.
In this example, consider the option of creating a drawing yourself. It is important that all lines are clear.
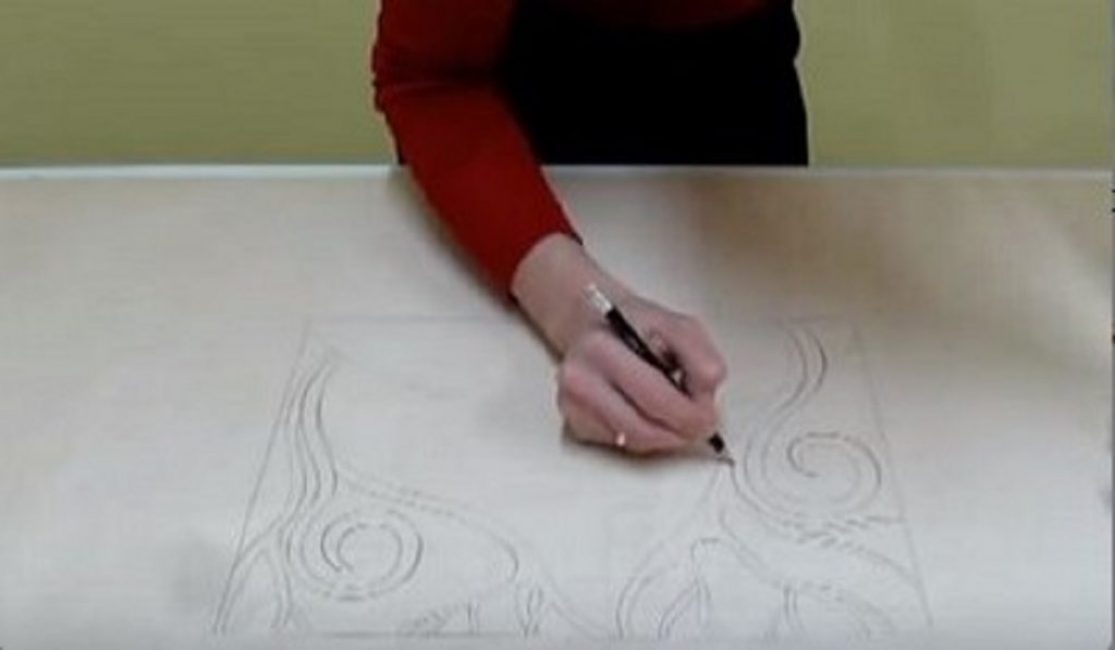
Drawing for stained glass
Glass with a small thickness is laid on paper with a finished pattern. It must be degreased with an alcohol-containing or ammonia agent, or with simple alcohol.
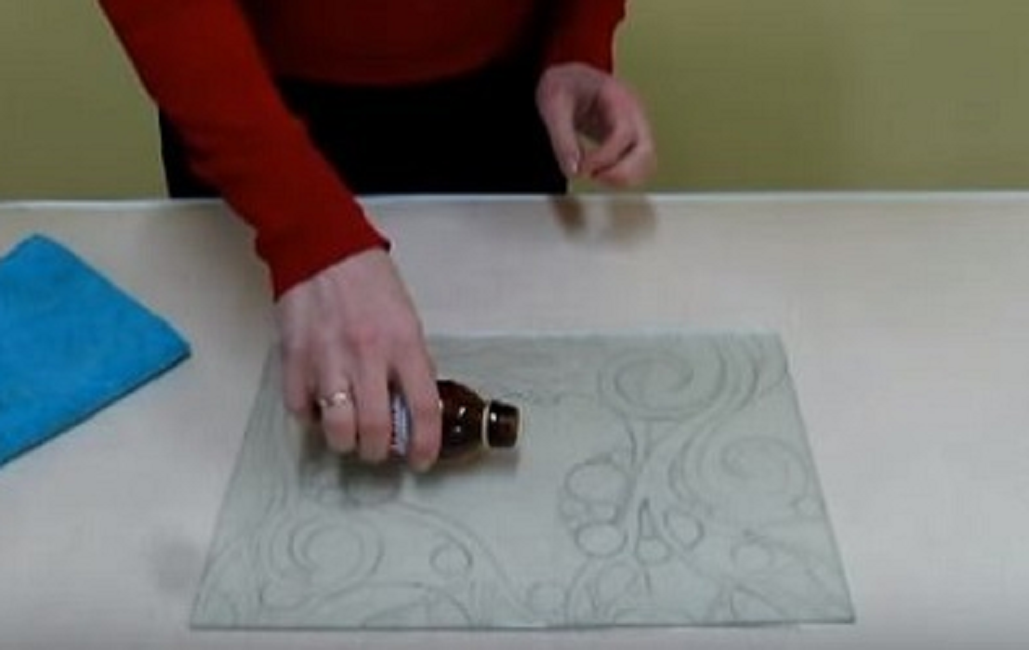
Glass degreasing
The surface must be absolutely dry, so the degreaser is carefully wiped with a soft cloth.
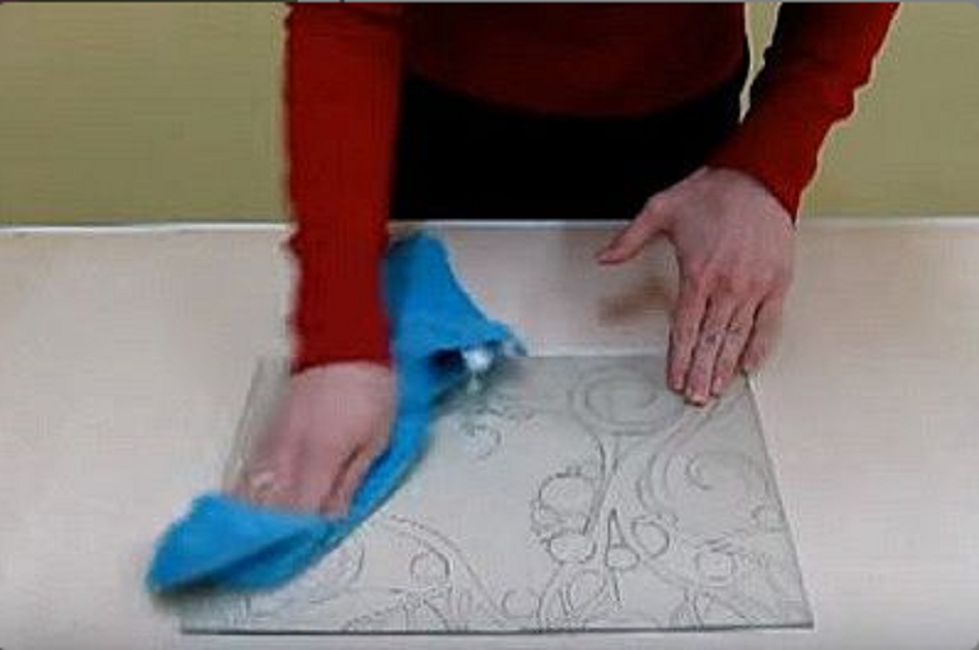
Surface drying
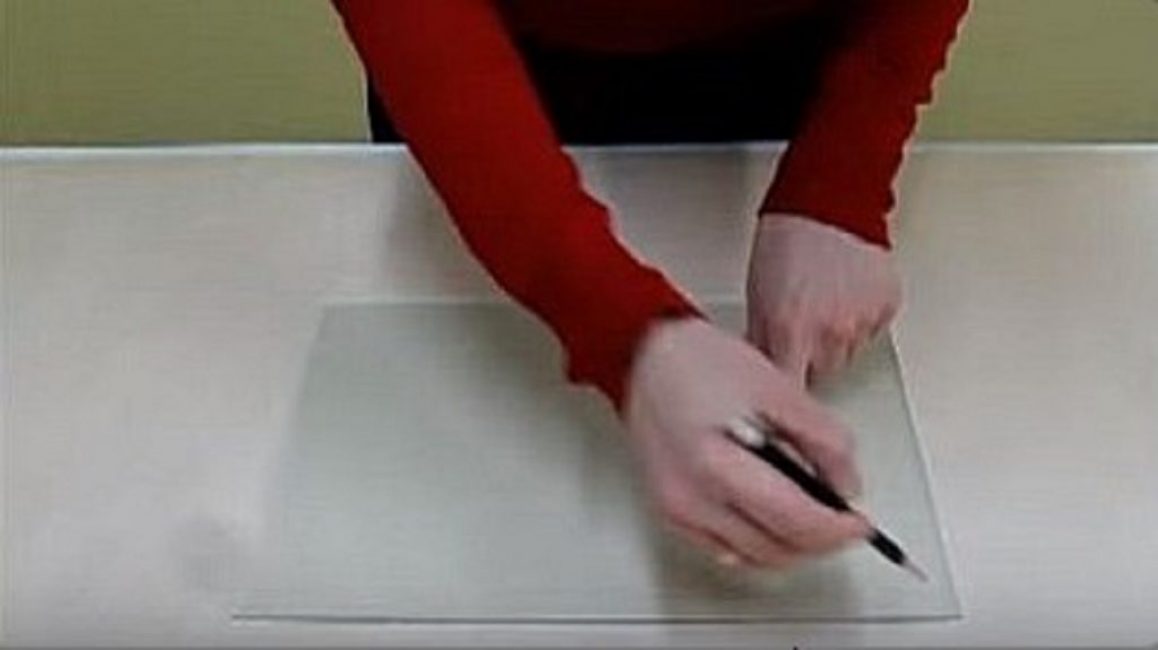
The next step is to draw the outline of the stained glass window, that is, the template is traced on the glass. Most often, black paint is used for this, since it is most visible. You can also take contour paste, ready from the store or homemade, which includes PVA glue, ink and silver. Important: only stained glass or acrylic paints, which are sold in tubes, are recommended for creating stained glass windows. Let the contour dry completely so as not to lubricate anything in the future.
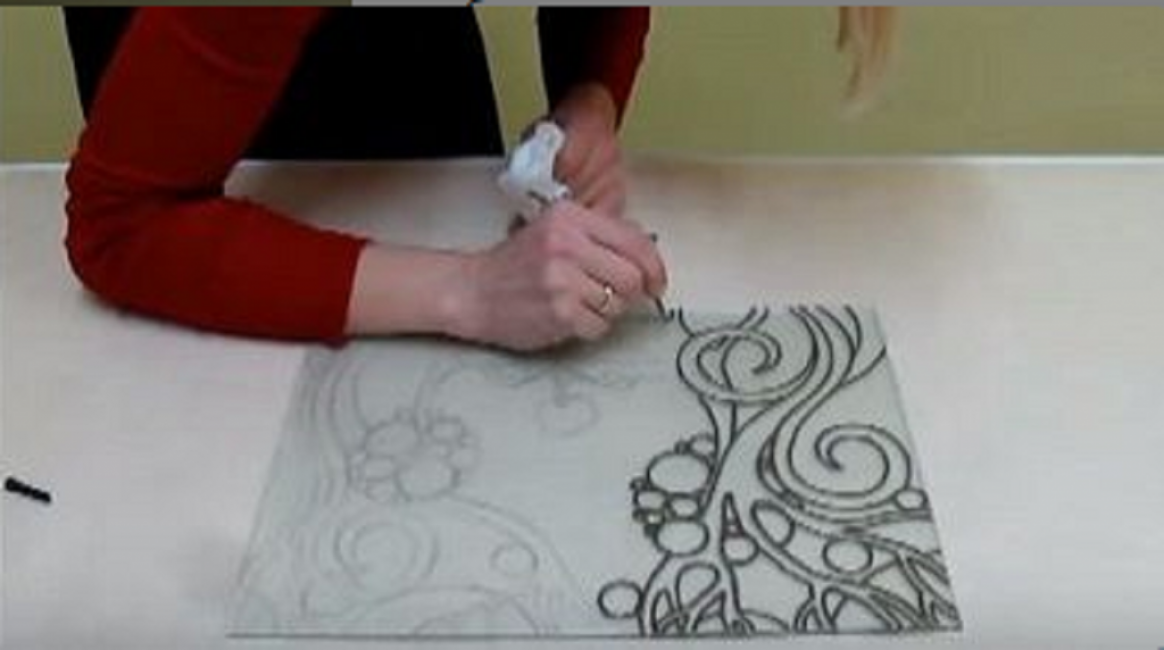
Drawing a contour
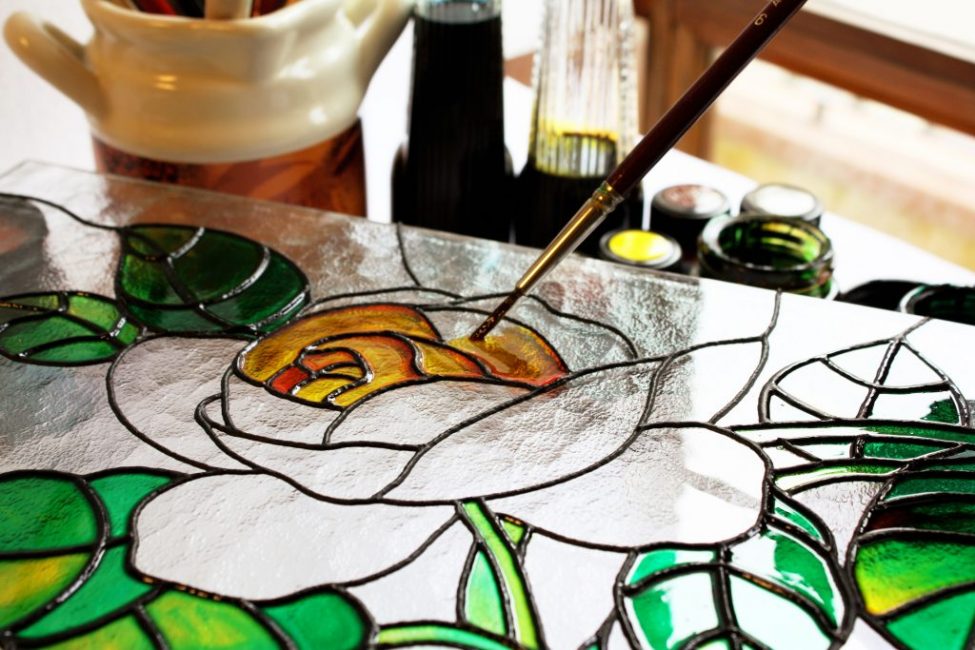
The contour of the picture is filled with color. You need to work carefully. The dye is applied with a brush or sponge if the area is large enough and you want to make a textured image.
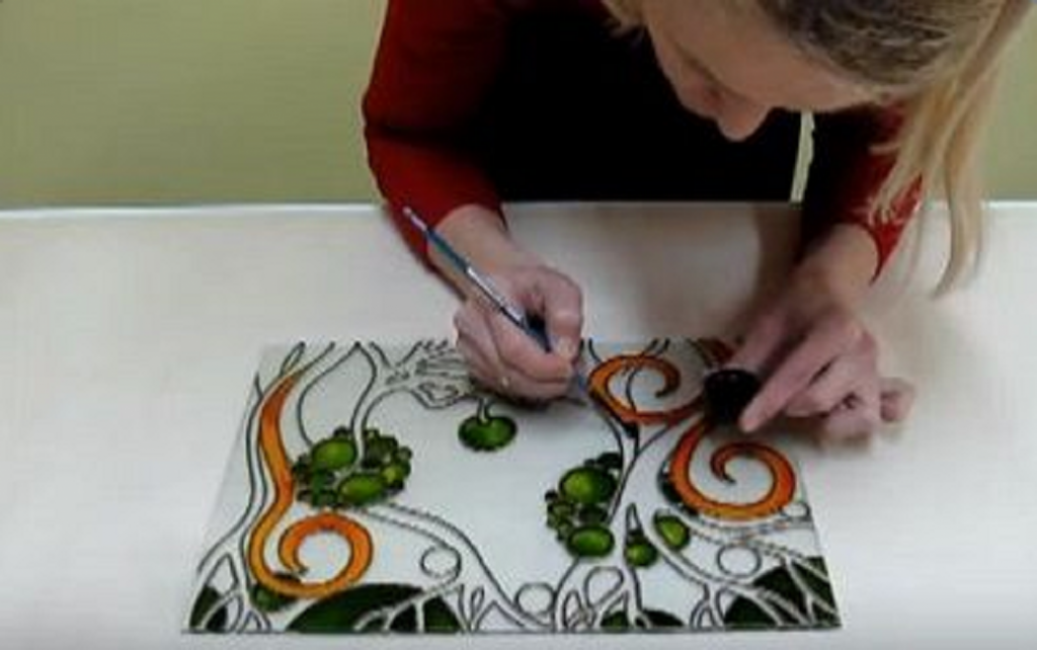
Filling an outline with color
If the drawing should be voluminous, then it is better to apply shadows and lights after the base layer has dried.
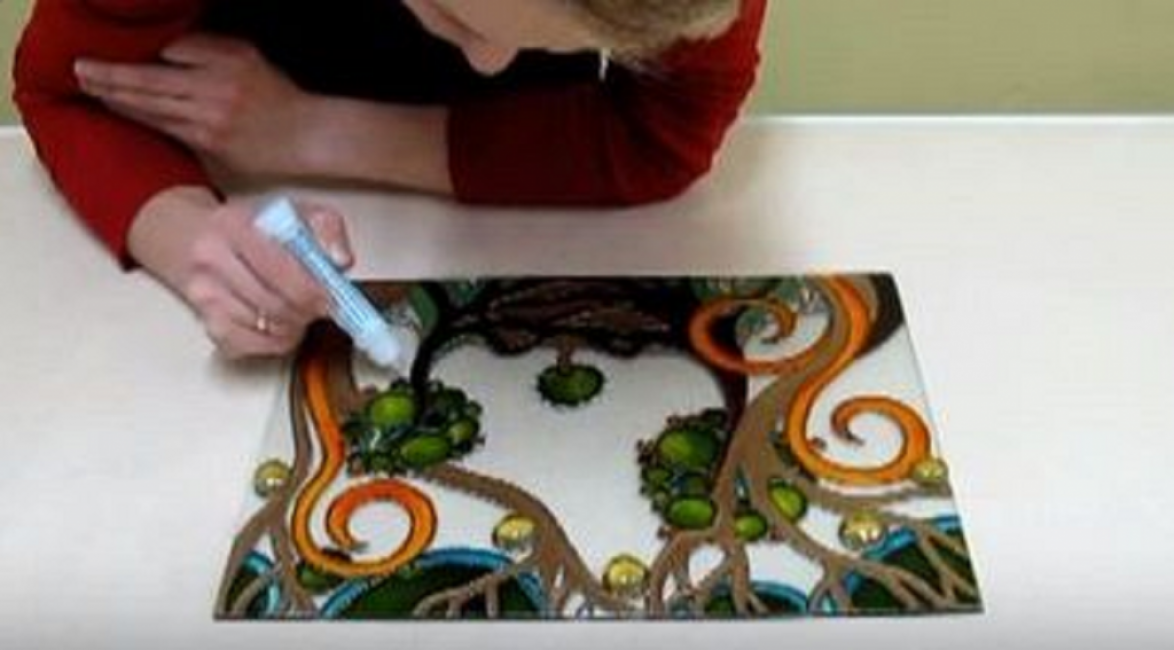
Applying shadow and light
After complete drying, the stained-glass window is ready.
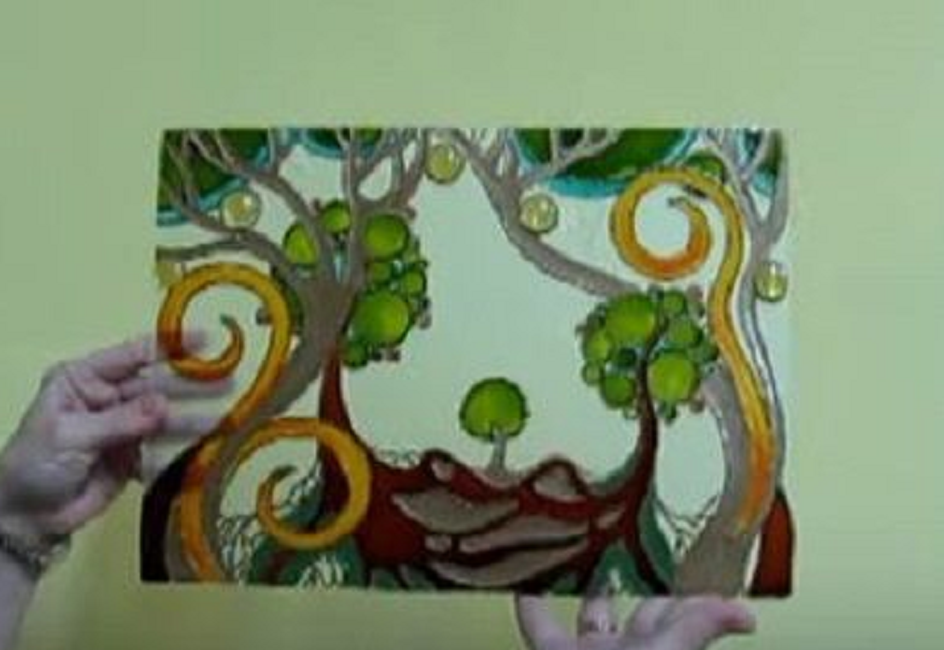
Stained glass is ready
Film technology

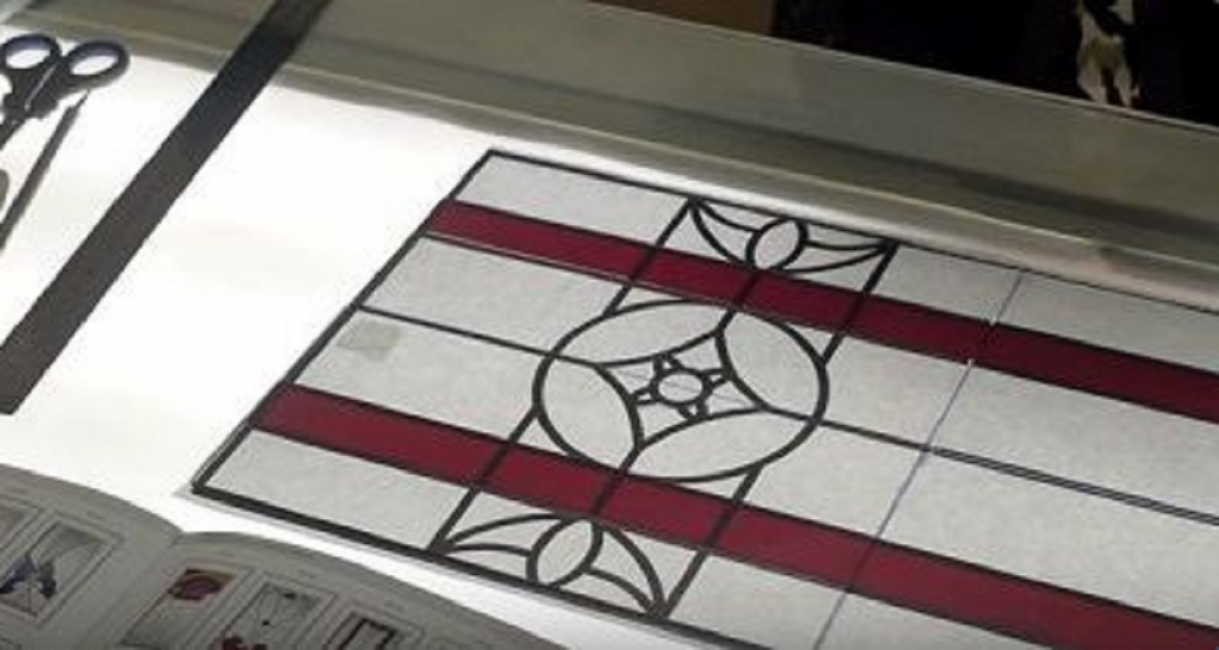
Sketch on different sheets
Most often, a sketch is printed on a printer on different sheets, and then connected, as in the previous example. If the work is carried out for the first time, then you should not take too complex patterns. It is also necessary to equip the workplace with lighting so that the light of the lamp is directed to the sketch from below, otherwise it will be quite difficult to work.
All parts of the sketch must be glued so that the lines match, as shown in the photo. Excess fragments, if any, cut with scissors.
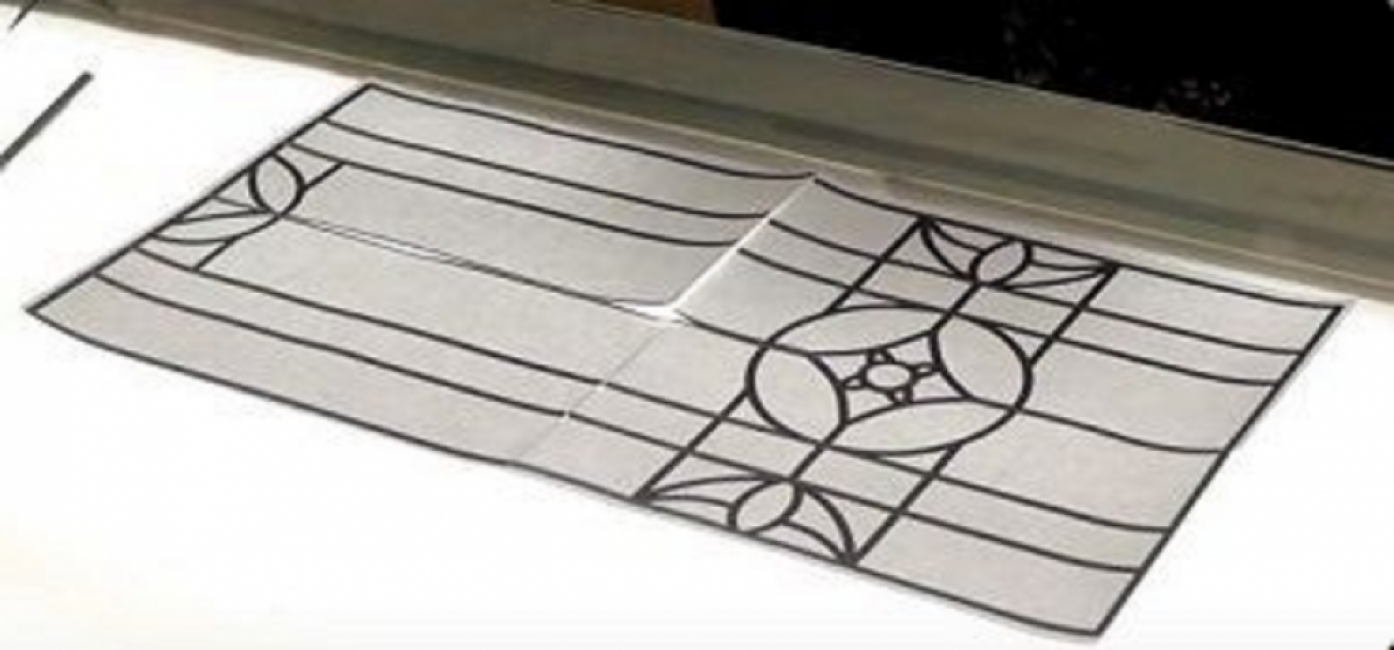
Sketch gluing
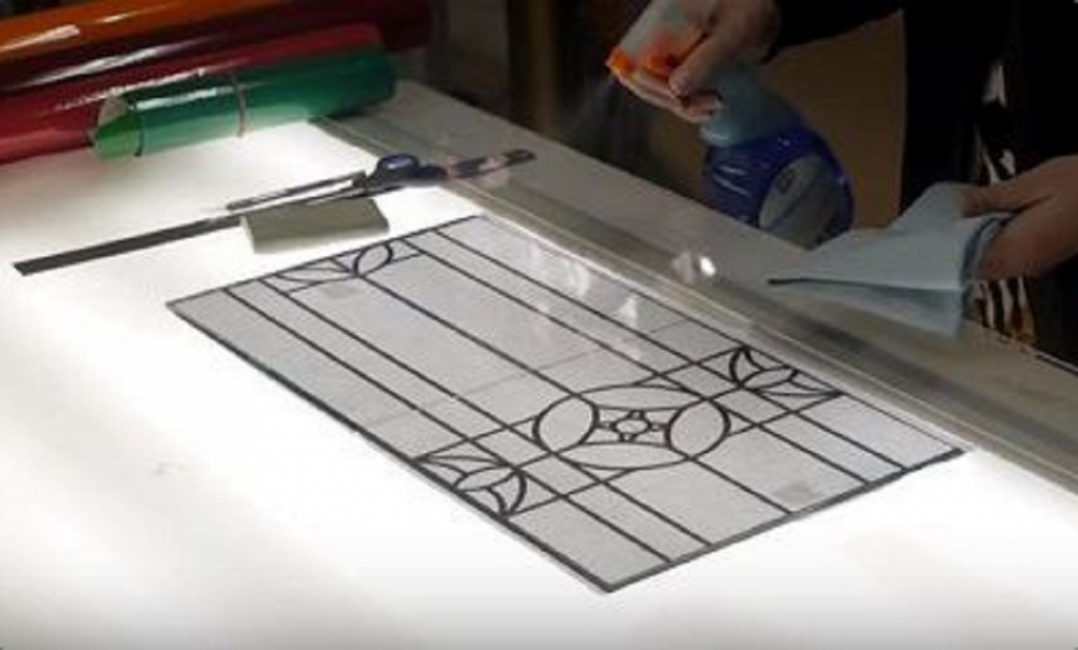
The glass is cleaned, degreased from the side of contact with the sketch and wiped thoroughly.
Glass cleaning
Glass is applied and fixed so that there is no distortion. You will need double sided tape for this.
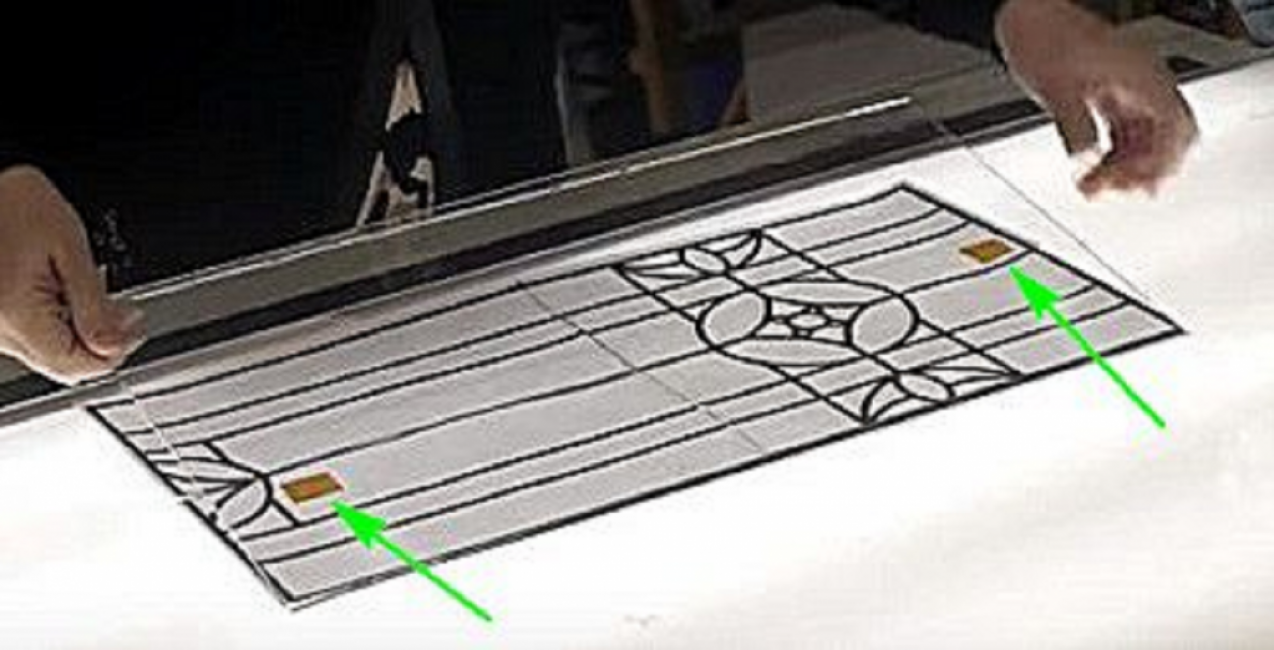
Glass fixing
Glass is degreased from the outside and wiped dry.
Glass degreasing
In order to make a stained glass window using this technique, you will need a self-adhesive film. For each fragment, a suitable piece is cut out, in our case, in the first step, these are strips.
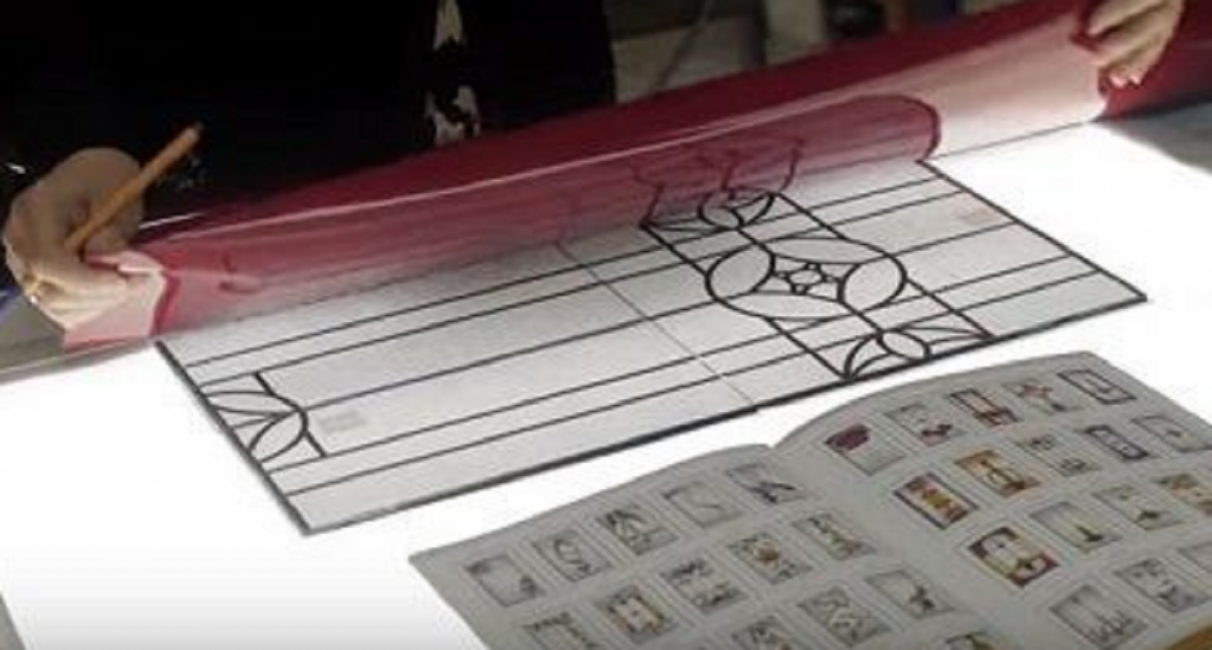
Film strips
Before sticking the film, the place is once again degreased and wiped dry.
Surface preparation
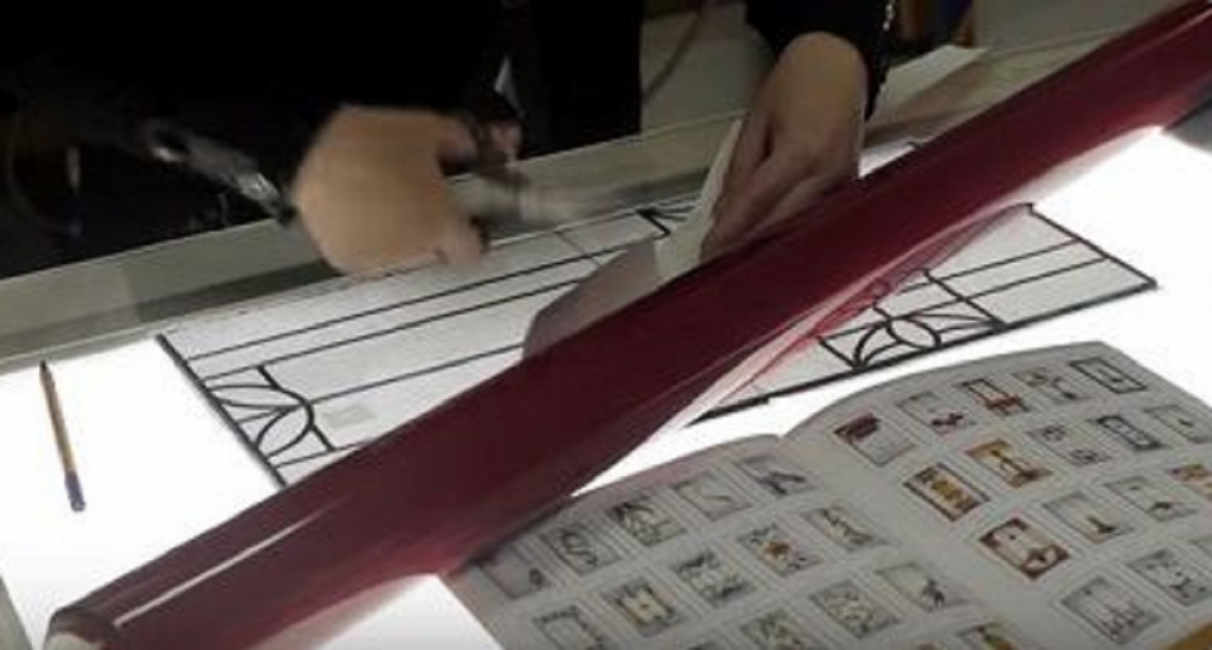
Then the substrate is carefully removed from the edge of the film fragment, this edge is fixed on the glass and smoothed with a squeegee.
Substrate removal
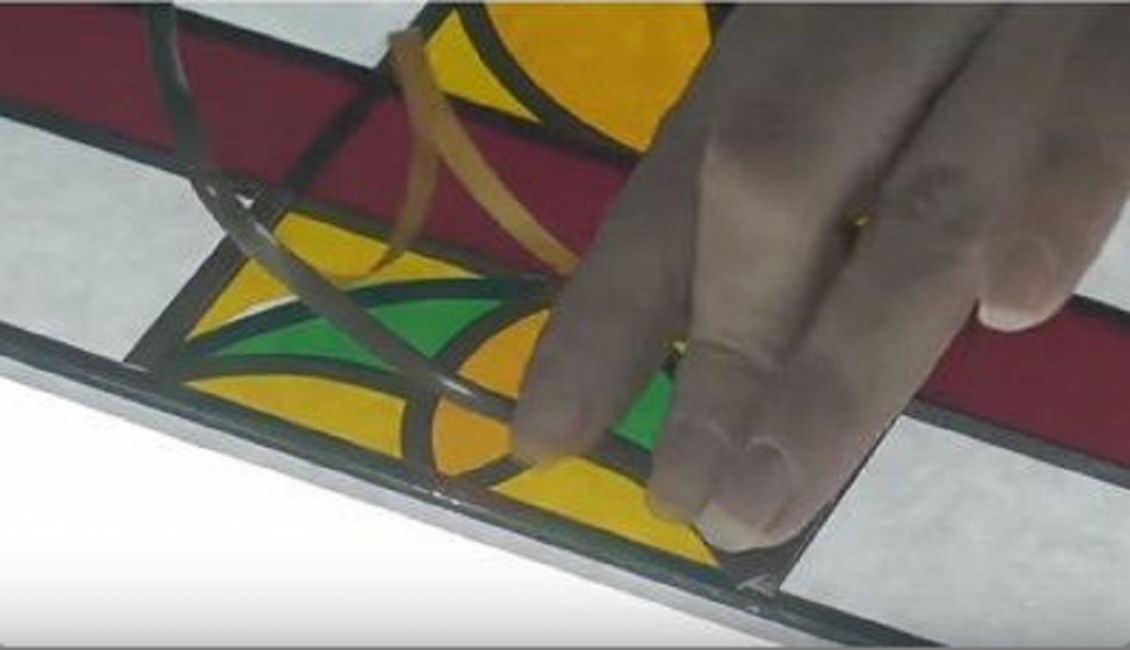
With a quick movement so that the dust does not have time to get on the glass, the film is pressed and smoothed. Remains can be trimmed with a knife, if any.
Film application
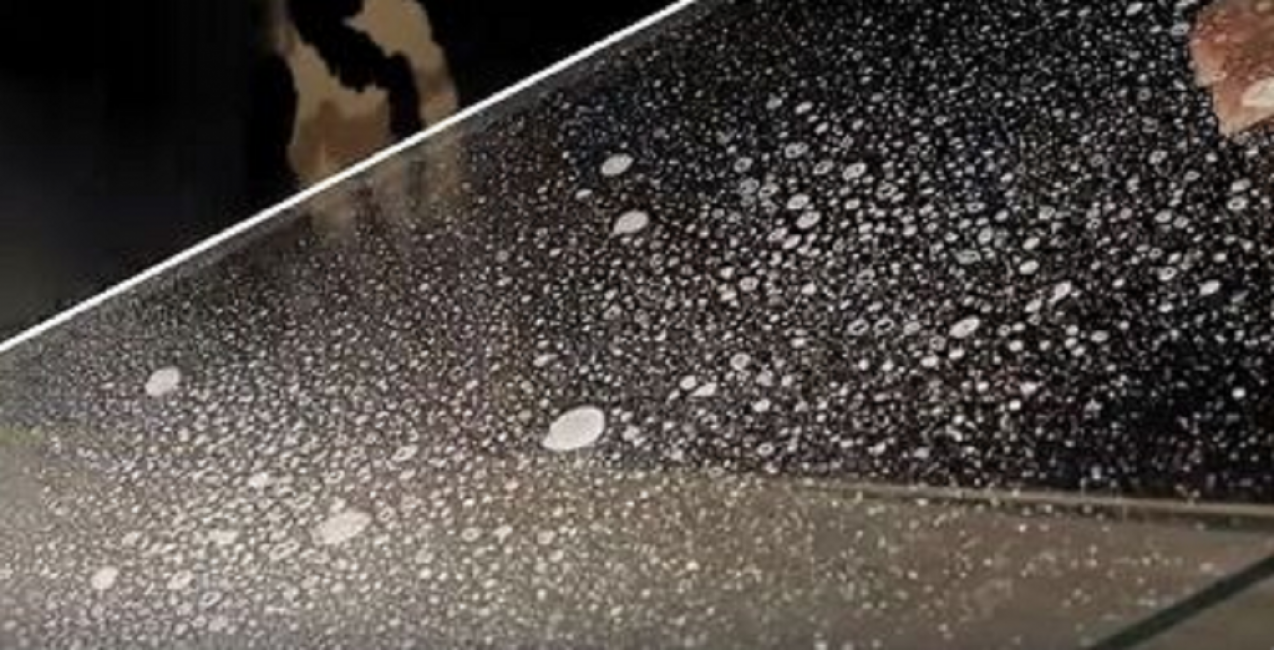
The film should go on the contour, translucent from under the glass.
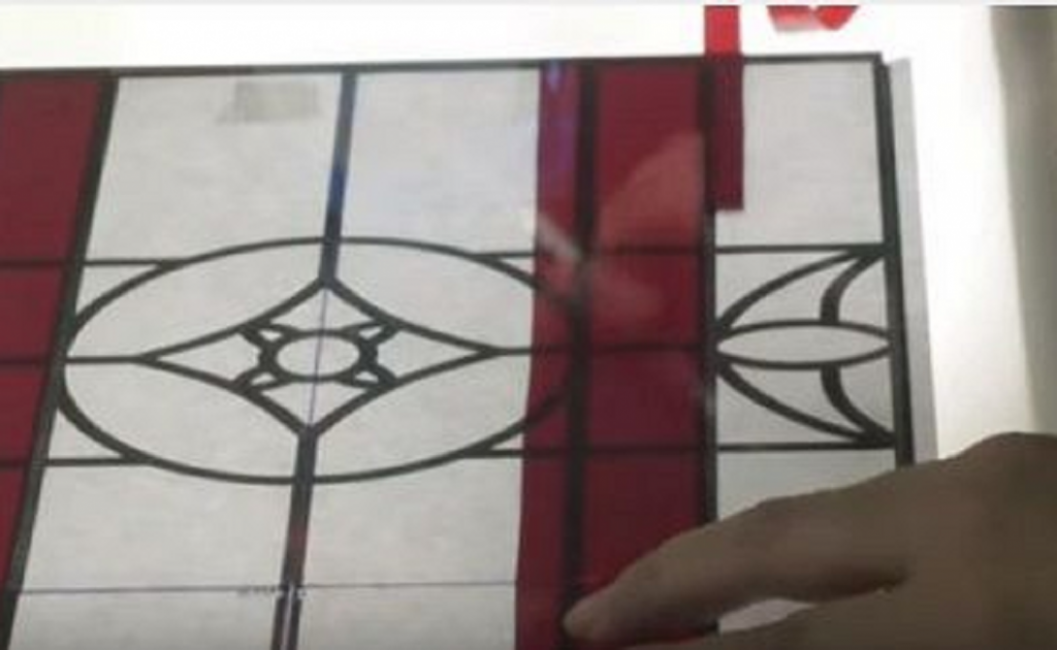
Film over the contour
Further, the process follows the same principle.
Process repetition
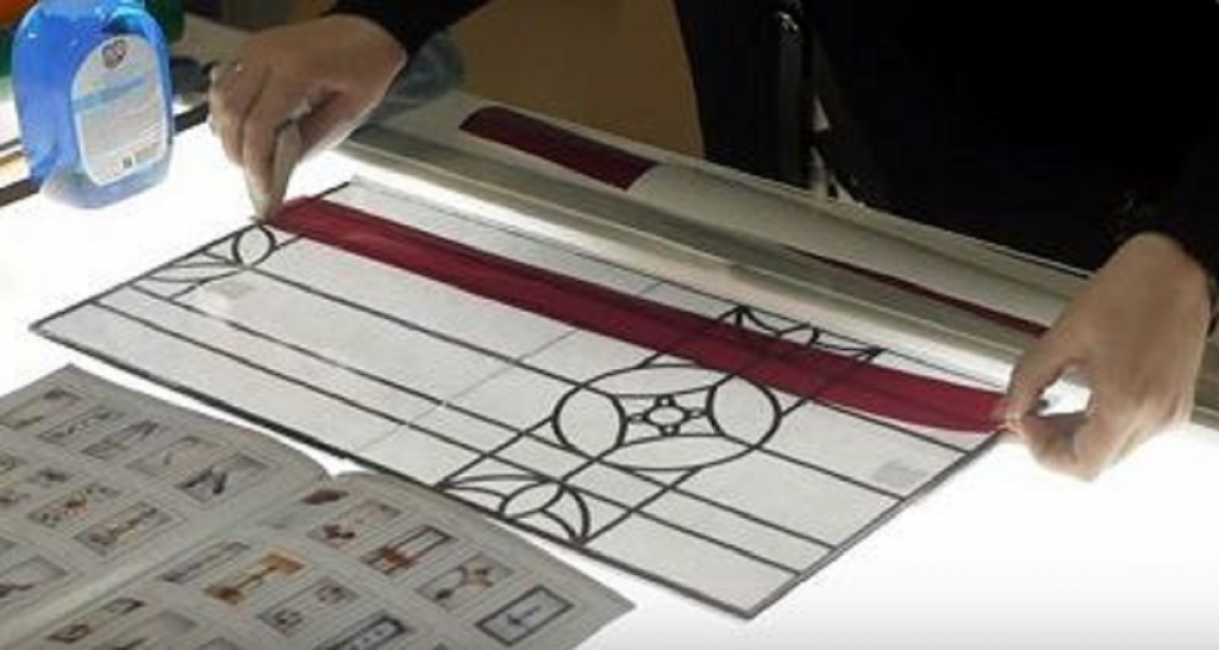
When all the colors are laid, the lead tape is glued for framing.
framing sticker
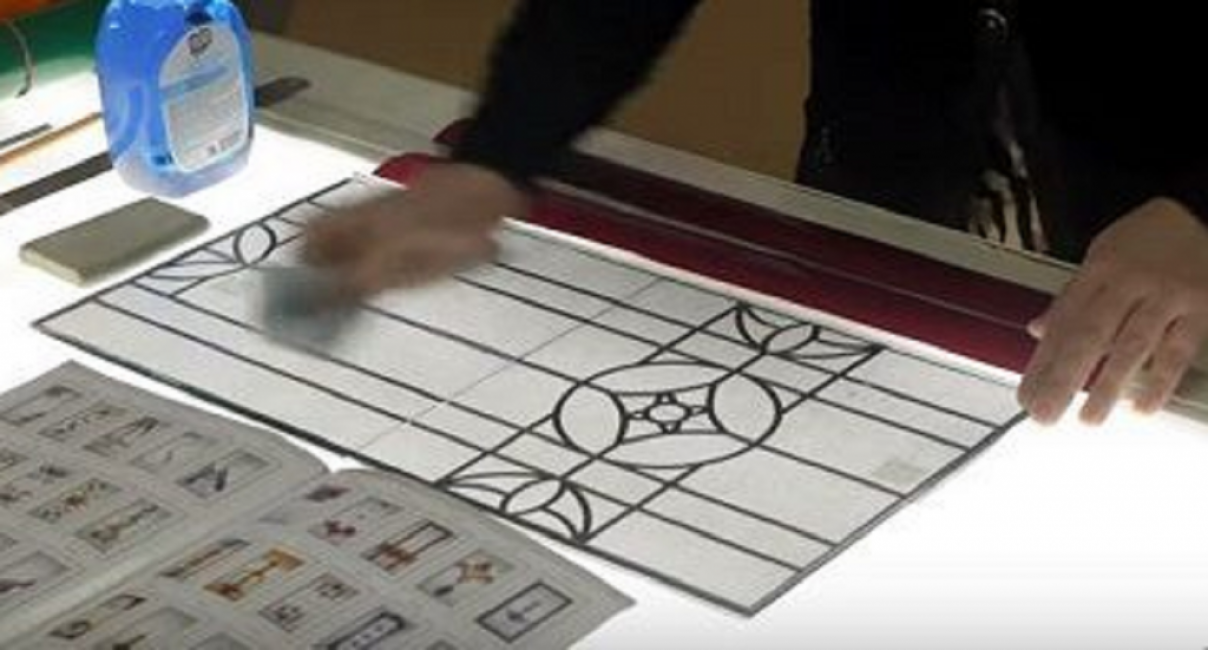
The entire tape is rolled with a roller.
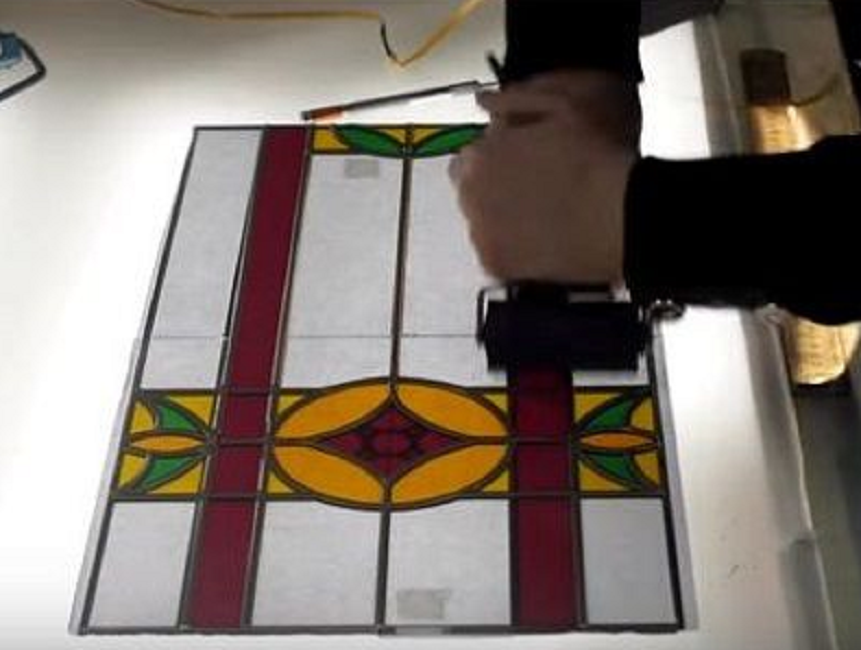
roller rolling
At the end of the work, all joints are pressed with a special clamp, the surface is thoroughly wiped with a detergent. The stained glass picture is ready.
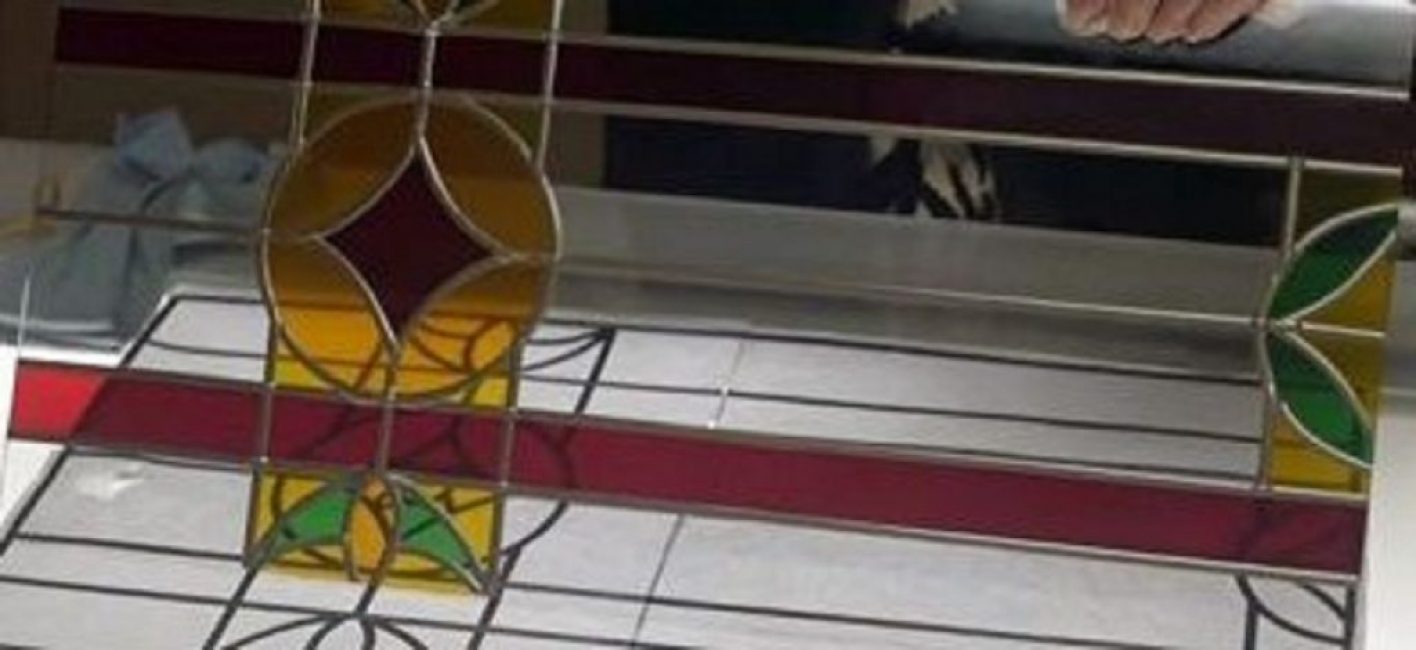
Finished stained glass
 Read also: How to make a patio in the country with your own hands: a variety of design options, decoration and arrangement (85+ Photo Ideas & Video)
Stencils for stained glass


Painting on glass with stained glass paints!
How to make a stained-glass window on glass with your own hands at home: a step-by-step master class + stencils | (120+ Photos & Videos)


