
Maintaining the fence of a summer cottage in good condition is a headache for any summer resident: either the picket fence has rotted, or the mesh has rusted. Today we will tell you about an unusual material for the manufacture of fences. It is absolutely not subject to corrosion, like metal structures, or rotting, like wood. Are you interested? Well, let's reveal the secret, this material is a chain-link mesh made of plastic bottles. How to make it yourself, read our article.
Content:
 Read also: Do-it-yourself furniture and other wood products: drawings of benches, tables, swings, birdhouses and other household items (85+ Photos & Videos)
Materials for manufacturing
In order to make a mesh netting, you will need:
- empty plastic bottles;
- bottle cutter;
- metal part of a ballpoint pen with a narrow diameter of 3 mm;
- nail;
- thick plywood;
- fastening corner;
- Fiberboard 5 mm thick;
- file;
- tin;
- hacksaw;
- drill;
- wire;
- candles or building hair dryer;
- clamps.
Step 1. Dissolve bottles into ribbons
To make a mesh netting, we need bottle ribbons 2 cm wide.
We set the bottle cutter blade to the required width of the tape and cut the required number of bottles.
From figured bottles, wide ribbons turn out to be slightly deformed, but this is not scary, they will even out when drawn into a wire.
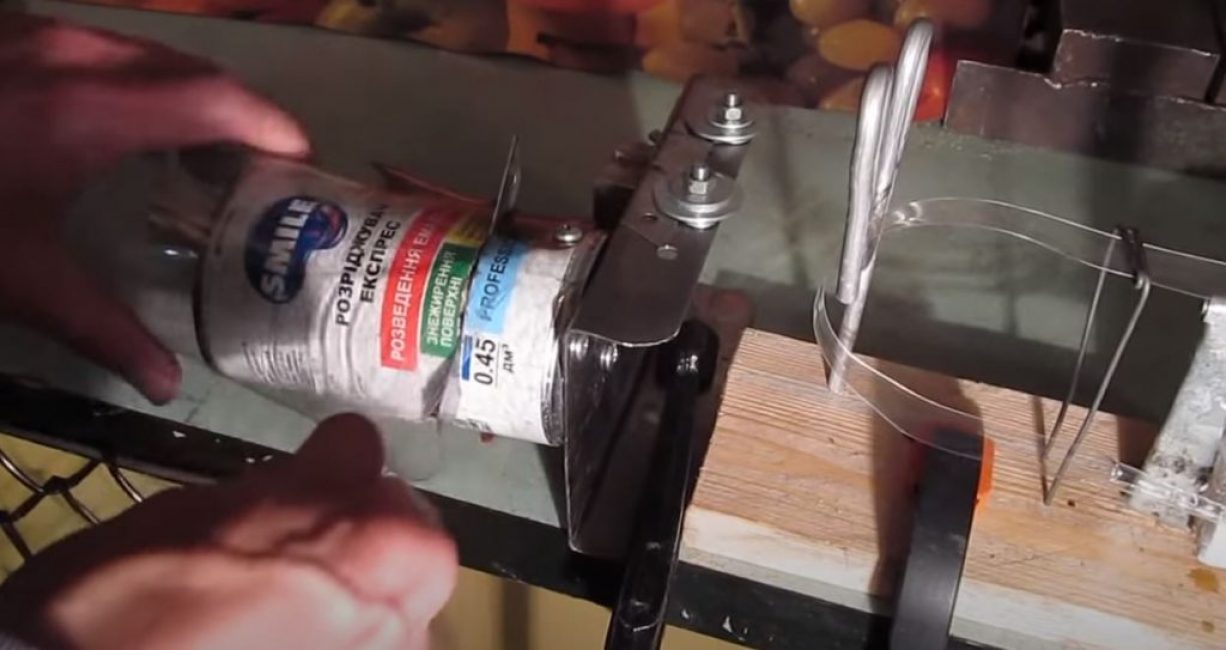
Step 2. We prepare the machine for pulling the tape into the wire
We cut out the base of the machine and the front stand from thick plywood and connect them with a mounting bracket.
We bend the holder for the tape from the wire and install it in the back of the machine.
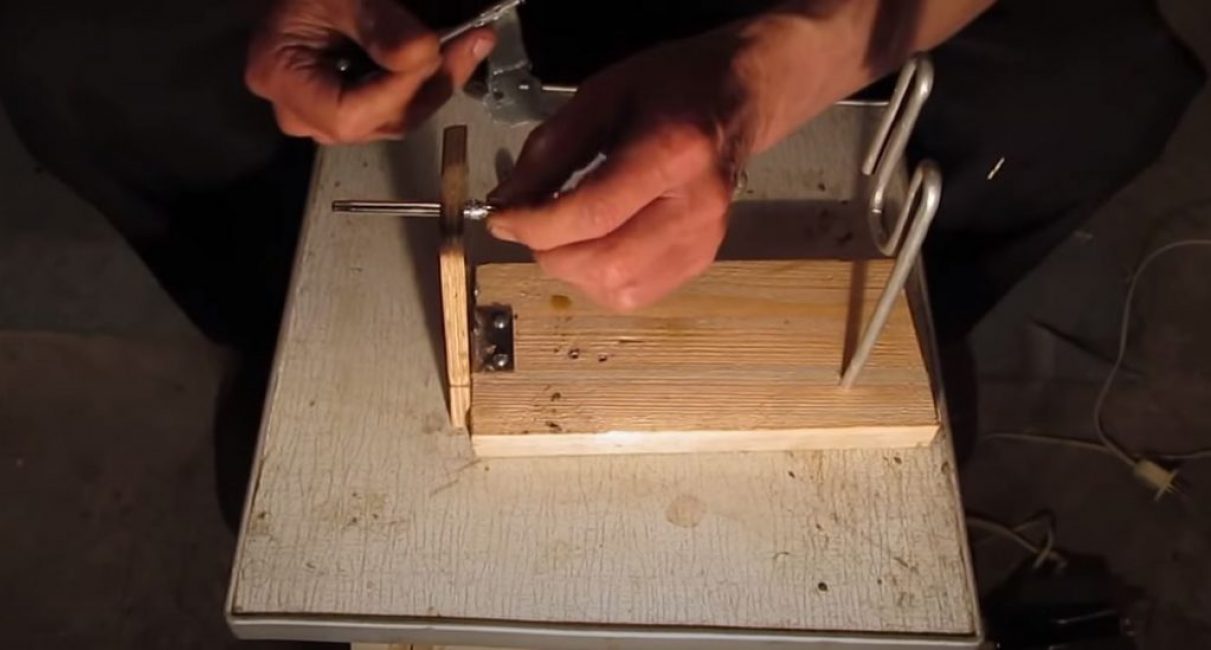
We drill a hole in the front rack for the metal part of the ballpoint pen.
We flare the wide part of the handle and solder the limiter so that the handle does not move forward when the tape is pulled.
We insert the handle into the hole in the front pillar.
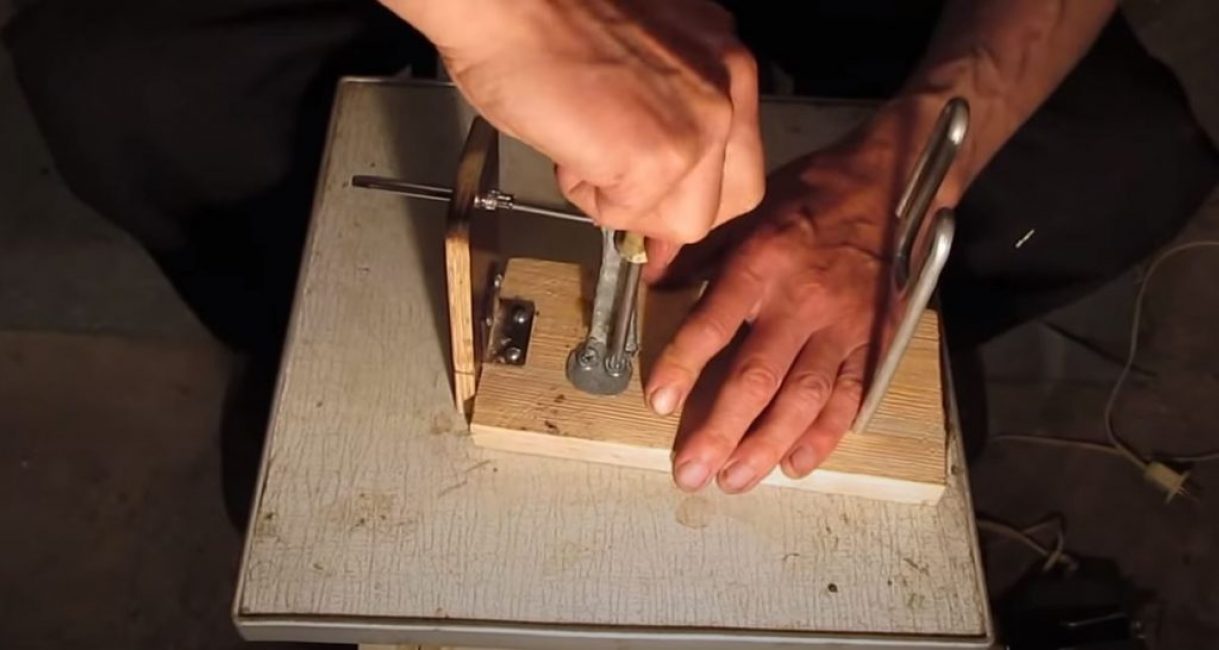
In order for the tape to be fed equally curved, we make a guide from a nail, 2.5 mm thick.
We fix the nail in a tin rack and fasten it to the base of the machine.
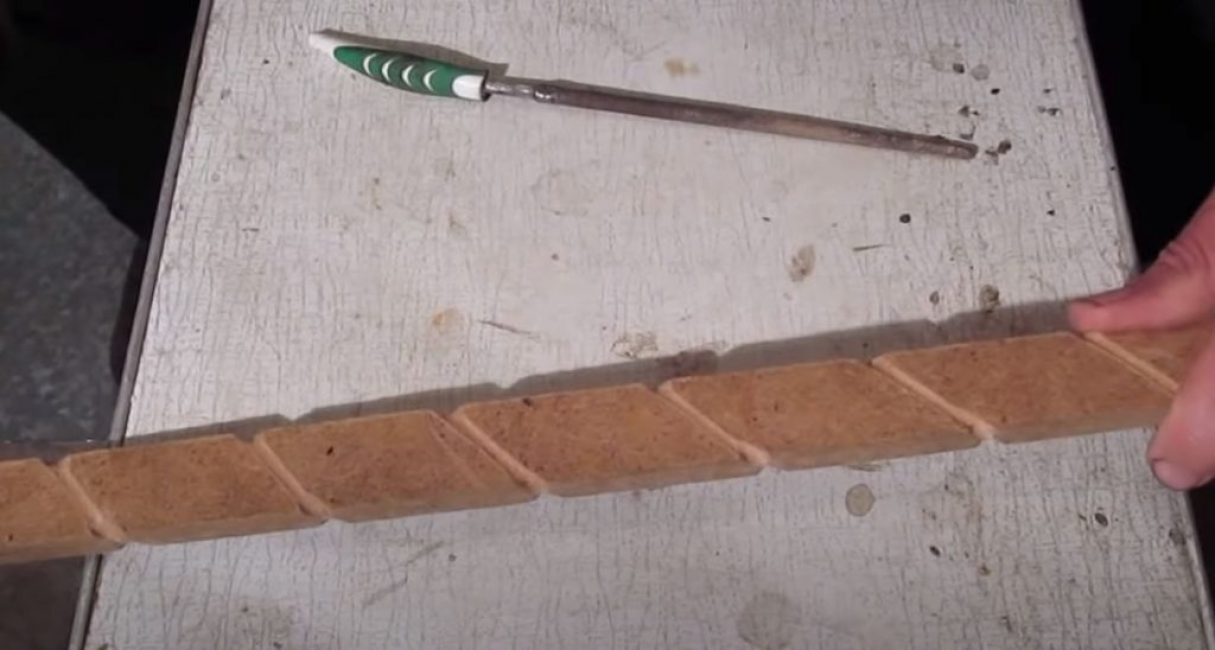
Step 3. Making the guide rail
We cut out a rail from a sheet of fiberboard. Its length should be slightly more than the desired width of the grid canvas, and the width should be equal to half the size of the future cell.
Along the entire length of the rail on both sides, at equal distances, we apply cuts with a file at an angle of 45 degrees.
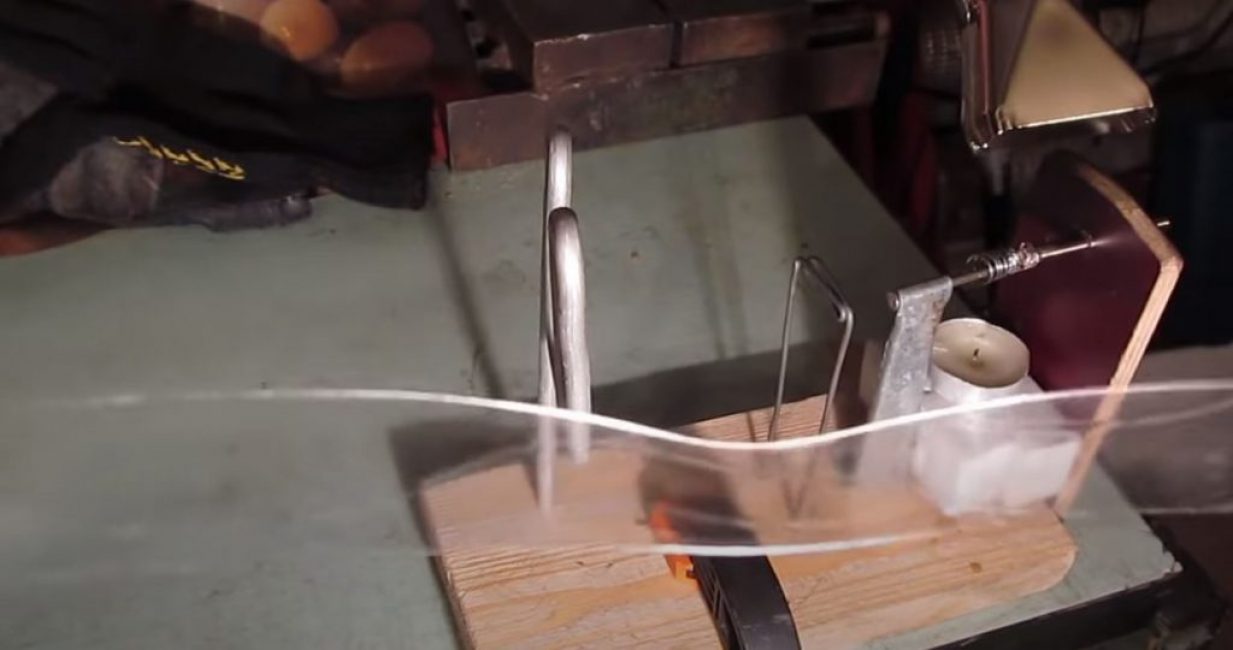
Step 4. We make twisted wire
We attach the broaching machine to the table or workbench with a clamp.
We stretch the tape through the mechanism and attach it to the end of the rail.
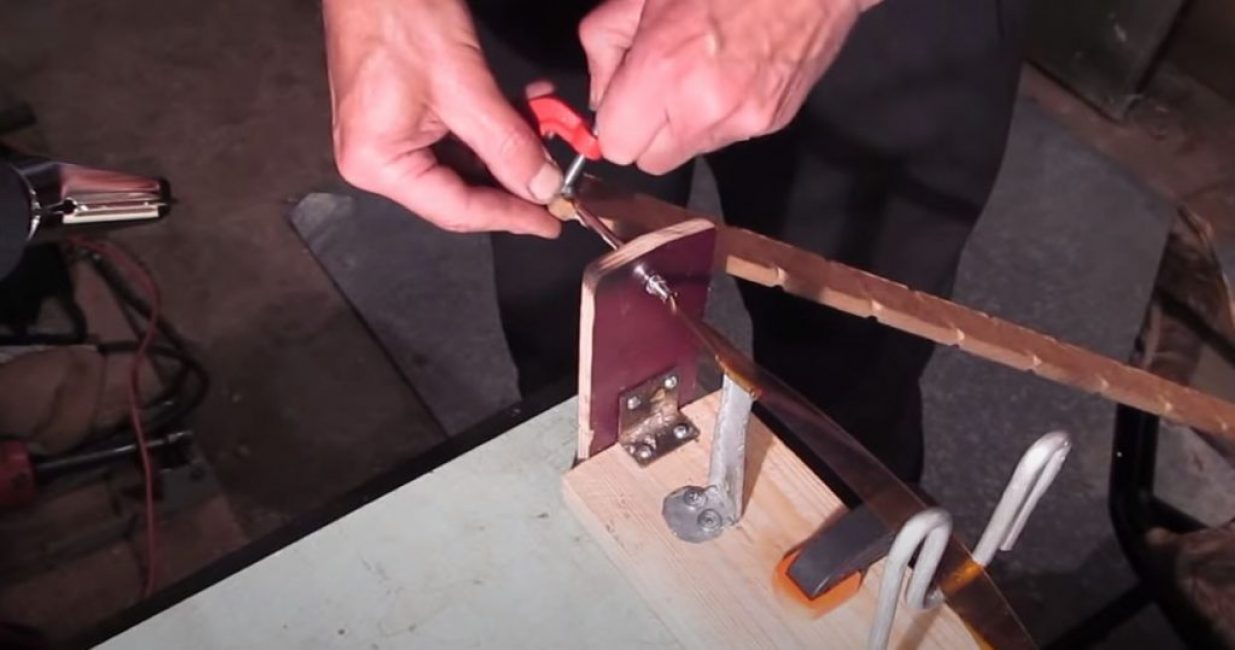
If the tape is made of even bottles, candles located on both sides of the front rack of the broaching machine will be enough for its heat shrinkage.
We light the candles and begin to gradually stretch the tape, at the same time winding it onto the rail.
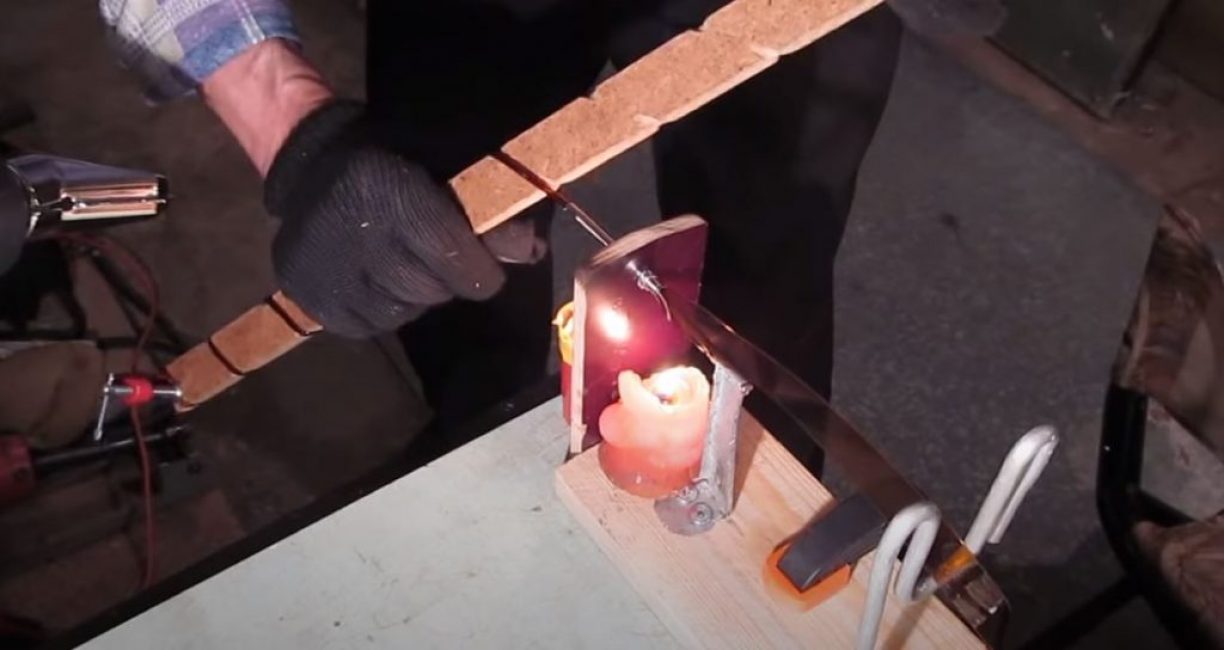
If the ribbon comes from shaped bottles, heating the candles may not be sufficient. In this case, use a building hair dryer to heat shrink the tape.
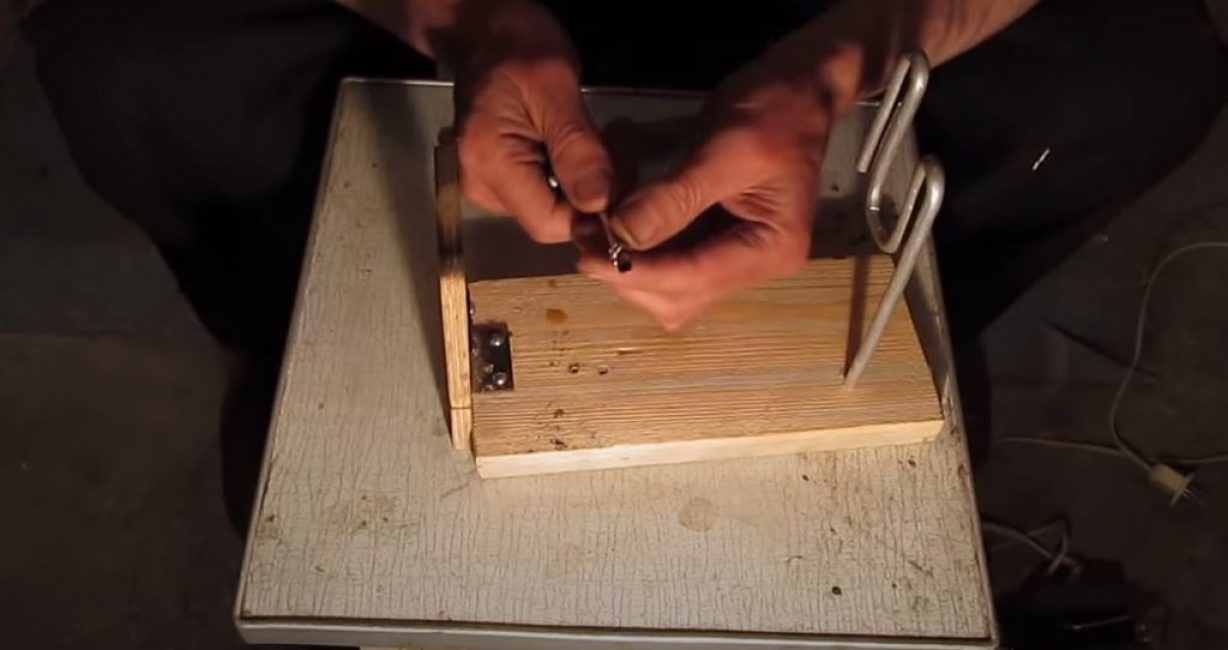
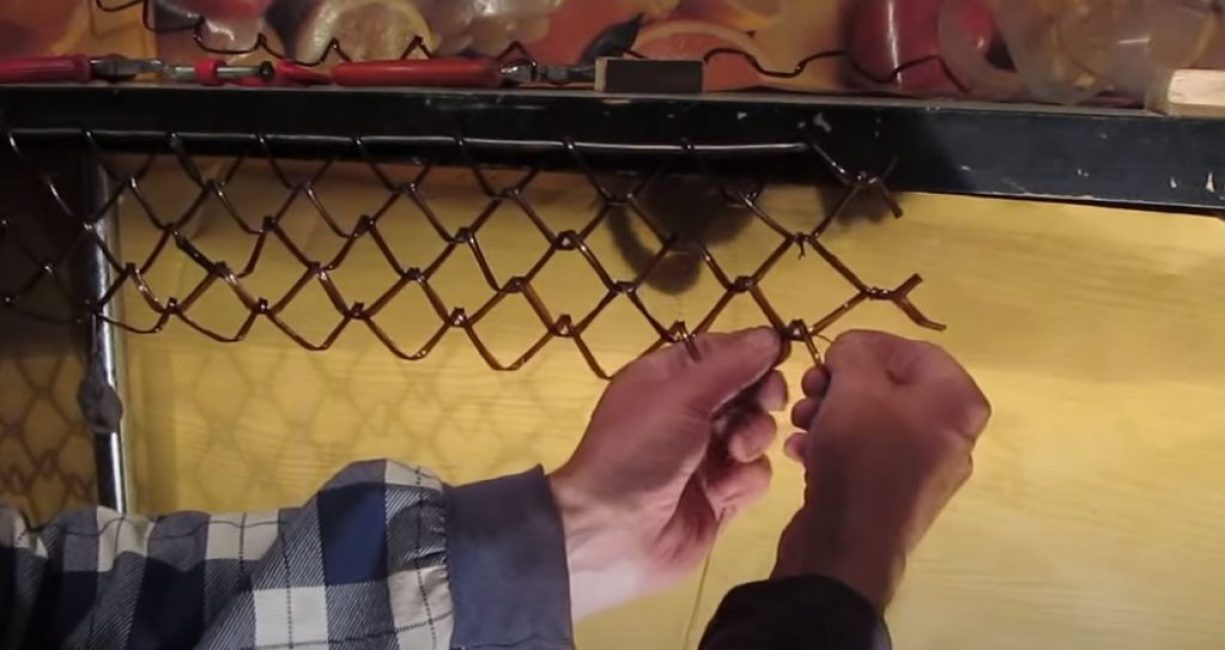
Step 5. Forming a grid
We make a limiter from a metal wire according to the desired width of the mesh web and fix it on any vertical surface.
We begin to alternately screw in the blanks obtained in step 4.

At the borders of the web, adjacent twisted wires are fixed together with tape or copper wire. This will preserve the integrity of the mesh during twisting and transportation.

Do-it-yourself mesh chain-link from plastic bottles
How to make a mesh chain-link from plastic bottles with your own hands?


