
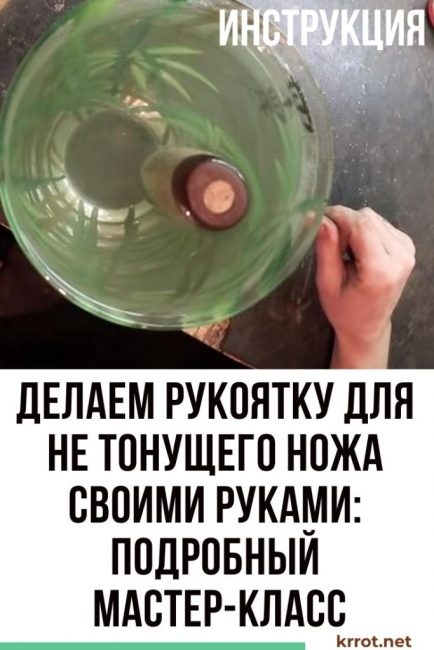
Fishing and hunting are hobbies that are very common among men. And in this case, not only the weather and good company are important, but also equipment. We suggest you make a knife handle that will fit comfortably in your hand, not slip, and most importantly, your knife will not sink if it accidentally falls into the river.
Content:
Content:
 Read also: How to make a rivet from a nail? | The cheapest way to bring a broken knife back to life?
Materials for manufacturing
In order to make a handle for a non-sinking knife, you will need:
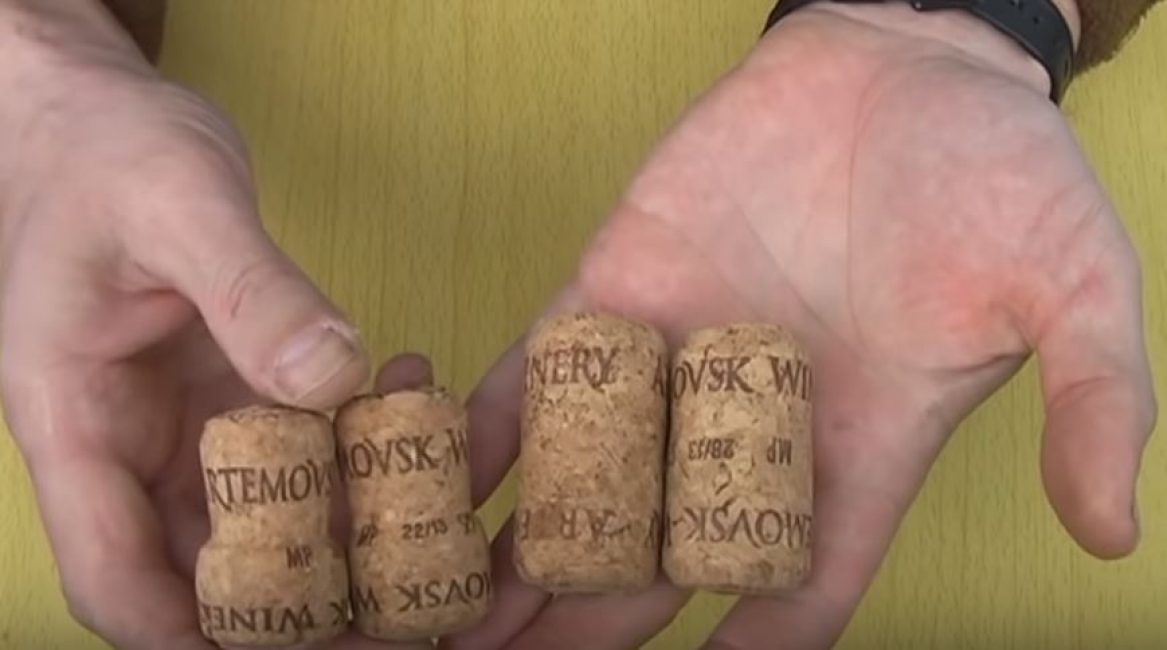
- 10-12 corks from wine or champagne, made from cork;
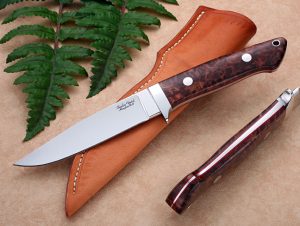
- blank for a knife;
- waterproof glue (for example, 88 or Moment). Please note that it should indicate that it is intended for gluing cork;
- nail file for electric jigsaw;
- epoxy adhesive;
- threaded stud;
- 2 rivets made from nails of a suitable diameter;
- sawn cylindrical nut with two cuts for a screwdriver;
- a screwdriver sharpened for cuts;
- masking tape;
- sandpaper from 120 to 600;
- tassel;
- cyanoacrylate adhesive for flexible connections;
- acetone.
Step 1. Prepare the corks
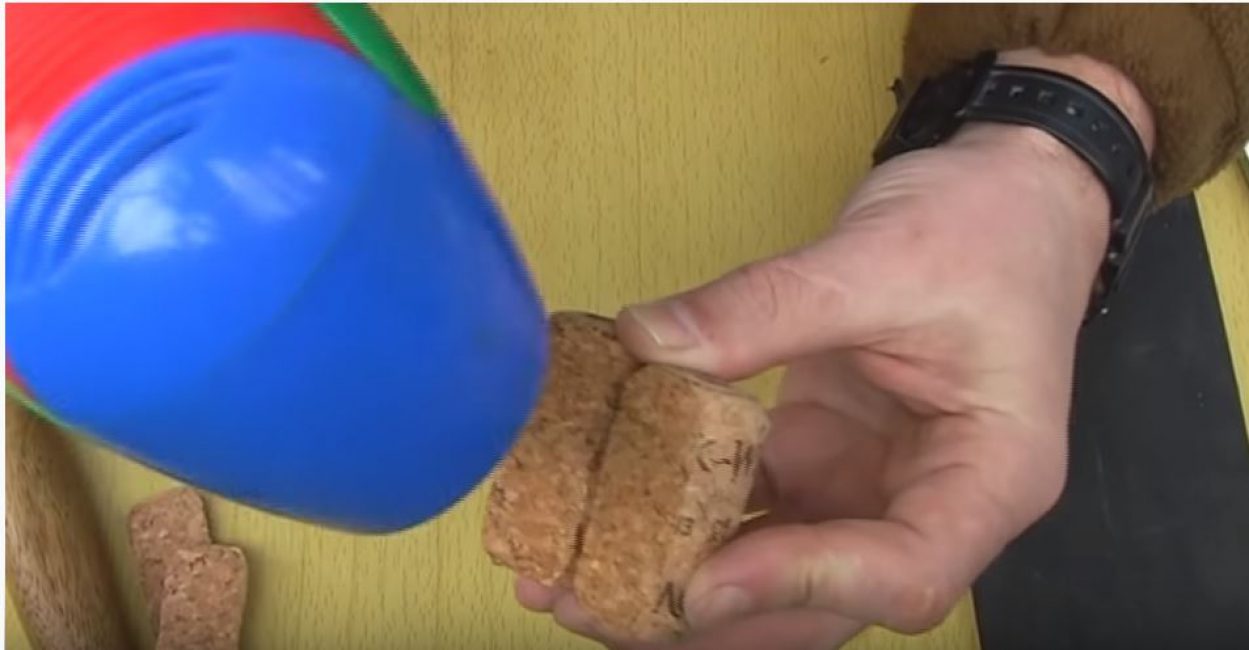
Because champagne corks are deformed at the edges, you need to align them first. To do this, put the corks in the microwave for 1-1.5 minutes. As a result, the corks return to their original shape. One ring requires 2 plugs.
Step 2. We make blanks from corks
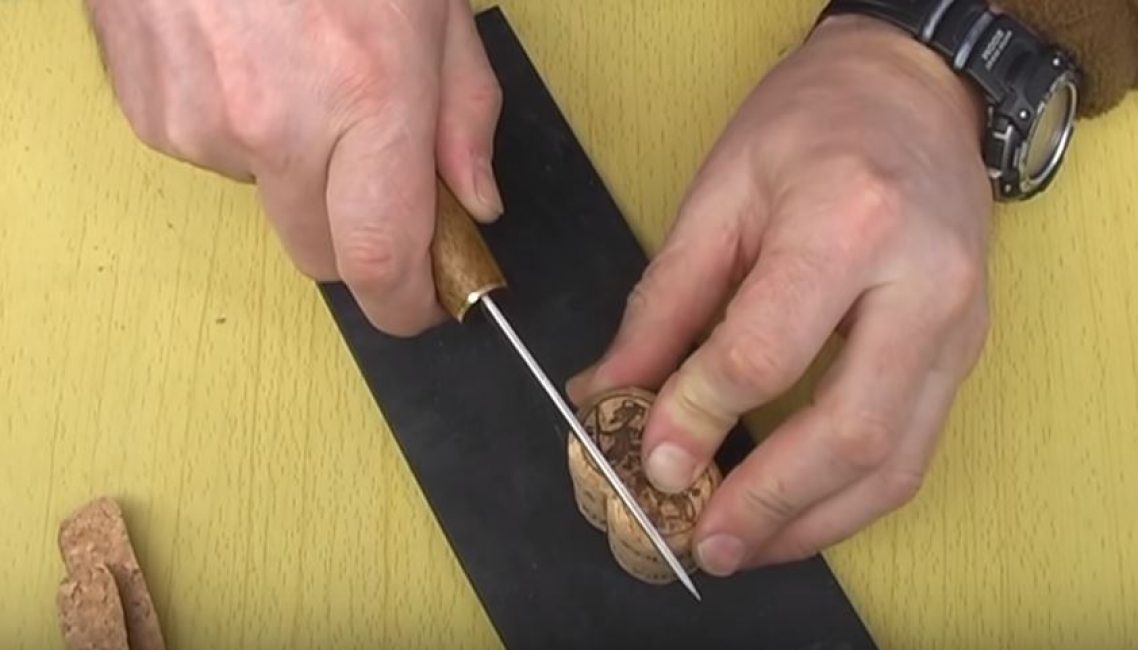
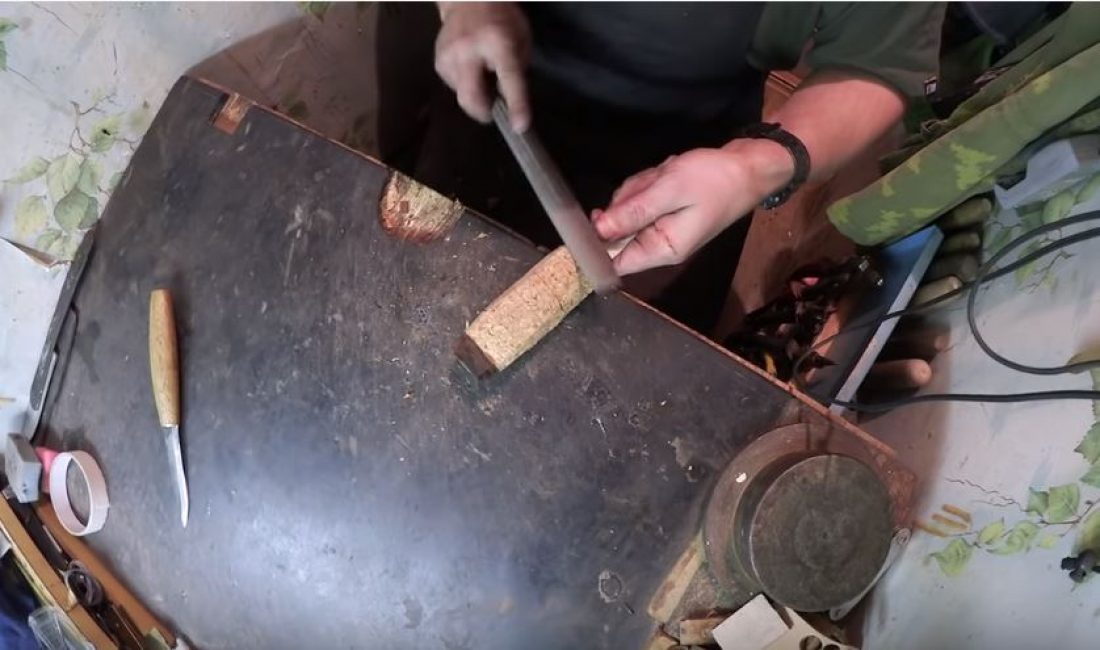
Trim one side of each cork with a knife. And cut off exactly the same part from the second cork.
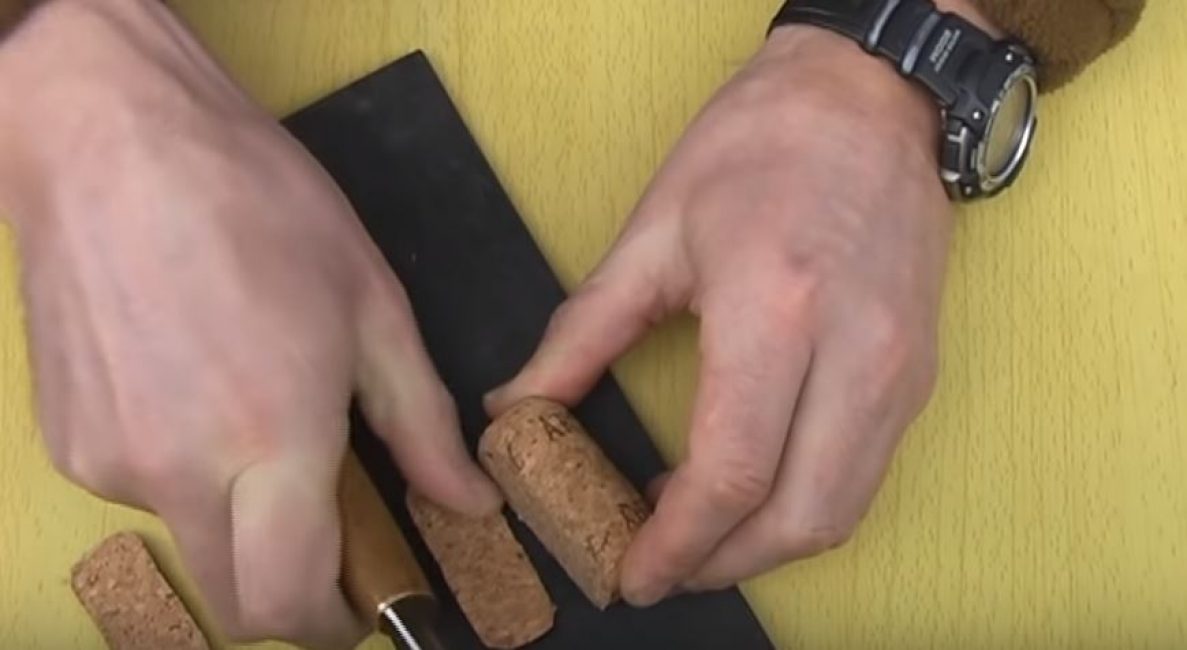
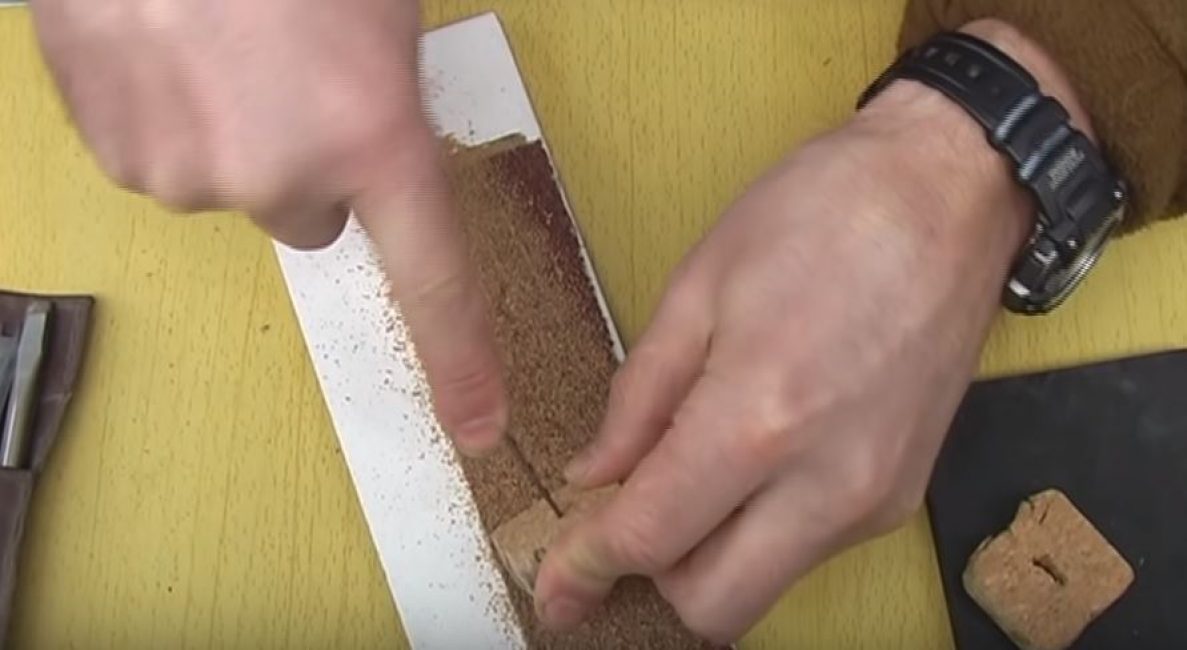
We must try to make them approximately the same width. Small irregularities and discrepancies are eliminated in the process of grinding with sandpaper glued to the tile.
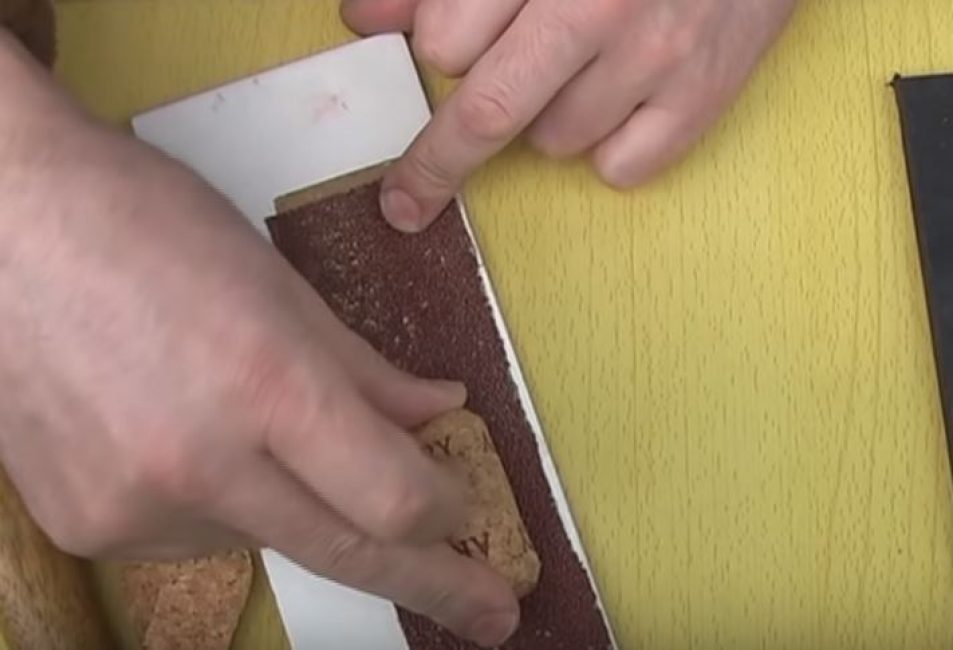
After that, the fit is much better. Small gaps are allowed.
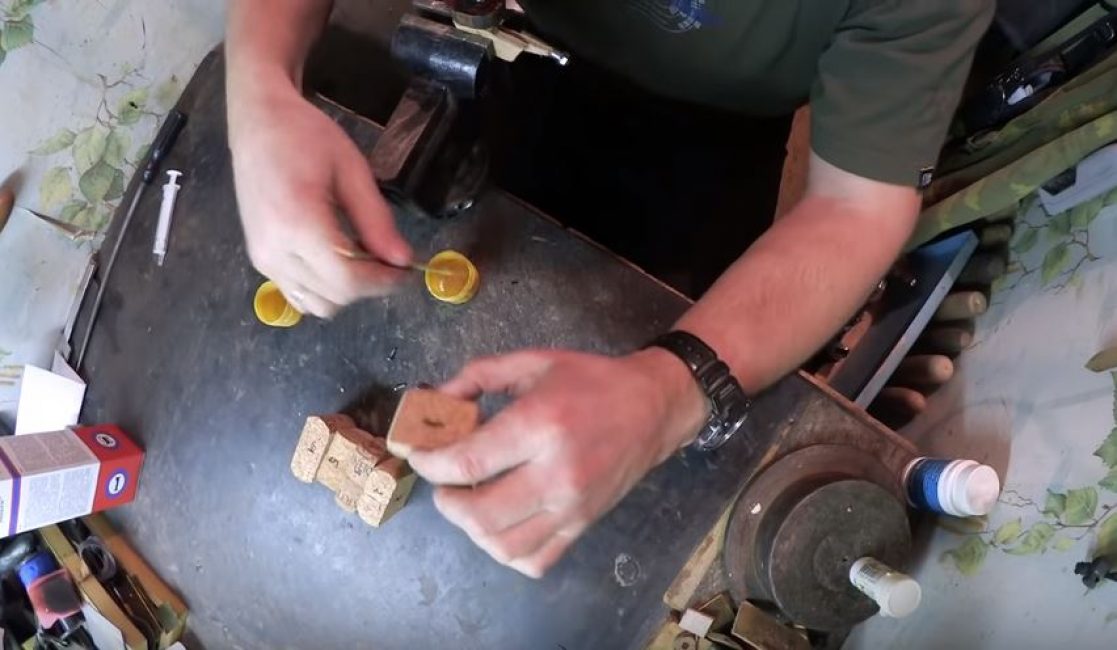
Apply glue to the cut surface of one of the corks. We take the second cork and in a circular motion of one cork against the other, smear the glue with an even layer.
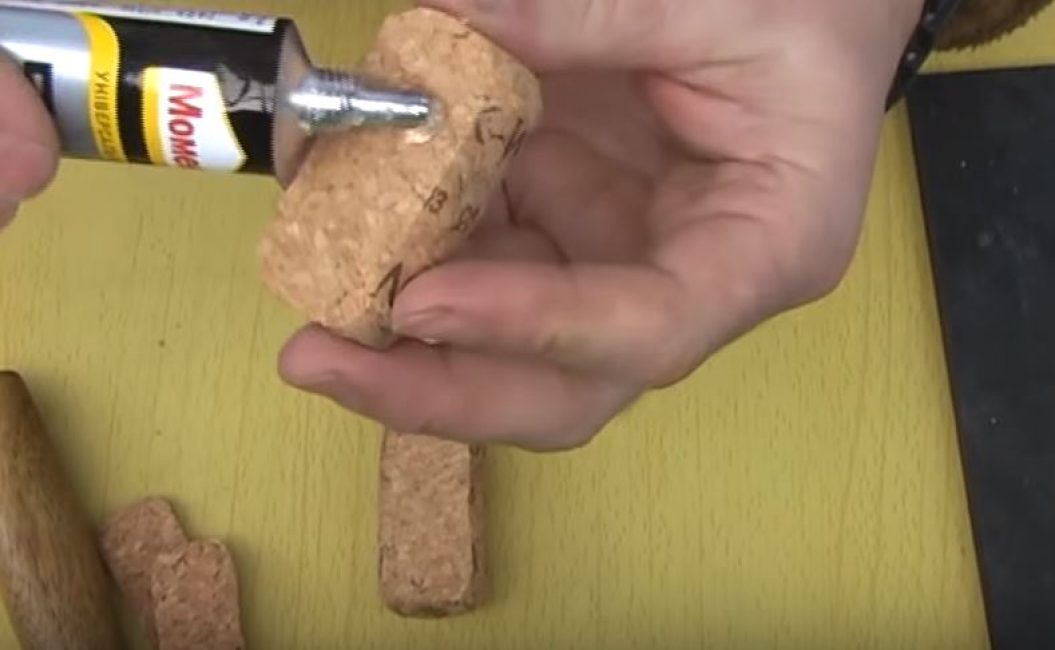
Let the glue dry for 5-10 minutes (read more in the instructions), in order for the solvent to evaporate from the surface of the glue. This process can be speeded up with a hair dryer.
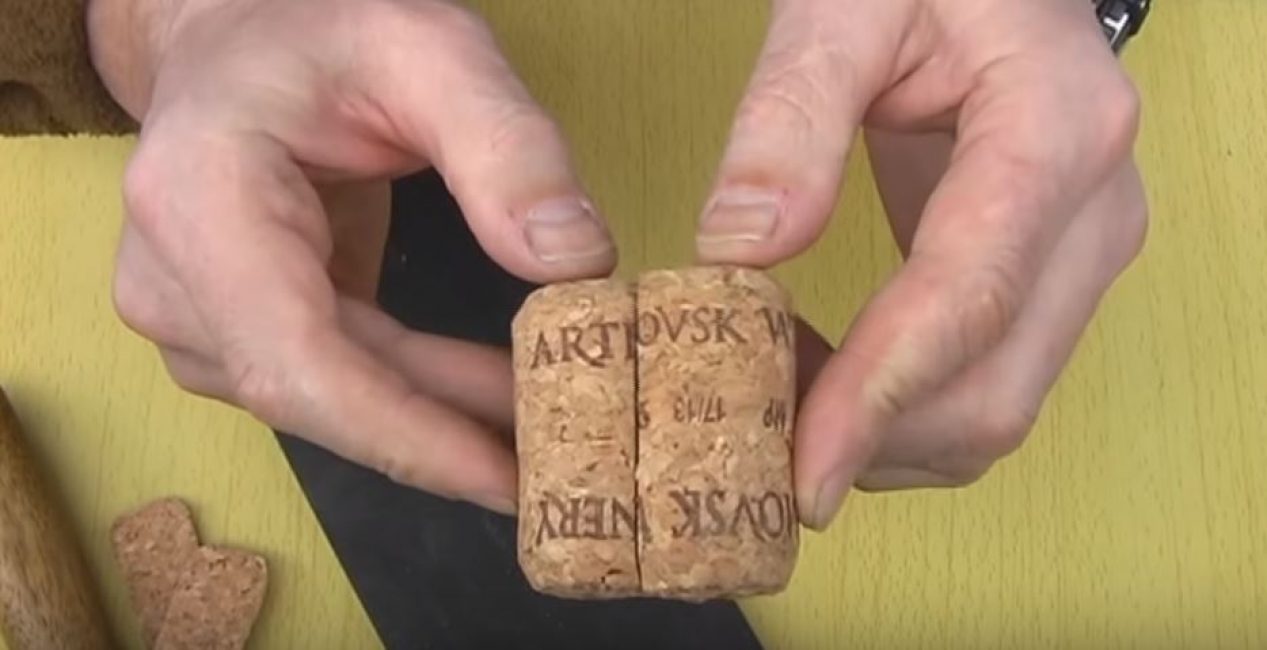
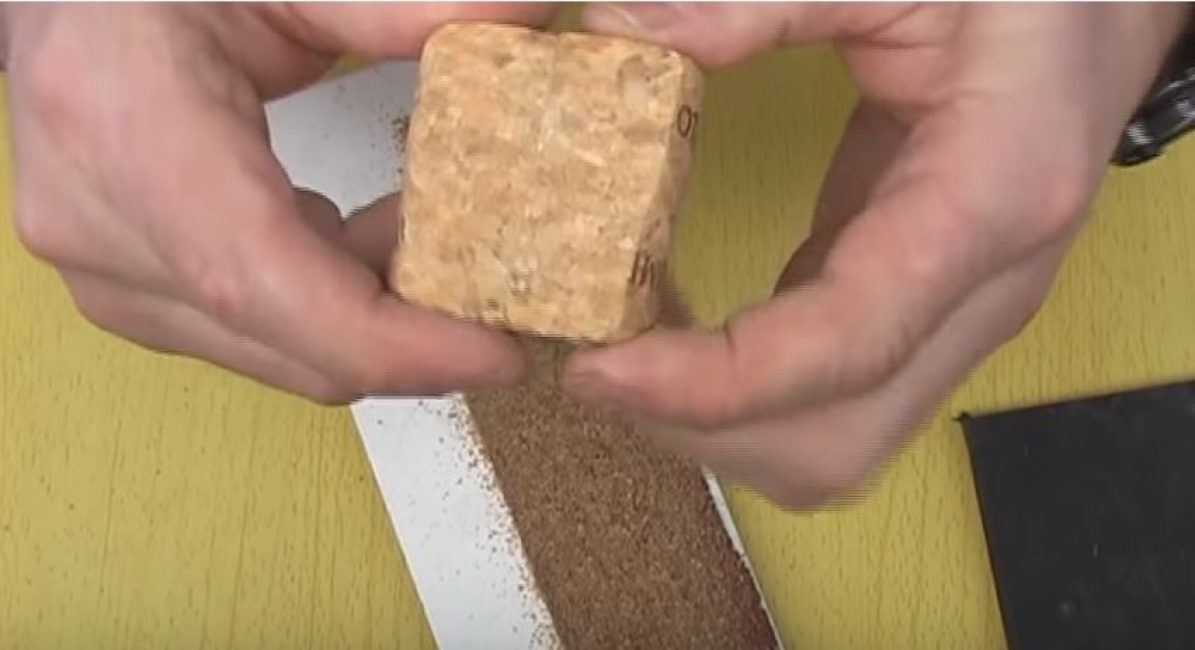
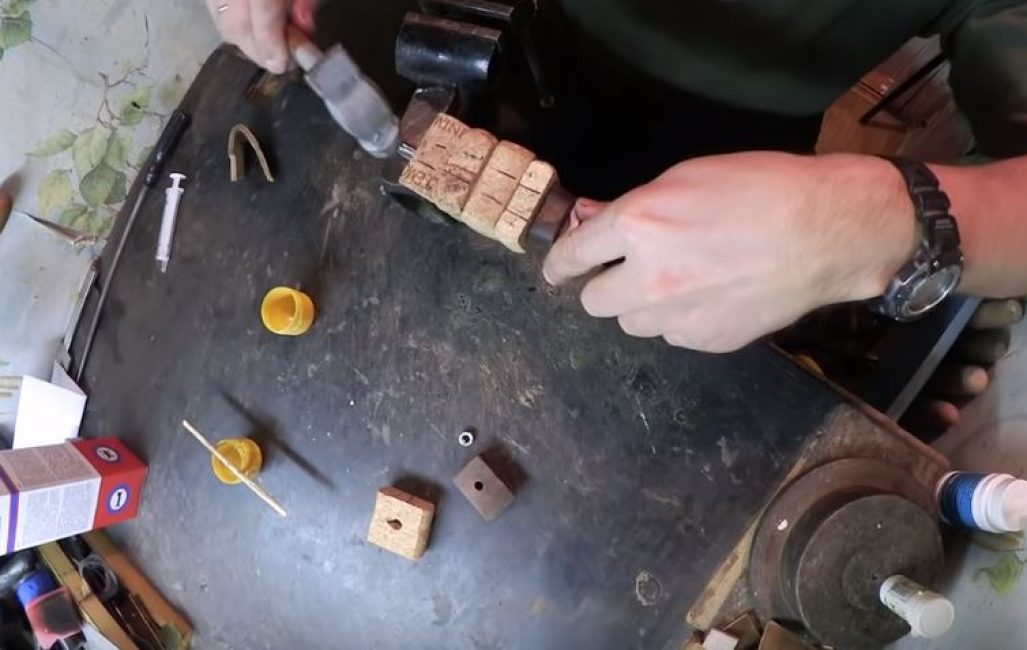
We connect two plugs and press them well. We cut and grind the edges of the workpiece along the wide side.
As a result, we get an element for assembling the handle. The number of such elements is determined by the length of the shank.
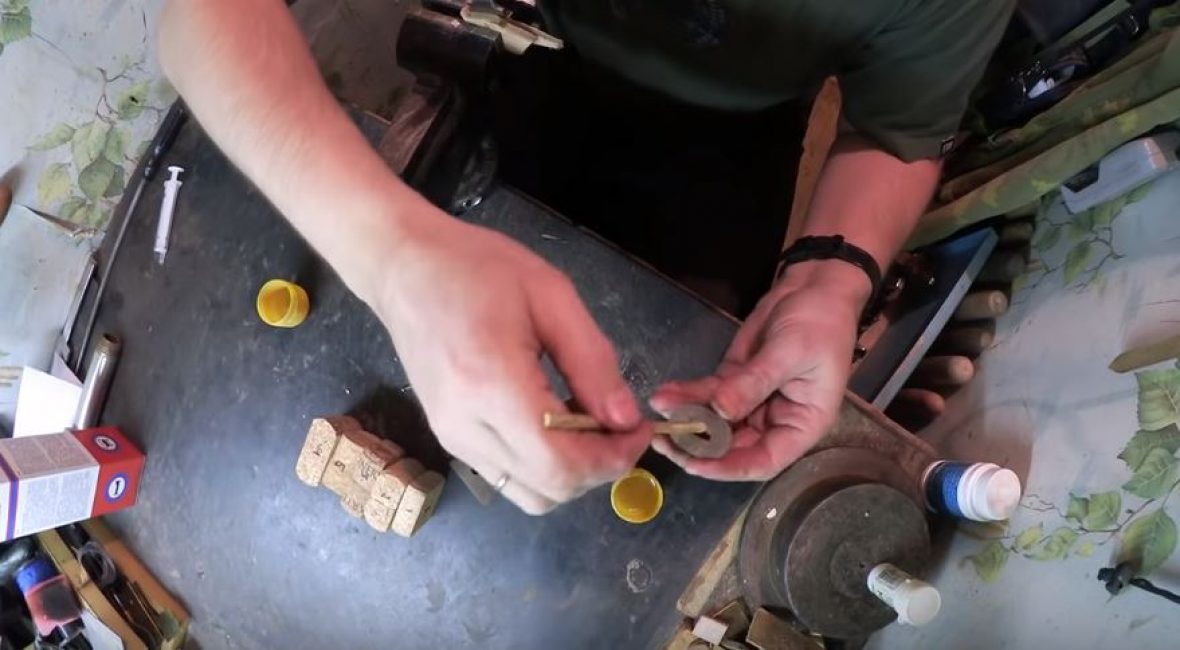
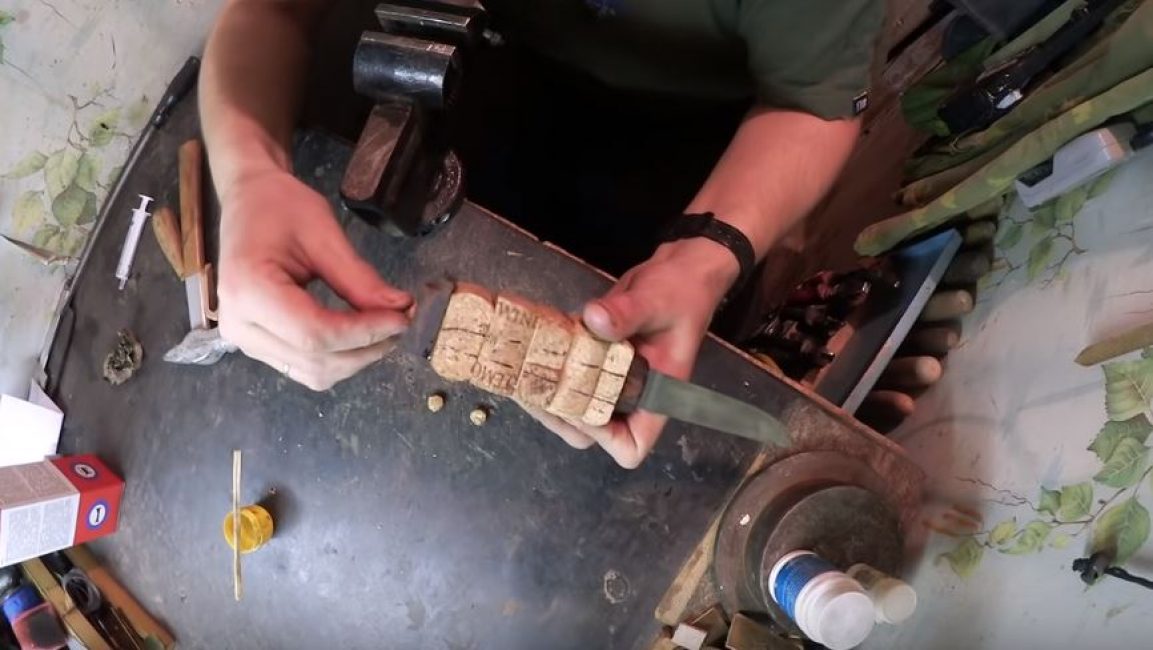
Using a jigsaw file, we cut a through hole in each of the elements. Moreover, so that the handle does not crumble later, we cut it alternately: in one element along the gluing point, in the other - across. The thickness of the cut depends on the width of the knife shank.
Step 3. Assemble the handle
In the shank we make a cut for the screed.
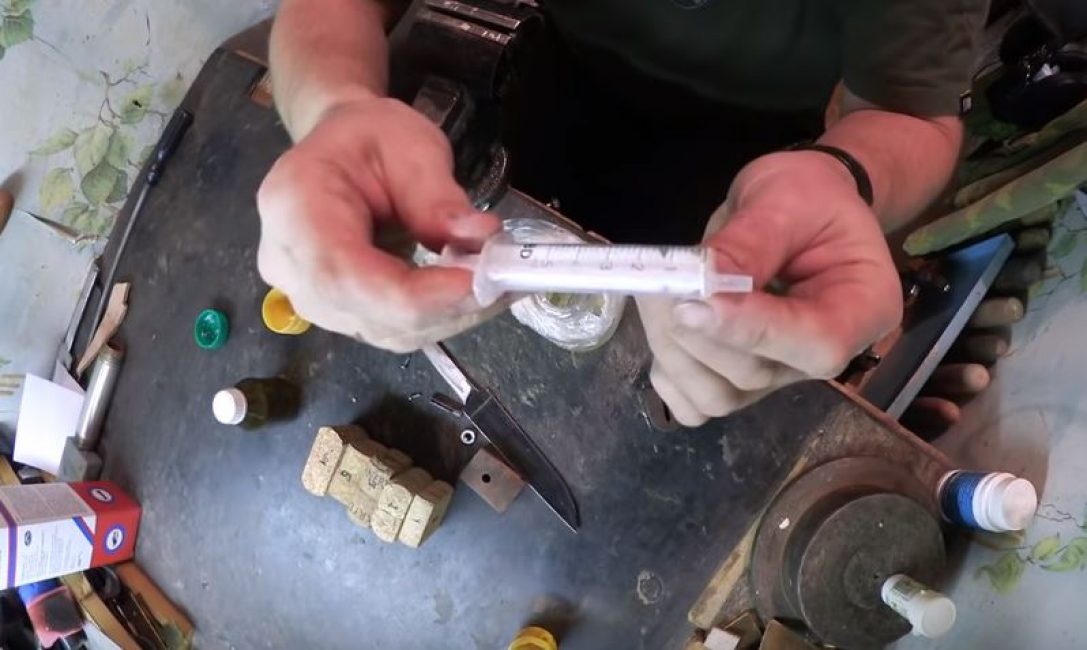
We number the blanks so that it is clear in what sequence they are assembled. To dilute the epoxy in the correct proportion, we use a disposable syringe. We prepare a small container for mixing glue. Pour 5 ml of glue into divisions. Then add the hardener in the ratio indicated in the instructions, and mix everything well.
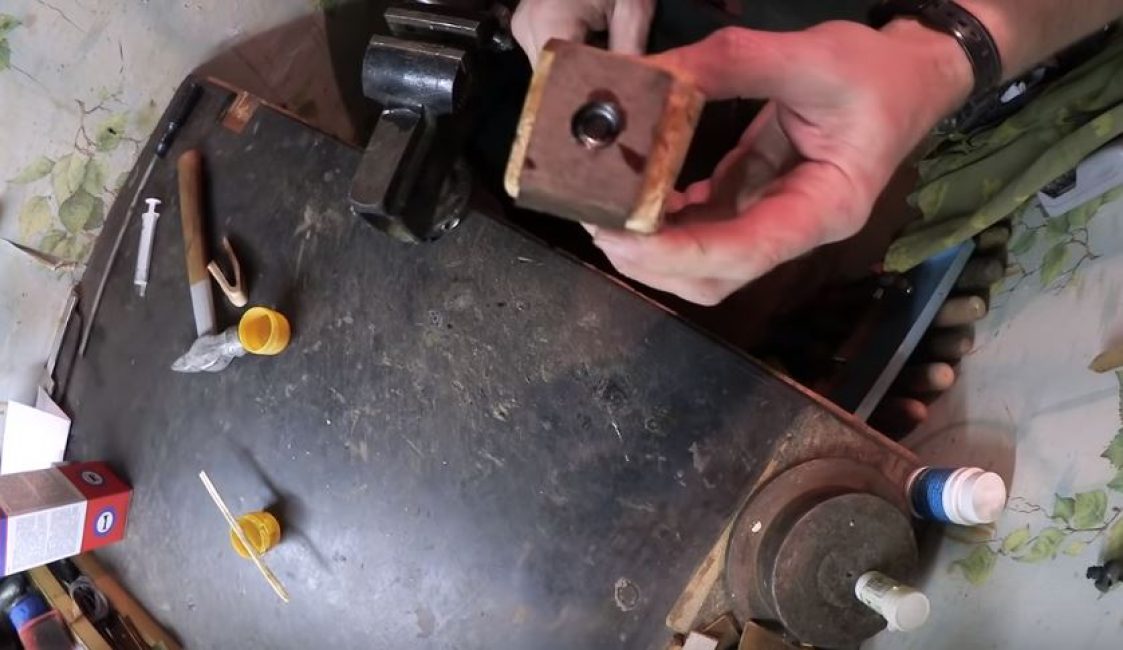
We take the blade, wrap it with a small piece of leather and clamp it in a vise with the shank up. Lubricate the slot in the bolster and the shoulders on the blade with epoxy glue, and put the bolster on the shank. We press firmly.
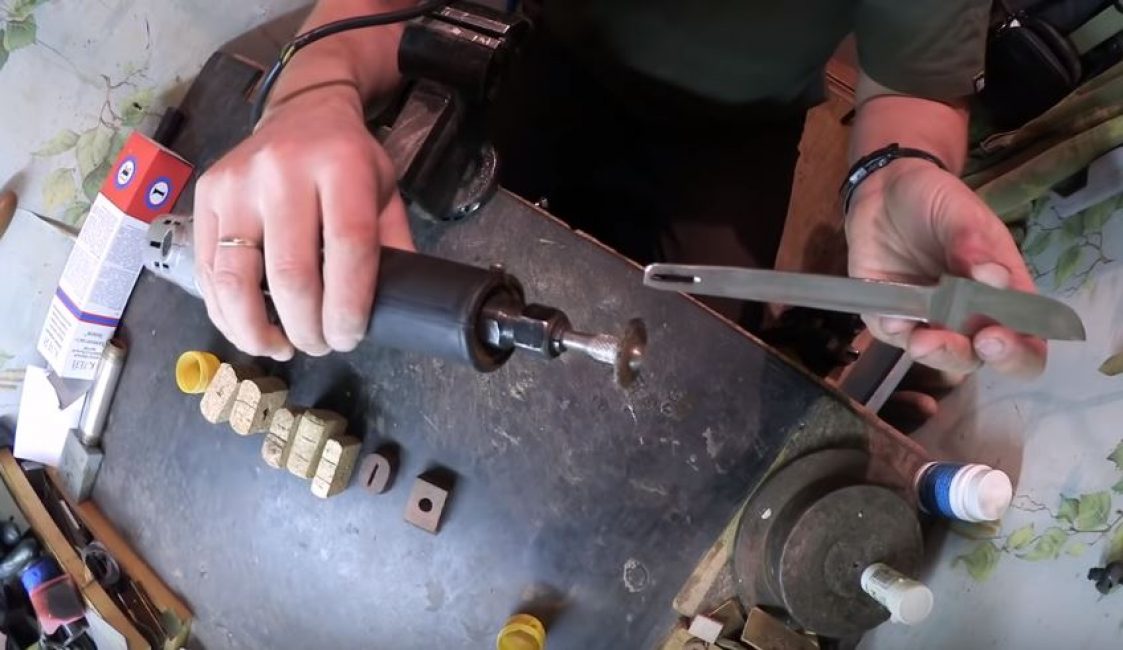
Lubricating the slots and ends with glue, we continue to mount all the blanks from the cork by numbers on the shank.
Having reached the cut, we put a threaded pin on the shank, insert the rivets and rivet them.
We glue and put on the last cork blank on the shank, and then the butt. We tighten the nut with a special screwdriver, sharpened under the slots, thereby tightening the entire structure.
We make a plug from the cork, and glue it on the butt plate, thereby masking the nut. Let the glue dry.
Step 4 Finishing the Handle
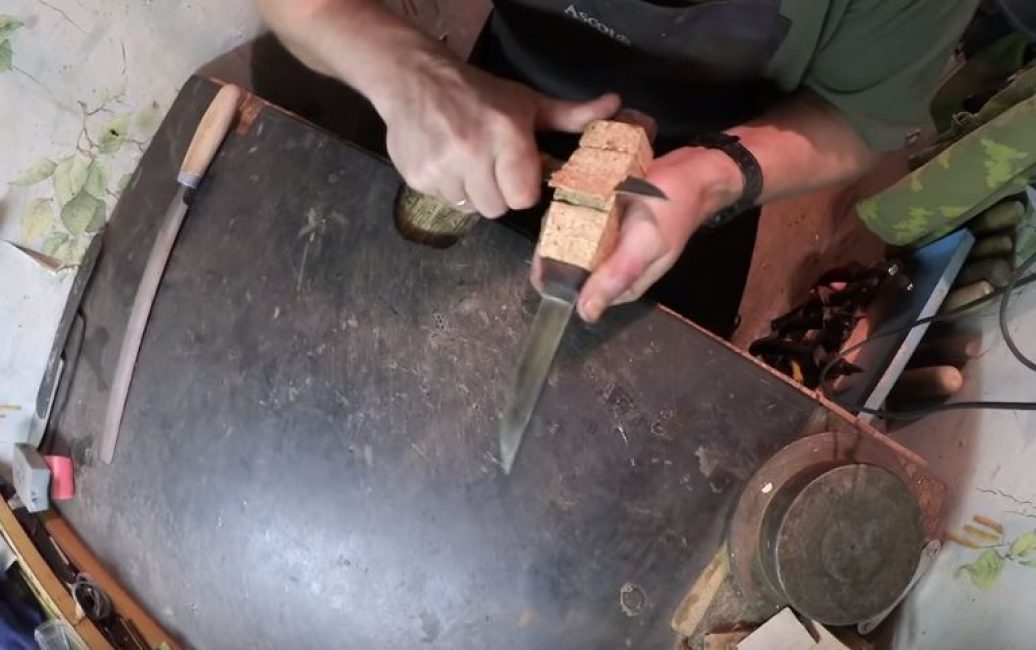
First, cut off all sides of the handle with a knife, giving it a barrel shape.
We cut off the corners, giving the handle a smooth shape.
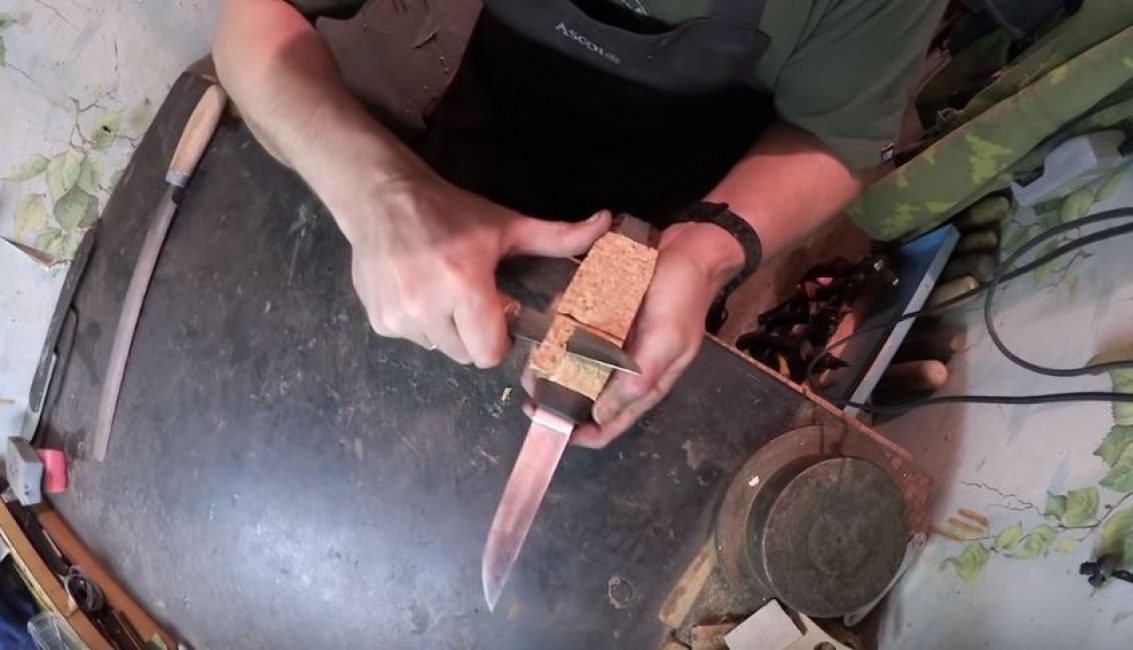
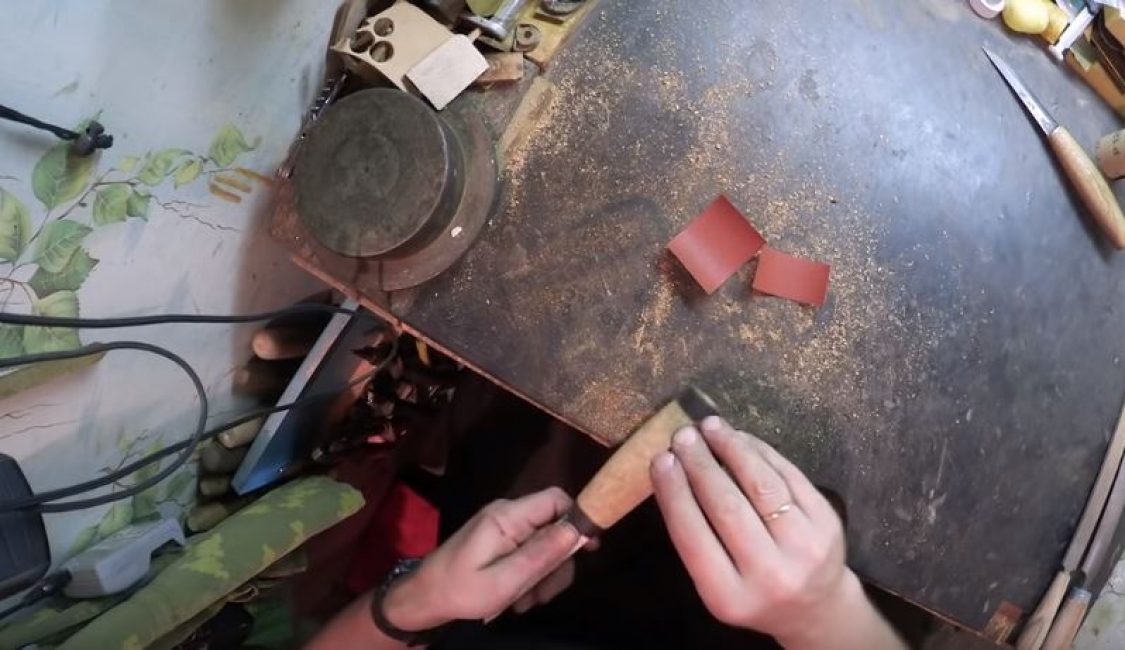
We begin to process the handle with a nut file, shaping not only elements from cork, but also from wood.
We grind the handle with sandpaper, starting from 120 and ending with 600.
grinding result.
For impregnation, we use cyanoacrylate-based adhesive for flexible joints. We dilute it in acetone in a ratio of 1:50 or 1:60.
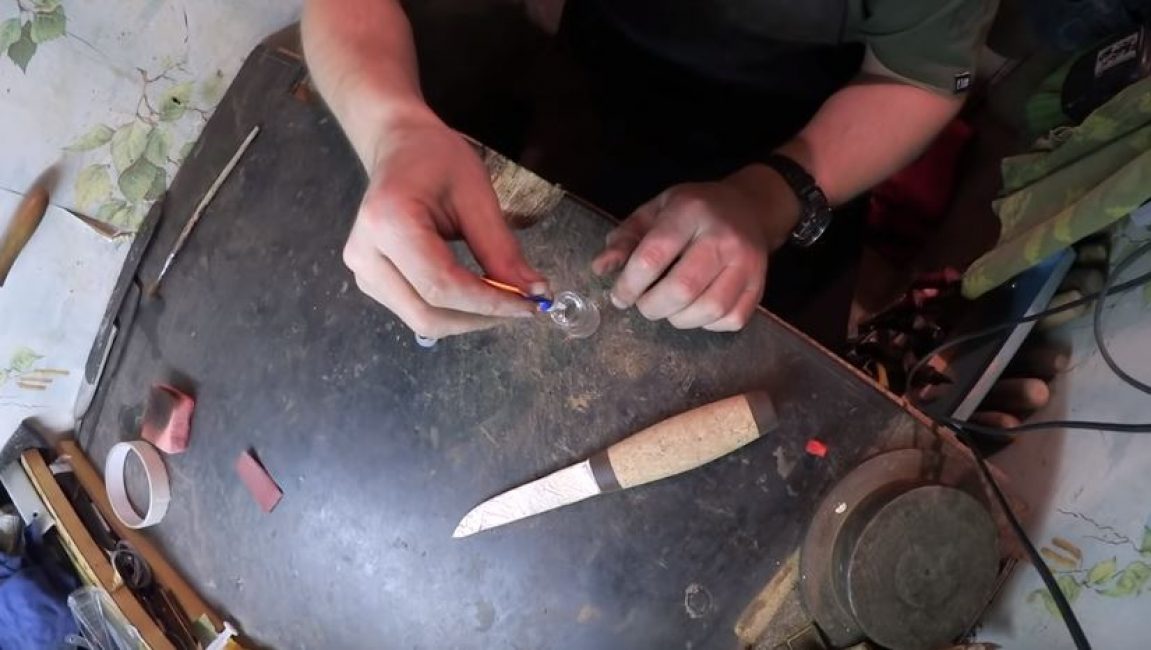
Take a brush and evenly apply this solution to the handle. Let's not forget the ends. Due to the weak concentration of glue in acetone, it penetrates deep into the cork and makes it durable and waterproof. Let dry for 15-20 minutes. We cover the handle with this solution until it becomes shiny.
To ensure that the surface of the handle has a uniform coating, wipe it with a cloth moistened with acetone.
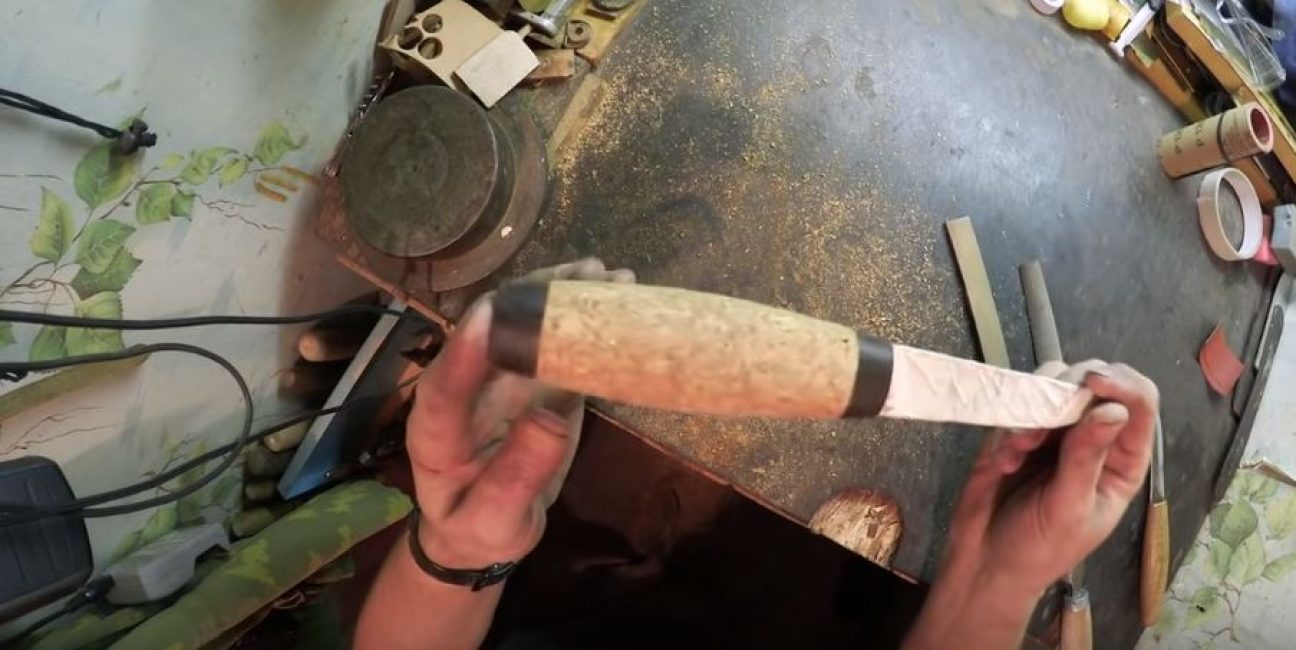
As a result, we get a matte light surface of the handle.
Source: https://youtu.be/5AJnO2BYivM
 Read also: Do-it-yourself plastering? | We speed up the plastering process several times
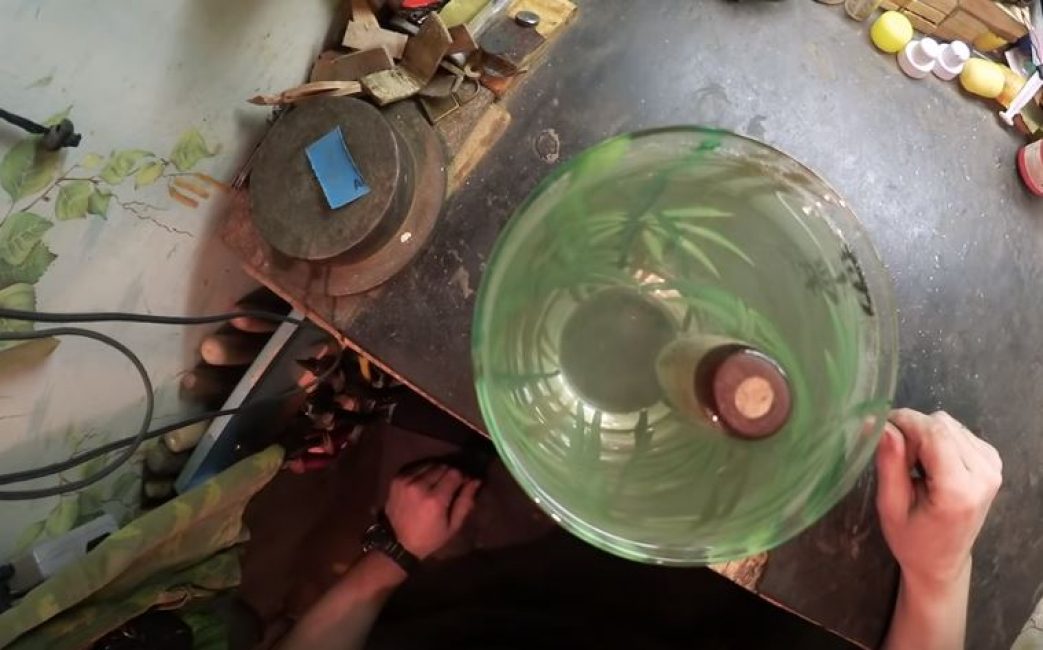
 Testing
As you can see, our blade floats, which means we got the desired result.
Video 1: How to make a cork handle
Source: https://youtu.be/Rrlcc16QXcs
Video 2: Cork handle part 2 - installation and processing
Source: https://youtu.be/5AJnO2BYivM


