
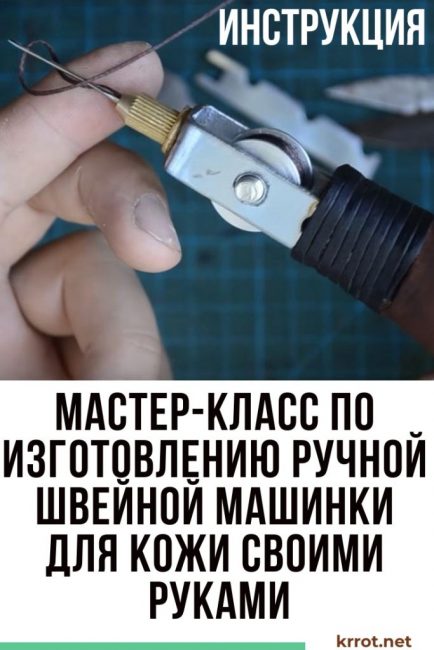
Everyone who has ever worked with leather knows that it can be very difficult to sew it with an ordinary sewing machine. Using an electric sewing machine, you risk not only breaking the needle, but also burning the motor. You have to stitch by hand, puncturing all your fingers. This is a very long and tedious process. We suggest you make your life easier and make your own manual sewing machine for leather, durable and reliable.
Content:
 Read also: Landscaping your site with your own hands - (130+ Photo Ideas & Videos) + Reviews
Materials for manufacturing
In order to make a manual sewing machine for leather, you will need:
- collet chuck for a motor (the diameter must match the diameter of the needle);
- sewing machine needle of the largest diameter;
- bobbin for thread;
- strong threads;
- a bolt that matches the inner diameter of the bobbin, with a nut;
- perforated plate or sheet of metal;
- hammer;
- wooden handle or wooden blank;
- electric drill;
- Bulgarian;
- vise;
- fork;
- woodworking Machine;
- chisel;
- manual mini-cutter;
- saw for metal;
- grinding machine.
Step 1. Making a Mounting Bracket
We measure on a perforated plate a rectangle 1.5-2 cm wide and 15 cm long (it can be longer). We cut off the rectangle drawn with a marker with a manual mini-cutter so that there are 3 holes in the workpiece, and the central one is strictly in the middle.
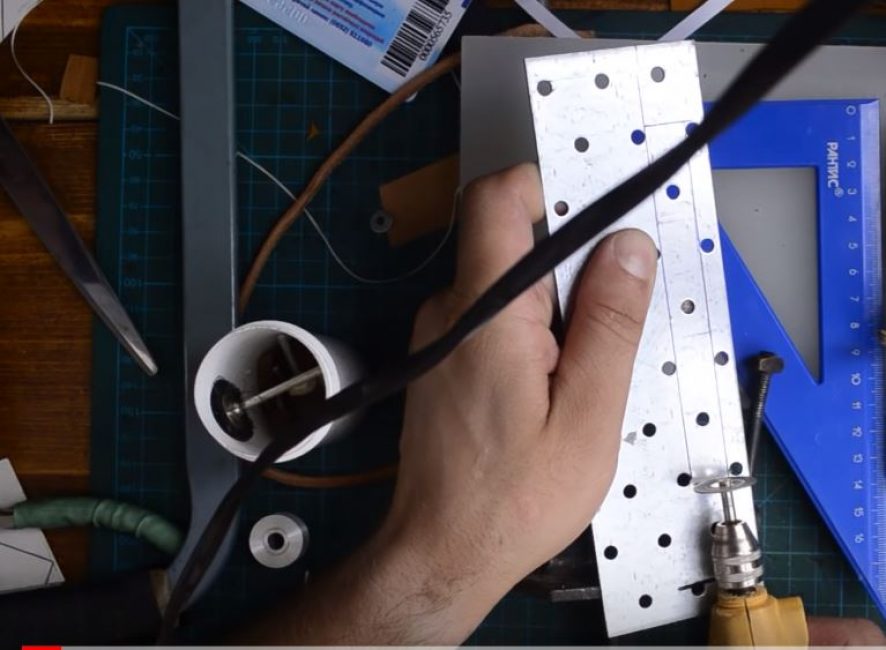
We drill a central hole for the diameter of the collet chuck.
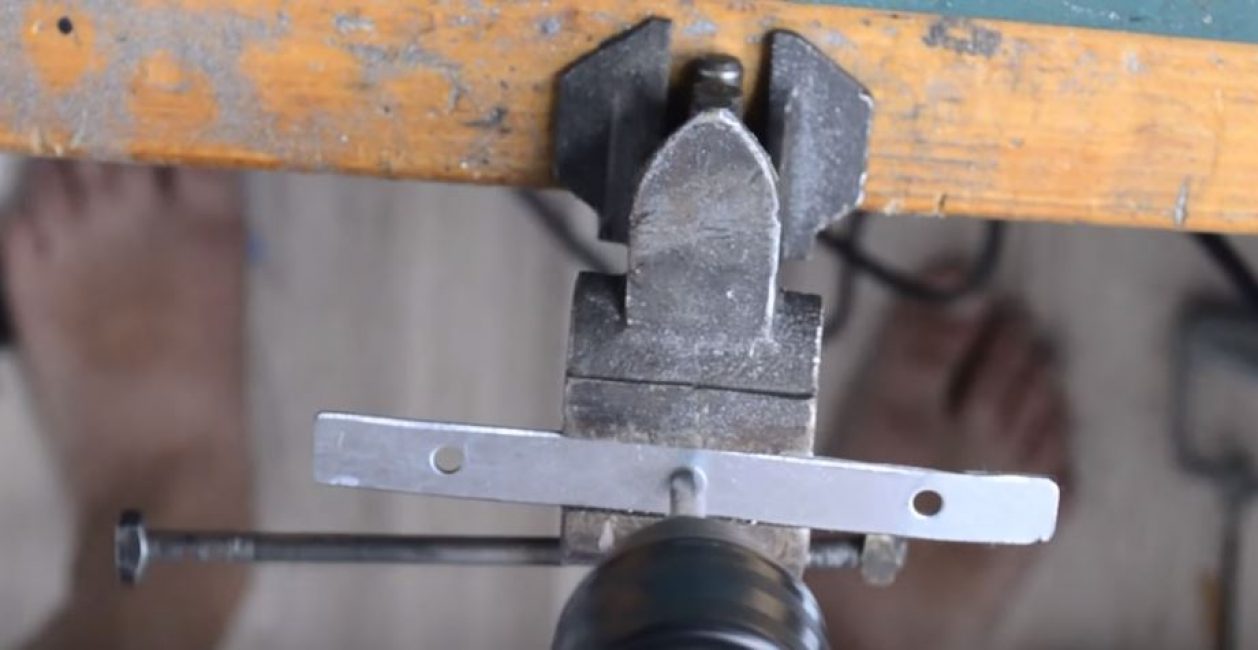
Clamping one edge of the metal blank in a vise, we bend the U-shaped structure with a hammer. The width of the center section should match the height of the bobbin.
Step 2. Prepare the cartridge and needle
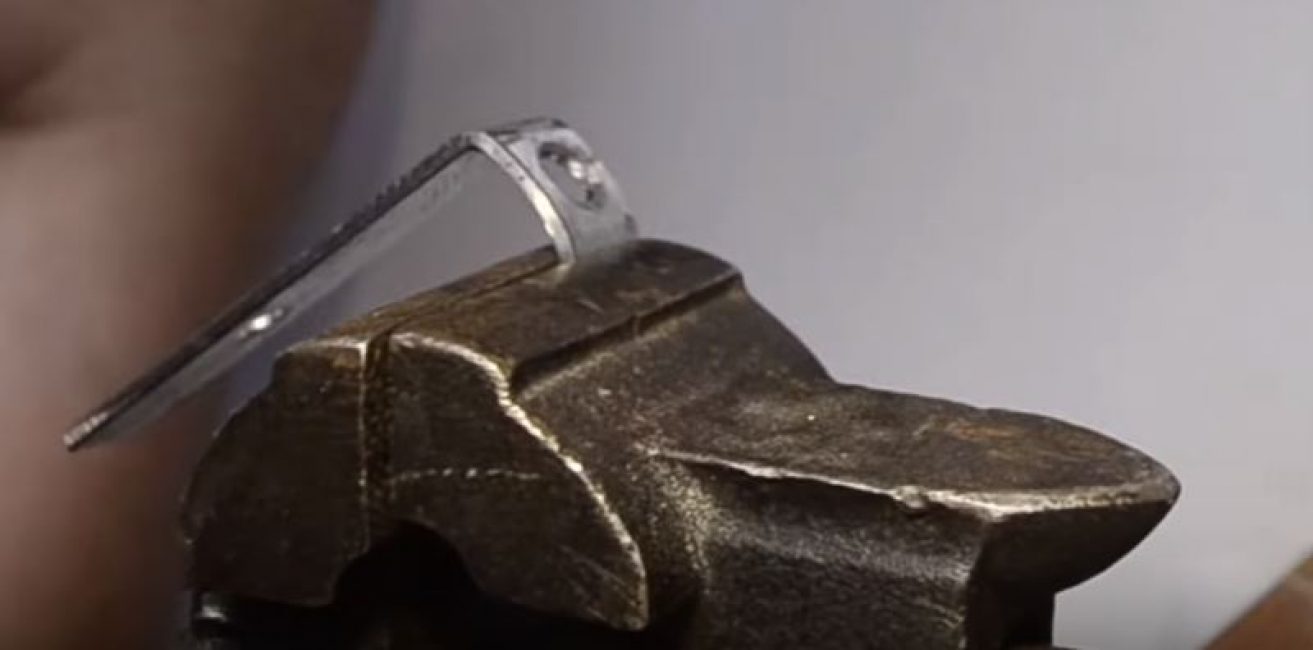
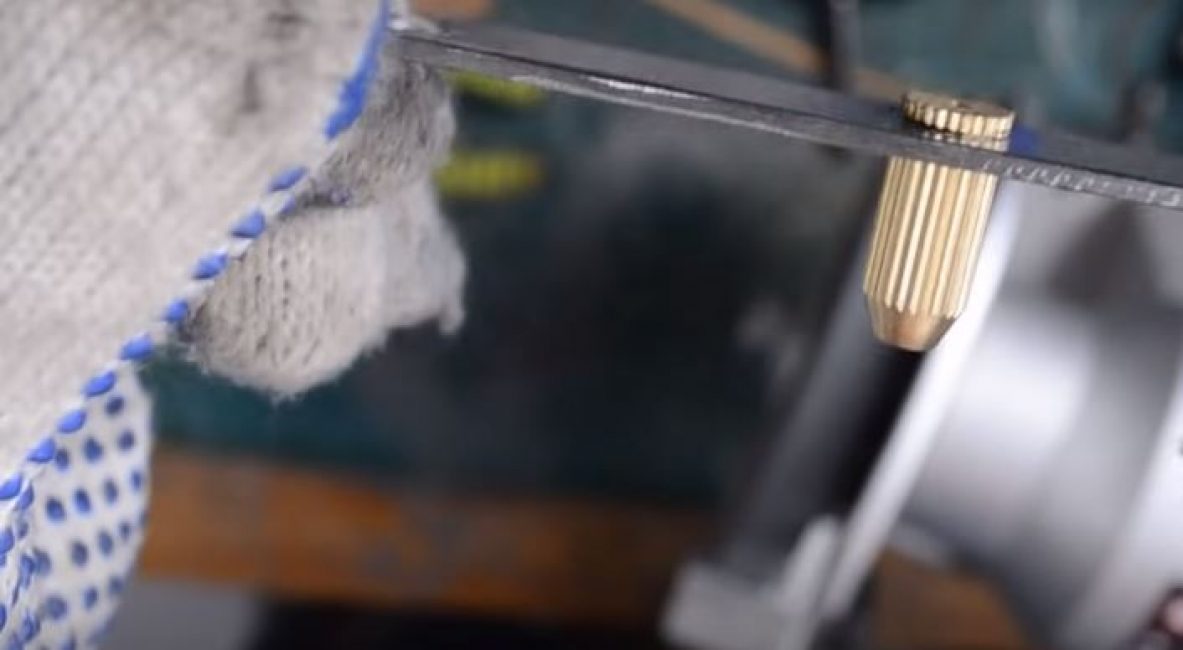
Clamping the cartridge in a vise, cut off that part of it that is inserted into the motor shaft. The cut edge is processed on a grinding machine.

We install the cartridge in the central hole of the mounting bracket, and fix it on the plate.
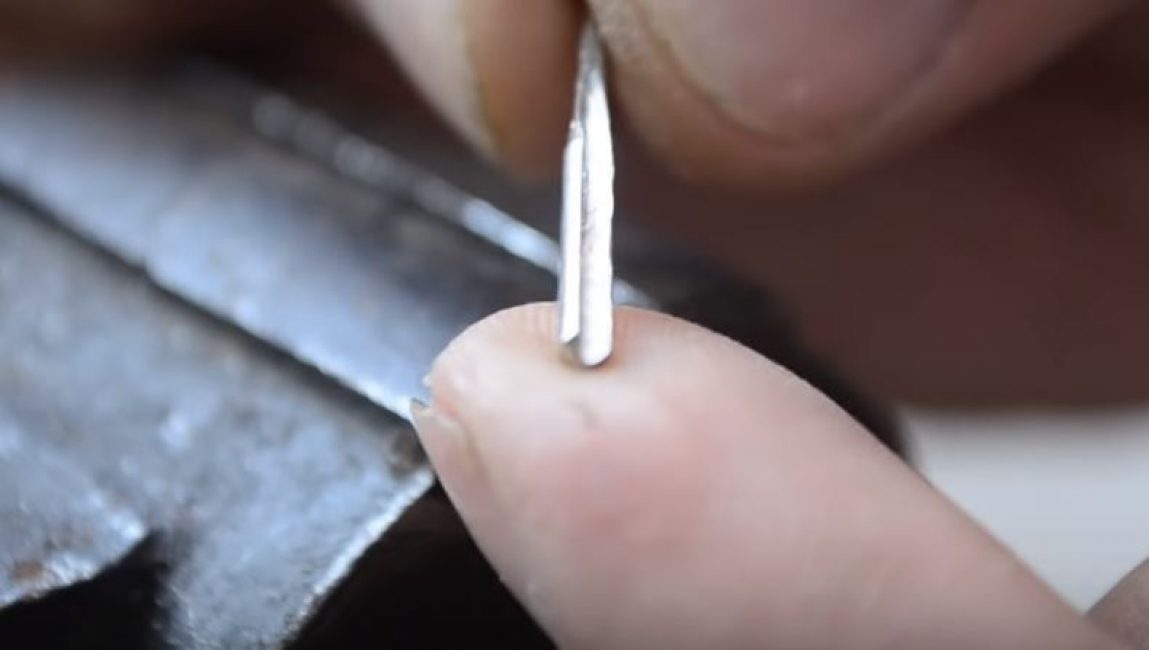
Clamping the machine needle in a vise, using a grinder, we make a longitudinal groove in it, the thickness of which should be slightly greater than the thickness of the thread that we will use.
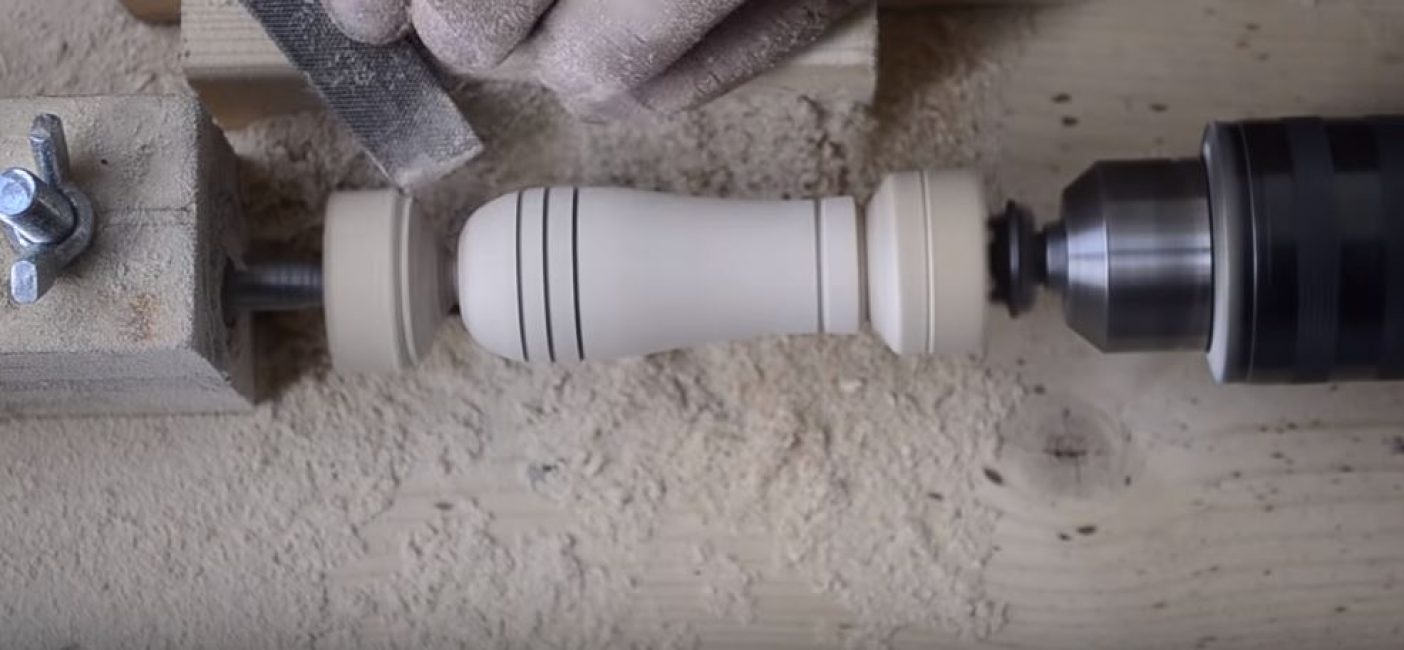
Step 3. Making the handle of the car
With the help of a lathe and a chisel, we give the shape of a handle to a wooden blank.
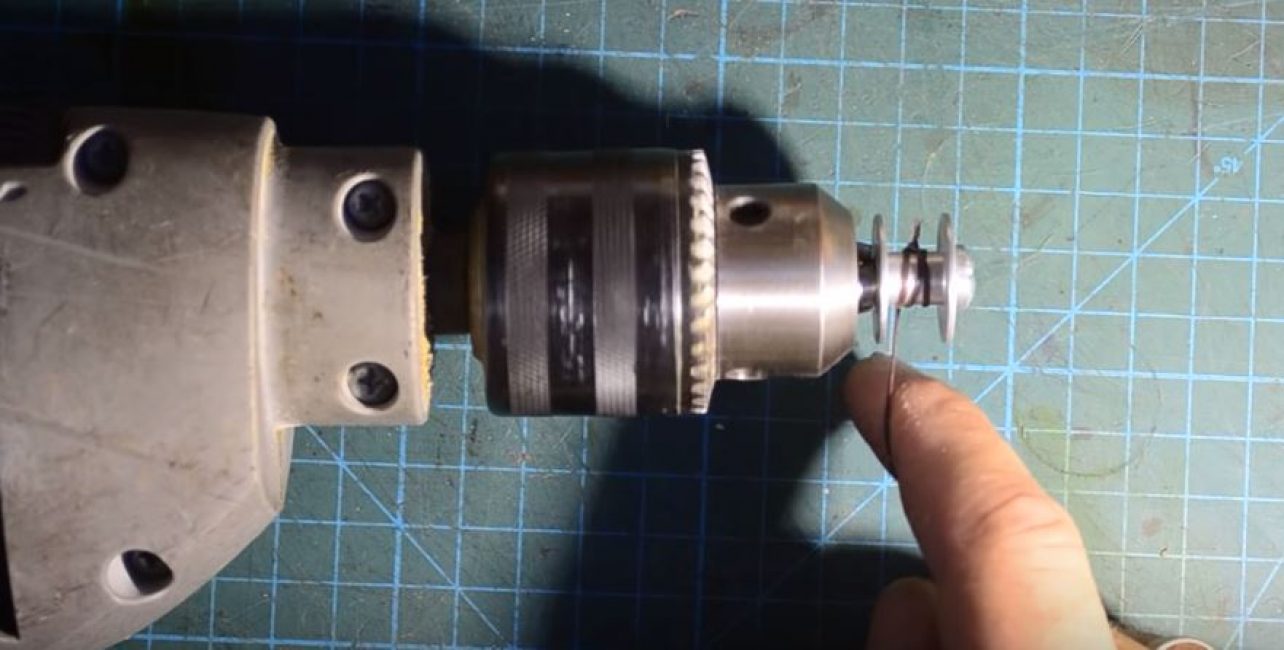
Step 4. Winding the thread
In order not to wind the thread on the bobbin by hand, which can take a lot of time, we will use a drill.
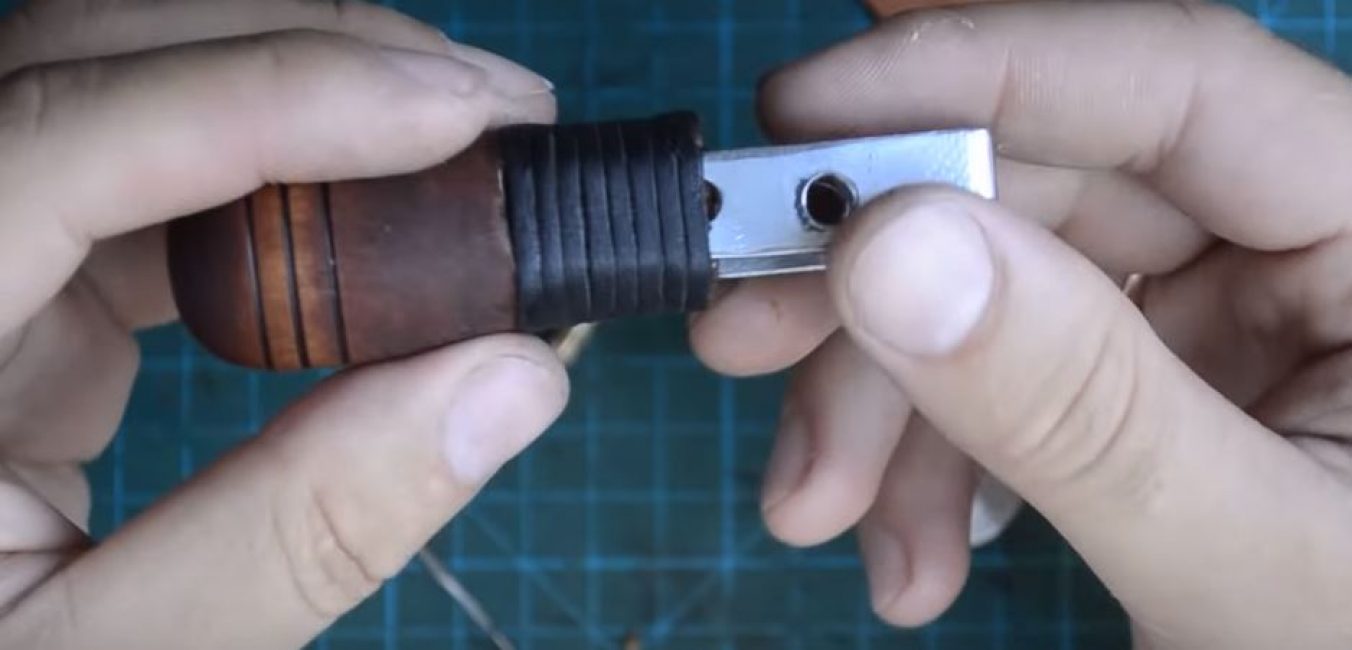
Step 5. Assembling the car
We fasten the bracket to the handle using a narrow strip of leather and glue or in another way convenient for you.
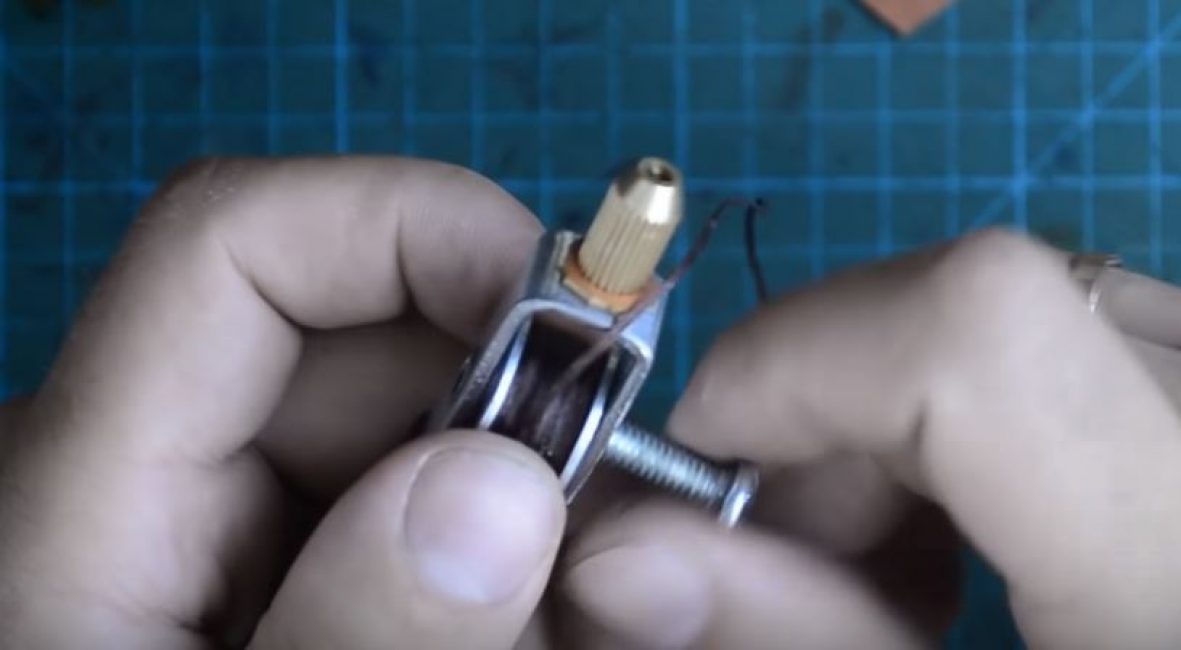
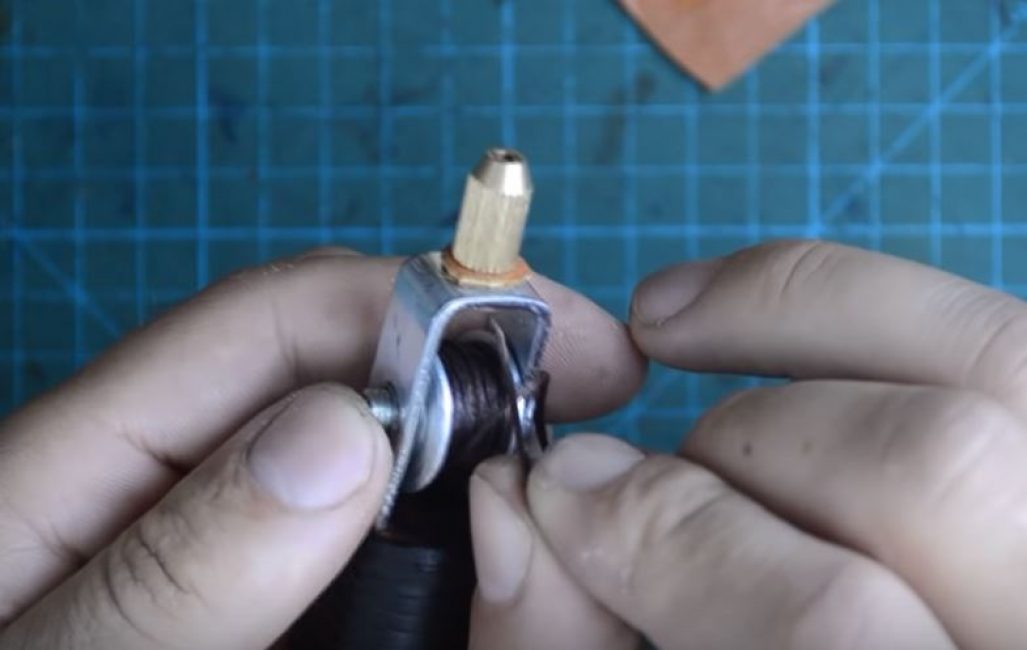
Using a bolt and nut, we fix the bobbin inside the bracket.
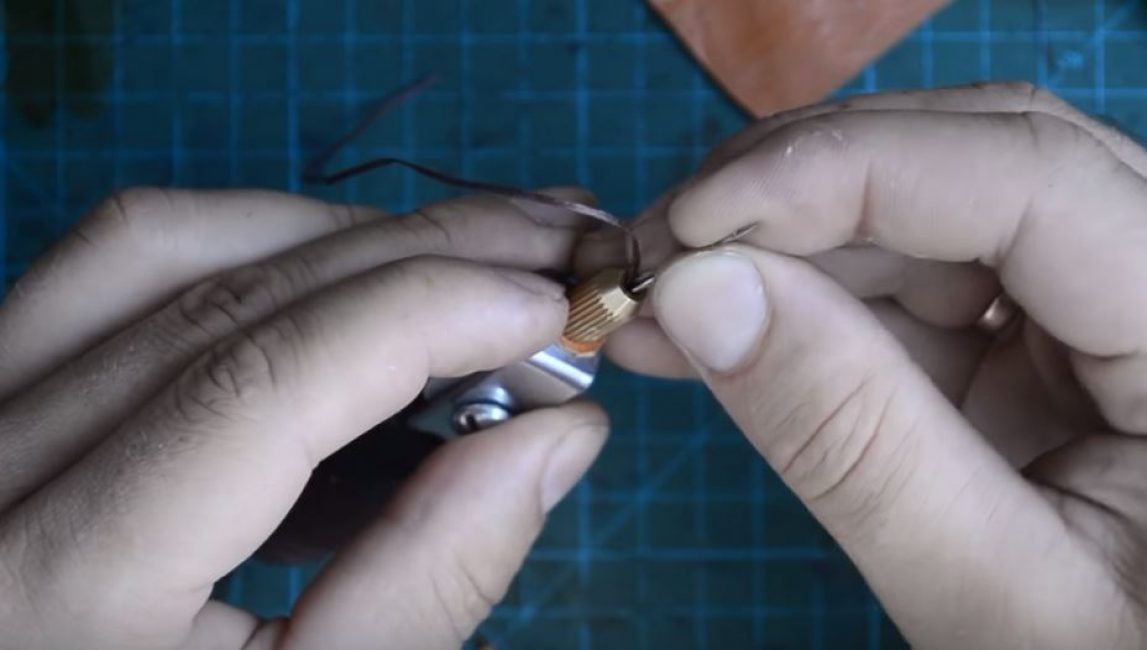
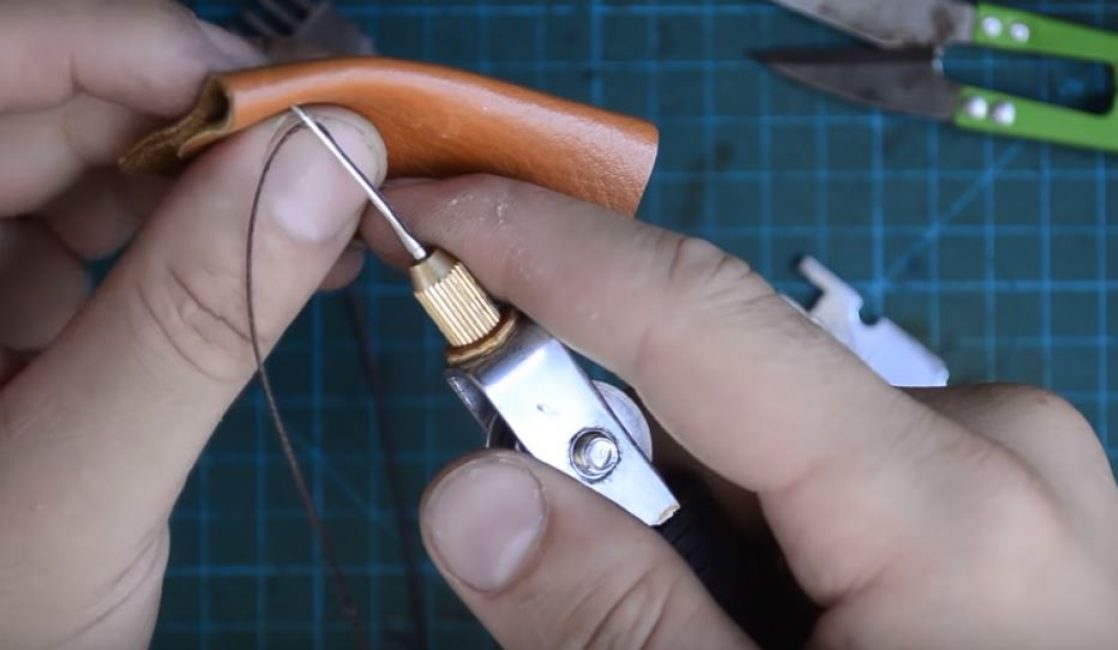
We pass the thread through the cartridge.
We insert the needle into the cartridge so that the thread lies in the sawn groove, and fix it. We thread the needle.
 Read also: Making a greenhouse with your own hands from a profile pipe and polycarbonate: a complete description of the process, drawings with dimensions, watering and heating (Photo & Video)
 We conduct testing
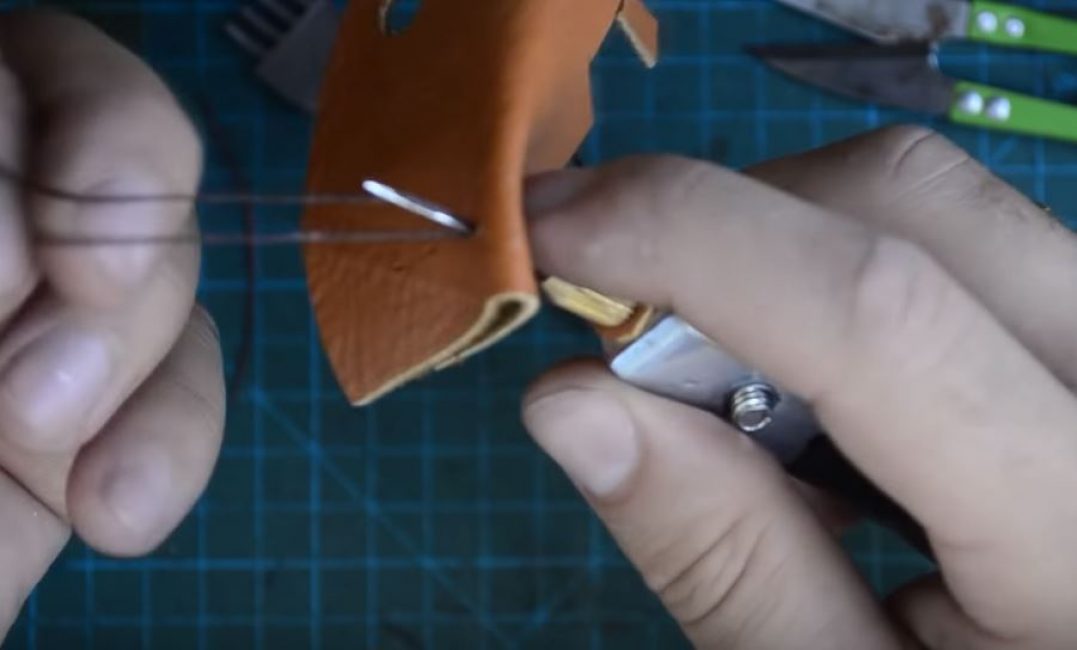
We take a piece of leather, fold it in half and use a fork and a hammer to make through holes in it. We put the needle into the first of the holes made.
Pull the end of the thread to the back.
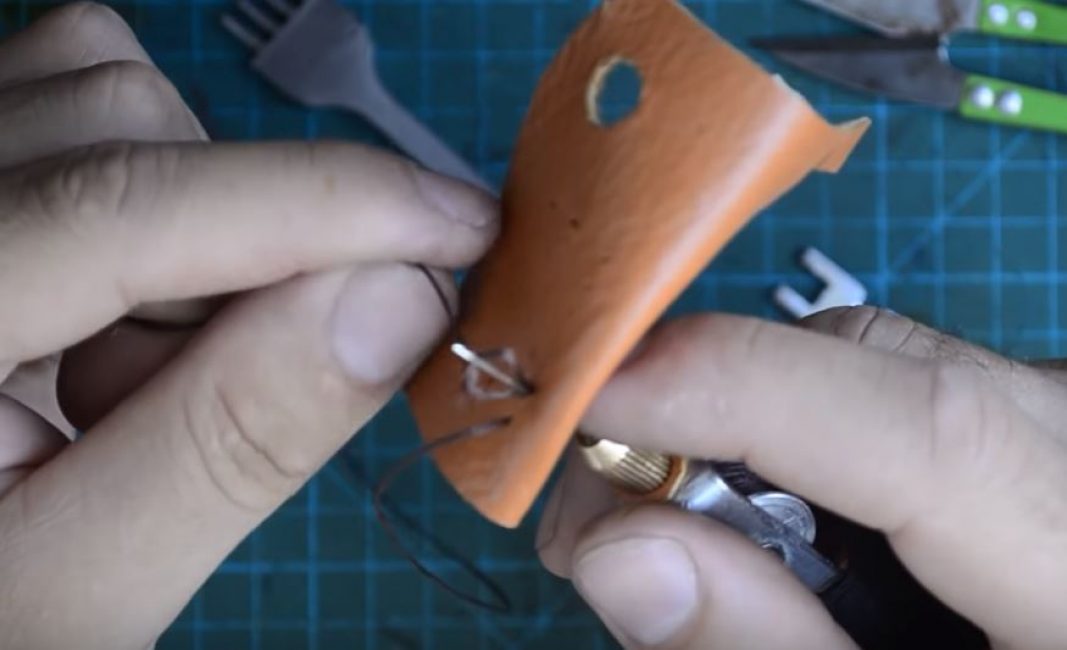
We bring the needle to the front side and thread it into the next hole. Pulling the needle slightly towards you, we get a loop near the eye of the needle, into which the edge of the thread should be threaded. We tighten the threaded thread and fix it.
Source: https://youtu.be/VWTgr2c5Zgc
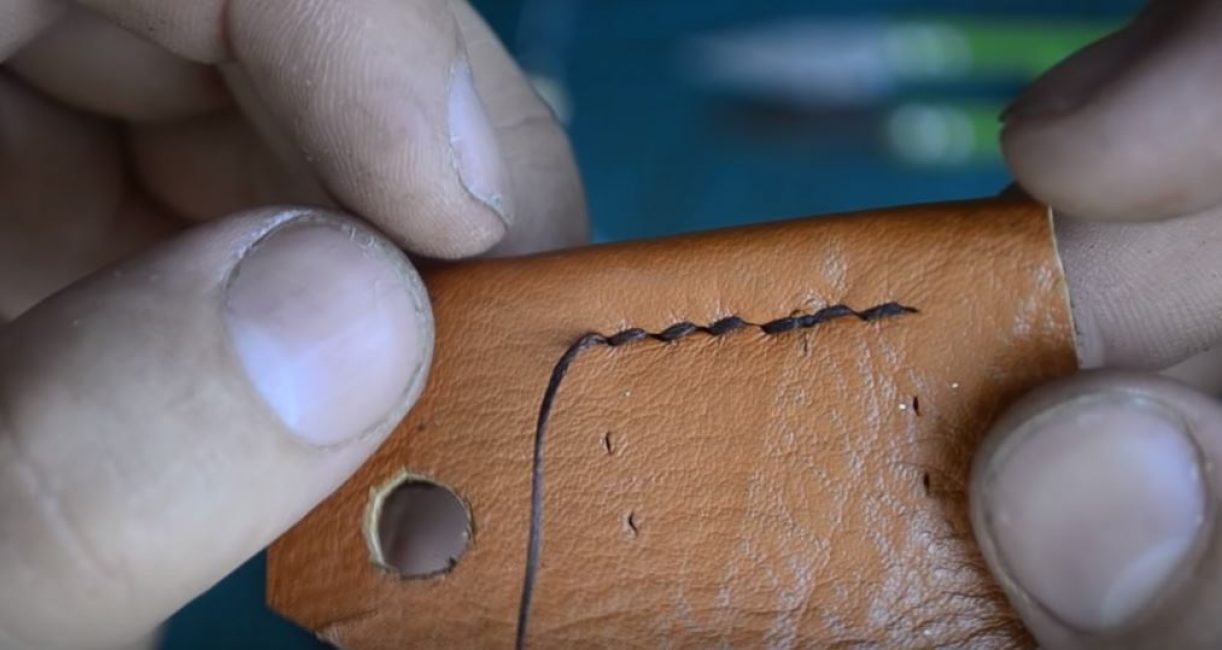
Again, pull the needle to the front side and pull the threads from the front and back sides at the same time. Then we put the needle into the next hole and continue to sew. The result is a double-sided seam.
Video: How to make a manual sewing machine for leather with your own hands

How to make a manual sewing machine for leather with your own hands
Manual sewing machine for leather: do it yourself for only $ 2


