
Becoming the legal owner of your own square meters is one of the most joyful events in the life of every person. The long-awaited keys to the brand new skyscraper tinkle pleasantly in your pocket. There is a serious test ahead - do-it-yourself repairs in a new building.
Content:
 Read also: Veranda attached to the house - expanding the living space: projects, tips on how to create your own hands (200 original photo ideas)
Introduction
Of course, you can hire a qualified team, order a project, attract a designer. Together with checks for building materials, such repairs will be very expensive.
Do not forget that in a brand new apartment you will want to buy beautiful furniture, a large TV, and nice interior little things, such as a pretty housekeeper, figurine, indoor tree in a decorative pot.
In a few weeks, the room will become cozy and homely.
It is quite possible to make inexpensive repairs on your own if you draw up a detailed plan that takes into account absolutely all the nuances. From global redevelopment and construction of partitions to the color of the laminate in the dressing room. And you also need to stock up on patience and a desire to work conscientiously.
A well-considered approach will help to competently lay engineering communications, aesthetically set the light, order the right furniture. With a plan, it is much easier to structure future draft work. You will be able to understand which of the events you can really do on your own, and what tasks should be shifted to the shoulders of narrow specialists.
It is important to draw up a detailed estimate with a range of amounts that you are willing to pay for a particular finishing material. All future expenses are entered in the table, from the purchase plasters to plastic boxes for sockets. This will help you meet your budget, analyze the market and find the most profitable options.
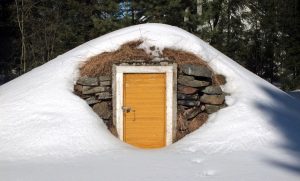 Read also: How to make a cellar in a private house or in the country with your own hands: diagrams, step by step guide, proper ventilation (55+ Photos & Videos) + Reviews
 What do rough and fine finishes look like?
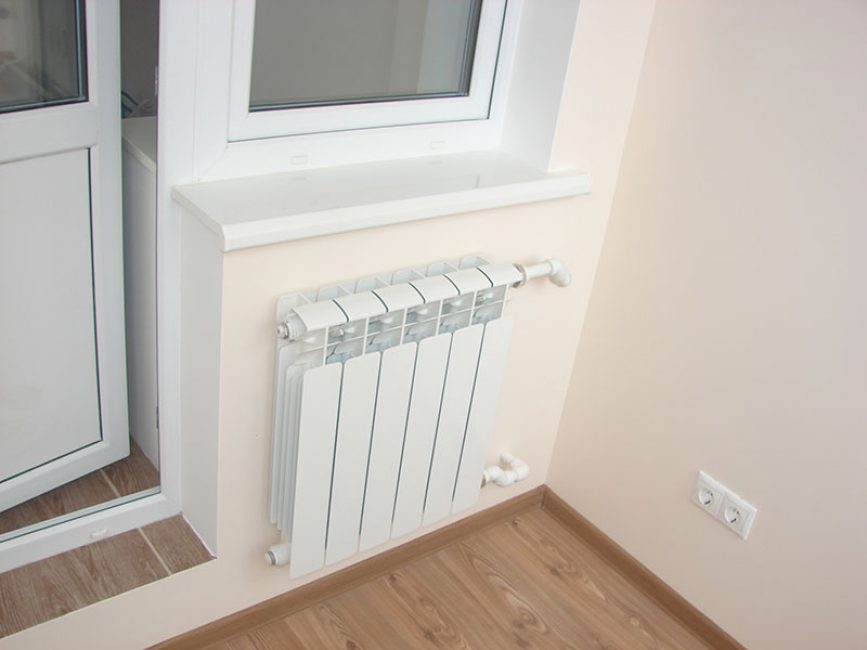
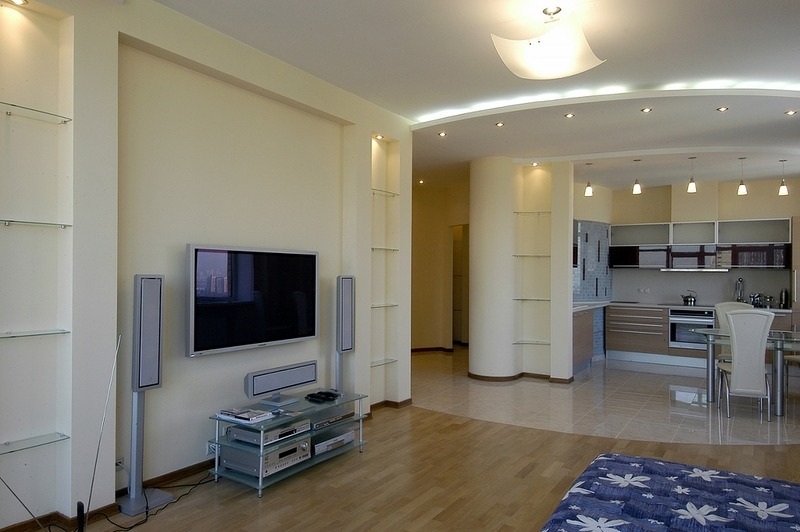
This is what the apartment looks like with a fine finish
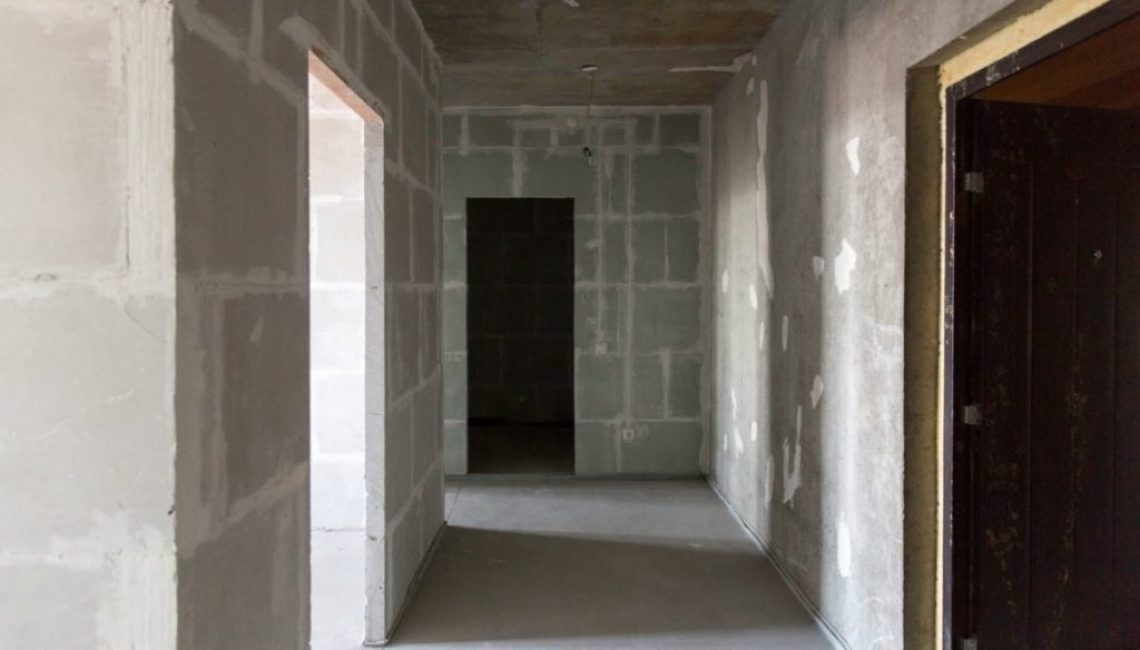
The scale and complexity of the repair depends on the state in which the developer rents the apartment to the owners.
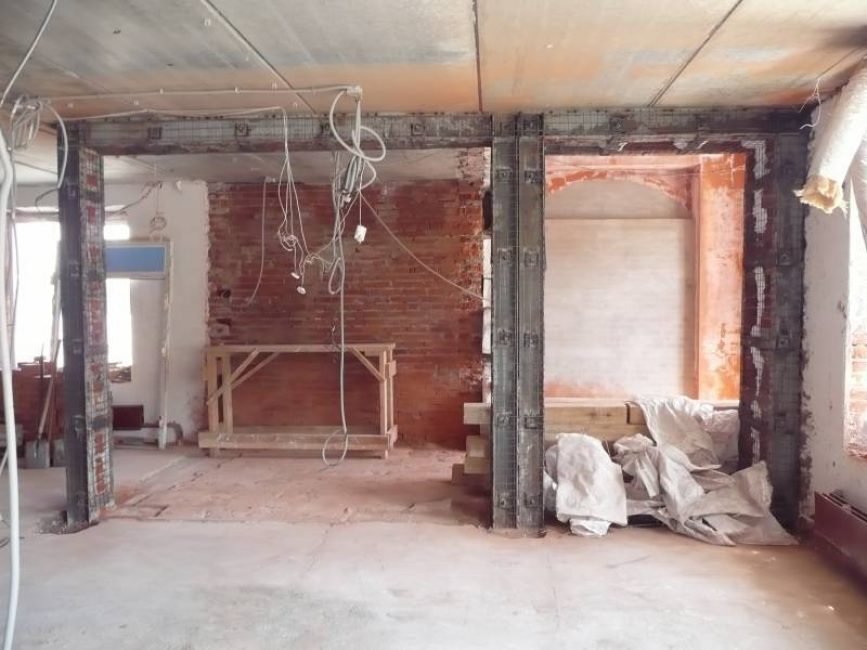
- Premises in rough finish without partitions, designed for free planning; You are waiting for bare walls, floor without screed, concrete ceiling, cheap front door and simple double-glazed windows. Batteries are installed in the apartment, electricity is supplied to the hallway. Future tenants independently think over the layout, erect partitions, and perform fine finishing
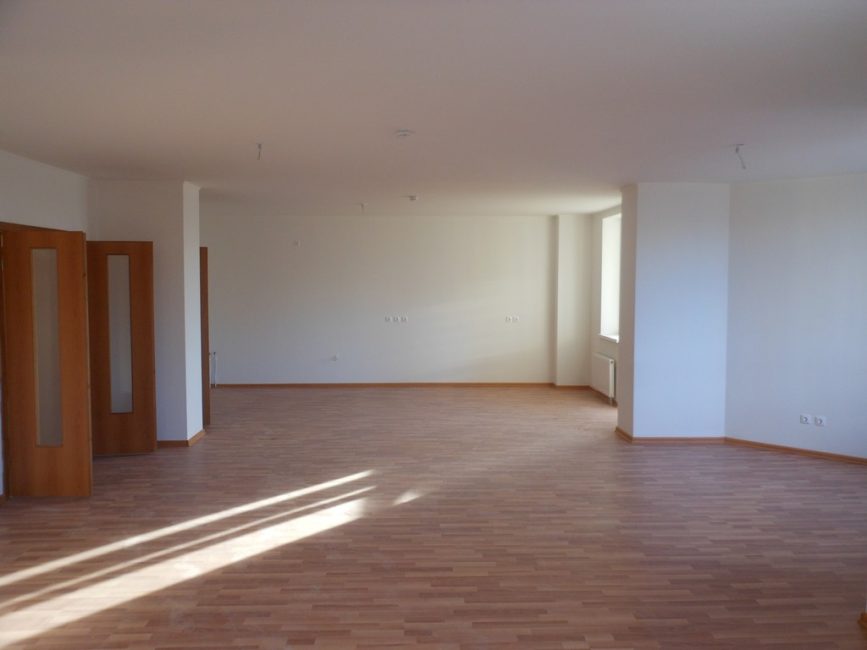
- Prefinishing; Assumes complete readiness of surfaces for decoration. The floor is ready, the walls are plastered, the ceiling is leveled, plumbing is installed. Planning approved in advance
- Repair from the developer (finishing); This apartment has undergone an economical cosmetic renovation. The walls are covered with simple paintable wallpaper, and there is an inexpensive laminate on the floor. Plumbing, radiators, interior doors and baseboards with sockets are present. You can enter the premises at any time, it is completely ready. You just need to arrange the furniture in its place. Also adjust the lighting.
 Read also: How to make flower pots with your own hands: outdoor, indoor, hanging | Step by Step Charts (120+ Original Photo Ideas & Videos)
Before starting work
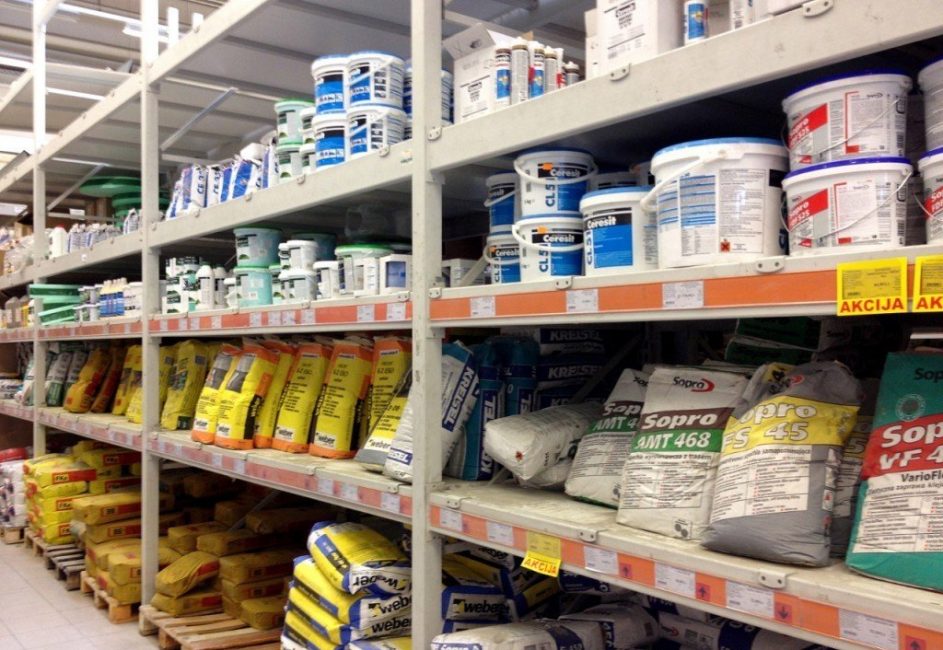
Opt for inexpensive building materials
- Be aware of the shrinkage that a building gives over several years after commissioning. Facing materials are deformed, cracked, destroyed. Remember, after 3 years, repairs will have to be “corrected”
- Based on the previous paragraph - do not buy expensive building materials. Choose plastic compounds that are unpretentious in operation, resistant to the effects of the environment
- The best prices for finishing materials at the end of winter. It is better to start repairs with the beginning of spring, when there are discounts for the services of narrow specialists, due to low workload.
- If you decide to start repairs in winter, keep in mind that you are unlikely to be able to change or move existing heating radiators to another location
- Start activities with the dirtiest and noisiest, smoothly moving on to cleaner work
 Read also: How to make a children's house with your own hands: from wood and other materials. Dimensional drawings | (80 Photo Ideas & Videos)
 Memo for beginners repair in a new building
Starting a grandiose construction, do not forget about safety
Independent organization of space in a room with only load-bearing walls allows you to realize the original design idea. However, you should take into account the nuances and restrictions, violations of which lead to fines.
What is prohibited during redevelopment
Heating radiators must be located inside the apartment
- The kitchen, in which there is a gas stove, cannot be combined with a living room.
- The entrance to the bathroom or toilet must be from a non-residential area
- The bathroom cannot be moved to where it will be located above the living area of the lower neighbors
- Living rooms and kitchen should have windows
- Electric wires and pipelines must not be hidden in the seams of concrete slabs
- It is impossible to increase the maximum load on load-bearing floors
- Heating batteries and pipelines with hot water cannot be taken out to uninsulated balconies or loggias
For what types of work is a permit taken at the BTI
The redevelopment is coordinated with the BTI
The Bureau of Technical Inventory must agree to change the architectural appearance of the external facade of the building. With his permission, the expansion of bathrooms is being carried out, and all work related to gas is being carried out. If you are going to perform procedures with carrier plates, also inform the BTI engineers.
What can be done without the consent of the supervisory authorities

Make sure that the activities carried out are consistent with all structures
Without the risk of violating the integrity of the structure of the new building and not earning a fine, you can perform the following actions:
- Independent rearrangement of plumbing and appliances in the kitchen and bathrooms (without going beyond the dimensions of these premises)
- Formation or laying of doorways in non-load-bearing partitions
- The erection or dismantling of partitions in case they do not affect the load of the load-bearing slabs
- Balcony glazing
- Installation of external technical equipment on the facade of the building (antenna, air conditioner, lattice)
- Installation of sliding partitions, doors, showcases
- permutation gas, heating appliances, and electric stoves (without leaving the dimensions of the room)
 Read also: How to make a booth for a dog with your own hands: building a home in the yard and in the apartment. Drawings, dimensions and original ideas (55+ Photos & Videos) + Reviews
Stages of preparatory repair
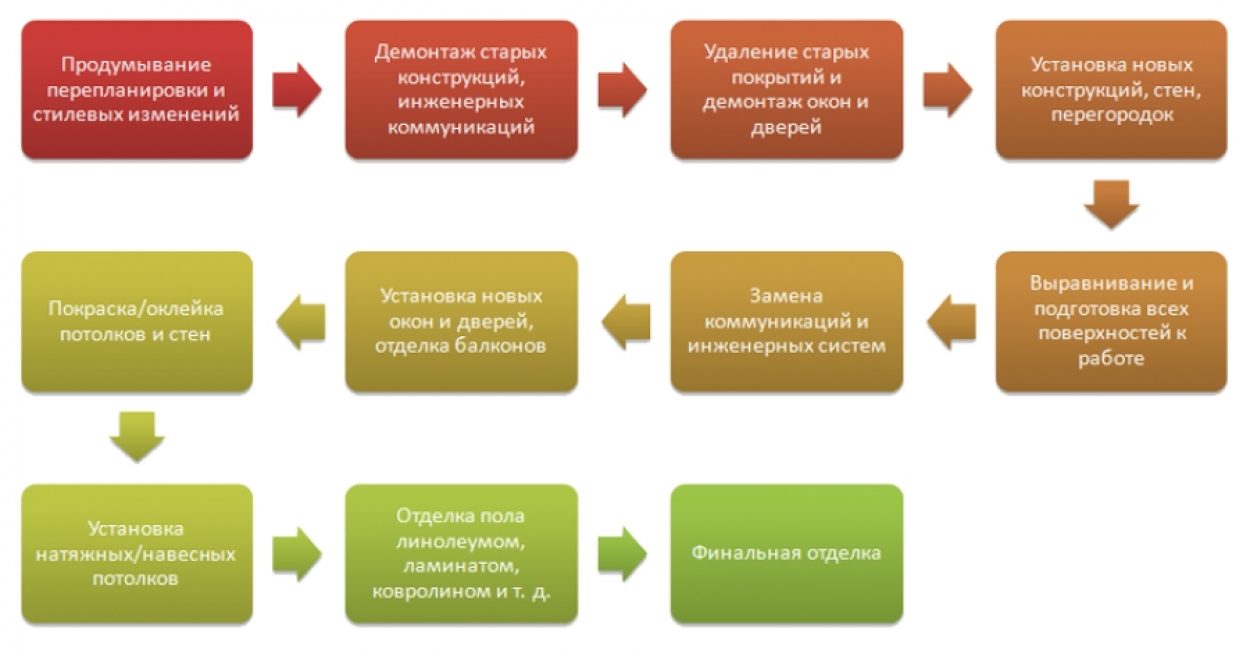
Stages of repair activities in a new apartment
The stages of repair of a new building listed below are not mandatory. Focus on your situation, use an approximate algorithm of actions. The sequence of work can also be challenged, but it is the most optimal for standard conditions.
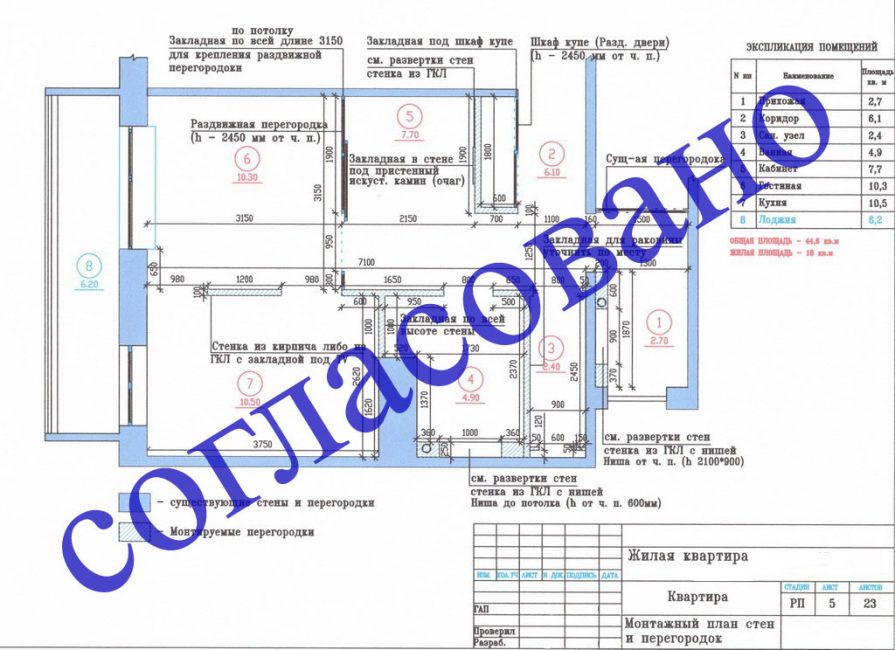
layout
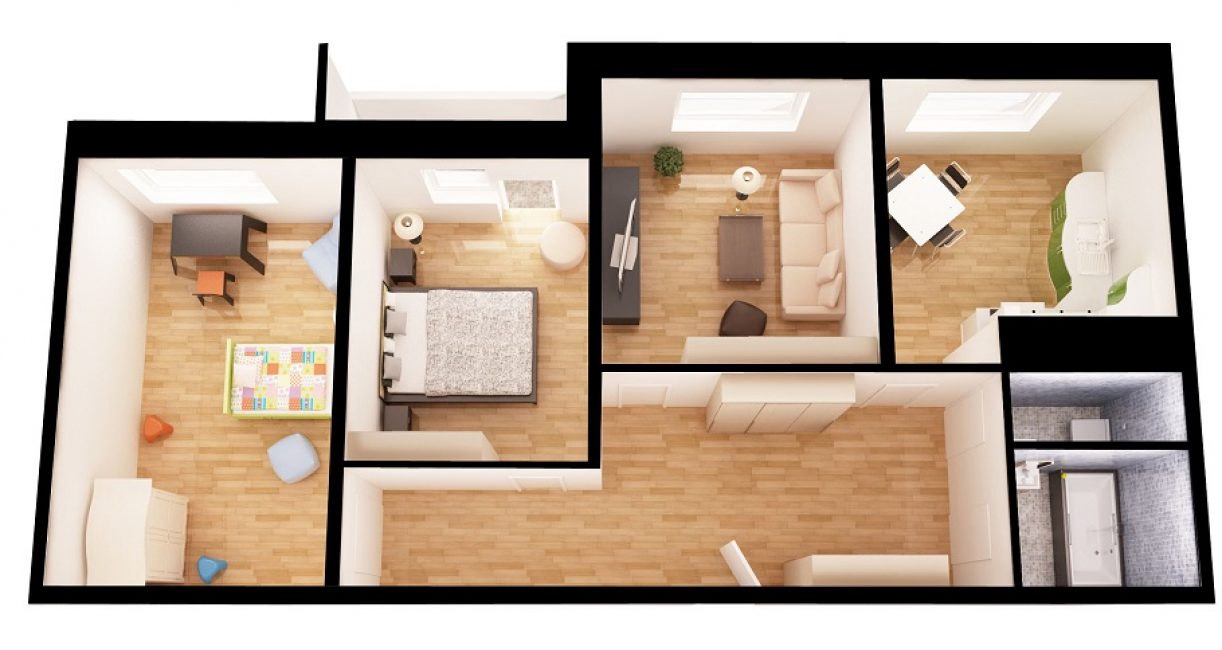
The future comfort of residents depends on the convenience of planning
If you plan to expand some rooms, increase their number by erecting partitions or complete redevelopment, think through all the details well. Without risk to the building, it is allowed to disassemble non-load-bearing walls. Often, the balcony partition is dismantled to turn it into an insulated loggia.
Every newly created room should have natural light. Consider where the heating devices will be located, how to supply electricity. It will also be necessary to cut through the doorway.
Glazing of balconies and loggias
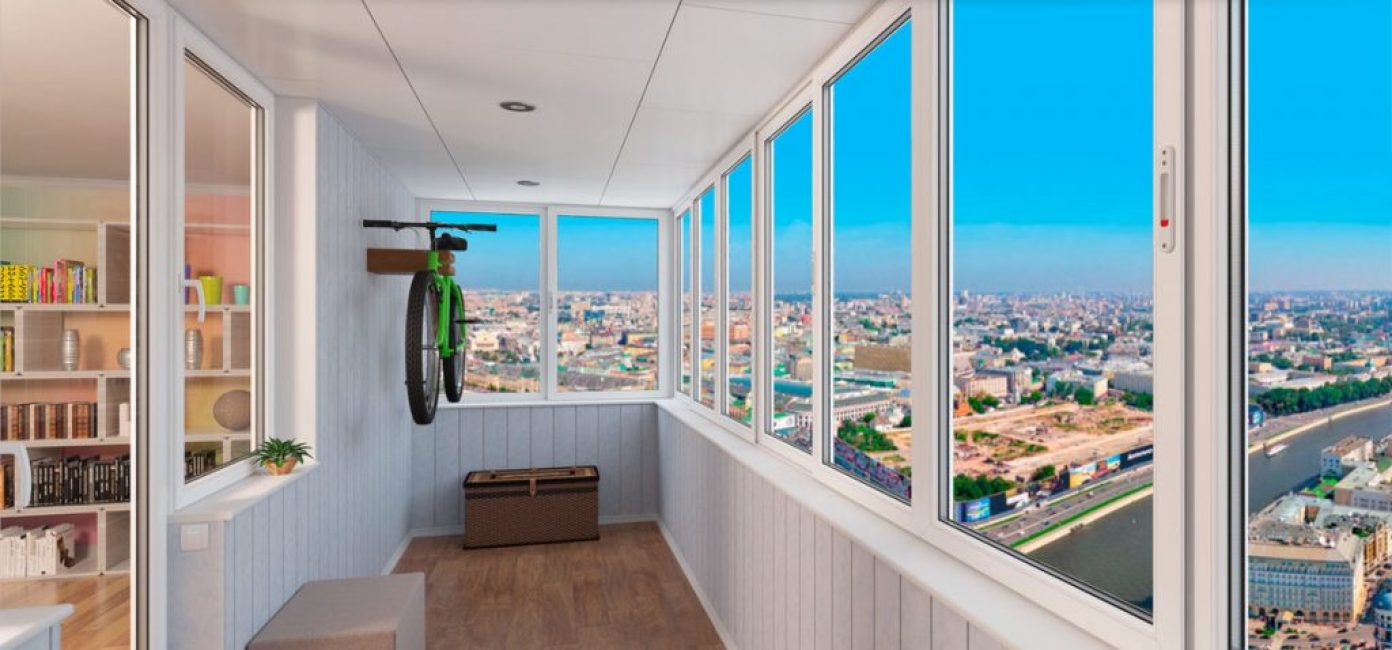
Insulated loggia becomes a full-fledged living space
Glazing helps to make the site more comfortable and aesthetic, it can be cold or warm. In the first case, the space is protected from wind, dust, rain and street debris. And in the second, it allows you to increase the living space due to the square meters of the balcony.
Warm glazing involves the insulation of the walls and floor of the loggia, due to which room temperature will be maintained here all year round. Of the popular materials, wood, aluminum, metal-plastic are most often used. Today, the trend is frameless glazing, as well as French, in which all the walls of the balcony are replaced with glass.
Replacement of double-glazed windows
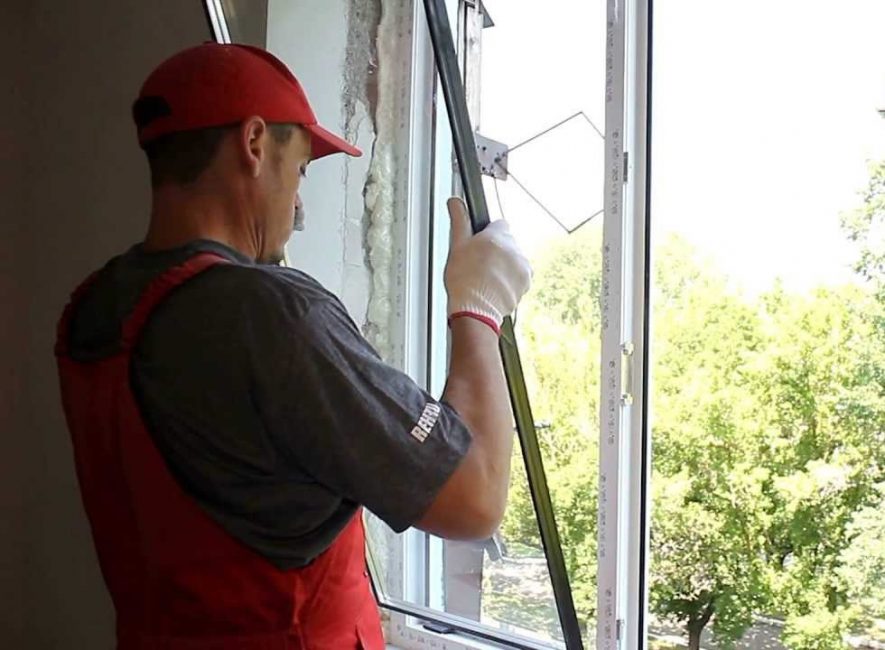
Triple double-glazed windows will reliably protect the apartment from external noise
The developer is unlikely to install high-quality triple-glazed windows in apartments. Most likely you will be given double packages. Meanwhile, the better the copy is, the more good you will get warm and soundproofing.
At the same stage, if necessary, window openings are expanded, tinted glass is applied, and window sills are installed. Consider gratings or safety mechanisms to prevent children from falling out, especially if you choose a high floor. Don't forget to order mosquito nets.
thermal insulation
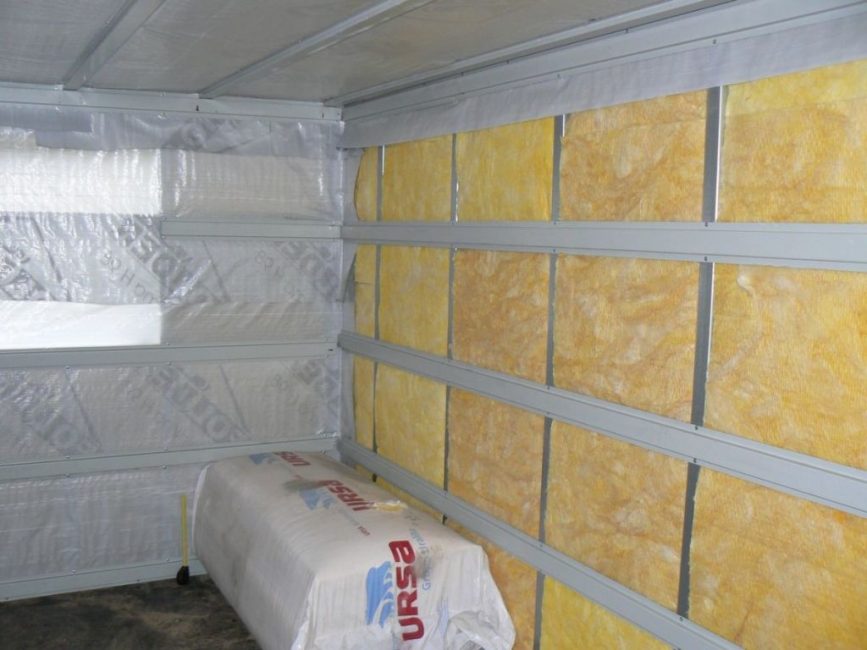
From the inside, your walls will look like this
The process is complex and responsible. In order to insulate the walls correctly, to exclude the appearance of condensate and the ingress of moisture, you need to properly make a vapor barrier.
The best materials that retain heat are polystyrene foam, polyurethane foam, penofol, mineral wool. For vapor barrier, buy vapor barrier film and wide construction tape.
Soundproofing
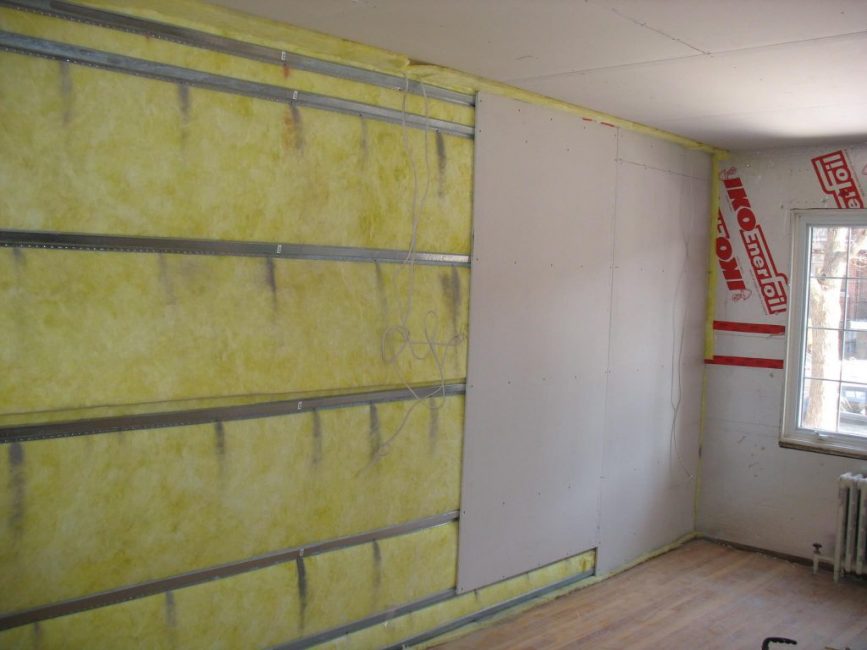
Soundproofing with chipboard layers
The real scourge of modern new buildings are thin walls. It is worth thinking about soundproofing and sound absorption.
The processes, by the way, are different, and are performed at different stages:
- Soundproofing saves from external noise (neighbors, street sounds). It is carried out by lining the wall with layers of chipboard, fiberglass or drywall. These processes are carried out closer to the end of the repair.
- Sound absorption dampens interior noise: allows you to turn on the speakers at full power and arrange noisy parties. It is carried out by gluing acoustic panels to bare walls. The work is carried out before leveling and plastering, that is, at the very beginning of the "path"
Waterproofing
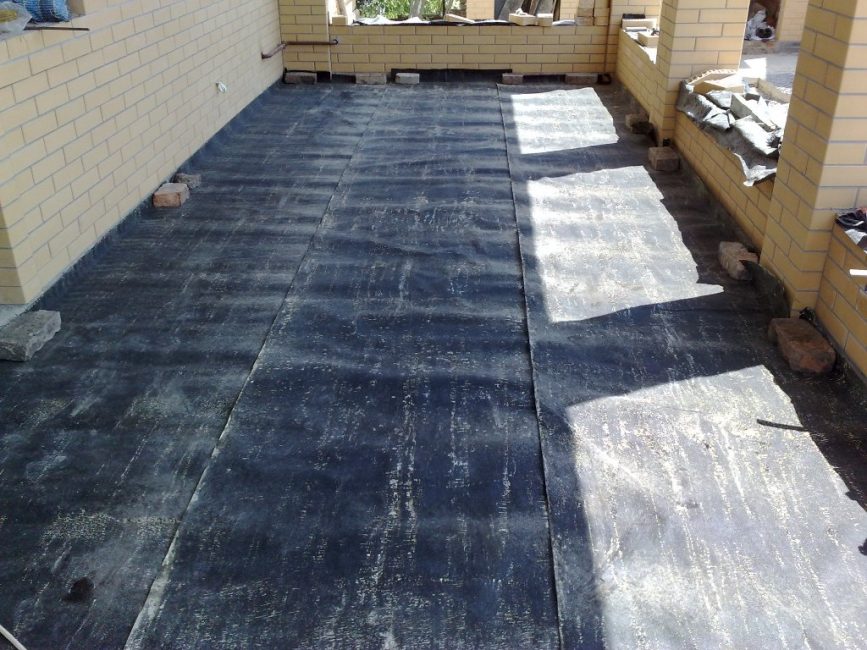
Polyurethane waterproofing mastic
In a new building from scratch, it will not be superfluous to make waterproofing in order to save expensive neighbor repairs from sudden accidents. Insulating materials are placed under the floor screed. The procedure is not expensive, but the benefits of it are undeniable.
Electric installation work
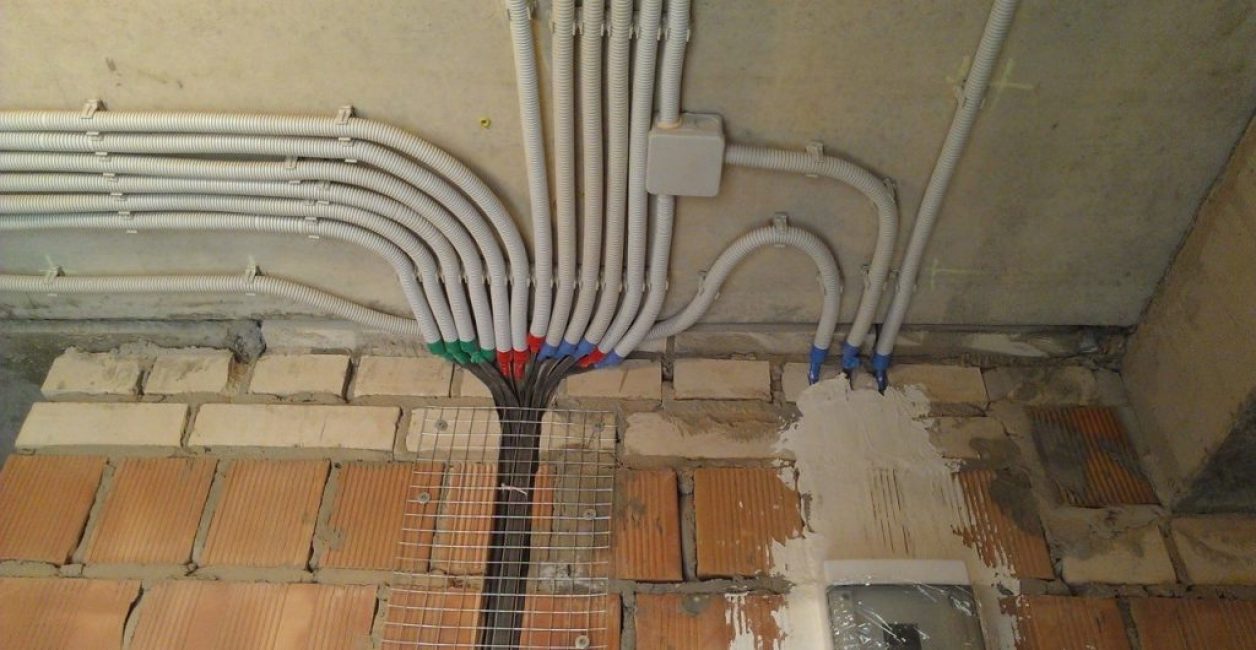
Cable routing
wall chasing
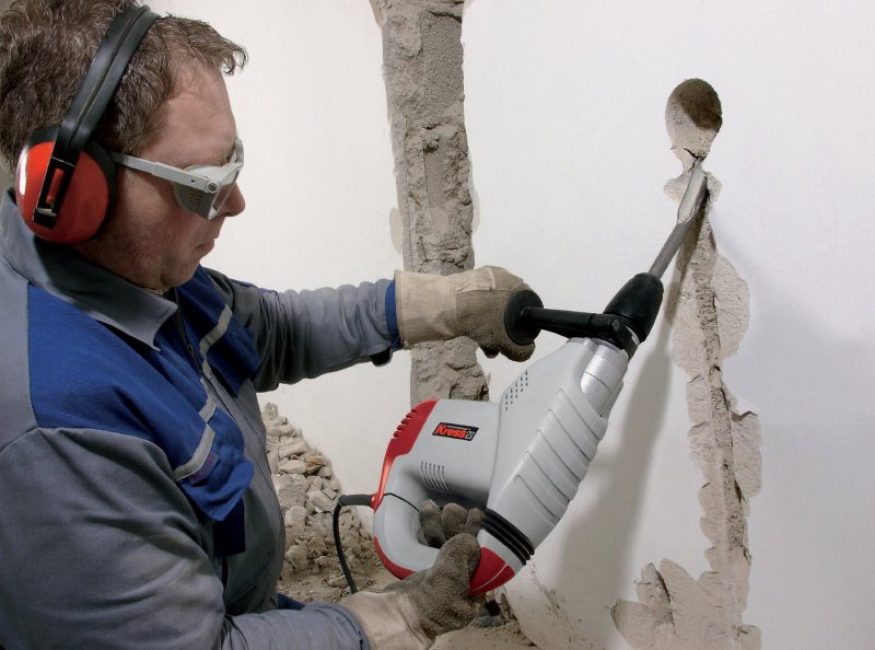
Chasing is cutting through walls for laying wires and cables. This is a very important stage that requires attention and a stock of knowledge. Especially when shtroblenie load-bearing walls.
It is necessary to take into account the recommended depth of the strobe, the distance of indents from corners, doors, pipes and gas pipelines. The grooves are made strictly horizontal or vertical, without slopes and roundings. It is forbidden to cut through reinforcement in reinforced concrete structures.
There is controversy about the optimal time for gating: before or after plastering. On the one hand, this step is very messy, so it's best to do it at the very beginning. But then it will be difficult to plaster walls with hanging cables, you can “drown” the sockets.
In addition, it is much easier to cut ditches in fresh plaster than in a solid concrete slab. But the second option is more reliable and solid. And according to the rules, engineering networks are laid before plastering.
Pipe laying
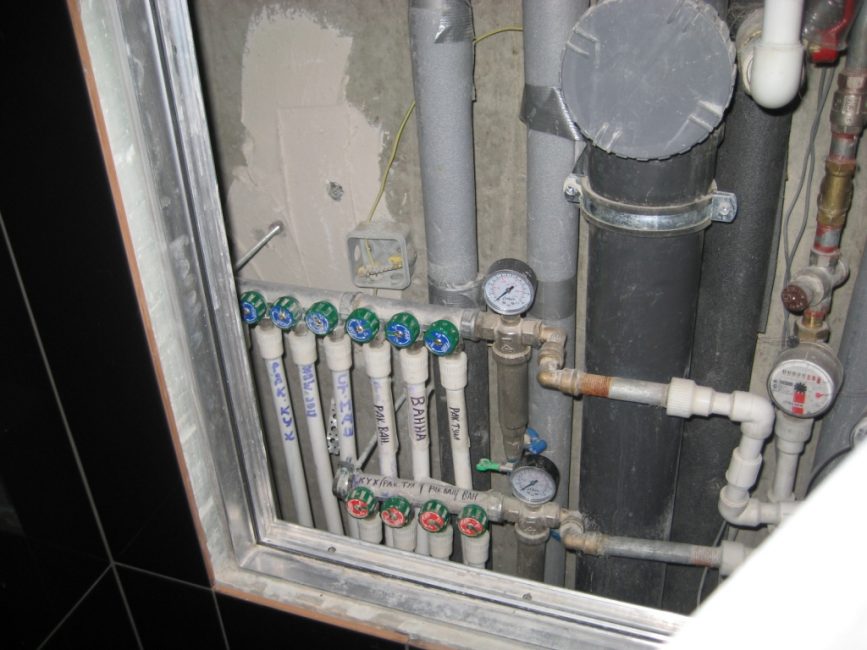
Finished wiring, hidden in a drywall box
The distribution of pipes with hot and cold water can be done hidden by placing them in deep grooves in the walls. If the width of the walls does not allow this, the pipes can be placed outside by hiding them in plastic or plasterboard boxes.
Installation of stretch or suspended ceilings
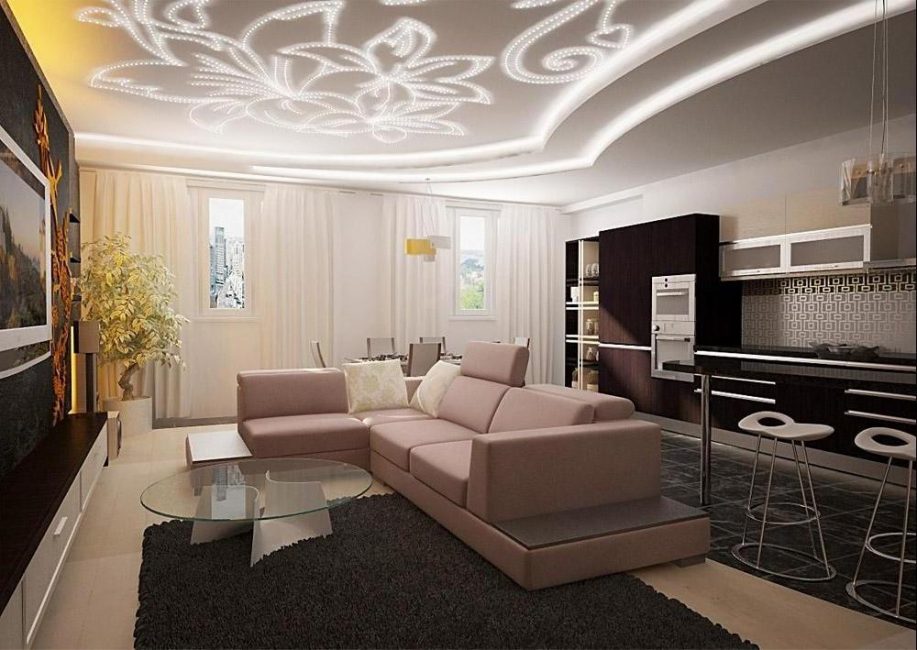
Luxurious suspended ceilings
The most budget option for decorating the ceiling is painting or whitewashing. However, if it is uneven, it will have to be leveled, sanded, plastered. Therefore, tension or hinged systems are very popular.
The first will save you from neighboring leaks. And the latter can be fixed on floating frames, which are not afraid of shrinkage of the building. All options today are budget and economical.
Wall alignment and floor screed
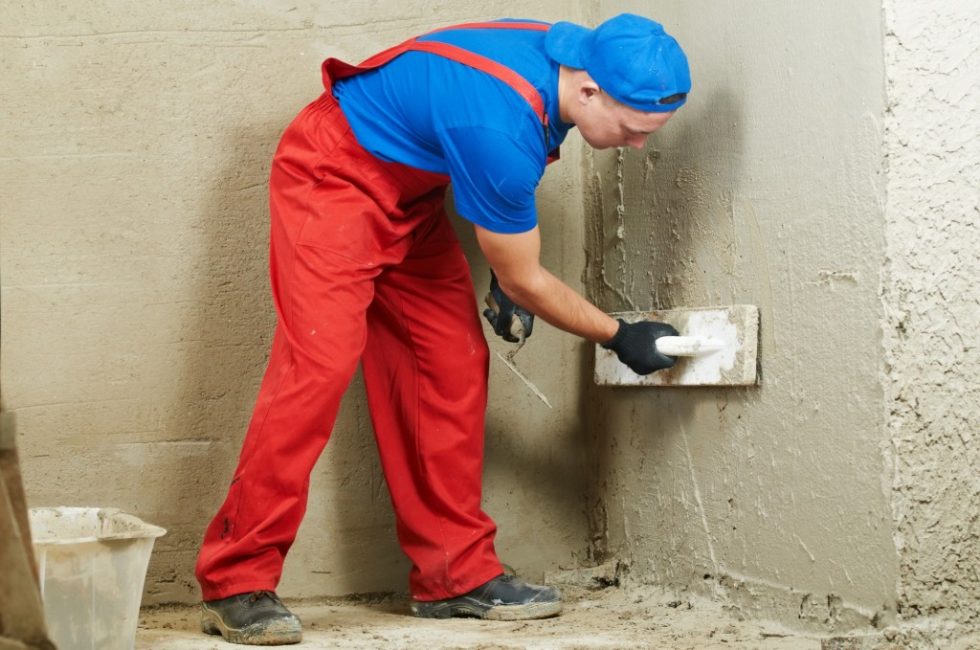
Leveling walls with plaster
These stages are the longest. The screed can dry for a whole month, and the plaster for about 3 weeks. Immediately after their completion, construction debris is removed and cosmetic repairs begin.
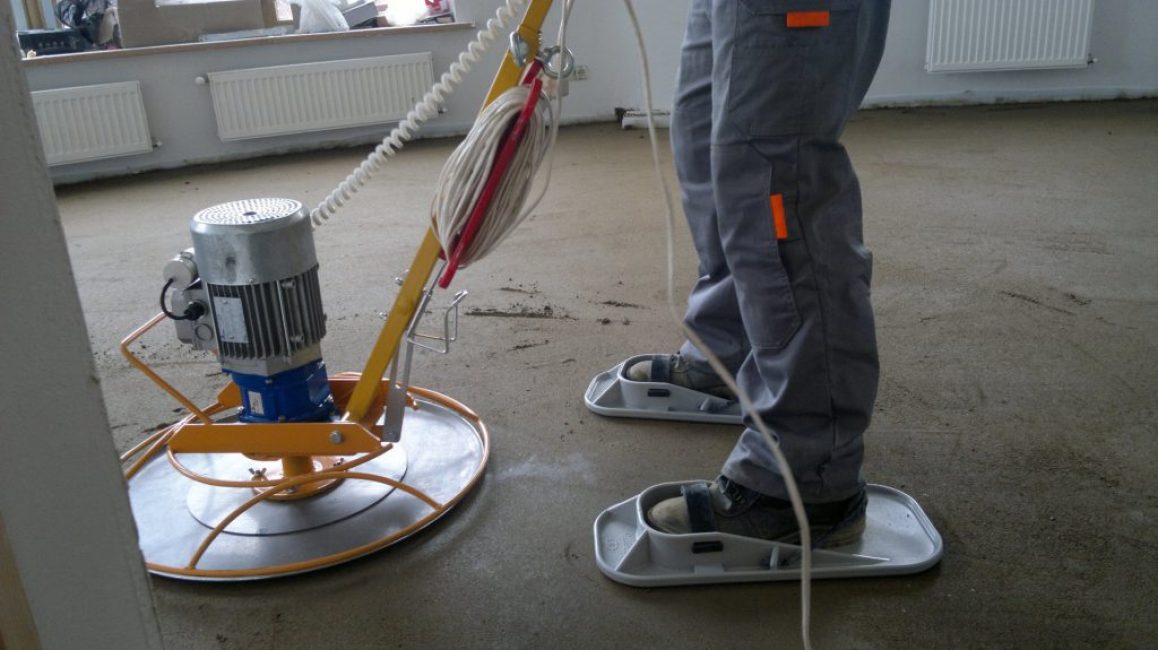
Cement floor screed
The most inexpensive floor screed can be made with a cement-concrete mixture. The coating will not be smooth and dries for a very long time. The more expensive way is self-leveling floor, which evenly fills the space and looks very aesthetically pleasing. The material dries in 7-10 hours. Apply two coats to concrete slabs before pouring acrylic primers.
![[Instructions] How to make beautiful and unusual wall shelves with your own hands: for flowers, books, TV, kitchen or garage (100+ Photo Ideas & Videos) + Reviews](https://iherb.bedbugus.biz/wp-content/uploads/2018/05/19-6-300x213.jpg) Read also: [Instructions] How to make beautiful and unusual wall shelves with your own hands: for flowers, books, TV, kitchen or garage (100+ Photo Ideas & Videos) + Reviews
Read also: [Instructions] How to make beautiful and unusual wall shelves with your own hands: for flowers, books, TV, kitchen or garage (100+ Photo Ideas & Videos) + Reviews Stages of cosmetic repair
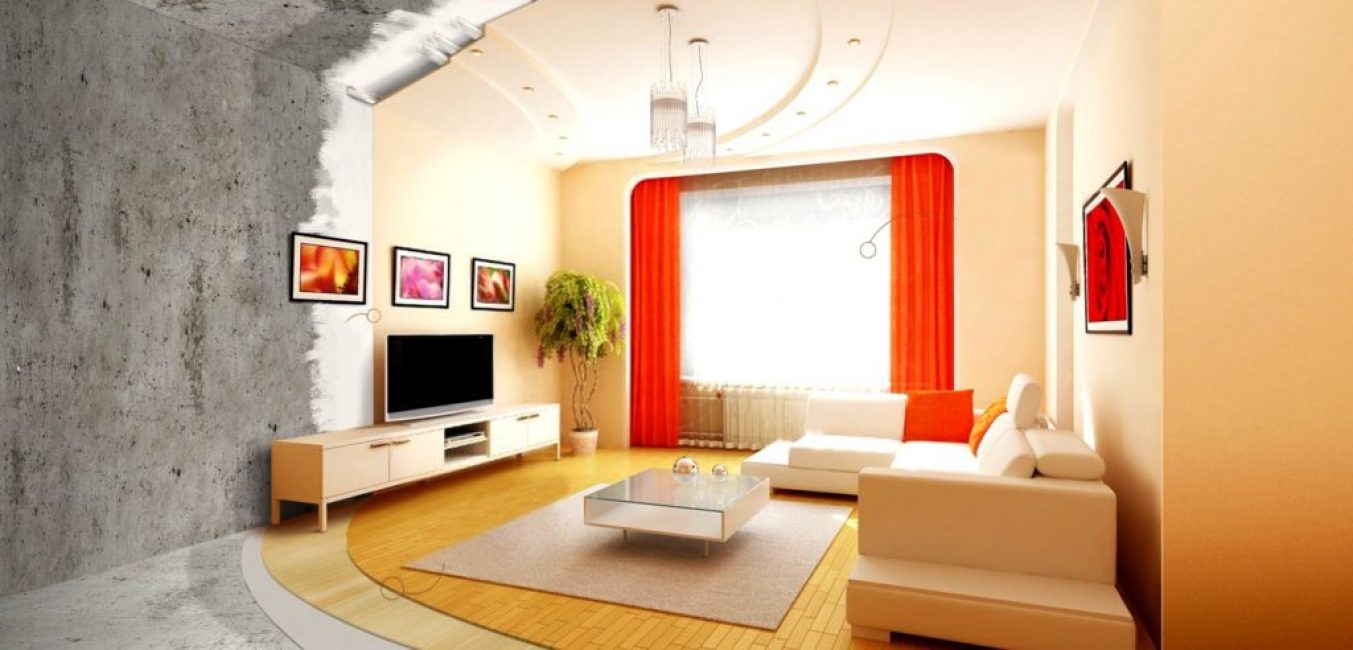
See how simple cosmetic work can transform a rough room
Cosmetic repairs are carried out in a clean and prepared apartment.
Transforming an interior from scratch is difficult, but exciting
Step-by-step repair in an apartment with a rough finish only seems to be something frightening and formidable. In fact, everything is simple and clear, if you work according to the scheme, be patient, prepare the right amount of money. If you want to save money, regularly study the building materials market, make large purchases from one seller to get a discount.
Rough finishing has one global plus - you get the opportunity to make repairs in accordance with your own preferences. All work will be done "on conscience", with love, for yourself. You buy high-quality materials, do not hesitate in the process, carefully work out each stage.
Renovation in a new building unites all households great. Helps to feel like a single whole, a real family. Gives a feeling of happiness, because it's so great to equip your own nest to your liking.
The video shows all the stages of repair in a new apartment without hiring a construction team:

All stages of the repair of a new building - I do everything from turnkey concrete. The best solutions. Repair of apartments
Do-it-yourself step-by-step budgetary repair in a new building. Saving Secrets and Useful Tips for Beginners (Photo & Video)


It is quite possible to make budget repairs and it will be done well. The main thing is to choose the right tools for this. I took repair tools from the Internet store and was satisfied with the result.