
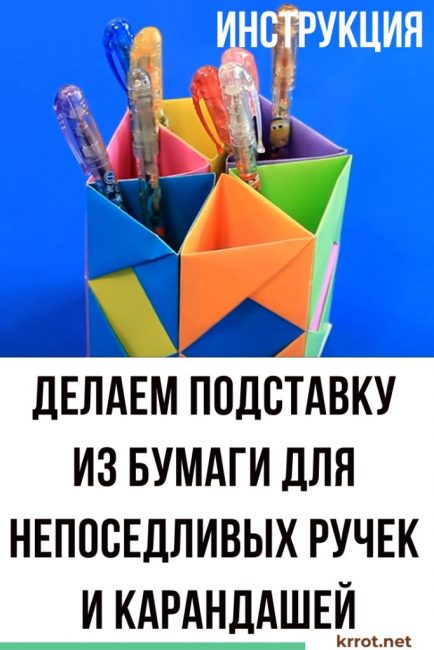
Many parents are familiar with the problem when pens and pencils are as restless as their owners. And, at times, it is very difficult to put things in order on the children's desktop. But there is a way out! We invite you, together with fidgets, to make a bright and convenient organizer with six spacious compartments.
Content:
 Read also: Do-it-yourself candlesticks: for the new year, from a jar, glass, wood or plaster, from bottles. Master class at home | (120+ Photos & Videos)
 Materials for manufacturing
To make a pencil holder you will need:
- 6 sheets of colored paper (preferably different colors);
- 1 sheet of thick cardboard;
- scissors;
- glue stick;
- glue "Moment";
- stapler.
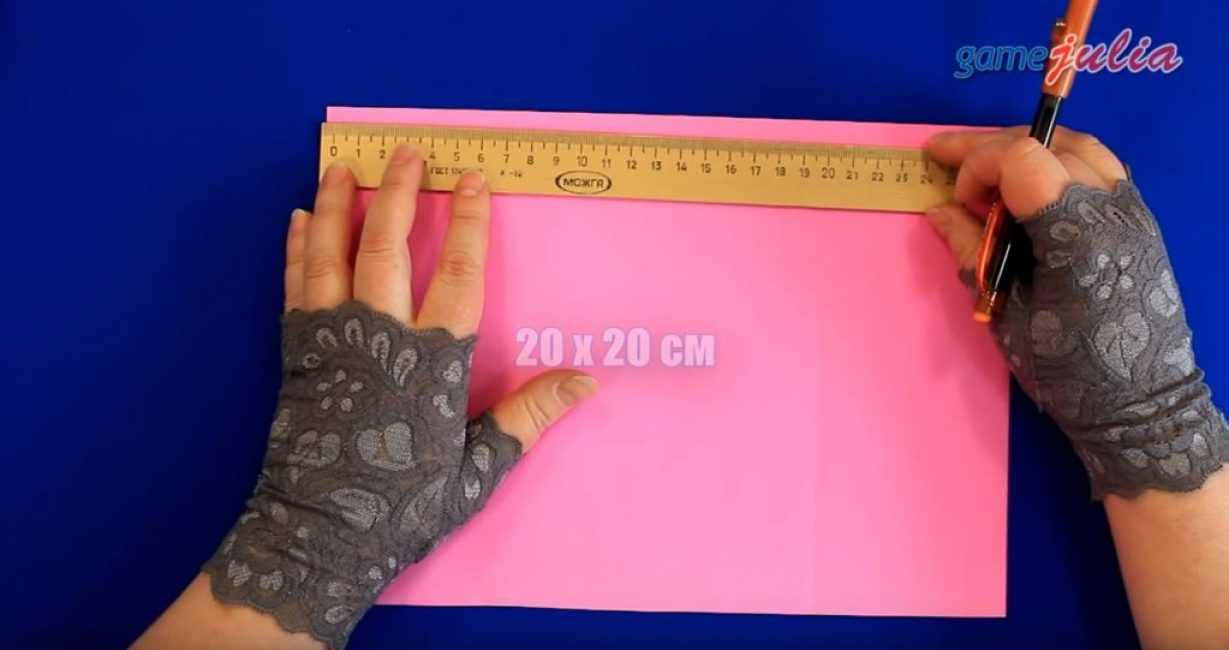
Step 1. Making modules
To begin with, we measure a square measuring 20x20 cm and cut it out with scissors.
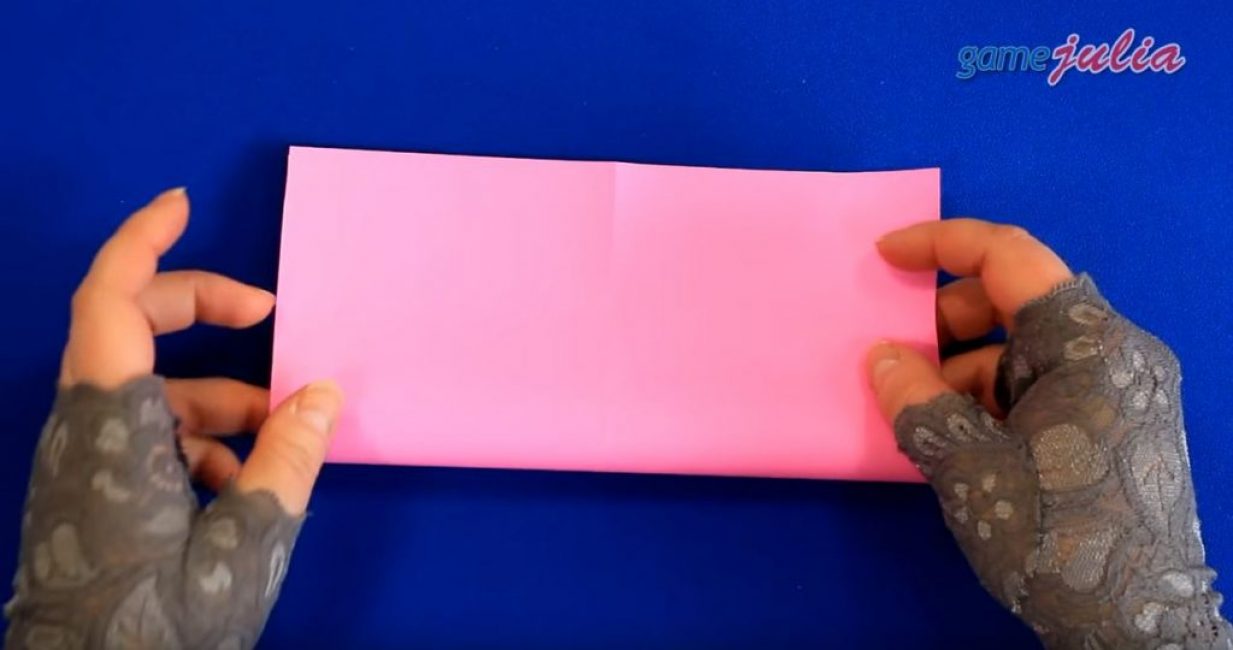
We fold our square in half.

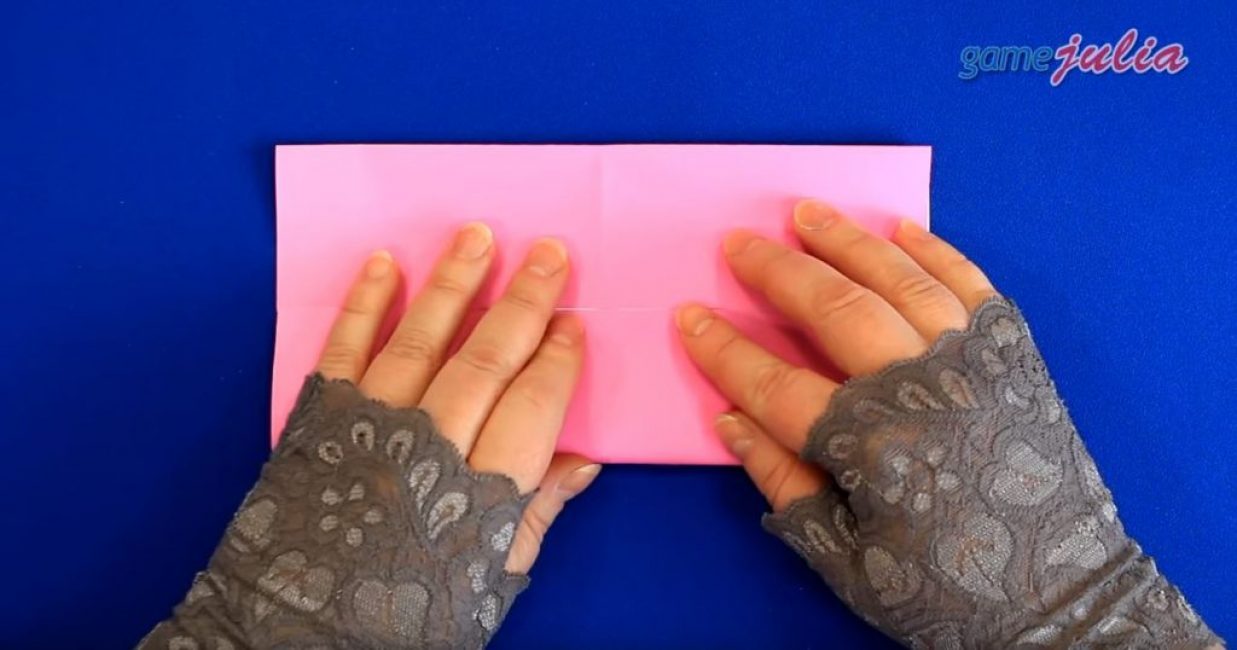
Open and fold in half again, perpendicular to the fold already made.
Having unfolded the square, fold the sides to the central fold.
Returning the paper to its original position, rotate it 90 degrees and repeat the previous step, folding the two sides to the central fold.

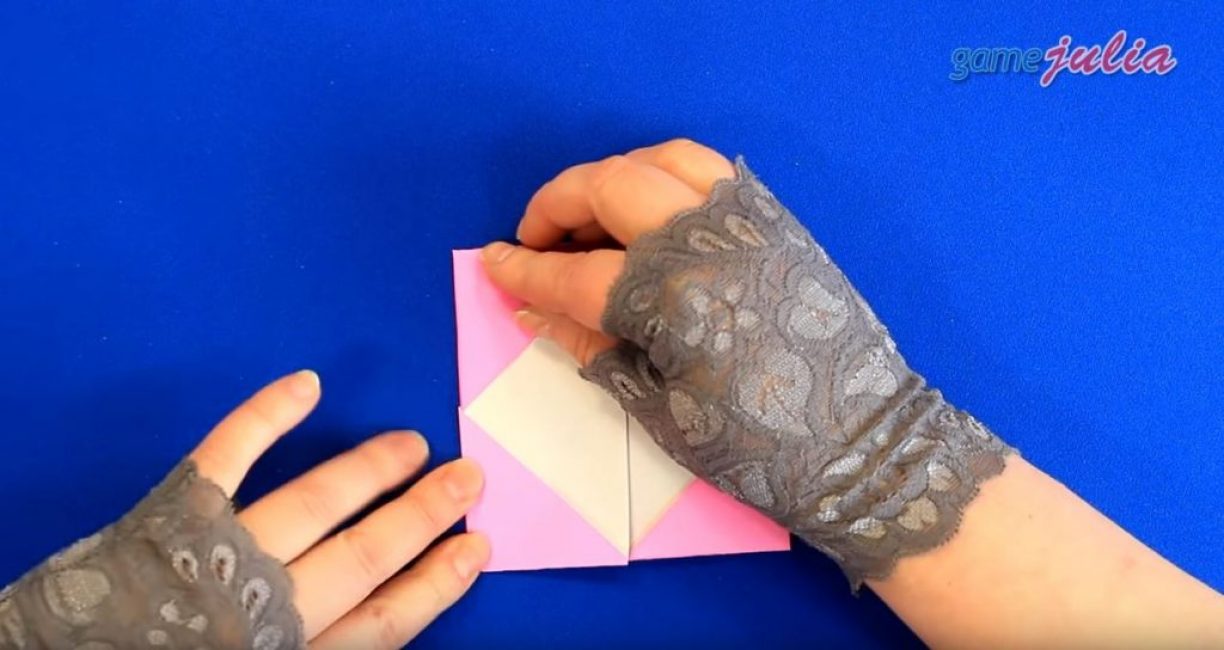
Expanding our workpiece, we see a large number of squares. But now we will work with 4 extreme ones, bending their corners inward.
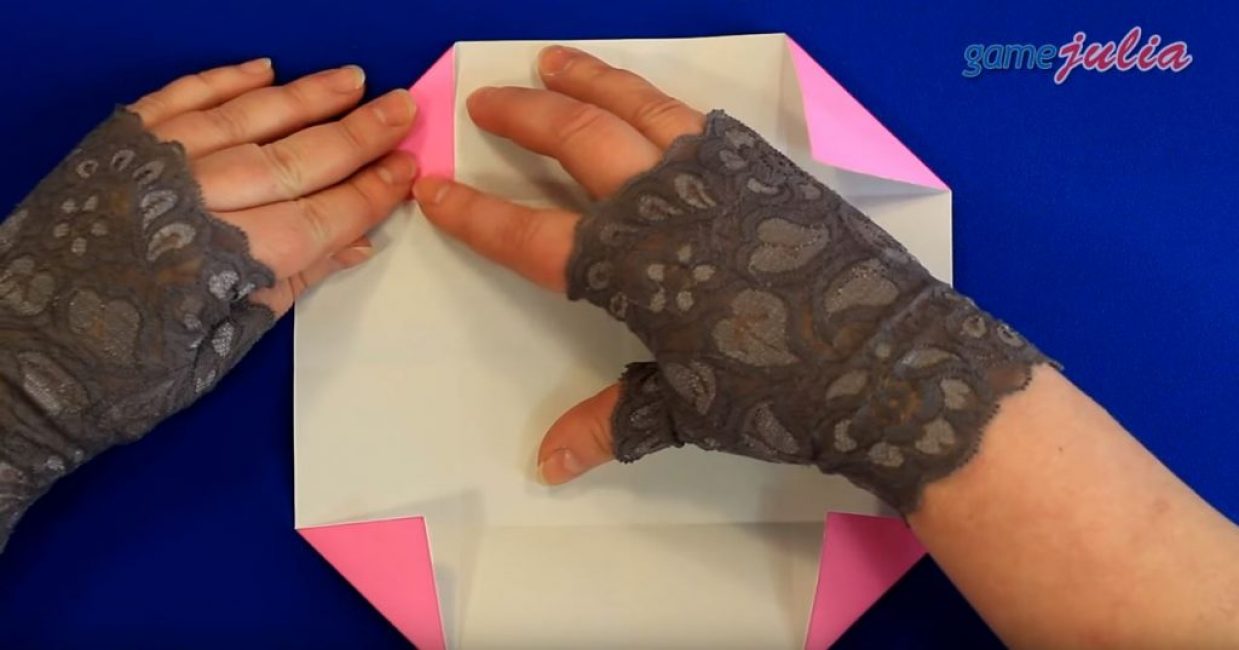
Now we bend the bottom part to the center.
We do the same with the top.
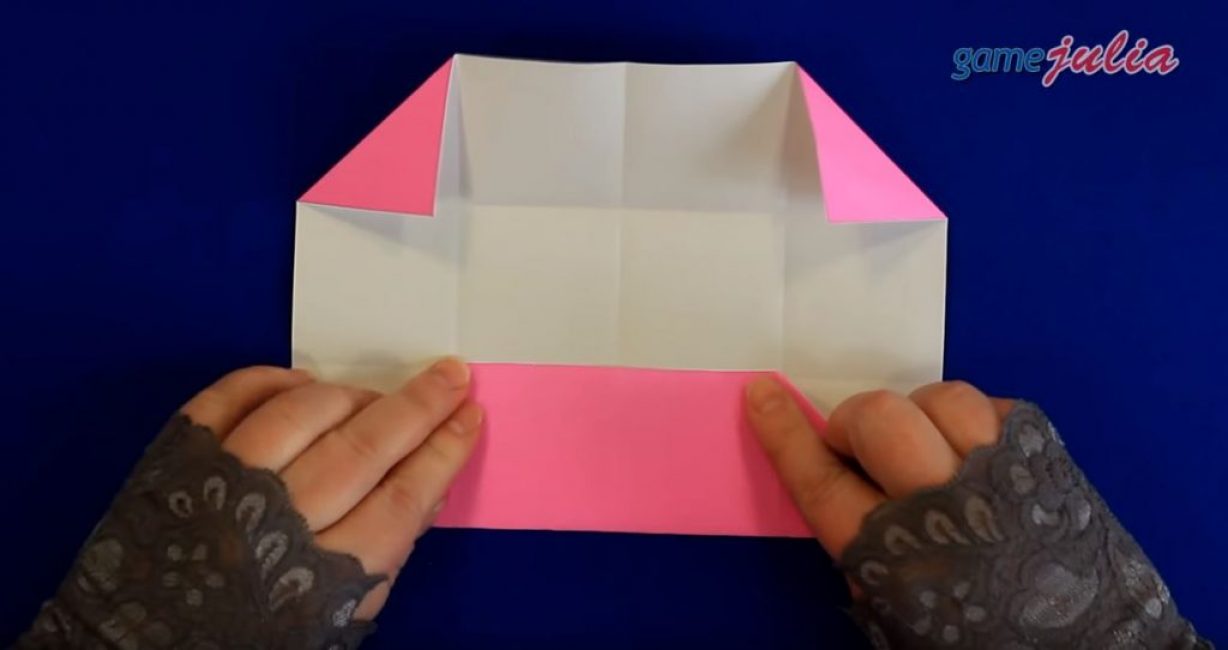
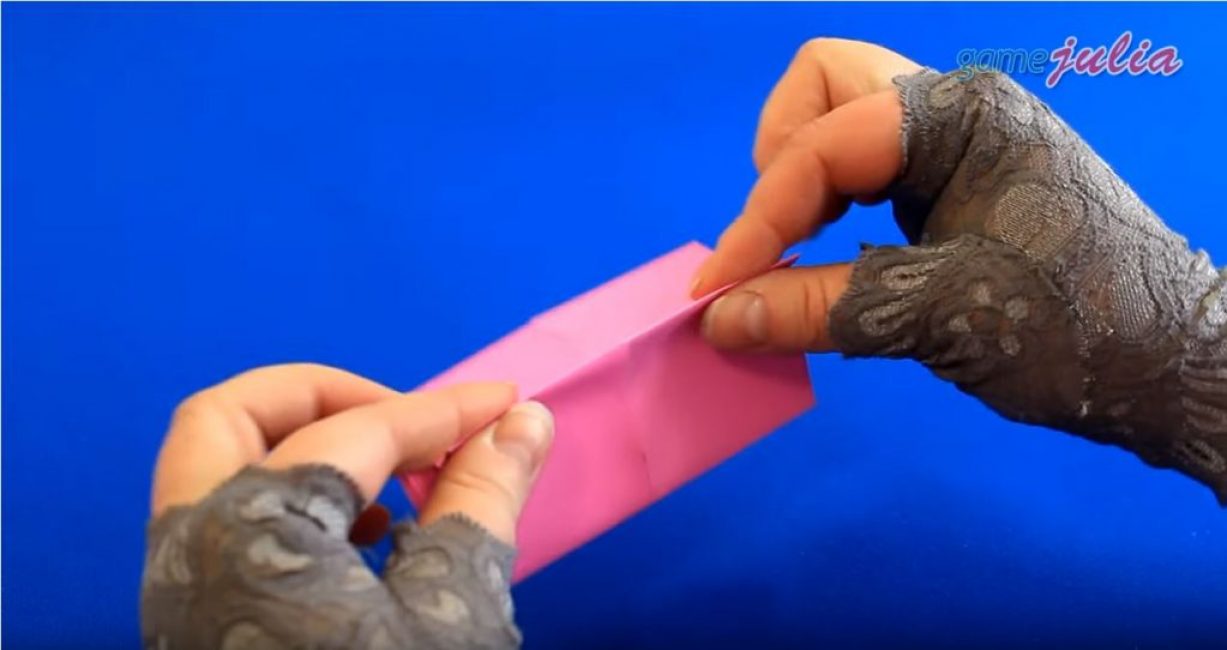
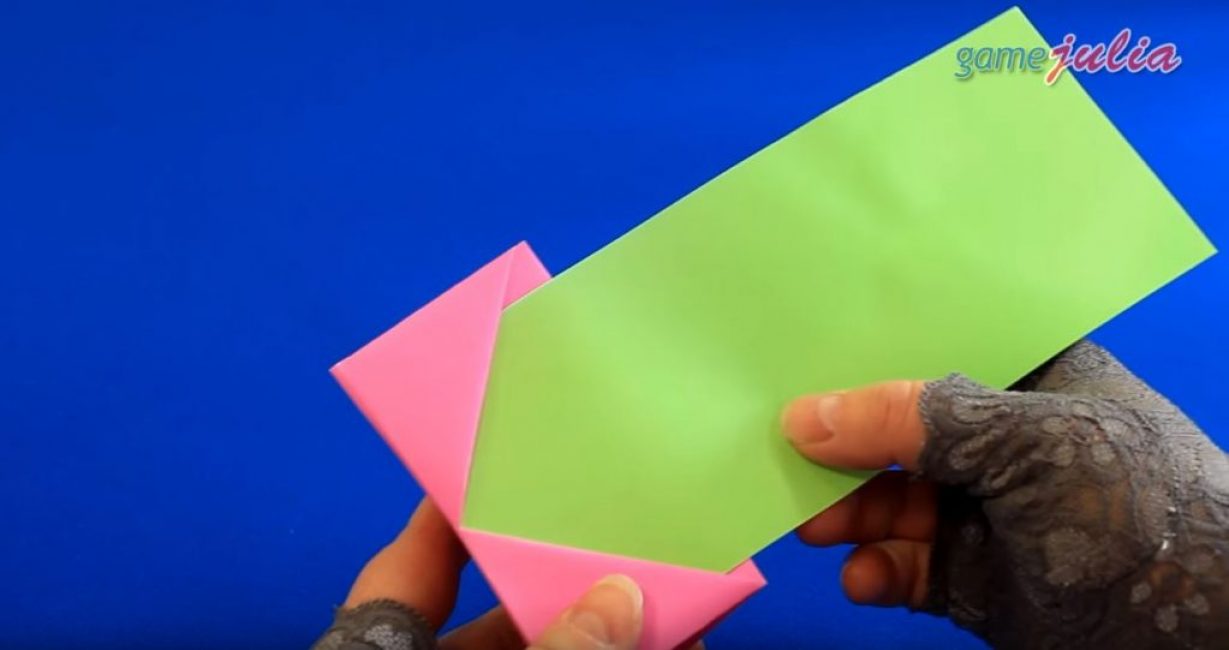
We turn the workpiece over and bend the right side to the center, along the fold already made earlier.
Source: https://youtu.be/p0ou8h2Z-_4
We do the same with the left side.
We turn our workpiece over and go through the horizontal fold.
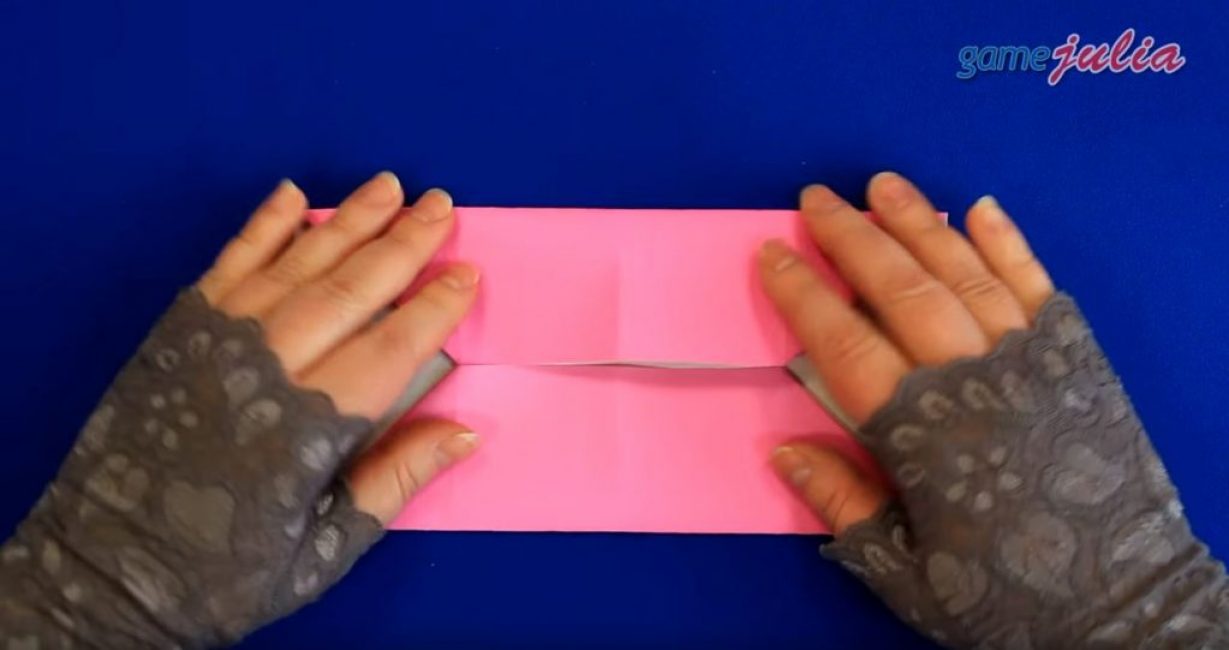
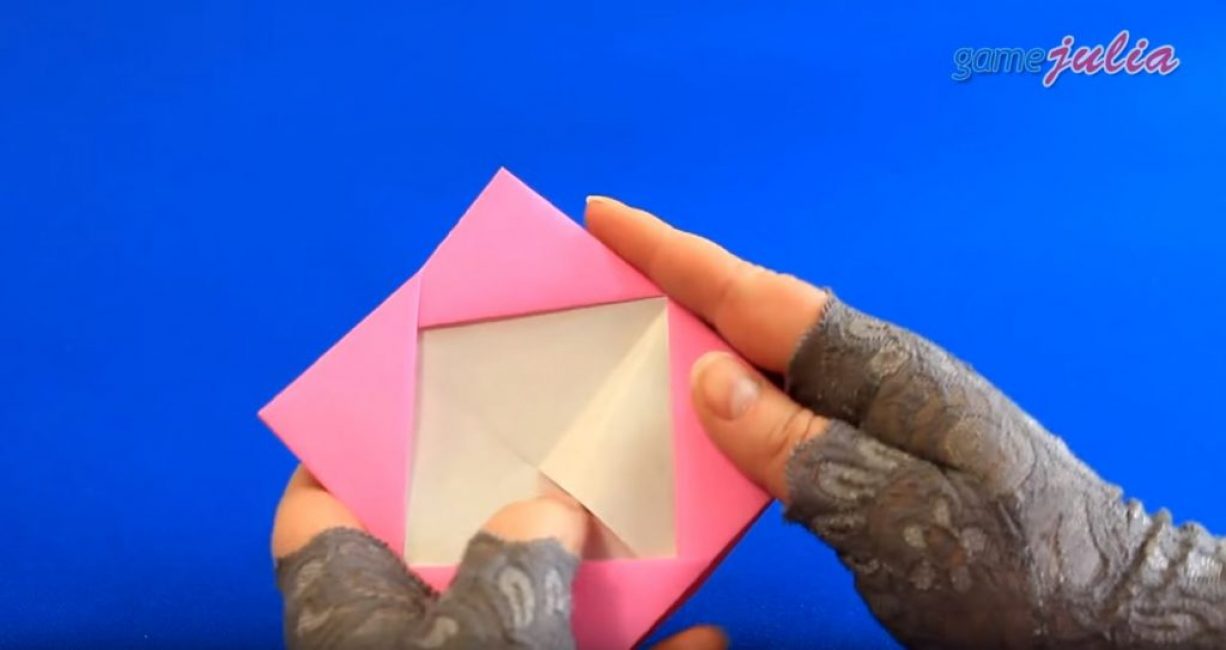
Turning the workpiece back, we connect the right and left sides. We fill the upper right corner under the upper left triangle, we do the same with the lower part.
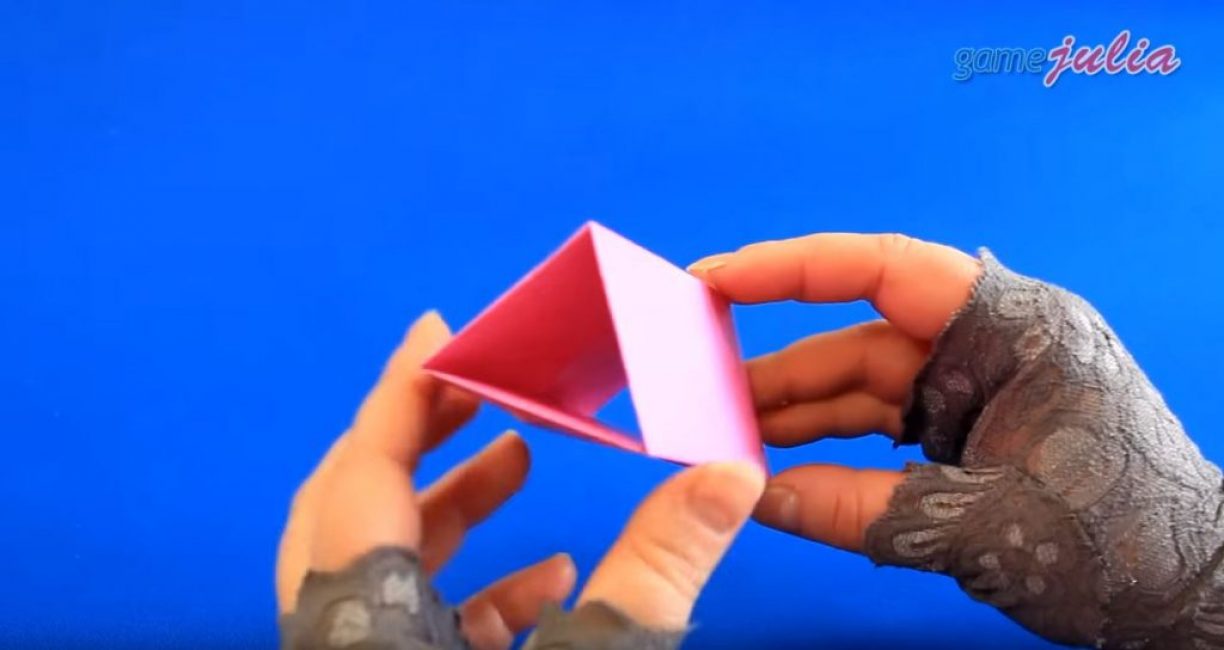
After that, we push the corners into triangles completely. We have a trihedral prism.
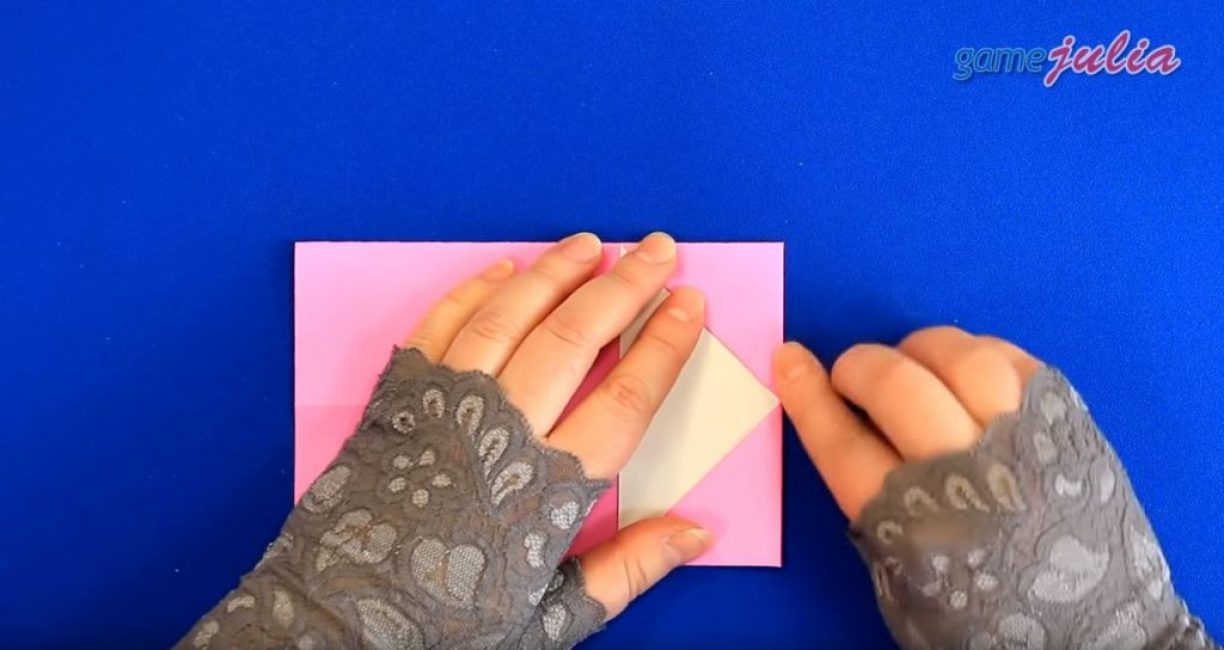
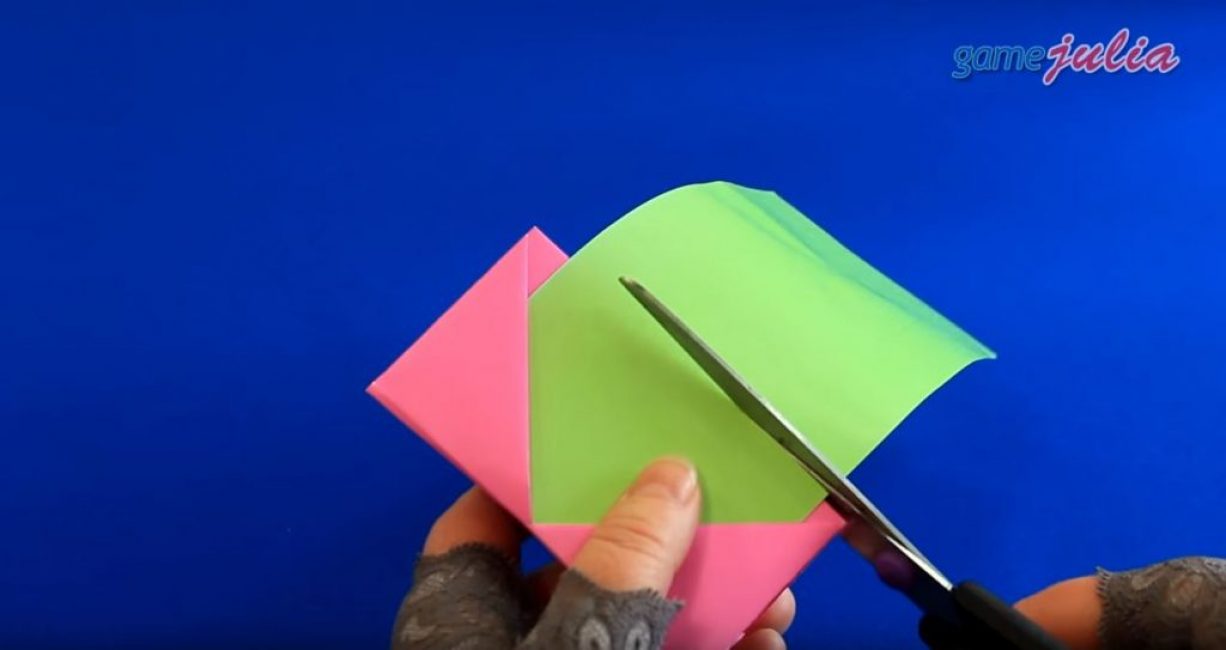
At this point, we need that piece of paper that we cut off in point 1. We insert it carefully into the lower part of our workpiece.
We cut off the excess.
Slightly push the edges of our base, and fill the rectangle of a different color inward.
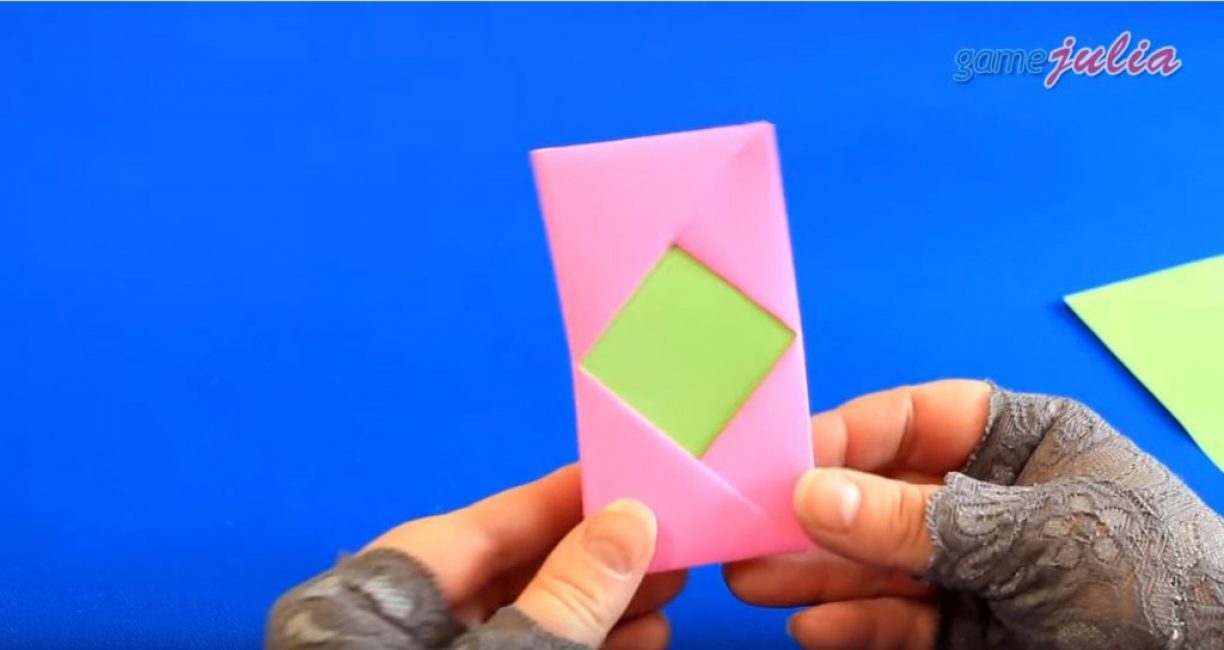
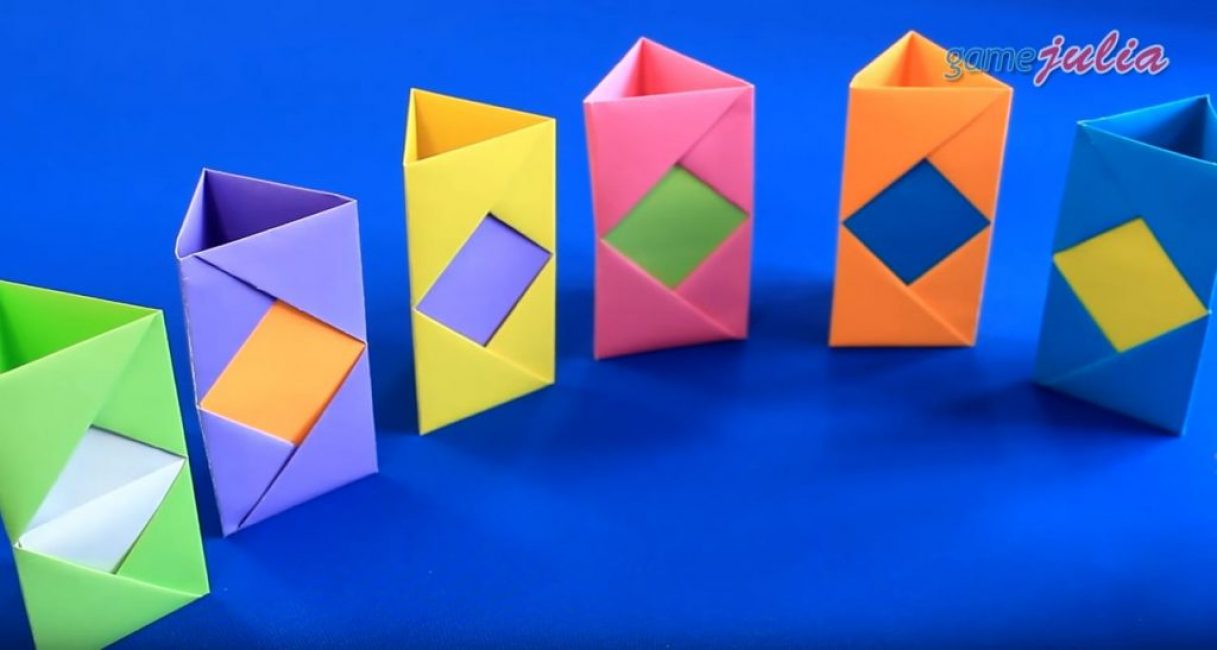
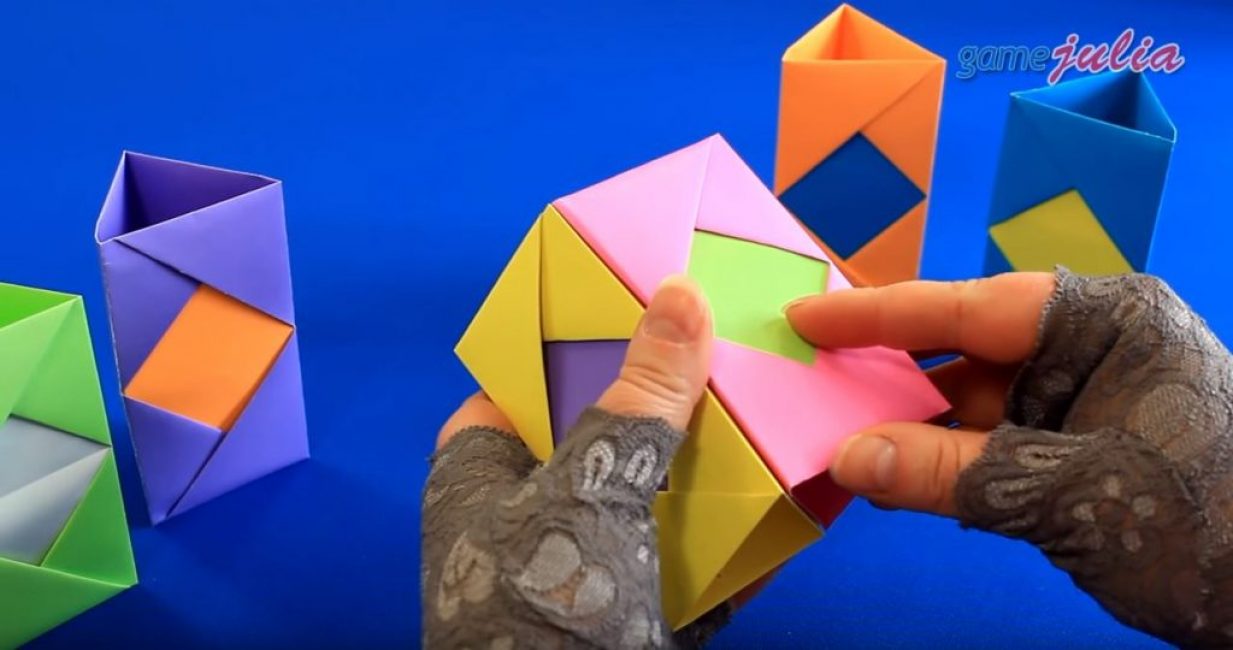
Using the same technology, we add the remaining 5 modules.
Step 2 Connecting the Modules
We glue 2 modules together, well smearing the sides with a glue stick.
Source: https://youtu.be/p0ou8h2Z-_4
Glue the next module to one of the inner sides of this design.
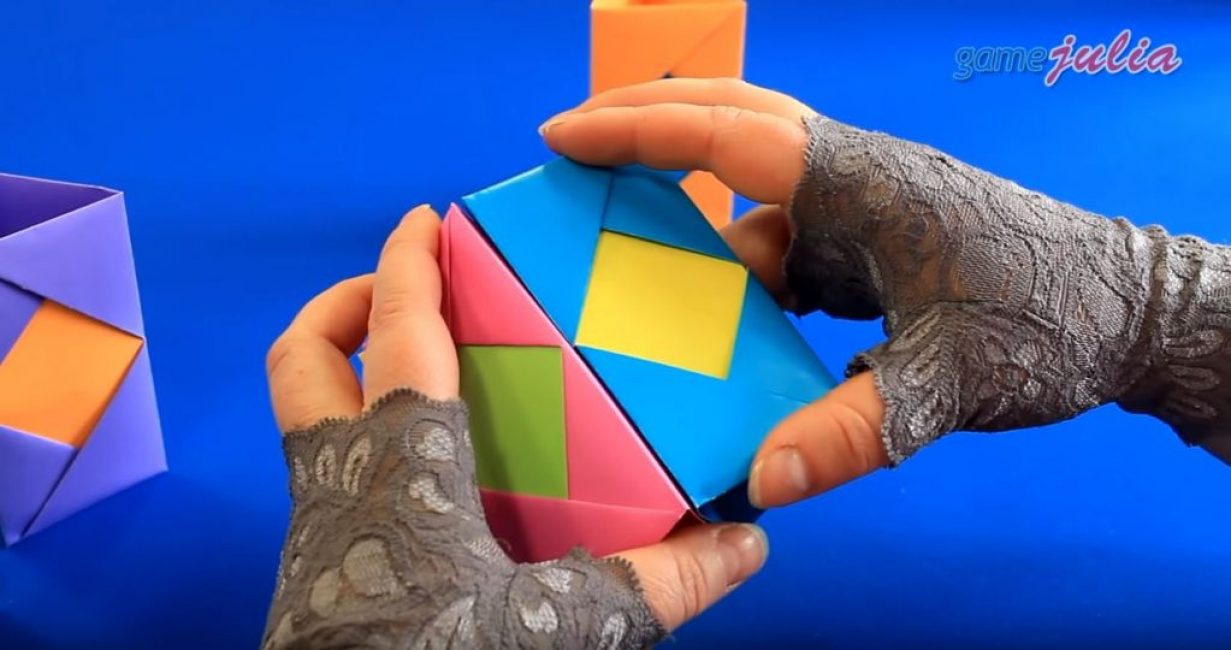
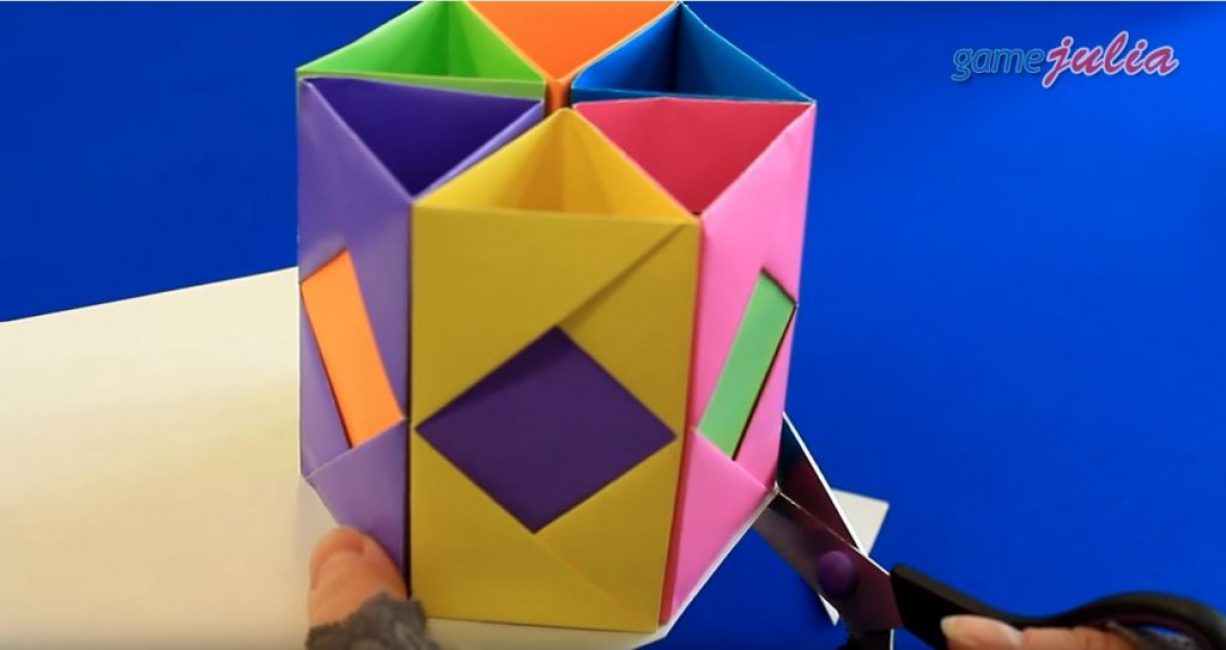
So, in order, we attach the remaining 3 modules.
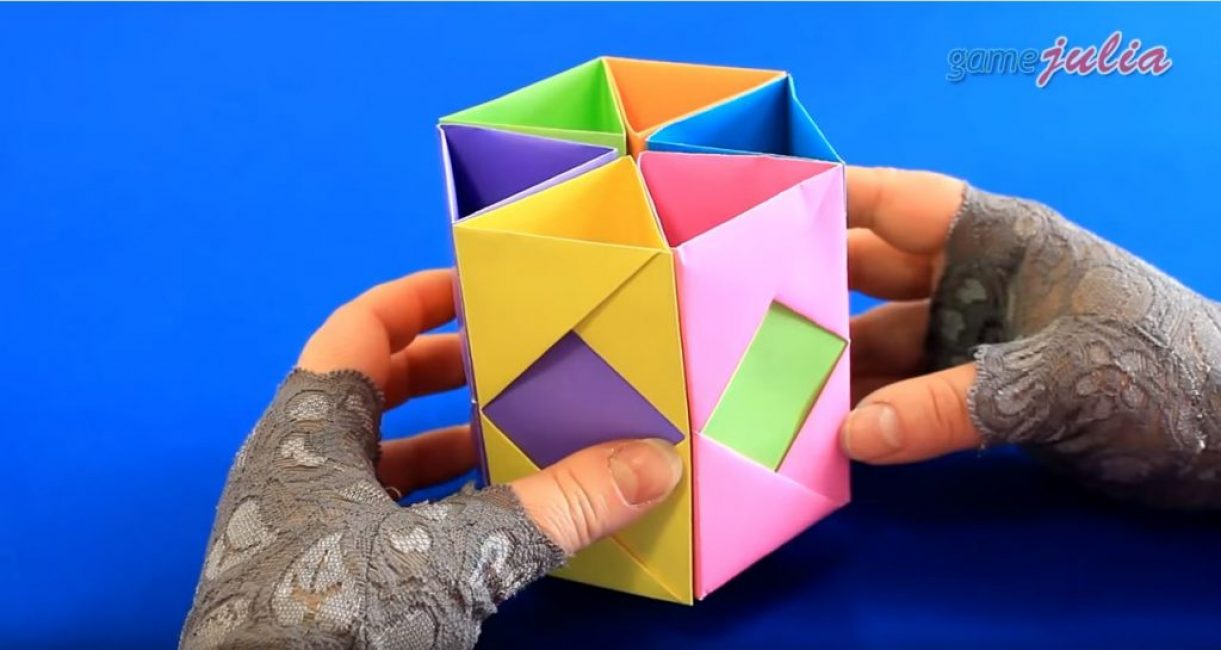
Step 3. Making the bottom for the stand
We apply glue "Moment" on all the edges of the lower part of our workpiece.
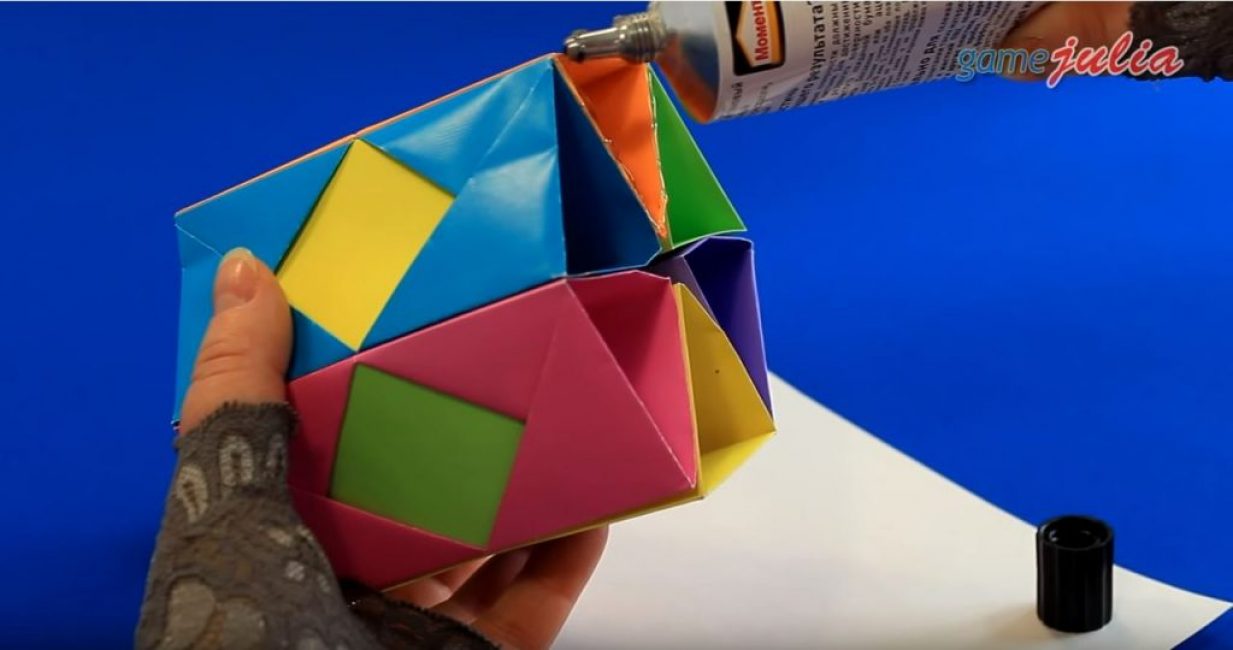
After applying the glue, put our stand on the cardboard and press it tightly with your hand.
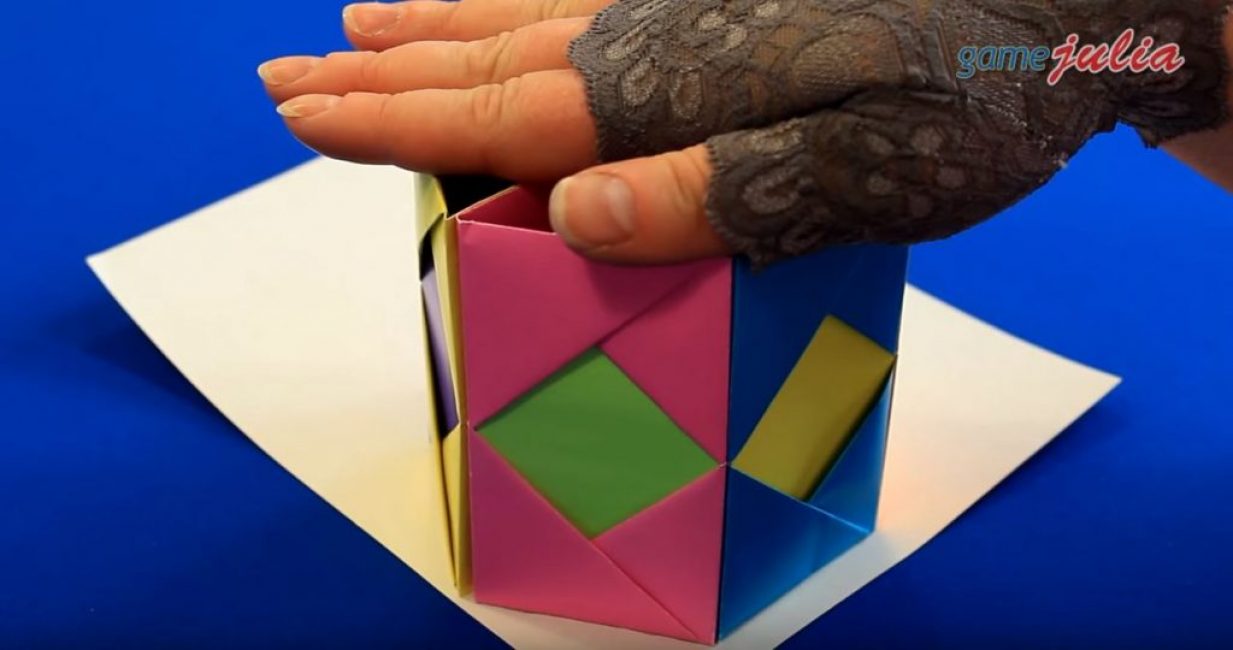
When the glue has dried, cut off all the excess.
Source: https://youtu.be/p0ou8h2Z-_4
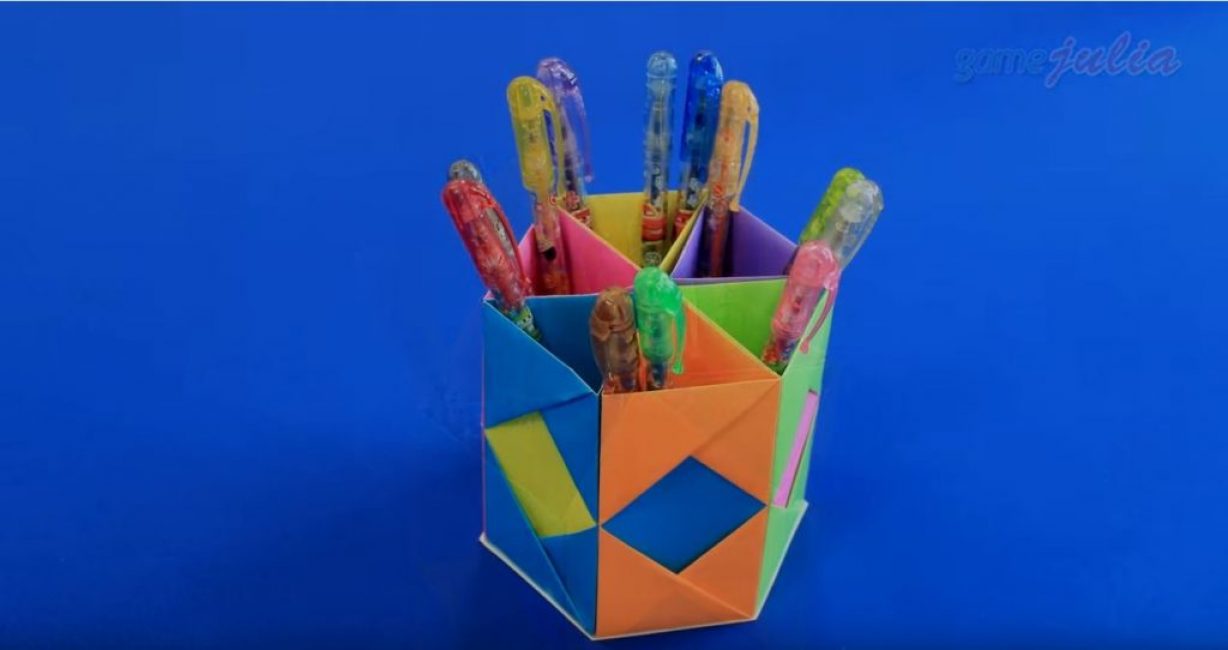
Our stand is ready!
Source: https://youtu.be/p0ou8h2Z-_4
![Do-it-yourself paper pencil stand [Master Class]](data:image/gif;base64,R0lGODlhAQABAIAAAAAAAP///yH5BAEAAAAALAAAAAABAAEAAAIBRAA7)
Paper origami. Pencil stand
Do-it-yourself paper pencil stand [Master Class]
![Do-it-yourself paper pencil stand [Master Class]](https://iherb.bedbugus.biz/wp-content/uploads/thumbs_dir/zastavka-1-e1583172015267-olzl2eekcnlo7aigsh1erun23ueyb1hna9idae7vb0.jpg)
![Do-it-yourself paper pencil stand [Master Class]](https://iherb.bedbugus.biz/wp-content/uploads/thumbs_dir/731689-e1583272050949-om1lmbfl8h4bnek20zlqu8qqjqlu8tmde1znxbi3b0.jpg)


