
Frame technologies are very convenient and easy to install. Many would like to independently make wall tiles in their apartments. partitions, using this method, however, drawings and diagrams lead them to "quiet" horror.
There is nothing complicated here, you just need to understand a little. For a better understanding of the installation process, let's consider how a plasterboard partition is made with our own hands using the example of erecting a T-shaped variation of it.
Content:
- Required material
- Stages of installation of a T-shaped partition from GVL
- Step 1 - marking
- Step 2 - preparing the profile for work
- Step 3 - installation of the base for the partition (floor and ceiling)
- Step 4 - preparing and fixing the uprights
- Step 5 - strengthening the doorway
- Step 6 - Forming Reinforced Uprights
- Step 7 - sew up one side of the partition with drywall
- Step 8 - making the sockets
- Step 9 - soundproofing
- Step 10 - we sheathe the second side of the partition
 Read also: Walnut: benefits and harms - how to stay healthy. Jam, tinctures (on the shell and partitions), features for women (Photo & Video) + Reviews
Required material
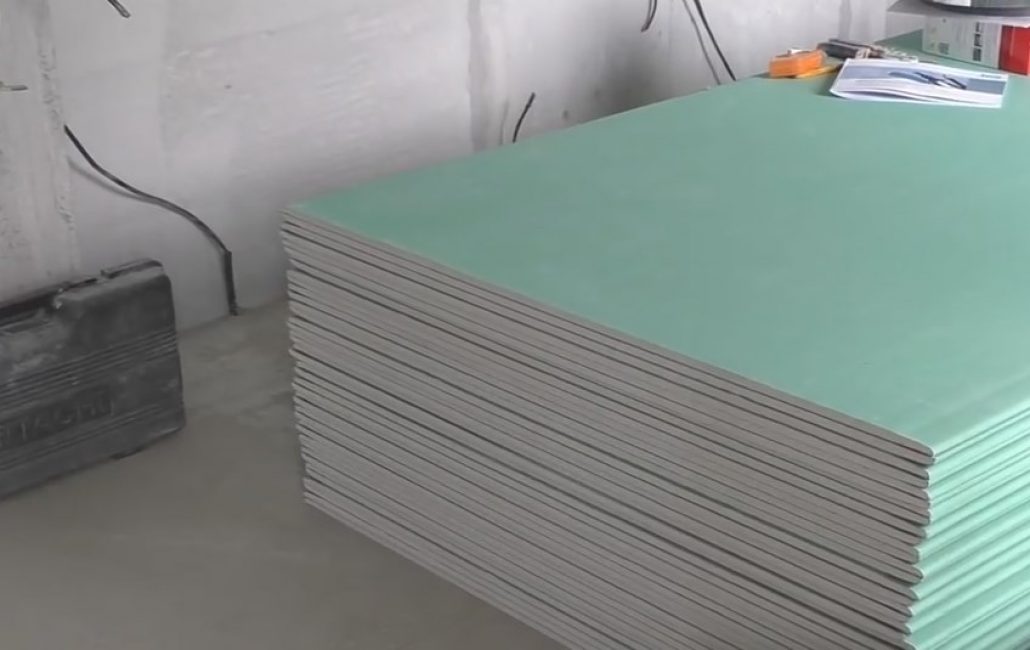
GVL sheets
For work, GVL with a thickness of 12.5 mm is required. It is more durable and also resistant to moisture.
Metal profile in two sizes: 50 and 75 mm. The wall that is in contact with the residential area is best reinforced.
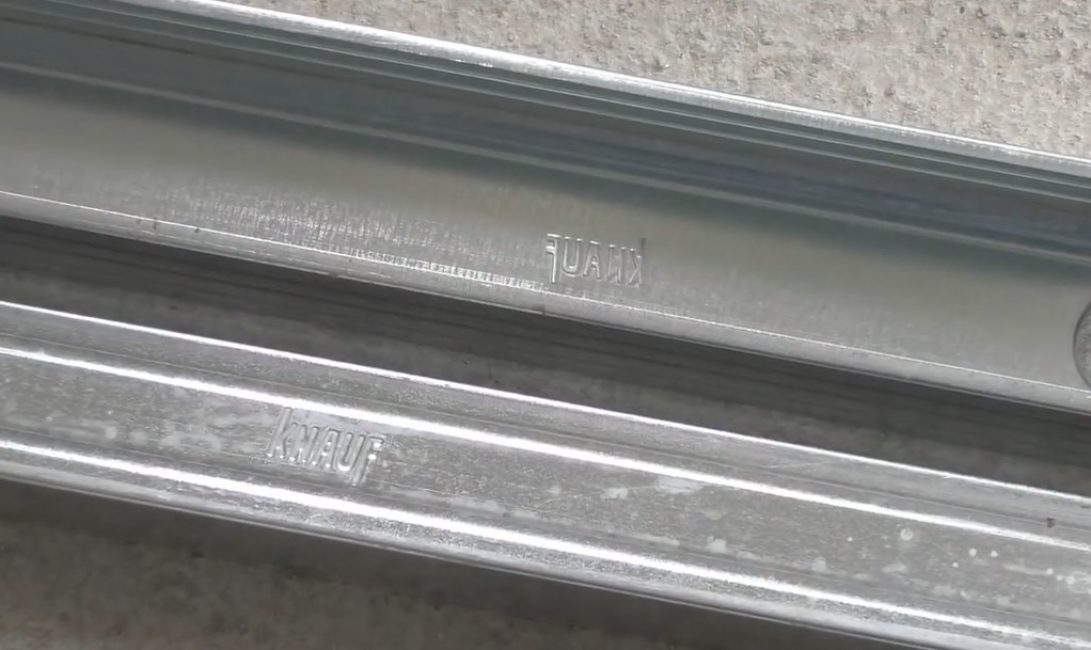
Profile 50 and 75 mm
A coil of soundproofing tape for sticking it on the lower profiles.
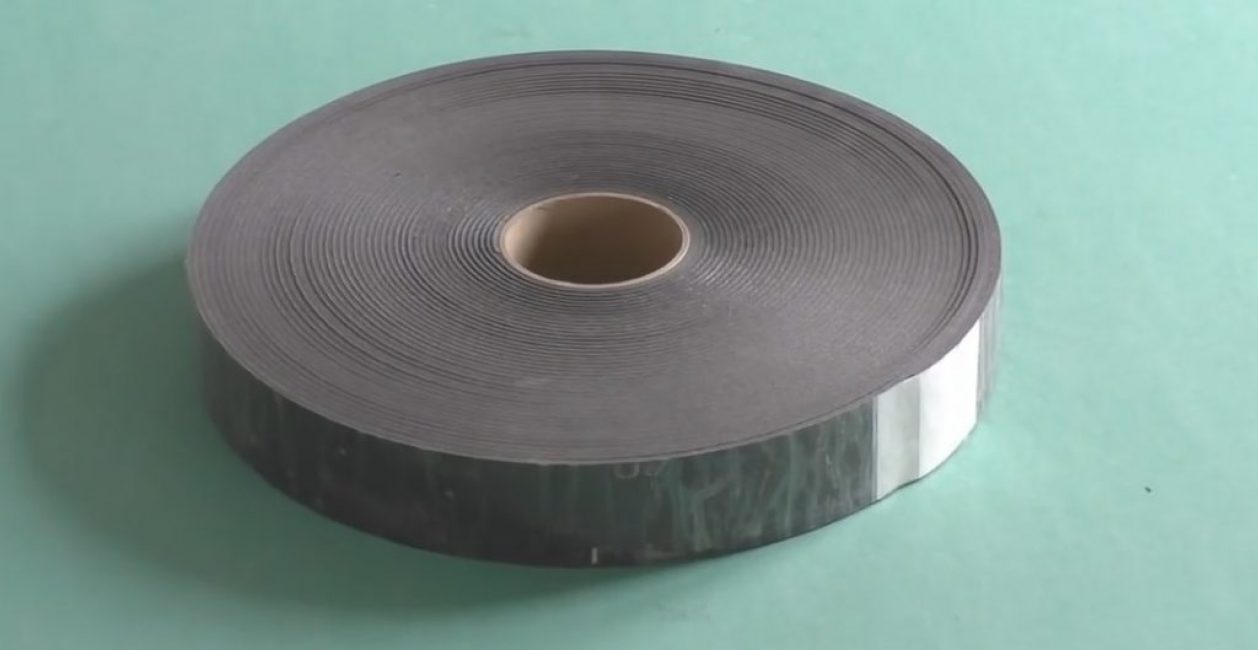
Noise insulation tape
Fasteners: dowel-nails 6x40, self-tapping screws 2.5 and 4.5 cm.
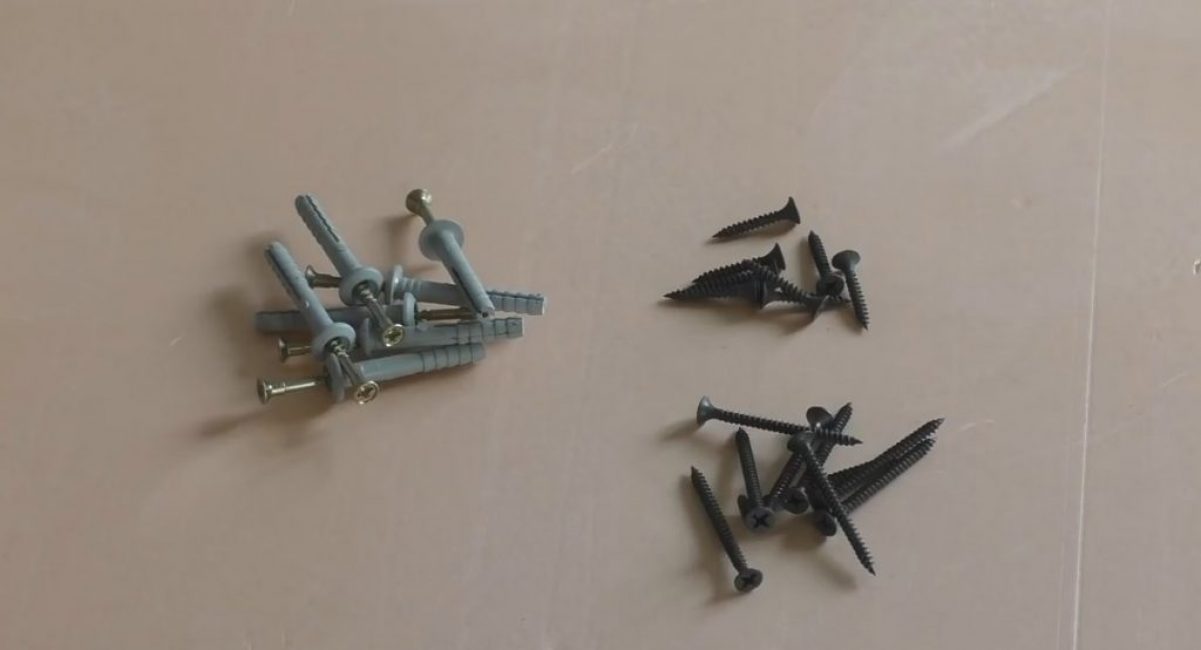
Screws with a dowel and self-tapping screws for drywall in two sizes
Mineral wool is suitable as a soundproofing of partitions.

Rock wool roll
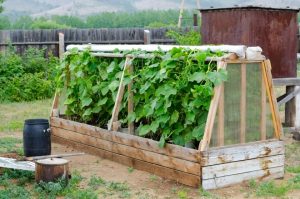 Read also: How to make a greenhouse with your own hands: for seedlings, cucumbers, tomatoes, peppers and other plants. From polycarbonate, window frames, plastic pipes (75 Photos & Videos) + Reviews
 Stages of installation of a T-shaped partition from GVL
Conventionally, installation can be divided into several main stages: marking, frame formation, wiring of electrical and other communications, sound insulation, installation of GVL and its putty. However, in the work, some stages are closely intertwined, and besides, when the partition is made of a complex shape, then the walls are made sequentially.
Therefore, it would be more rational to compose a photo instruction as it is carried out at the facilities.
Step 1 - marking
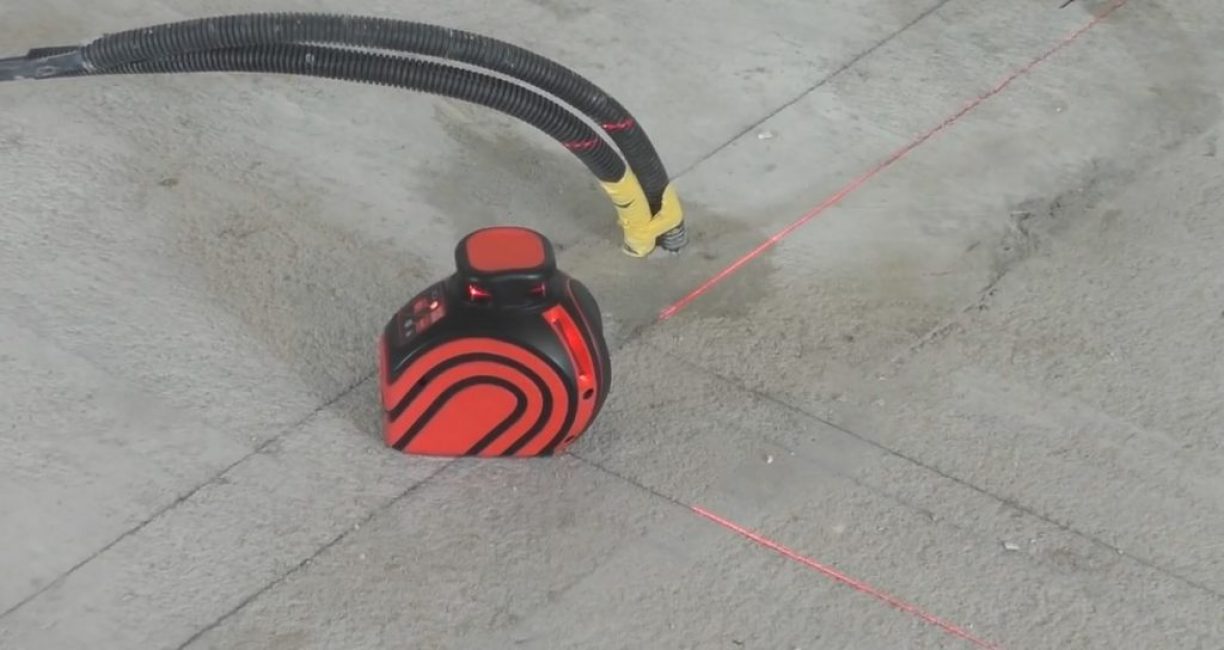
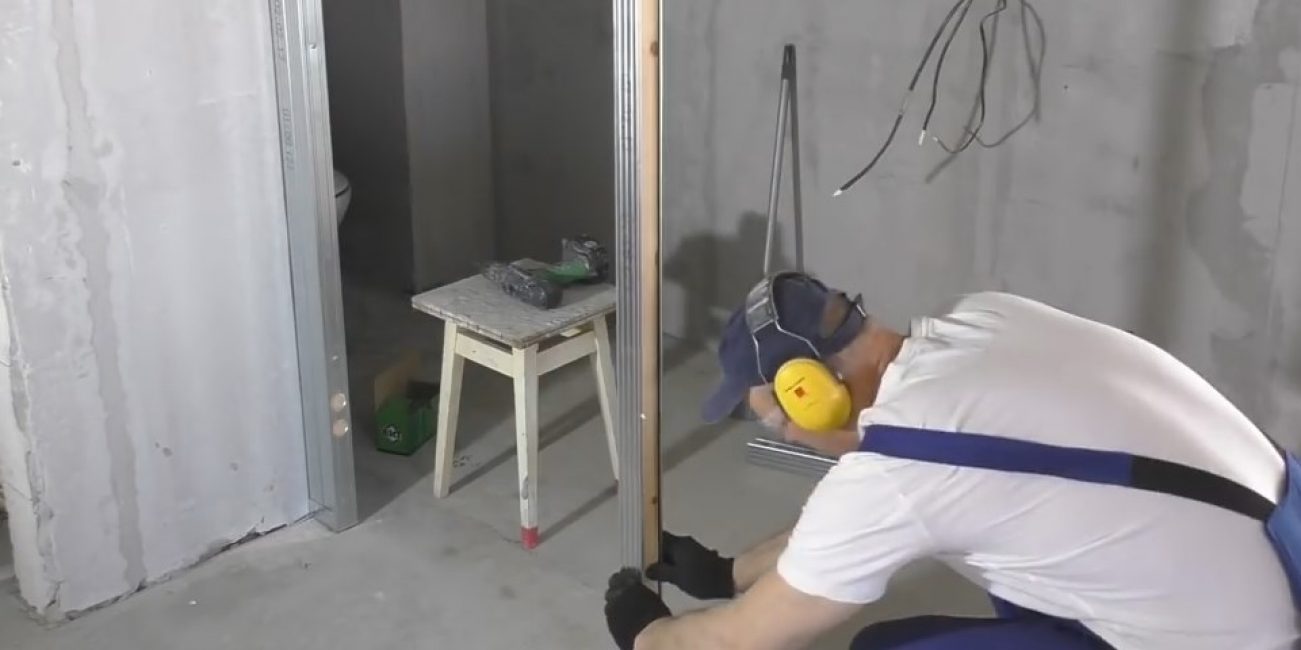
In accordance with the project, we expose the level and fix the markings on the floor. As well as possible, a laser level that works with several planes will come in handy here.
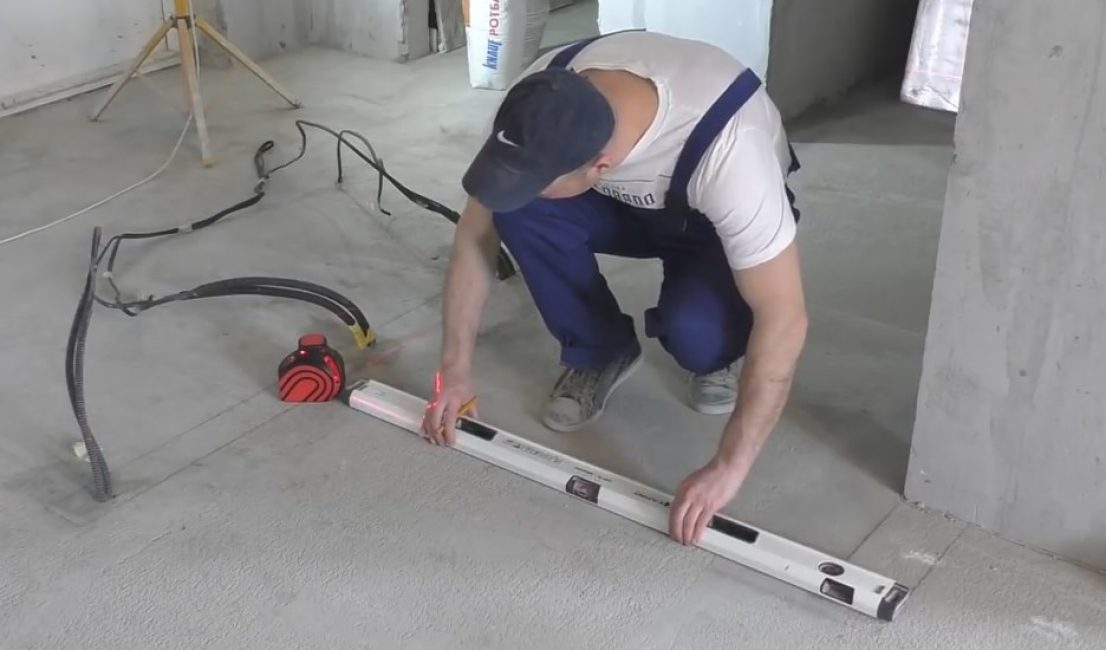
A level or rule will come in handy to make markings with a pencil.
Duplicate the markup on the ceiling. It is easy to beat off with a lace with chalk.
Chalk is better to use color - it is better visible
The docking points of the partitions can be marked with a pencil by hand.
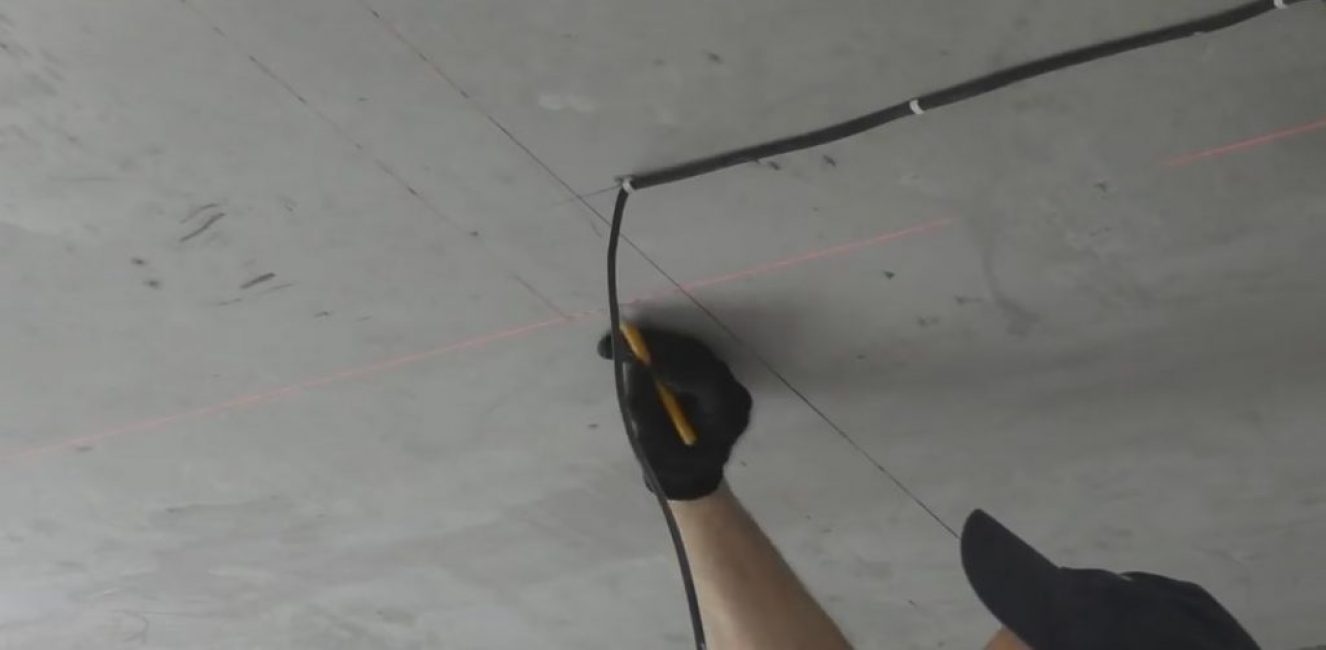
Usually such places are marked with a dotted line.
Step 2 - preparing the profile for work
Profile marking along the length
In place, applying the profile to the markup, it is marked out. If there is, as in this case, communications mark them out too.
You can cut the profile with scissors for metal.
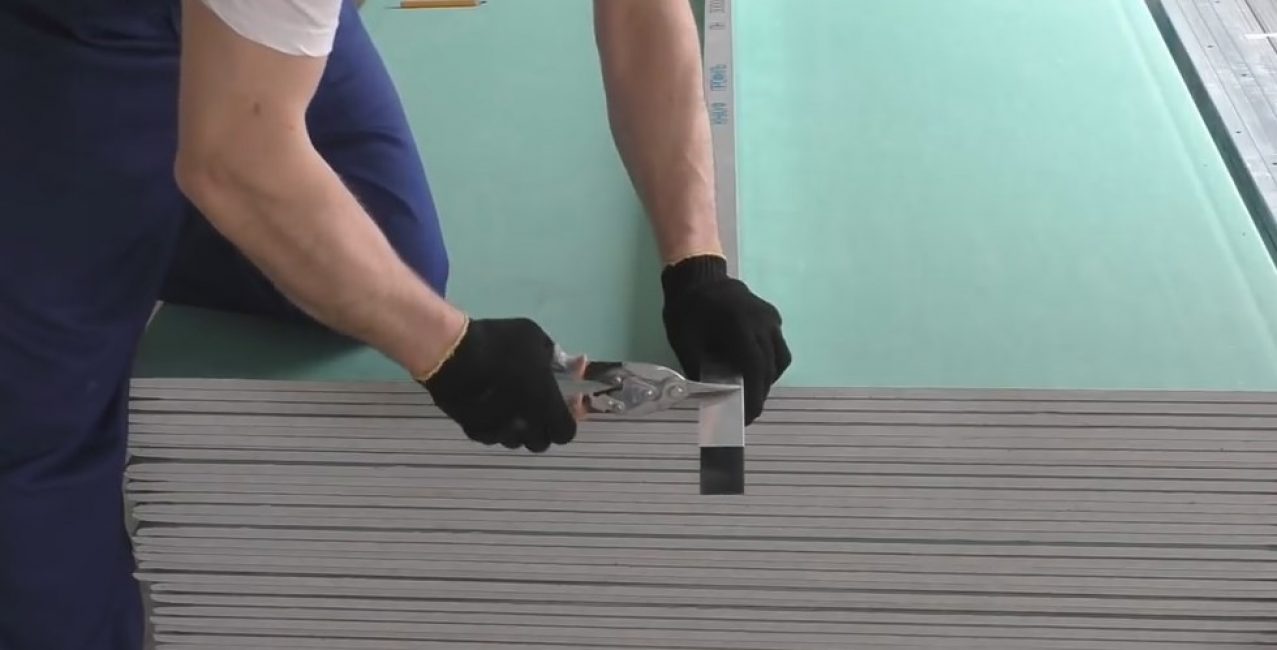
Scissors do a good job with a metal profile for GVL
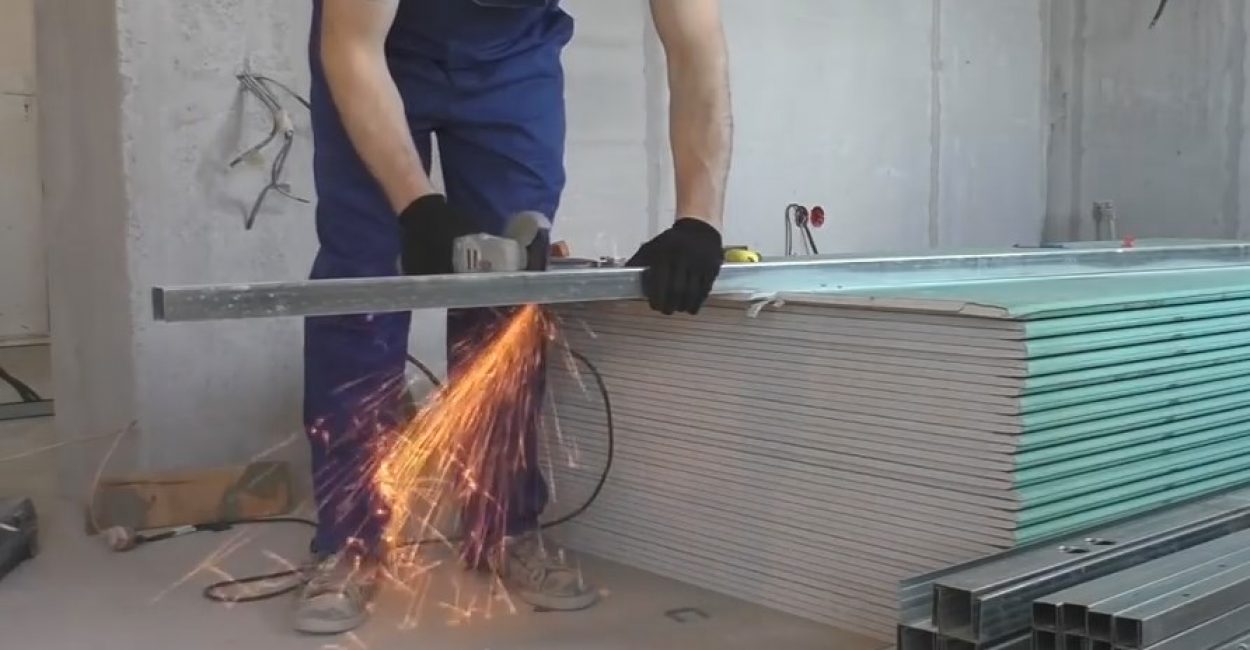
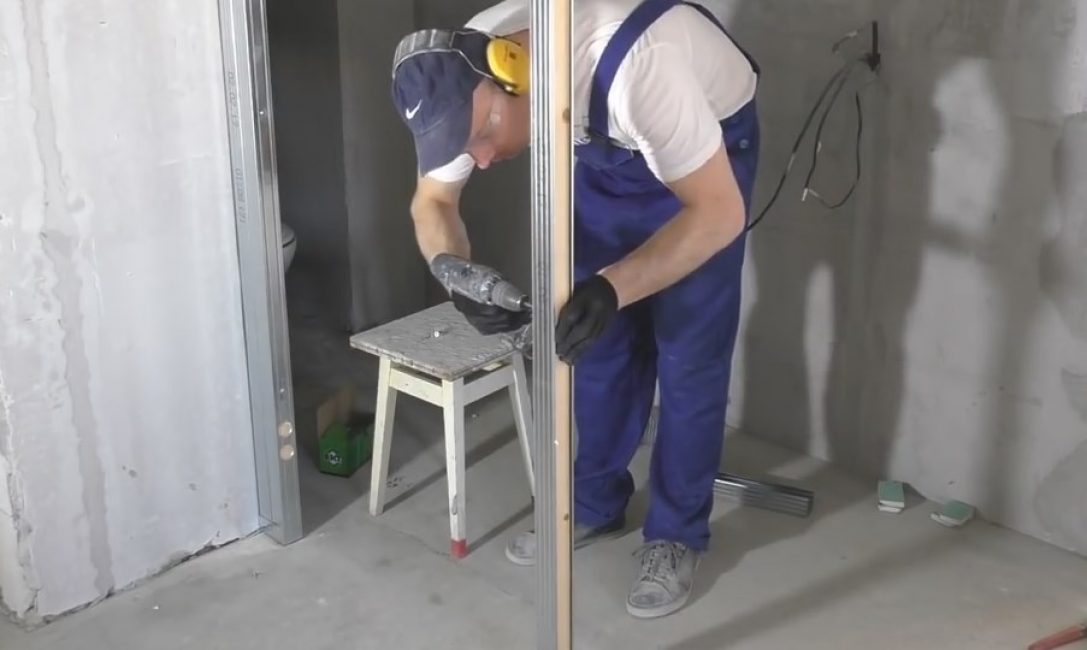
However, you can use angle grinder, - it works much faster and easier. When using this tool, do not forget to use personal safety equipment: glasses, gloves and ear plugs (headphones).
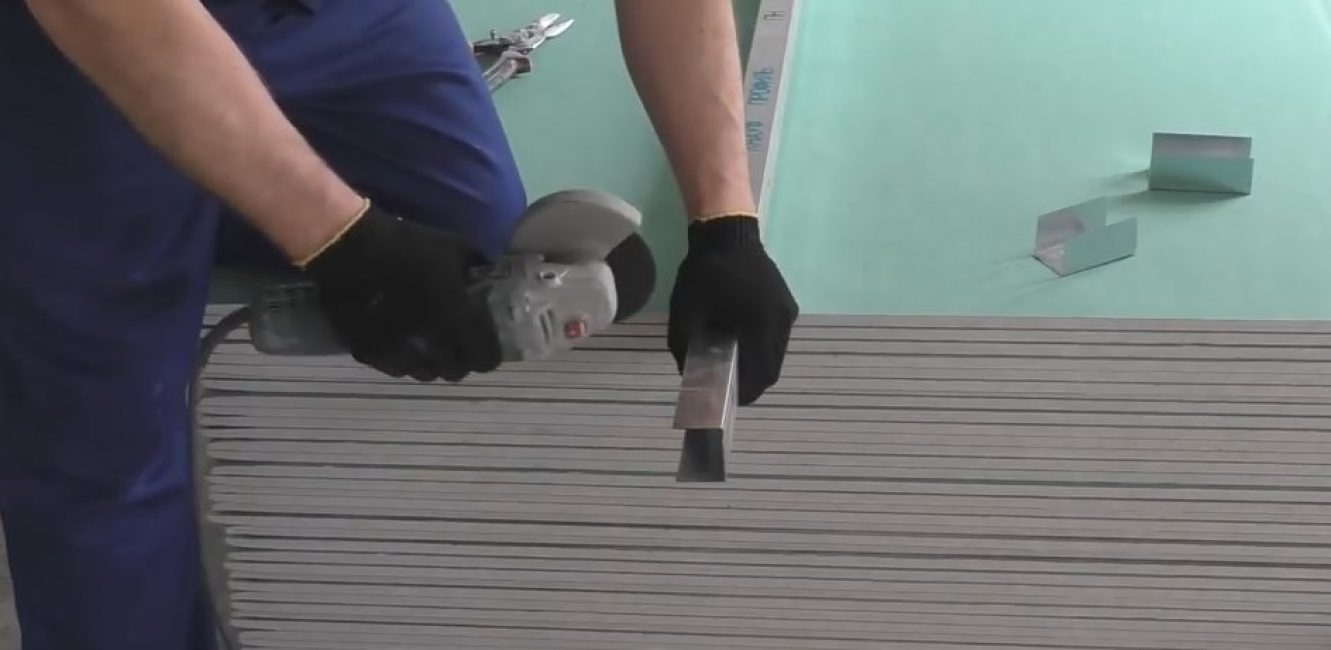
Cut profile to length
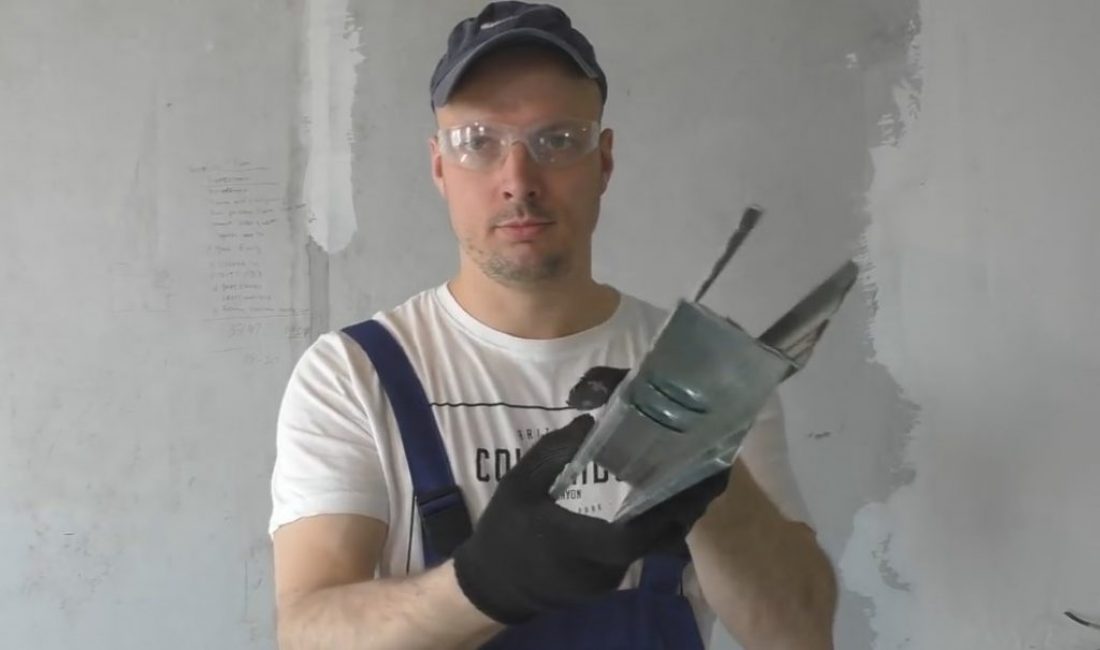
Do not forget to select holes for electrical wiring.
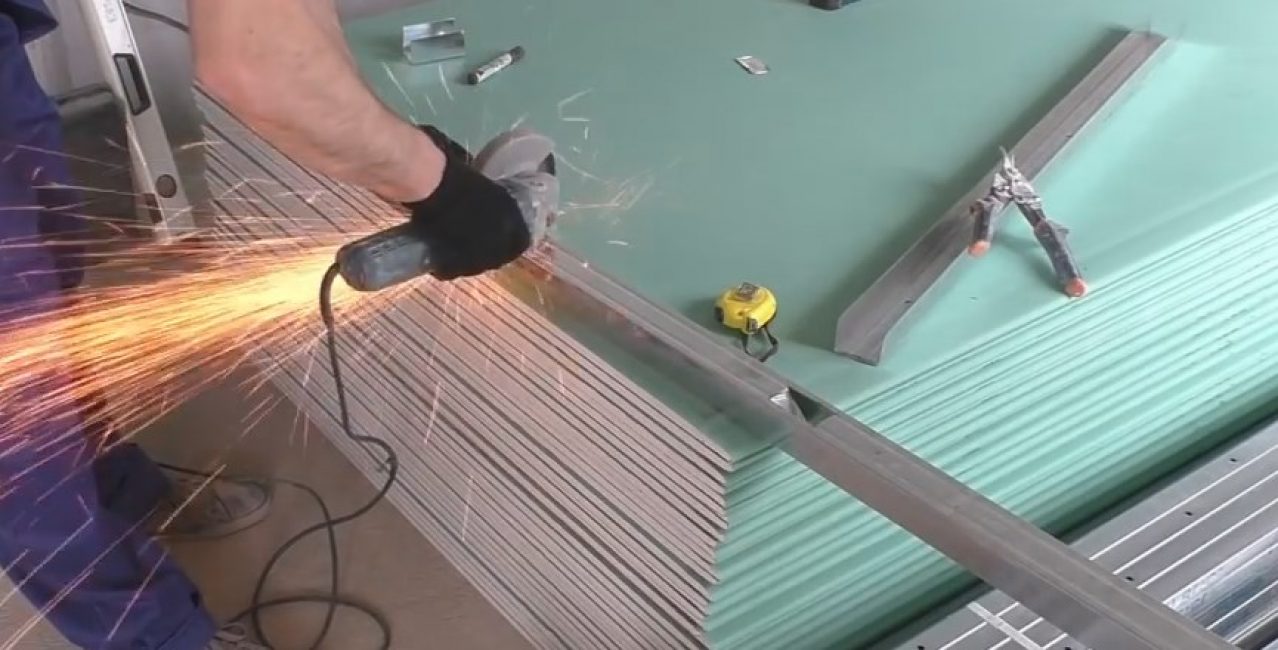
Two transverse and two longitudinal cuts
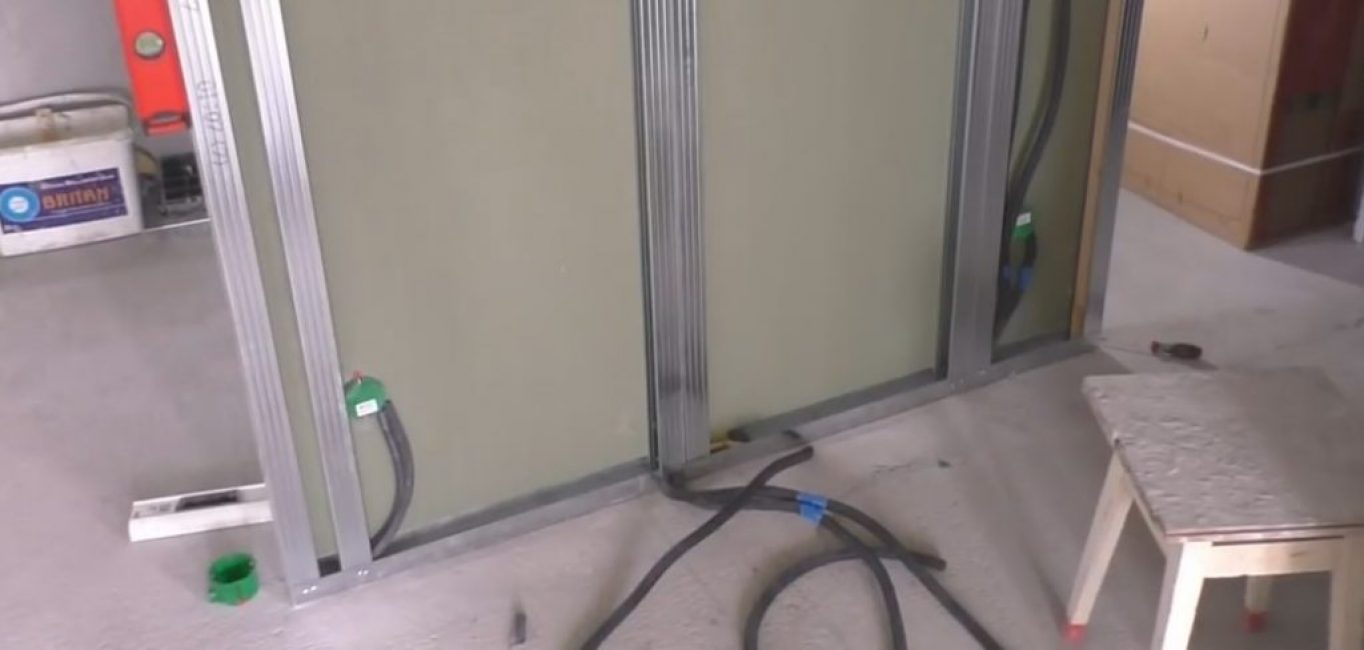
After the profile is cut and the holes for communications are formed, an insulating tape is attached to the base of the profile.
You just need to press it to the base
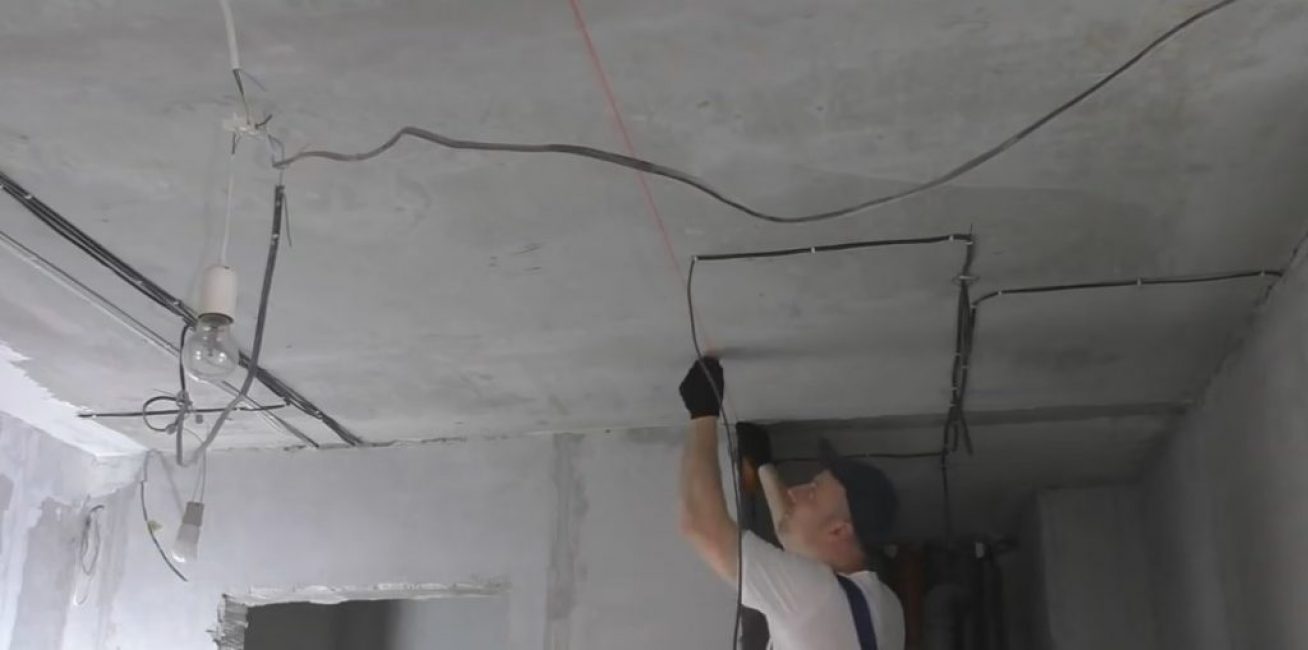
Before starting installation, i.e. before you close the exit points of communications, they need to be photographed - it will definitely come in handy for further construction work.
Photographed in the “housing” archive
Step 3 - installation of the base for the partition (floor and ceiling)
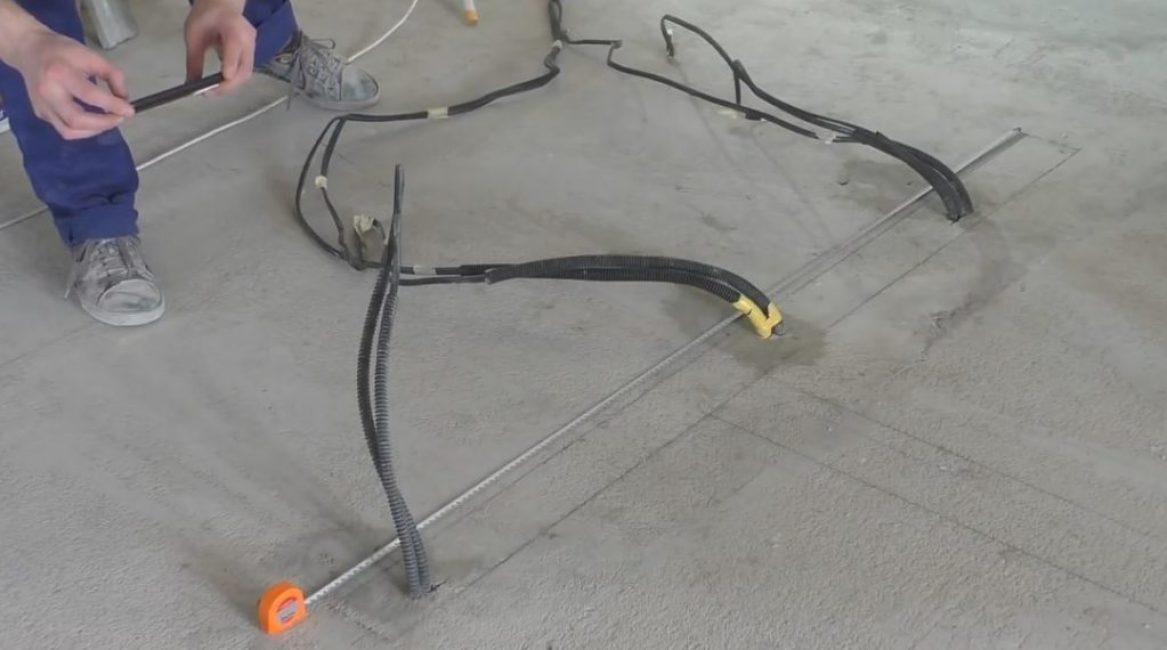
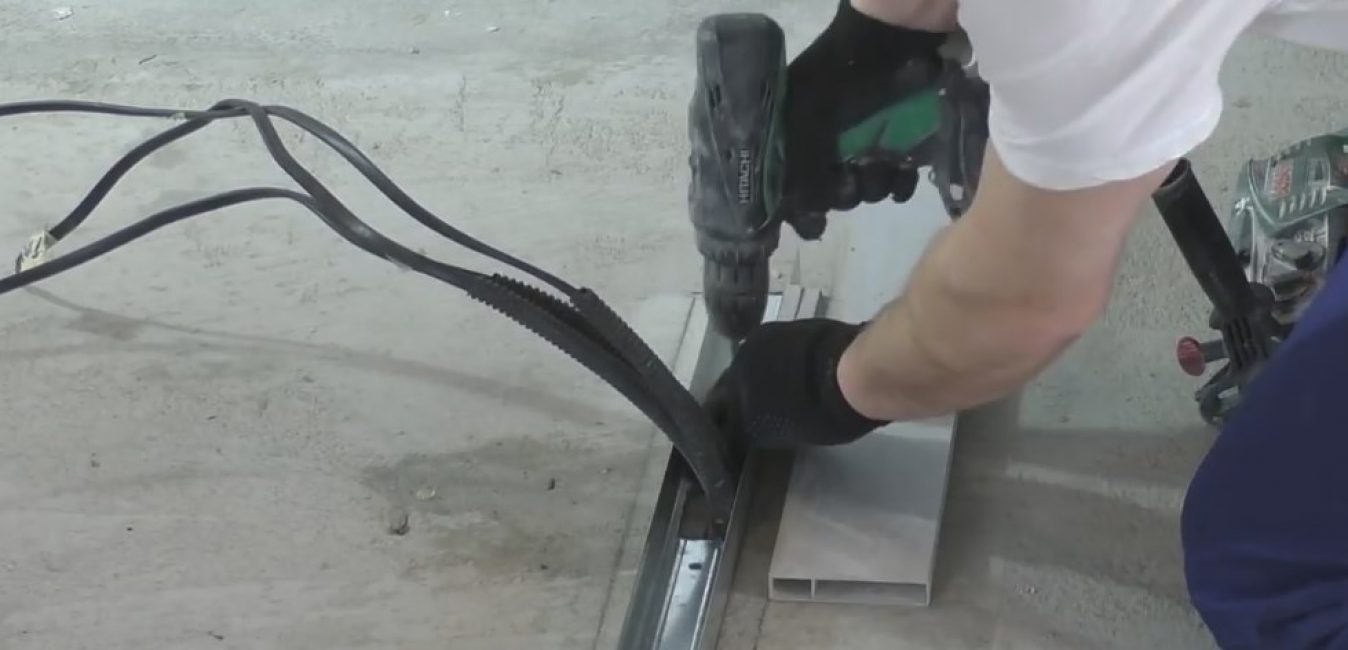
The wires are placed in the corrugation
We pass through the technical holes in the profile wiring.
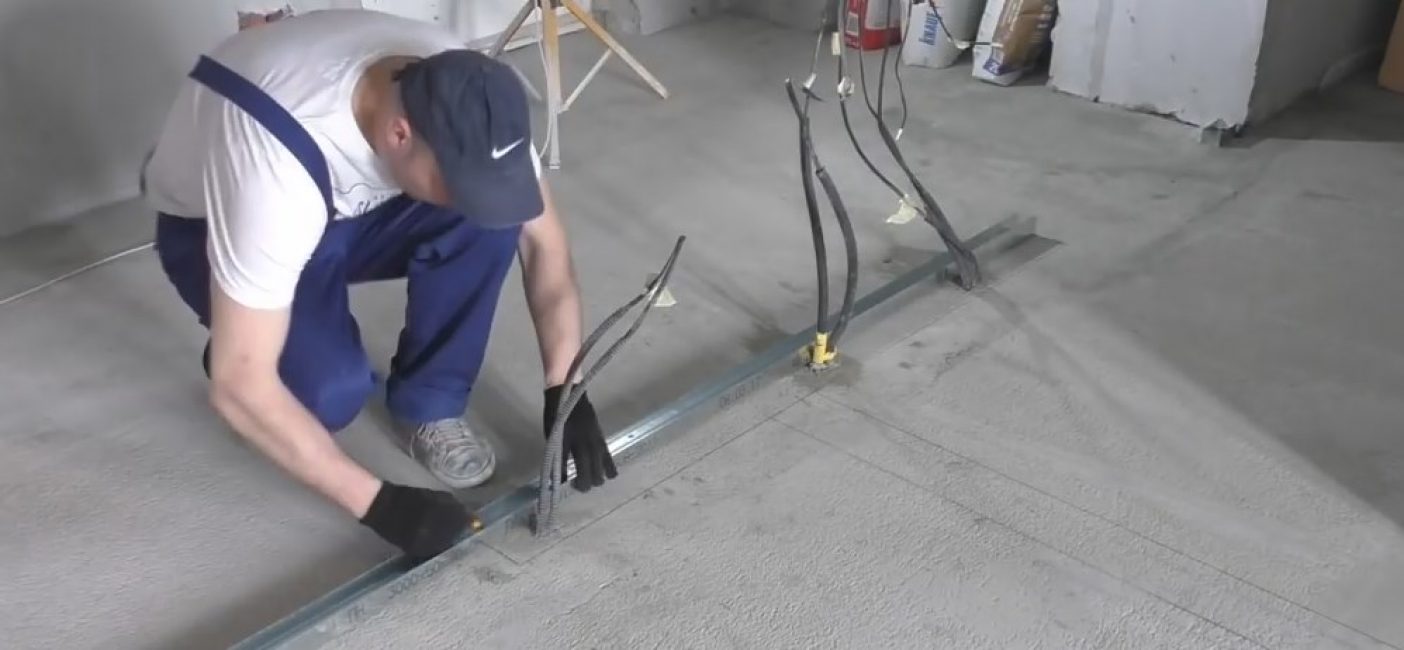
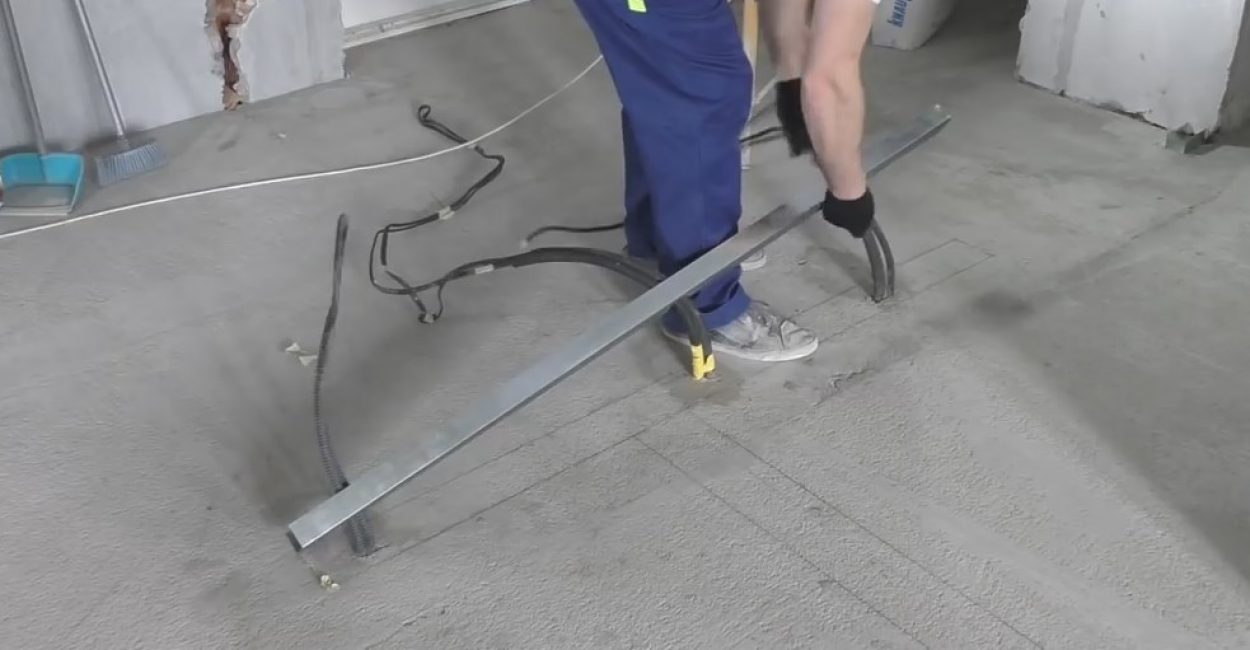
According to the markup, the profile is attached to the floor. The thickness of the sewn GVL sheets is taken into account. We drill a hole and fasten with dowel-nails.
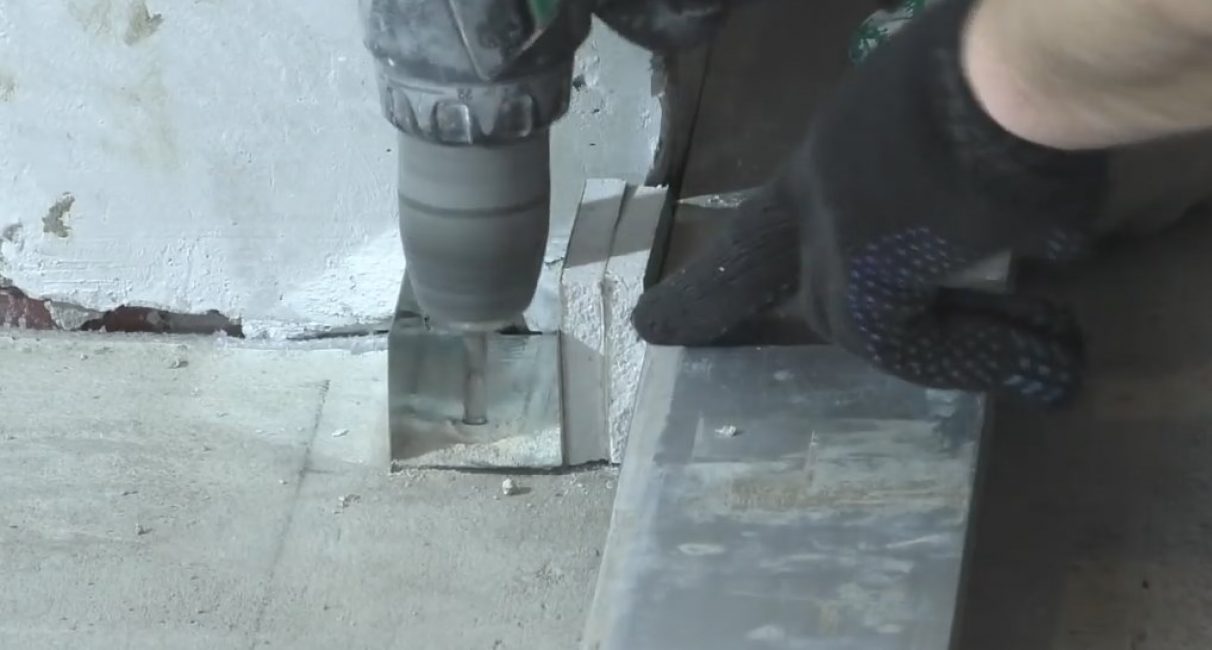
To keep the partition flush with the main wall
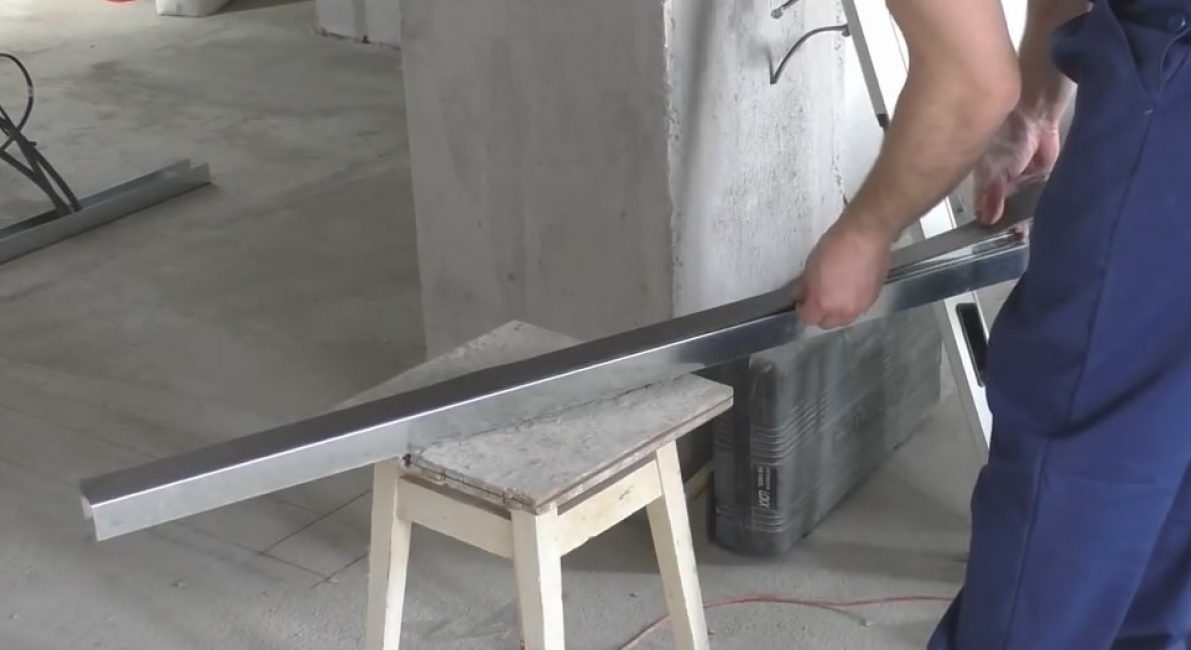
Profile sections before and after the doorway must be consistent. This is easy to do with a long building level or rule. Do not forget to put two segments of GVL between the profile and the rule.
Strictly according to the markup, so that it is flush
On the ceiling we fix a section of the profile along the entire length of the partition. You don't need to take into account the doorway.
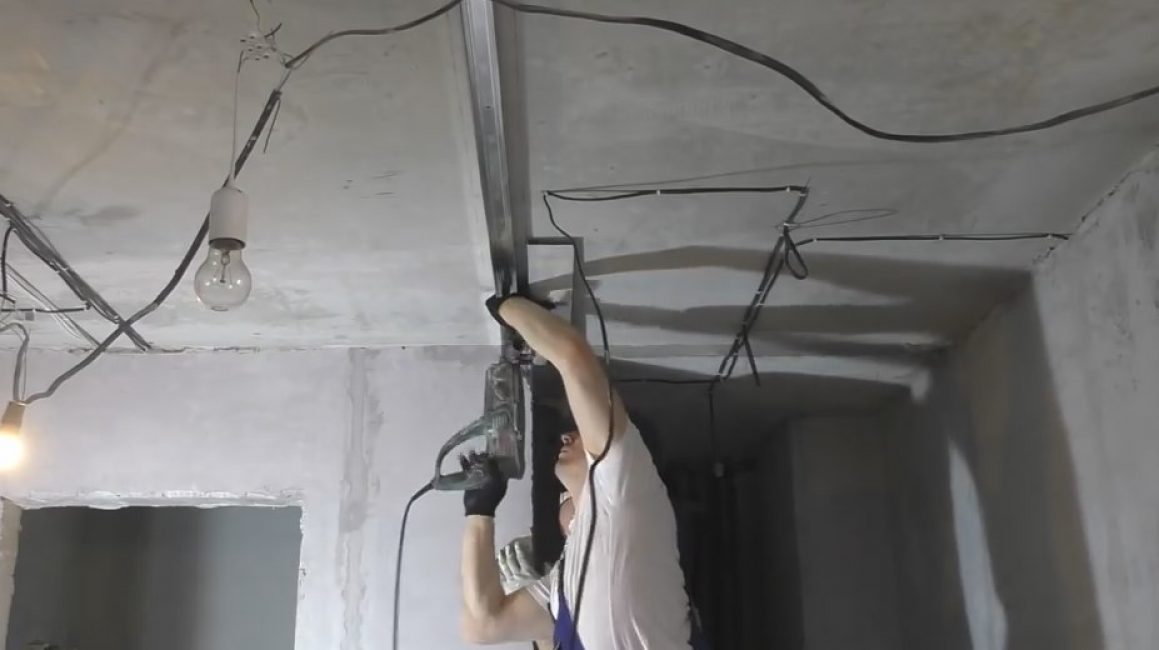
Along the entire length of the barrier
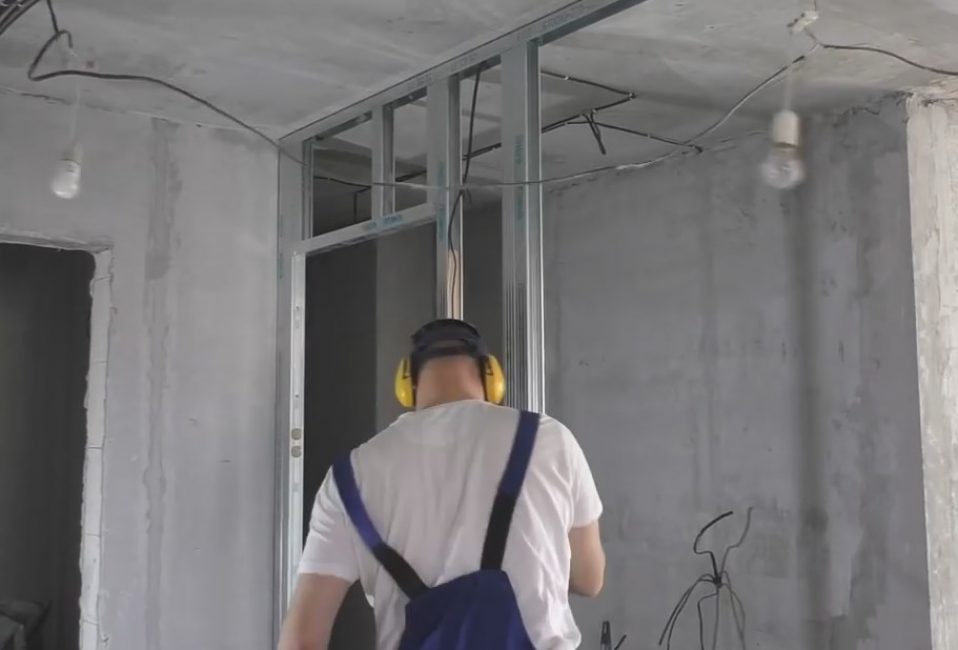
Step 4 - preparing and fixing the uprights

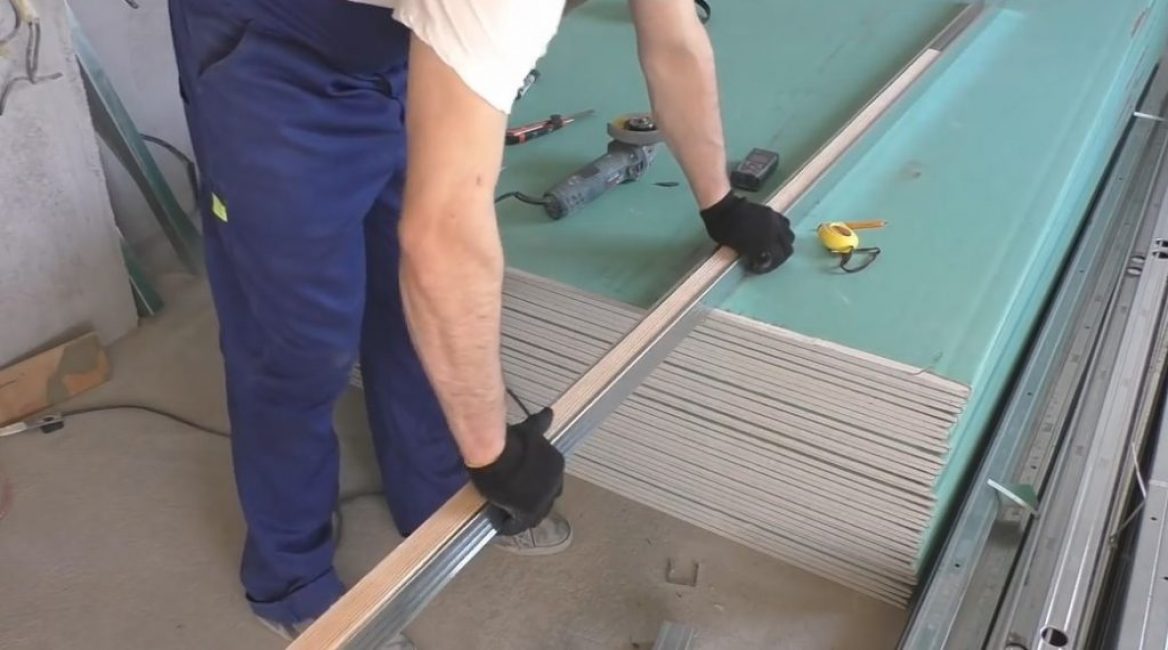
We make the marking of vertical racks
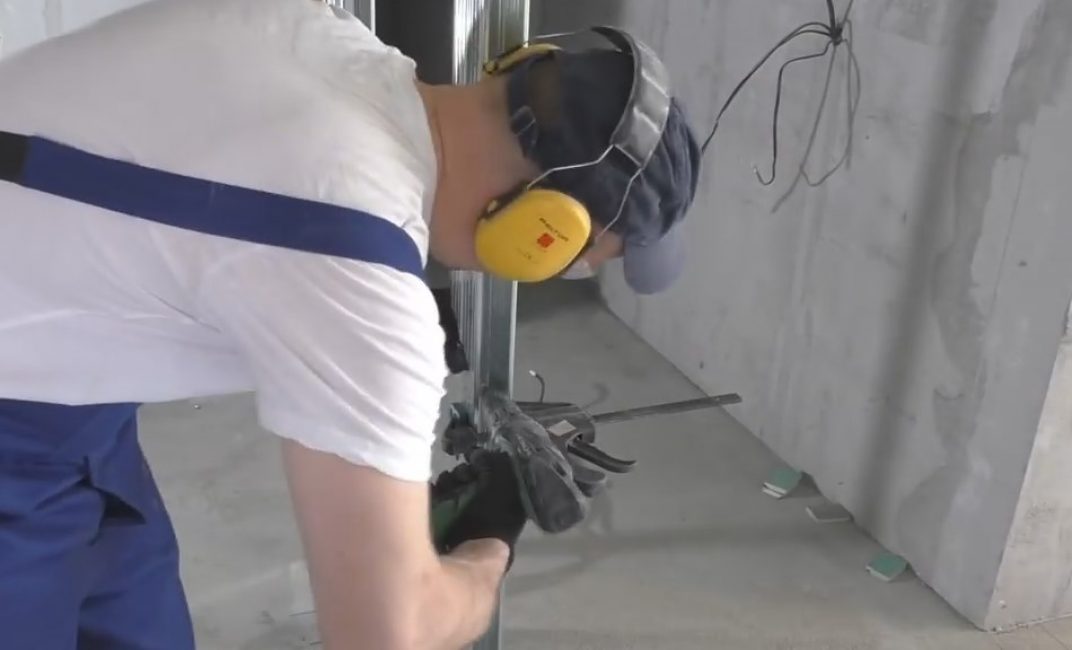
We measure the height of the room. We measure the required size and make the markings of the vertical racks - the length is less than 1 cm.
We saw off with a grinder.
Bulgarian or scissors
We install the first rack, i.e. put it on the wall. We fix it with the help of a cutter to the ceiling and floor profile.

cutter
The cutter works like tongs. The connection is reliable.
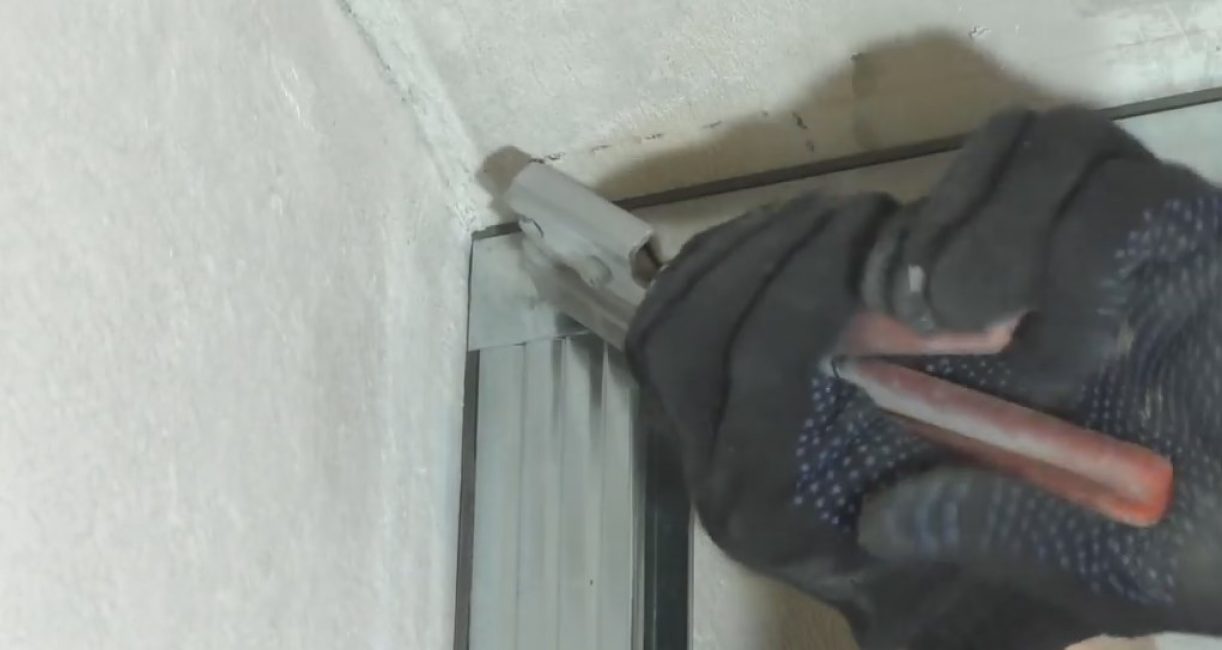
The cutter at work
Step 5 - strengthening the doorway
For reinforcement, a wooden block is inserted inside the profile.
Before installing the second rack, which is also a door rack, it needs to be strengthened. This is done using a wooden block, which is inserted inside the profile.
Installing the second jamb-stand of the doorway
We fix the third rack with the help of a cutter. This post is also the second frame of the doorway.
We twist several press washers
We fix the bar inside the profile with a press washer.
Profile reinforcements, - for the doorway
There is another way to strengthen the profile - to connect two profiles to each other.
Two pieces for reinforcement
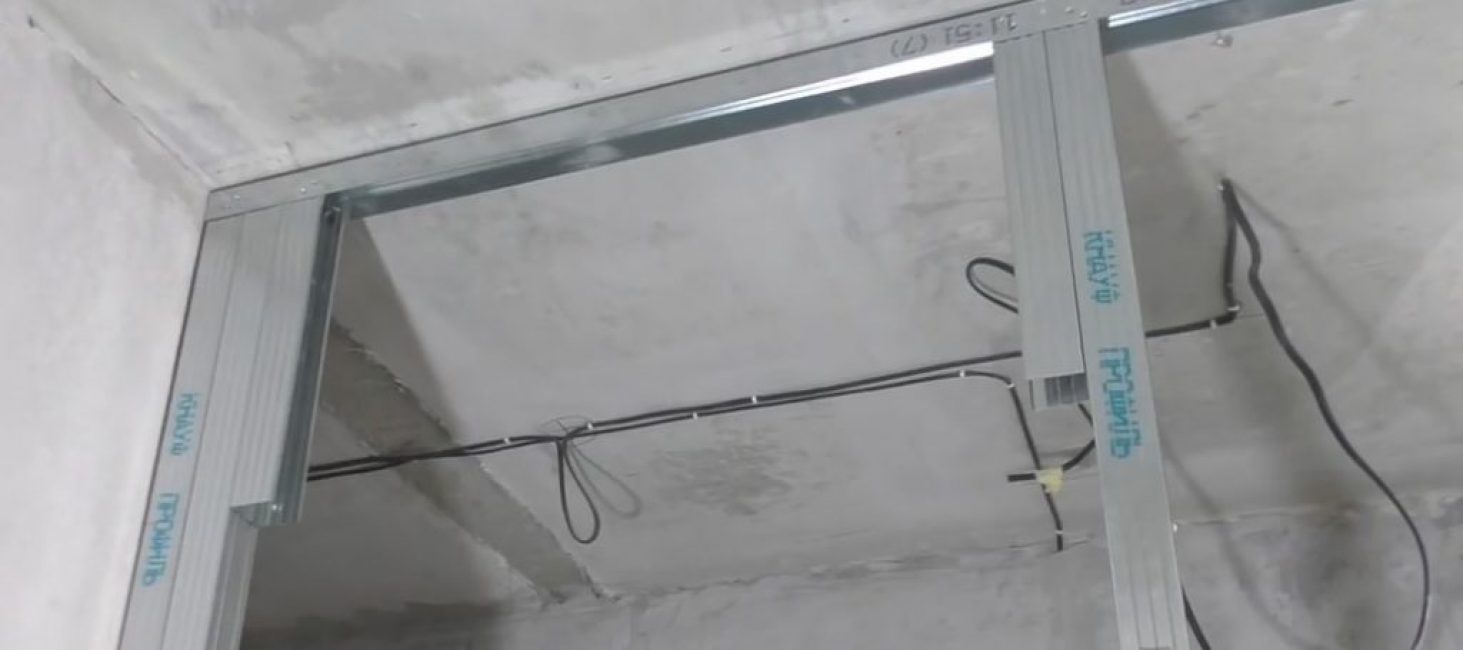
We form the design of the top of the doorway, shown in the photo below.
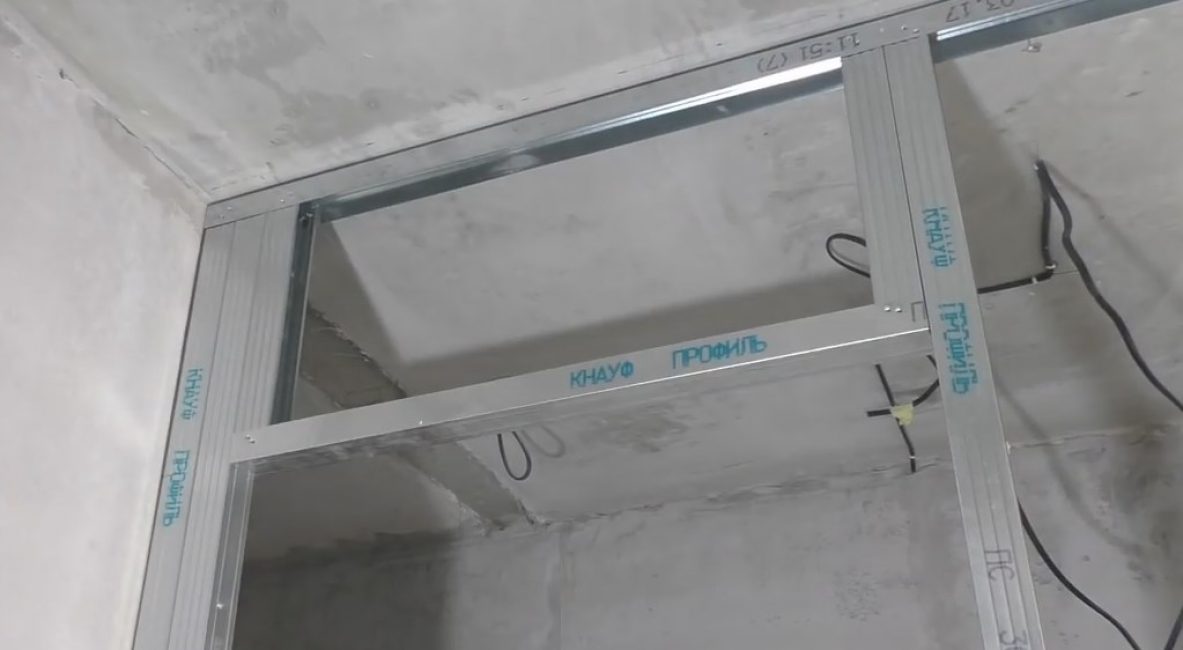
crossbar
The width of the doorway is 90-100 cm, so you will need to add an intermediate upper rack from above, 60 cm from the beginning.
Reinforcing the crossbar or maintaining a step of 60cm
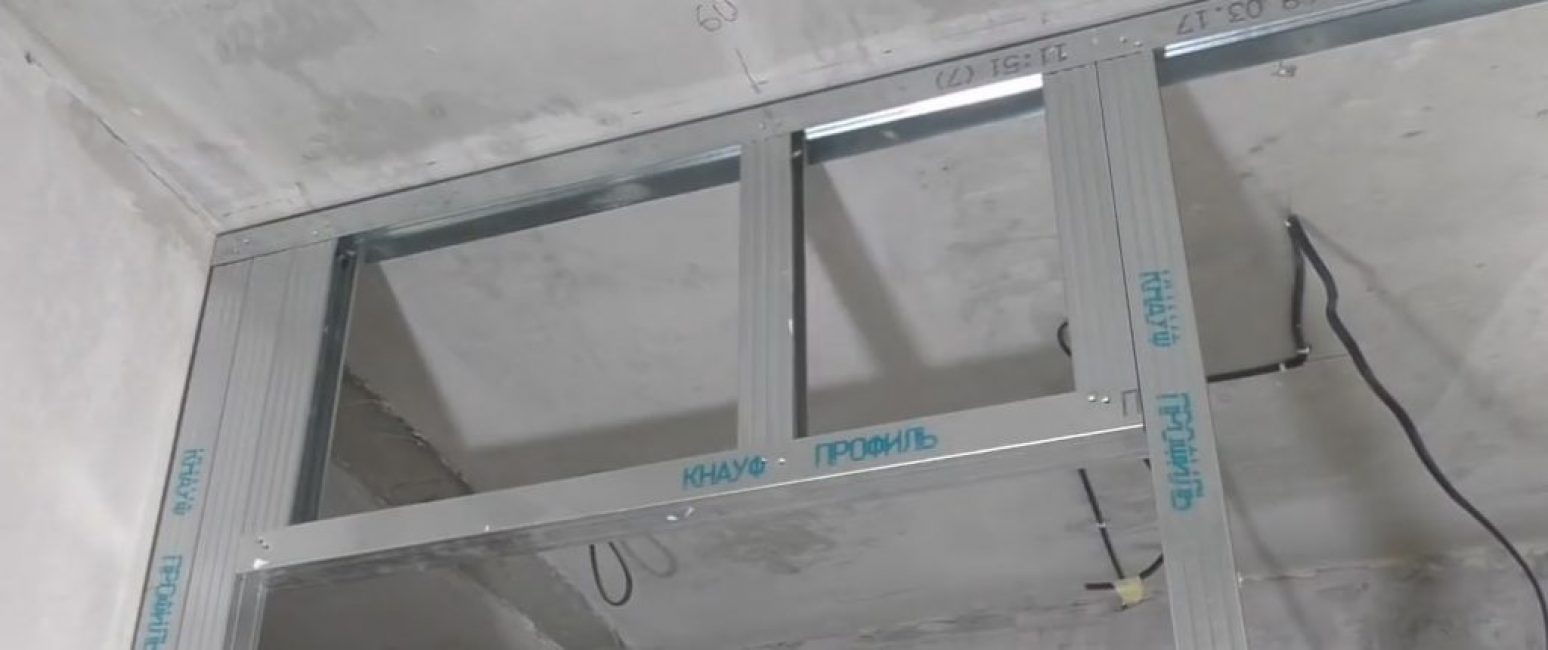
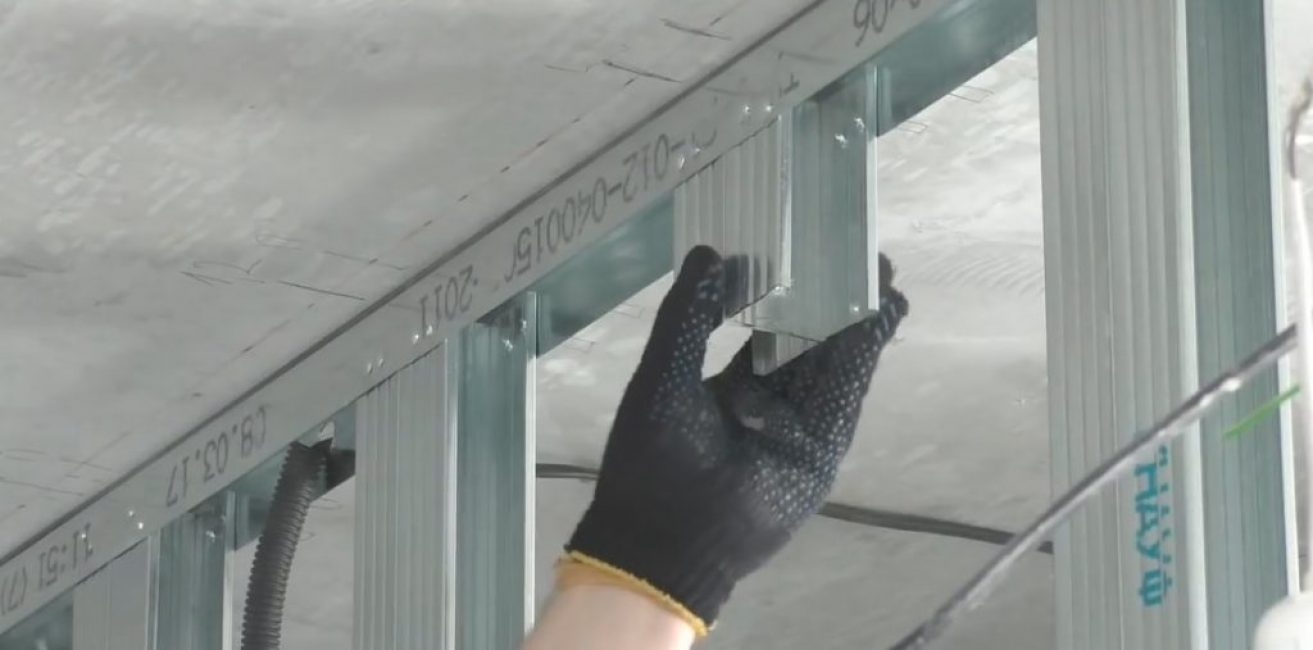
Step 6 - Forming Reinforced Uprights
Reinforced profiles are fastened with a press washer
After the doorway, we install vertical racks in accordance with the markings, i.e. after 60 cm. The door pillar is not taken into account. The rack is made of two profiles fastened with a press washer.

Installation of the first rack profile
The order of formation of reinforced racks is shown in the photo below.
Installation of the second profile for the rack and fixing both profiles with each other on the press washer
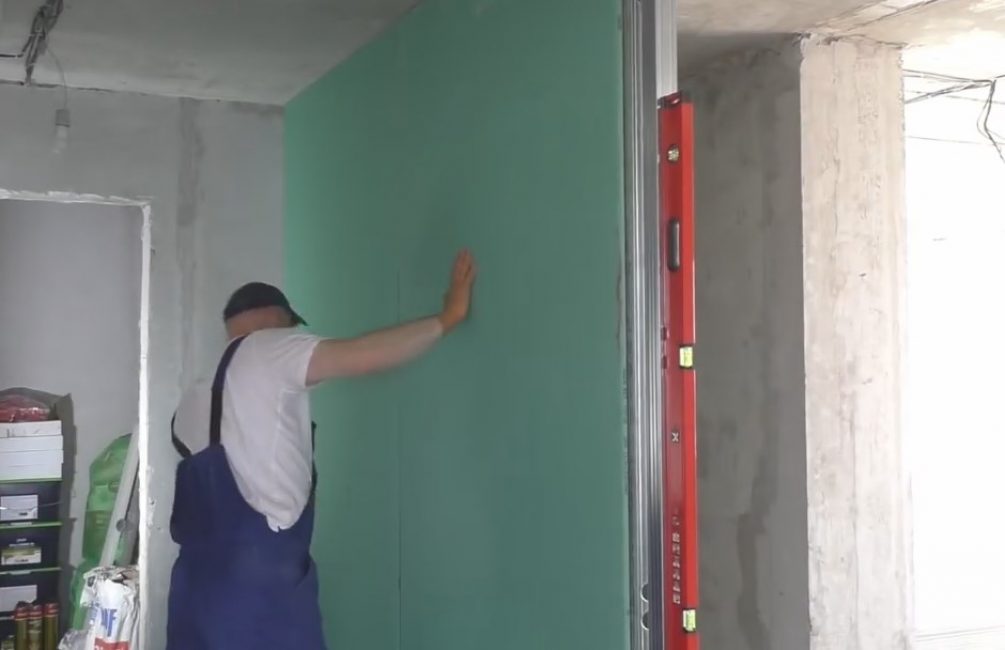
We expose the last profile of the partition. We check the vertical on the building level.

Strictly vertical
For those who plan to install stretch ceilings in the future, it is recommended to form such elements between the vertical racks as in the photo below.
In each opening, for attaching a stretch ceiling profile
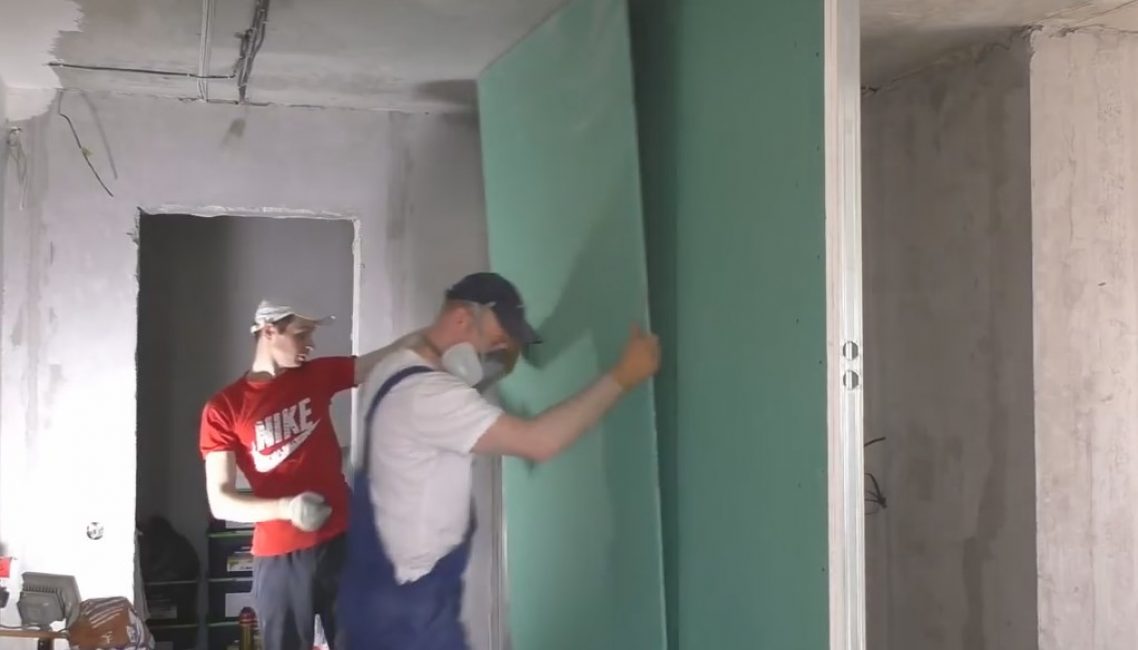
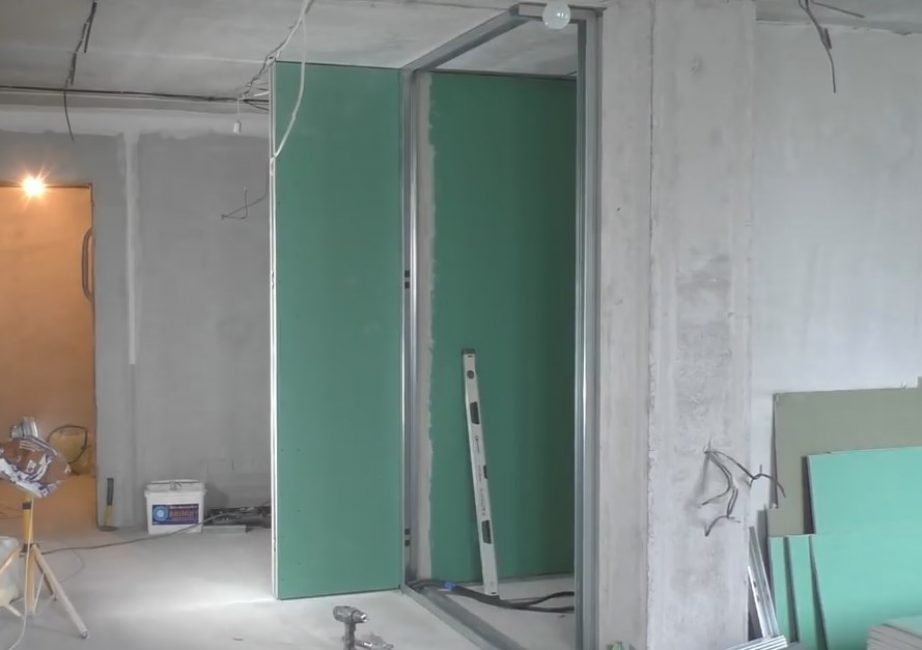
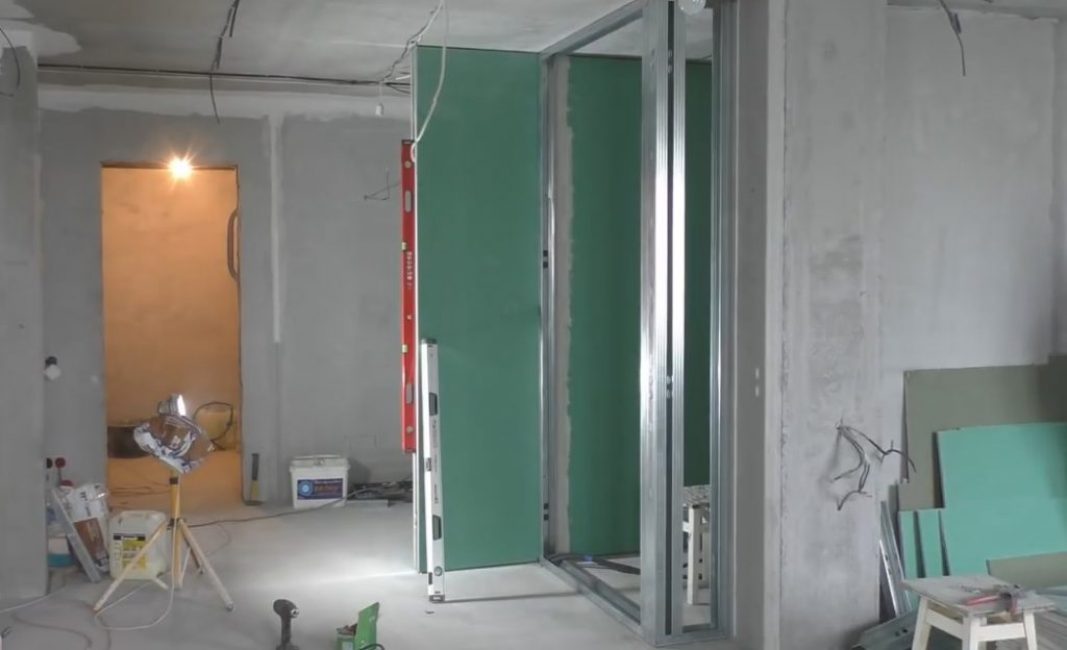
Step 7 - sew up one side of the partition with drywall
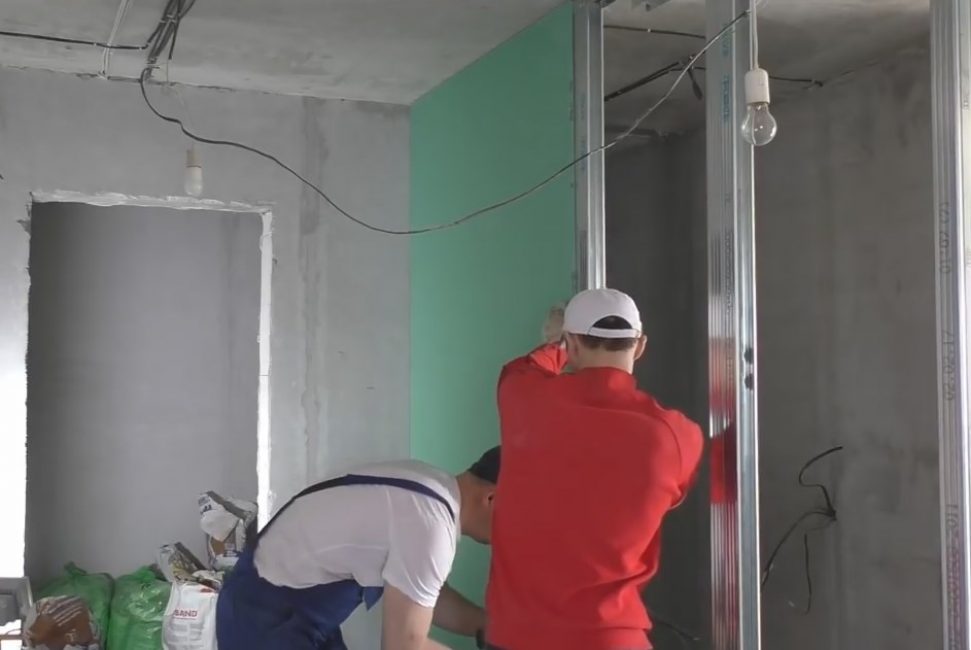
Close the door completely
Each side of the partition is sutured with two layers of GVL.
We start from one side, from the doorway. We will cut through the door in place - it's easier that way.
From below, you need to form a gap of about 1 cm. To do this, just put a piece of GVL.
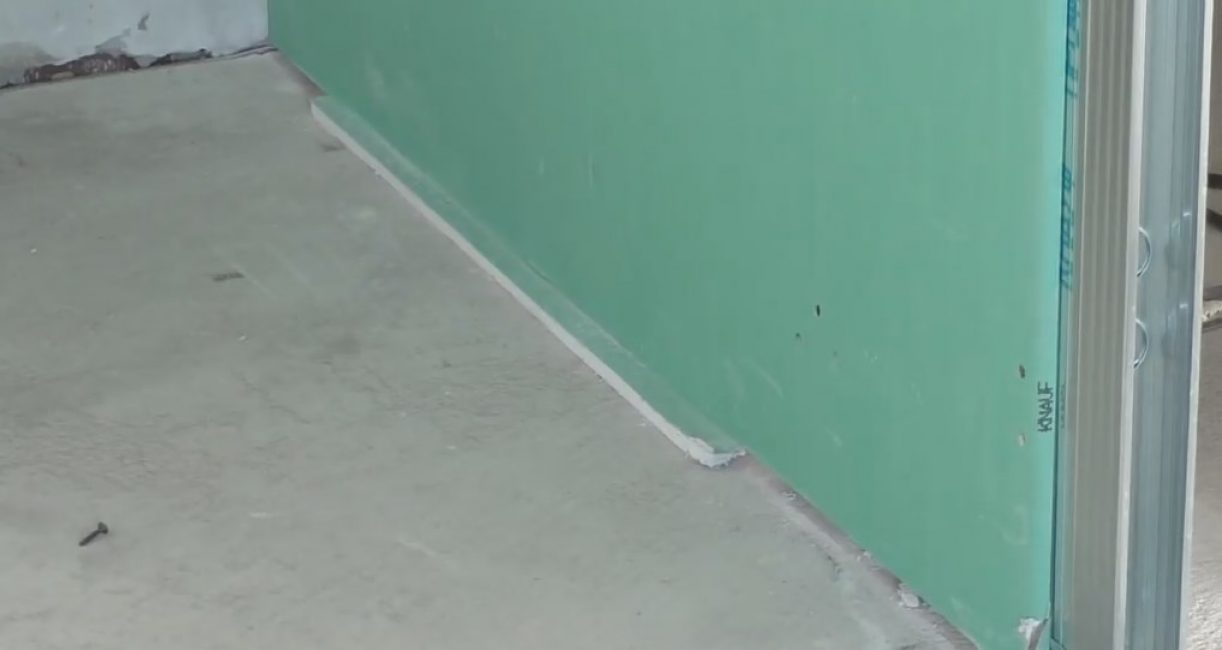
Put a piece of unnecessary drywall
From above we leave a gap of about 3-5 mm.
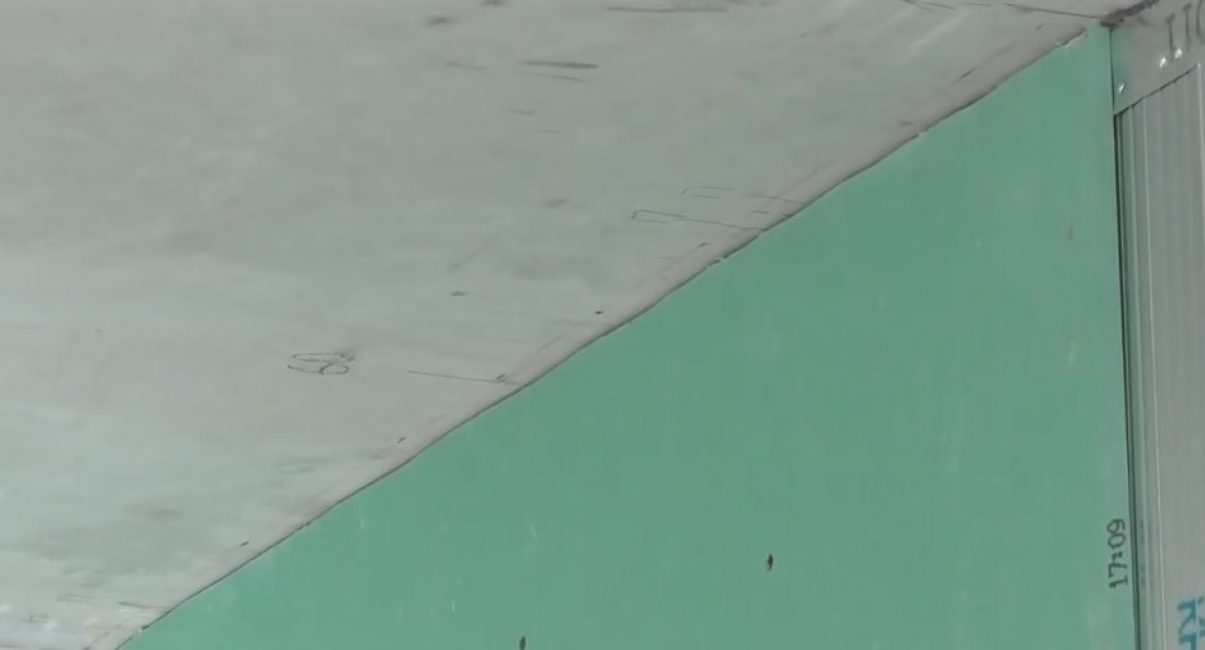
ceiling gap
We sew the second sheet of GVL.
Don't forget gaps
After the first layer of the partition is ready, we seal the seams with putty.
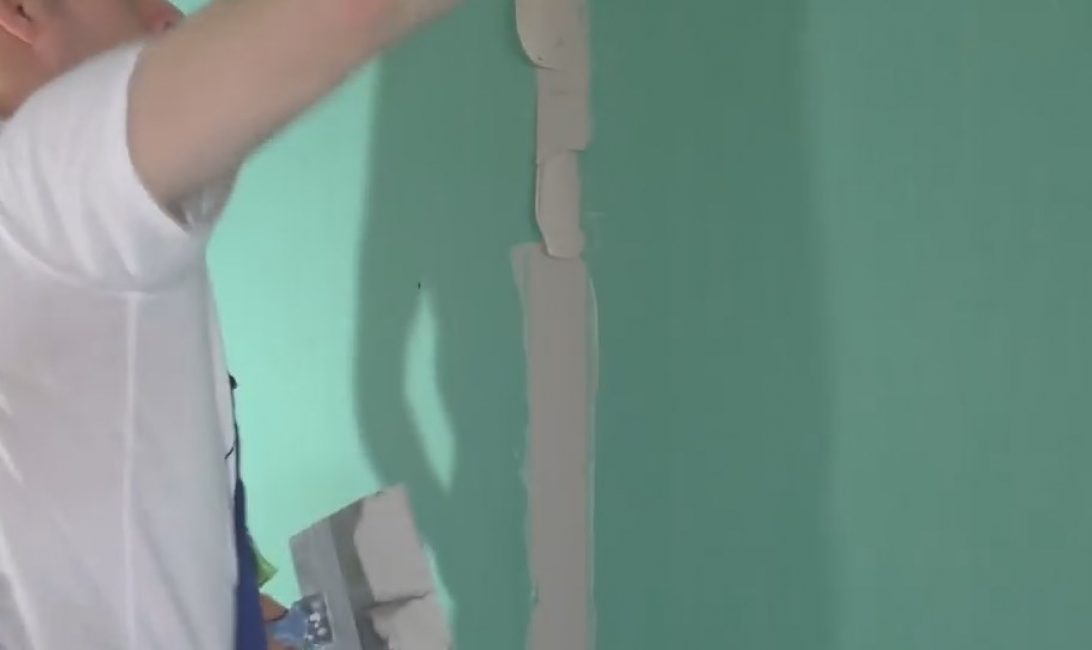
In our case, this is “Uniflort” from Knauf
On the other side, cut through the doorway with a knife.
We form a doorway in place
Delete the unwanted part.
Doorway ready
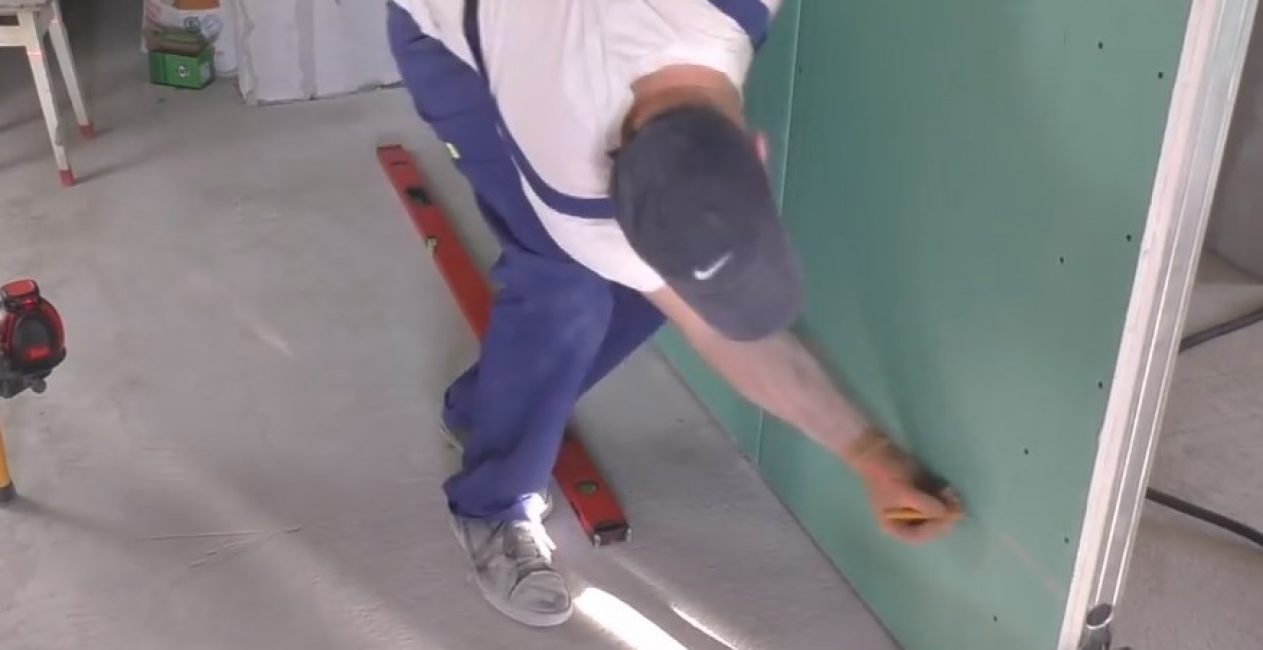
We process the edge of the partition with a planer for plasterboard.
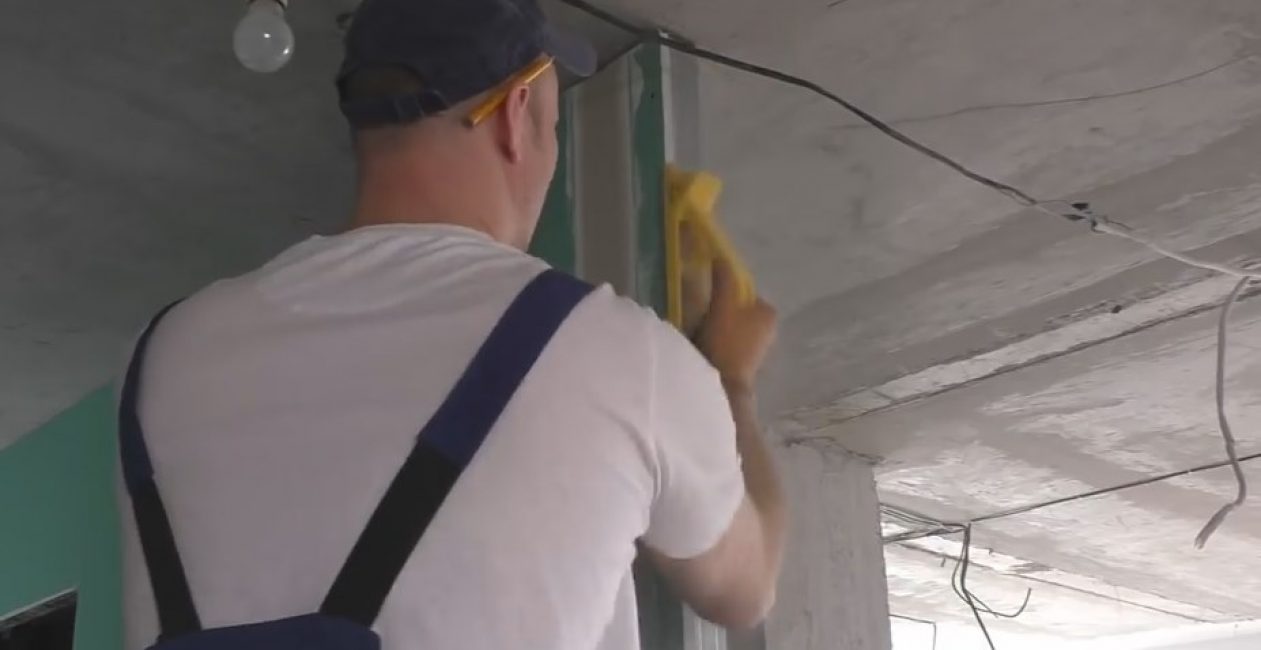
Planer does not create a lot of dust
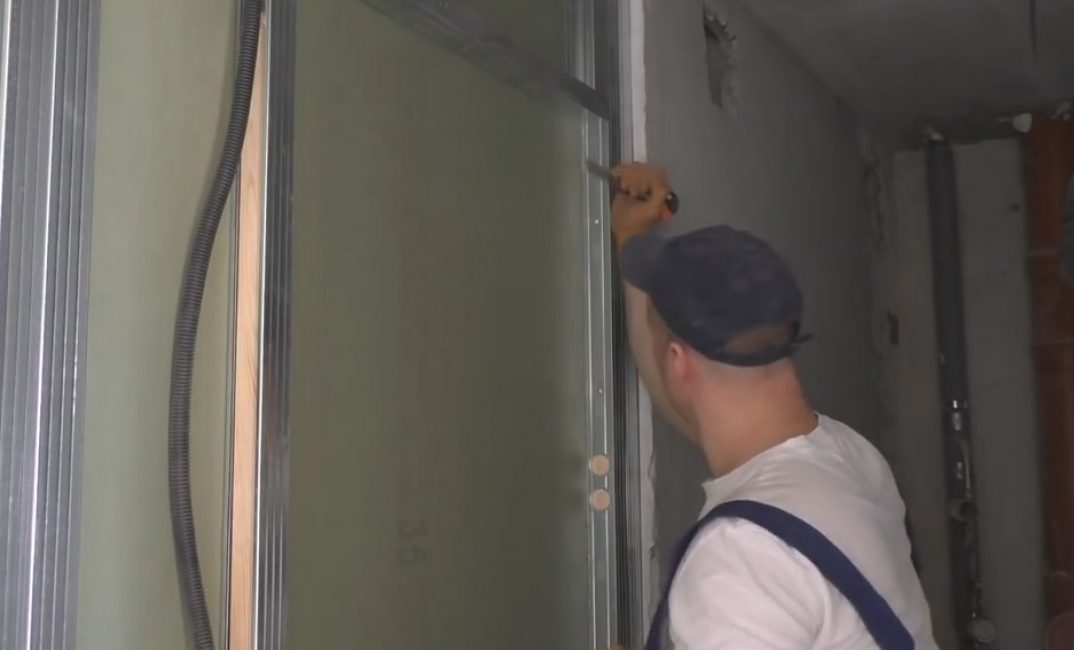
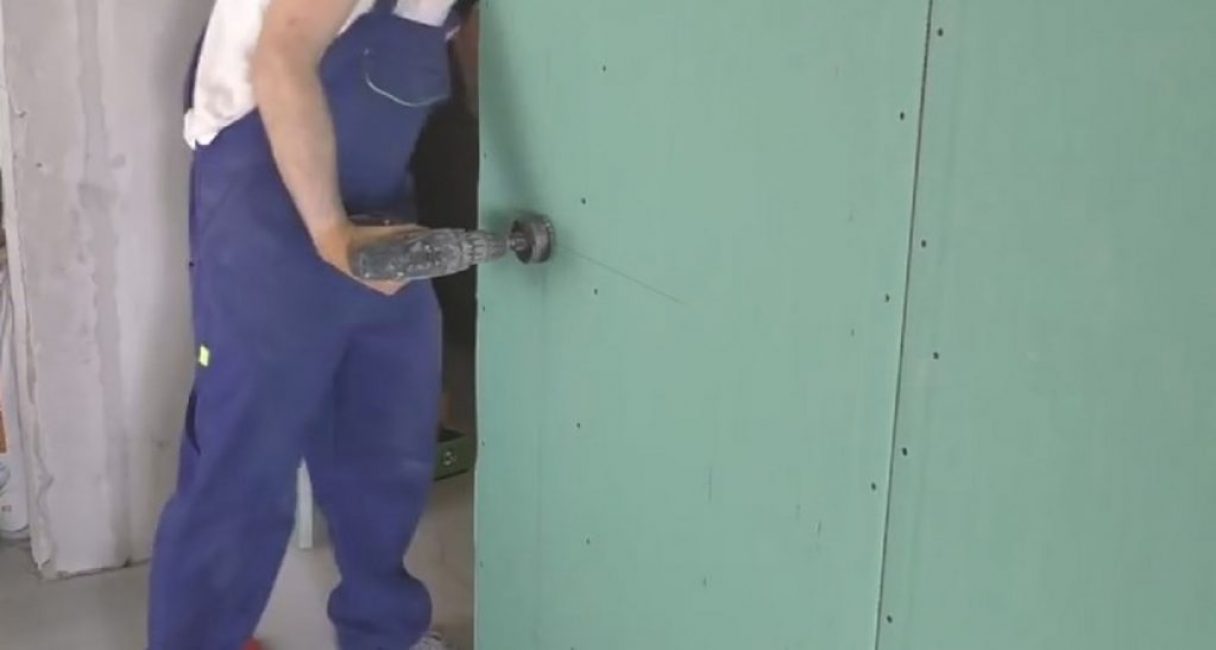
We form the second layer of GVL. The sheets are superimposed in a run, i.e. with an offset of 60 cm.
Run - 60 cm
We fix on the screws vertically.
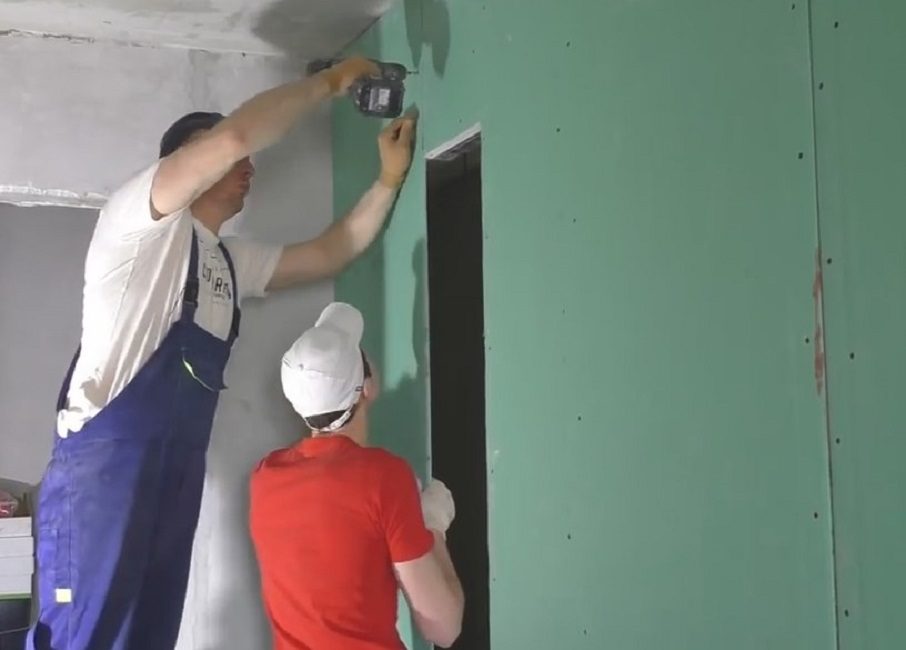
Self-tapping fastening
Step 8 - making the sockets
Making markings on one level
We mark the places under the sockets.
We cut holes under them with a crown.
Screwdriver and crown
We install the sockets and fix the wires. Electrical wiring must be in the corrugations.
We lay the wires
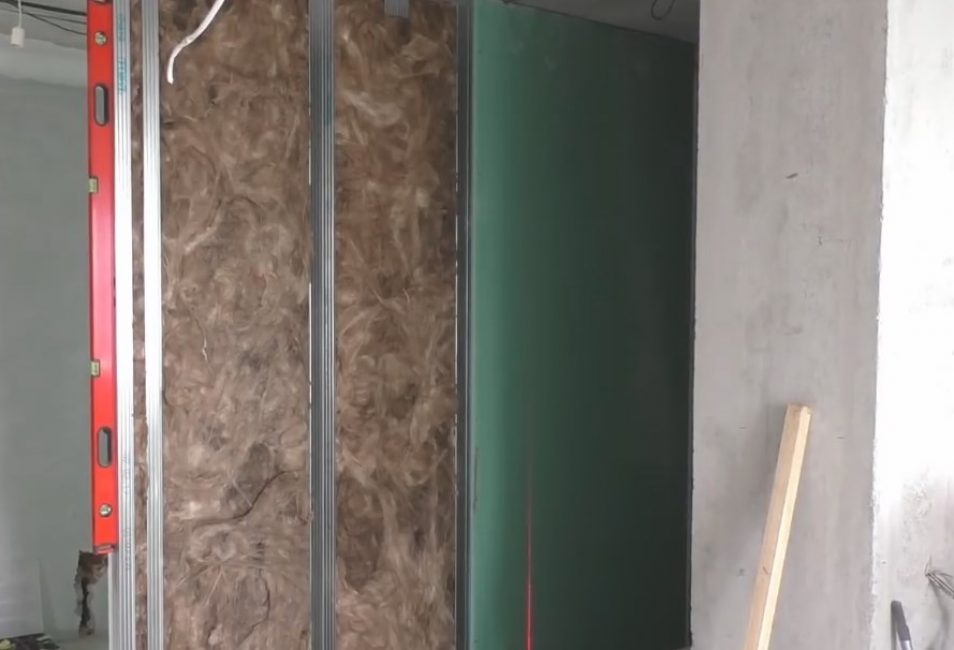
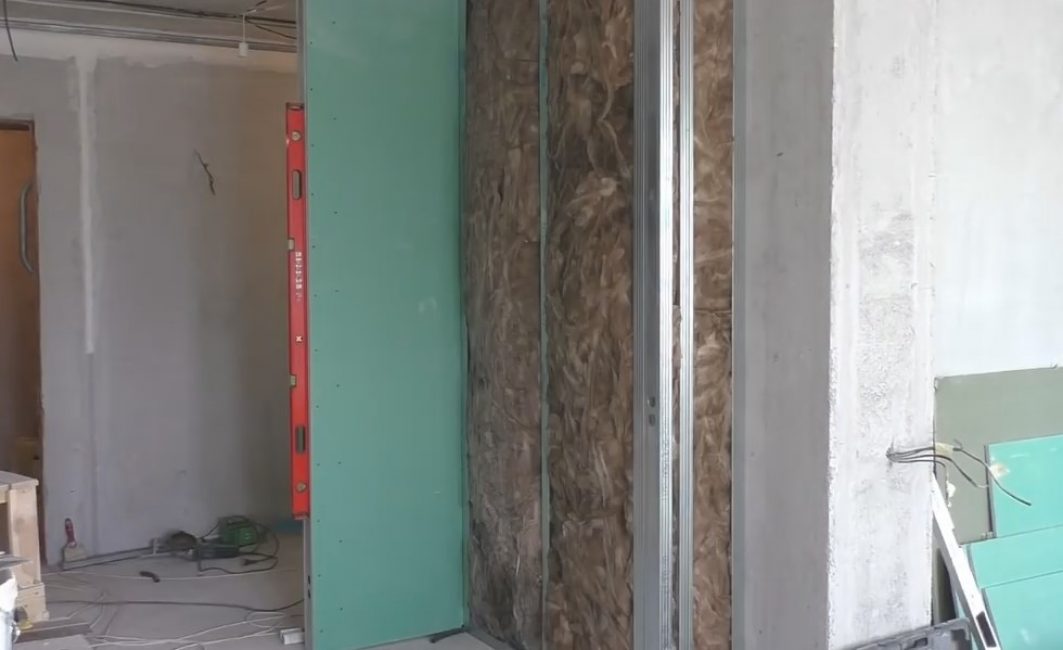
Step 9 - soundproofing

We cut the strips and insert between the profiles
We will use mineral wool. We cut it into strips 60 cm wide and place them between vertical racks.
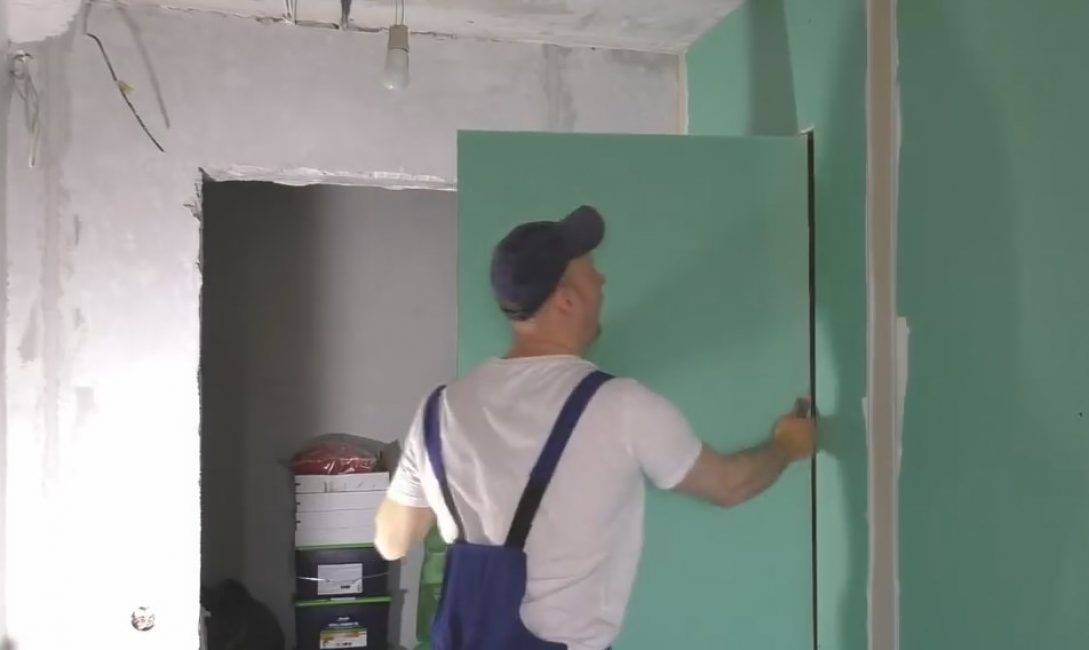
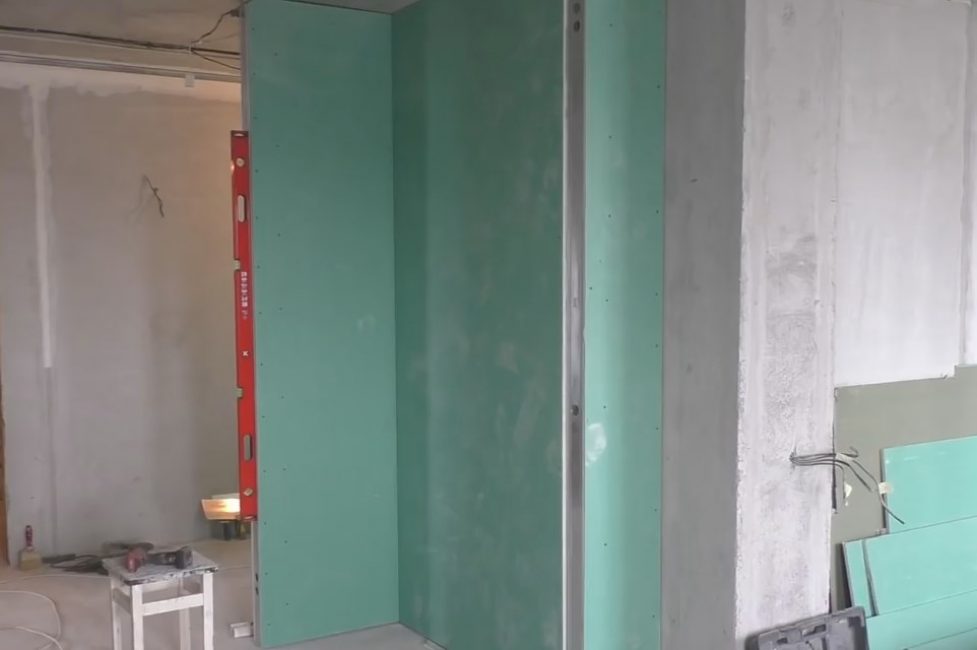
Step 10 - we sheathe the second side of the partition
Formation of the first layer of GVL
This process is similar to the installation of GVL on the first side.
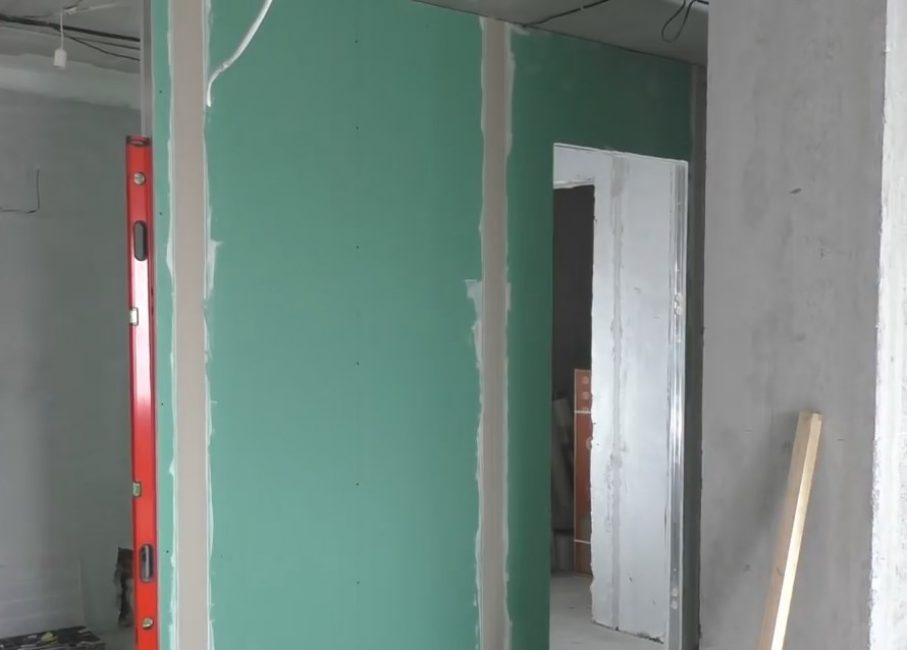
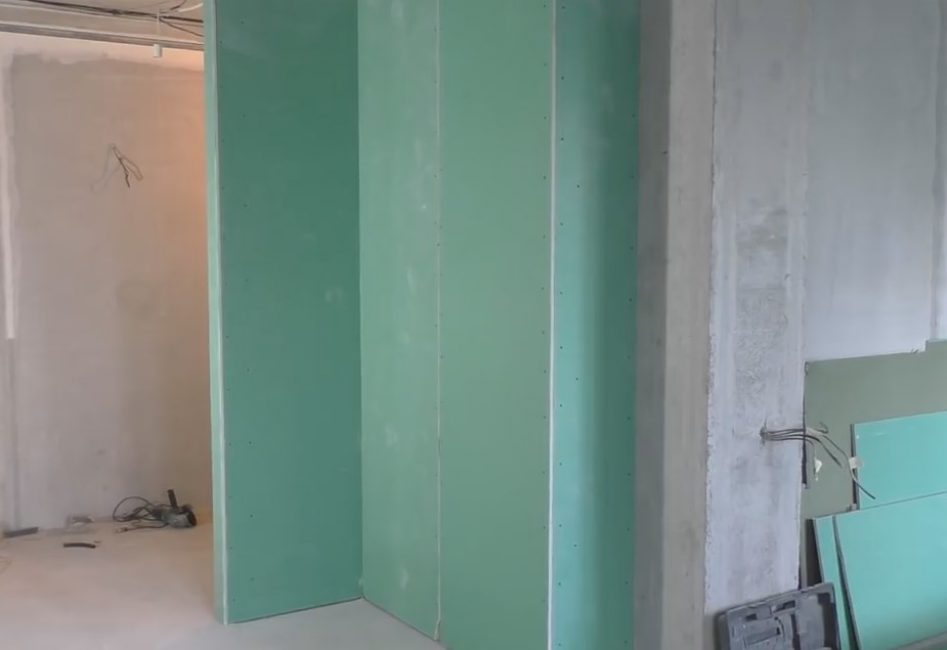
Formation of a T-shaped partition
We cut through the doorway, putty, and install the second layer in the same way as the first.
Form a frame
Installation consists in the fact that another, new one is formed from the finished partition. All actions are similar.
Carry out the electrician
By marking, they mount the ceiling and floor profile, install vertical racks, make fasteners for attaching the stretch ceiling profile. Carry out the electrical.
Noise isolation
Next, one side of the partition is sutured, isolated from noise, and the other side is sutured.
Sew up the other side
The T-shaped partition is ready.
putty

Plasterboard partition. Video lesson. We do it with our own hands. All stages
Drywall partition: step-by-step instructions on how to do the installation yourself | (Photo & Video)


Well, actually, not a profile, but profiles. And it would be nice to write porOzetniki. Still, the socket will be more accurate. But what to do? Lack of education... And so everything is clear.
If you meant under the word “porozetniki” sub-platforms, then of course your comment is accepted. Thank you) ?