
When battery screwdriver serves you faithfully for many years, then problems with charging batteries inevitably arise. Buying a new battery is often not only expensive, but sometimes it is simply impossible to find the appropriate model. We offer you a way to "revitalize" a screwdriver without buying a battery. With the help of mains power, it will become practically "immortal".
Content:
Content:
 Read also: Interesting ideas for decorating your favorite dacha with your own hands | 150+ original photo tips for craftsmen
Materials for work
In order to convert a cordless screwdriver into a mains one, you will need:
- power supply 12 V - 30 A;
- rubber mallet;
- screwdriver;
- saw;
- plastic pipe ø20 mm;
- grinding machine;
- wire cutters;
- soldering iron;
- two-wire electrical wire of the desired length;
- insulating tape;
- thermocambric;
- lighter;
- screwdriver;
- pencil and ruler;
- knife;
- natfil.
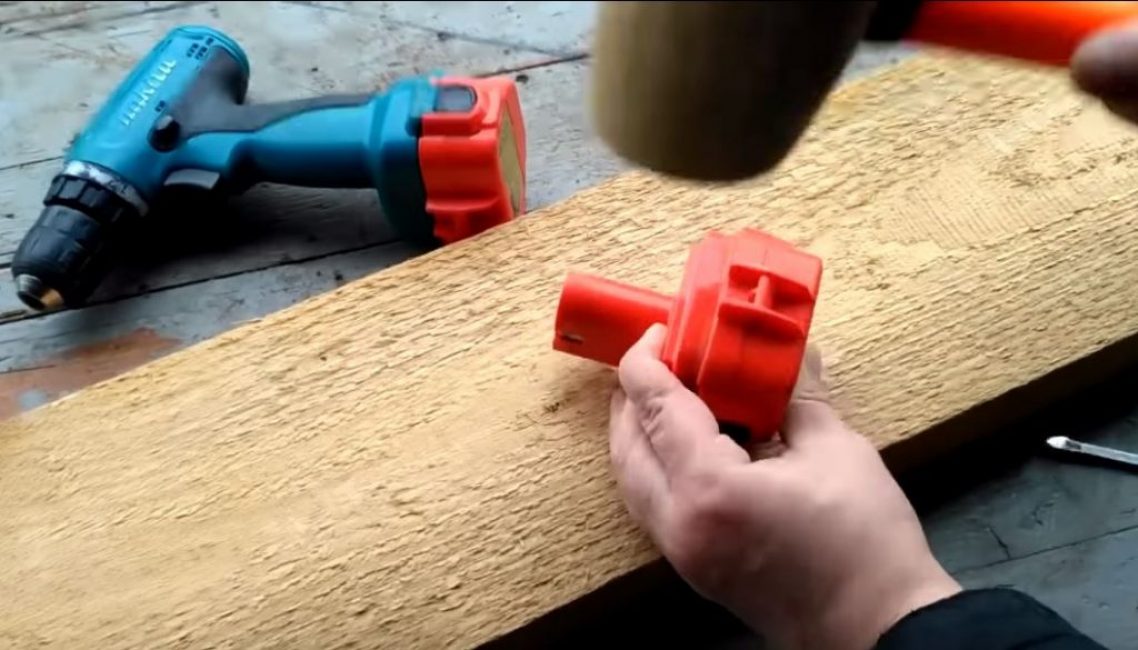
Step 1. Disassemble the battery pack
We take a rubber mallet and hit it at the junction of the two parts of the case to make it easier to open it.
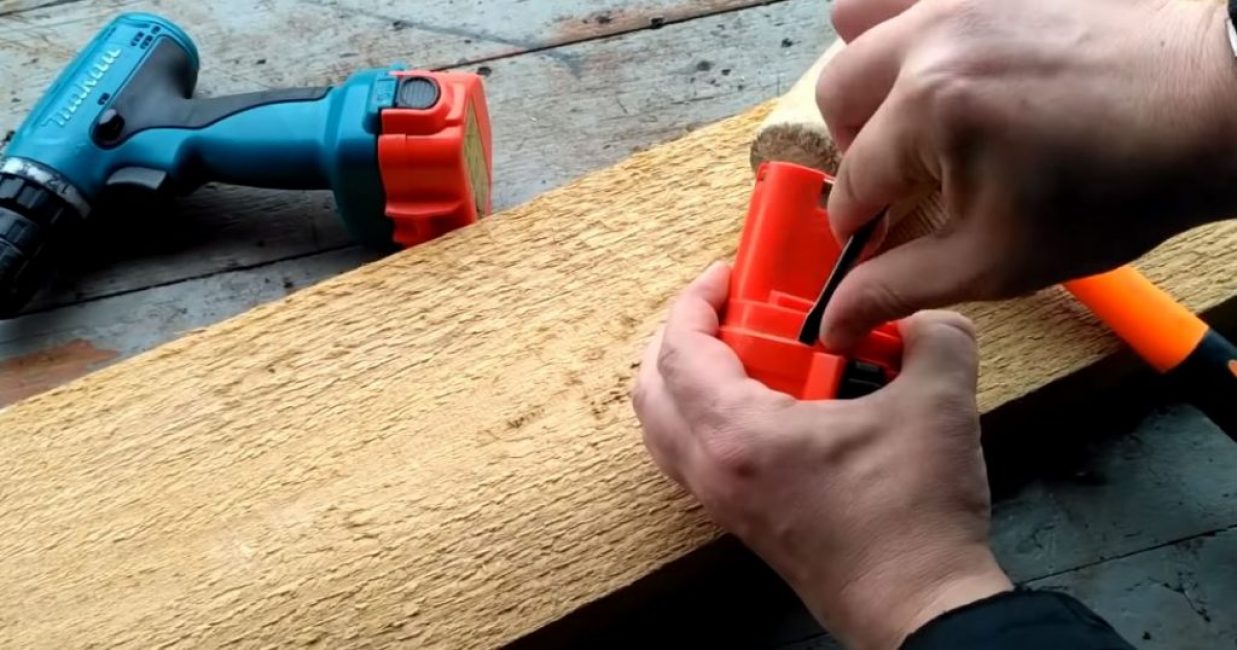
Using a flat screwdriver, we go around the perimeter of the case and open it.
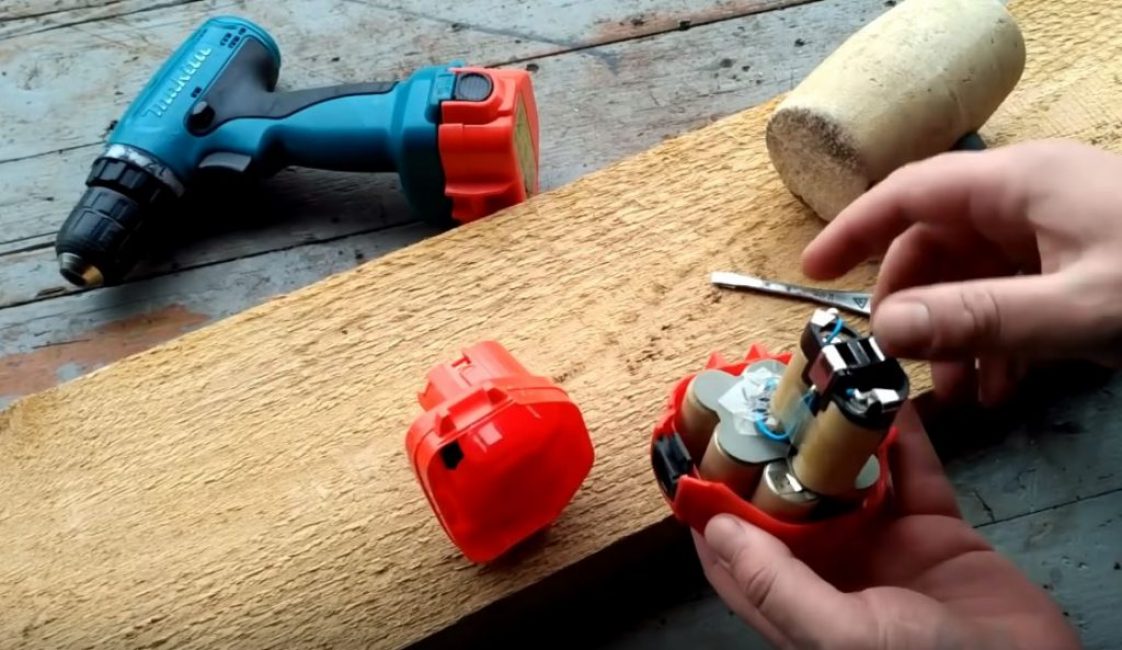
We take out the batteries.
Source: https://youtu.be/mT6w37CVfkc
Step 2. Simulate a battery
We measure the total height of the batteries. We take a plastic pipe Ø20 mm. Measure and cut with hacksaws two blanks of the corresponding length.
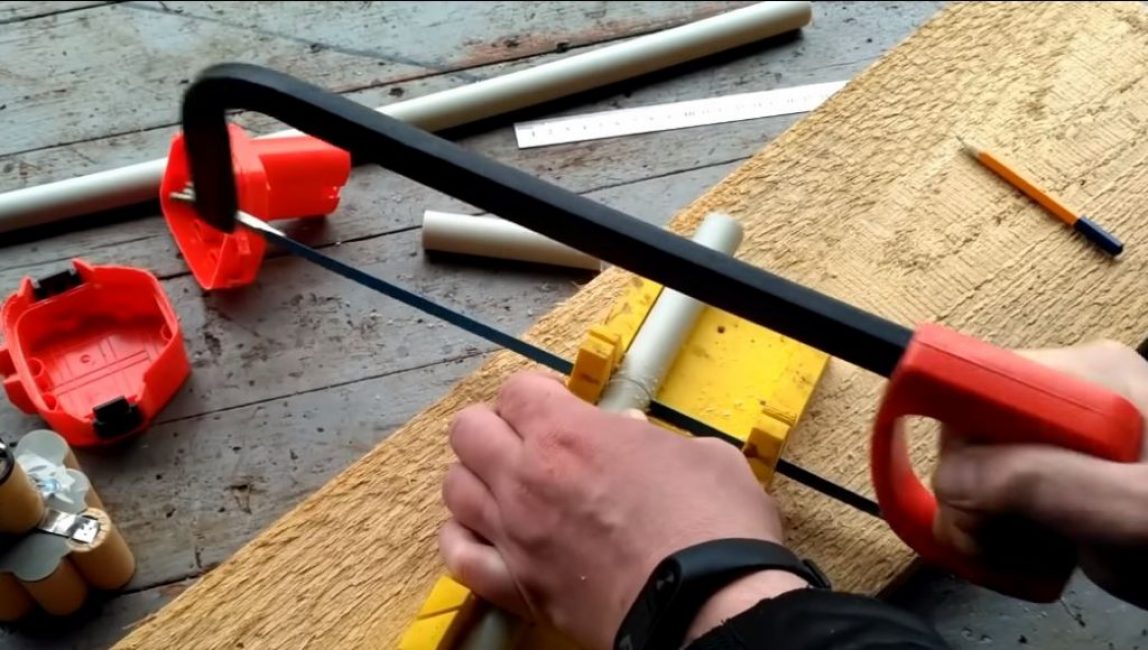
In order for the pipe trimmings to become well into the block body, we grind off part of the sidewalls under the inner protrusion of the body using a grinder on the tubes. Trying out the details.
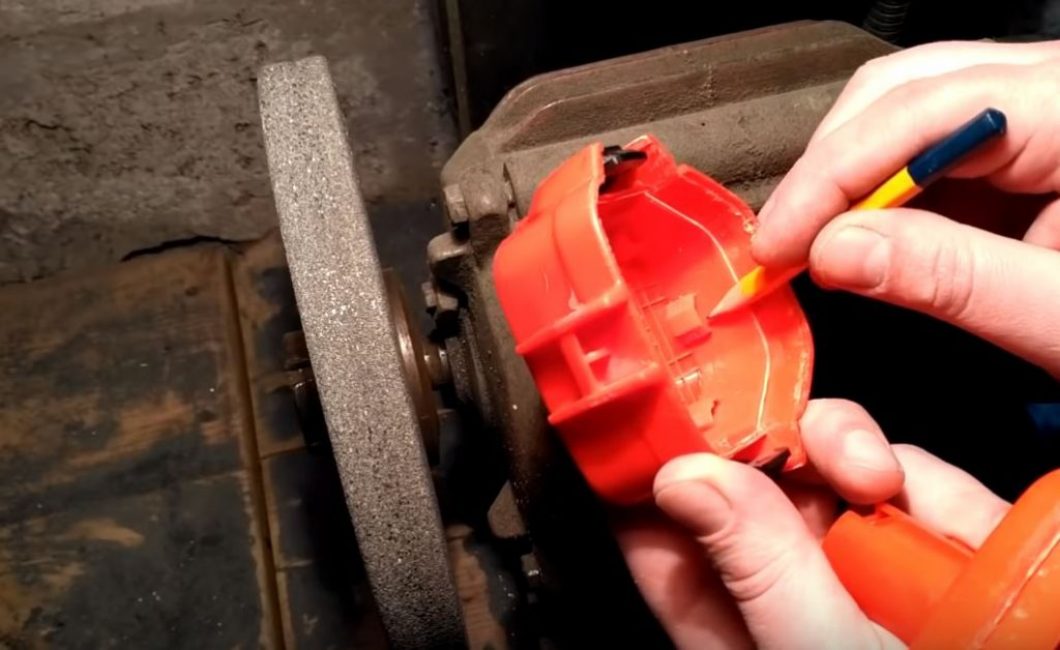
Step 3. Install the contact plates on the tubes
Using wire cutters and a small screwdriver, remove the contact plates from the batteries.
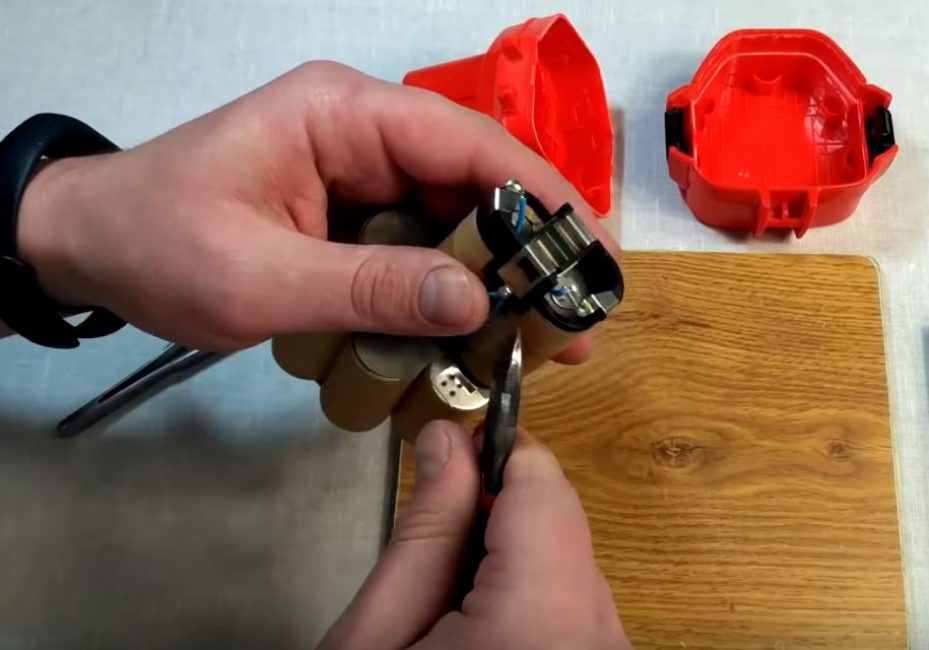
To subsequently observe the polarity, immediately mark with a marker on the terminals and on the case, where is “+”, and where is “-”.
As a result, we get something like this.
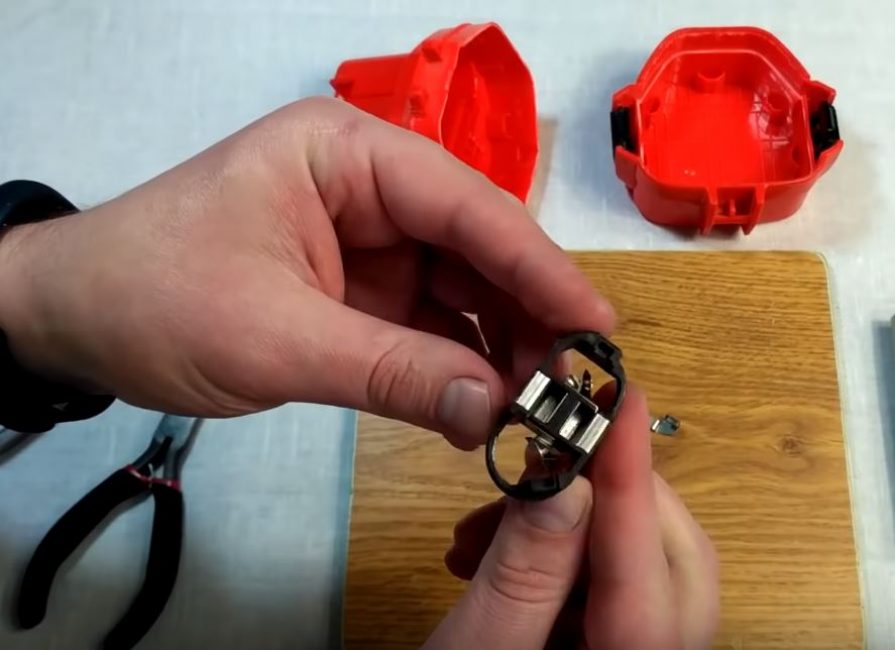
Source: https://youtu.be/mT6w37CVfkc
In order for the contact plates to sit on the tubes more densely, we wrap one of the sides of each tube with several layers of electrical tape.
We fix the tubes together with electrical tape.
We divide 10 cm of the edge of a two-wire electrical wire into separate wires.
We run one wiring into each tube and solder them to the contact plates.
Source: https://youtu.be/mT6w37CVfkc
We put the contact plate in place.
Step 4. Attaching the power supply
We cut off 2 blanks from thermocambrics of smaller and larger diameters for subsequent isolation of the joints. Thicker tubes are strung on the wire from the power supply, and thinner tubes are strung on individual wires. We twist and then solder the wires, connecting the power supply to the battery pack.
Having moved the thermotubes of a smaller diameter to the junctions of the wires, we heat them with a lighter and crimp the wires.

We fasten the wires with the help of electrical tape, and then we move the larger diameter thermotubes in turn and crimp the wires.
Step 5. Assemble the case of the former battery pack
Since we need to bring wiring into the case, we mark the place with the help of screwdriver we make a hole near the junction of the two parts of the body.
Then, with the help of wire cutters, we break out the parts remaining to the edge on each of the body halves. We grind the edges of the cuts with a file.
We put the tubes with contacts into the case, taking into account the polarity, and fix it with a thermal gun so that they do not move during operation.
Using a heat gun, we glue the two parts of the body together.
 Read also: Landscaping your site with your own hands - (130+ Photo Ideas & Videos) + Reviews
 We carry out tests
We insert the case of the battery pack into the screwdriver and turn on the power supply to the network.
Now, without any problems, you can screw the 70-ku, even into a knot.

Video: Converting a cordless screwdriver to a network one

Converting a cordless screwdriver to a network one
Converting a cordless screwdriver to a mains one: only 30 minutes and you will no longer need to charge the battery ⚡


