

Metal shears are a widely used and sought-after tool. And if they can cut a metal rod or plate 3 mm thick, then they are generally indispensable in the arsenal of those whose hands grow from the right place. But such desktop lever scissors are not cheap. And if we tell you that you can make them yourself from an old file? Intrigued? Then welcome to the master class.
Content:
 Read also: TOP 12 Best garden shears: choosing a tool for cutting grass, bushes and hedges | Rating 2019 + Reviews
Materials for manufacturing
In order to make scissors for metal, you will need:
- long file;
- tee beam;
- Bulgarian;
- square and marker;
- drill;
- vise;
- bolts and nuts Ø 10 mm;
- sword;
- steel strip;
- welding machine;
- metal pipe;
- internal combustion engine valve.
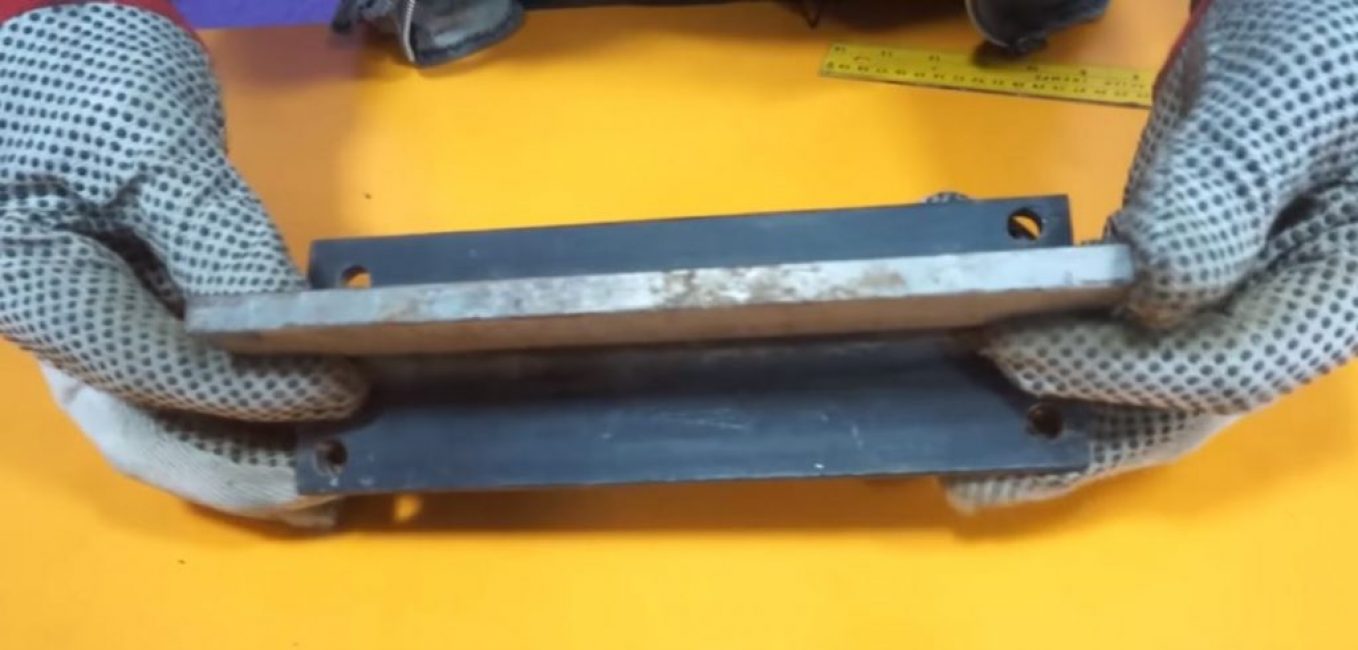
Step 1. Prepare the base
We measure 23 cm on the T-beam and make a mark with a marker.
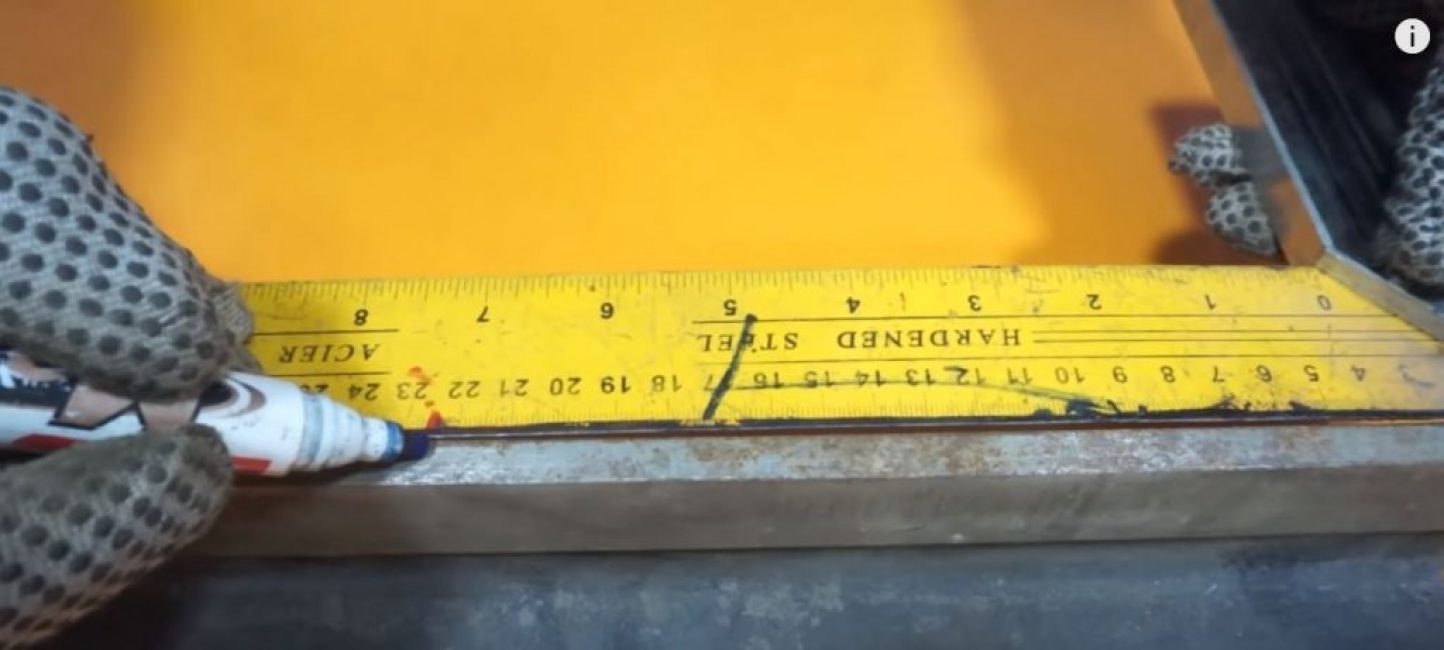
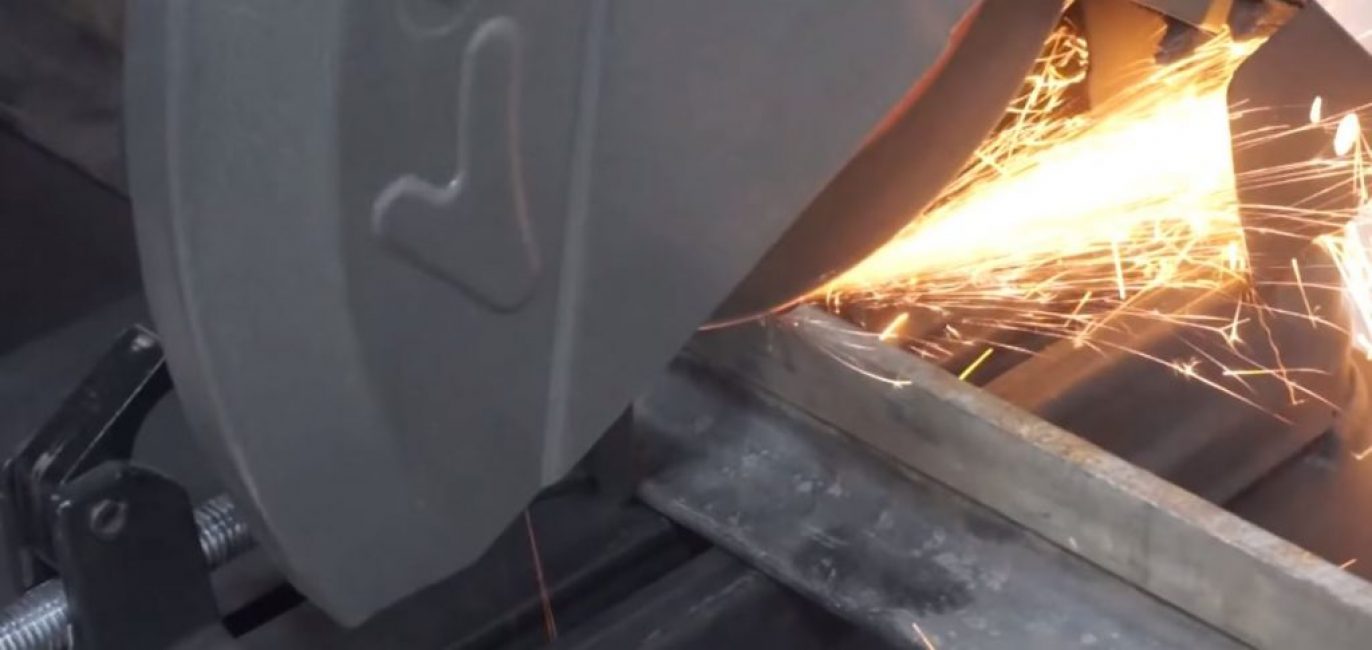
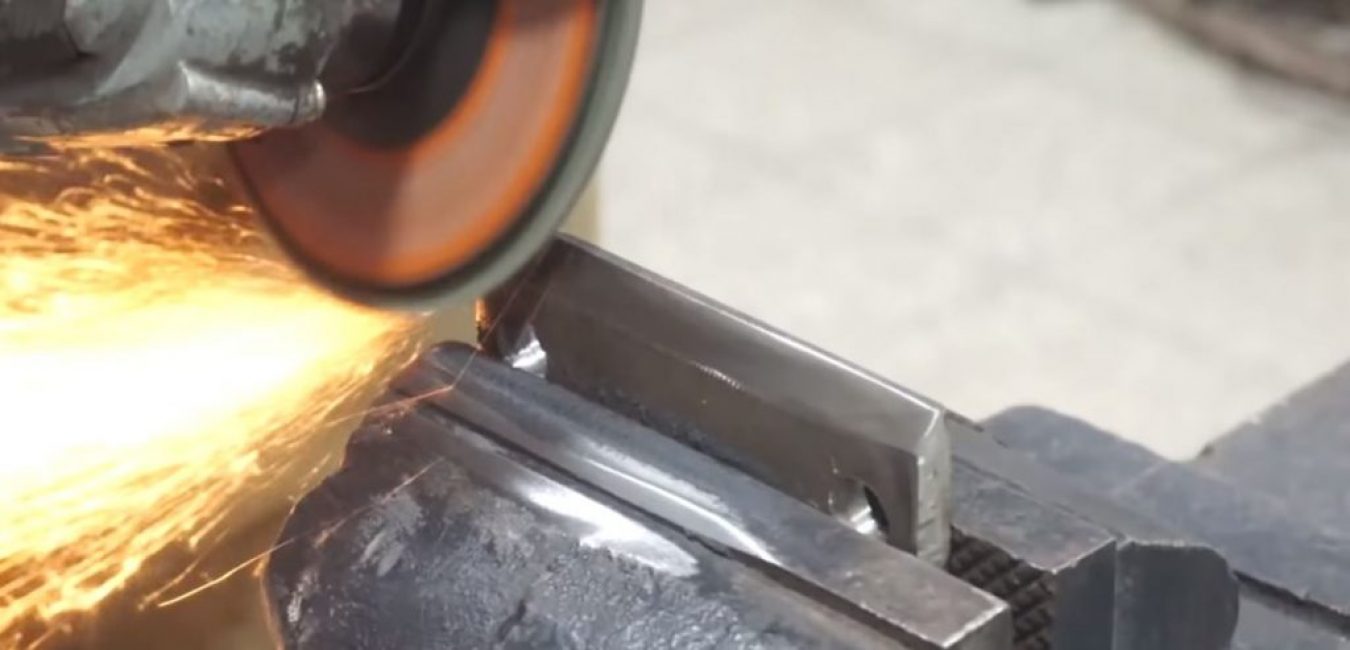
We cut off the marked area with a grinder.
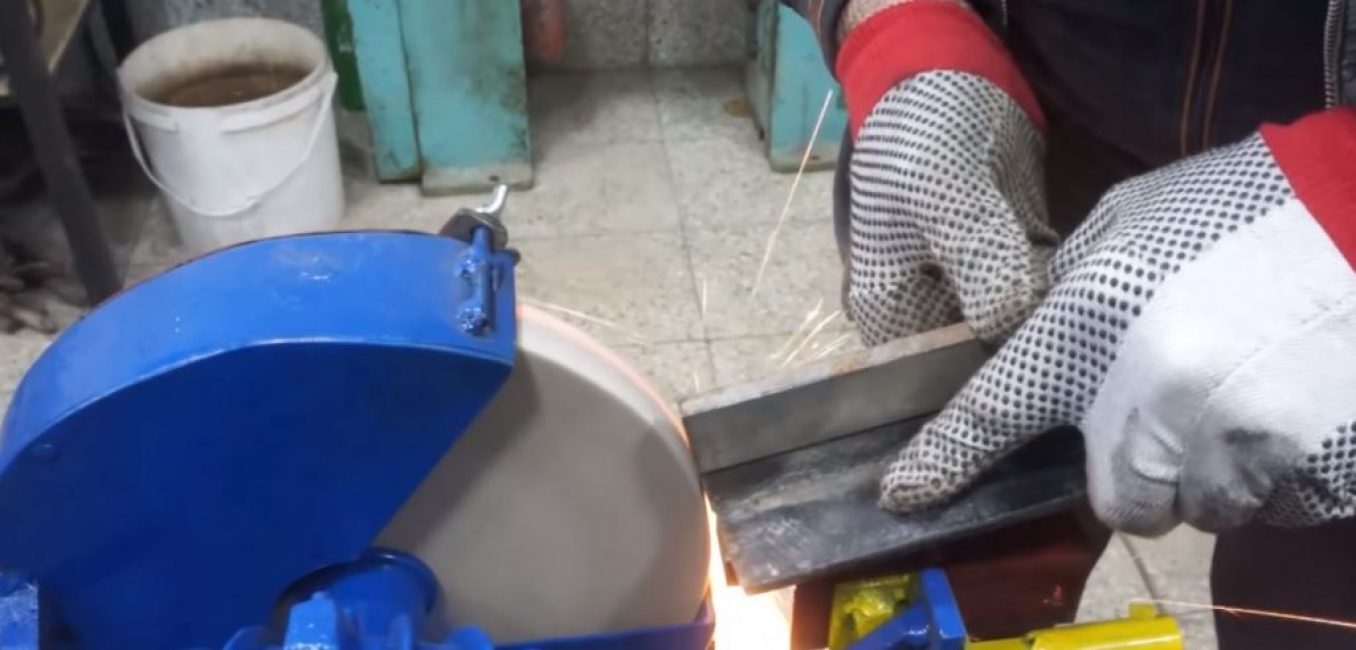
The edges are smoothed on a grinding machine.
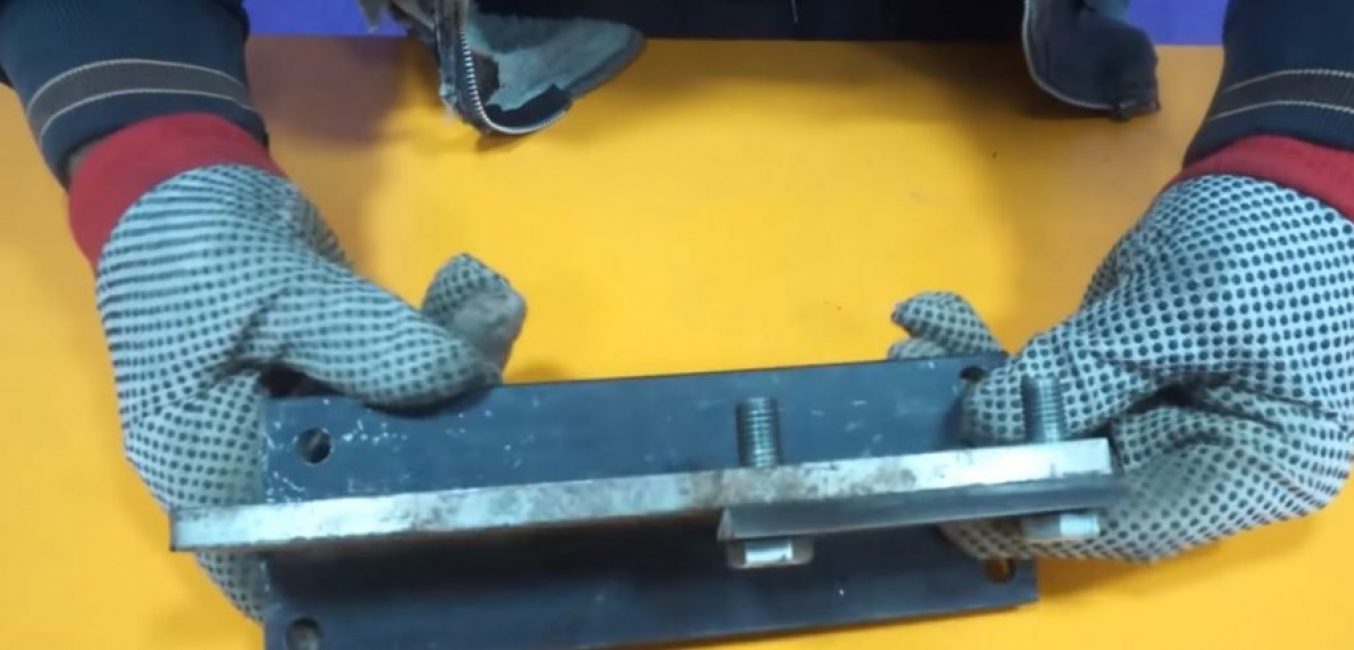
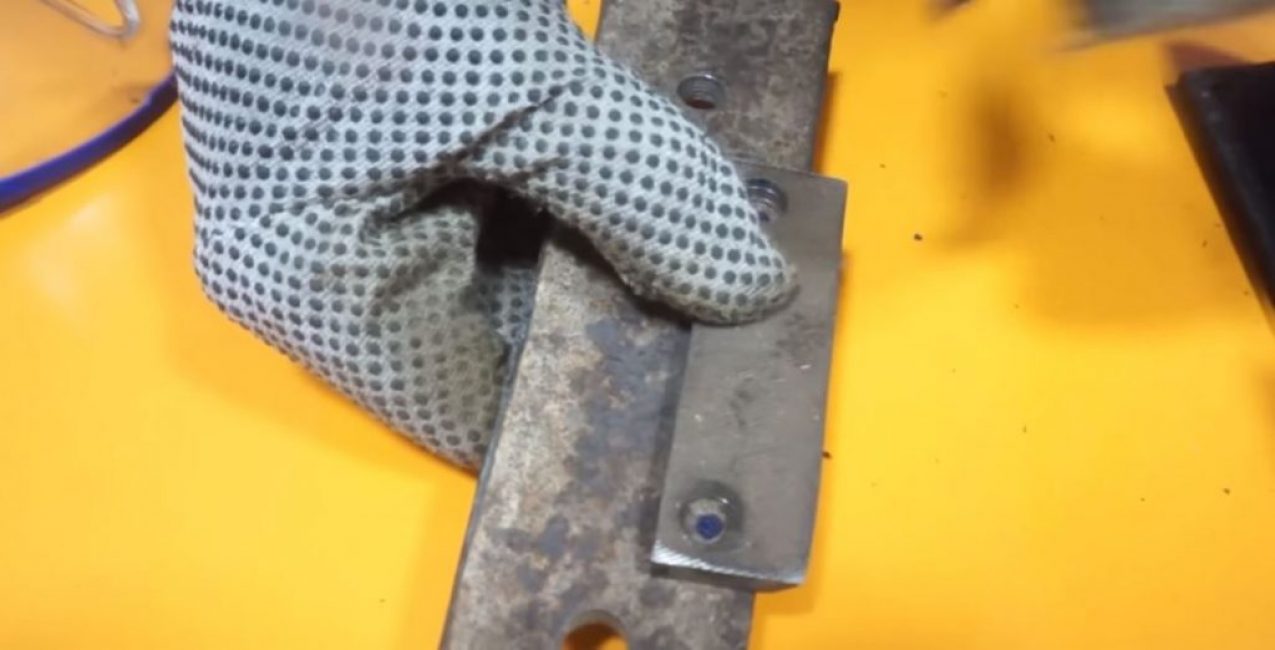
On the basis of the beam at four corners, mark the places for fastenings with a marker and drill holes for bolts Ø10 mm.
Mounting holes are ready.
Step 2. Making a fixed cutting part
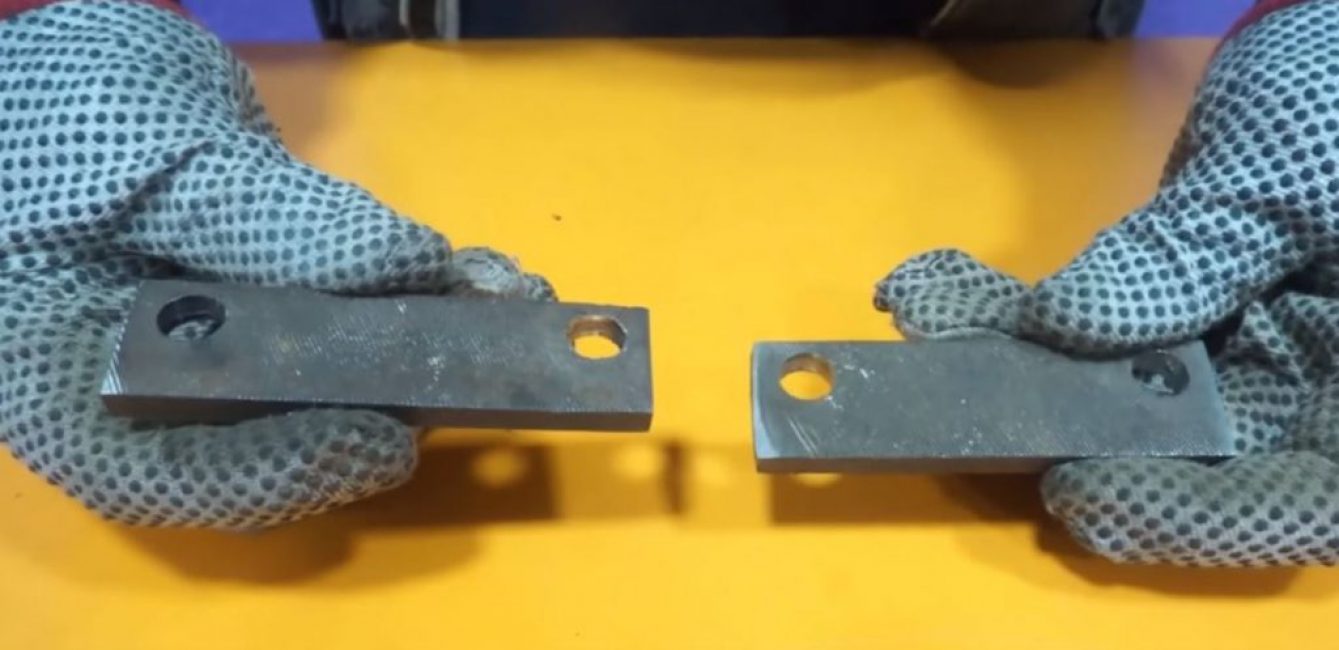
We take a long file.
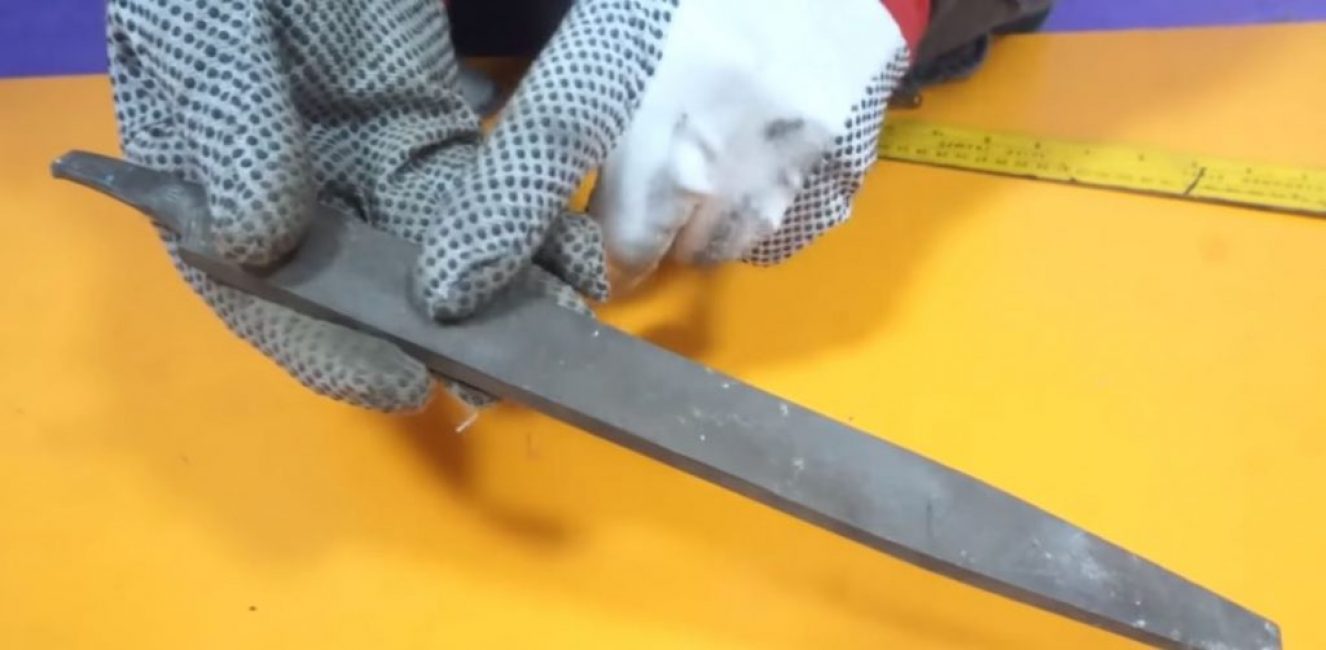
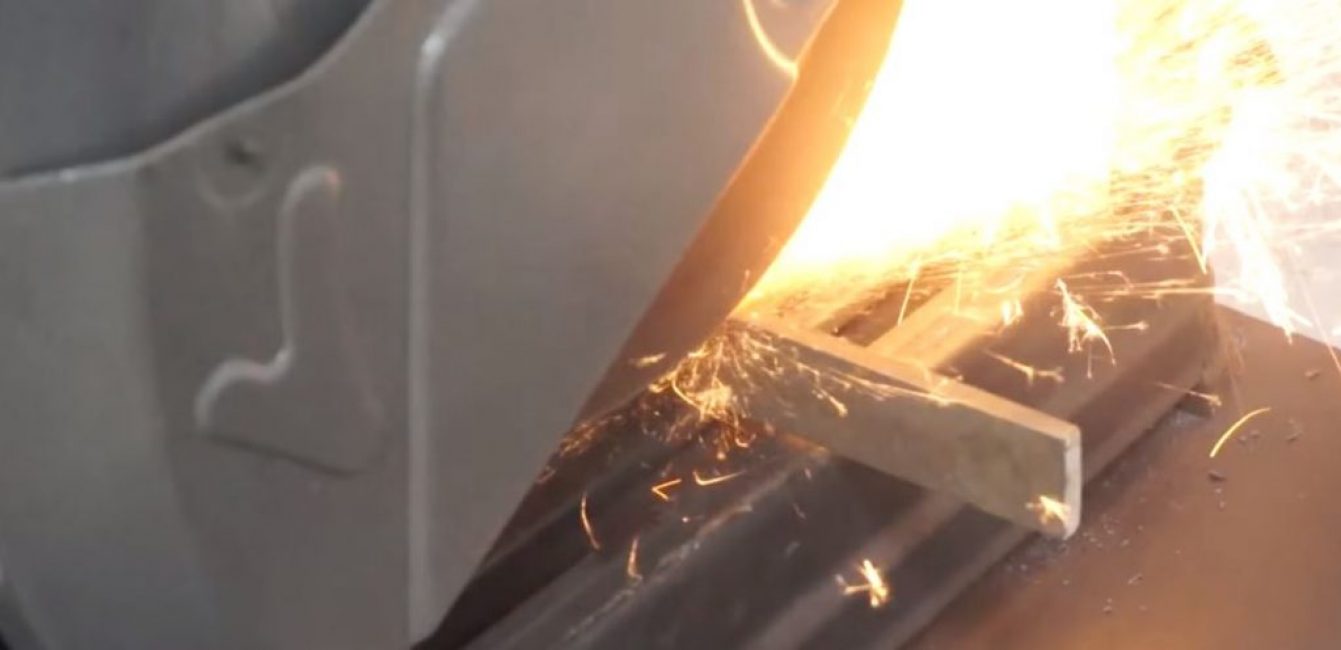
We measure on it two rectangles of equal width and a length of 10 cm each. We clamp the file in a vice and cut out two identical blanks with a grinder.
We mark with a marker and drill 2 holes Ø10 mm in each of the blanks.
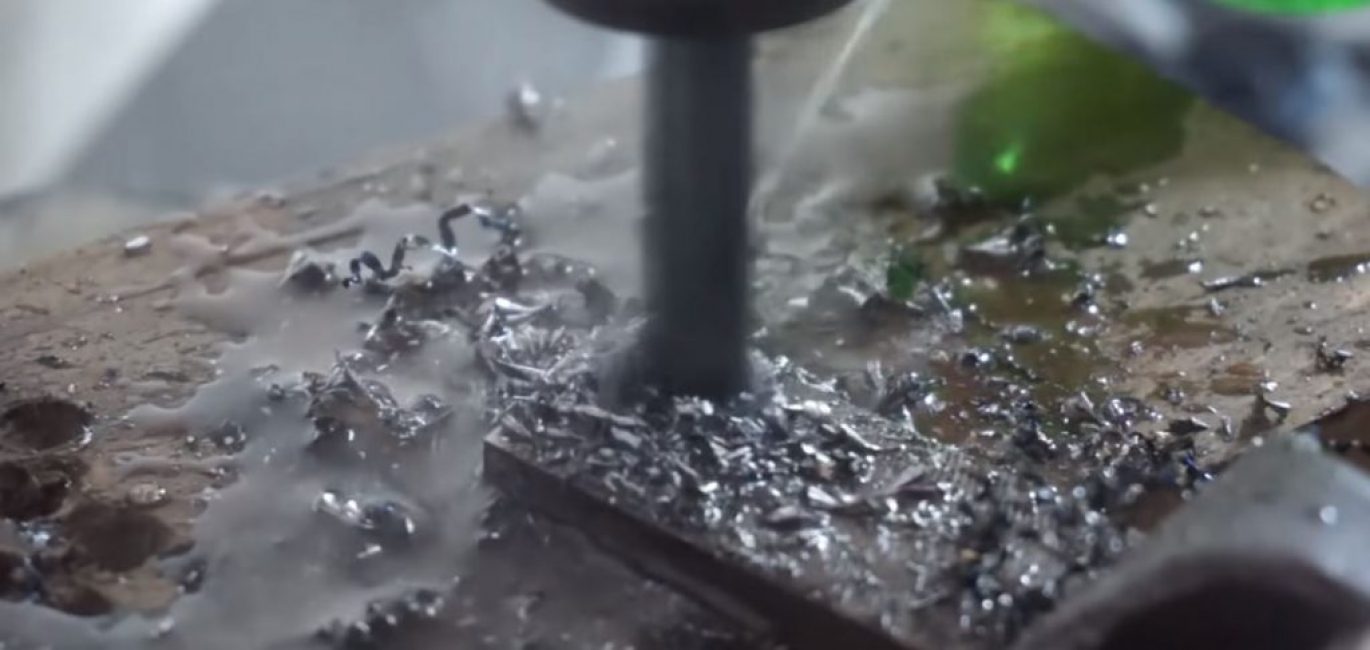
As a result, we get such blanks for knives.
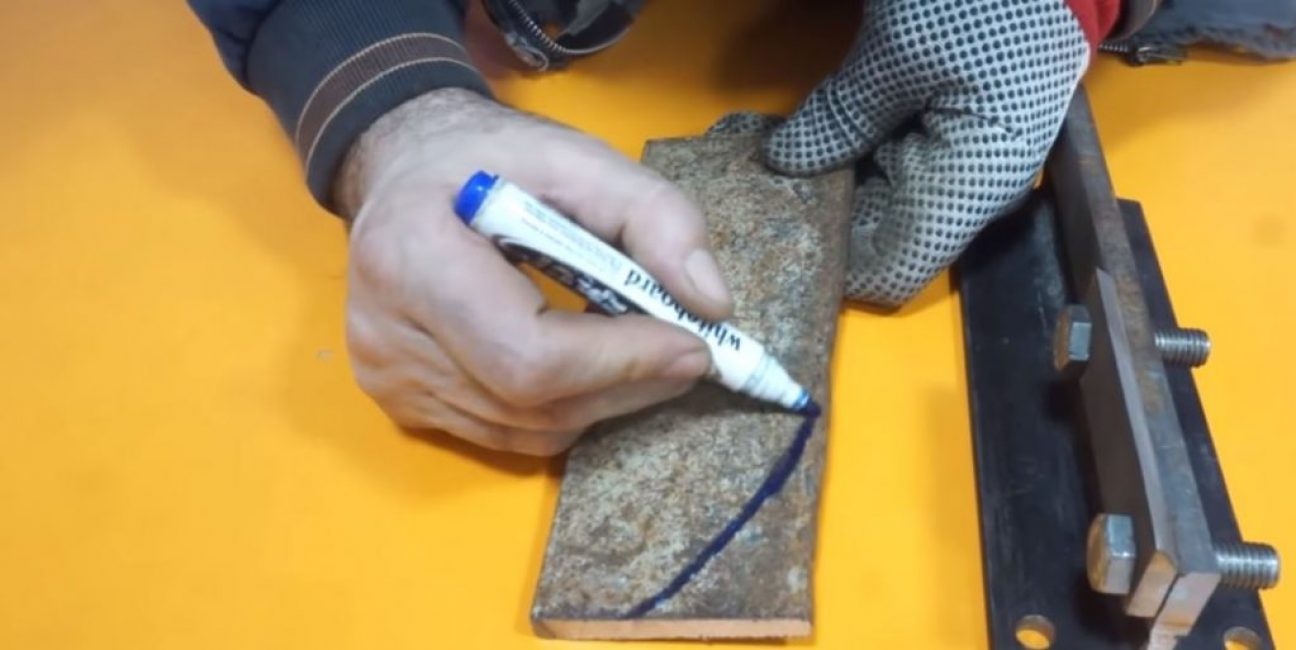
With a marker on both blanks we mark the line to which we will sharpen the cutting edge.
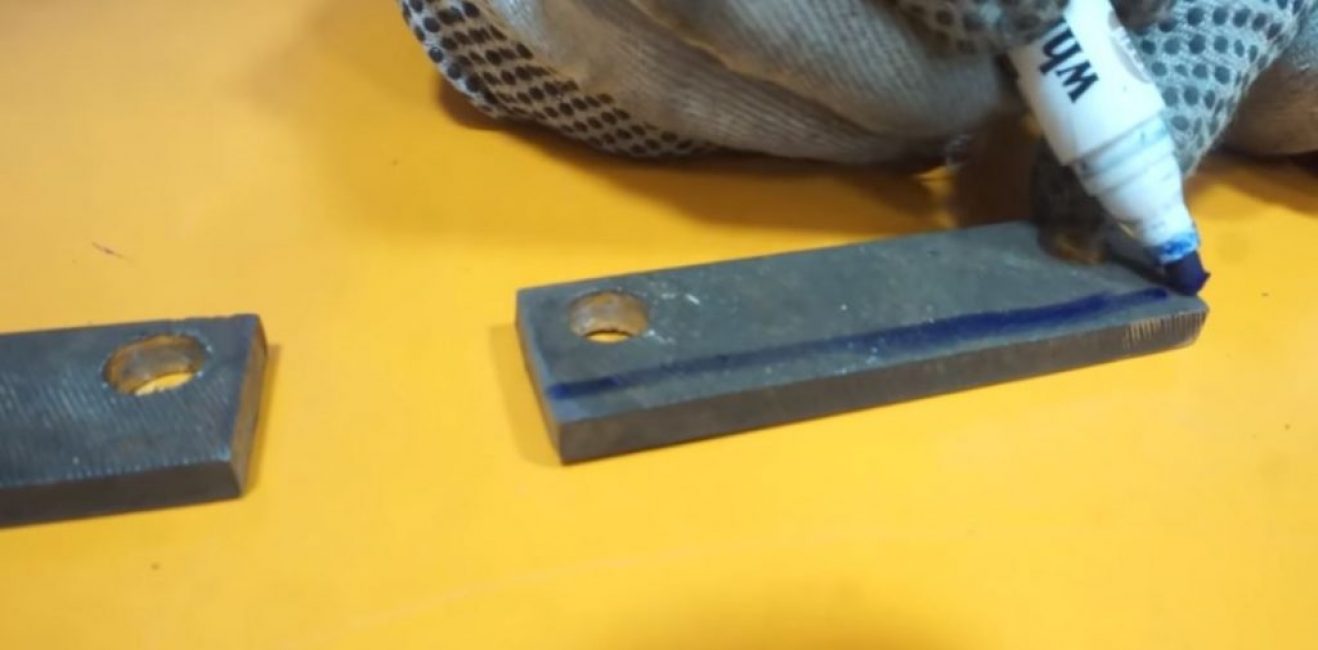
Clamping the workpiece in a vice, we sharpen the cutting part only on one side.
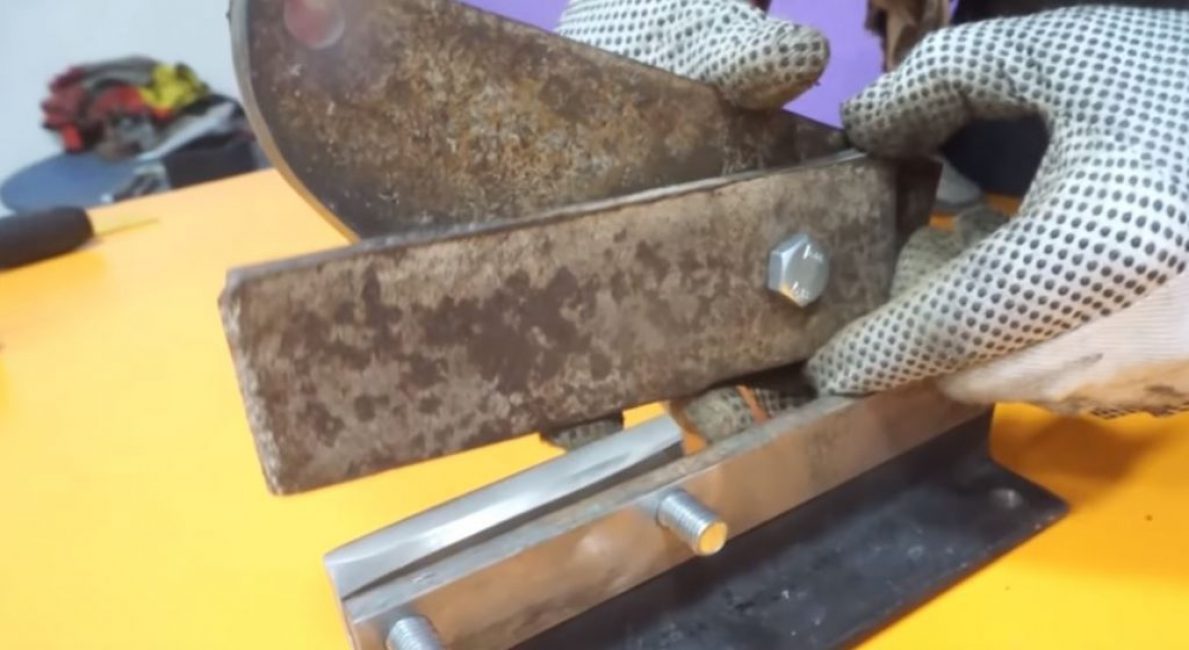
Having attached one of the resulting knives to the edge of the vertical part of the T-beam, we outline the places for future fasteners.
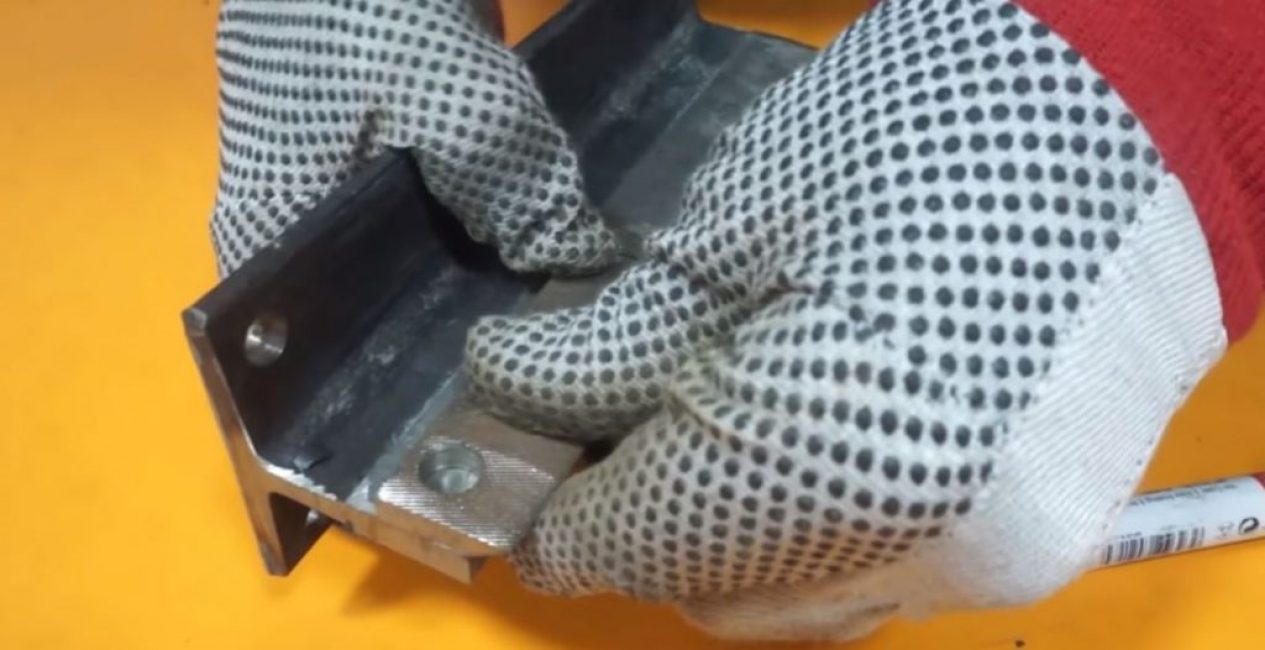
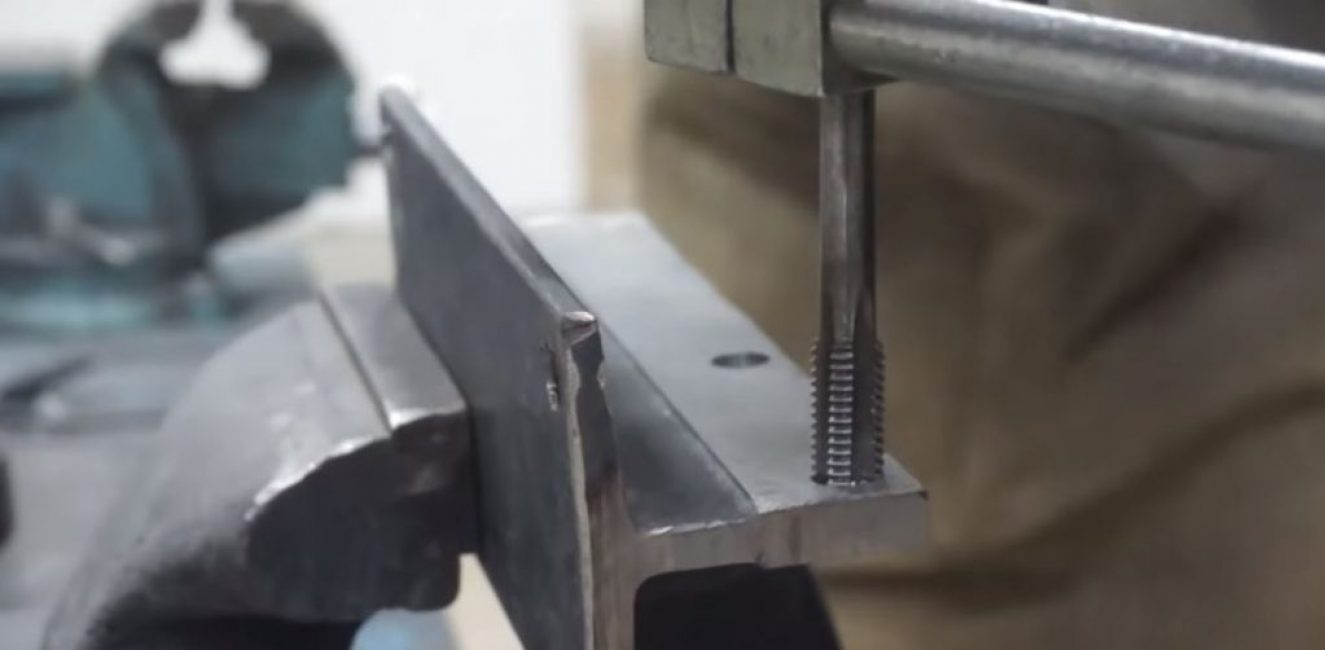
We drill holes Ø10 mm in the marked places and, holding the beam in a vice, cut the threads in the holes with a sword.
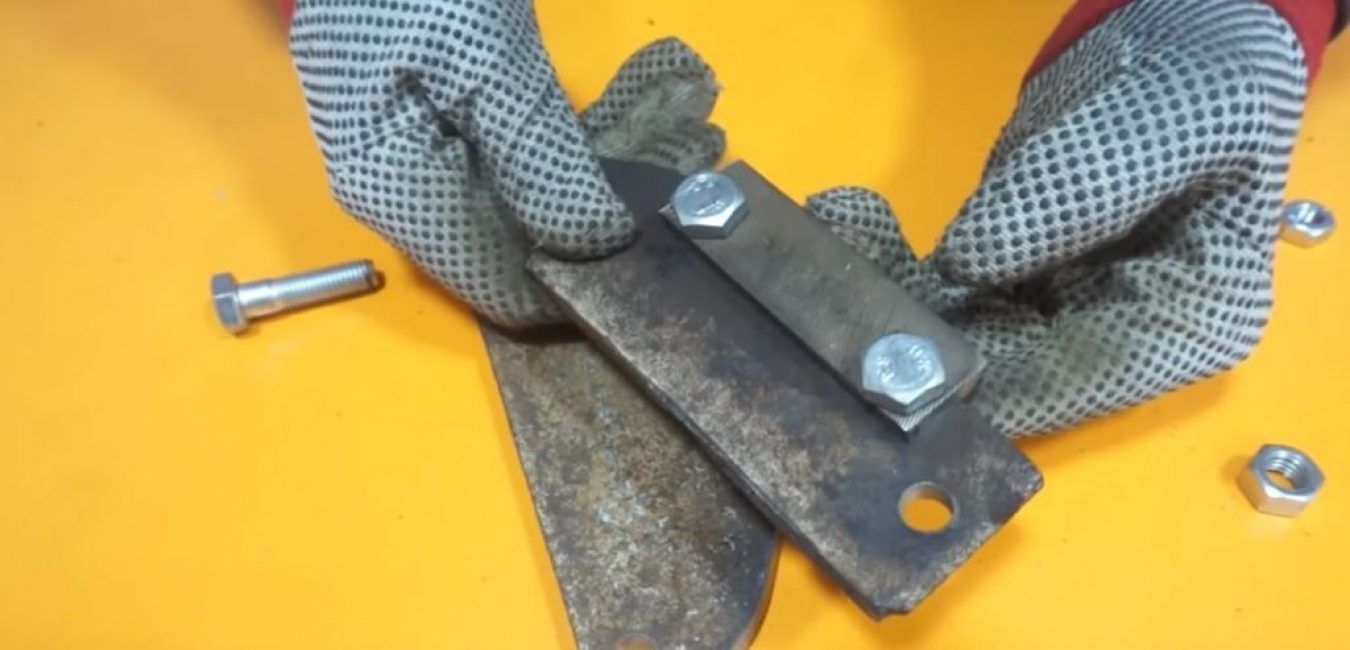
We attach one of the knives to the beam, aligning the corresponding holes, and fix it with 2 bolts Ø10 mm. We cut off the protruding parts of the bolts.
Step 3. Making a movable cutting part
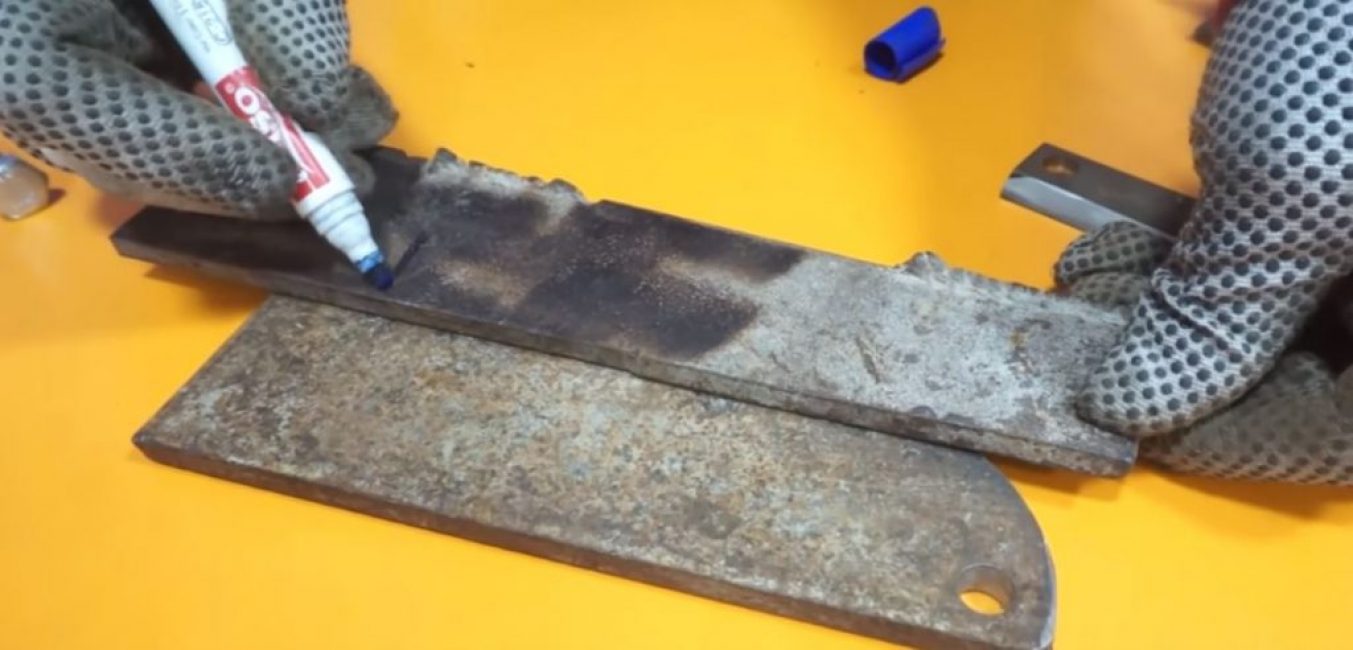
We cut out a plate from a steel strip, the length of which is approximately equal to the length of the beam. Using a marker, draw a rounded edge on it and cut it with a grinder.
In the narrowest part of the resulting workpiece, we drill a hole.

From the remaining steel strip we cut out the second plate, which is narrower and shorter than the first.
To connect the resulting plates, we make a through hole in them and connect them with a bolt and nut. On a narrow plate on both sides of the junction, we grind the corners for its free movement.
On the edge of the narrow plate we make a hole for attaching to the lever. Approximately in the middle of the length of this plate, we outline, drill holes and cut the thread for attaching the second knife so that its sharpened edges protrude.
We fasten a knife to the plate, and cut off the edges of the bolts.
We weld a small piece of steel strip to the top of the beam to adjust the gap between the knives.
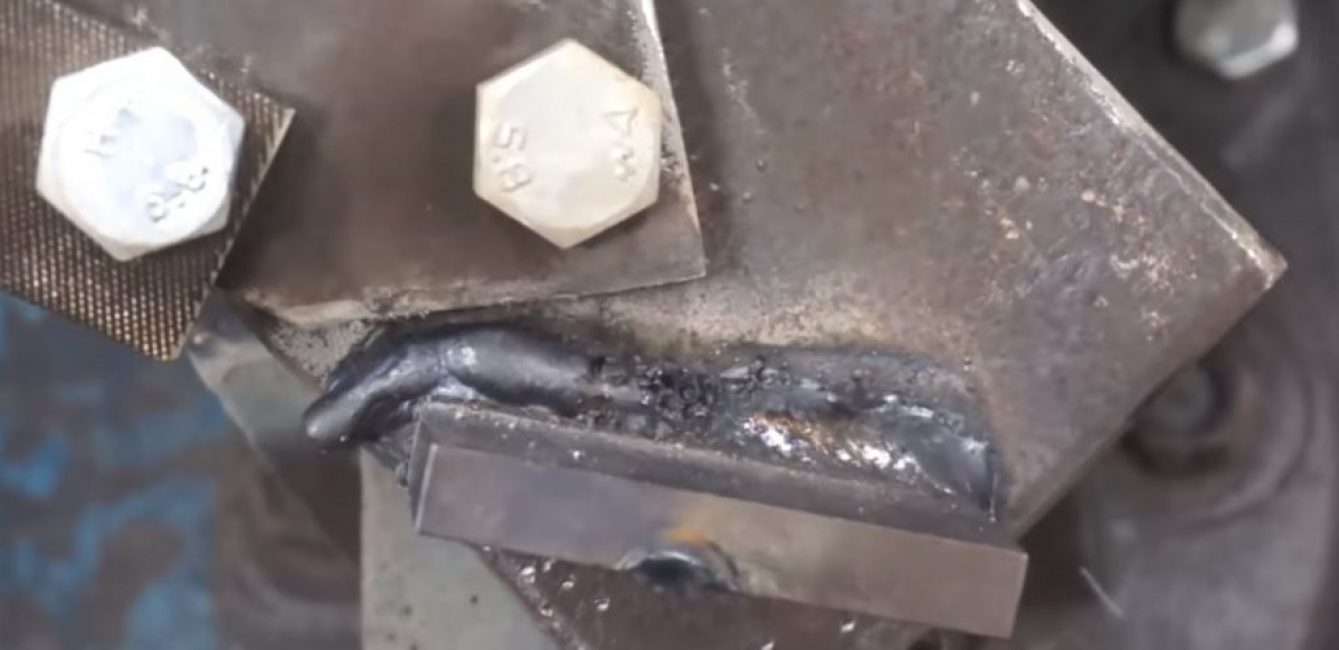
We weld the lower wide part of the rounded plate to it.
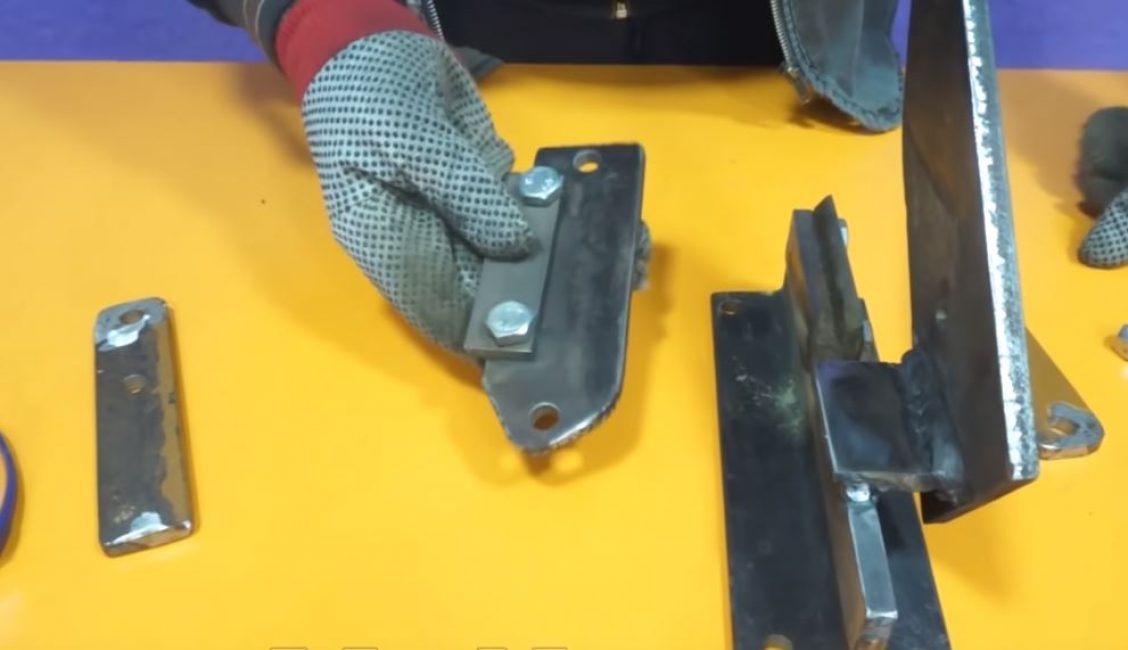
We fasten the plates together with a bolt and nut.

From the remnants of the steel strip, we cut out the lever and the jumper. We drill 2 holes in the lever and jumper. One hole of the lever is attached to a rounded fixed plate, the second - through a jumper - to a movable knife. We fix them with bolts and nuts.
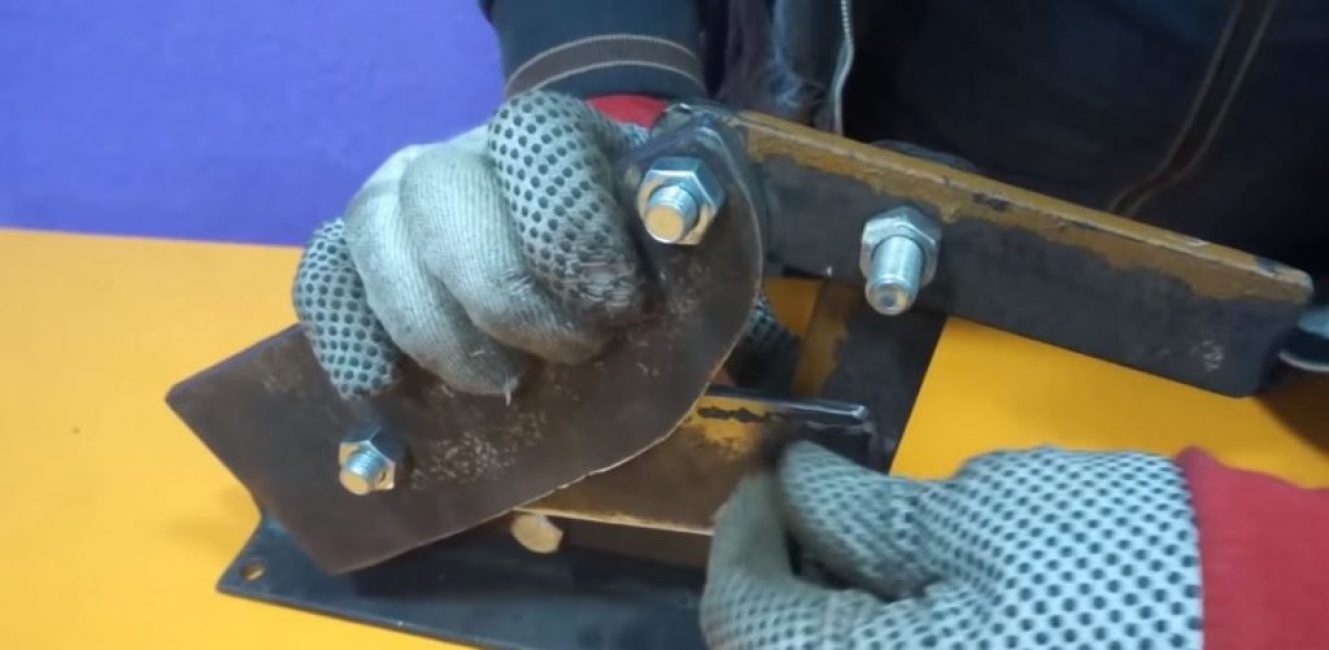
We weld a metal pipe to the free edge of the lever, which will later serve as a handle.
Step 4. Making an adjustable latch
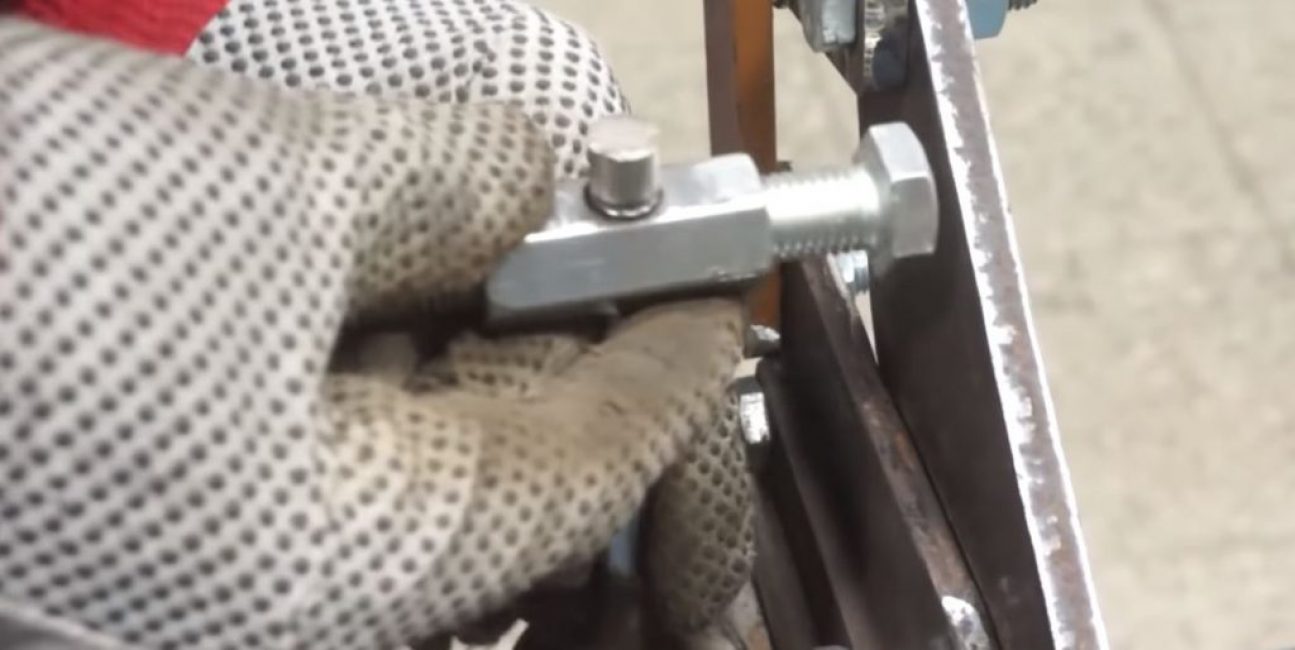
In a long nut, we outline the middle and drill a through hole corresponding in diameter to the valve of the internal combustion engine.
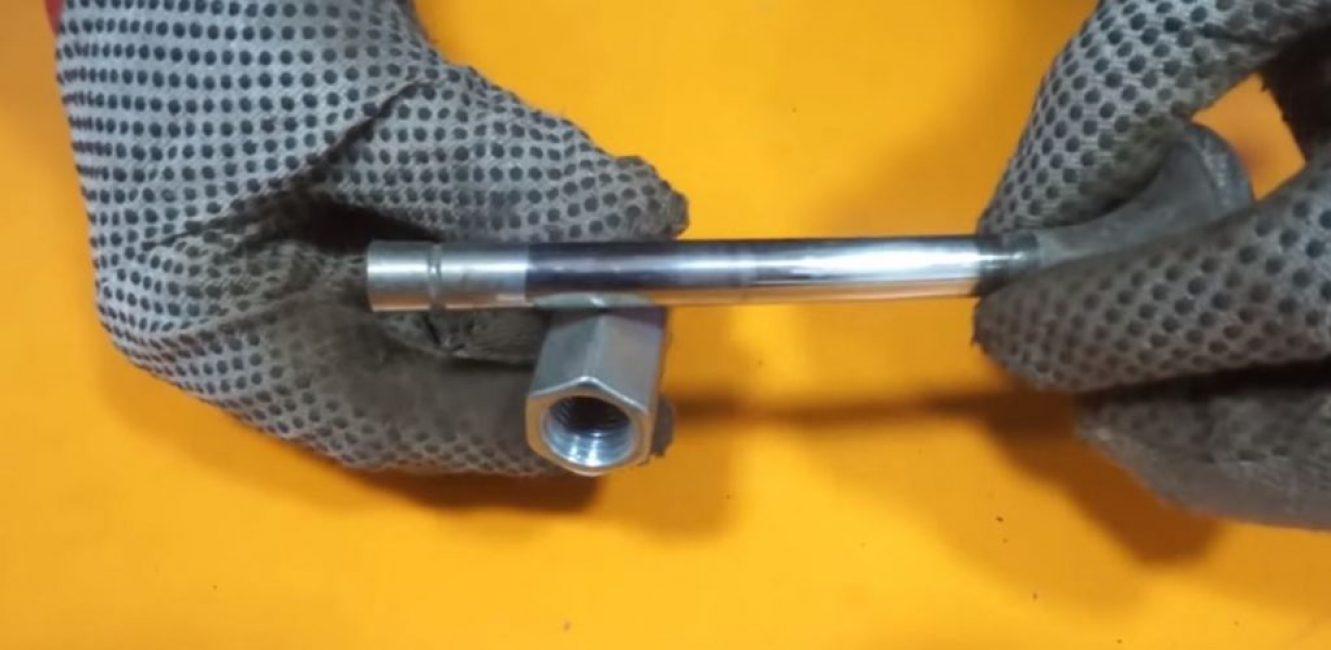
We screw the bolts into the nut on both sides.
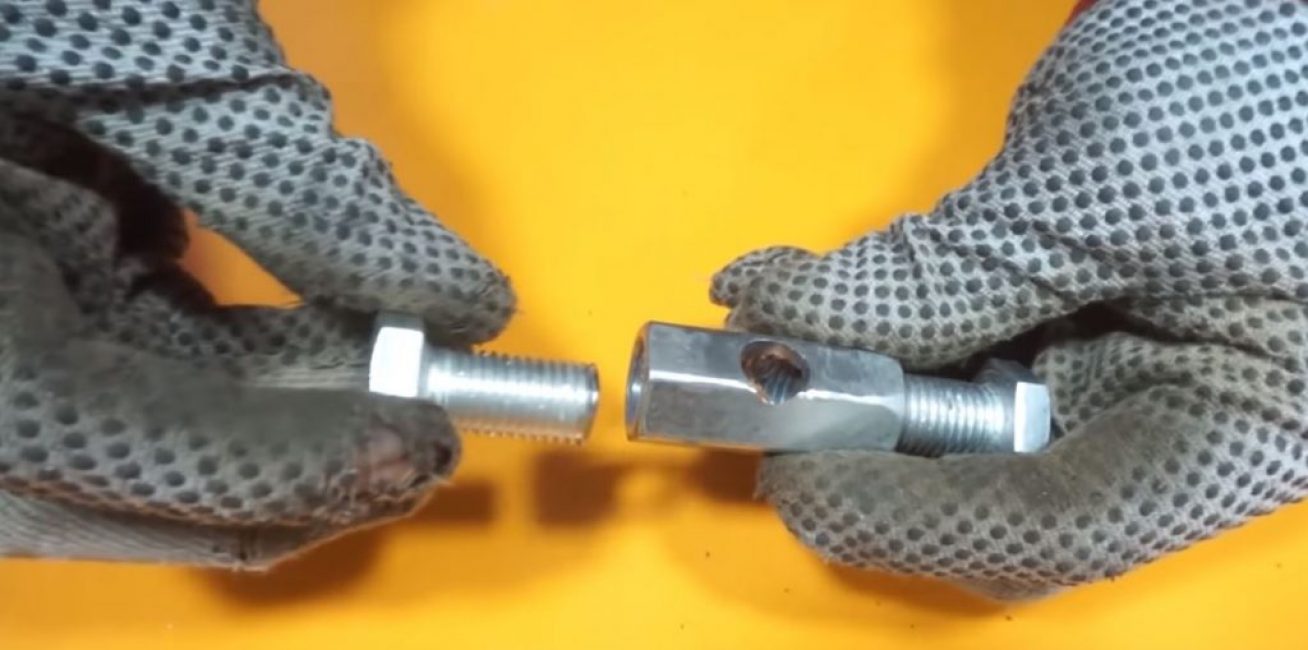
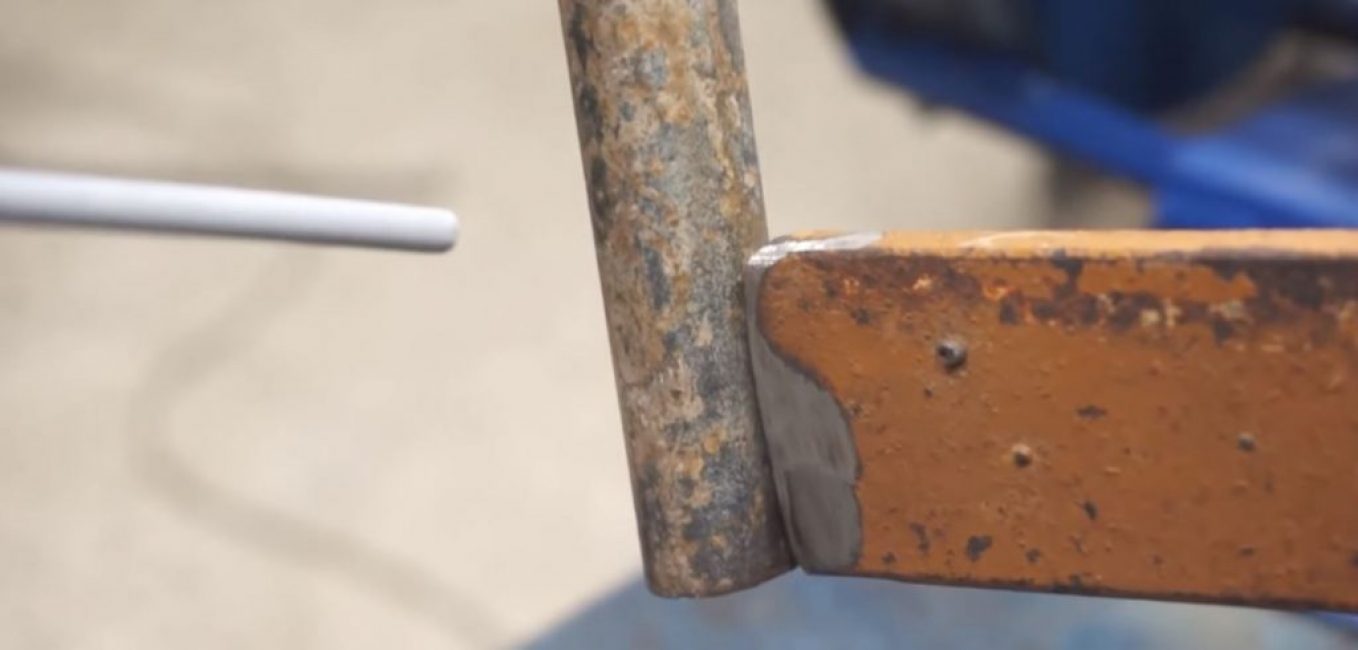
Insert the valve into the drilled hole. We weld one of the bolts to a rounded plate fixed on the beam.
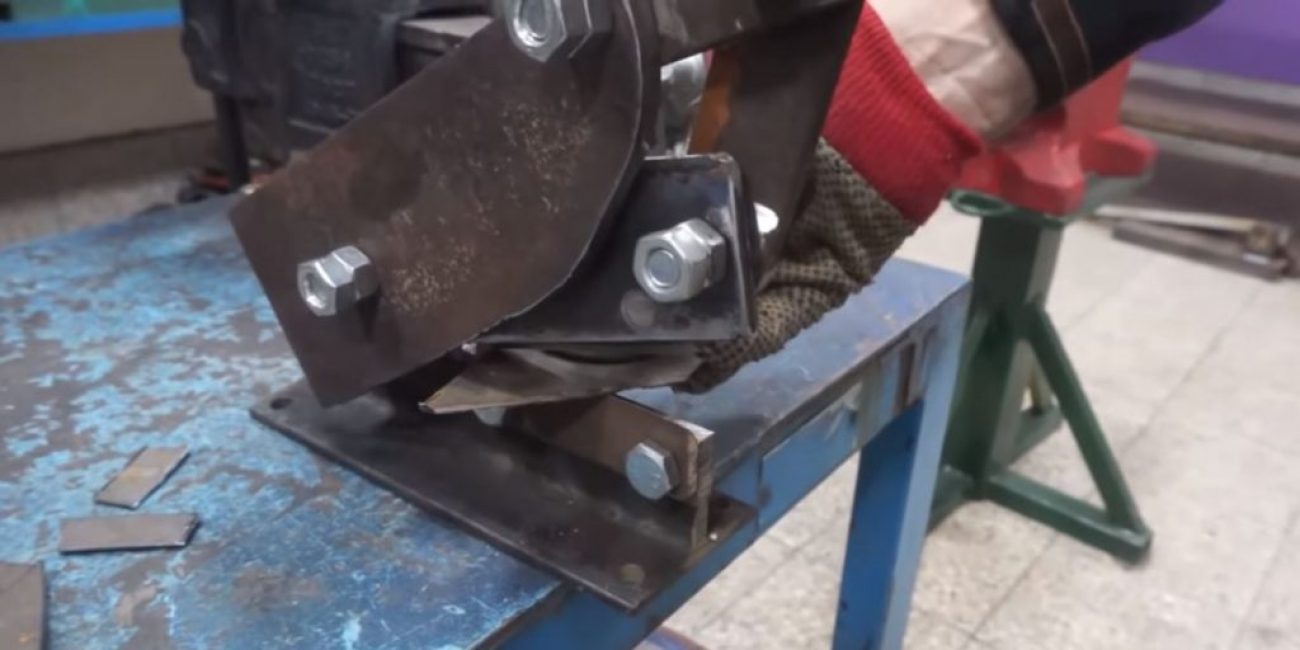
The result is a powerful scissors for metal.

Source: https://youtu.be/viPwW_8Jshk
 Read also: How to quickly sharpen scissors: TOP 8 Lifehacks
 Testing
We fasten the bottom sole of the scissors to the workbench. Scissors successfully cut metal plates of different thicknesses.

Do-it-yourself metal scissors. Master Class
Scissors ✂️ for metal with your own hands | Metal mode with a flick of the wrist


