
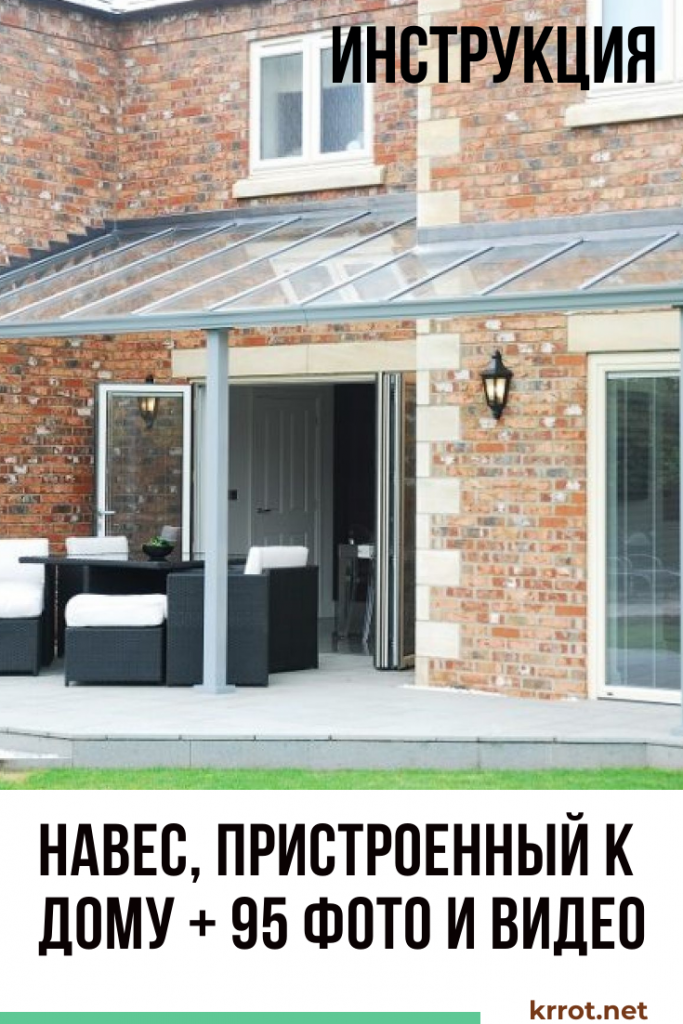
Buildings on a personal plot should be functional and fit into the architectural ensemble. A beautiful canopy attached to the house can comply with these rules. It will serve as protection from the scorching sun, snow, rain, hail. Carefully selected design will be a harmonious addition. For its construction, you need to think over the design and place of construction.
Content:
 Read also: Canopy in the courtyard of a private house made of polycarbonate and other materials (250 PHOTO IDEAS) - Beautiful view, convenience and practicality
Types of structures
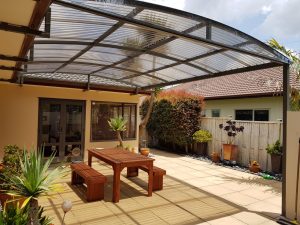
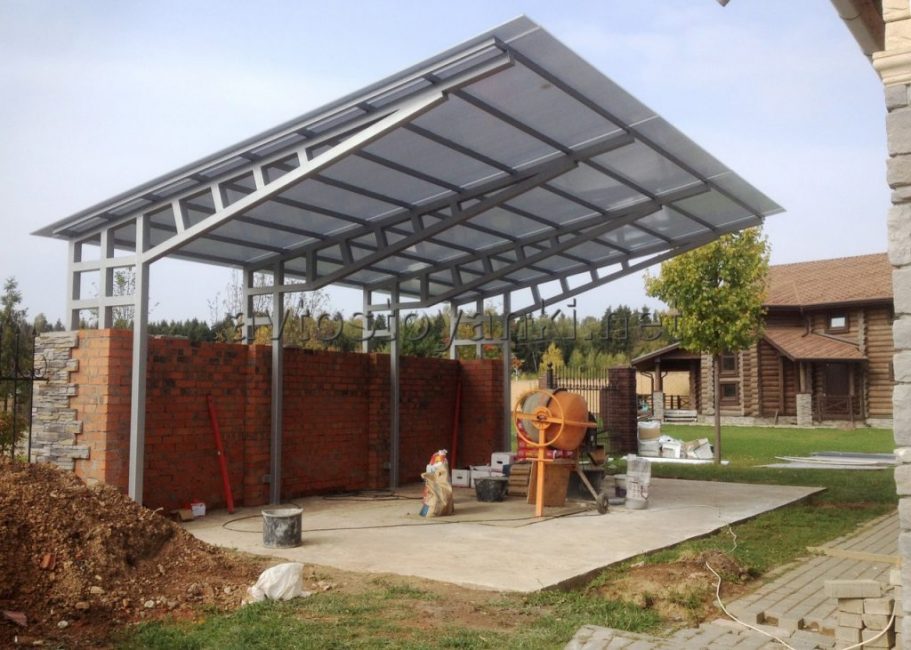
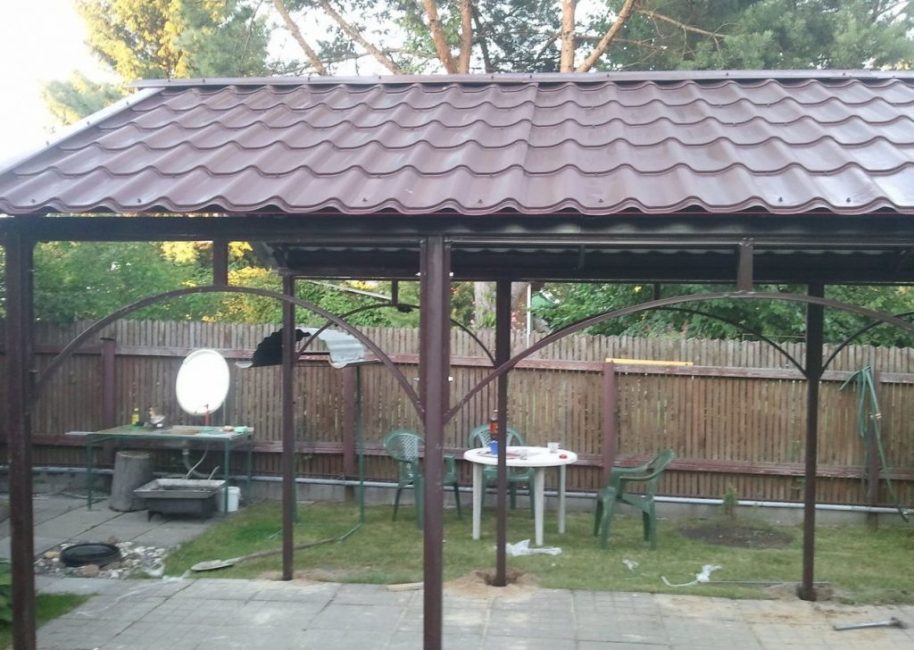
Canopy with sloping roof
Before starting construction, the type of structure is determined.
There are several of them:
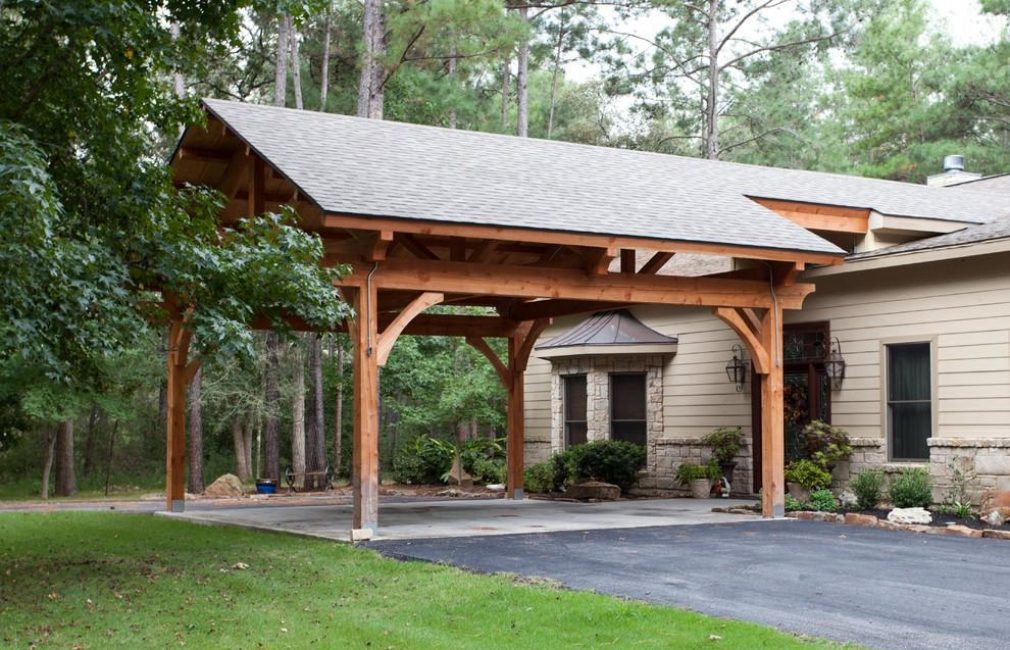
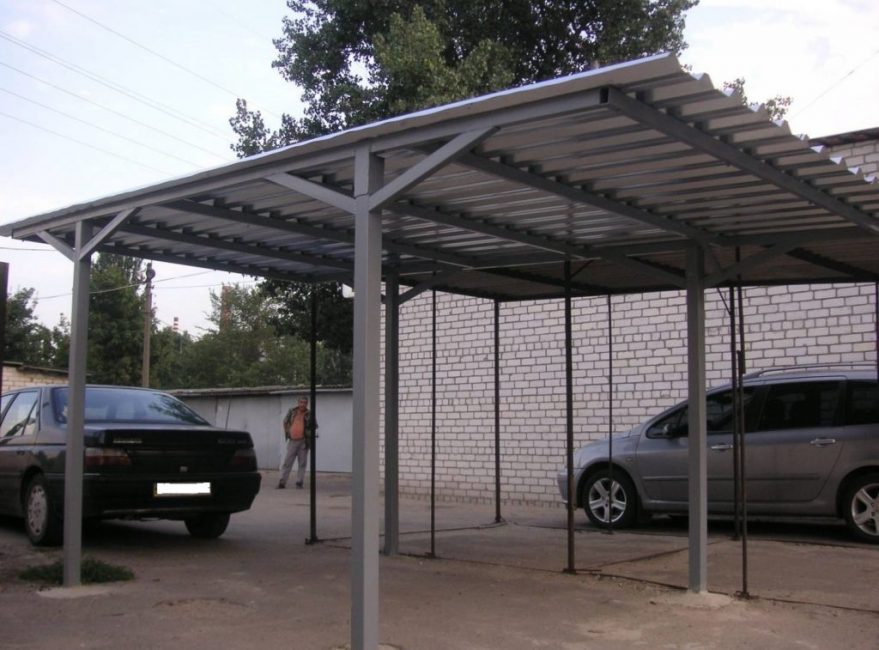
- with a straight roof - most often performs protective functions for the car so that snow and rain do not fall on it
- With sloping roof - due to the slope, snow and water are well removed from it. Divided into single and double
- with figured roof - the design is created in the form of an arch, a pyramid. Domes or other figures
You can also divide by type of construction:
1. On supports
Canopy on supports
2. Cantilever design
Cantilever canopy
Structures mounted on supports have extensive functionality:
- For car parking
- For summer holidays
- For household needs
The console is used as a visor. It can be located along the facade of the house. Its width should be within 2 meters. It must be well fixed to the facade, otherwise a strong wind can blow it away.
The role of the console is to protect windows and doors from rain and snow. By adding various elements, it can act as a decorative element.
 Read also: Interesting ideas for decorating your favorite dacha with your own hands | 150+ original photo tips for craftsmen
 Materials for the construction of a canopy

Materials for the construction of a canopy
When choosing materials, you need to take into account the concept of a personal plot. The building should harmoniously fit into the overall picture.
The next criterion is the amount of funds allocated for the purchase. You can make a visor from the existing remnants of building materials, or you can purchase it on purpose.
Materials for the frame and supports:
Metal - Widely used in construction. Metal structures require a minimum of building skills. Their construction is available to beginners.

Massive metal structure
Such a structure is built from metal pipes. The connection is made by welding or riveting. For supports, a pipe diameter of 10 centimeters is chosen, the thickness of the metal must be at least 2 millimeters.
- Strength
- Having the construction equipment is easy to give a figured look. You need a pipe bender for this.
- Metal does not absorb moisture
- rust susceptibility
- Expensive welder services
To protect the structure from corrosion, it must be coated with paint. It is applied over a layer of primer.
Frames made of metal and steel are combined with polycarbonate and metal profiles.
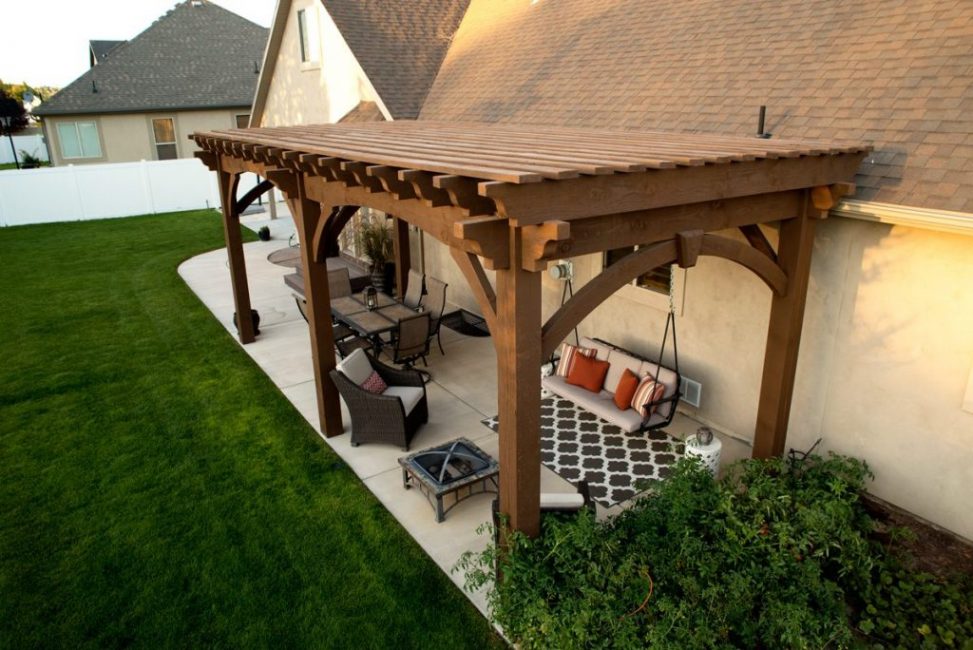
Tree - the material is easy to process. It is easy to work with him. Its advantages include:
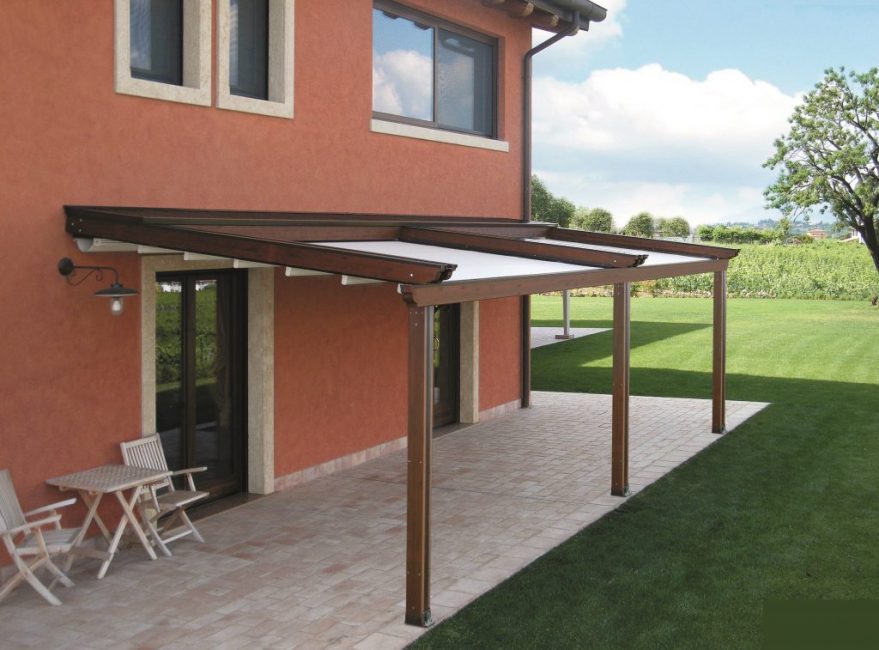
wooden canopy
- Affordable price
- Environmental friendliness
- Gives in to rotting
- highly flammable
- May be attacked by harmful insects
- Weather conditions can cause structural damage, as wood may dry out in dry climates, or swell in high humidity.
The wooden frame is combined with all available materials. The canopy can be made from it alone, or in any available combination.
Forged supports allow you to create a lightweight design with a high decorative effect. Fine details can be used independently and as additional details.
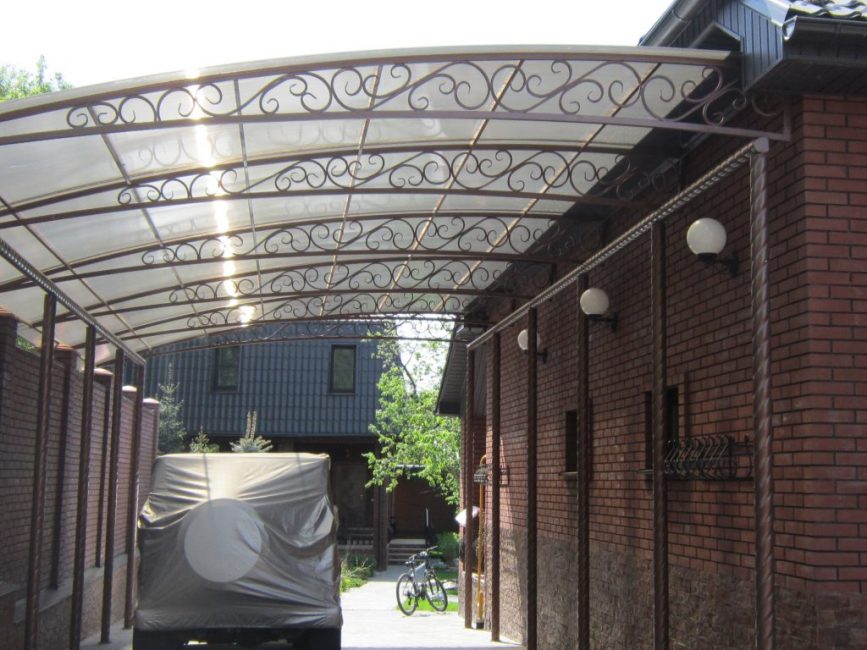
Metal canopy with forged elements
- Durability,
- graceful appearance,
- Design flexibility - under the weight of snow, it will not break, at most it will bend a little.
- The disadvantages of forged products include their high cost. It is justified due to the strength and decorative effect.
stone and brick are used for a fundamental structure or when a canopy needs to be entered into the architectural ensemble of buildings on the site.
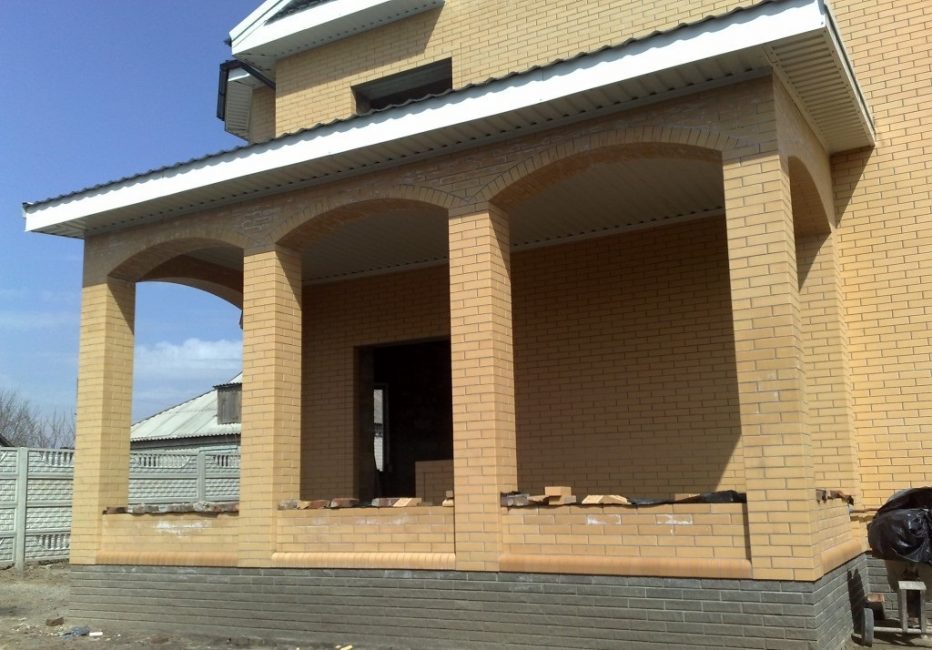
Monumental brick variant
- High strength, as the stone material is eternal. He is not afraid of temperature changes and natural precipitation.
- The stone building looks prestigious.
- Natural stone is expensive. To reduce costs, the base can be made of metal or brick, and the cladding of stone.
The roof of the structure can be any. For her use:
- metal tile
- Slate
- Polycarbonate
- Metal profile and other materials
When arranging light canopies for the summer period, an awning, canvas, or covering the supporting structure with mats can be pulled onto the frame.
 Read also: Landscaping your site with your own hands - (130+ Photo Ideas & Videos) + Reviews
Site selection and canopy design
Before the construction of the canopy you need to find a place for it. It can be located near the porch or wall.
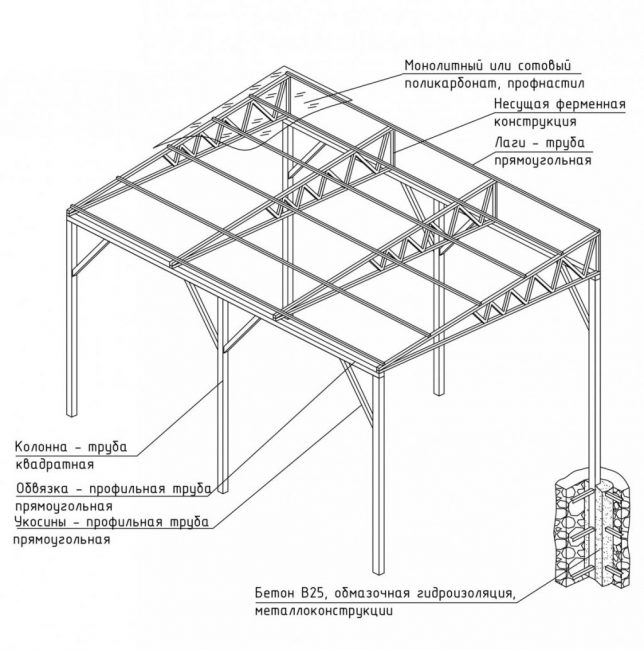
canopy drawing
The area must be measured. This is done to calculate the amount of materials needed for the construction of the structure.
The number of supports must be calculated. They do not need to be placed against the wall, since the structure here will rest on the house.
The arrangement of the site must be dealt with after the structure is installed.
The canopy is not built for one year. Before construction, a number of nuances must be taken into account so that the structure is durable and serves for many years:
- Snow thickness in winter
- Annual precipitation
- The presence of wind and its possible speed
- House construction
- Quality foundation
- Reliability of the walls
Once all of the above factors have been determined, draw a drawing of the canopy. It needs show all the details even the smallest ones.
It is important to note the actual width and length. This will allow you to correctly calculate the amount of material needed.
If the canopy is intended for parking a car, its dimensions must be taken into account. So for a passenger car, the area should be at least 250x500 centimeters, for SUVs from 360x660 centimeters.
The car must freely drive under the structure, even with a load. Moreover, if the height is more than 2.3 meters, then raindrops will fall under it. In such cases, a roof with a slope will save.
 Read also: Projects of country houses for 6-10 acres: 120 photos, description and requirements | The most interesting ideas
 Preparation of building materials

Materials in various colors
The purchase of materials is carried out after the calculation of the required quantity has been made:
- foundation material
- supports
- Roof covering
- Mounting hardware
- Additional elements
For a wooden or metal frame, you need to purchase a primer and paint, to treat and protect the structure from rotting or corrosion.
Before starting work, you need to prepare the tools that will be needed in the process:
- Foundation - wheelbarrow, shovel, concrete mixer
- Level and square for even installation of all elements
- Tape measure and chalk for marking
- To install a metal frame - a welding machine, electrodes
- Screwdriver, drill, grinder
- To install the roof - a ladder or stepladder
 Read also: Terrace attached to the house: 150+ Best photo ideas | Do-it-yourself step-by-step arrangement
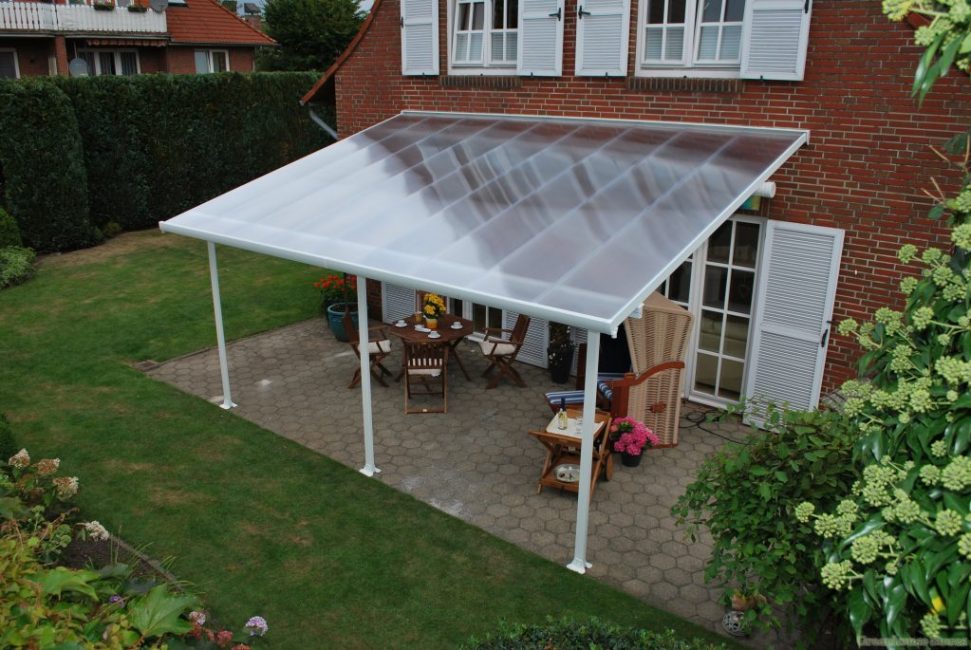
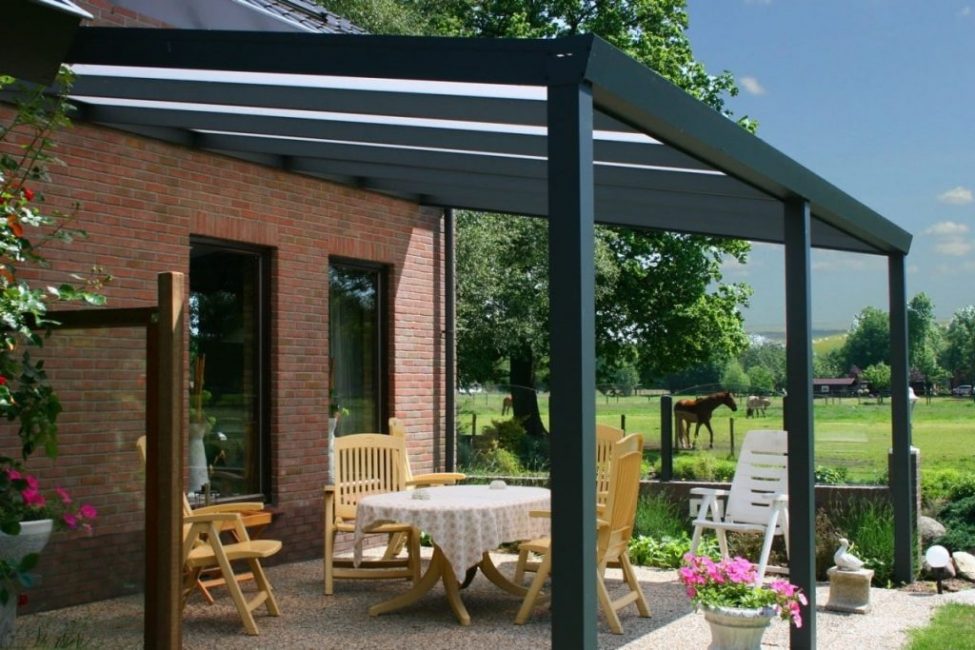
Canopy installation works
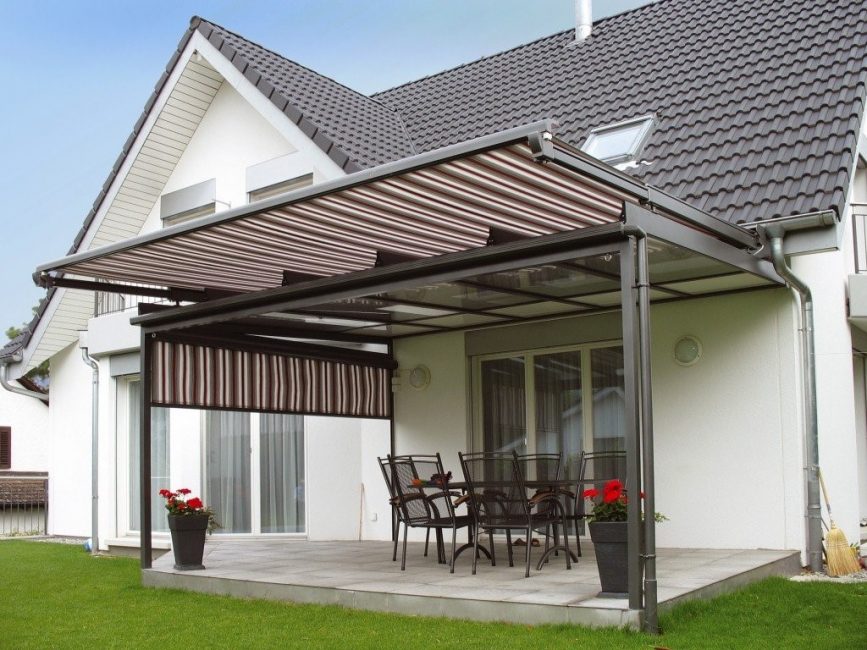
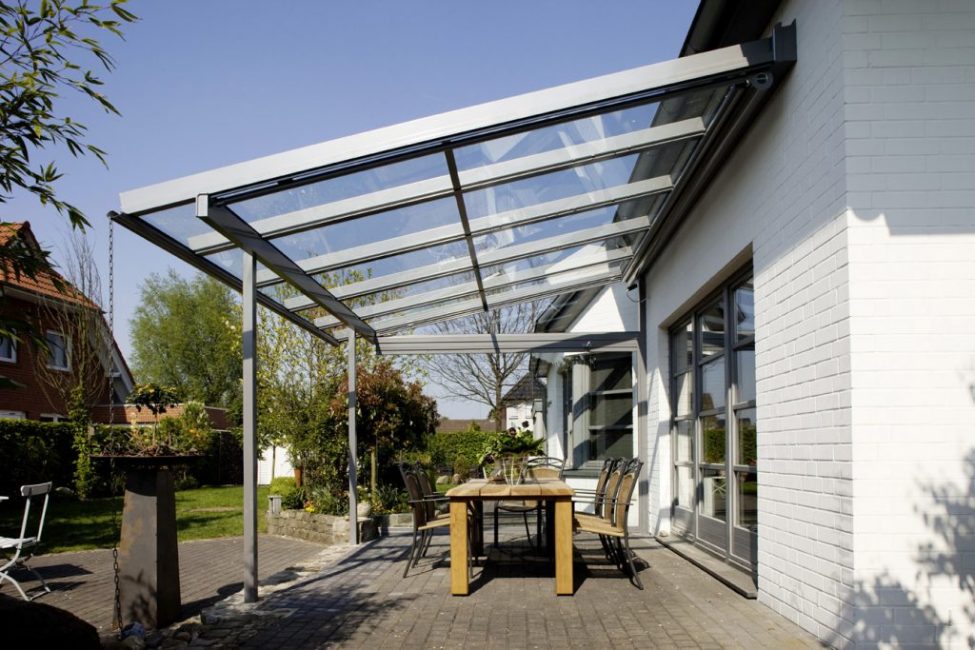
Glass canopy with retractable fabric cape
After carrying out the preparatory activities, it's time to take on the construction site.
It consists of several stages:
- Foundation
- Installation and painting of the frame
- Roof installation
- Floor installation
1. Foundation

Foundation pillars
For a canopy attached to the house, a concrete or columnar one is suitable foundation. Ideally, if it is the same as the main building. Then, during operation, the displacement will not occur or will be minimal.
You need to start the installation with the development of the soil. The first step is to remove the top layer of soil. For a canopy, it is enough to remove 30 centimeters of turf.
The dug hole is filled with sand, rubble or gravel. The surface must be compacted and leveled.
At this stage, you need to think about lighting. Wiring laid along with the foundation.
Wells are drilled on the prepared site for the columnar base. Their diameter should be approximately 15 centimeters. The optimal depth is about 50 centimeters.
The wells of the columnar foundation should be located in the corners of the building. And in those places where the load will be the greatest. Pipes are installed in them and fixed with cement mortar.
The lower part of the supports must be wrapped with roofing material. It is easy to fasten it with a construction stapler or construction tape.
If groundwater is close to the surface, you need to wrap it with plastic wrap on top. Such a measure will avoid corrosion in the concreted part of the pipe.
Racks can be made of wood. It, like metal, must be protected from moisture. Before putting on a sleeve made of roofing material, it is necessary to treat it with an antiseptic.
For a concrete foundation, a trench is being dug around the perimeter of the future canopy. Its width should be 40 centimeters, depth 50 centimeters. Sand is poured to the bottom, its layer should be at least 10 centimeters. A layer of crushed stone is laid on top and poured with a concrete mixture. Support posts are installed immediately so that their base is firmly fixed in the cement screed.
2. Frame
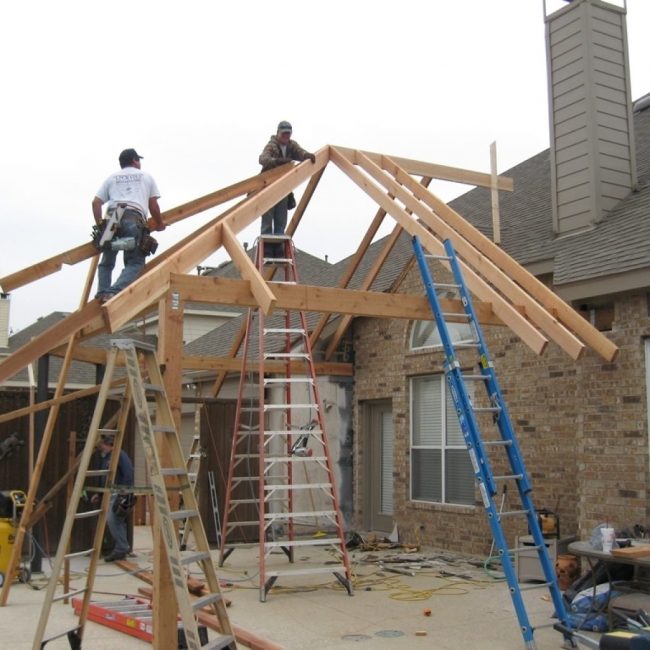
Canopy frame installation
The frame is attached to the prepared base. If it is made of wood, then corners and self-tapping screws are used for fastening. For a metal structure, fastening is carried out by welding or special self-tapping screws for metal.
All components must be level. This is checked with a level. The exception will be those cases when the project involves slopes.
After the supports are installed, a crate is made for the roof. If according to the drawing it is curved, then it is necessary to make a horizontal crossbar. It enhances the design. It is attached to the support poles. You can add stiffeners to it.
The second part of the frame will rest on the house wall. It is attached to the wall of the house on a bolted beam, or it starts under the roof. You can also put support posts near the wall and attach the crate to them.
The reliability of the canopy depends on the quality of the fastening. There are several varieties:
- Welding to reinforcement, which is pre-built into the house wall. This option is considered the most reliable.
- Installation of brackets.
- On a support beam bolted to the house.
During the assembly of the structure, it is necessary to additionally fix the support pillars, because its rigidity depends on both the fixation of the foundation and the upper trim. Will help keep the vertical position of the props and struts.
3. Roof installation
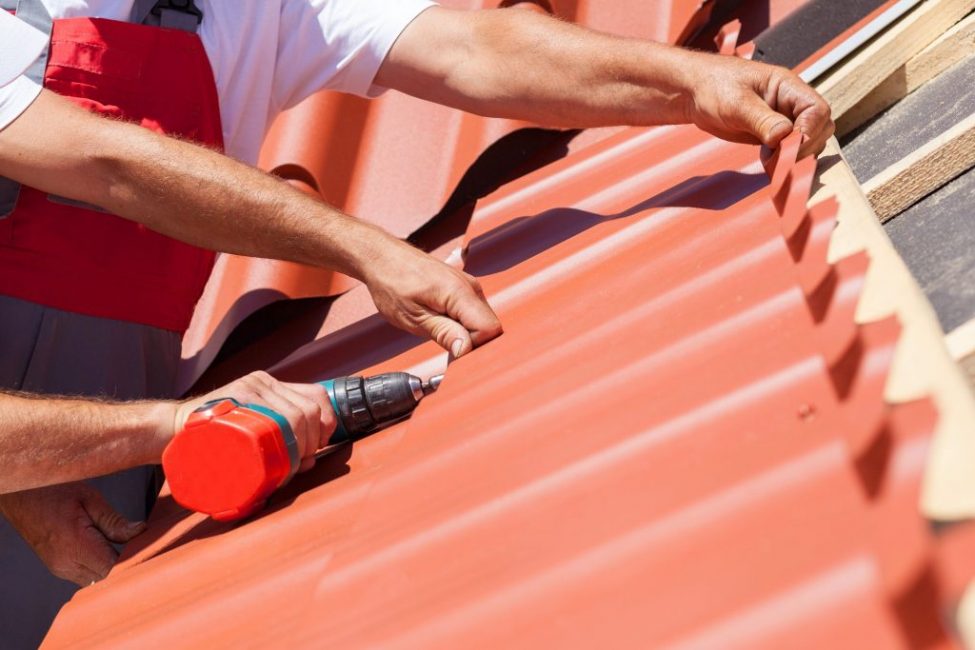
Roof installation
The canopy can be with a flat or shed roof, less often you can find a curved one. So that snow does not linger on it, it is placed at an angle. The ideal slope is 50 degrees.
The roof is attached to the finished frame. Fasteners are selected depending on the material chosen. So the corrugated board can be fixed with ordinary self-tapping screws, and for polycarbonate, you must also use thermal washers.
The edges of the roof should protrude slightly beyond the support structure. This will provide additional protection from the rain.
Marking is applied to the sheets of the future roof and they are cut along it. Holes are made at the attachment points. After that, they are lifted up.
When laying it is necessary to take into account the directions of the grooves on the sheets. They are placed pointing down. This is done so that water from rain and snow does not accumulate, but flows to the ground.
The last stage of roof installation is the installation of a gutter for draining water. It should run along the entire perimeter and have an outlet in the opposite direction from the house.
These are general recommendations for roof installation. But each material has its own characteristics. To cover the roof with your own hands, you need to familiarize yourself with them:
metal profile laid on a flat roof. You can't walk on the sheets. As well as laying on a windy day - they will bend. You need to cut with special scissors, this will protect against rust.
Sheds from corrugated board
Ideal for full sheets. Its width is 90 or 110 centimeters, length is up to 170 centimeters.
Raise the metal profile with the help of wooden logs. Installation starts from the bottom edge. The sheets are overlapped and fixed with self-tapping screws with rubber seals.
To fix 1 square meter, you need from 6 to 8 self-tapping screws. At the same time, in areas with frequent winds, the fastening step is made smaller.
After the installation is completed, you need to sweep the chips from the roof. Do this with a soft-bristled brush. All cracks, scratches and chips are painted over. This will give a more aesthetic appearance and protect against corrosion.
Polycarbonate Lightweight and durable material, easy to cut. When dropped, it does not break. Its surface is covered with a protective layer, which is not afraid of direct sunlight.
Canopy using polycarbonate
There are 3 types:
- Monolithic
- Cellular
- Profiled
Criterias of choice:
- Thickness must be at least 6 mm. If you choose sheets of thinner thickness, they will quickly break. Their quality is not suitable for roofing installation
- Structure should be smooth, without turbidity inclusions
- Polycarbonate must be flexible and durable. When bent, it should not crack and make an appropriate sound. This criterion is especially important when installing a roof in the form of an arch.
- The cost must be adequate. Do not make a purchase if the price is too low. Often it is lowered for low-quality goods
This material is laid up with a protective coating. In this case, the slope must coincide with the channels, otherwise condensate will accumulate on it.
Fasteners must be located at least 5 millimeters from the edge. The closer to the edge the self-tapping screw is screwed, the higher the risk of damage to the material. To compensate for thermal expansion, the holes must be 2 millimeters wider than the desired diameter. They should be located between the stiffeners.
You can cut polycarbonate with a knife, jigsaw, saw, cutter, grinder.After the procedure, the channels must be vacuumed from clogged dust.
A lightweight frame can be used to mount a polycarbonate roof.
Polycarbonate also has its drawbacks. It will not create shade and coolness. The sun's rays will freely pass through the translucent texture.
Still he does not have fire resistance. Therefore, such coverage is not available if the building is intended as a barbecue area. You can not install a brazier under it.
metal tile has a high hardness, to work with it you need special tools. It is better to cut it with a grinder, or as it is also called a surface grinder. In its absence, you can use metal shears, although this will take more time and effort.
Canopy from a metal tile
Installation is done from the bottom up. The overlap of sheets should be 15 centimeters. After complete laying, the joints are closed with a decorative strip.
4. Floor installation
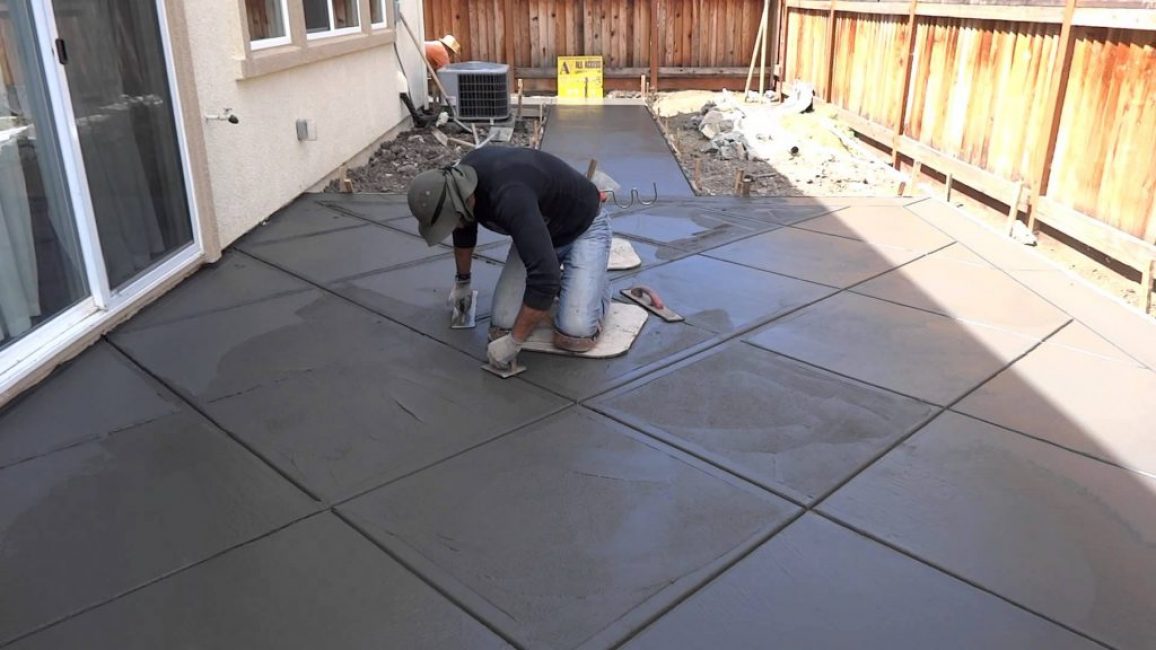
Laying street tiles
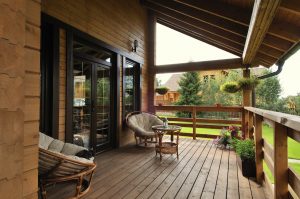
After the canopy is ready, it's time to start arranging it. The floor covering is selected depending on the functionality of the extension.
It can be an asphalt parking lot. If the canopy is made near the porch and will serve as a resting place, then the floor can be made of wood. In addition, you can lay out a platform under the roof with tiles. The choice depends on the preferences of the owners of the house.
Advice
Luxurious seating area
- The minimum allowable height of the canopy is 2 meters
- If the roof of the house does not have a drain for precipitation, then their weight will fall on the roof of the canopy. Be sure to install a gutter on it
- If the canopy is built to form a recreation area, then you need to hang curtains on the open sides. You can use roller blinds. They will save from the scorching midday sun
- If the building has a transparent roof, then inside it is useful to install an additional awning that will open and close
- Sheds need electricity it does not matter for what purposes they are built
- All elements must be treated with protective equipment, then the building will last a long time. For metal, this is a primer and paint, for wood, antiseptics and varnish
 Read also: Veranda attached to the house - expanding the living space: projects, tips on how to create your own hands (200 original photo ideas)
 Canopy decoration
Canopy can fit into landscape design site. It will become not only functional, but also a beautiful object.
Options:
Plant climbing plants and flowers around the perimeter. For example, bindweed, ivy or grapes. With the onset of summer, they will wrap around the frame of the building, turning it into a living gazebo. They will hide the space under the roof from prying eyes and protect from the sun.
You can color the design. Bright colors will accentuate and attract the eye. Having shown imagination, you can create a painted art object.
Add carved or forged decorations. For example, install support poles with threads made on them. Such decor can be done independently or ordered from the master. It allows you to show your personality and taste.
Building a canopy with your own hands is available to everyone. It will provide space near the house where you can equip a place to relax, a playground or a parking lot. With the right design, it will harmoniously fit into the backyard.

VIDEO: Tips for attaching a canopy to a house
Canopy attached to the house: what are the types, choice of materials and installation tips (95 Photos & Videos) + Reviews
 Read also: Making a greenhouse with your own hands from a profile pipe and polycarbonate: a complete description of the process, drawings with dimensions, watering and heating (Photo & Video)


