
Each of us in our hearts hopes to find a treasure. After all, this will immediately solve a lot of financial problems. Every now and then a video pops up on the Internet, where happy treasure hunters share their luck with the whole world. An invariable attribute of such videos is a metal detector.
If you agree to leave the cozy sofa and start looking for treasures, we will tell you how to make a metal detector with your own hands at home, spending a minimum of money on it.
Content:
 Read also: How to make a children's house with your own hands: from wood and other materials. Dimensional drawings | (80 Photo Ideas & Videos)
Materials for manufacturing
To make a metal detector you will need:
- radio components (according to the list);
- a piece of foil textolite;
- drilling machine;
- nail polish;
- iron chloride;
- capacity for etching the board;
- soldering iron;
- tin and rosin;
- insulated wire;
- speaker;
- Jack 3.5 mm internal;
- two switches;
- variable resistors of 100 and 10 kOhm;
- plywood sheet 16 mm thick;
- jigsaw;
- Bulgarian;
- copper wire with a cross section of 0.5 mm;
- glue gun;
- insulating tape;
- a piece of plastic pipe with two fasteners;
- Super glue;
- carbon fiber pipe rods;
- coupler;
- plastic junction box;
- self-tapping screws;
- handle mount;
- polymorphus;
- plastic pipe ø50 mm;
- piece of foam.
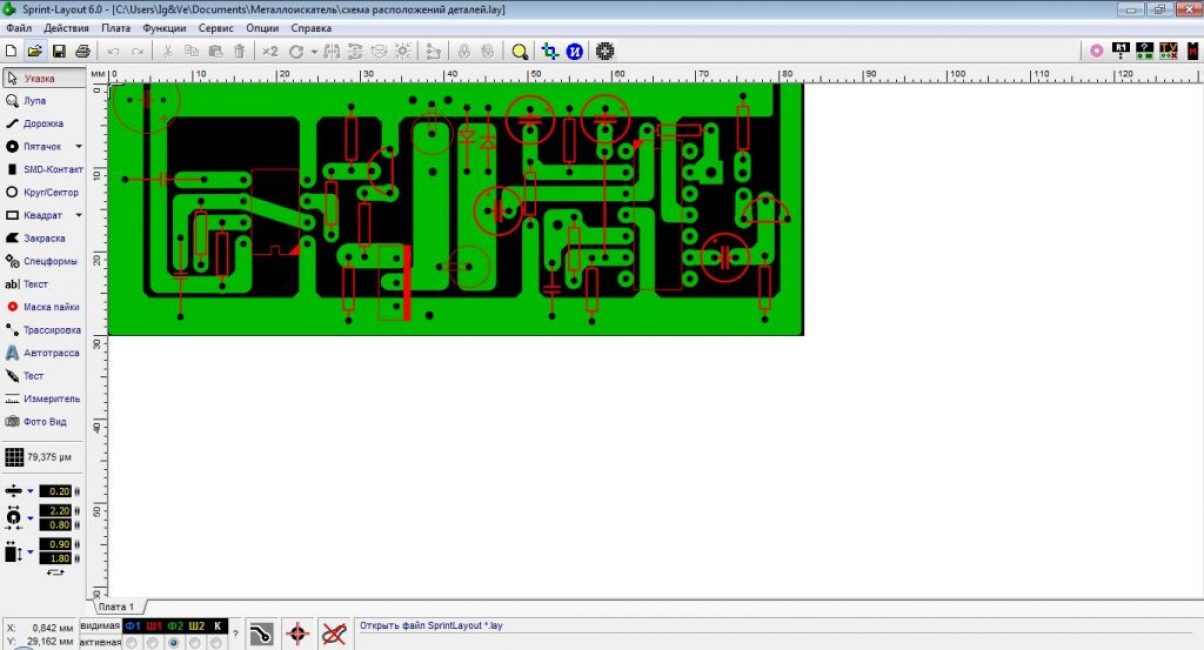
Step 1. We make a board
We launch the program and open the file “parts layout diagram.lay” in it.
We place the printed circuit on a piece of foil textolite with the circuit down.
We iron the scheme with an iron at full power and remove the paper under a stream of warm water. The pay looks like this.
On a drilling machine, we drill holes for radio components.
We paint over all the tracks with nail polish.
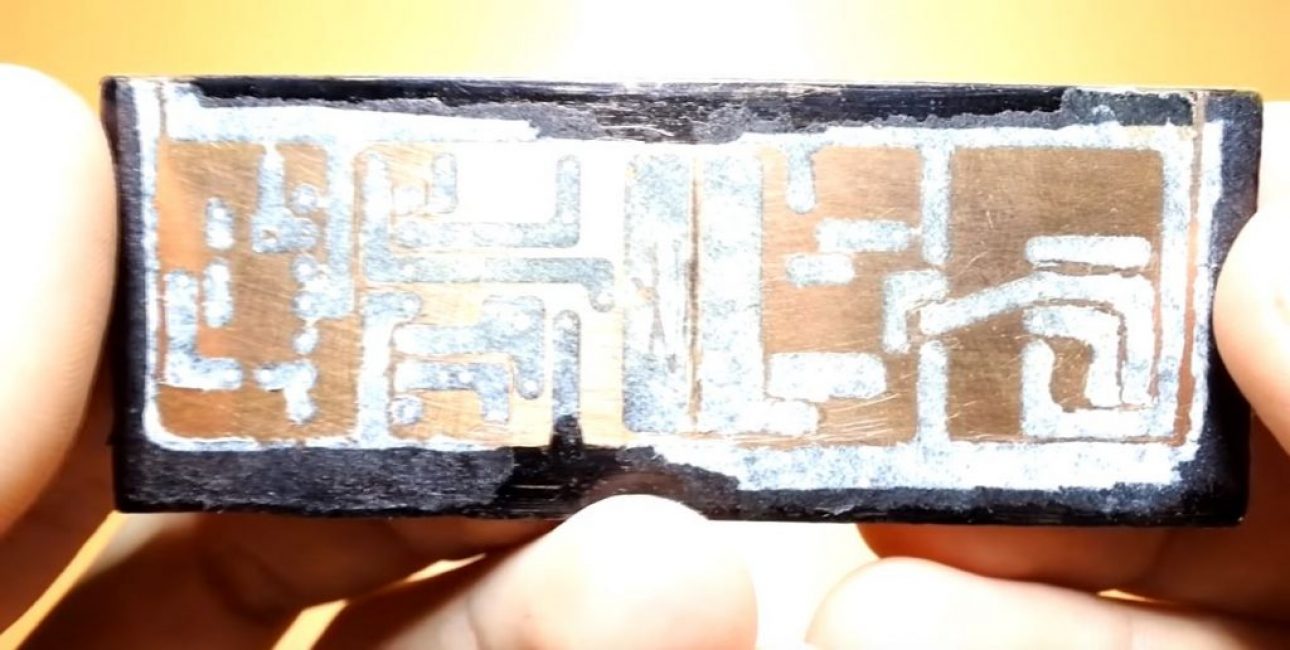
In a container, we dilute ferric chloride with water in a ratio of 1: 2 and place the board in it for 40 minutes.
We take out the board, dry it and tin the tracks with tin and rosin. This is what the finished board looks like.

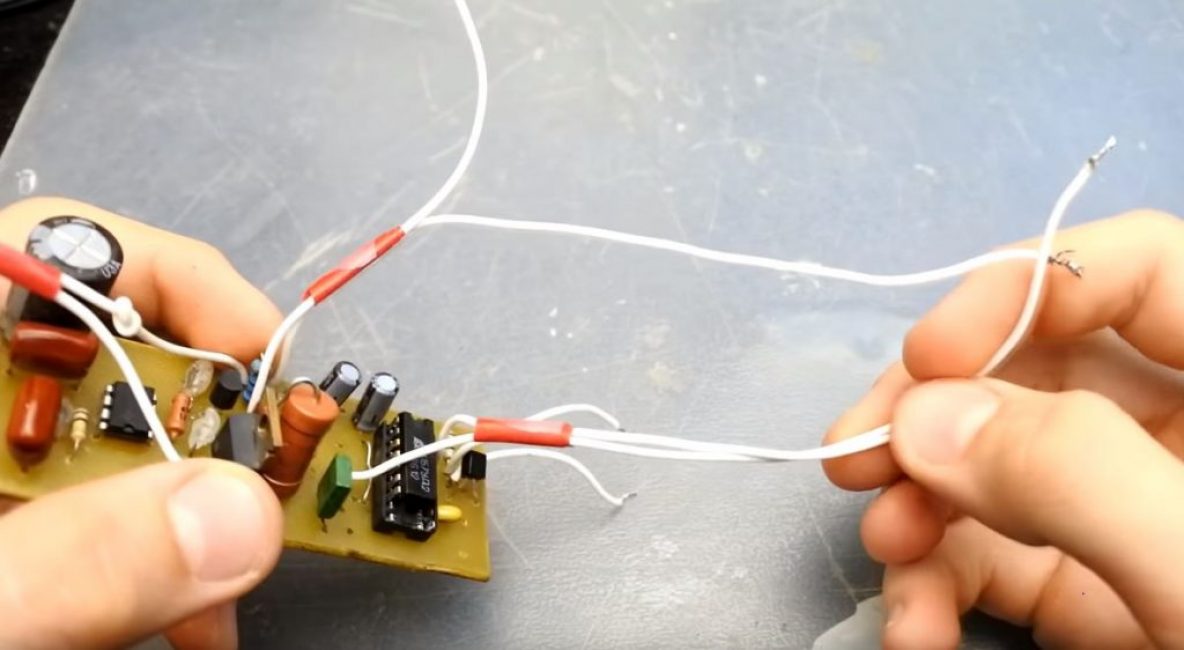
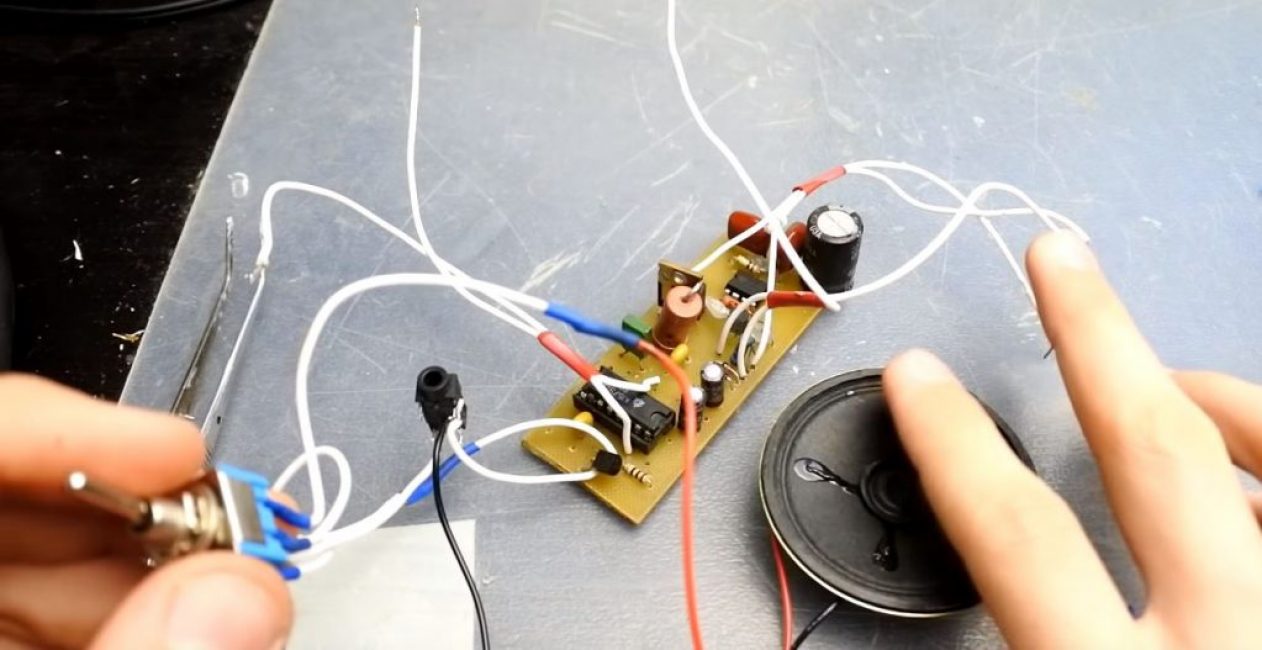
Step 2. Assembling the circuit
We solder the parts to the board as indicated in the diagram in the Sprint-Layout 6.0 program.
We solder four pairs of wires to the board: one for power, the second for the speaker or headphones, the third for the resistor that regulates the sensitivity of the metal detector, and the fourth for connecting to the coil.
Step 3. Connecting external devices
We connect the headphone jack and speaker to the corresponding pair of wires. So that the devices do not work at the same time, we connect them through the switch.
We connect the second switch to the power wires - this will be the on / off button of the metal detector.
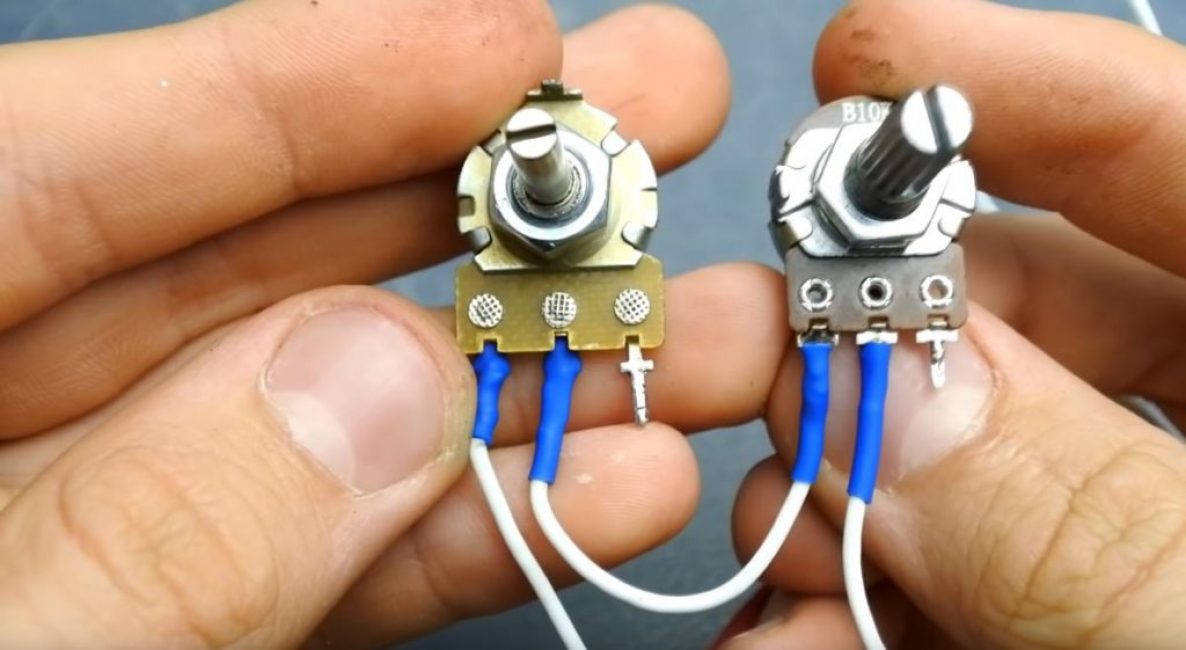
We connect resistors to the third pair of wires, which will be responsible for the sensitivity of the device: 100 kOhm - for coarse adjustment, 10 kOhm - for more accurate.
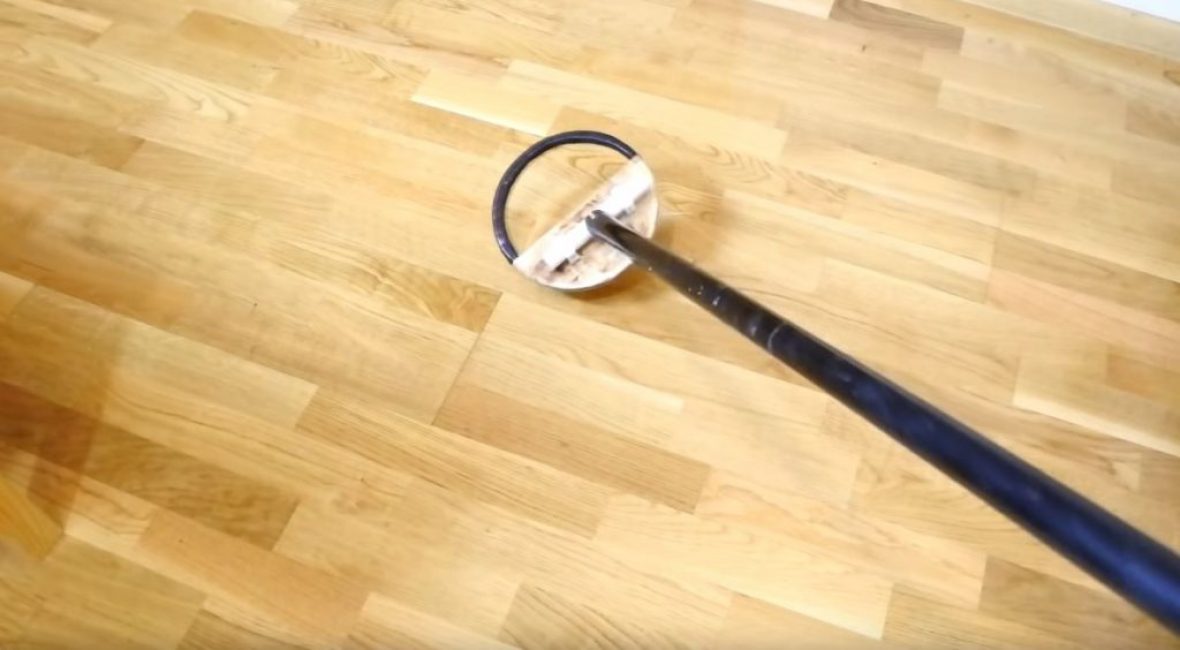
Step 4. We make the coil
From a sheet of plywood 16 mm thick, cut out a circle ø200 mm. For greater staticness, we cut out a segment inside it.
We grind the circle and make a cut on the entire surface of the end with the help of a grinder.
We wind 20 turns of copper wire with a cross section of 0.5 mm into the cut, fix it with a glue gun, creating a protective layer.
We glue a piece of polyethylene pipe on the fasteners to the plywood - for subsequent connection to the base of the metal detector.
We will make the base from the carbon fiber pipe of the fishing rod, attaching it to the polyethylene pipe using a screed and superglue.
Step 5. Assembling the metal detector
For the power source, we will use three 18650 lithium-ion batteries. You need to solder them in series, since the metal detector operates on a voltage of 9-12 V.
As a case for electronics, we will use a plastic junction box, which we fix with self-tapping screws on the base of the metal detector.
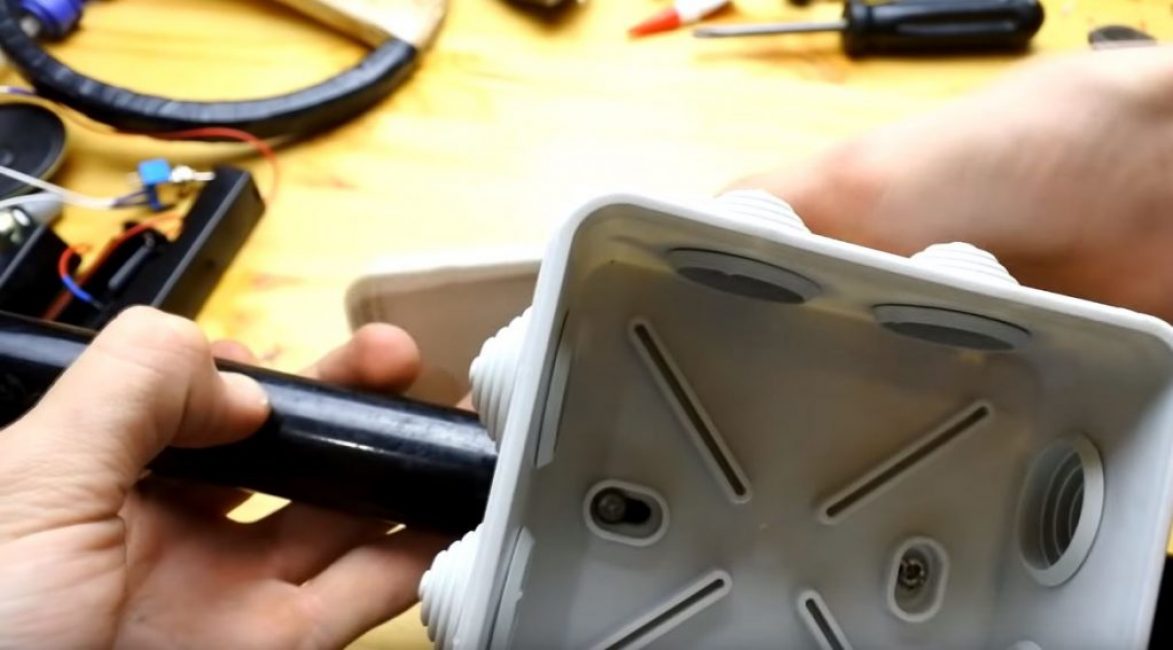
We pass the wire to the coil from inside the box.
We attach the board with self-tapping screws or a glue gun. We place in the case and power supplies.
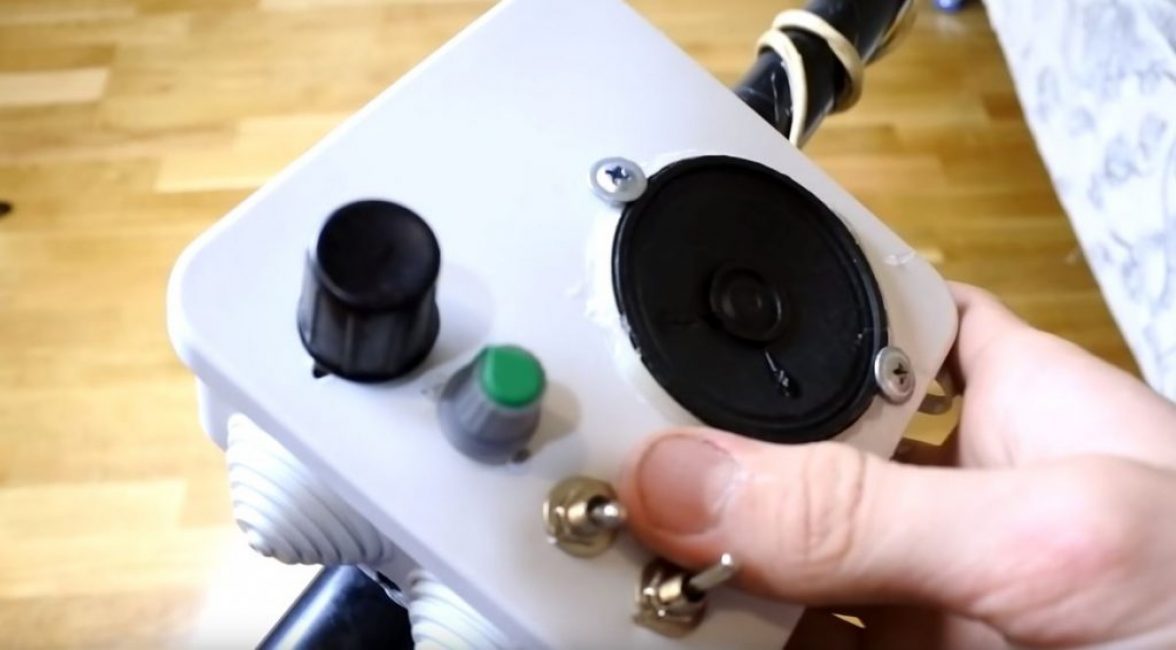
In the lid of the plastic box, we cut out holes for the speaker, switches, variable resistors and a headphone jack. We install or glue everything in place and close the lid of the box.
We connect the copper wires of the coil with the wire that we brought out of the box.
For ease of use, we attach a handle to the base of the metal detector, which we will make ourselves from a special handle mount and polymorphus (granular plastic).
From a pipe ø50 mm we make a carriage under the arm and cover it with foam rubber.
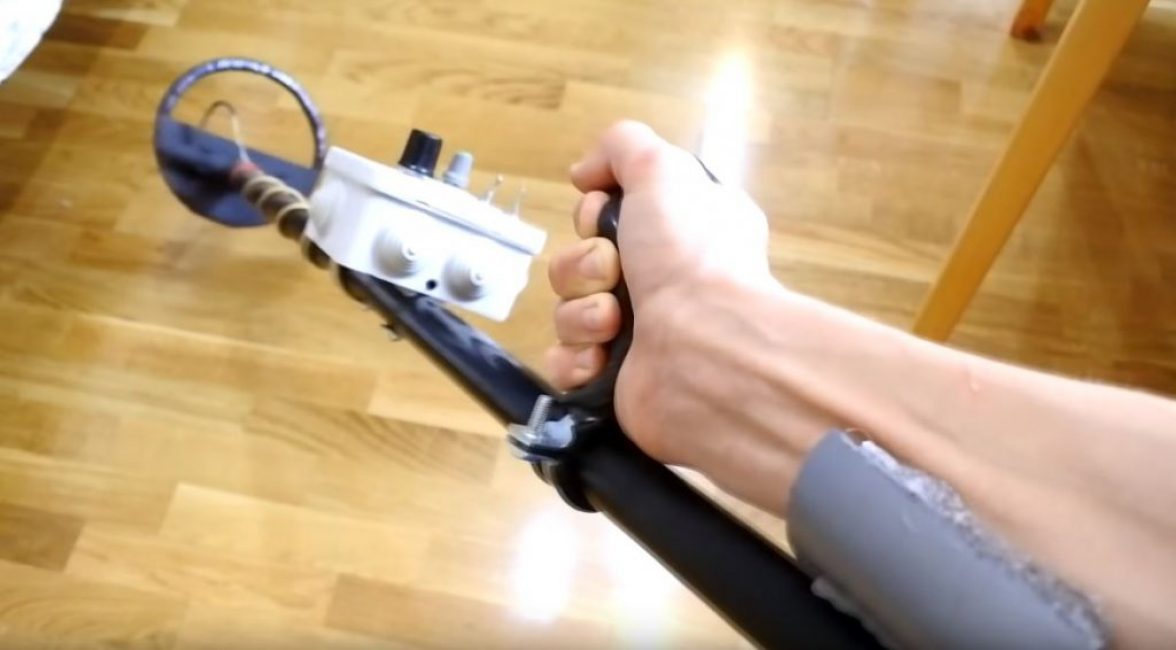

DIY metal detector
How to make a metal detector with your own hands at home? ? | Scheme + Video


