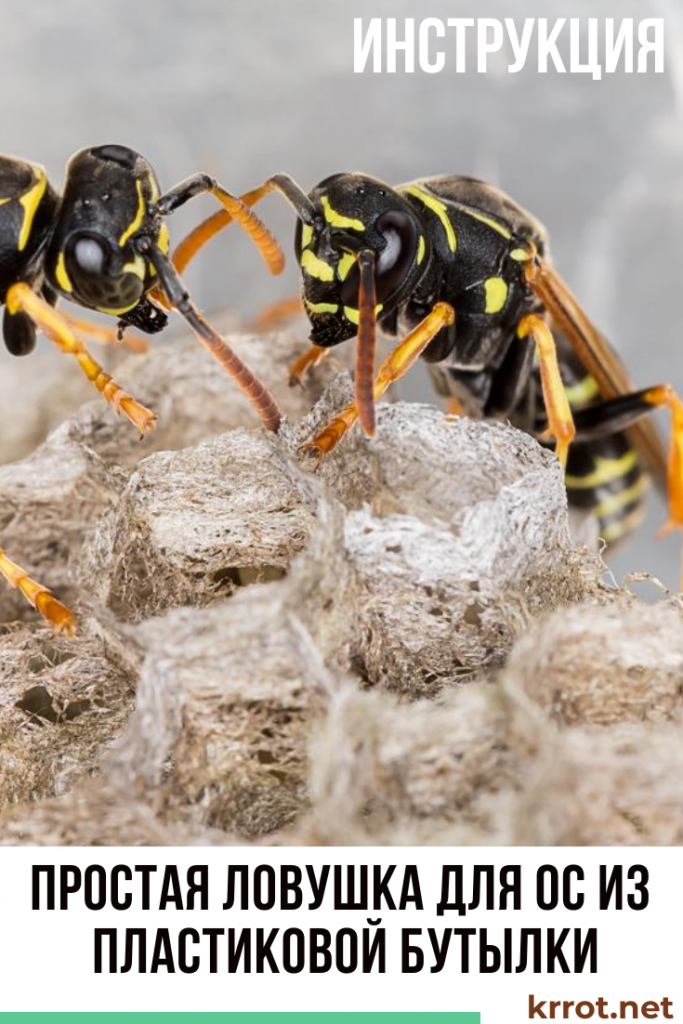
Despite the fact that wasps are beneficial insects that destroy pests, they can cause a lot of trouble. First of all, these are their bites. They are not only painful, but can also cause allergic reactions.
In addition, wasps use protein food exclusively for feeding their larvae, and adult insects eat mainly food containing sugar. Thus, wasps pose a serious threat to any crop of fruits and berries.
Gardeners receive considerable losses from wasps that eat the ripened fruits of pears, apple trees and grapes. The most unpleasant thing in this process is that if one wasp finds a food source, then very soon all the inhabitants of the nest fly with it.
A very simple device in the form of wasp trapsmade from ordinary plastic bottle. The article describes in detail the process of manufacturing such a trap.
Content:
 Read also: Apple compote for the winter - 14 cult recipes! Tasty and healthy (Photo & Video) + Reviews
Necessary tools and materials
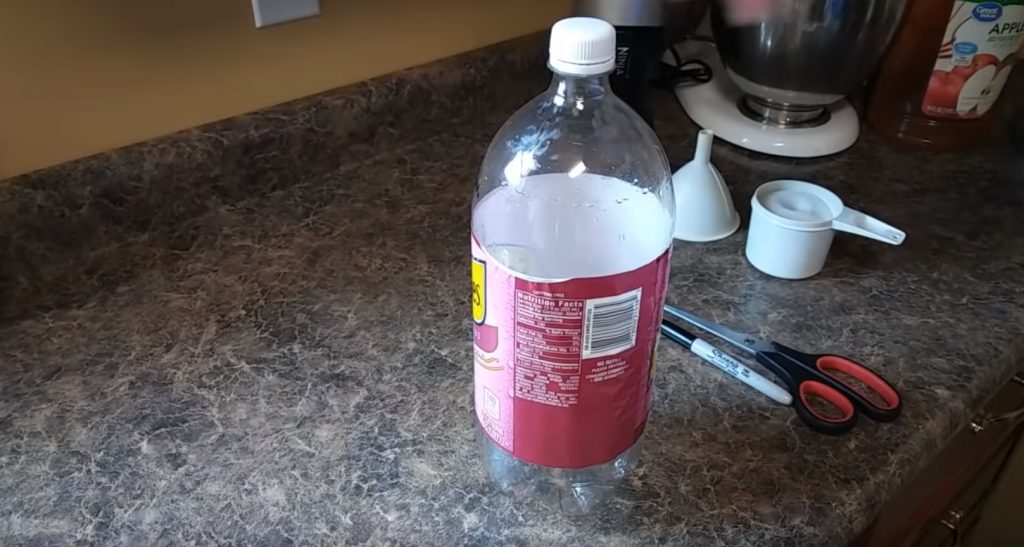
Tools and materials for making a trap
To make a trap you will need:
- plastic bottle with a capacity of 1.5 l
- scissors
- marker
- funnel
- Cup
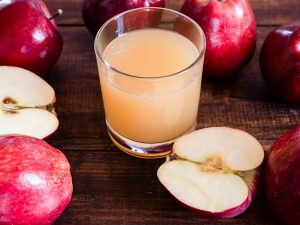
- water, sugar, any sweet juice, yeast
Action # 1 Marking the cut line on the bottle
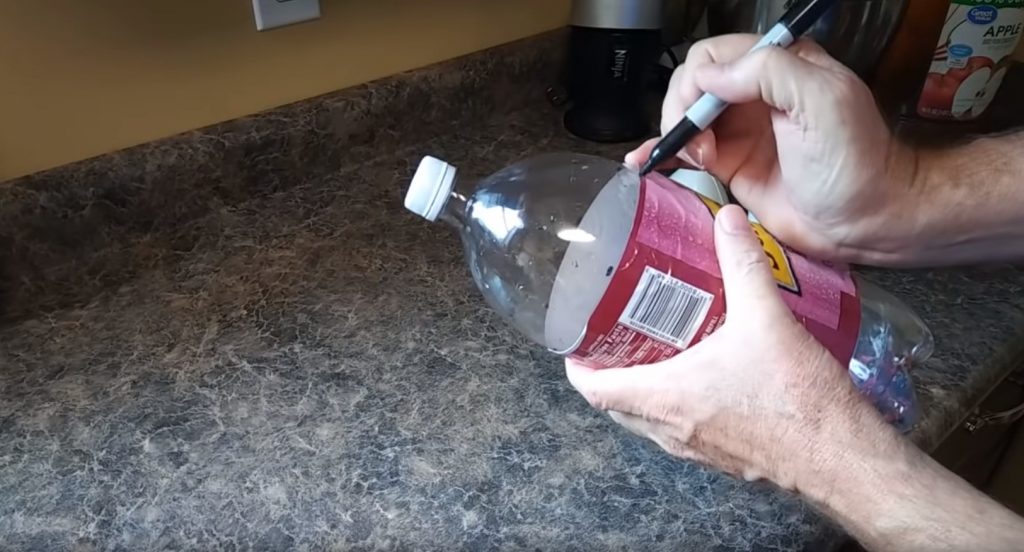
Marking the bottle with a marker
Using a marker on a plastic bottle, a cutting line is outlined. It is recommended to cut off the top of the bottle, capturing 1-1.5 cm of its main body, where the plastic has not yet begun to narrow towards the neck.
Step #2 Preparing the bait mix
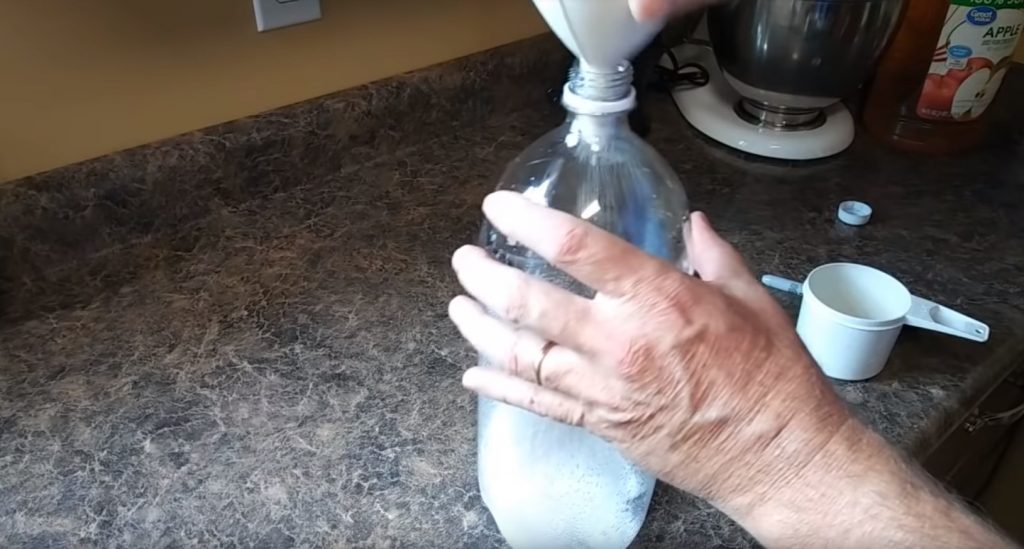
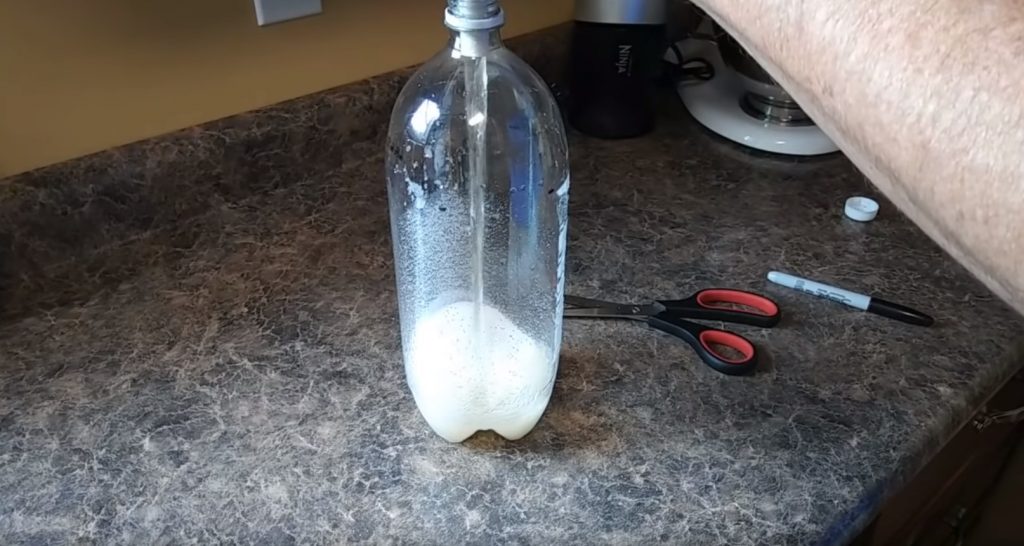
Using a funnel, 100-150 g of sugar is poured into the bottle
Further, it is recommended to make wasp bait directly in the bottle. Of course, this can be done later, but this will require a separate container. If you do not want to make the bait right away, you can skip this step.
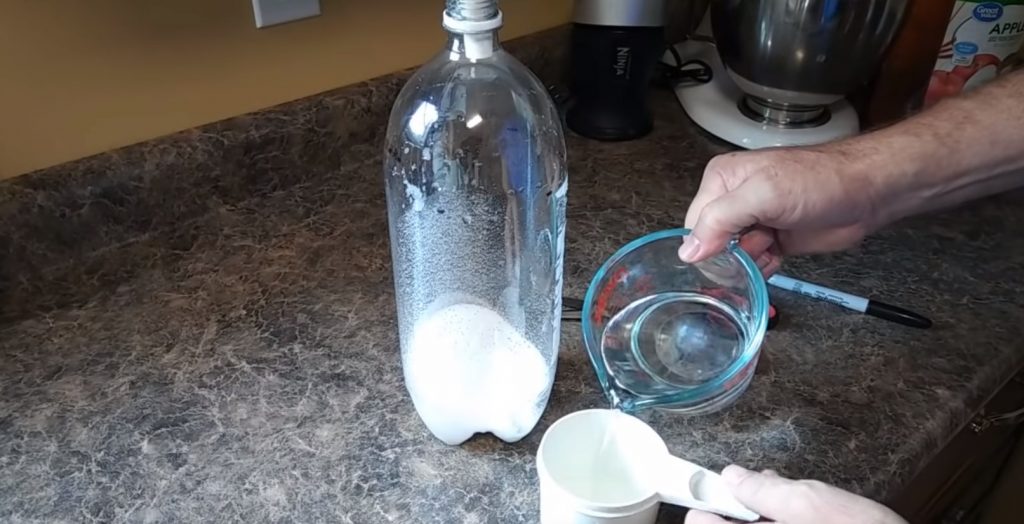
Pour 150 ml of water into a glass
Pour 150 ml of water into a glass. And add 50 ml of juice.
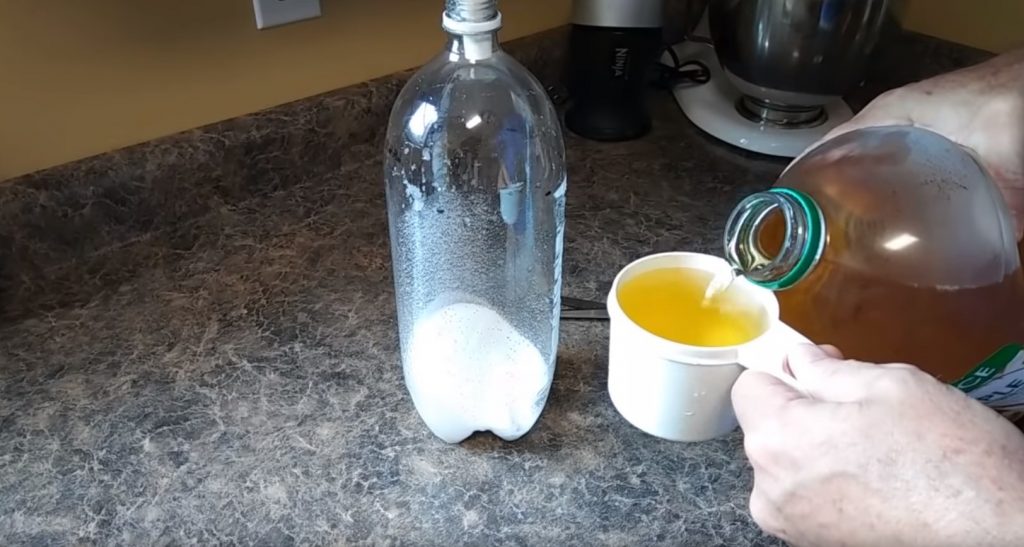
And add 50 ml of juice
Then the mixture of water and juice is poured into the bottle.
A mixture of water and juice is poured into a bottle
The bottle is closed with a cap.
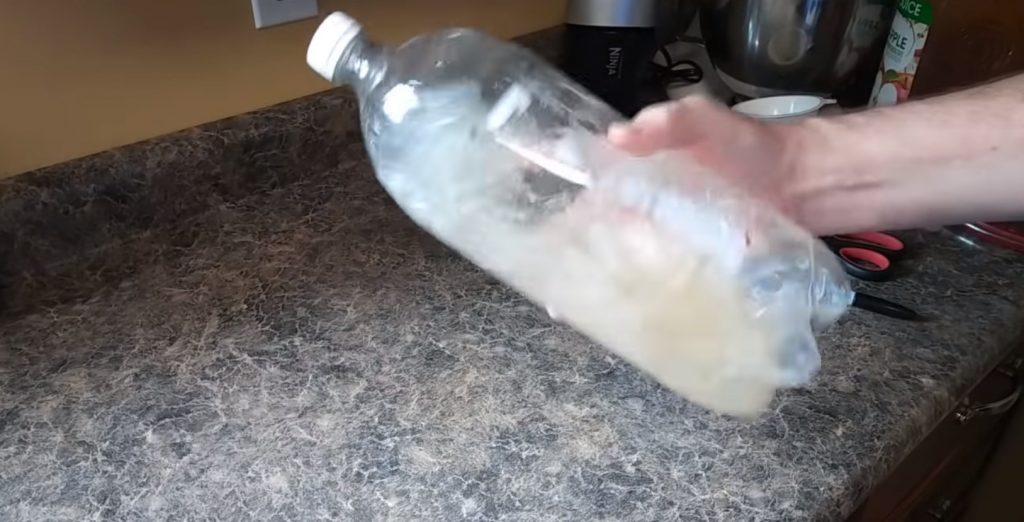
Shake the bottle until the sugar dissolves.
And shake well until the sugar dissolves.
The bait is ready
Action number 3 Making the top of the trap
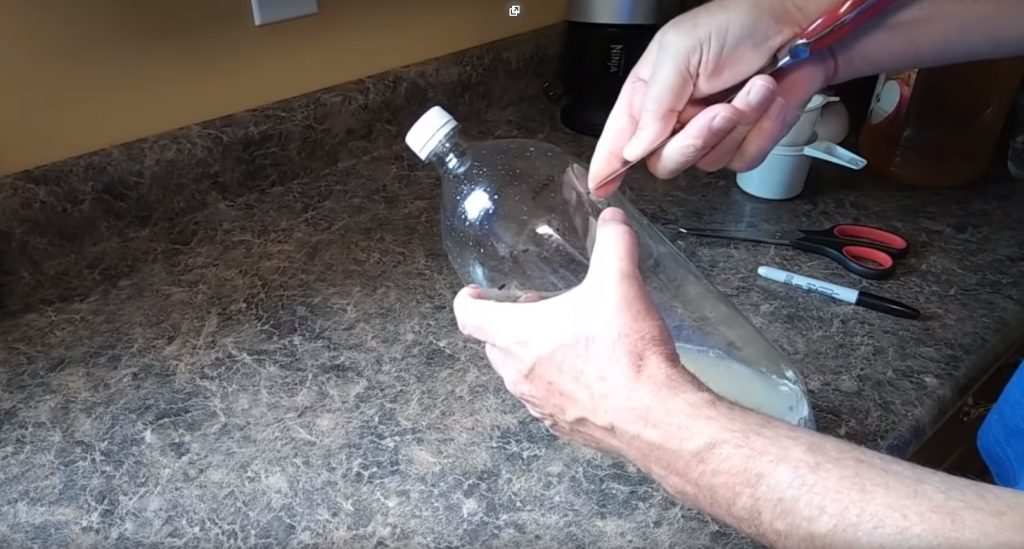
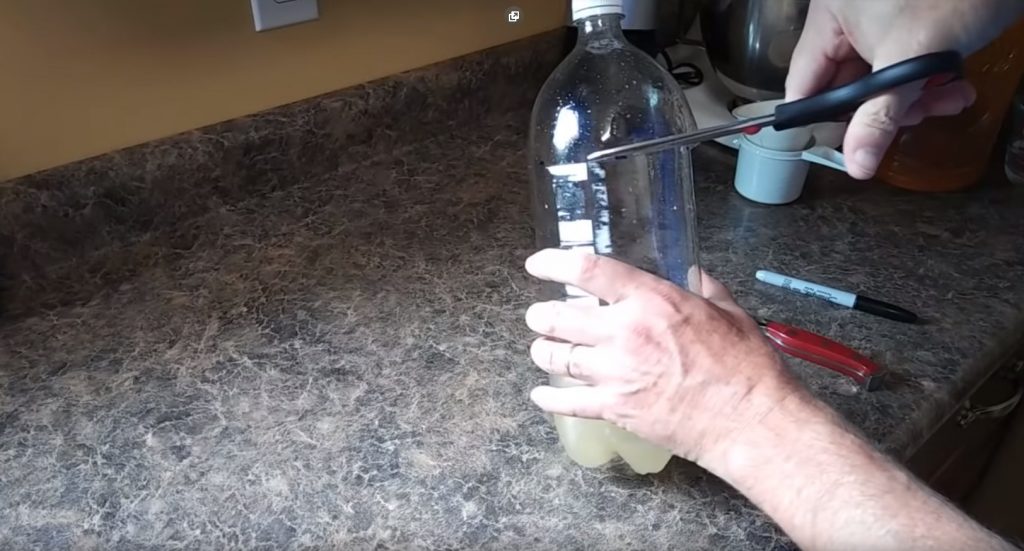
An incision is made along the line with a knife
An incision is made with a knife along the line marked with a marker.
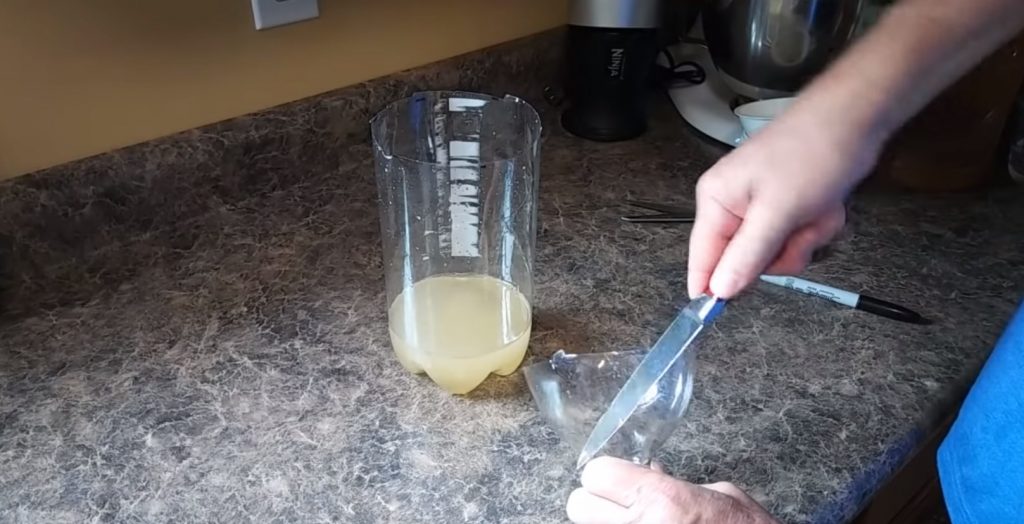
Cut off the top with scissors
Cut off the top with scissors.
Make 3-5 additional holes
In the cut off top of the bottle, 3-5 additional holes are made with a knife for better distribution of the smell.
After that, unscrew the cap from the bottle and, turning the top part, insert it into the bottom.
Action #4 Fixing the parts of the trap
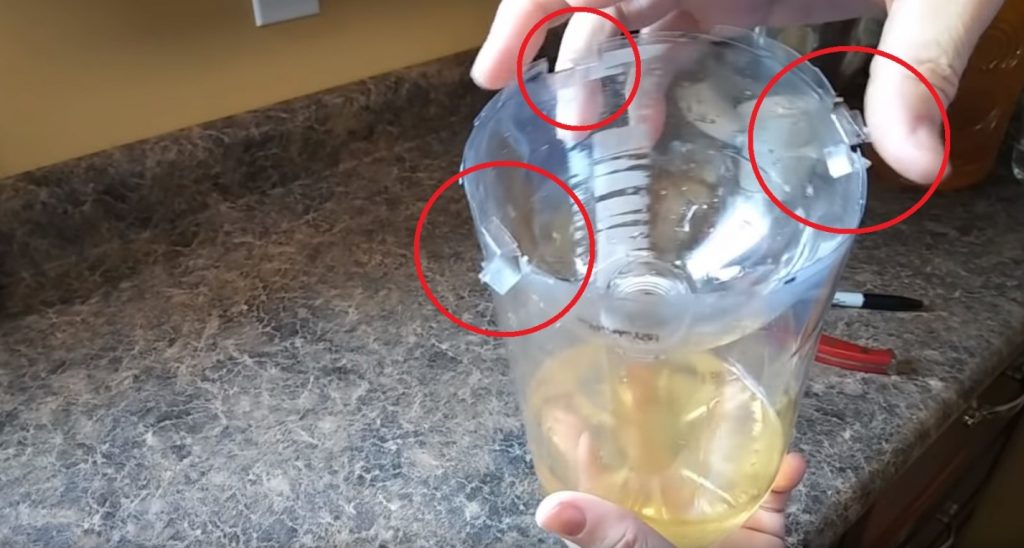
The plastic bent in different directions will securely fix both parts of the trap
Under its own weight, the top of the bottle may fall down, the neck will fall into the water and the effectiveness of the trap will be significantly reduced. Therefore, it is necessary to fix the contact point of the upper and lower parts of the plastic bottle well.
This can be done in many ways, but the easiest way is to take advantage of the property of plastic to retain its shape when bent. To do this, in several places where the upper and lower parts of the bottle meet, you need to make three cuts 5-7 mm deep. Incisions should be made immediately in both structural elements.
The result of these actions will be two petals of plastic, which should be bent in different directions.
The trap is ready. Before installing it, you should make sure that it is sufficiently stable and that the distance from the neck to the bait is at least 5 cm. A smaller distance will also mean a smaller volume of the trap; it will quickly fill up with wasps and stop working.
Action #5 Setting the trap
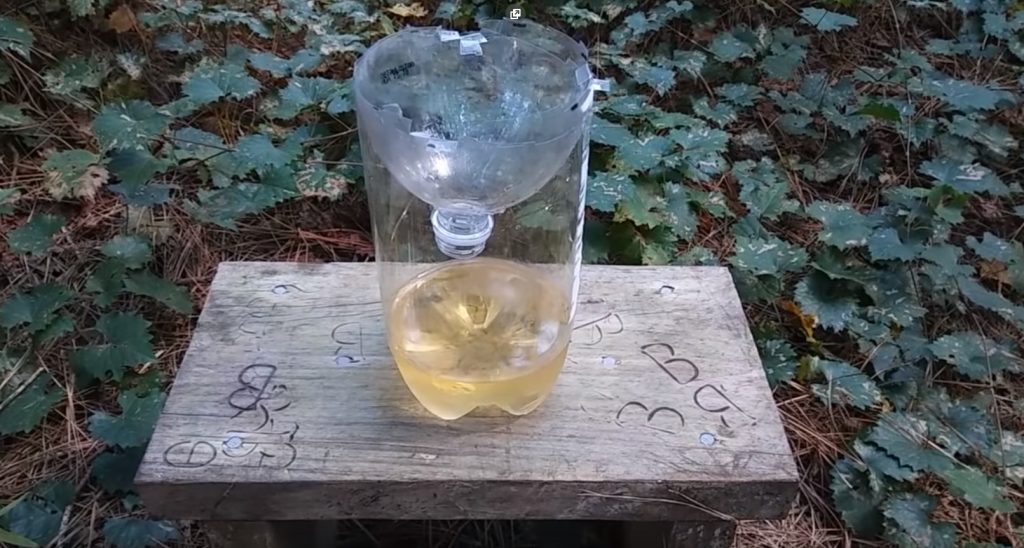
Trap on a stand
The trap should be installed in a place where wasps are concentrated on some kind of stand or hung on a branch.
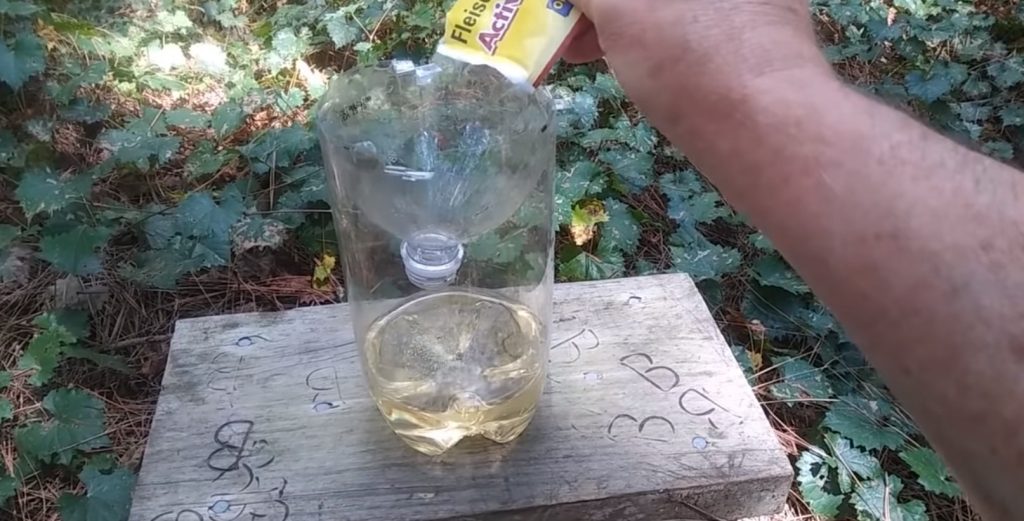
Adding yeast
For greater efficiency of the bait, it is recommended to add a little yeast to it.

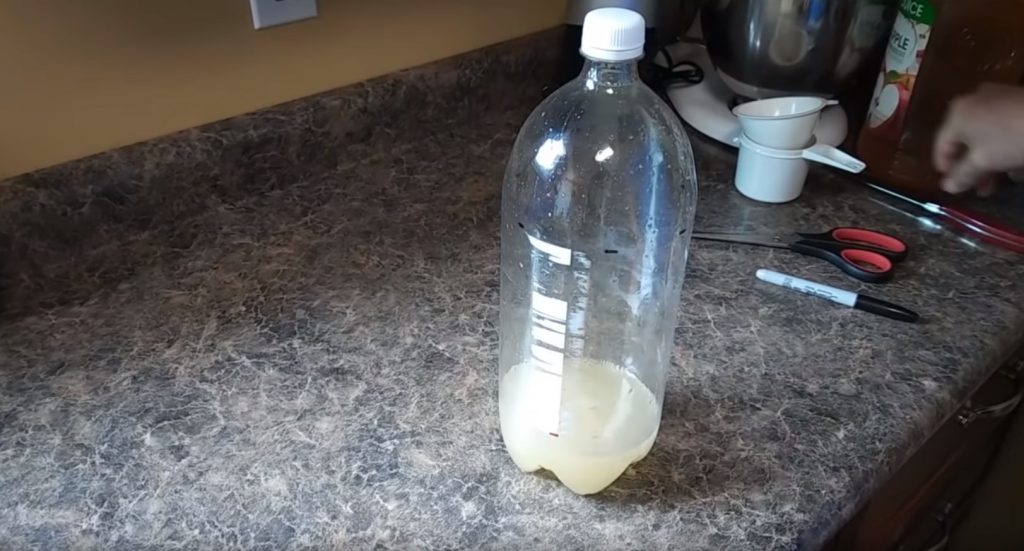
The contents of the trap an hour after the start of work
The trap starts working almost immediately after installation.
VIDEO: Trap for wasps from a plastic bottle

DIY Yellow Jacket Trap - Cheap Easy 2-Liter Bottle Trick - All Natural
How to make a wasp trap from a plastic bottle: a simple step-by-step instruction | (Photo & Video)