

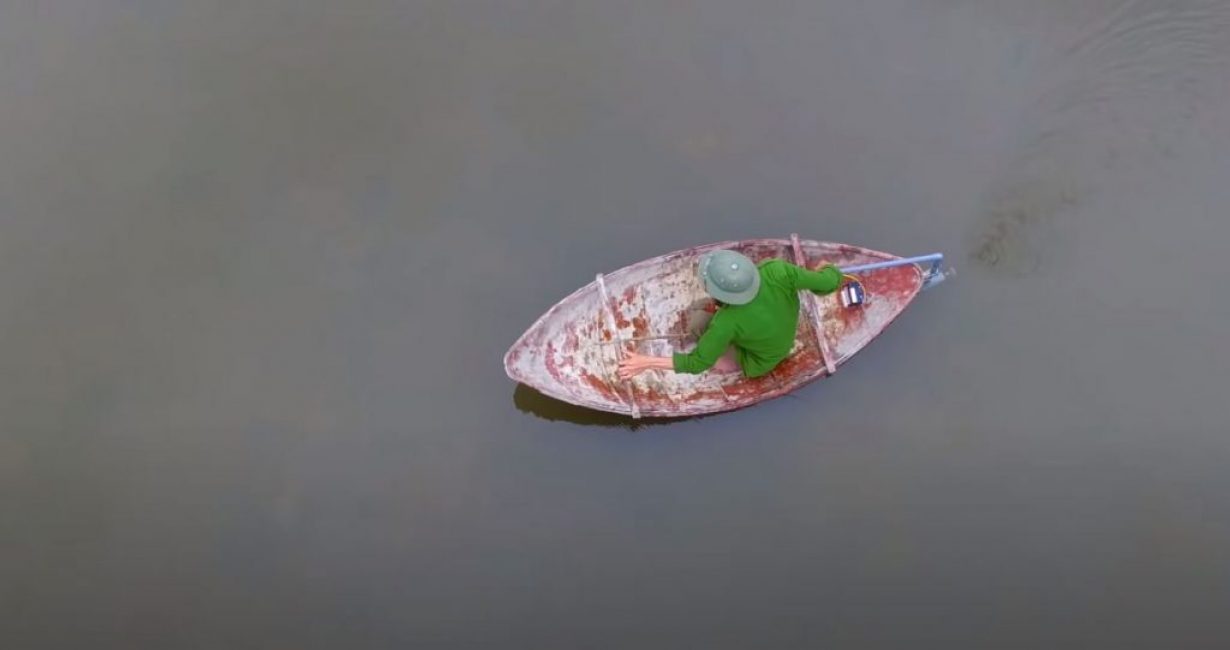
Fishing from a boat on a fish pond or a boat trip with your girlfriend on the river: what could be more beautiful? And if you don’t even need to row with oars? In our article we will tell you how to make a do-it-yourself outboard electric motor with the ability to control the boat. Of course, such a motor will not force a heavy multi-seat boat or boat to slide on the water surface, but it can easily cope with light (including plastic) one-two-seat boats.
Content:
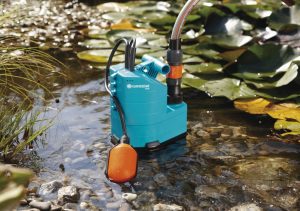 Read also: Drainage pumps | TOP 10 Best: choose assistants for pumping clean and dirty water + Reviews
Materials for manufacturing
In order to make a boat motor, you will need:
- a piece of 2-inch plastic pipe and two external plugs for it;
- PP tee with a transition from a 2-inch pipe to a half-inch;
- plastic pipe ½ inch and PP angle for it at 90 degrees;
- glue for PVC pipes;
- 12 V motor 775 series;
- impeller from the cooler with an adapter for the motor shaft;
- battery;
- insulated wires;
- soldering iron;
- drill;
- hacksaw;
- glue gun;
- screwdriver;
- rubber seal on the motor shaft;
- silicone strap.
Step 1. We seal the electric motor
Using a sheet of paper, we transfer the location of the engine mounting holes to the PVC pipe plug.
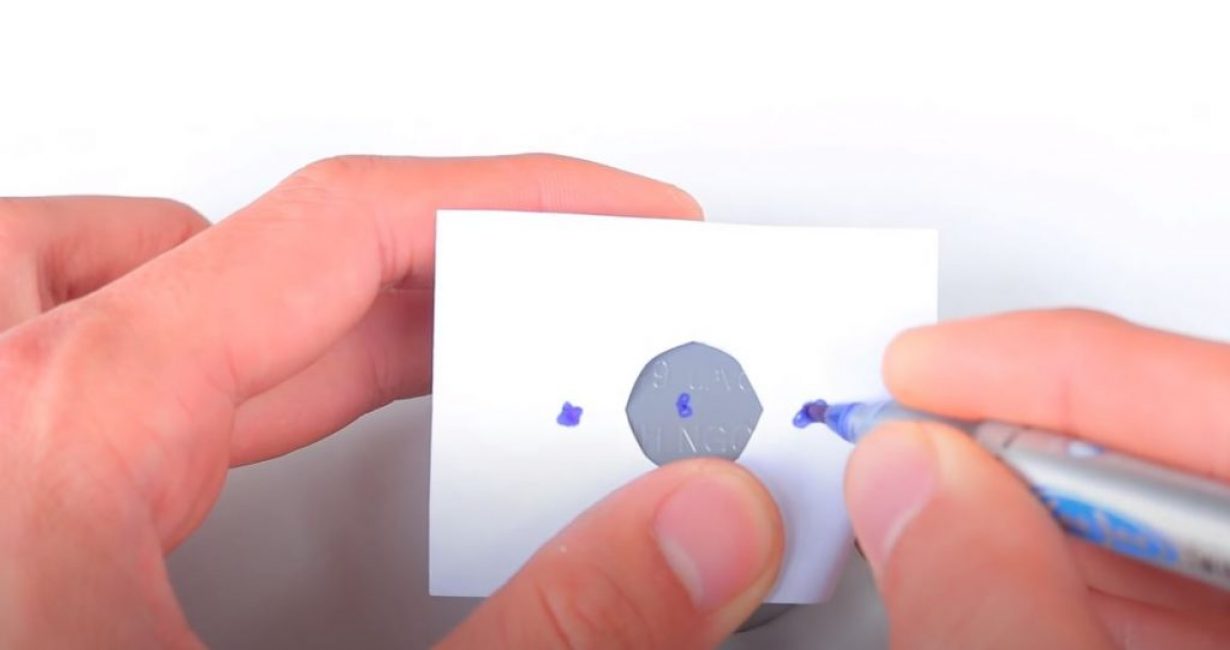
We drill the marked holes and the central one - under the axis of the electric motor.
Having previously smeared the attachment points with hot-melt adhesive, we insert the engine into the plug and fasten it.
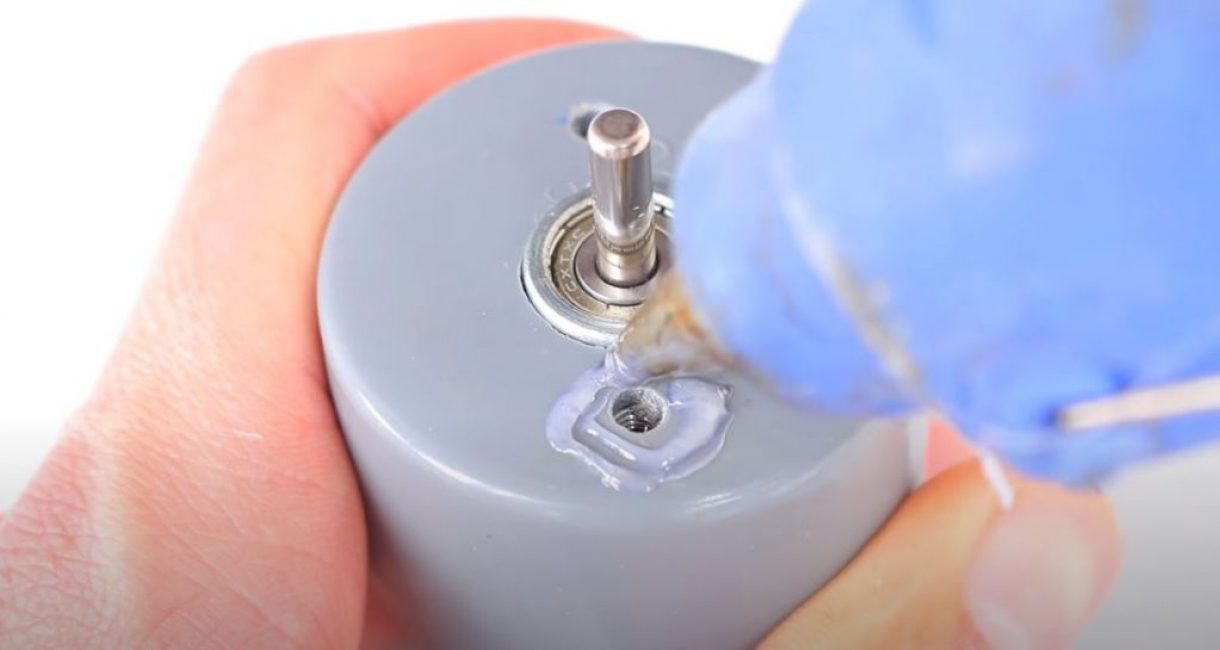
We put a rubber seal on the motor shaft and press it with the cooler adapter.
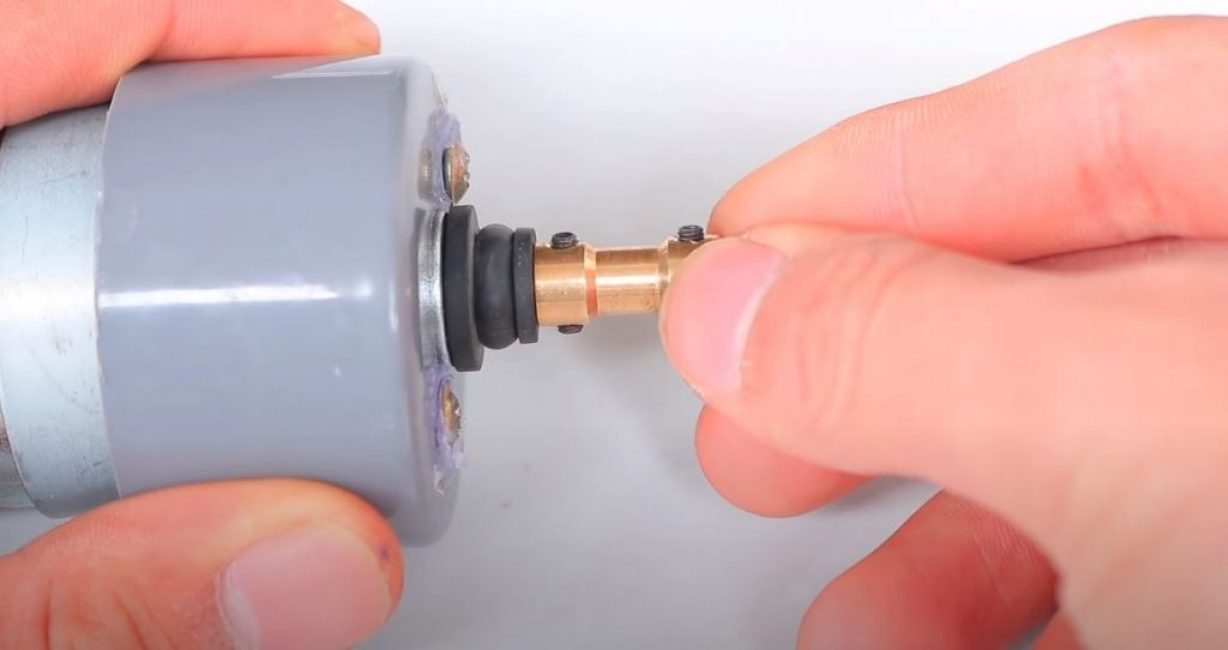
We drill two auxiliary holes in the impeller for clamping the adapter.
We insert the impeller into the adapter and tighten the fixing screws through the drilled holes.
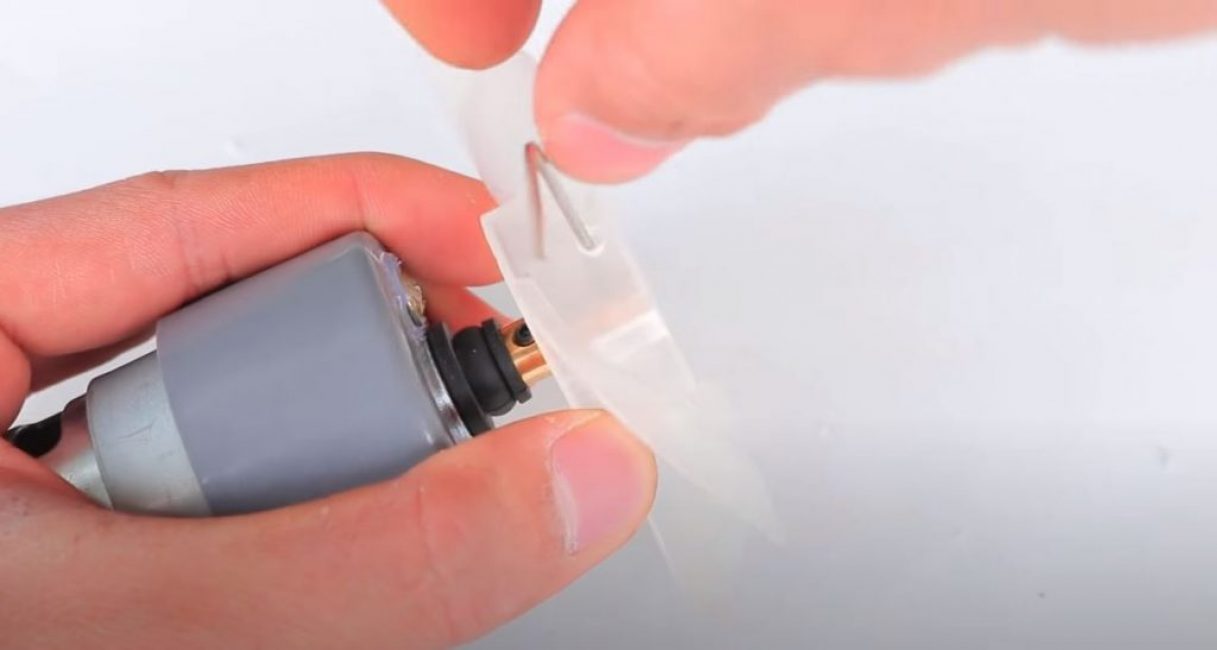
Solder the motor power wires.
We cut a piece from the 2-inch pipe along the length of the electric motor and glue it into the plug with the cooler impeller.
On the other hand, we glue the tee, bringing the power wires into the outlet for the ½ inch pipe.
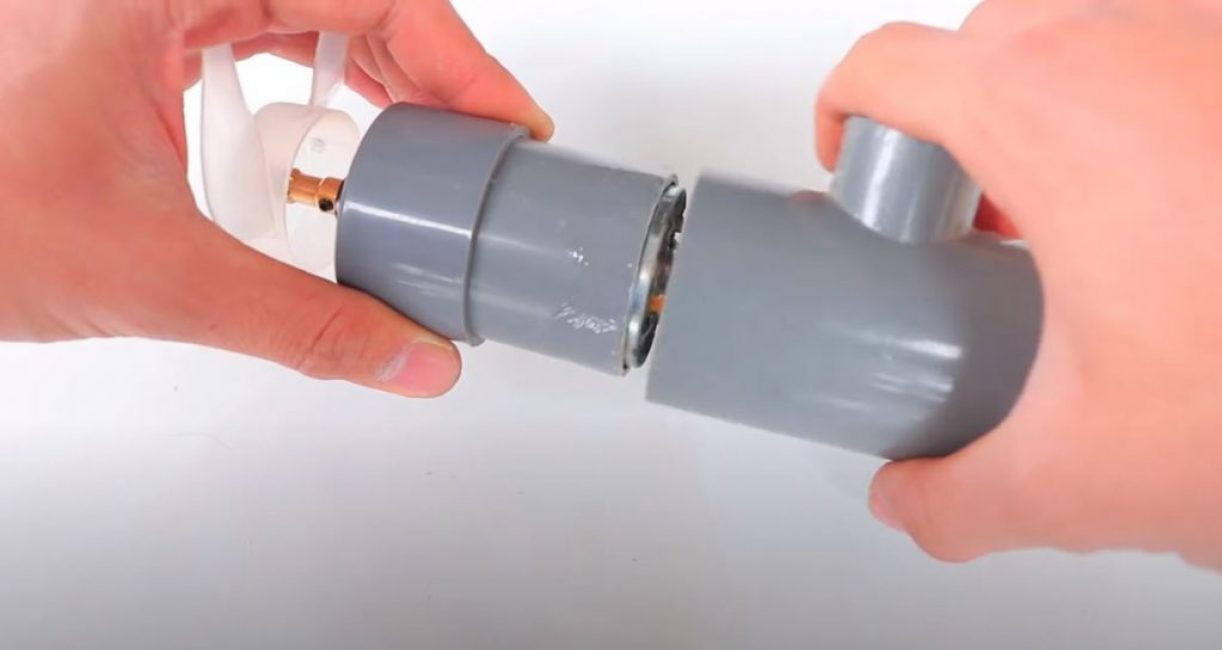
On the other hand, we glue a piece of pipe with a second plug into the tee, sealing the motor housing.
Step 2. Making the engine management system
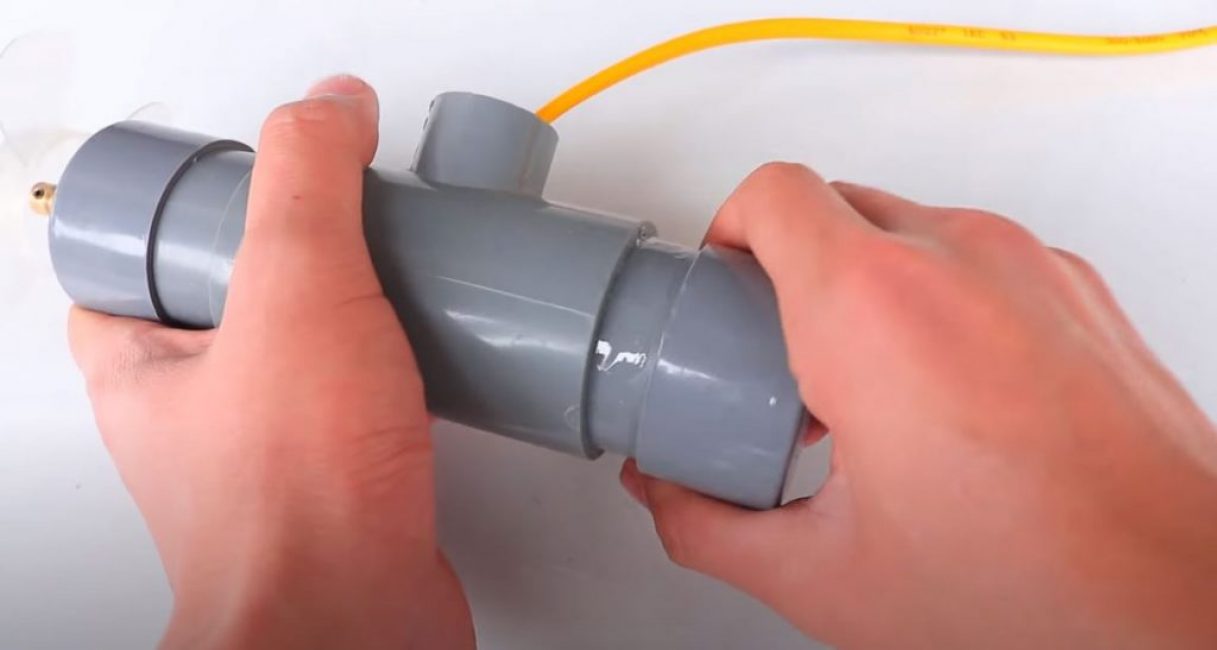
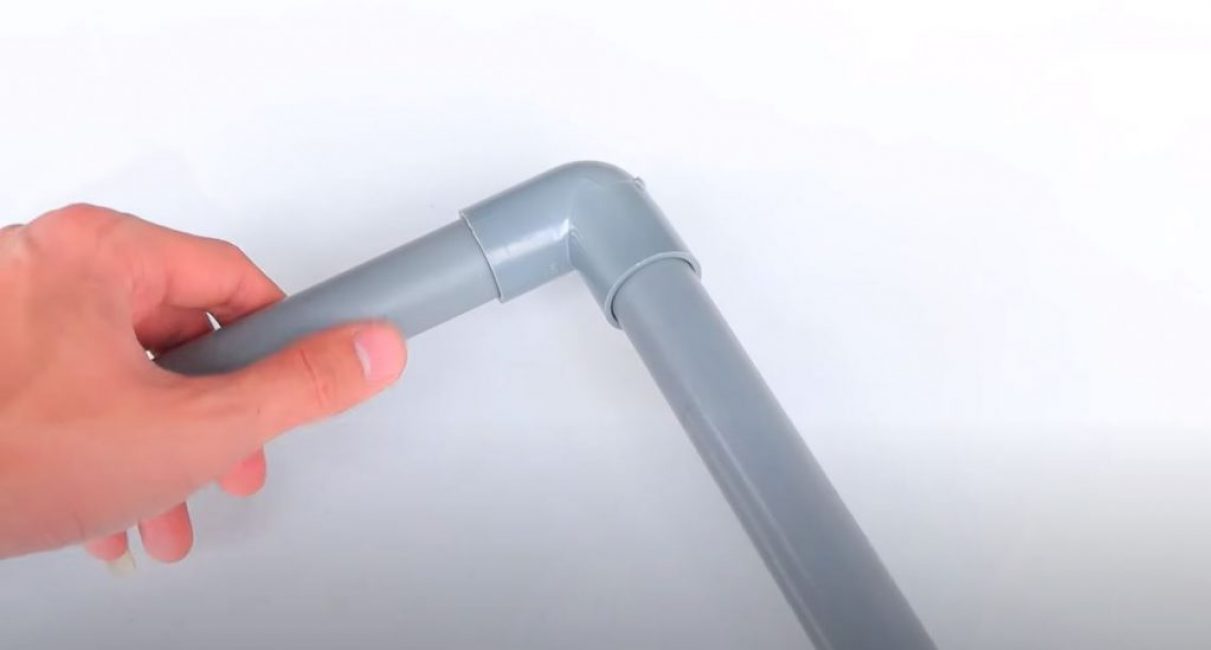
We glue a half-inch pipe into the branch of the tee of such a length that it is convenient to control the engine while swimming.
Glue the second piece of pipe through an angle of 90 degrees.
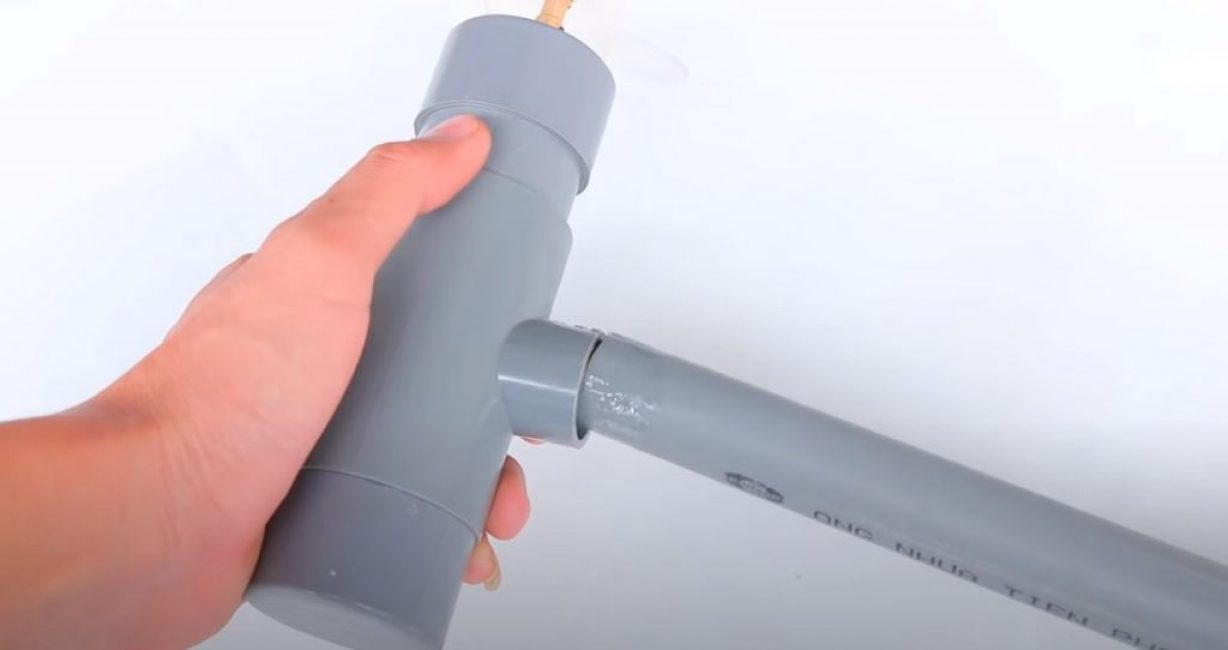
At the end of the second pipe, we solder and install the shutdown button, gluing it from the inside with hot glue.
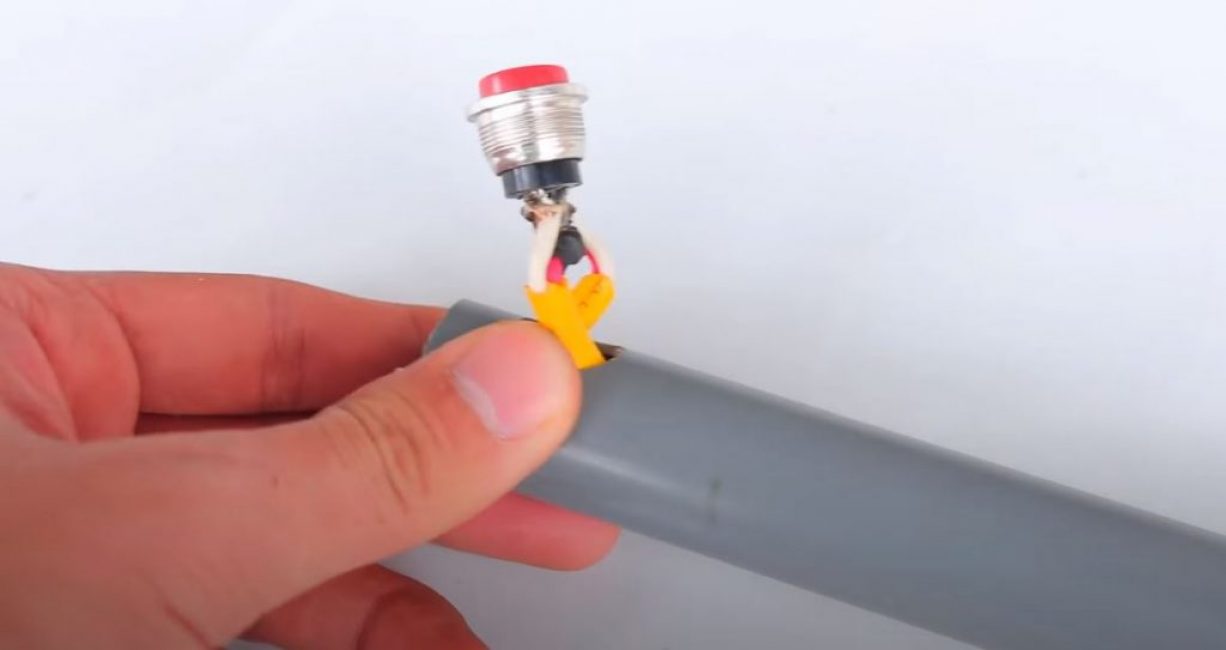
We fix the wires with a silicone tie.
Step 3. Testing
We install the engine on the boat and connect the battery. Our boat is ready to be launched.

DIY boat electric motor
DIY boat electric motor ⛵. Inexpensive alternative to factory counterparts


