
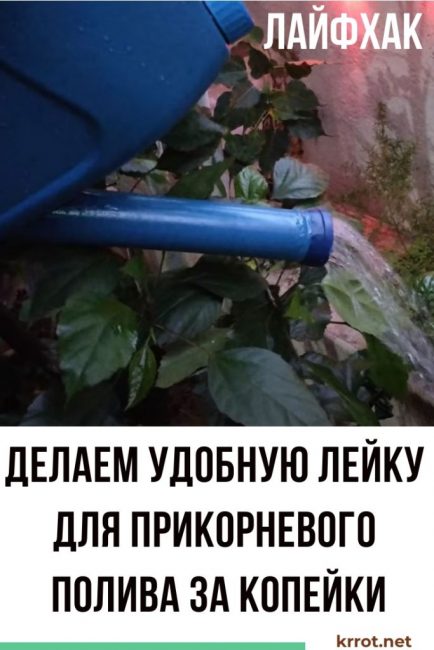
In recent years, summers have become increasingly dry and hot. During such periods, an ordinary garden watering can becomes an indispensable assistant on a personal plot. Without it, it is now almost impossible to get high yields of fruits and vegetables. Purchased watering cans often do not satisfy the amount of water used and ease of use. It is difficult for them to carry out root watering and top dressing of plants. In our article we will tell you how to make a watering can from a canister with your own hands. You can choose the length of the spout and the shape of the diffuser so that you fully meet your requirements.
Content:
 Read also: Do-it-yourself furniture and other wood products: drawings of benches, tables, swings, birdhouses and other household items (85+ Photos & Videos)
Materials for manufacturing
To make watering can, you will need:
- plastic canister;
- a piece of PVC pipe;
- epoxy glue and a container for mixing it;
- knife;
- hacksaw for metal;
- marker, square;
- sandpaper;
- paint can.
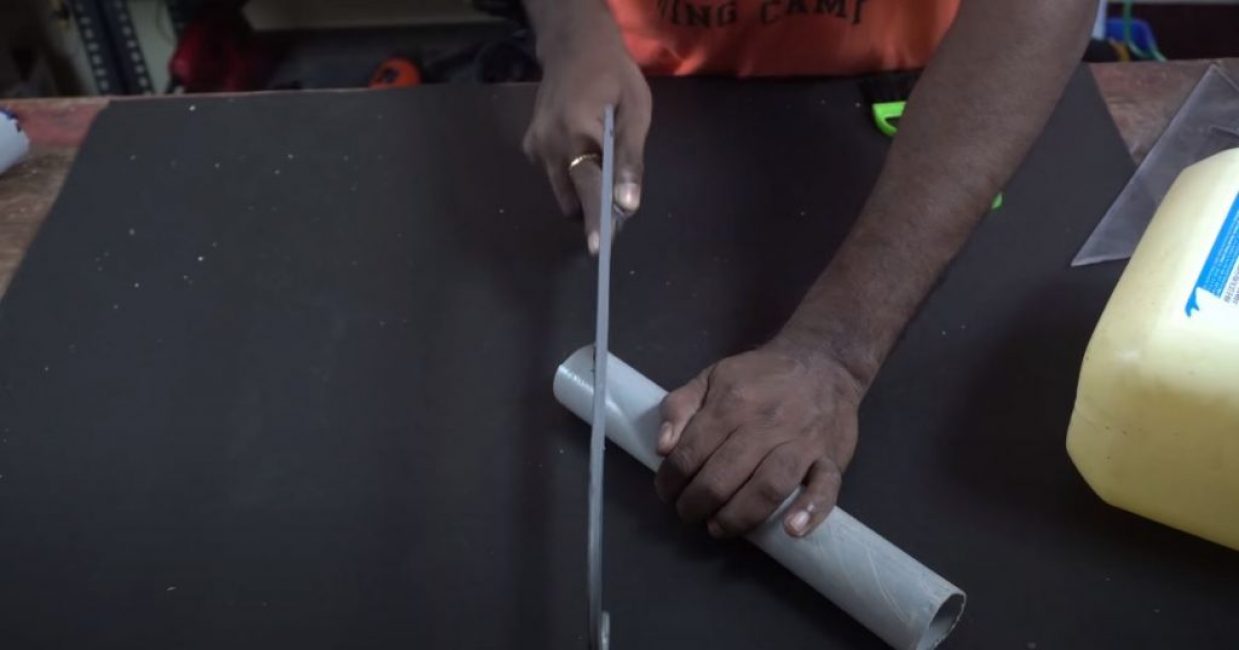
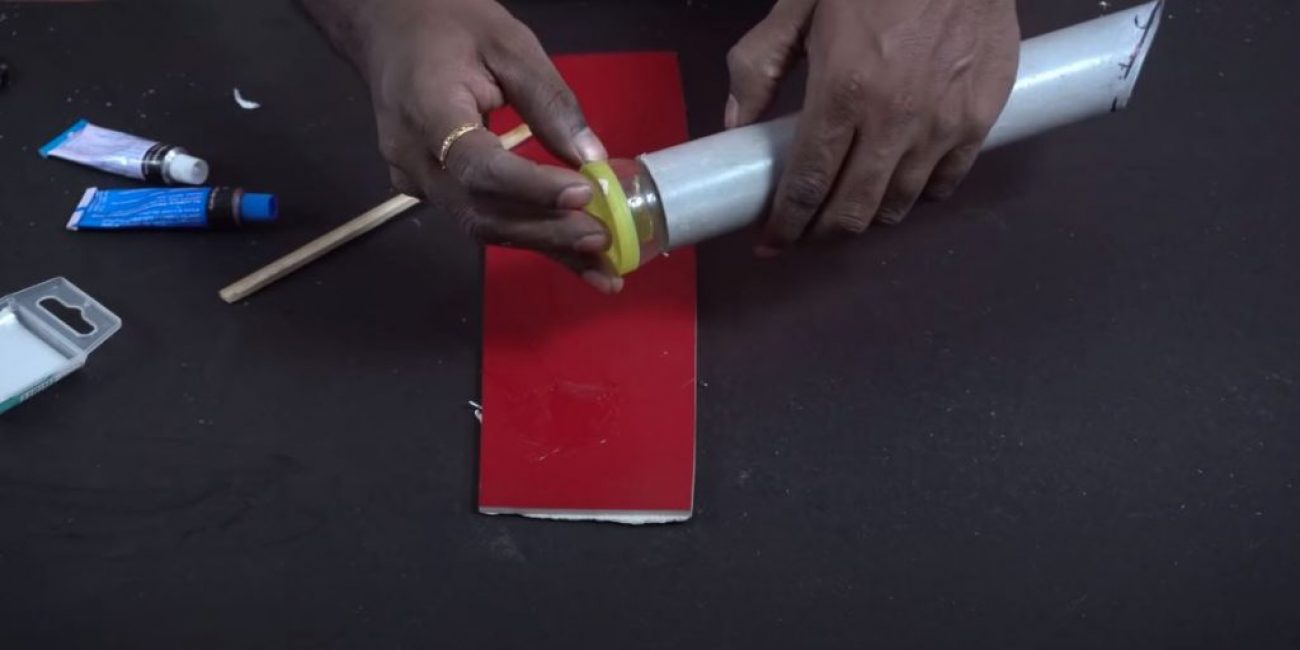
Step 1. Prepare the spout of the watering can
We cut the workpiece from the PVC pipe along the required length of the spout of the watering can.
At one of the ends, that will adjoin the canister, we outline and cut off the bevel at 45 degrees.
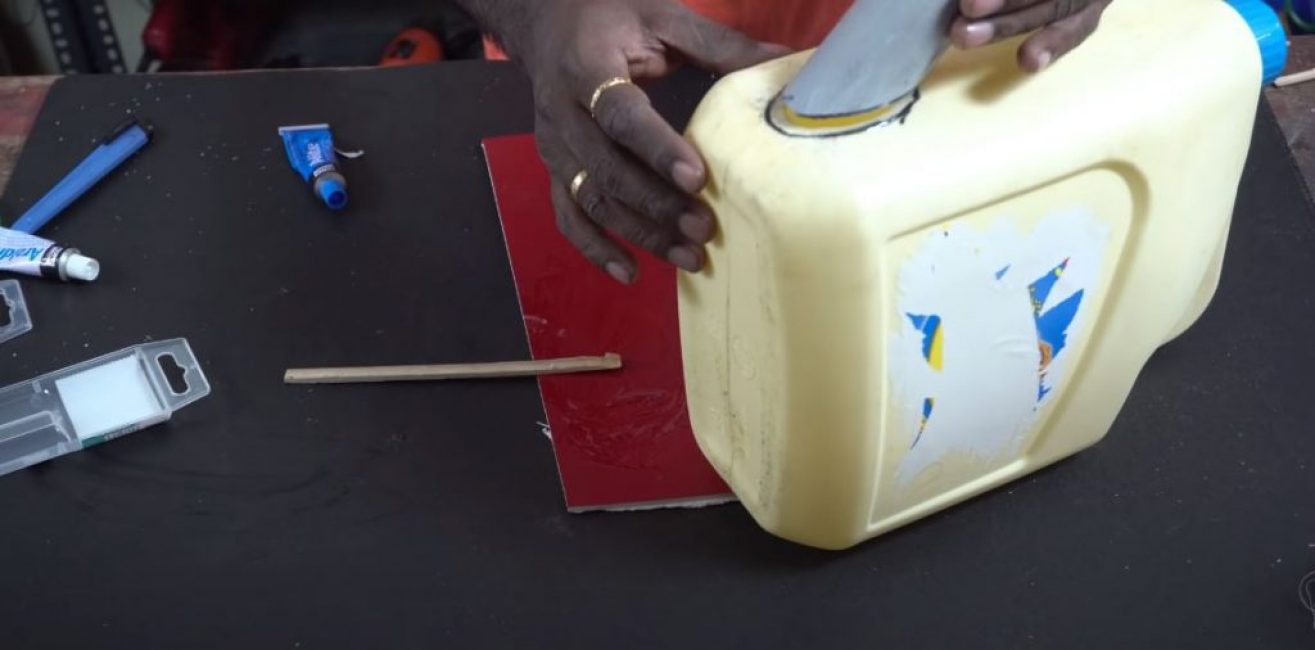
Step 2. Prepare the canister
We remove all stickers from the canister.
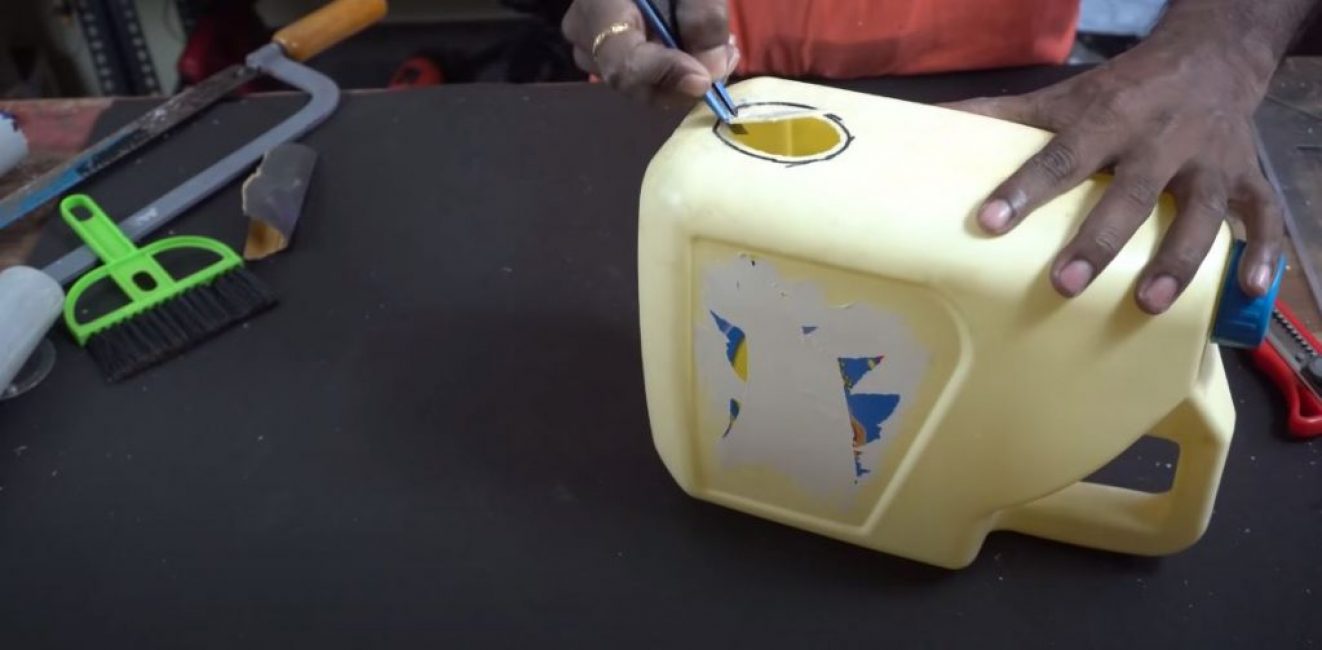
We attach the spout to the canister and outline the junction.
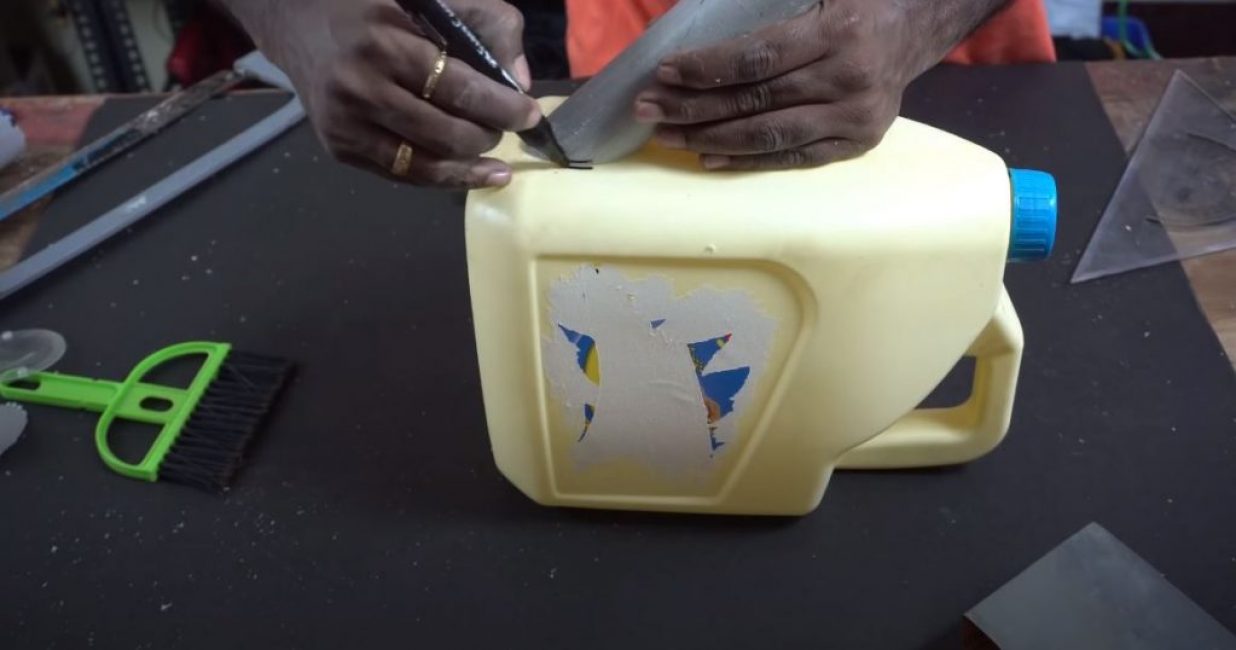
We also draw a hole for pouring water.
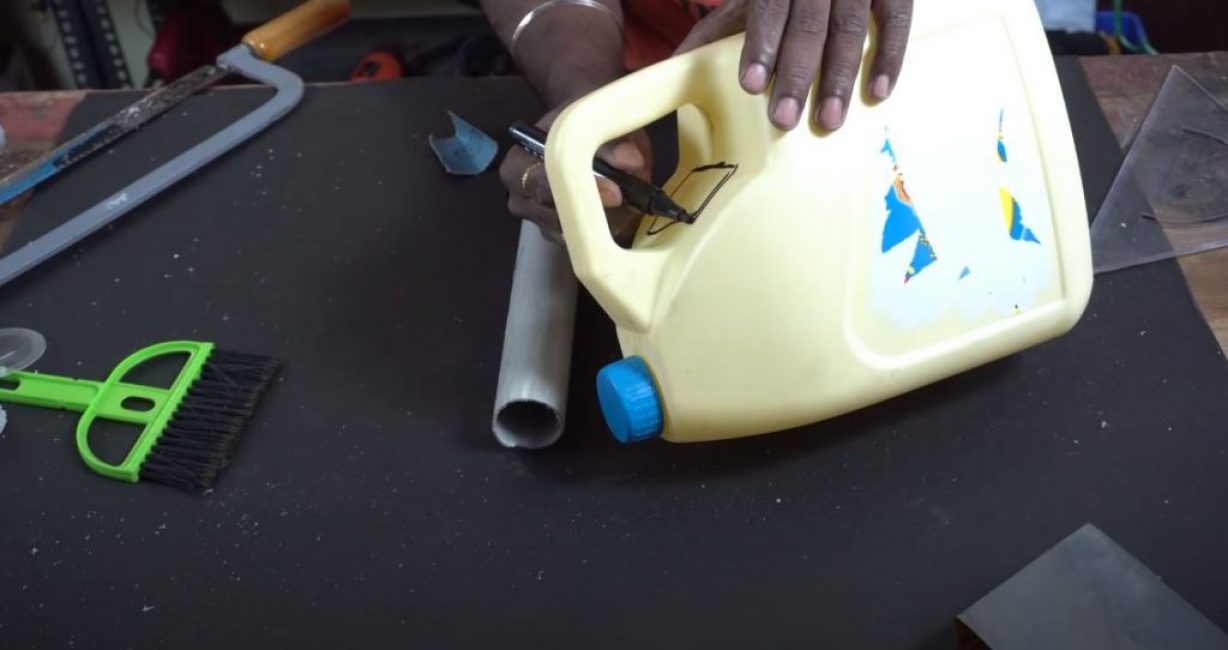
We cut out the marked holes with a knife, and it is better to make the hole for the spout a little smaller than the one outlined.
Step 3. Glue the watering can
Mix both components of the glue.
We glue a diffuser to the smooth end of the spout (you can take it from both a hose and a mixer, or you can do it yourself by drilling a lot of holes in a suitable plastic).
Glue the cut part of the spout to the canister. Gluing should be carried out quickly, remember that the curing time of the glue is ≈20 minutes.
After the glue has completely hardened, paint the watering can with spray paint.
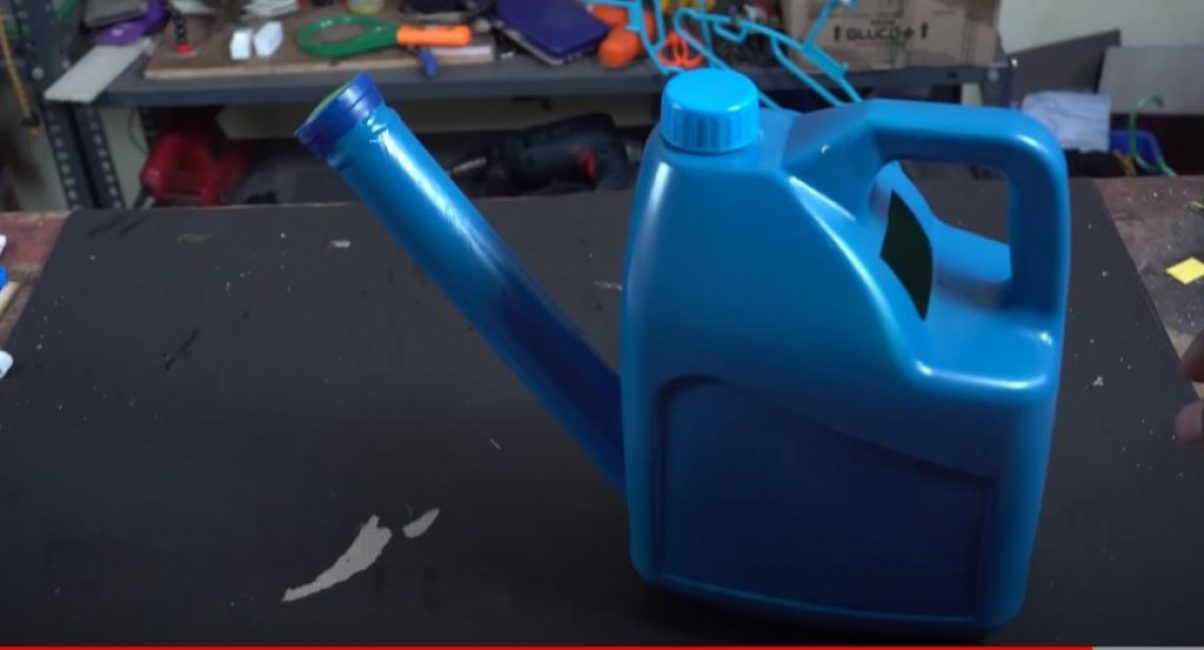
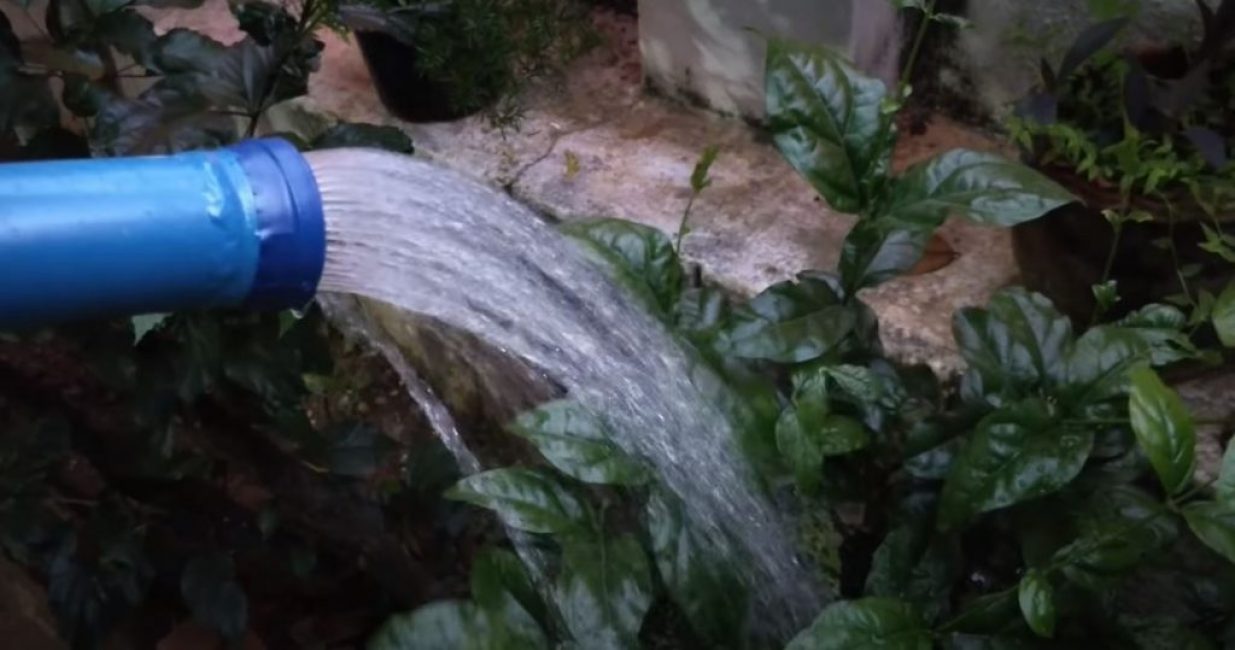
Step 4. Testing
It remains only to wait for the paint to dry, fill the watering can with water and go to save your green economy from drought.

Do-it-yourself canister watering can
How to make a watering can from a canister with your own hands?


Thank you, simple and clear.