
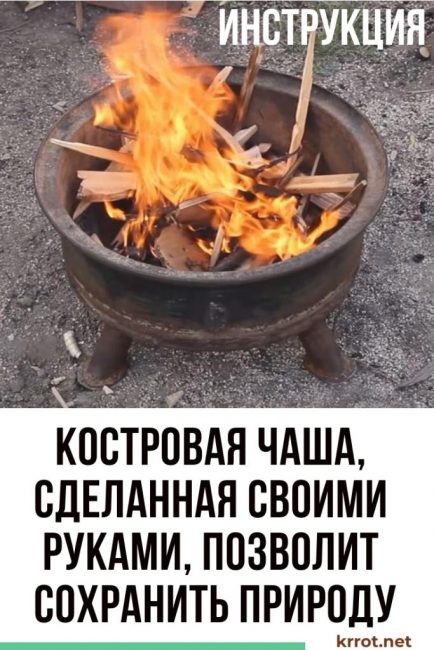
It's no secret that when going on a picnic, not everyone digs out a place for a fire, and then returns the turf to the place in order to save the environment. Therefore, it is best to use a fire bowl, both in nature and in your backyard, which can be made from an old disk from a car wheel. You can use this device not only in nature, but also in the backyard of your house, watching the flames in the evenings.
Content:
Content:
 Read also: Cabbage: types (white, Savoy, broccoli, Brussels sprouts), description of the 33 best varieties, features of agricultural technology (Photo & Video) + Reviews
Materials for manufacturing
To make a fire pit you will need:
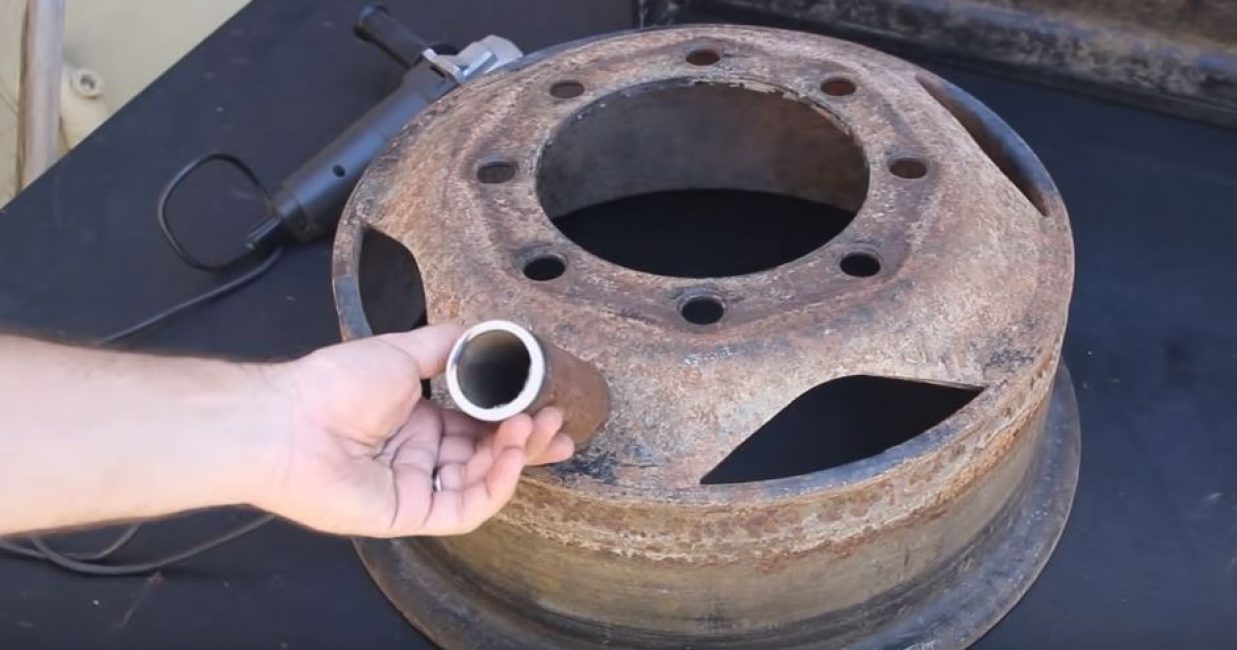
- disk from the wheel of a car (better than a truck);
- metal pipe with a diameter of 5-7 cm;
- steel sheet;
- ruler and marker;
- cardboard;
- reinforcement with a diameter of 1-1.5 cm;
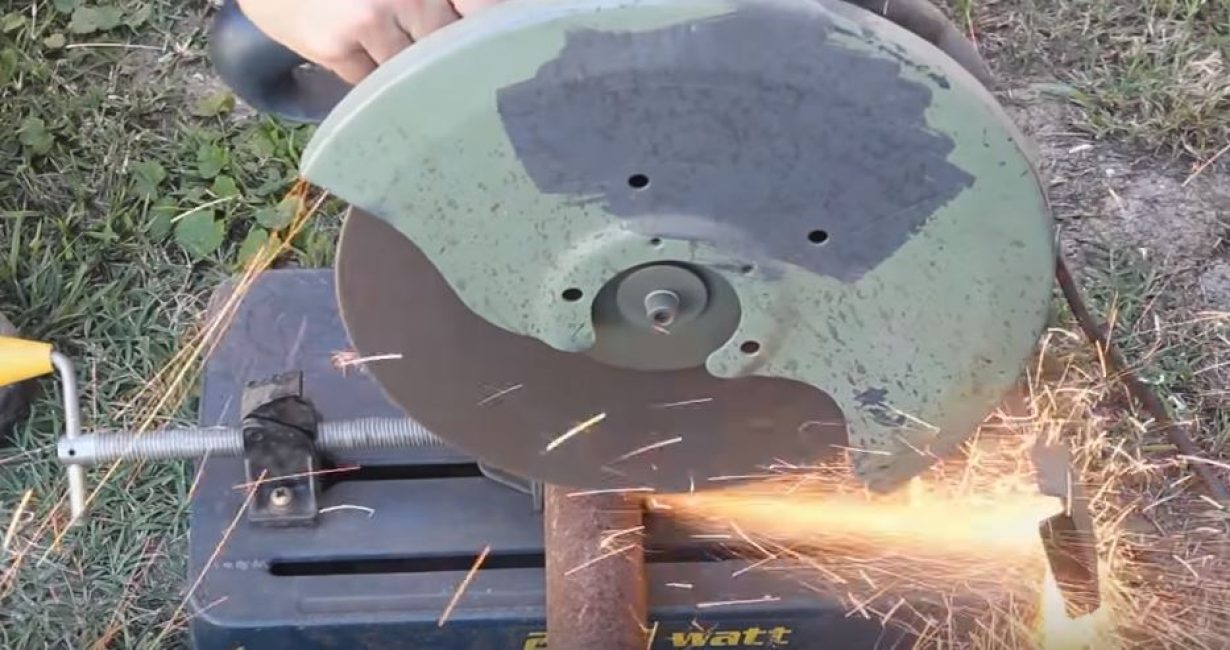
- Sander;
- Bulgarian;
- welding machine;
- vise.
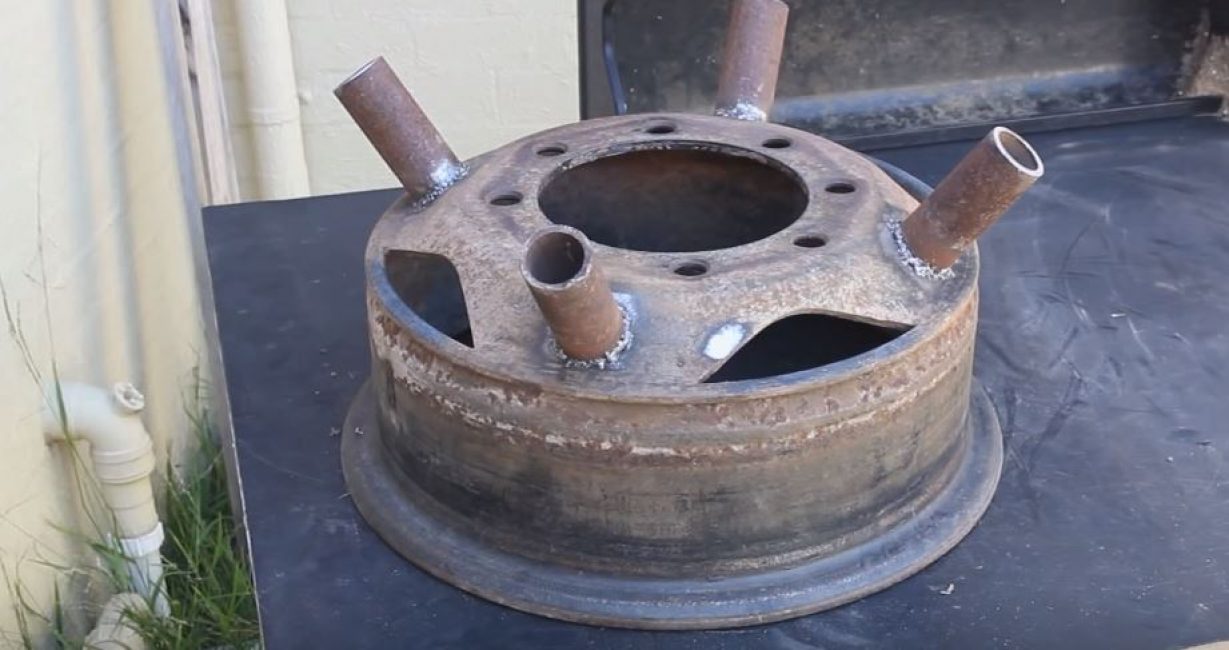
Step 1. Making the legs
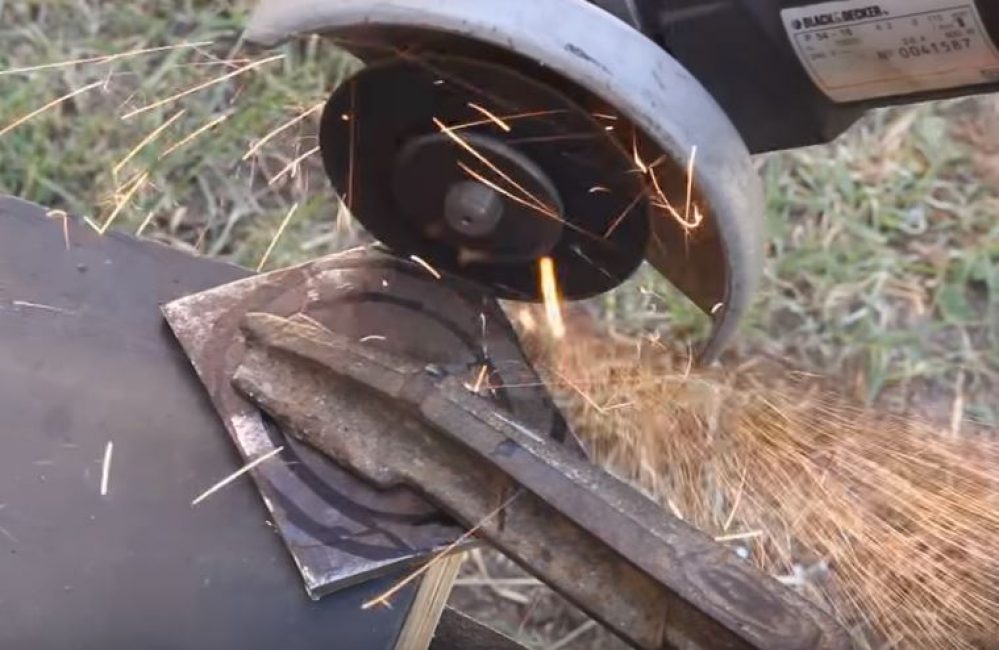
We determine the height at which the fire bowl will be located, and cut 4 equal blanks from the metal pipe. We grind the edges.
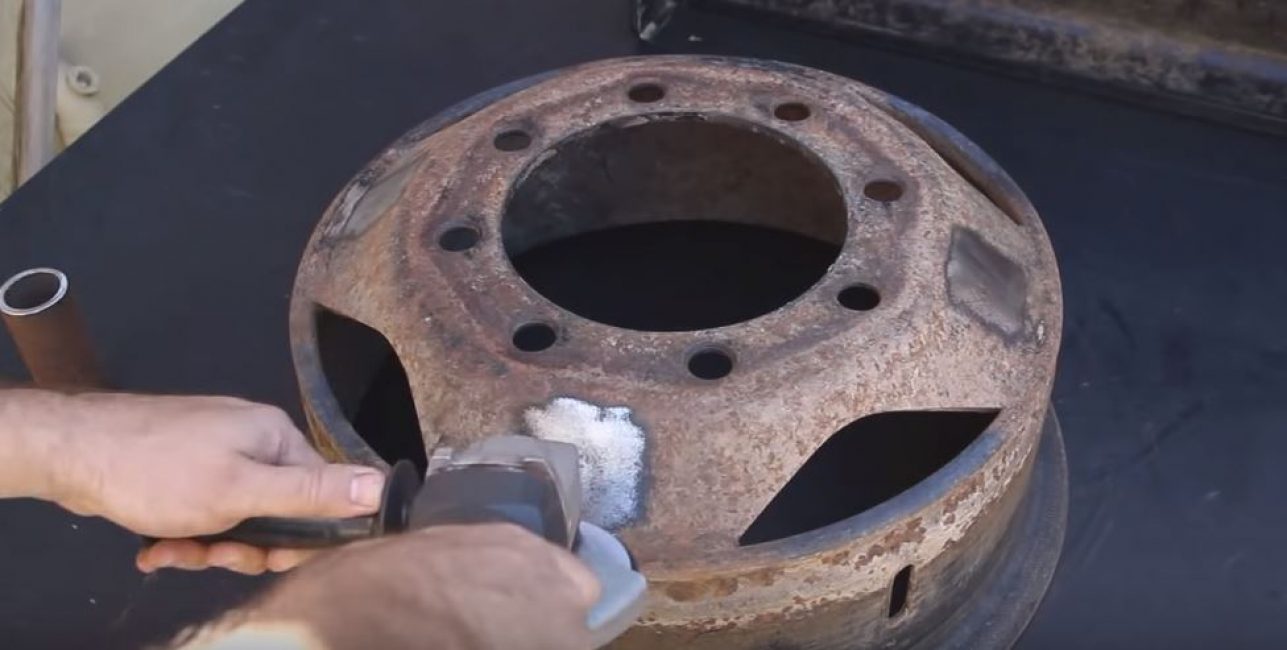
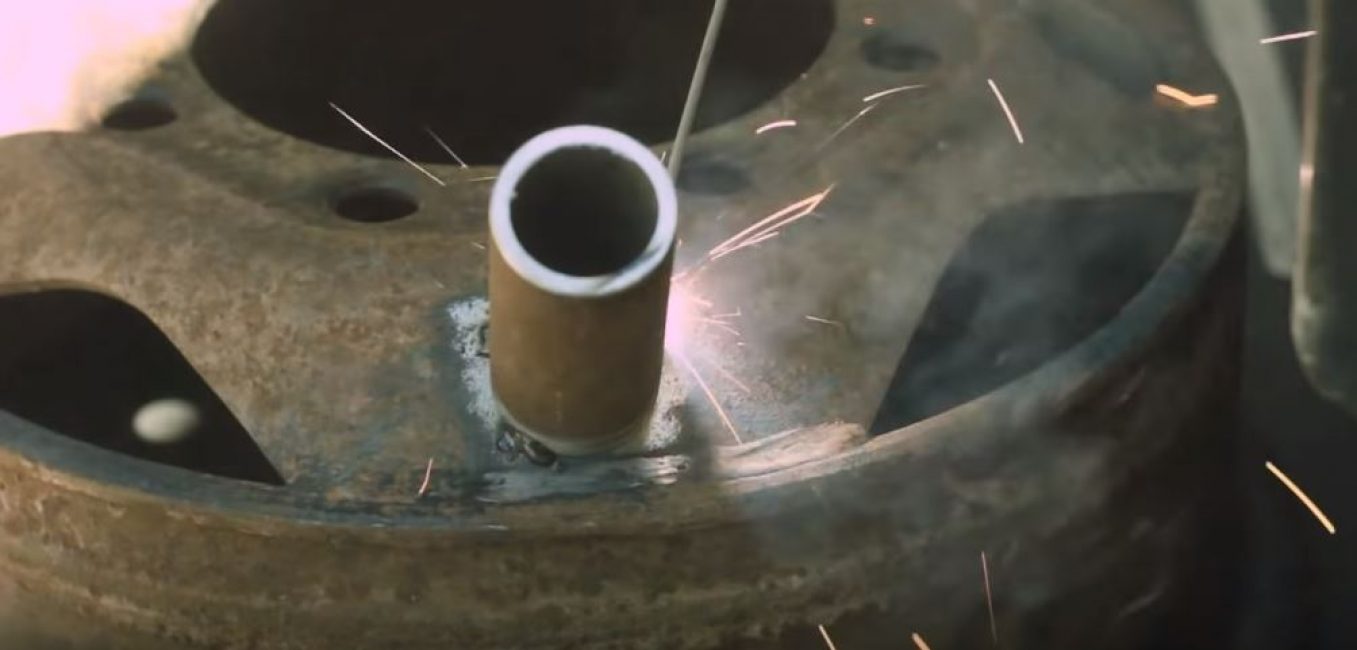
We outline the location of the legs on the disk.
We grind rust in the marked places to bare metal.
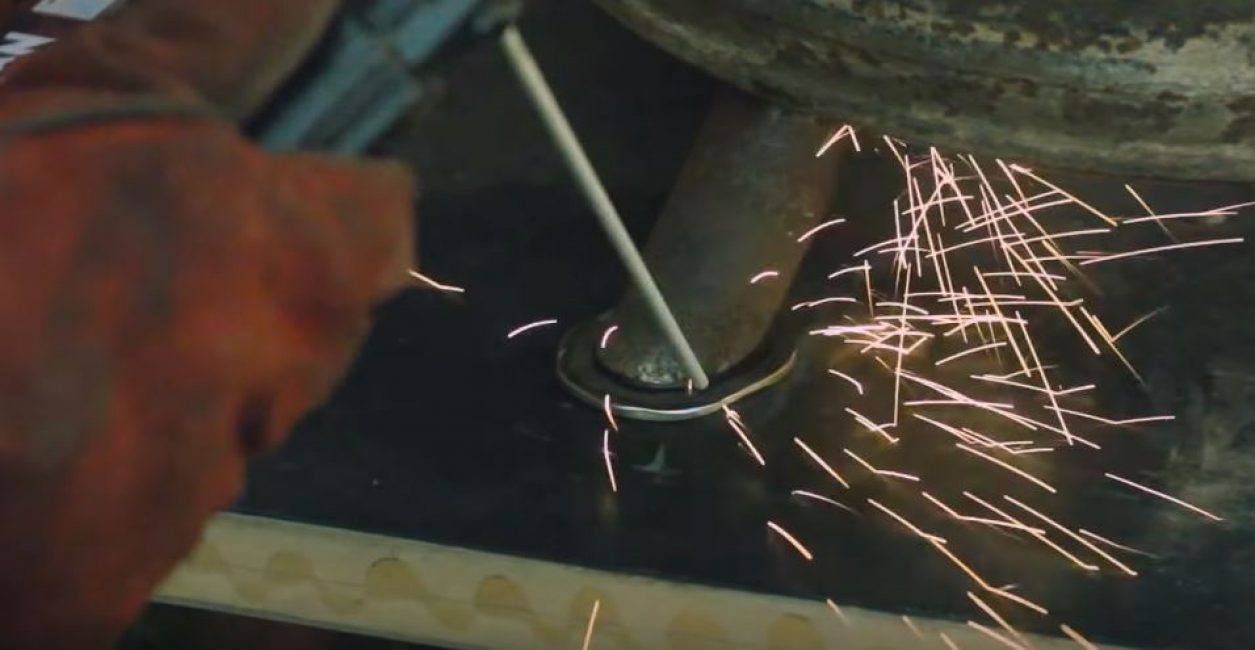
We weld the legs.
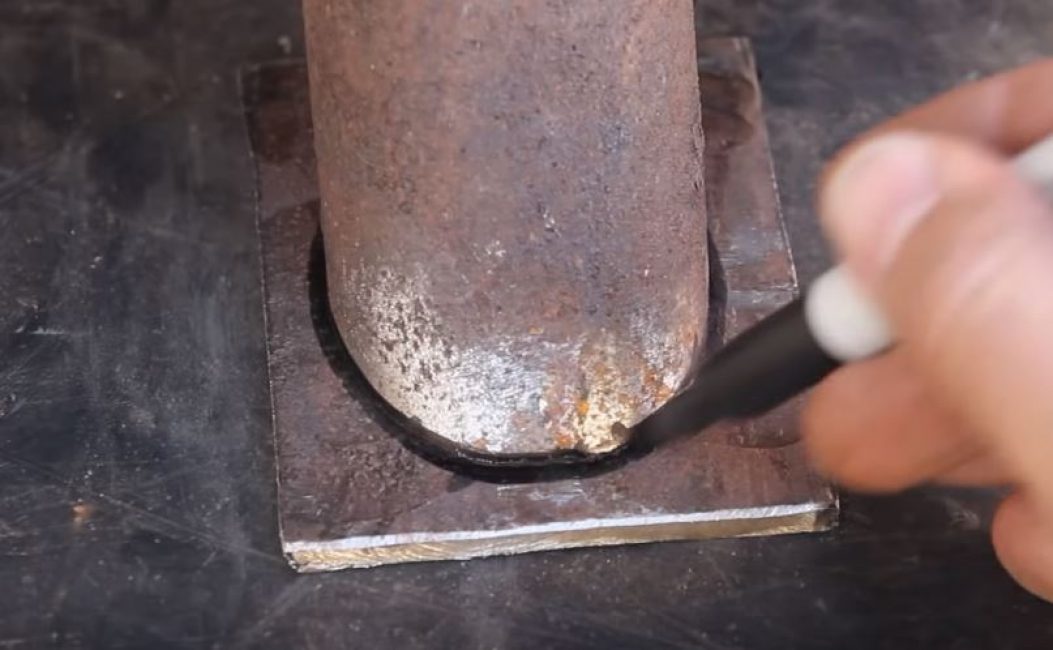
We clean the places of welding.
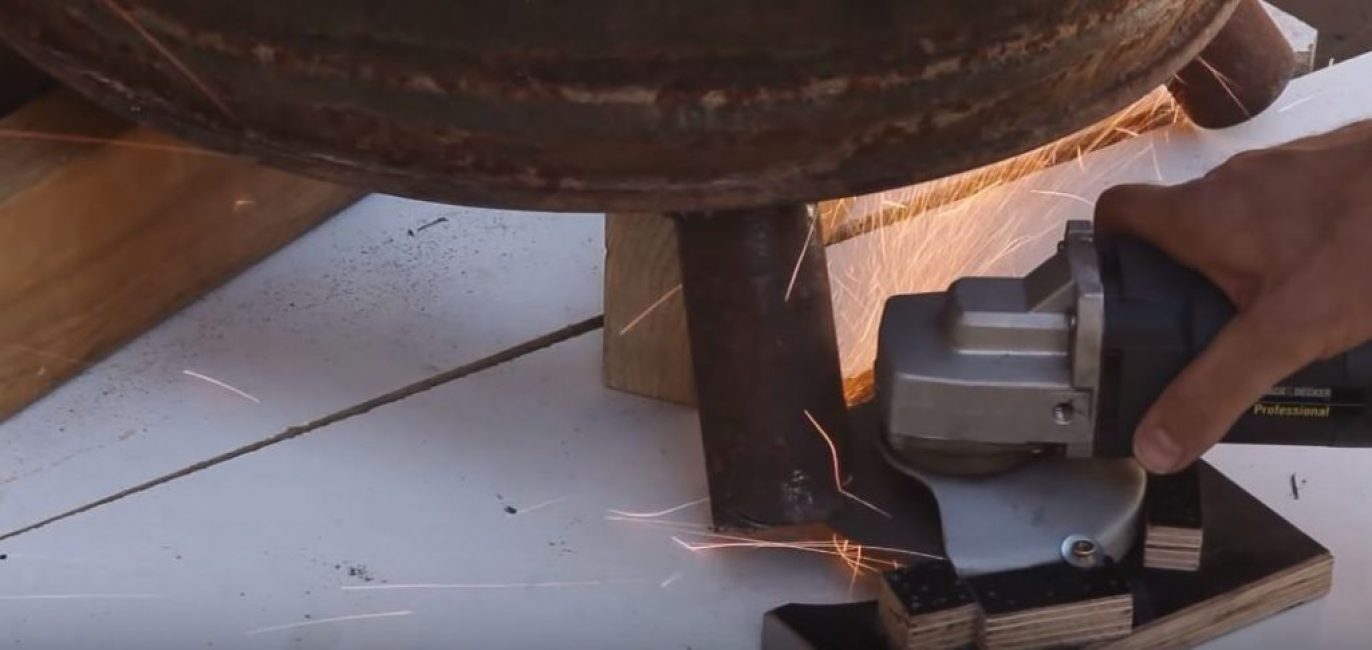
Since, after welding, the ends of the legs are not cut horizontally, they must be trimmed again, placed on a flat surface and using a grinder.
So that the legs do not sink into the ground, and also nothing gets into them, you need to put plugs on the edges of the legs. They can be made from the remains of the pipe, cutting it into equal pieces, and then cutting it lengthwise and leveling it. Or (which is much easier) cut the necessary blanks from a sheet of steel.
Having outlined the contour of the legs, we make allowances of 0.5-1 cm on the blanks. Cut off unnecessary edges with a grinder. To make it look more aesthetic, we grind the cut points on the grinding machine.
We put the plugs under the legs and weld them.
Step 2. Weld unnecessary holes
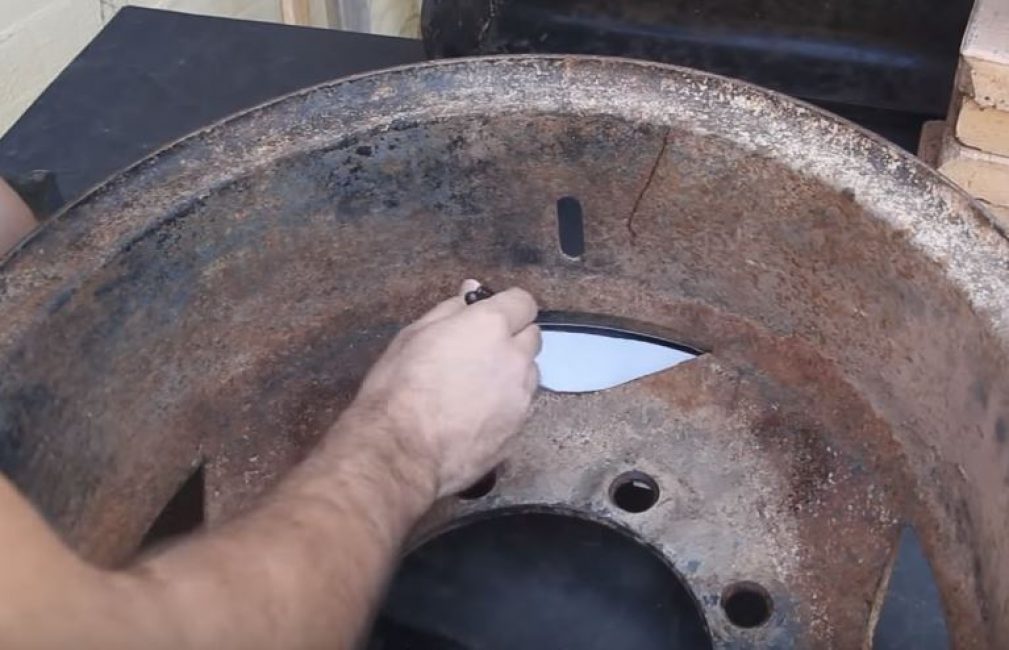
We put cardboard under the holes of the disk, outline them with a marker, and cut out the patterns.
We cut out the corresponding parts from a steel sheet or from a pipe. We give them a shape that repeats the shape of the desired section of the disk, and weld them to the intended places.
Step 3. Making the grid
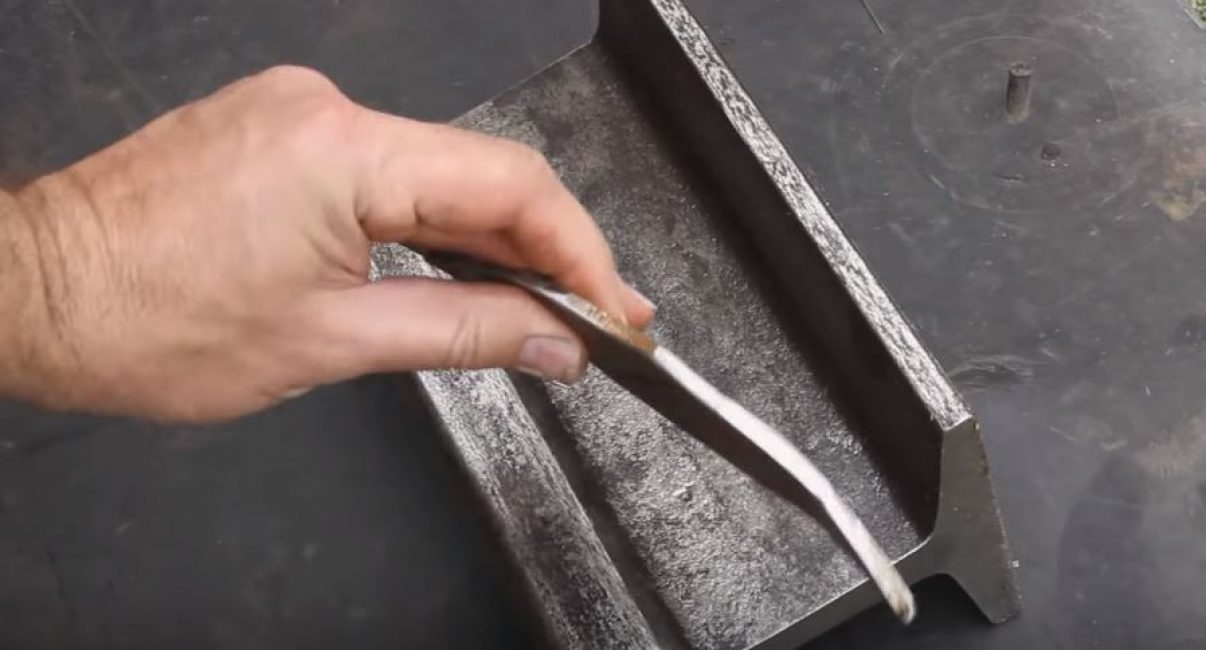
Close the round hole in the center of the bowl with a lattice of reinforcement. For this we cut grinder blanks from reinforcement of the desired length.
The result should be something like this.
We weld segments of rods into a lattice and weld it to the center of the disk.
Here's what we got.
We are doing tests.
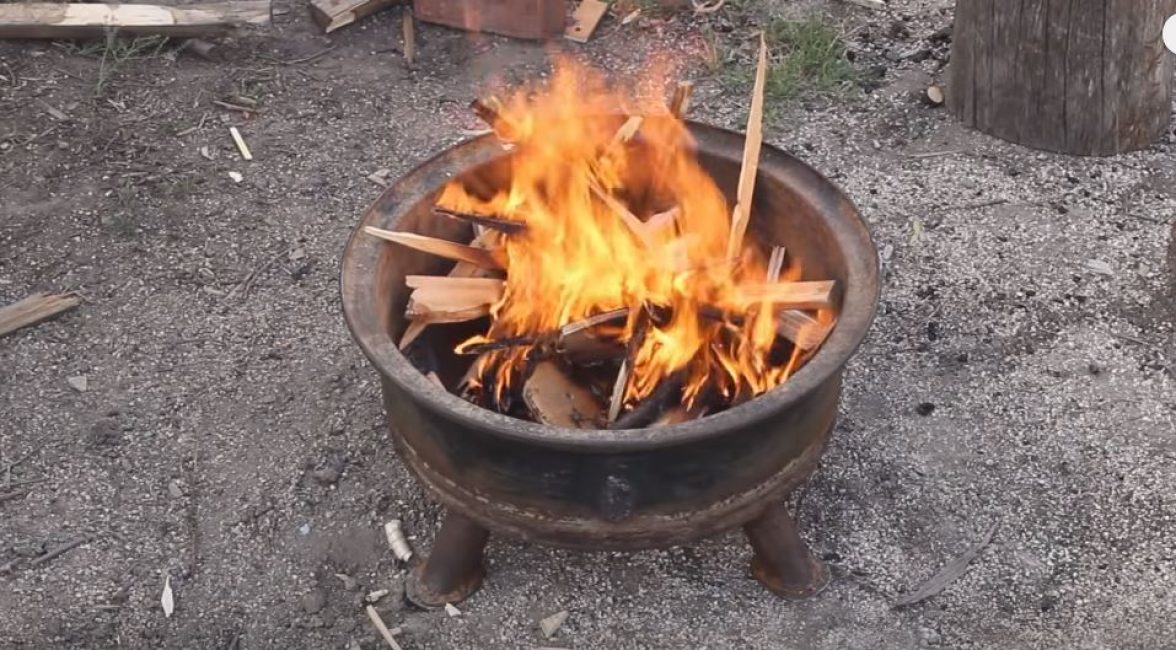
Video: How to make a fire pit out of a rusty truck wheel rim

How to make a fire pit from a rusty truck wheel rim
Do-it-yourself fire bowl: do we breed? fire without harming nature


