

Steel cables have a wide range of applications. Thanks to the steel used in them, they are quite strong and elastic. However, the cable itself is in most cases useless if there is no way to attach it to something.
In an industrial way, loops are made by welding or crimping. It is very difficult or even impossible to make such a mount at home, because not everyone has a welding machine or a hydraulic press.
However, the structure of the cable allows you to make loops with your own hands in a different, simpler way. The article tells how you can make a loop on a cable using a minimum of tools in a few minutes.
Content:
 Read also: Making a greenhouse with your own hands from a profile pipe and polycarbonate: a complete description of the process, drawings with dimensions, watering and heating (Photo & Video)
Introduction

Factory mounting option
Unlike a rope, a steel cable is very difficult, almost impossible to tie to the anchor point. For this purpose, special hooks, carabiners and other devices are used.
But in order to attach them to the cable, the latter must have a loop at its end. The issue can be resolved as follows:
Action number 1 Marking the cable
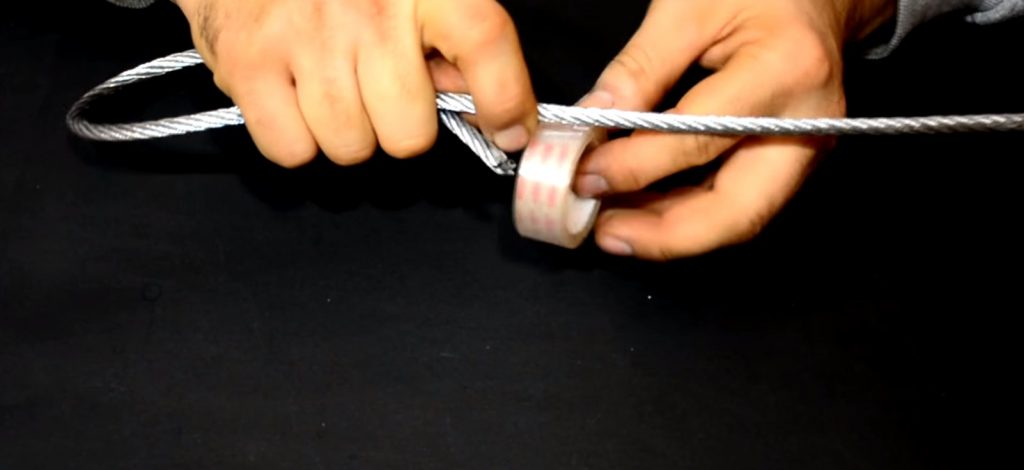
Marking the end of the loop with tape
First you need to estimate the approximate dimensions of the loop by bending the end of the cable and noting the place of its contact with the cable. This can be done with tape or insulation.
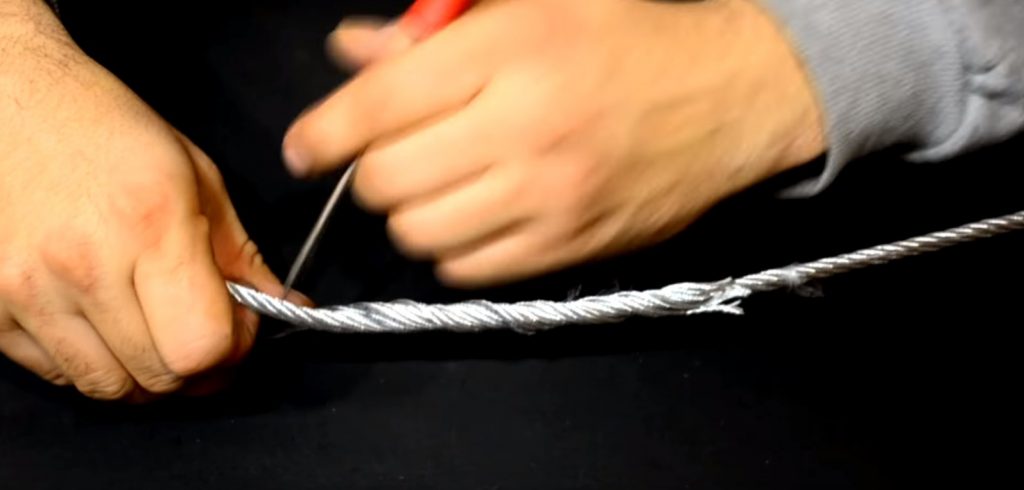
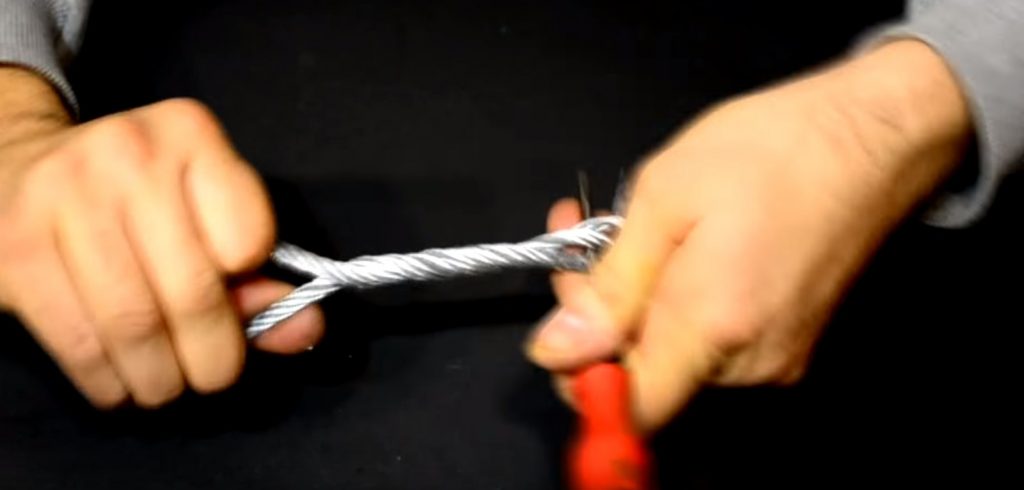
Action number 2 Unwinding the end of the cable
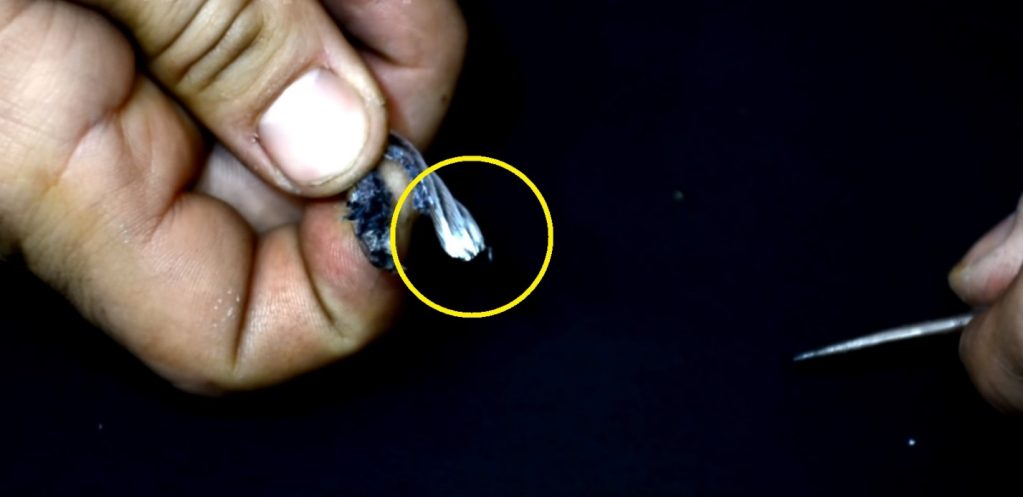
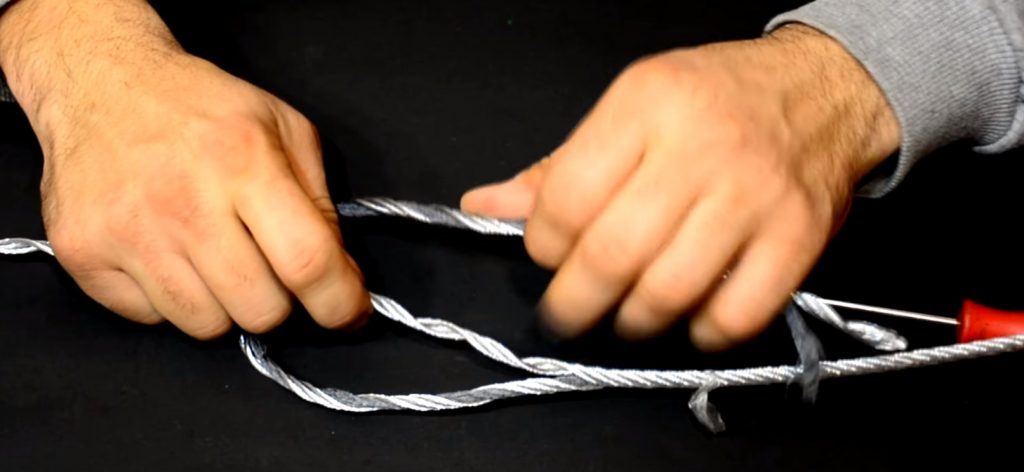
It is necessary to separate three threads with a screwdriver
The cable must be untwisted from its end to the mark made with a screwdriver. To do this is quite simple. Usually, the cable consists of 6 woven strands.
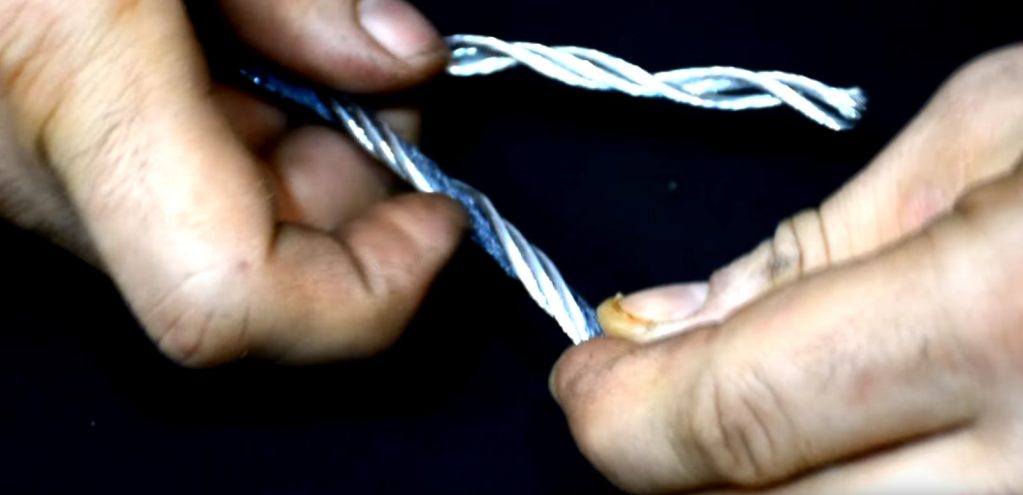
And start unraveling the rope by rotating one of the groups of threads in a clockwise direction
The process continues until the point marked with tape is reached.

Unraveling the cable until reaching the point marked with tape
The process continues until the point marked with tape is reached.
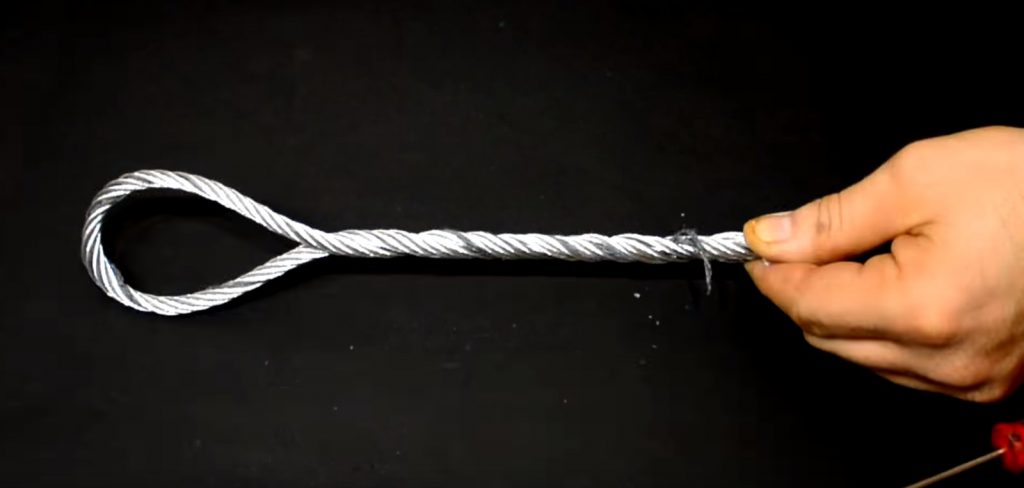
Rope untwisted to the required length
Action #3 Forming a loop
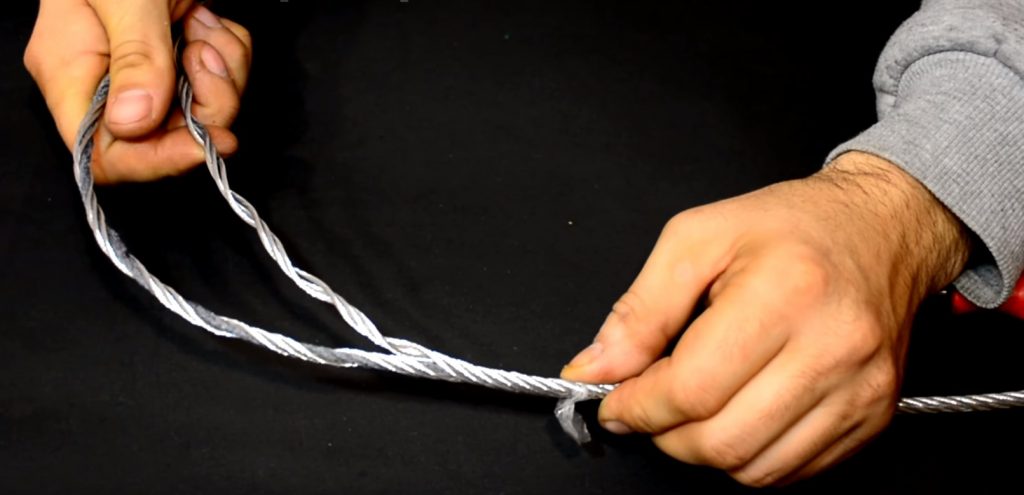
Rope prepared for loop formation
One of the resulting groups of threads remains in a straightened position, and the other is bent until its end touches the marked point.
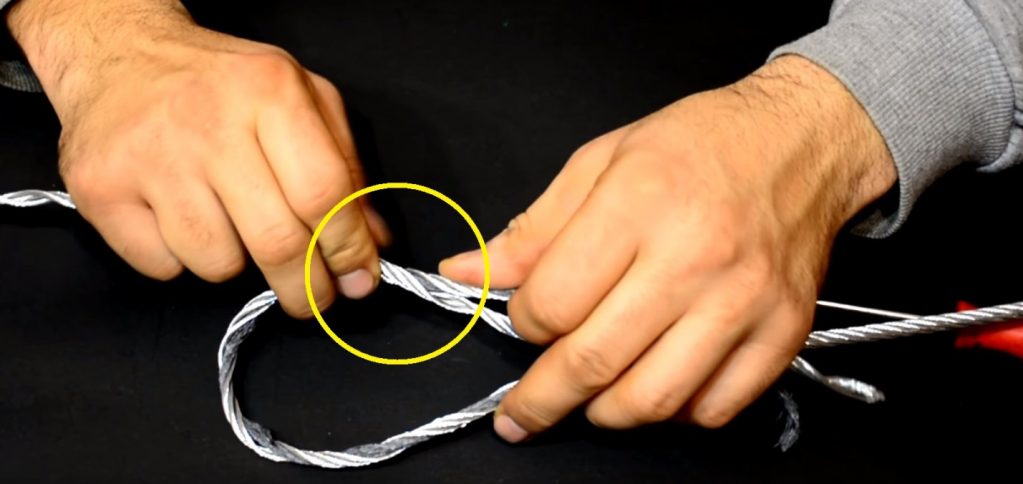
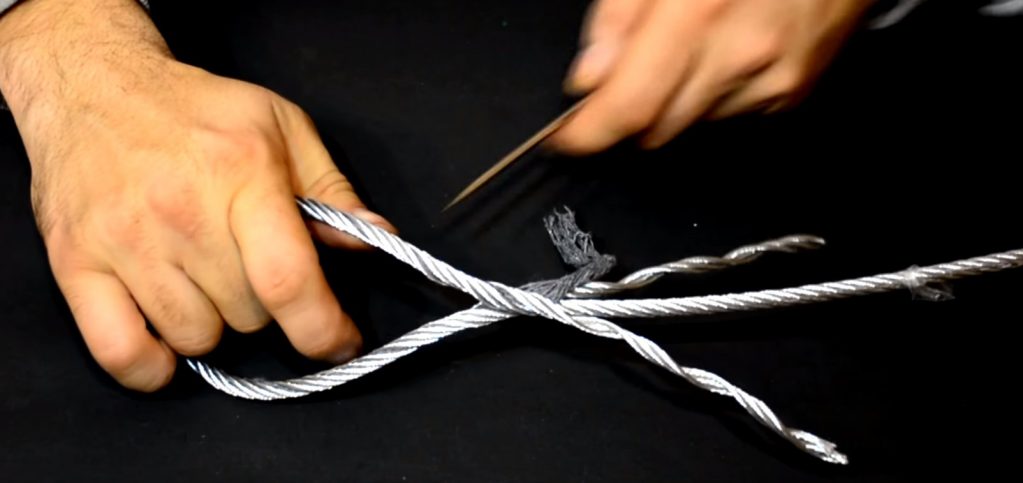
The connection of the untwisted threads at the midpoint
Approximately in the middle of the distance from the end of the cable to the marked point, two groups of threads are connected so that they enter the free places on top of each other.
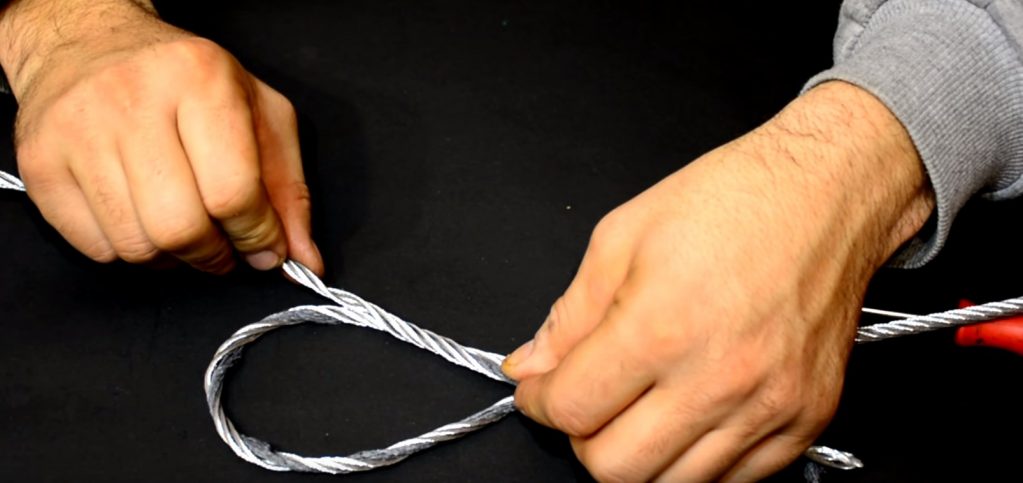
Relatively long length of newly connected cable
Since the bundles of three threads are symmetrical, they fit perfectly into each other: places where there is steel on one bundle fit into voids on the other and vice versa.
Continue to lay the cable along the entire length of the loop
In the same way, continue to lay the cable along the entire length of the loop.
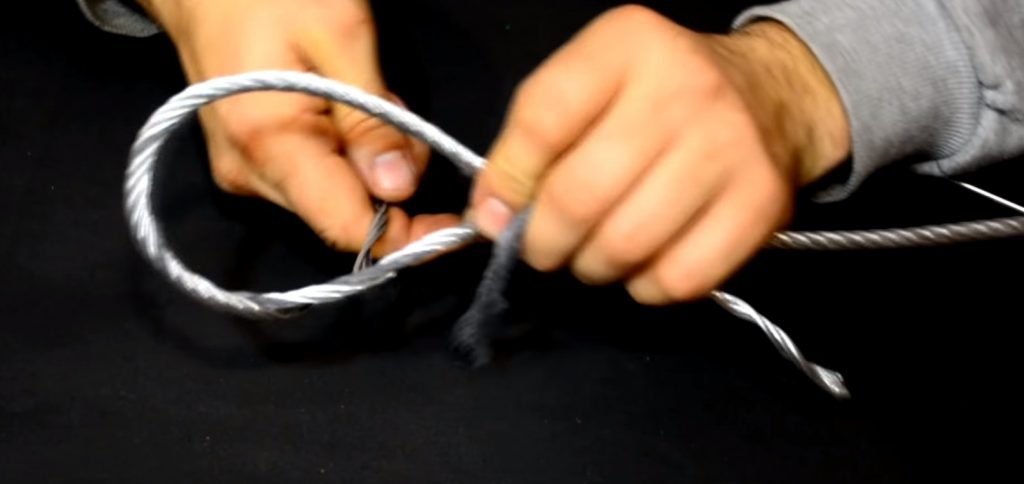
The loop is ready, it remains only to complete the braiding of its fixation point
Step #4 Fixing the loop

Loop formation
A screwdriver is inserted into the loop.
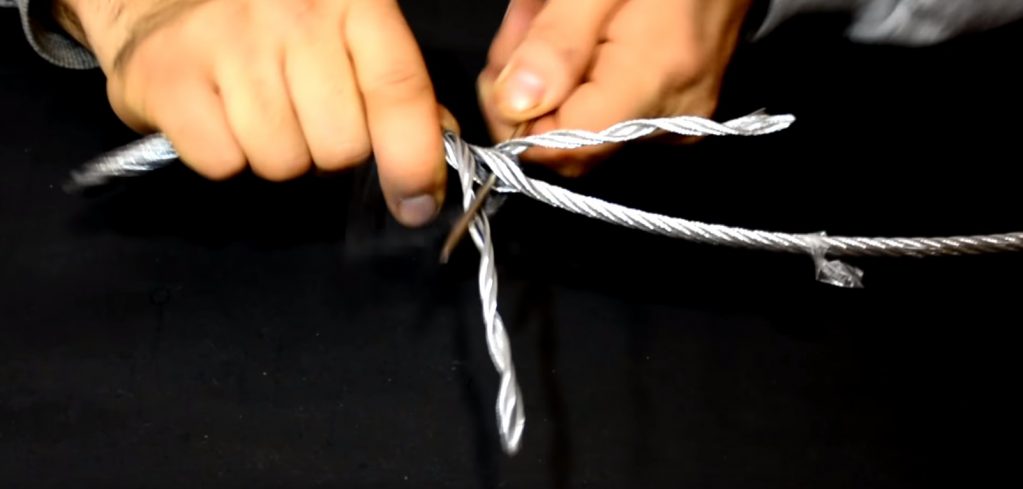
Scroll counterclockwise towards the point marked with tape
And it is scrolled counterclockwise towards the point marked with adhesive tape.
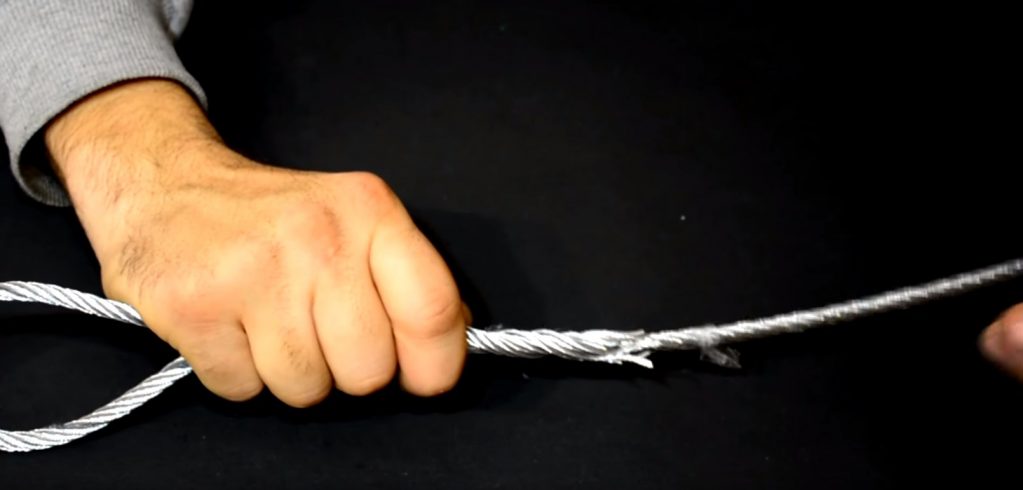
Woven rope into thicker
In this case, the cable is independently woven into a thicker one, consisting of 12 threads.
The screwdriver is inserted into the loop again
Then the operation is repeated: the screwdriver is again inserted into the loop.
And again scrolls to the point marked with tape counterclockwise
If necessary, the procedure is repeated 1 or 2 more times.
The loop obtained as a result of weaving the cable is securely fixed
To prevent the ends of the threads from untangling, they are fixed with electrical tape.
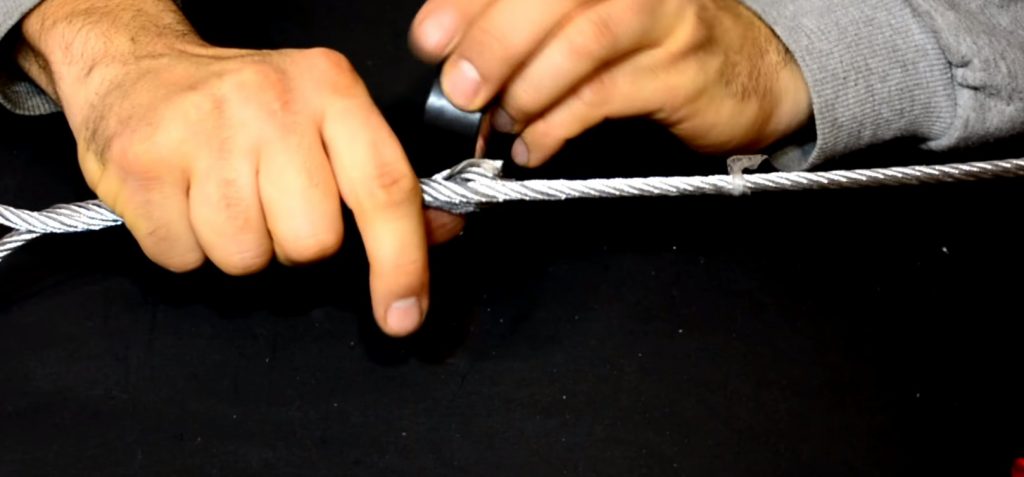
Fixed with tape
For a more secure fixation, a steel clamp is used.
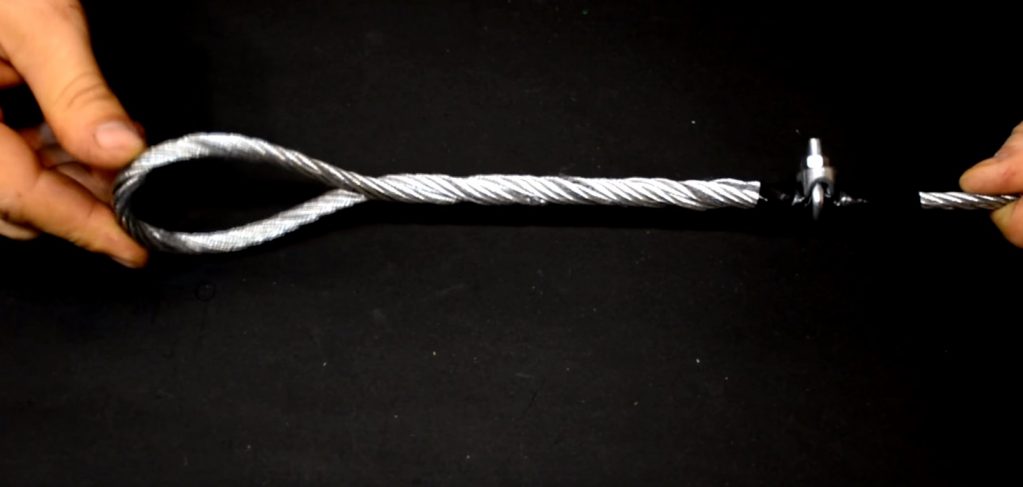
A steel clamp is used for fixing
VIDEO: How to QUICKLY make a LOOP ON A STEEL CABLE with your own hands

How to QUICKLY make a LOOP ON A STEEL CABLE with your own hands
How beautifully and securely to braid the cable into a loop: a step-by-step schematic instruction


