
There is a stump on the personal plot - does it spoil the appearance and interfere with everyone? It would be necessary to uproot it, but somehow the hands do not reach. It's painfully hard work. This is not true!
You can even remove it without using any axes or shovels, but only fire. In this way, you can remove far from one or two stumps, while spending one or two hours of your precious time.
This technique has only one drawback - it cannot be used in places where there is a risk of fire, i.e. near gas pipelines, fuel storage facilities and in close proximity to residential and commercial buildings.
Content:
 Read also: Interesting ideas for decorating your favorite dacha with your own hands | 150+ original photo tips for craftsmen
General description of the method and the necessary tool
The principle is very simple - the formation of a candle stump. To do this, it will be necessary to drill a hole in the center of the object being burned, where the wick for the initial fire will be placed, and also provide the latter with oxygen. And then the fire will completely burn out the stump from the inside.
By the way, this method works with both dry and wet hemp of any size. The combustion rate will be slightly different, but this will not affect labor costs in any way.
For work you will need:
- Electric drill or perforator with a long drill for wood with a diameter of the latter, the larger - 40-50mm is quite suitable.
- Liquid for lighting fires with a volume of 100-200 ml. For this purpose, almost any combustible mixture is suitable, whether it be kerosene, diesel fuel or engine oil.
- Cotton wick about 30 cm, - a strip 2-3 cm wide, cut off from a rag, will fit
This is all that is needed for this “time-consuming” business ... although no, you need more matches or lighters.
 Read also: How to make flower pots with your own hands: outdoor, indoor, hanging | Step by Step Charts (120+ Original Photo Ideas & Videos)
 Getting Started
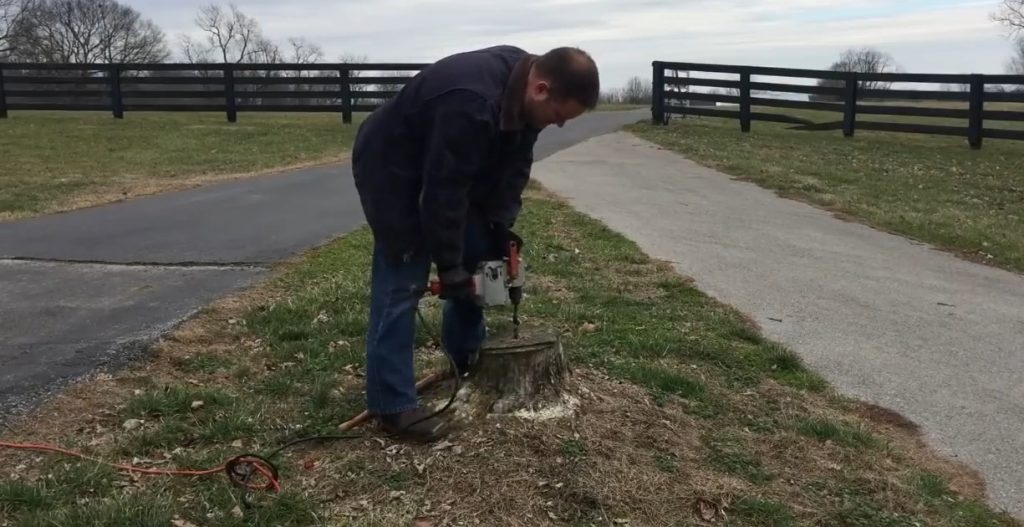
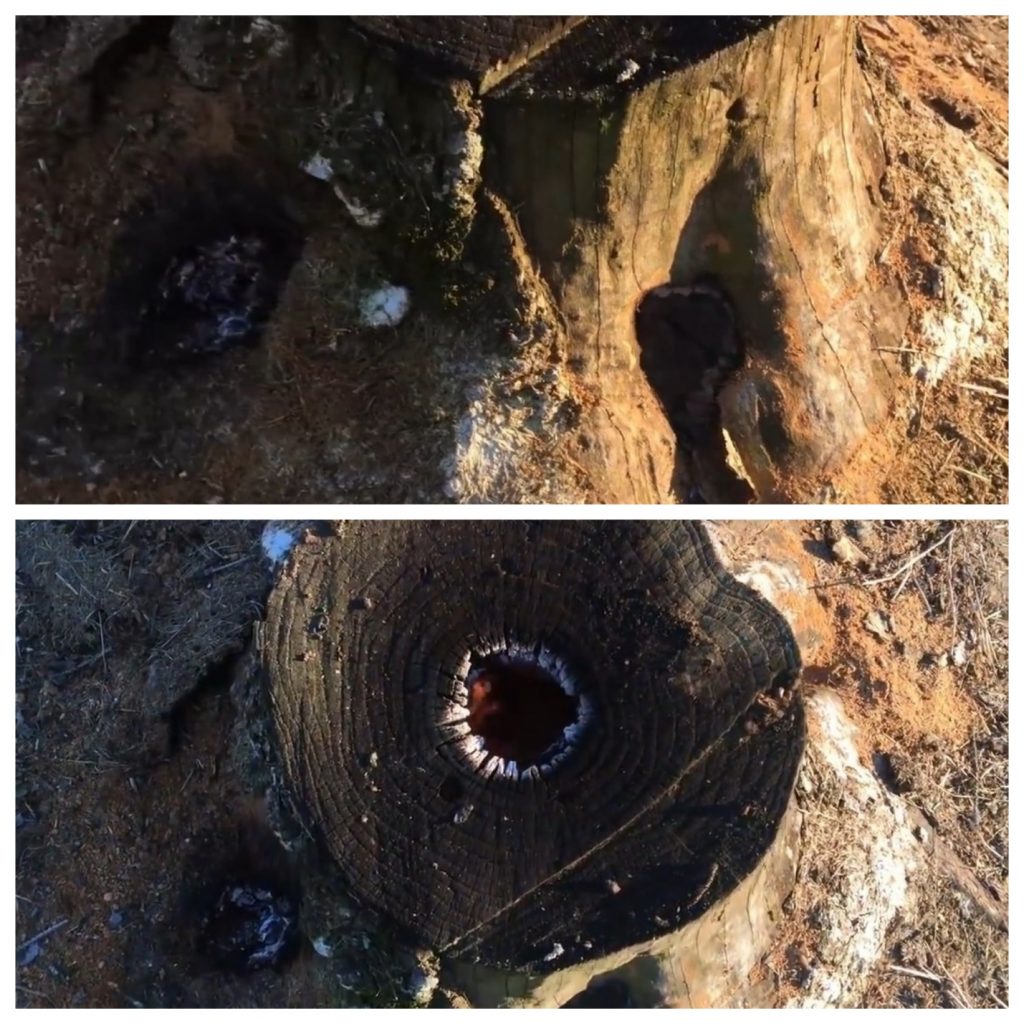
Drilling a hole in the center of the stump to be removed
Using an electric drill, we drill a hole in the center of the stump to be removed to a depth that allows the used drill to do this.
The place for the wick is ready.
On the side of the stump we form a hole that will provide access to oxygen for combustion. We try to get into the previously drilled hole for the wick.
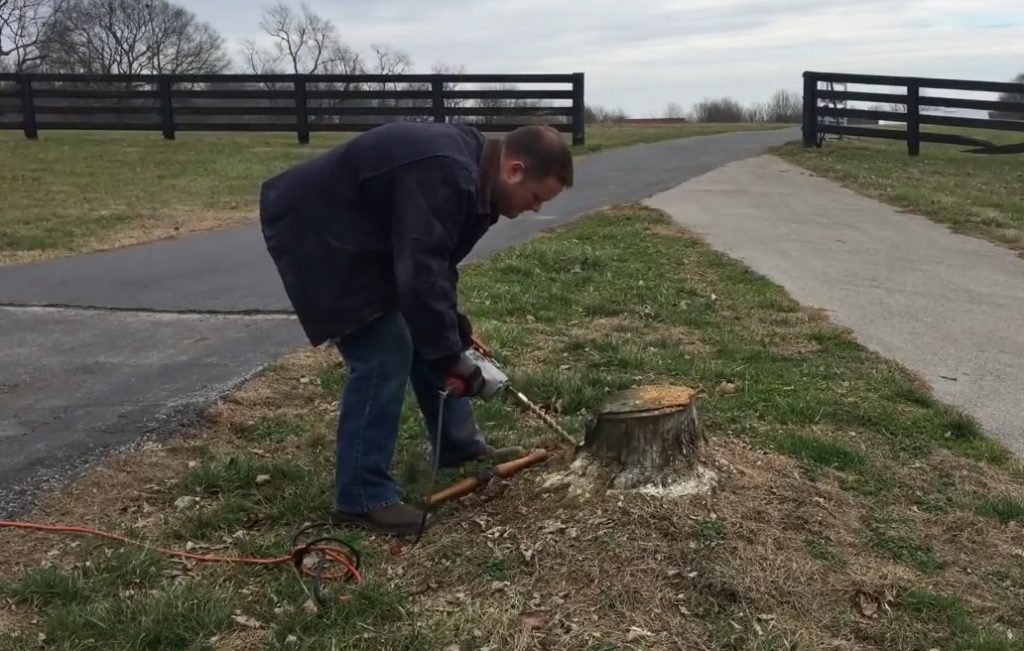
Formation of a hole for oxygen access
We make sure that the work done is correct. For example, you can highlight with a flashlight and check that the drilled holes are connected. You can use a metal bar and make sure by the sound that everything is done correctly.
Hole check
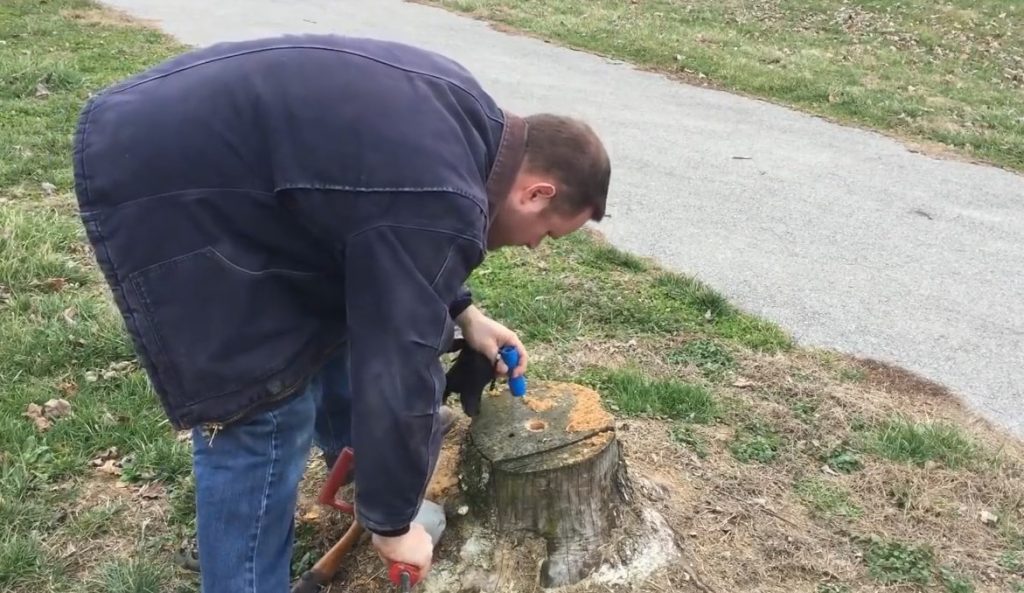
Pour the ignition mixture into the hole for the wick - 100-200 ml will be enough. Do not forget to leave a little for impregnation of the wick.
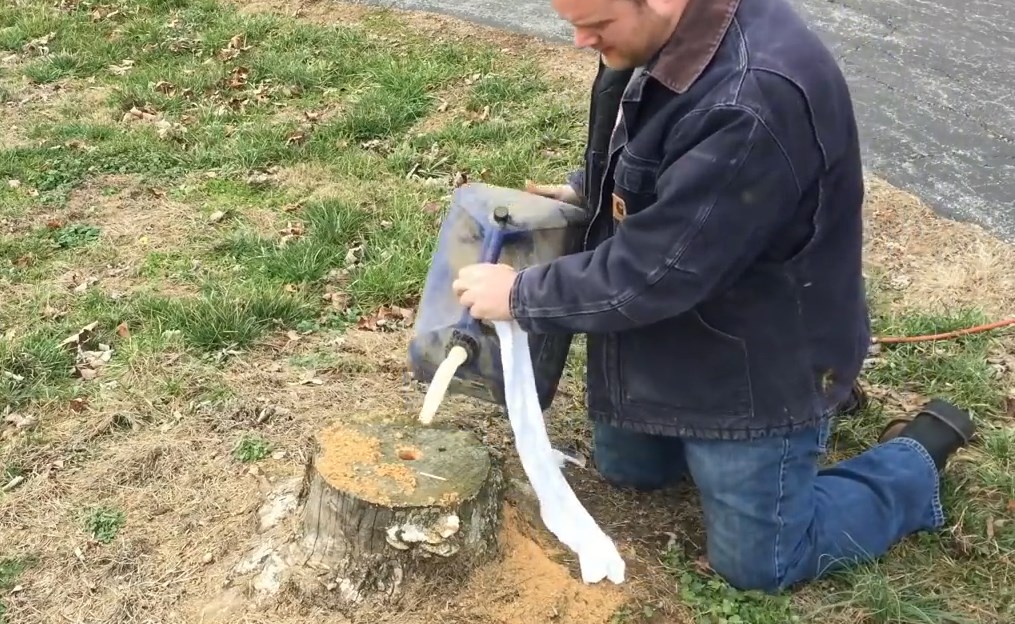
Filling the ignition mixture
We moisten the homemade wick with the rest of the fuel and lubricants and place it inside the hole drilled on top of the stump.
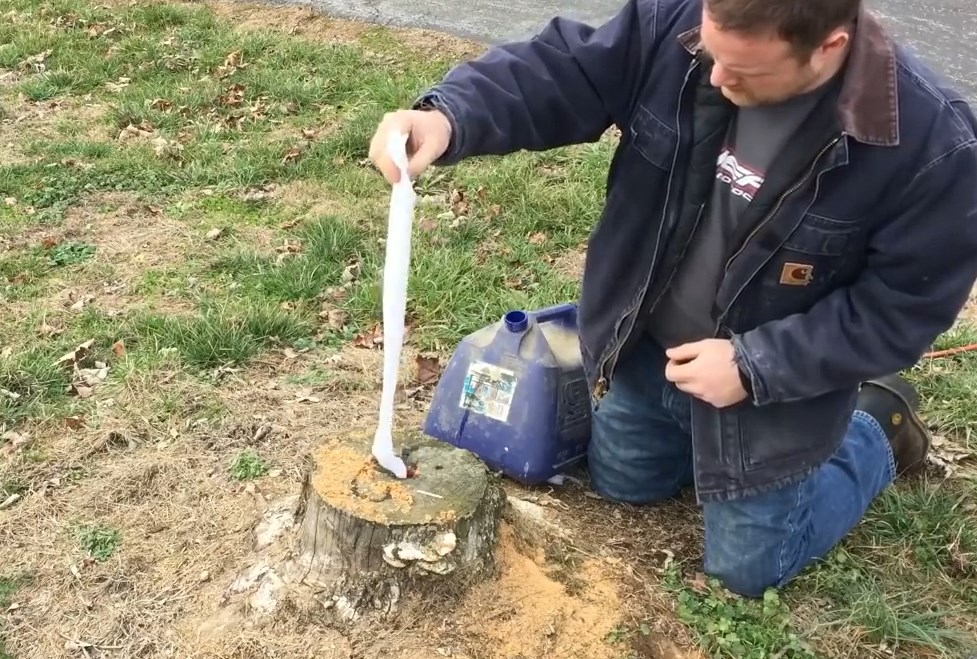
Wick installation
We set it on fire. Let the fire burn.
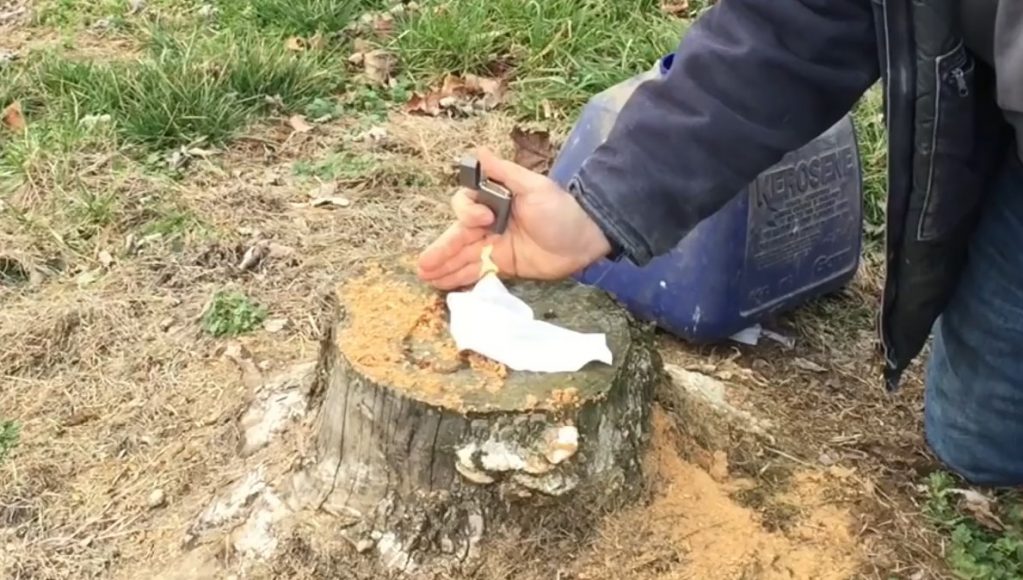
Lighting the fuse
To improve combustion, it would not be superfluous to increase the supply of oxygen. You need to drill additional side holes. You can and should do this before the fire is kindled.
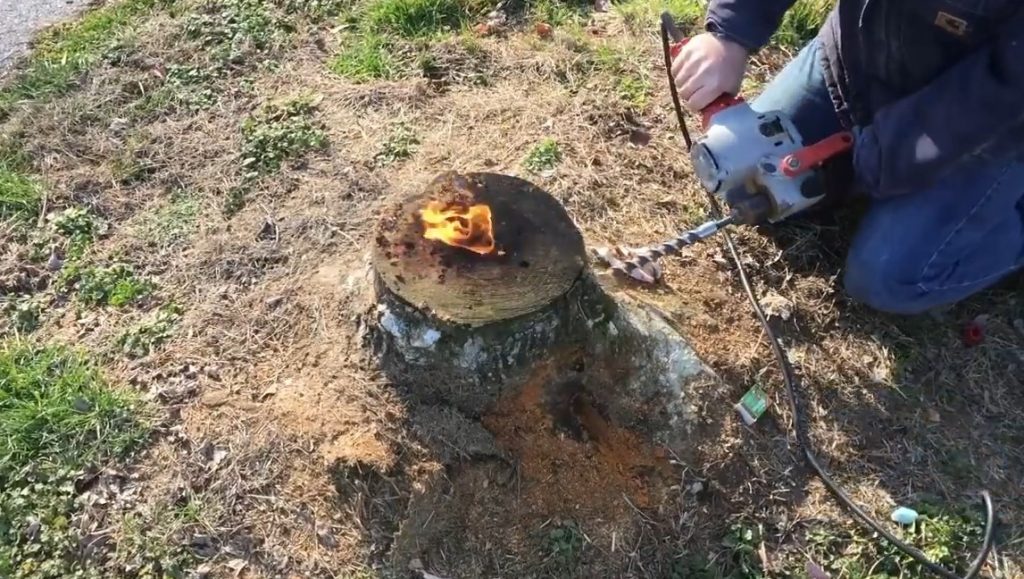
Increasing oxygen supply
As it burns, the hole in the center of the stump will expand, and the first coals will form inside. To speed up the burning process, you can throw a few dry branches inside, and build a small fire on top of the stump.
An hour after the start, the stump will look something like this.
Stump an hour after the start of burning
And this is already four hours after a candle was built from a slightly rotten hemp.
As you can see in the photographs, the base of the stump has already fairly burned out. The fire is stable, and the breeze inflates the fire more and more. Now even a little rain won't put it out. On it you can cook dinner for a full-fledged family.
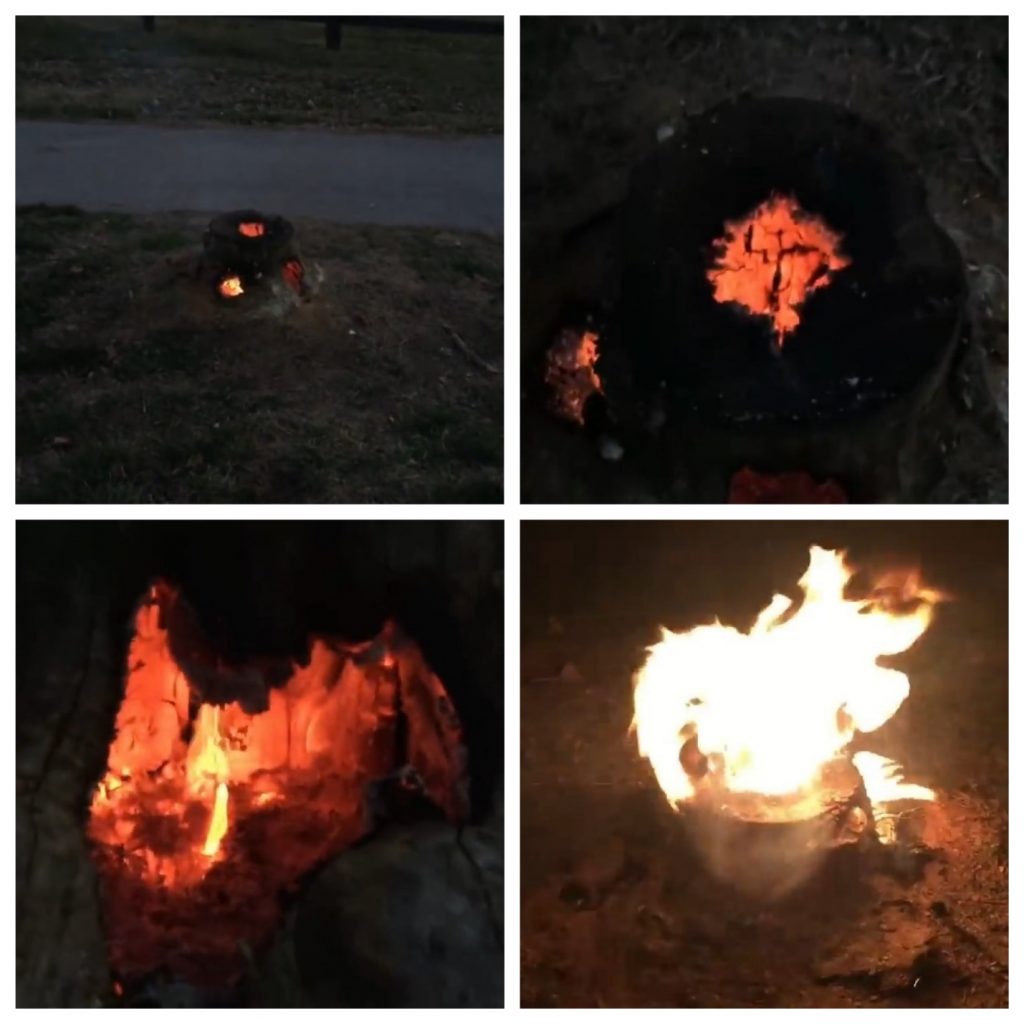
Stump in four hours
At night, the stump burned for several hours, then subsided somewhat, and closer to morning it simply smoldered. Here's what happened to him 12 hours after he was set on fire. There is practically nothing left of it.

Stump in twelve hours
Almost all of the stump burned down, but there are still roots inside. Therefore, it is possible, by throwing dry wood on top, to burn them too.
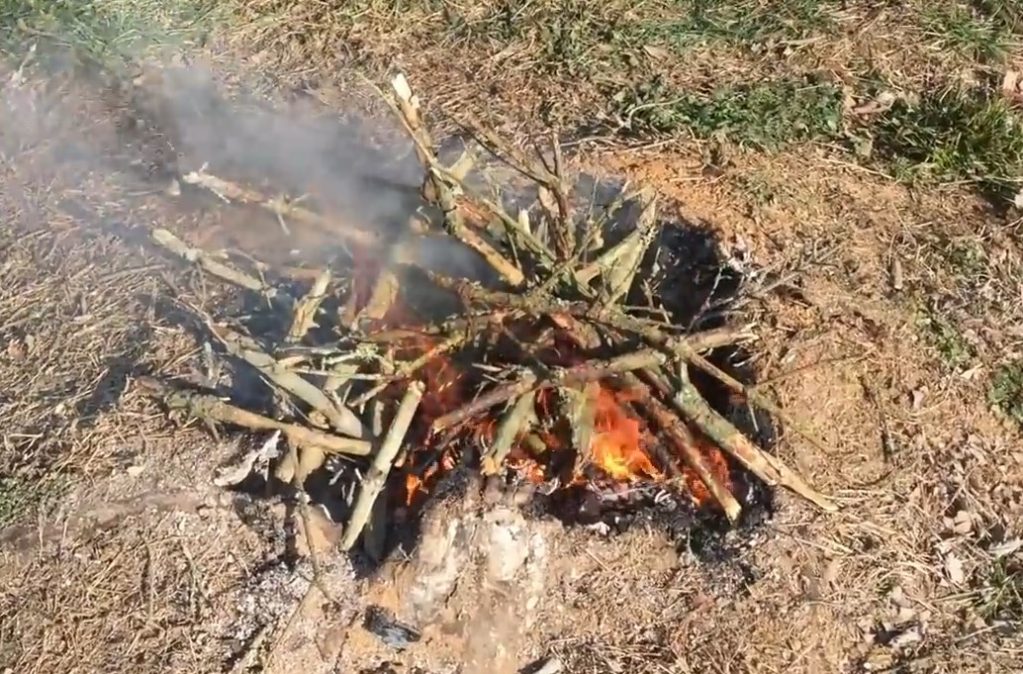
Burning the remaining roots
Total: 10 minutes to drill holes, a glass of diesel fuel, a piece of rags, a couple of matches, and after 12 hours there is no stump at all. Excellent result!
VIDEO: How to remove a stump on a plot without uprooting

How to remove a stump on a plot without uprooting
How to remove a stump on a site without uprooting: step by step instructions


Great idea?
At first it is said that the liquid for ignition, and then that diesel fuel.
This is the same?
If the drilled holes from above and from the side are connected, then the flammable liquid poured through the hole from above will pour out through the side hole.