

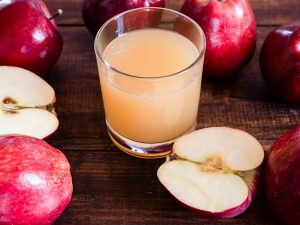
Apples are a very useful product from which you can make many different dishes: compotes, pies, charlottes, jams, etc. Unfortunately, the "apple" season lasts no more than 1.5-2 months a year, and although imported apples eat all year round, people still want to eat organic products, self-grown.
Drying apples is the very way that will extend the time of eating this product for almost a whole year. At the same time, all the nutrients will be preserved in dried fruits.
Dried fruits take up relatively little space and do not require any specific storage conditions. Unlike fresh apples, which do not have a high energy value (their calorie content is 52 kcal), dried fruits have a calorie content comparable to that of jam - about 220-250 kcal.
This is a very high-calorie and nutritious product that can quickly restore the energy expended in the winter. The article will discuss the organization of drying apples, list the ways in which you can dry apples at home and give recommendations on which apples to dry.
Content:
 Read also: Apple compote for the winter - 14 cult recipes! Tasty and healthy (Photo & Video) + Reviews
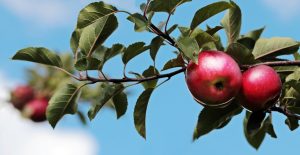
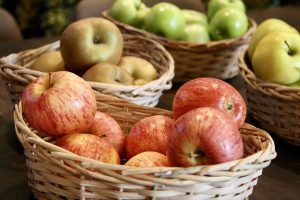
Choosing a variety of apples for drying
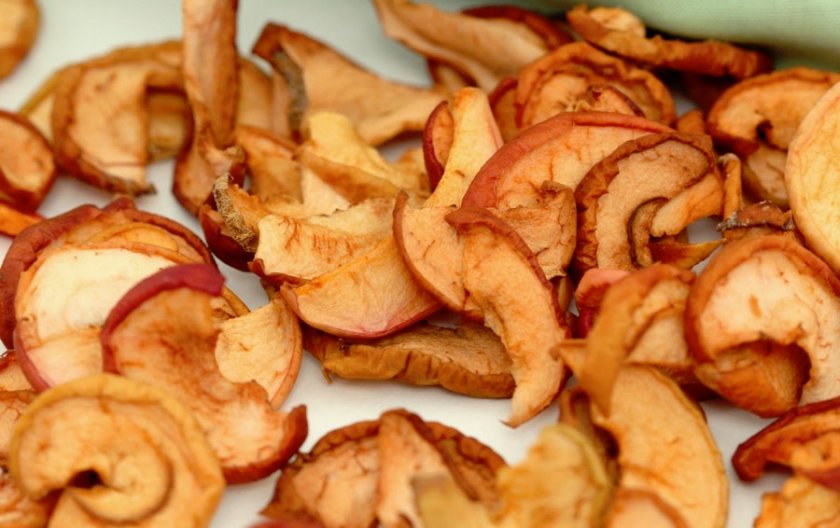
dried apples
The criteria for selecting apples for drying are relatively simple. They are based on the results of many years of observations and recommendations from culinary specialists:
- For drying choose medium or large-fruited varieties
- It is desirable that they have a small fruit box
- The fruits must have a thin skin
- Sweet and sour apples have the best taste. In addition, they contain a maximum of useful and nutritious substances.
- The use of carrion is permissible only if the fruit is firm and the damaged fragments are completely removed.
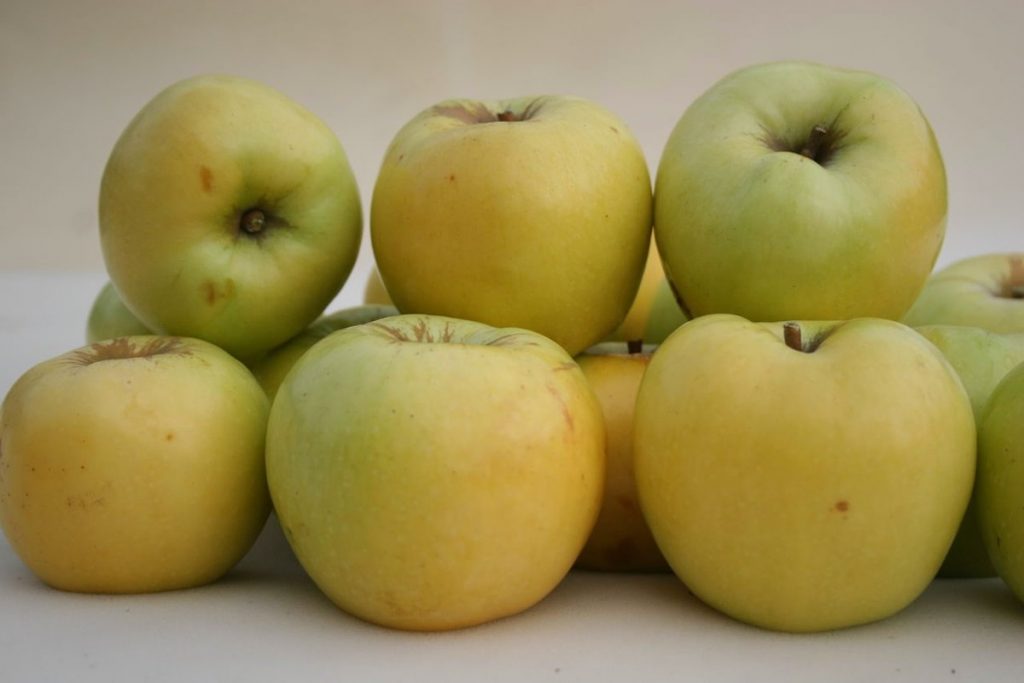
Antonovka is one of the best varieties recommended for drying.
Based on these requirements, it is possible to recommend for drying such apple varieties:
- Antonovka
- Pippin
- Slav
- Anise
- Aport
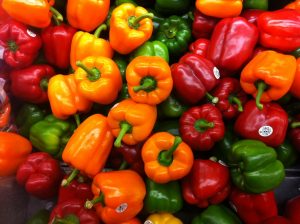 Read also: Bulgarian pepper for the winter: 3 ways to store a vitamin record holder and 5 most delicious recipes for blanks
 Preparing apples for drying
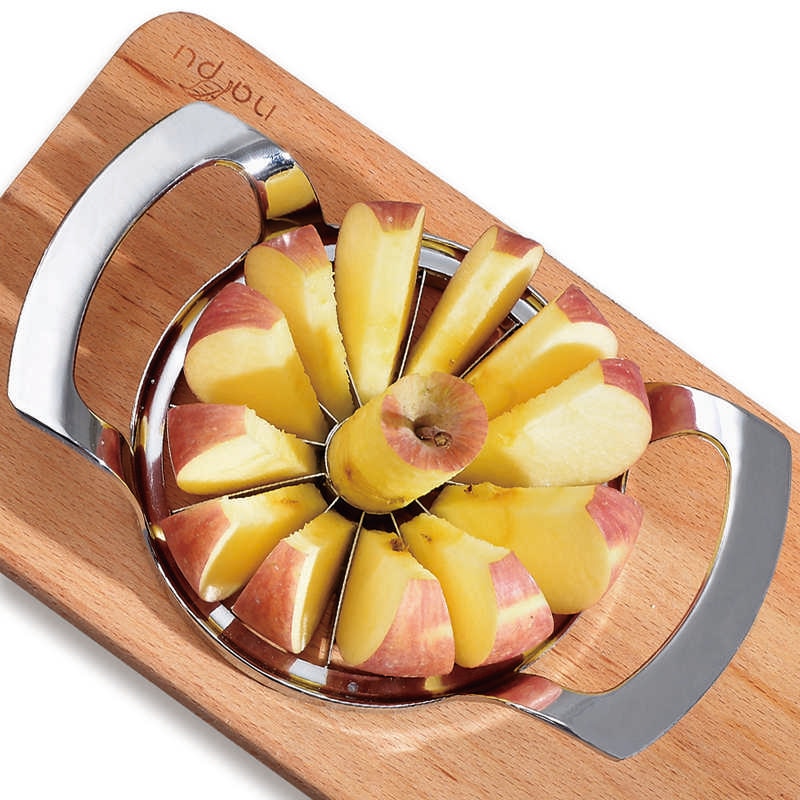
A device that combines the functions of a slicer and a core extractor is an ideal tool for preparing apples for drying.
Preliminary preparation for drying includes several stages of fruit processing. They are necessary to prevent the processes of decomposition of nutrients in apples, as well as to optimize the process of drying them for the winter.
The following steps are discussed in more detail:
- The fruits must be washed and wiped, if possible, cleaning them from moisture residues as much as possible.
- The core of apples is removed using a special tool. If it is not there, the apples are simply cut into two parts and the core is cut out with a knife. If dried fruits are used only for making compote, it can not be removed at all.
- To maintain the maximum concentration of nutrients, the peel of fruits (especially grown on their own) is not recommended to be removed. This procedure is necessary only for purchased apples, the origin of which is unknown.
- Slicing apples is carried out with a thin knife or a special device (slicer). The thickness of the slices should be no more than 5 mm
- After cutting, the apples must be treated with a clarifier, which will preserve their appearance and prevent insects from becoming too interested in them. For this, a 1% solution of salt in water is used. Apple slices are kept in it for about 4 minutes.
 Read also: Apple blanks for the winter - recipes, a rich variety of variations: pickled apples, jam, jam, jam, puree and compote
Methods for drying apples
Drying apples
There are two fundamentally different approaches to drying apples: drying in a natural way and drying using various technical means. The first method is considered the most natural, since long-term evaporation of moisture can maximize the preservation of all useful substances in apples.
The second method is used when, for some reason, natural drying is not possible (not enough space, time, too humid climate, etc.)
Each of the approaches has several implementation methods, each with its own advantages and disadvantages. Consider drying methods in more detail
Outdoor drying
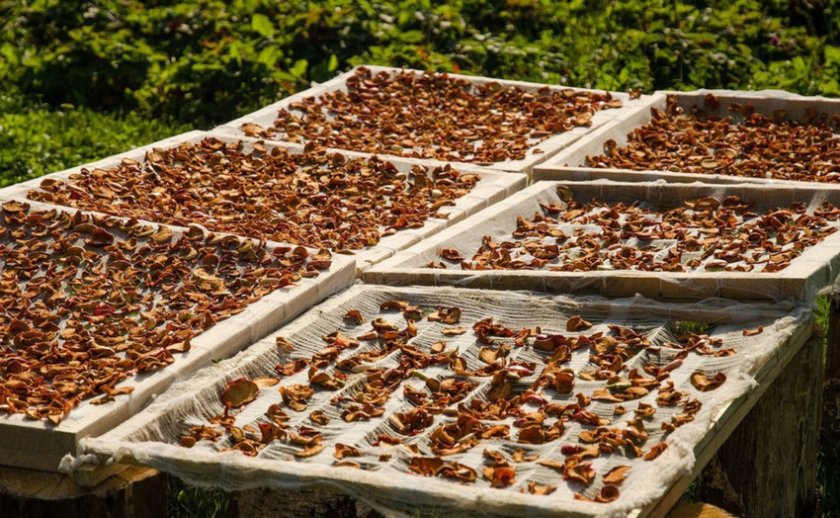
Drying apples laid out on baking sheets outdoors
This method is good to use in hot regions with a lot of clear days and dry air. Usually, it is used in the summer, as the weather conditions can deteriorate in autumn. The time during which apples are completely dried is from 7 to 15 days, depending on weather conditions.
- the slow rate of evaporation of moisture allows you to maximize the preservation of useful substances
- you can dry the entire volume at once apples
- for drying, only summer or early autumn varieties will be applicable
- apples must be laid out on baking sheets, which will require large areas and the need for daily turning
- in the event of sudden bad weather, it may be difficult to maintain drying
- insects with a large number of them will contaminate apple slices
Outdoor drying on threads
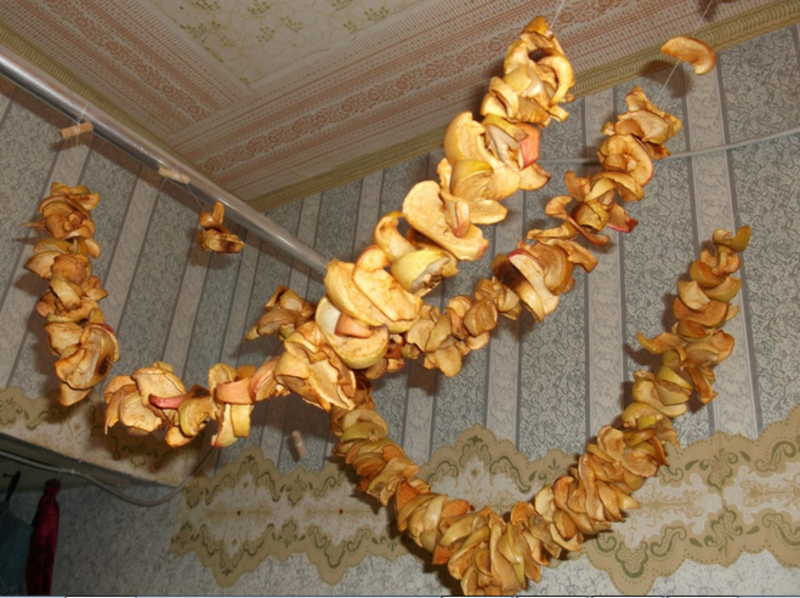
Drying applesstrung on a thread
An alternative way is to use threads or sticks for drying, on which apple slices are hung (in this case it is better to cut them into circles with a cut out core). Sticks or threads can be hung vertically in several rows, which saves a lot of space.
In addition, to protect against insects, you can use a fine mesh or gauze, folding it in two layers.
An additional plus in comparison with a baking sheet is the fact that the slices on both sides have contact with air. This cuts the drying time in half. In the sun, the garlands will be dried for 3-4 days, in the shade - for a week.
Using a gas stove

Arrangement of apples on baking sheets when drying in the oven
A tool like gas stove is in every home. With its help, you can carry out the process of drying apple slices in at least two ways: in the oven or above the work surface, using the heat from the burners.
The first method is traditionally used, as it is more reliable and safe. To do this, the apples are laid out evenly on the surface of the baking sheet, which is placed in the oven from the middle or to the very top.
The sequence of actions during drying consists of three stages:
- Pre-drying. Produced within 1 hour at a temperature of +50 degrees Celsius
- Evaporation of moisture. A longer process that occurs at a temperature of +70°C. Its duration is several hours and depends on the variety of apples and the thickness of the slices. Every 1-1.5 hours, you should mix the apples on a baking sheet for even drying.
- Sterilization. Produced at a temperature of +80°C. Duration - 30 minutes.
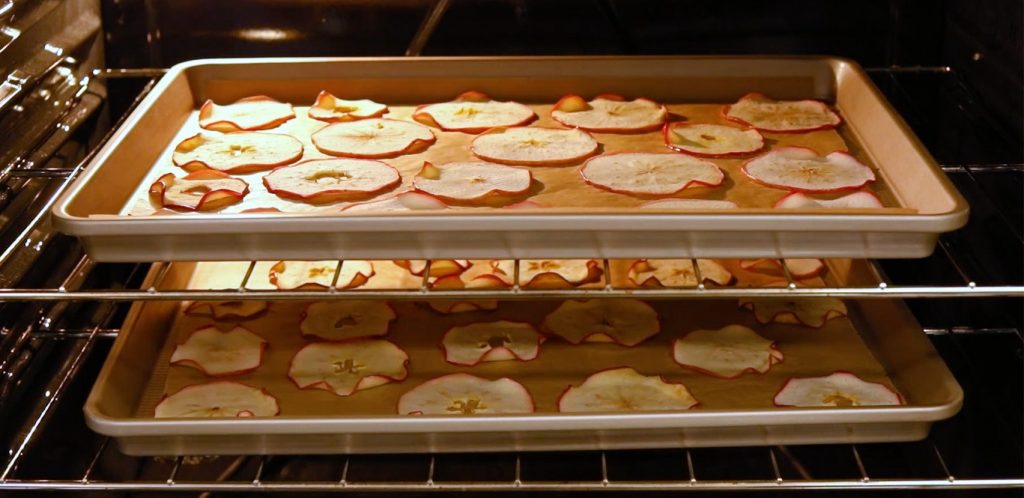
Apples on baking sheets when drying in the oven
Similarly, electric stove ovens can be used, and they will be even preferable, since they have an automatic temperature control system and most of them have an oven ventilation system. In addition, the presence of two heaters at the top and bottom will provide better drying of the material.
In general, the drying time in the oven is 6-8 hours. This can be considered a disadvantage of this drying method. Its advantages are obvious - relative simplicity, high-quality results and safety.
If you dry apples over working burners, the process can be significantly reduced (up to 2 hours), but it should be remembered that this method requires more careful attention, since any accidents can lead to a fire in the kitchen.
In addition, the disadvantages of this method include the need for experimental selection of the height of hanging apples, burner power, ventilation conditions, etc.
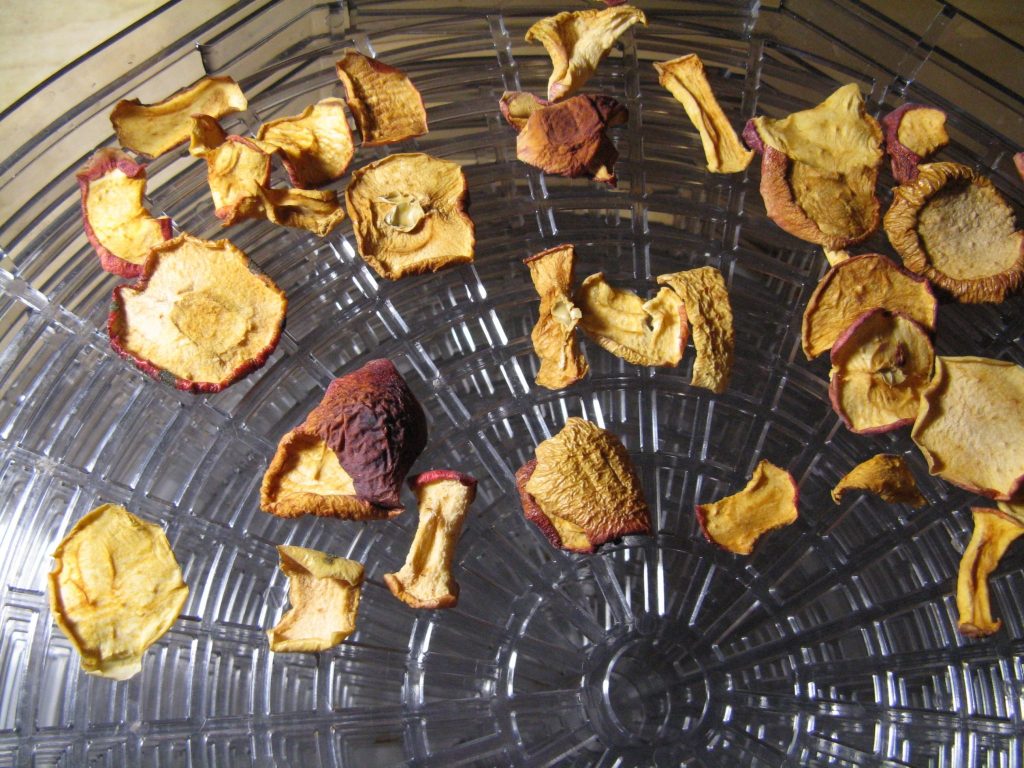
Microwave Application
Microwave dried apples
An alternative drying option for those who absolutely do not like to wait. Drying speed in microwave 5-10 times faster than, for example, in the oven. It is functionally divided into two stages: pre-drying and post-drying.
Such a partition is necessary so that moisture comes out of the slices gradually. If you do the operation too quickly, the water vapor, trying to get out, can literally tear the slices apart.
Drying apples
Pre-drying:
- On a plate designed to work with a microwave, apple slices are laid out in one layer.
- The plate is placed in the oven
- Set the mode with a power of 250 watts for a period of 30-40 seconds
Finishing drying:
- The plate is removed from the oven
- All slices are turned over and placed back in the oven.
- Set the mode with a power of 300 watts for a time of 3 minutes
After that, the slices are taken out and inspected, if they are not dry enough, the second stage (finishing) is repeated.
The disadvantages of this method include perhaps uneven heating of the area of the plate on which the slices are laid out. Therefore, it is recommended that before each final drying, not only turn the slices over, but also move them from the center to the edge and vice versa.
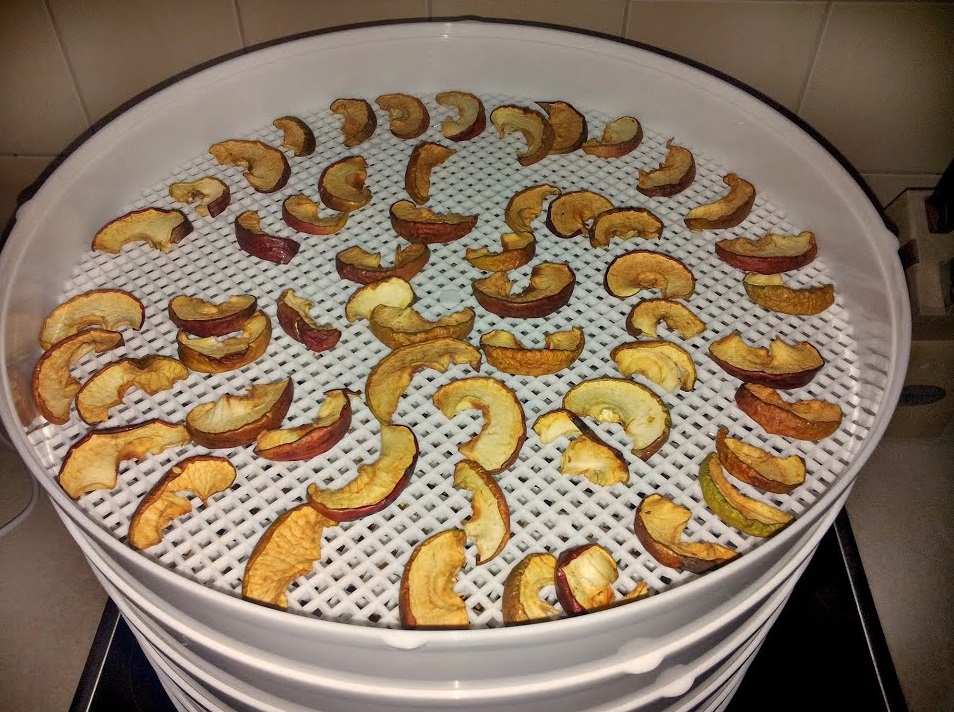
Using an electric dryer
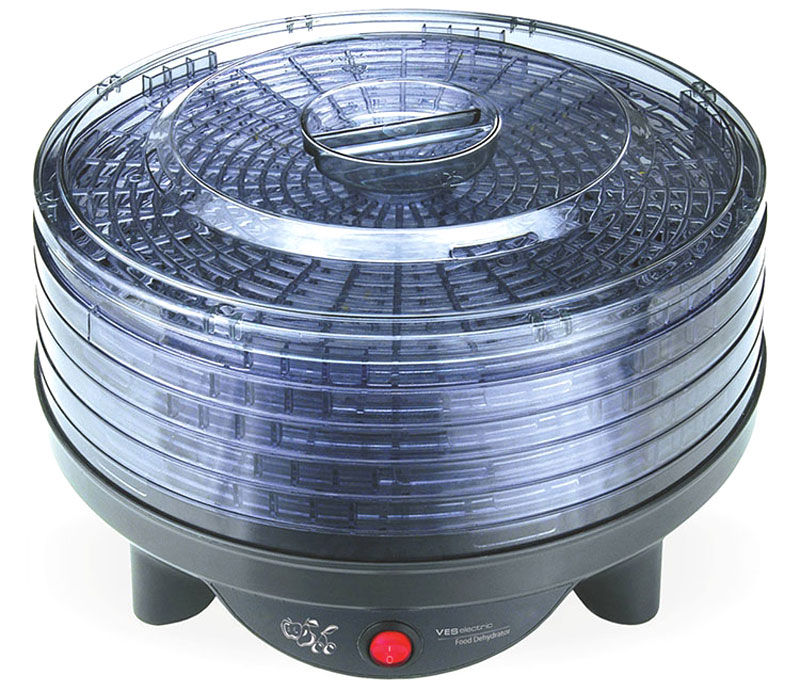
Appearance electric dryers
This tool was specially created for drying fruits, so it is ideal for drying apple slices. For those who work with large volumes of workpieces, the purchase of such an electrical appliance will be mandatory.
The dryer works automatically, and the whole process lasts no more than 2-3 hours in fast mode and about 8 hours in slow mode. There is no need to control its operation or to stir the apple slices during the drying process.
In order to dry apples in this way, it is enough just to spread the slices in one layer on the pallets of the device, select the drying mode (temperature and time) and start it. After the required time, we will receive the finished product.
This method is practically devoid of disadvantages, except for one - the need to purchase such a dryer. However, their cost is relatively low (about 30-50 dollars).
 Read also: Apple tree: description of the 25 best varieties with gardeners' reviews about them
 When to finish the drying process
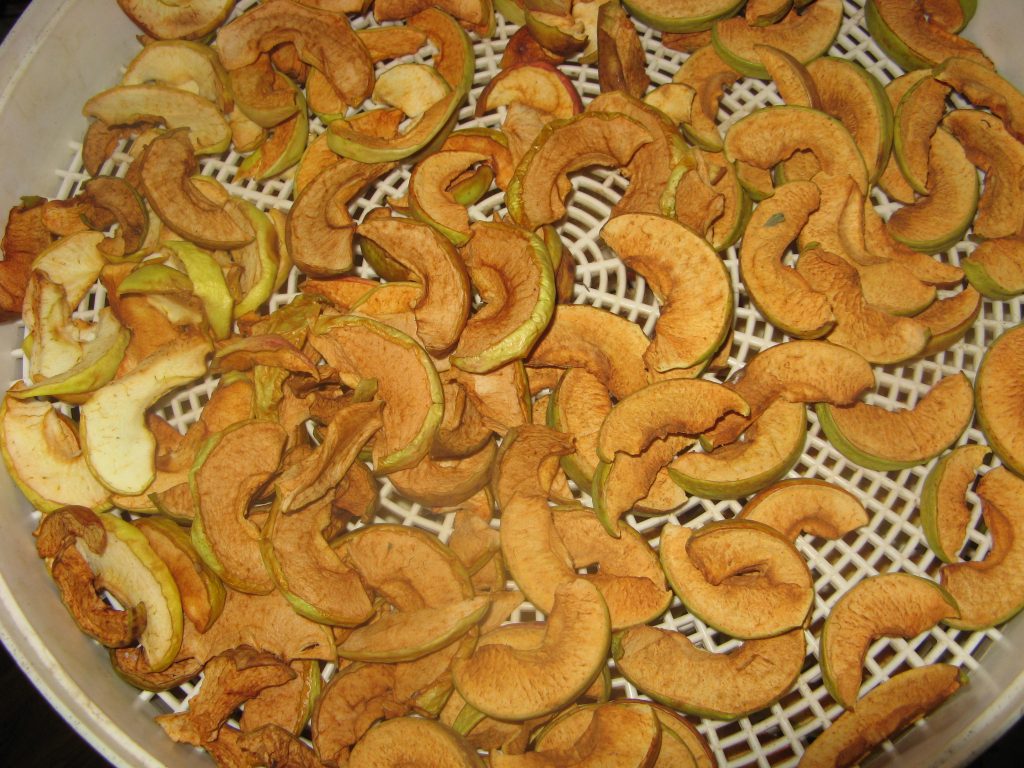
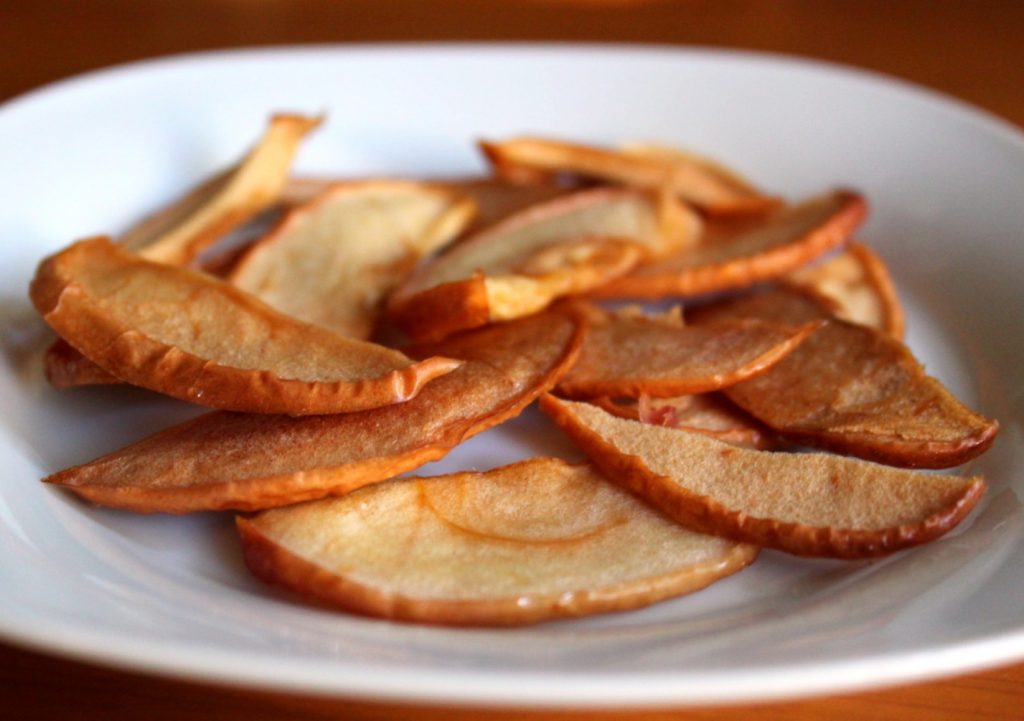
Appearance of the slices, the drying of which is completed
To understand if the apples are ready, they should be examined and touched, what they are to the touch.
Usually, if the skin has become dark and the slices have decreased in size, it is considered that the process is close to completion. The final check is carried out by lightly pressing the slice with your finger.
If, when pressed, moisture and stickiness are not felt, and the slices themselves are soft and elastic, then drying is completed. In the event that the slice falls apart with a slight physical impact, it is necessary to wait some more time.
 Read also: Projects of country houses for 6-10 acres: 120 photos, description and requirements | The most interesting ideas
How to store dried apples

Large bag or pillowcase for drying apples
At the end of the drying process, it is recommended for some time (about 2 weeks) to “dry” the apples in a large cotton bag, which can be an ordinary pillowcase. It is believed that this equalizes the level of humidity and all the slices become the same.
Next, dried apples are scattered into small containers. (cardboard boxes, small cotton bags, paper bags, etc.), which is placed in cool, dark places with good ventilation.
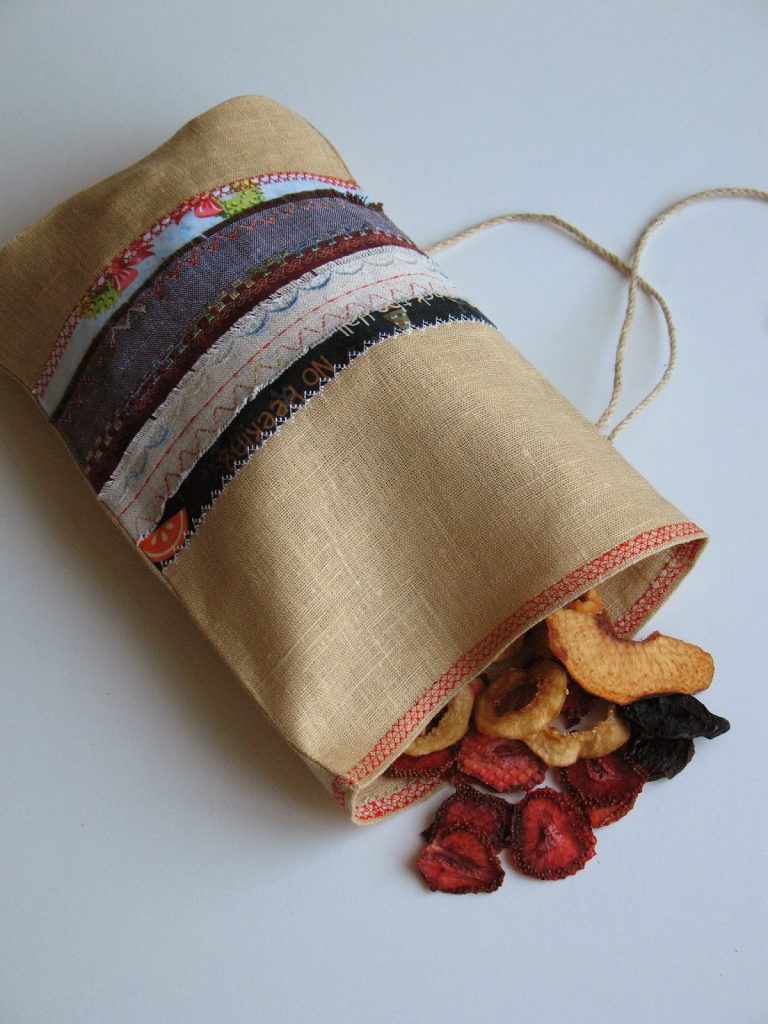
Small bags for packing and storing dried fruits
Sealed containers, such as plastic bags, plastic containers and jars with tight lids, are not recommended for drying storage, as mold appears in such conditions.
The shelf life in such a container, subject to all conditions, is about 1 year.
VIDEO: Drying apples at home. How to cut and peel apples in seconds

Drying apples at home. How to cut and peel apples in seconds
How to dry apples for the winter at home: on a baking sheet in the oven, electric dryer, microwave, at what temperature | (Photo & Video)


Olga, thanks for the interesting material! Drying is really a great way to preserve your apple harvest while retaining the benefits of all the micronutrients it contains for our body. It also has dietary properties. In our family, they still like to cook jelly, juice for the winter. We also tried drying in an air grill with convection and a slow cooker. I even made apple chips thinly sliced and it turned out great ? I heard that many housewives very successfully use drying for baking. The main thing is to properly prepare the apples))
Lyudmila I prefer to dry in two stages: a few days in a sunny place, and then I dry it in the oven. So much more useful natural substances and microelements are preserved. If the weather is cloudy, you can place the pieces of apples in a ventilated area. But then it is better to dry them strung on threads. The best option is to hang them in the kitchen.There they will dry for 3-4 days.
For drying white filling, suitable?
Yes, they can also be dried. True, you do not need to wait for their full ripening because they will become soft and inconvenient to cut and prepare for the drying process itself. They also belong to early varieties, so they are not used very often for this procedure.
Five mm is a bit too much. To prepare drying, it works best if you cut them into very thin slices, 2-3 mm. And definitely rings. And dry in the oven, hanging them like barbecues. Well, on sticks. Then the heating will be uniform and they do not need to be turned over.
And I dry the apples in the oven, but I use a baking sheet lined with baking paper or parchment. This way they don't stick and are easier to flip.
Yes, you can use a glass jar for storage. But the container does not need to be hermetically sealed. To circulate air and provide ventilation, you will need small pieces of fabric material, like the one in which fruits are stored. But they simply close the necks of the cans with rubber bands.