![[Instruction] How to save a carrot crop: a description of 12 storage methods (Photo & Video) + Reviews](https://iherb.bedbugus.biz/wp-content/uploads/2019/07/kak-hranit-morkov.jpg "[Instruction] How to save a carrot crop: a description of 12 storage methods (Photo & Video) + Reviews")
Carrot is a relatively simple crop to grow, but this simplicity is to some extent offset by its difficult storage conditions. According to many gardeners, this is the most capricious vegetable, requiring special techniques to maintain its edibility.
Carrots have one of the longest shelf lives of any vegetable, but these shelf lives only work under certain conditions. Maintaining these conditions in some cases is a rather difficult task. But that's not all: for normal storage of carrots, they must be properly harvested and pre-treated before storage.
Processing is a mandatory procedure; it does not depend on the method of storage of root crops. Its main goal is to prevent additional negative factors from contributing to the safety of the crop. Most of these factors are sanitary in nature. Each of the methods of storing carrot root crops has its own characteristics and nuances; all of them will be discussed below.
Content:
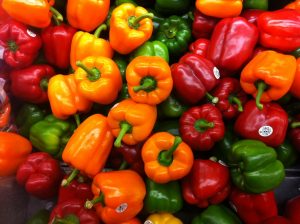 Read also: Bulgarian pepper for the winter: 3 ways to store a vitamin record holder and 5 most delicious recipes for blanks
Variety selection
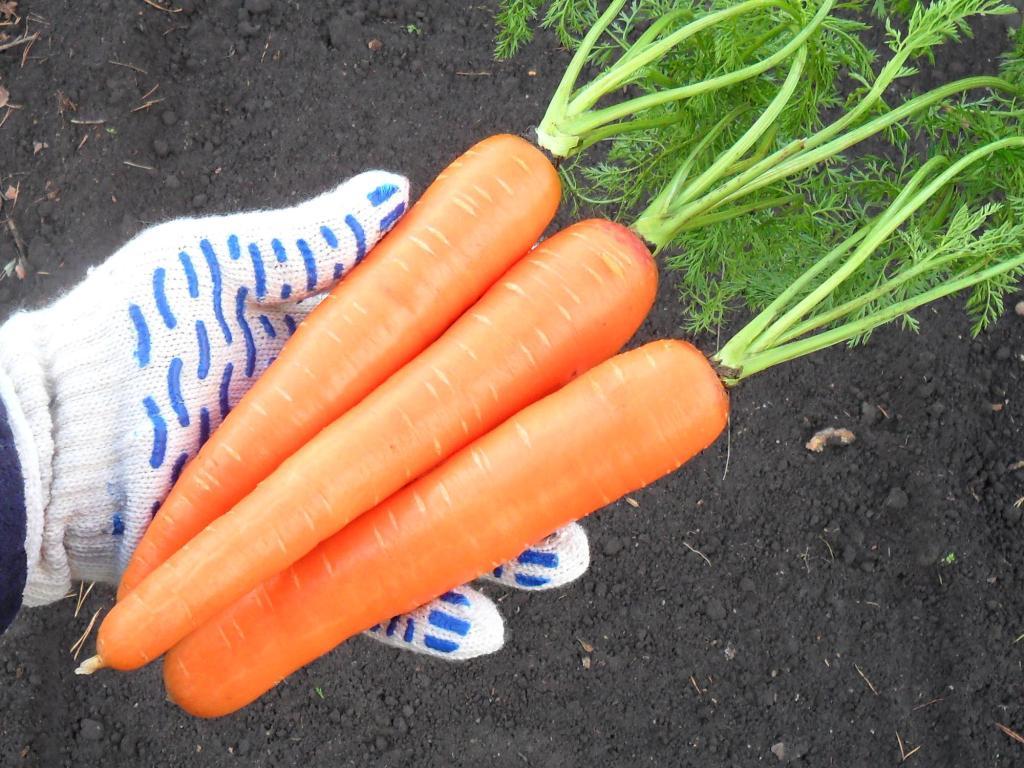
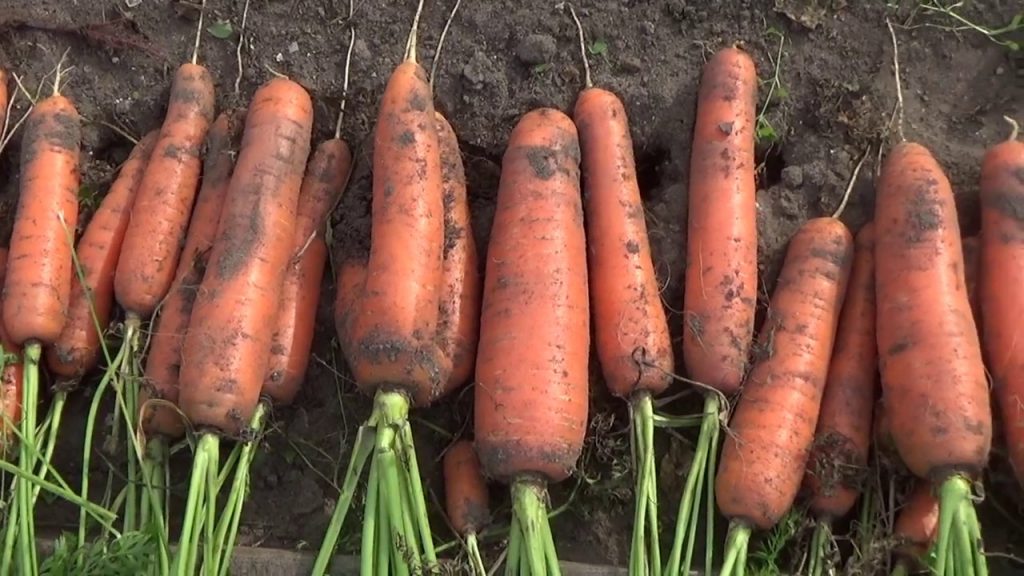
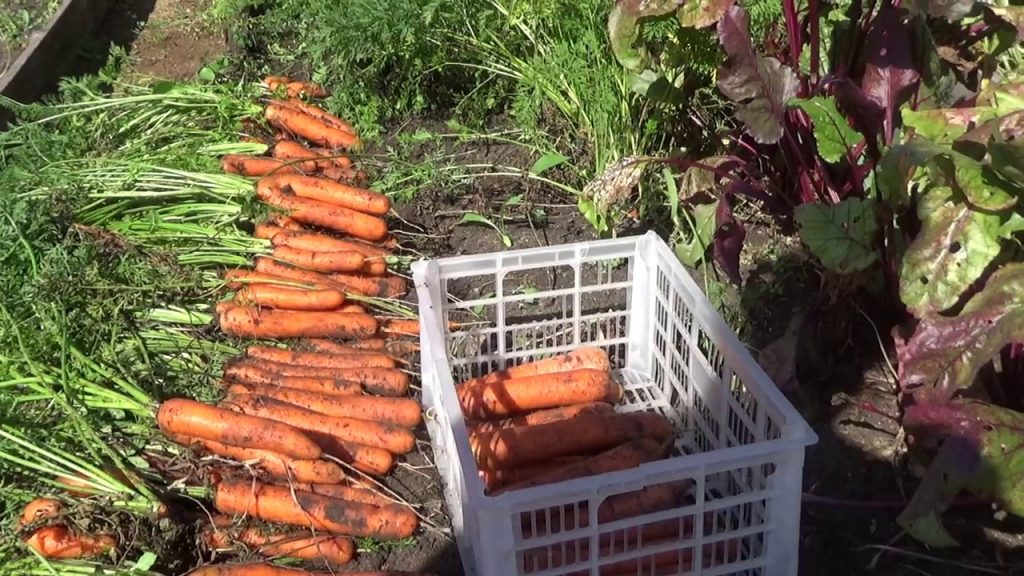
Selected harvest
early ripe carrot varieties not used for long-term storage, but consumed fresh. Storage of mid-ripening varieties is quite simple and is of no interest, since practically regardless of storage conditions, root crops of mid-ripening varieties are recommended to be eaten before the end of November (since their taste deteriorates significantly).
Therefore, for long-term storage, late-ripening varieties with maturation periods of at least 4 months are used; as such can be used:
- Moscow winter
- Nantes
- Cascade
- Samson
- Nigel
Preliminary preparation for storage
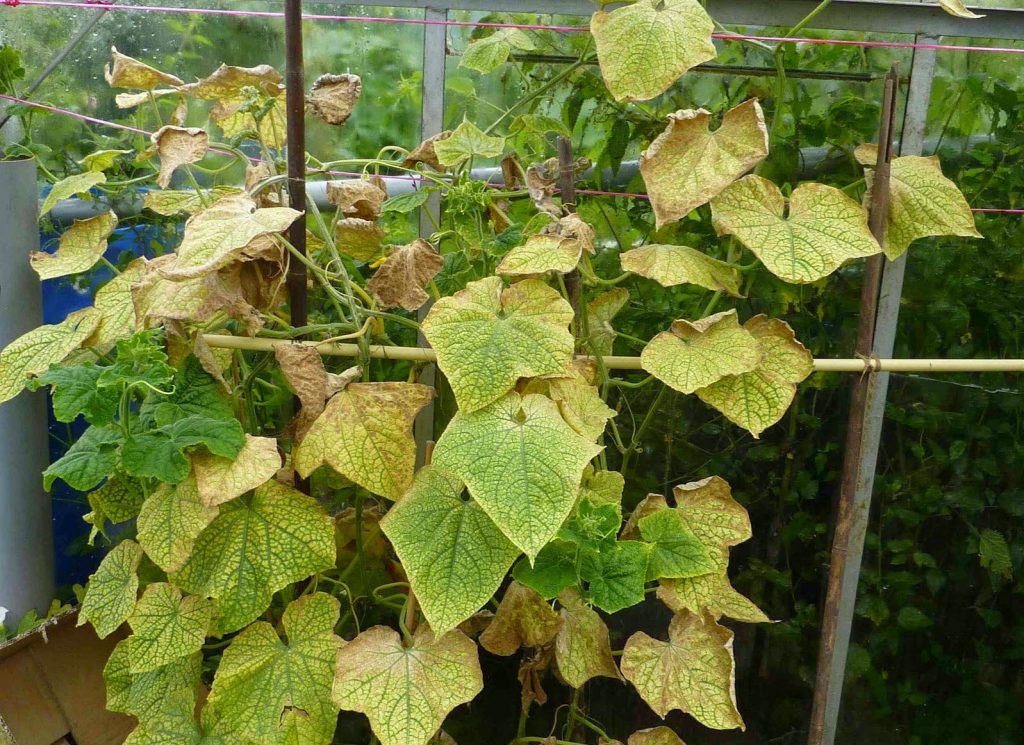
Preparation for storage begins already at the harvesting stage
In general, the ripening time of a vegetable depends on the variety, but there is a fairly reliable way to find out if the roots are ready for harvest or not. You need to pay attention to the color of the tops, especially the lower leaves. As soon as they turn yellow, the crop is ready for harvest.
Usually, the harvest takes place from mid-September to the end of October. Carrots are able to tolerate light frosts, so you don’t have to worry about their safety. Harvesting should be done in warm and dry weather; while the root crops will only be enough to dry a little before further processing.
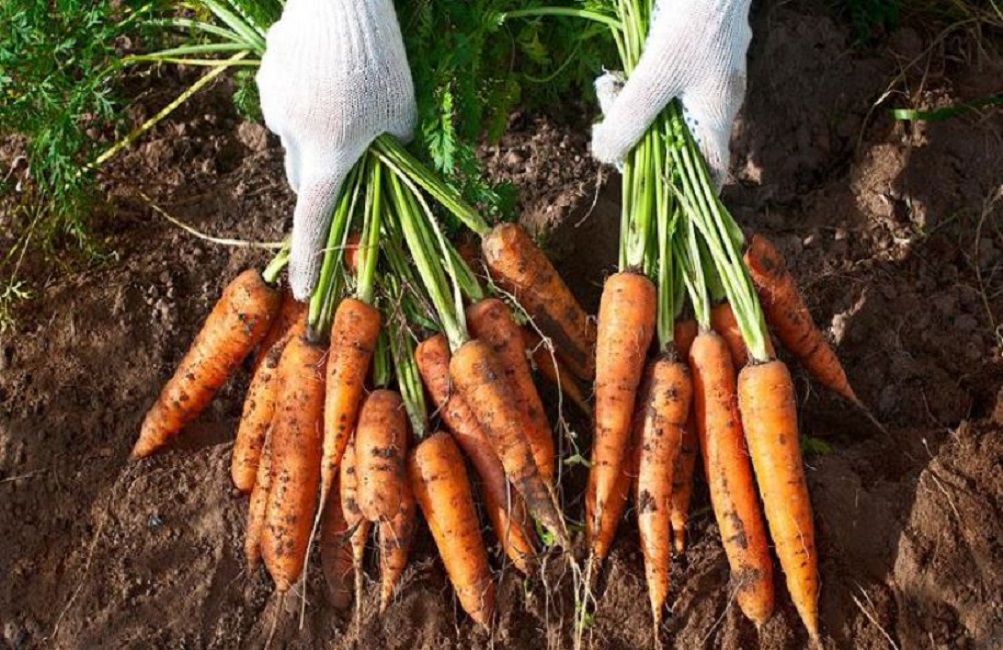
dug out root crops
Digging up root crops with a pitchfork, at the same time, each carrot adheres to the tops and is gently pulled out of the ground.
When harvested in dry weather, carrots are dried for several hours before being stored. If the weather turned out to be damp, or it rained during harvesting, the crop should be dried for several days. It is best to do this in a separate well-ventilated room with a temperature of + 13-14 ° C. This event will be a kind of quarantine for the harvest.At this stage, damaged and rotten root crops will be screened out.
Removing the tops is recommended only after digging the roots out of the ground.
Further manipulations with carrots are as follows:
Root crops are cleaned from excess land. This must be done carefully so as not to damage the skin. Too well dried soil is recommended to be left
Next, it is necessary to reject damaged and diseased root crops. Only healthy and undamaged specimens are sent for storage. Any serious damage or cracks are a source of fungal infection in the form of rot. From infected root crops, the infection can get to good ones and they will also deteriorate, so this possibility must be excluded. The rejected vegetables should be transferred to the refrigerator and used for cooking as soon as possible.
It is necessary to sort the root crops according to their size. This will greatly facilitate the task of packing the material into containers, and it will be easier for the gardener himself to navigate where which vegetables are.
The process of removing the tops is carried out.
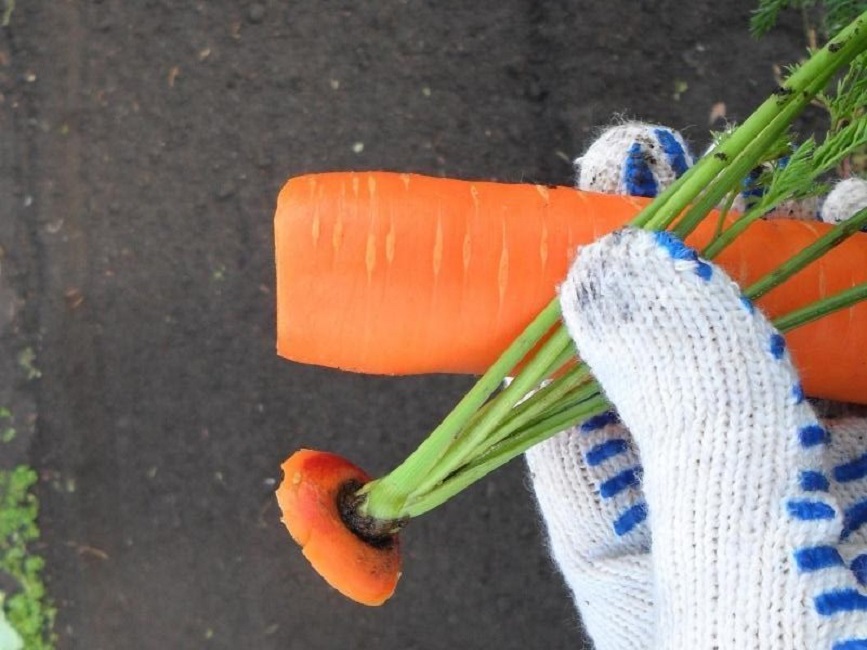
Top pruning to prevent sprouting
The last point can be implemented in various ways. Despite the seeming simplicity, this is a rather important point in the preparation procedure, although many may not know about it.
- The easiest way - just cut the tops a few millimeters from the top of the root crop. It is used in most cases.
- Its alternative is a full cut of the base of the carrot, while also capturing a layer directly of the root crop up to 10 mm thick. At the same time, it would seem that the root crop is injured, the likelihood of its decay, etc., increases. However, many do not notice the main advantage of this method of pruning - thanks to it, the likelihood that the carrots will begin to germinate is completely eliminated. In order for the root crop not to start to rot, the media at the top need to be dried for a few more days.
Which method is more preferable, the gardener decides on his own. But at the same time, it should be remembered that in March-April of the next year, almost all root crops begin to germinate (with the exception of those packaged in specific ways, which will be discussed later).
After drying is over, proceed directly to the laying of root crops for storage.
 Read also: If there is cabbage, the table is not empty. Or harvesting pickled cabbage for the winter (13 delicious recipes)
 Storage conditions
How to keep carrots fresh for the winter
In order for the root crops not to deteriorate (rotted, dried out, began to germinate, etc.), they need certain storage conditions:
- temperature from -2°C to +2°С
- humidity from 90% to 95%
- good ventilation
- lack of light
 Read also: Cooking beets for the winter - 17 wonderful recipes: very tasty and healthy
Storage methods
The best place to store carrots that meets the described conditions is a cellar or basement. These rooms make it possible to maintain the necessary requirements for humidity and temperature quite stably. If these conditions remain unchanged, the shelf life of carrots can reach up to a year, that is, until the next harvest.
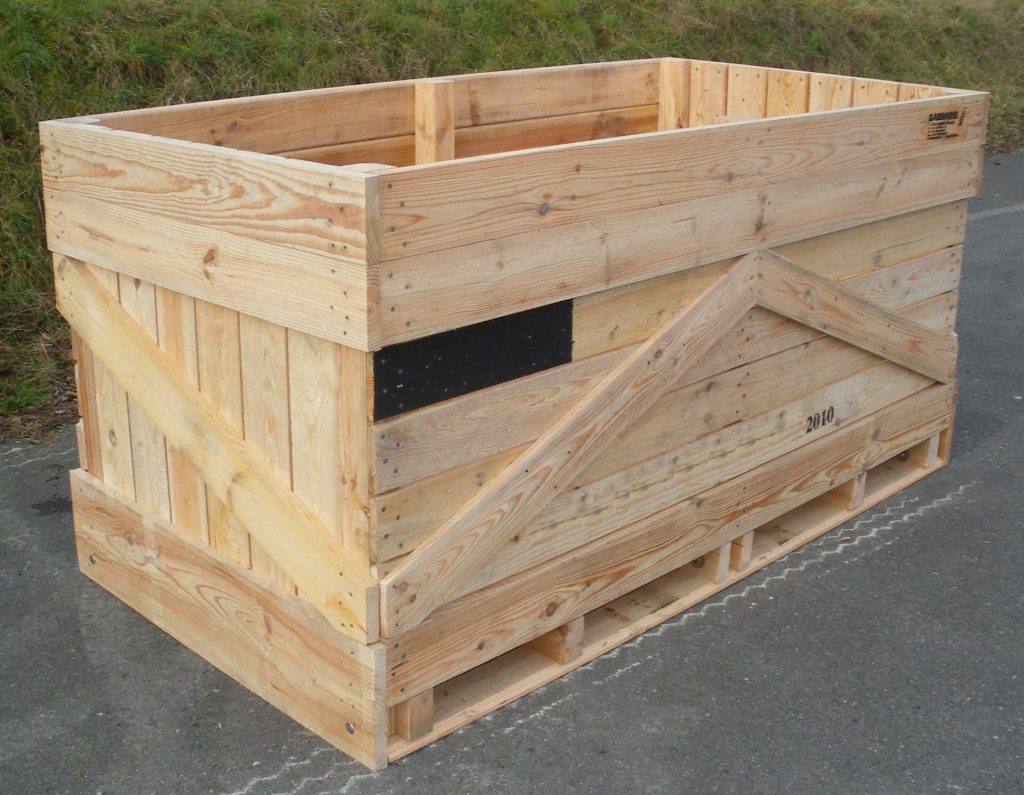
Carrot storage box with pallet
Below are the most common ways to store carrots:
Wooden boxes with lids. It is considered the simplest and most reliable way. In this case, the root crops are placed in boxes made of wood or sufficiently strong cardboard. The boxes should be closed with lids and sent for storage in the cellar, placed 15 cm from the floor and walls to avoid moisture getting on the walls of the boxes.The maximum weight of root crops in one box should not exceed 20 kg. Boxes must be tight; no holes need to be made in them. This method allows you to use the available space with maximum efficiency and is optimal for small cellars.
Using bags of onion skins. If there is a large amount of onion peel, it can be used to store carrot roots. For this, ordinary bags made of natural burlap are used. Onion peel and carrots are poured into them in layers; the ratio by volume is recommended 1 to 2 (carrots twice as much). Next, the bags are tied and sent to the cellar. Just like boxes, they must be kept at a distance of 15 cm from the floor and walls to prevent moisture from entering.
The method is similar to the use of boxes or bags, however, in them the layers of root crops are interspersed with layers of needles. Instead of needles, you can use large sawdust of coniferous trees. An alternative way is to make a wooden flooring on the floor, on which a layer of needles or coniferous sawdust is poured, a layer of root crops is placed on top, and then again a layer of sawdust. The procedure may be repeated several times.
Instead of needles, you can use peat or other fillers. Actions for "packaging" carrots are similar
The use of sand pyramids. A layer of sand is poured directly onto the floor of the cellar. Root crops are placed on top of it, which are covered with the next layer of sand. The process is repeated until the height of the structure exceeds 1 m. Wet sand is used for this purpose; if it is too dry, it should be moistened periodically by spraying.
Stacking carrots in a storage box
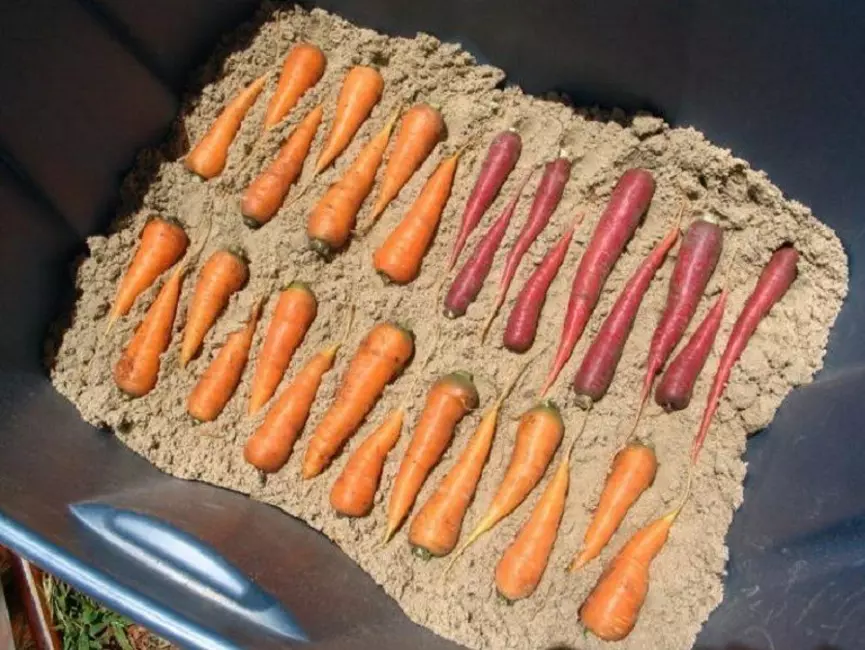
A method similar to the previous one but instead of sand, a sand-chalk mixture is used (ratio 1 to 1). Sand provides moisture circulation, chalk does not allow bacteria to spread. Another option is to use boxes. Allows easier access to carrots and reduces the amount of chalk used. The boxes are filled with sand almost to the very top, the carrot is simply inserted into the sand with the sharp end down, so that the wide end of the root crop is flush with the top layer of sand. After that, the box is filled to the top with chalk.
Using a chalk solution. Chalk is diluted with water to a state of homogeneous suspension. Root crops are wetted in a chalk solution, dried and stored in boxes.
The use of clay. The method is similar to the previous one, but instead of a chalk solution, a clay solution is used. Clay should completely cover the root crop. After drying, the carrots in clay are laid out in boxes. Lids are not required for this method. This method completely eliminates the possibility of carrot germination.
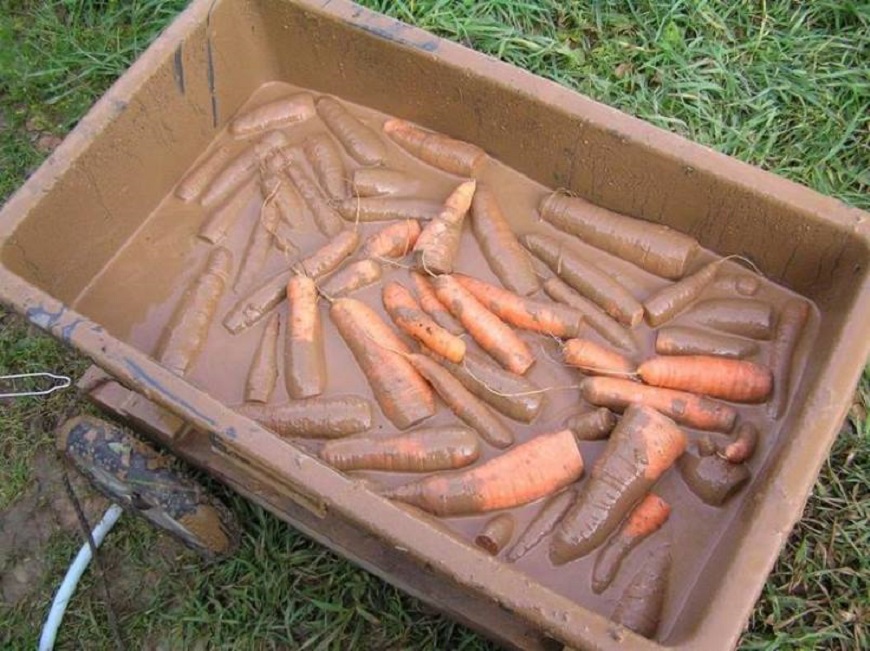
Treatment of root crops with clay before storage
Use of plastic bags. This is the cheapest, but the most unreliable storage method, since moisture is likely to appear in the bags. To combat moisture, you can make several holes in the bags. Plastic bags are placed on pallets on the floor or placed on a shelf. In this case, the bags are not tied
The use of vacuum packaging. The method will require special equipment capable of creating a vacuum in plastic bags. The amount of carrots in each package is 2-3 kg. With this method, germination is also impossible.
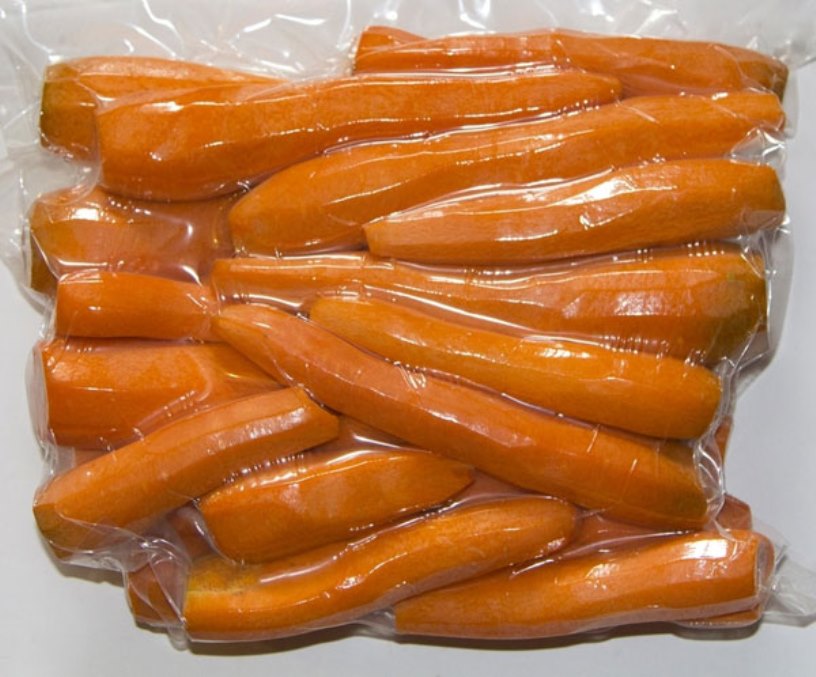
Vacuum-packed peeled carrots
Use of stretch film. Each root crop is wrapped separately in a stretch film and stored in boxes. Lids may not be used. Germination with this method is possible, but its rate will be minimal.
Using deep freeze. The method is suitable for those cases when there is a small amount of carrots and a freezer of sufficient volume. Carrots can be frozen in the form of whole root vegetables, and in the form of cubes or straws. Naturally, before such a method of storage, carrots should be thoroughly washed and peeled.
 Read also: Projects of country houses for 6-10 acres: 120 photos, description and requirements | The most interesting ideas
 Conclusion
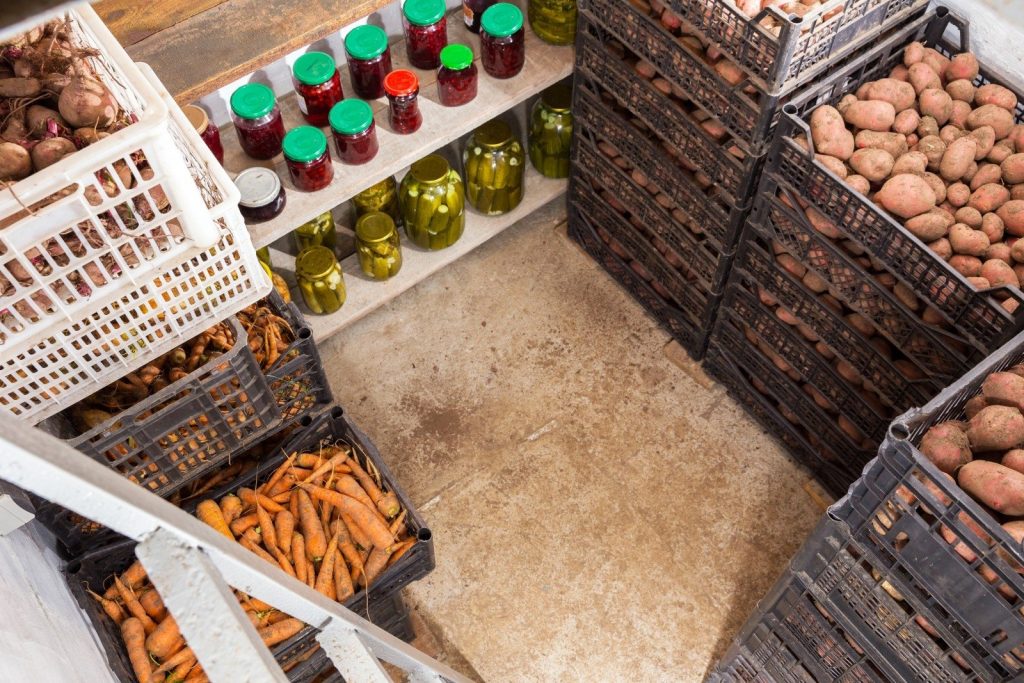
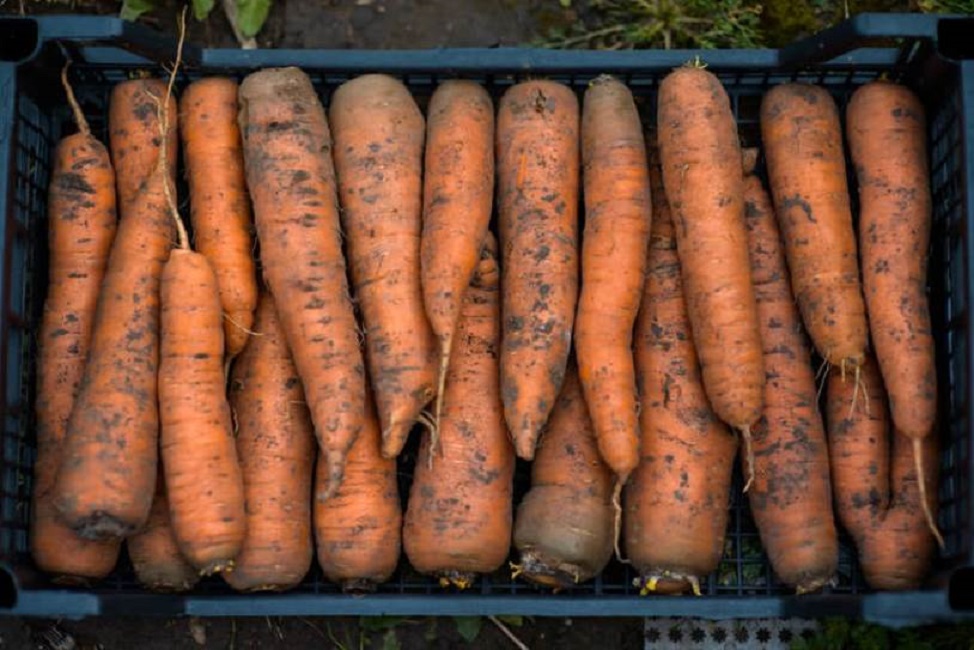
Harvested crops in the basement
There are many ways to store carrots. Most of them require the maintenance of special storage conditions. The best place where the required conditions will be met is the basement or cellar. Under constant storage conditions, as well as with appropriate protection from excess moisture, carrots can be stored for up to 1 year.
VIDEO: How to store carrots
![[Instruction] How to save a carrot crop: a description of 12 storage methods (Photo & Video) + Reviews](data:image/gif;base64,R0lGODlhAQABAIAAAAAAAP///yH5BAEAAAAALAAAAAABAAEAAAIBRAA7)
How to store carrots
[Instruction] How to save a carrot crop: a description of 12 storage methods (Photo & Video) + Reviews
![[Instruction] How to save a carrot crop: a description of 12 storage methods (Photo & Video) + Reviews](https://iherb.bedbugus.biz/wp-content/uploads/thumbs_dir/Samogonnyj-apparat-oa4yaozm55olylfb6487ypbv4fjvydgpflwlvtui4c.jpg)
![[Instruction] How to save a carrot crop: a description of 12 storage methods (Photo & Video) + Reviews](https://iherb.bedbugus.biz/wp-content/uploads/thumbs_dir/luchshij-elektrorubanok-oa6vinu2w2zzu3pats8gud3yk6yjmnejppd9tkzc58.jpeg)