
Why can't you directly connect aluminum and copper conductors? Basically, this question is of interest to the owners of “old” houses and apartments, wiring which was carried out from aluminum materials. We will satisfy this desire, and we will answer it, and also show you how to connect copper and aluminum wire.
When asked why, the answer is simple - aluminum and copper are an “excellent” galvanic pair. There is a small list of unacceptable combinations of metal in electrical wiring, and our conductors take an honorable first place in it.
The combination of copper and aluminum causes increased corrosion during their operation, i.e. destruction under the influence of external conditions. Increased wear, then an electric arc, and, as a result, fire.
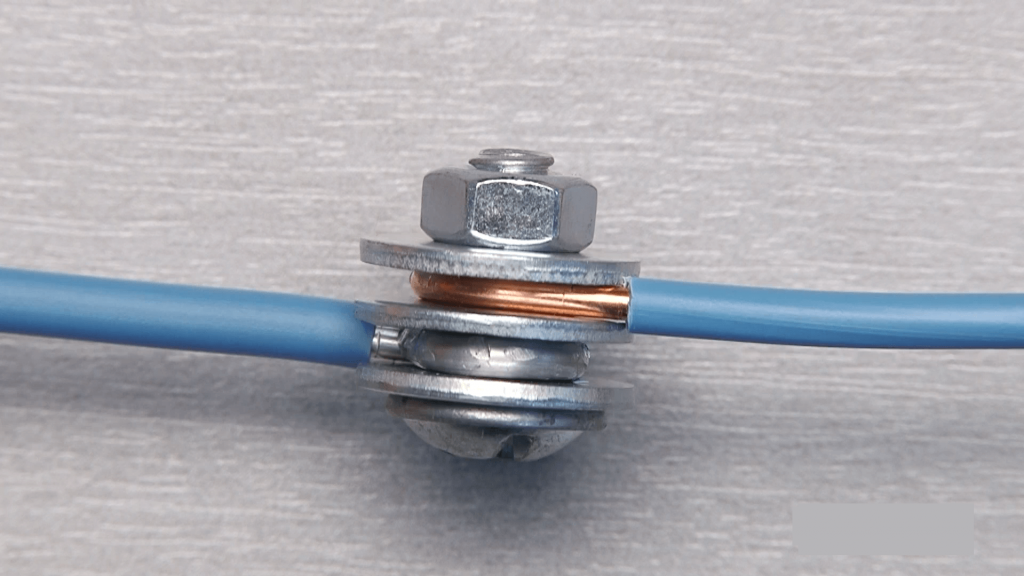
However, it is still possible to connect them, you just need to exclude their contact with each other, and the Petrovsky bolt will help to do this.
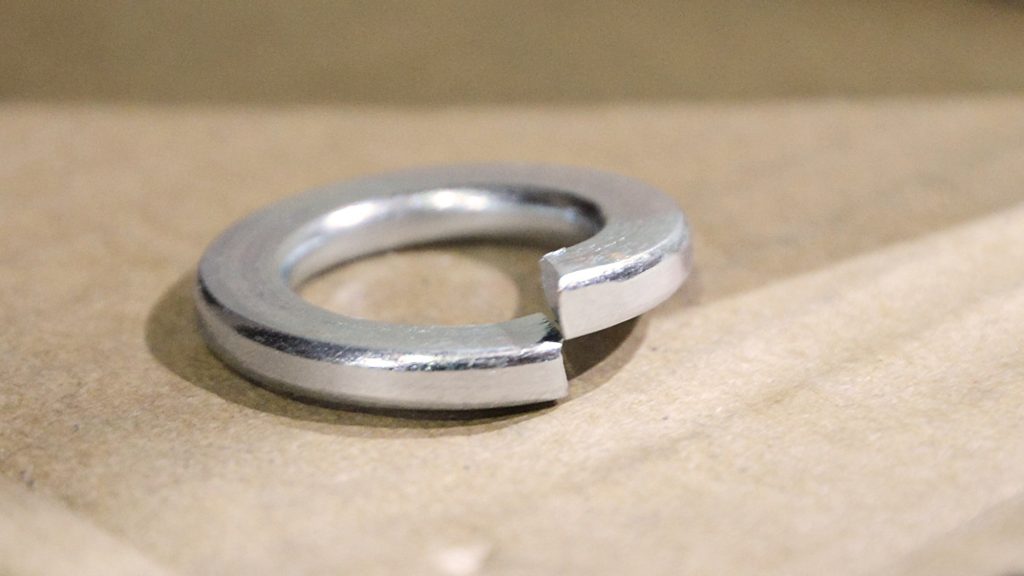
To do this, we need an M4-16 bolt, a nut and four washers, one of which is engraving.
Content:
Step #1
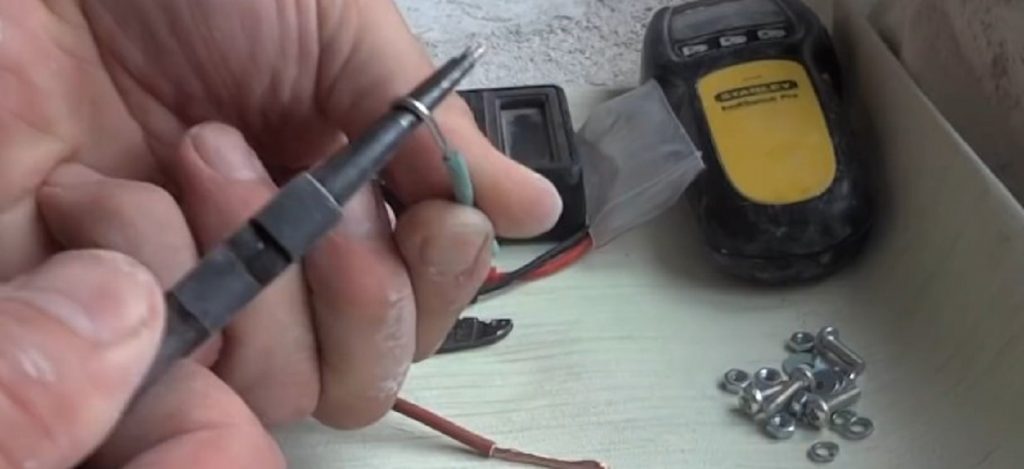
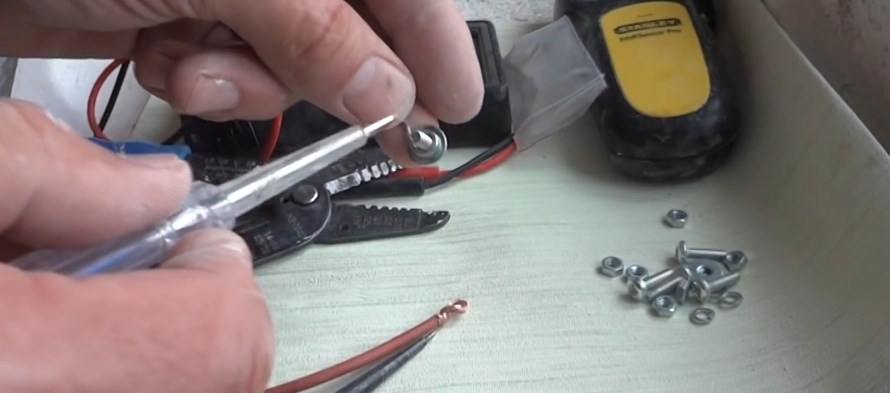
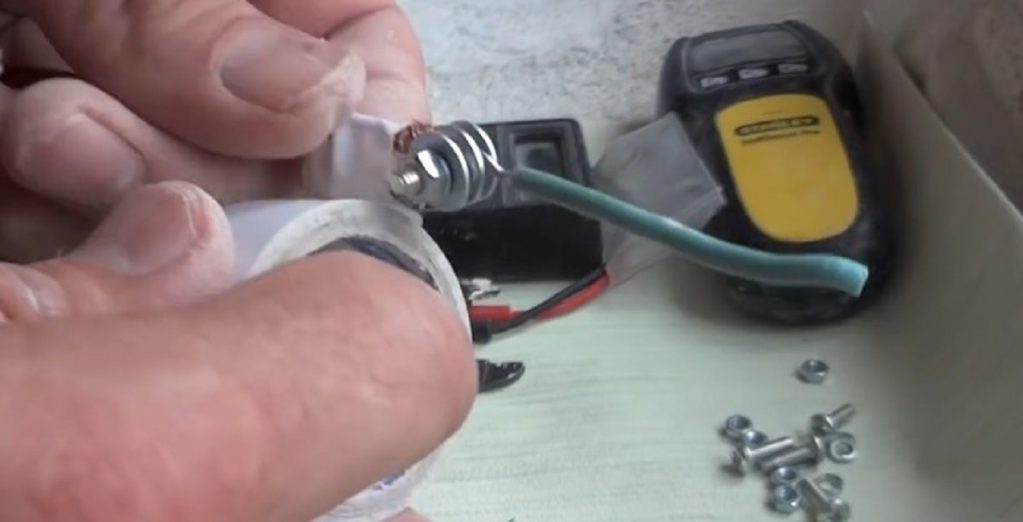
We clamp the tip in round-nose pliers and twist the loop
With the help of round-nose pliers, we form an eyelet at the end of the aluminum conductor. We clamp the tip in round-nose pliers and twist the loop.
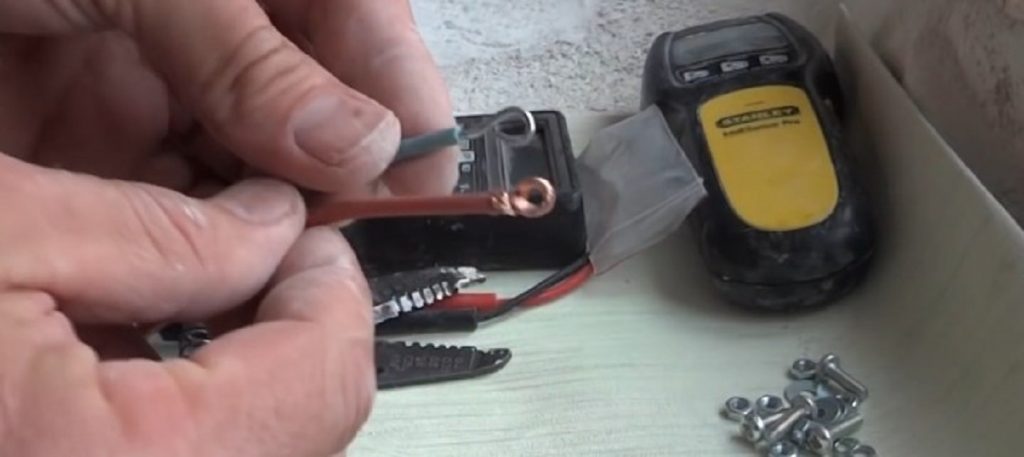
Two wires with the same ears
We repeat a similar operation with a copper wire
Step #2
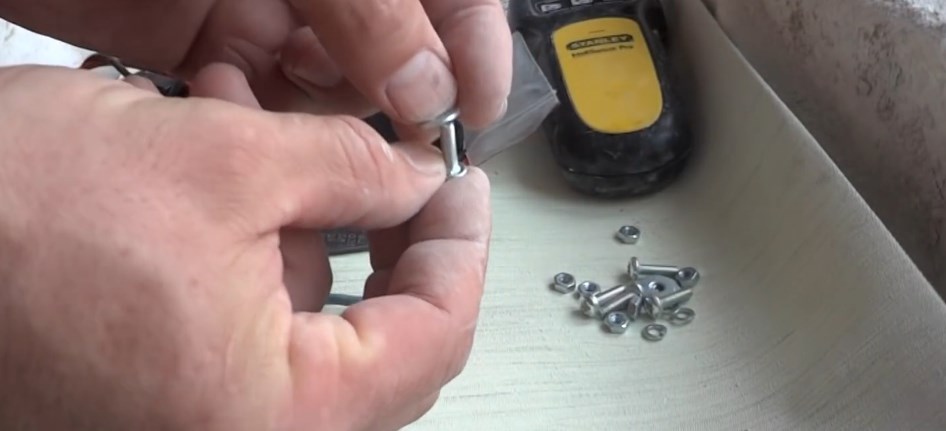
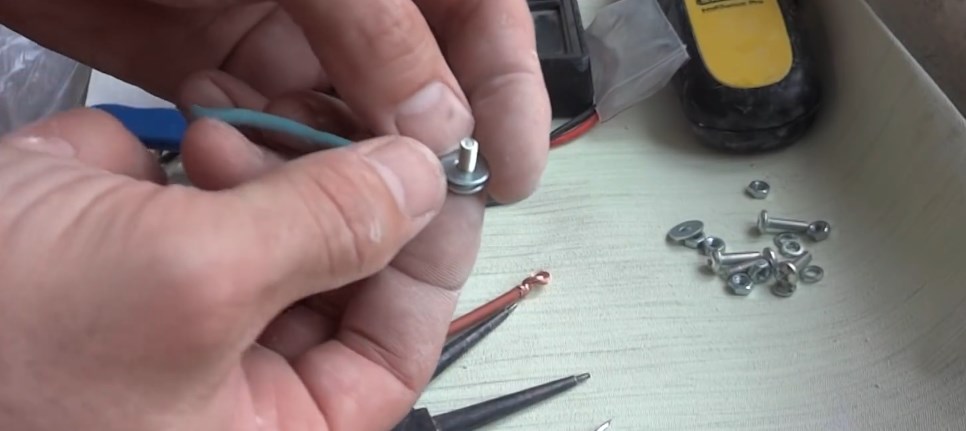
Putting on the first puck
We take an M4 bolt and put a washer on it. The diameter of the latter must be greater than the diameter of the ears on the conductors.
After that, we put the first wire on the bolt through the eyelet.
When viewed this way, the eyelet is placed with a clockwise bend
It should be clarified here - the bend of the eyelet should be directed in the same direction in which the nut is tightened on the bolt, i.e. clockwise when looking at the bolt side of the thread, as shown in the photo above. Then, when tightening the nut, the eyelet will not open and will not go beyond the boundaries of the nut with the washer.
Step #3
Putting on a spacer
After the first wire has been put on the bolt, the second nut is put on top of it. This is necessary to separate the wires so that they do not touch each other.
Step #4
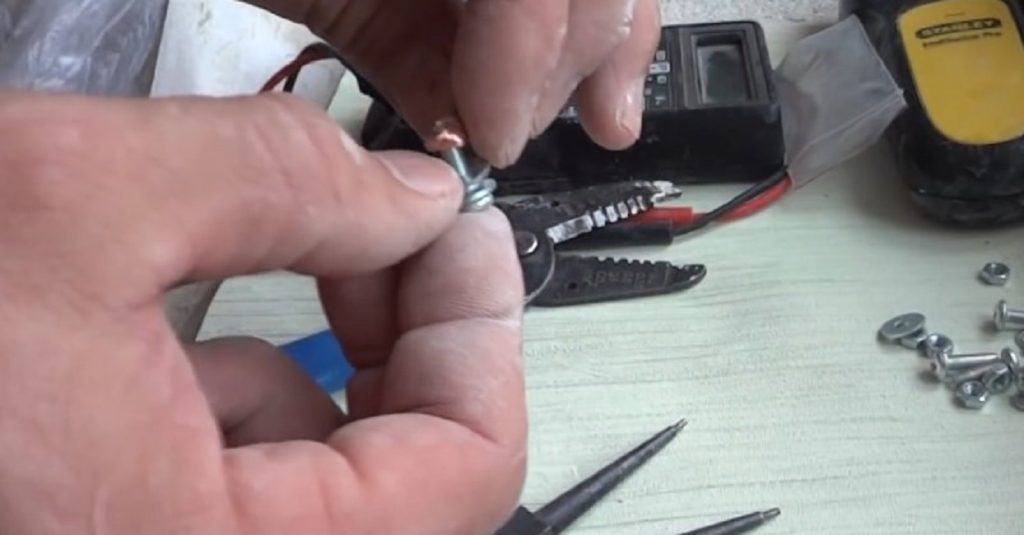
Copper wire contacts washer but not aluminum
We put on the second conductor.
Step #5
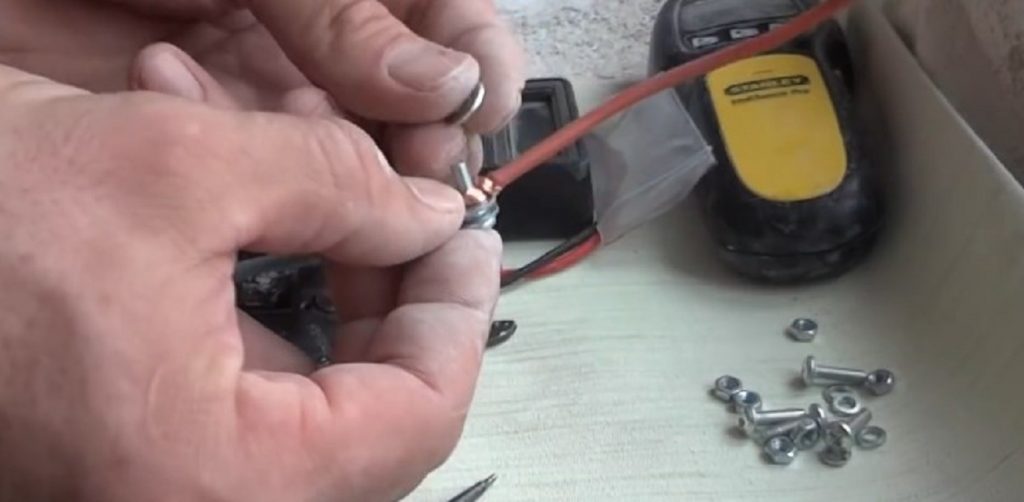
Fourth puck
We put on the fourth washer, and on top of it there is also an engraver. It is needed to securely fix the connection.
Then engraver
Step #6
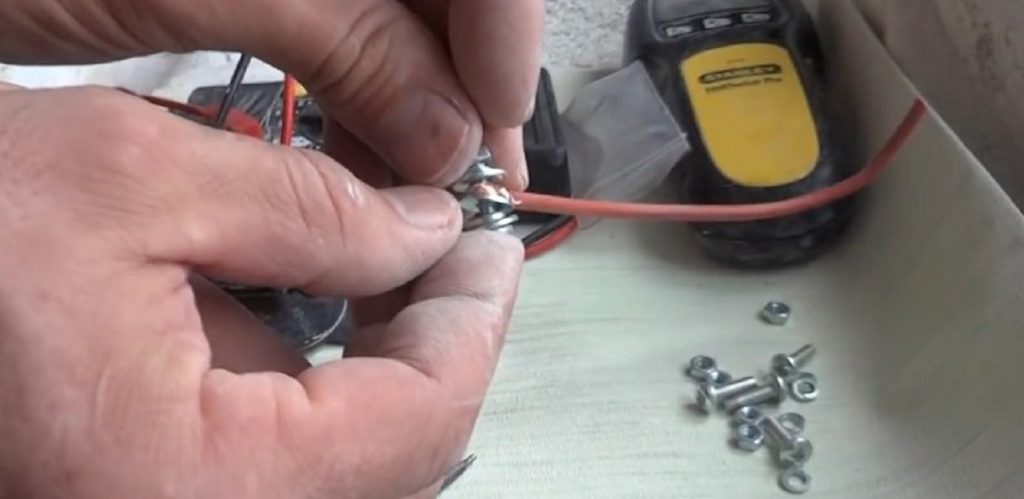
We screw on the nut
Screw on the nut and tighten the connection.
Having installed the wires as needed, we tighten the connection
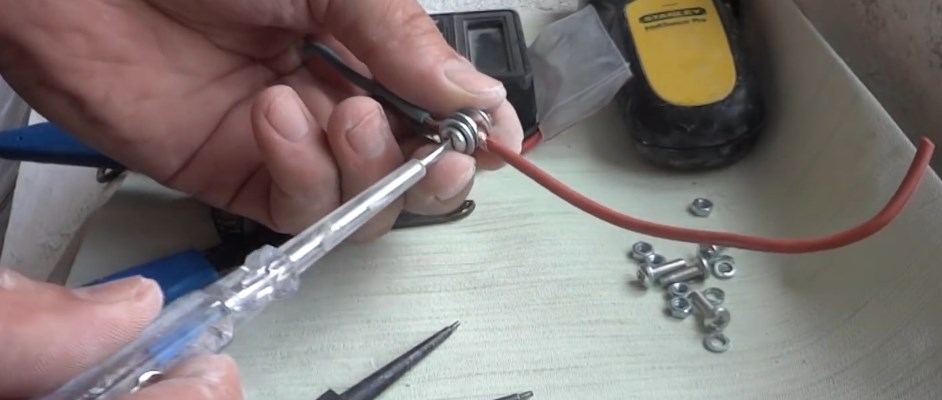
This is what the wiring looks like
Step #7
We do not regret insulating tapes
Isolate the wire connection. The copper and aluminum wires are securely and securely connected and insulated, now they can be “hidden” in a junction box or in a strobe.
VIDEO: How to connect aluminum and copper wire. Stroykhak. Electrician

How to connect aluminum and copper wire. Stroykhak. Electrician
How to Safely Splice Copper and Aluminum Wire: The Best Way


