
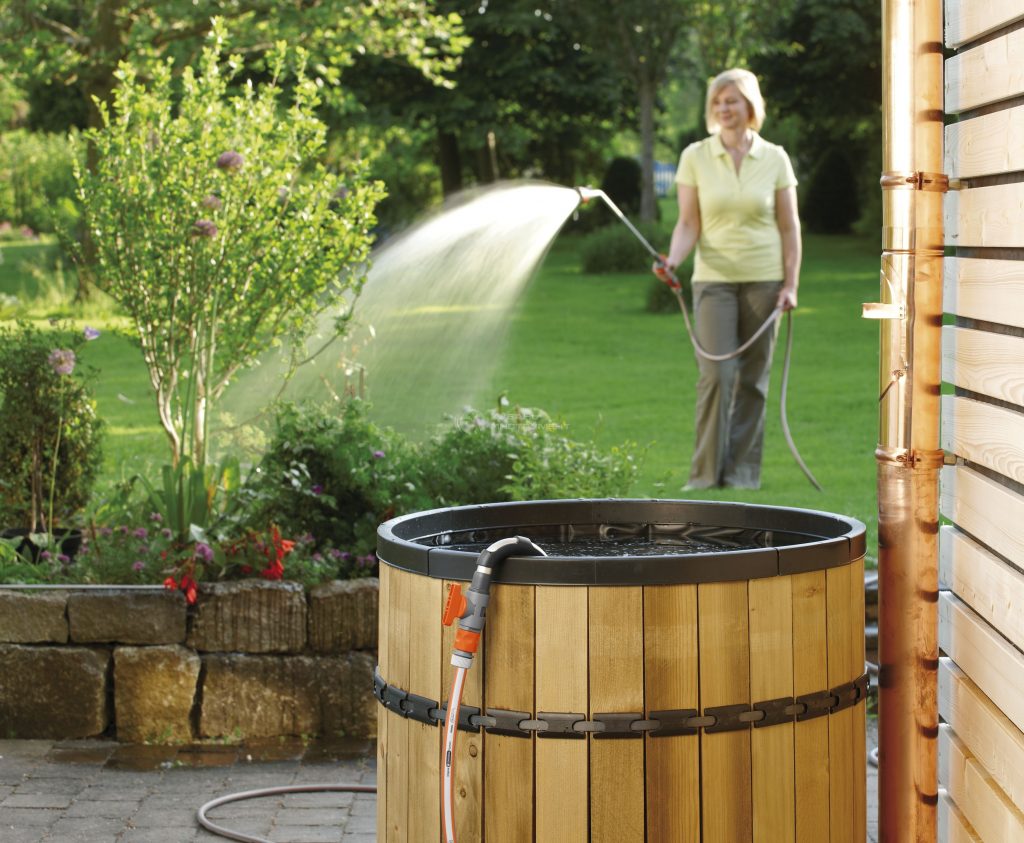
For watering the garden in the summer, warm and settled water is needed. Watering with tap water directly from the water supply system has an extremely negative effect on the growth and development of plants. If you water the land in the garden or in the garden with water taken directly from the tap, you can forget about a good harvest.
For irrigation of plots a small area is enough for several containers with a volume of 200 to 1000 liters. They are pre-filled with water, and watering is done a few days after filling. At the end of the irrigation process, the containers are filled with water again and the process is repeated. Traditionally, metal barrels or plastic tanks are used for this purpose.
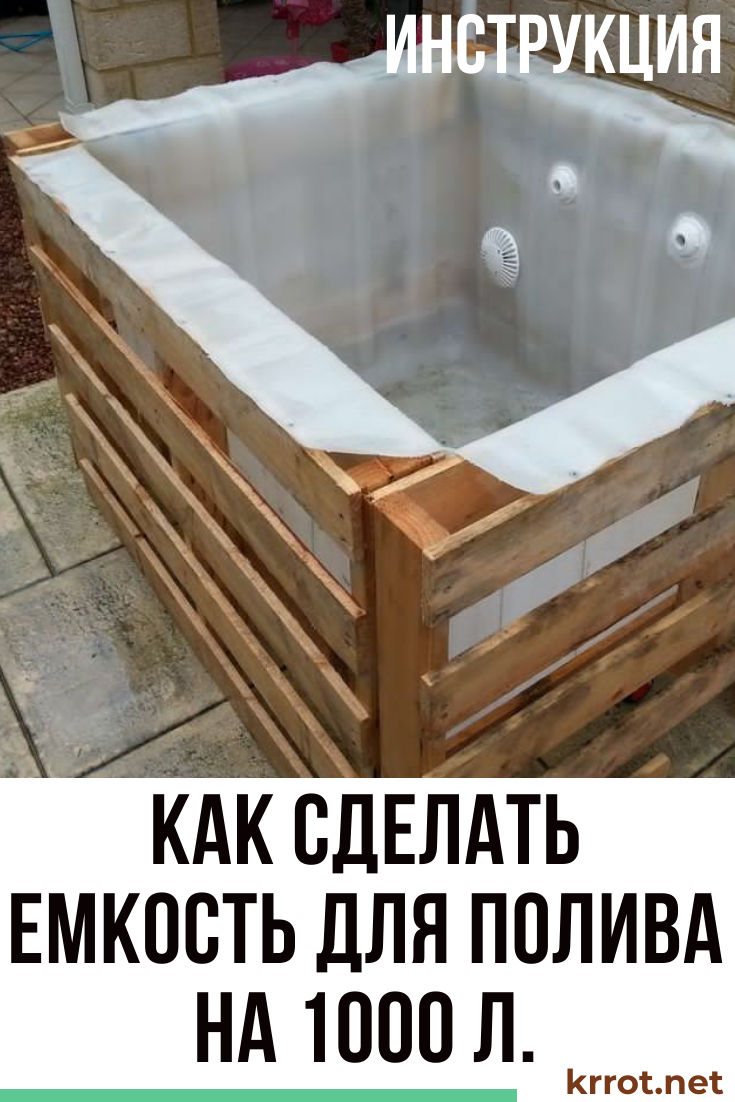
The cost of such containers can be quite high. To reduce the cost of manufacturing temporary water storage tanks, various methods of their handicraft production can be used. The article considers the manufacture of containers for irrigation with a volume of 1000 liters from the cheapest materials.
Content:
 Read also: How to make flower pots with your own hands: outdoor, indoor, hanging | Step by Step Charts (120+ Original Photo Ideas & Videos)
Why is such a container needed?
Watering from a barrel with a submersible pump
There are several reasons why such water should not be used. The main one is its low temperature. Water in the water supply has a temperature of 18-20°C. For irrigation of most crops, water is recommended, the temperature of which differs from air temperature by no more than 2-3 ° C. Since in summer the air temperature is often above 25 ° C, the difference is too large and the root system of plants will be injured.
The second reason - the presence of impurities in tap water. The most unpleasant additional component of water is the remains of chlorine, which is used to disinfect water at filter stations. Even the norms of chlorine content in water, which are considered safe by modern standards, are unacceptable for watering plants. Chlorine eventually leaves the water, evaporating into the atmosphere, but it takes some time for this to happen.
The influence of other negative factors is much less. Traditionally, tap water contains a relatively high concentration of calcium and magnesium salts, but they practically do not affect the vital activity of plants.
To get rid of the harmful effects of these factors, it is necessary to use water for irrigation, which was previously settled in a container under the open sky for several days. This technique is used in both amateur and professional agriculture. In the latter case, large-capacity containers are used to settling water, which are used even as artificial reservoirs.
 Read also: How to make a children's house with your own hands: from wood and other materials. Dimensional drawings | (80 Photo Ideas & Videos)
 What can a container be made of?
To make a container, you will need five identical wooden shields (pallets) and a wide cling film, which is also called stretch.
The design is a wooden frame covered with a sufficient amount of packaging film. For the mono frame, use 5 shields (bottom and 4 walls). As wooden shields, you can use any design, for example, pallets.
The number of layers of the film is chosen to withstand the water pressure. The maximum pressure that the walls of a container with a volume of 1000 liters must withstand is 10 kg per 1 sq. decimeter. In order to withstand such pressure, 5-7 layers of film 15-20 microns thick are sufficient.
The amount of film can be easily calculated. The surface area that needs to be covered with one layer of film to create a container of 1000 liters (a cube with an edge of 1 m) is 5 square meters. m. If the width of the stretch is 50 cm, then to cover an area of \u200b\u200b5 square meters. m will need 10 m of stretch. Accordingly, in order to make 5-10 layers, 50-100 m of stretch is needed. Taking into account the overlapping of the film layers (an additional 20%), 60-120 m will be required.
The manufacturing time of such a tank is from 10 to 30 minutes.
Action number 1 Making the frame
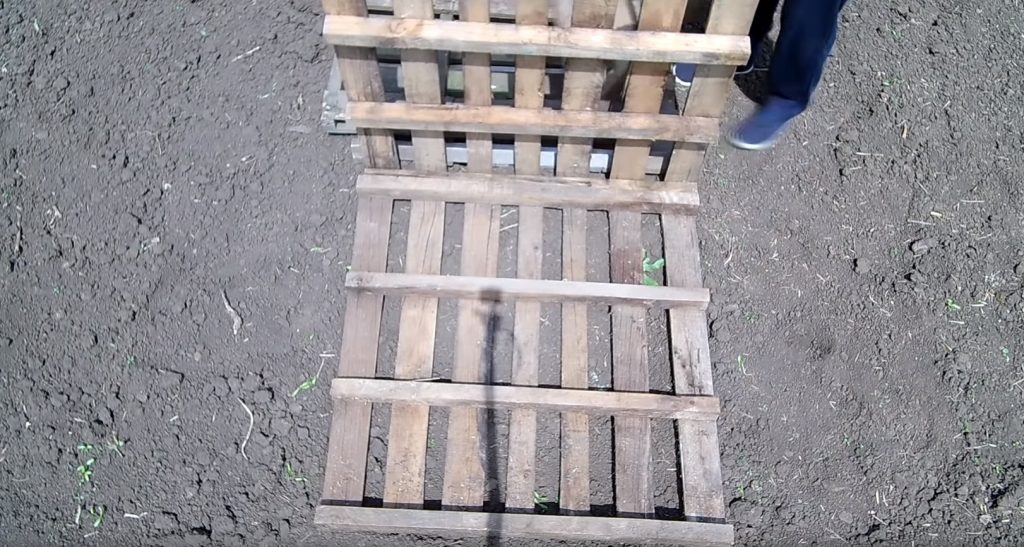
Bottom of the future tank
First you need to put one pallet on the ground - this will be the bottom of the tank. Walls are attached to it.
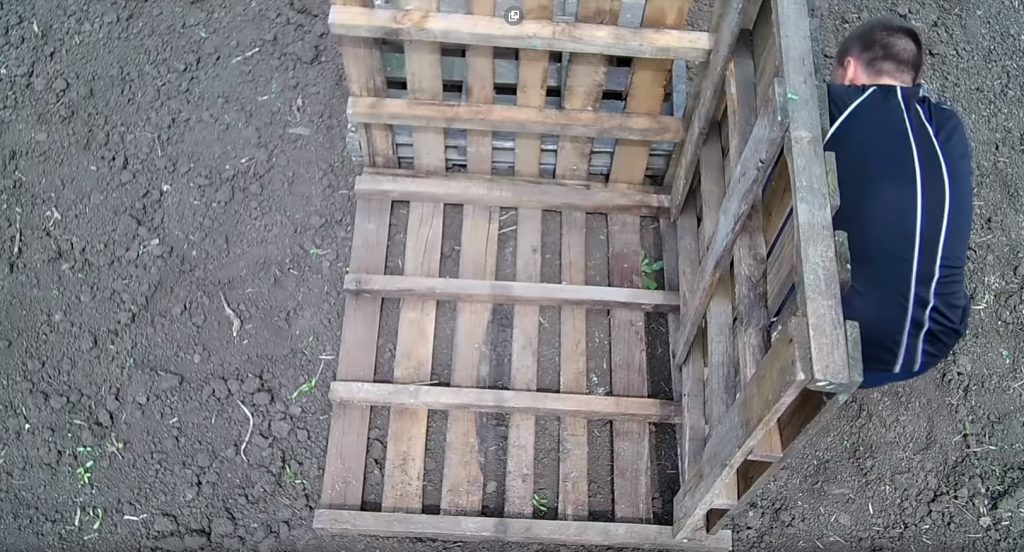
Attaching the walls of the tank frame to the bottom
You can connect the walls to the bottom in any convenient way - using nails, screws, self-tapping screws, etc.
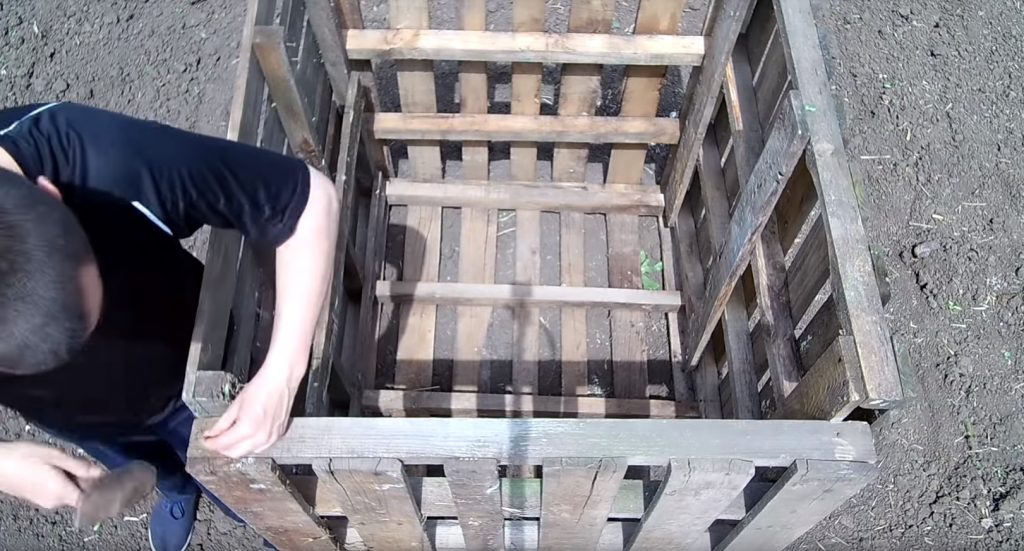
Finishing the frame
After the manufacture of the frame is completed, it is advisable to tighten the walls of the frame with ropes to give it additional strength.
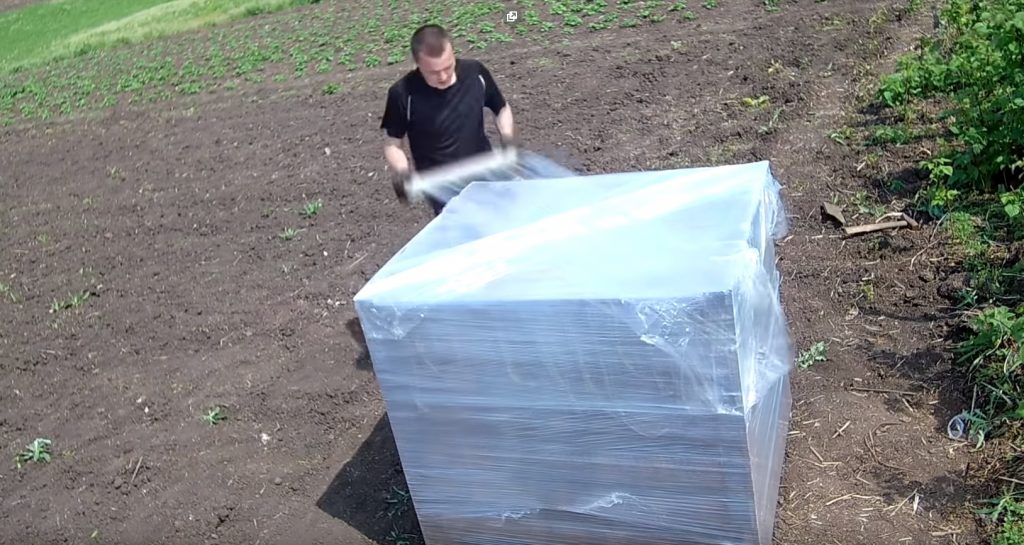
Step #2 Winding up the film
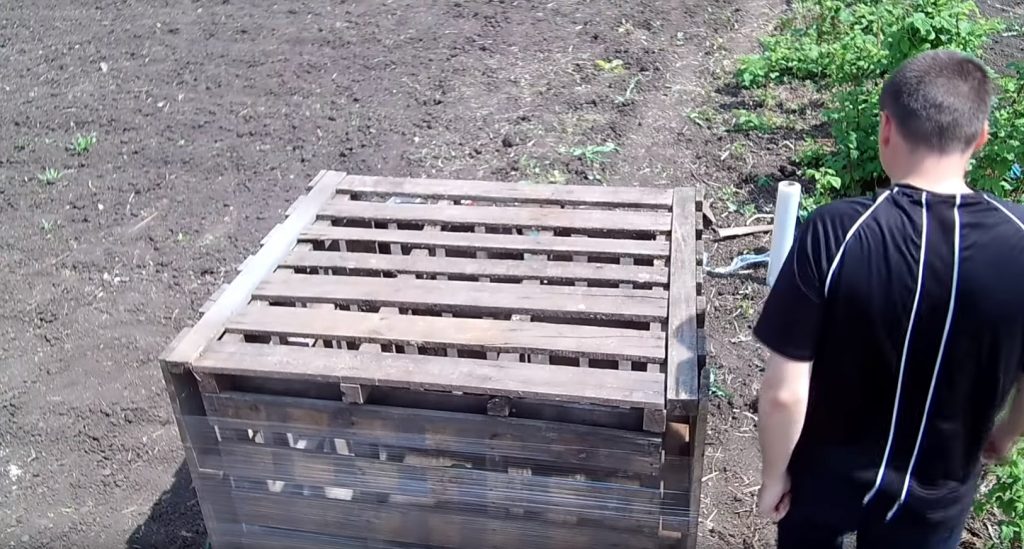
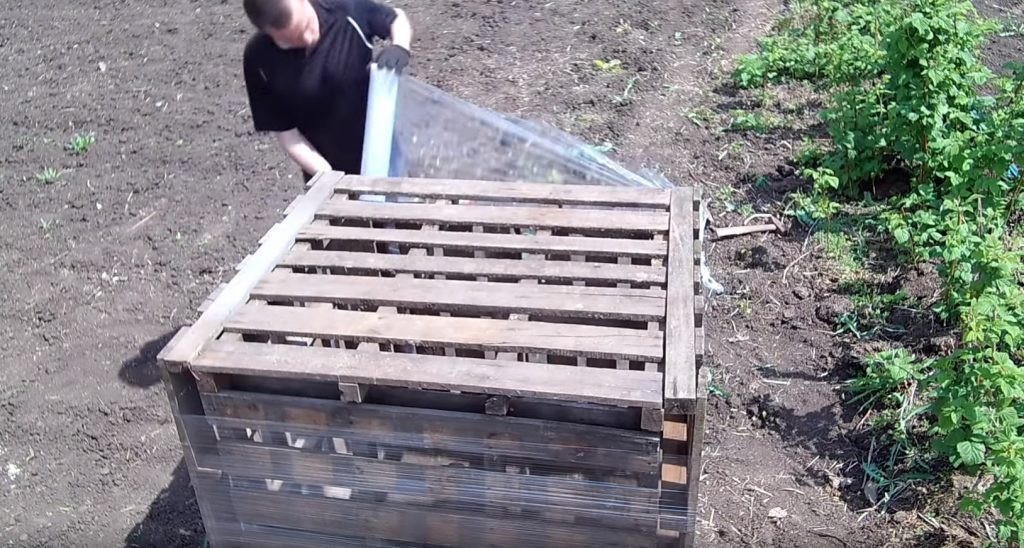
inverted frame
The resulting wooden structure should be turned upside down and wrapped with the required number of layers of film.
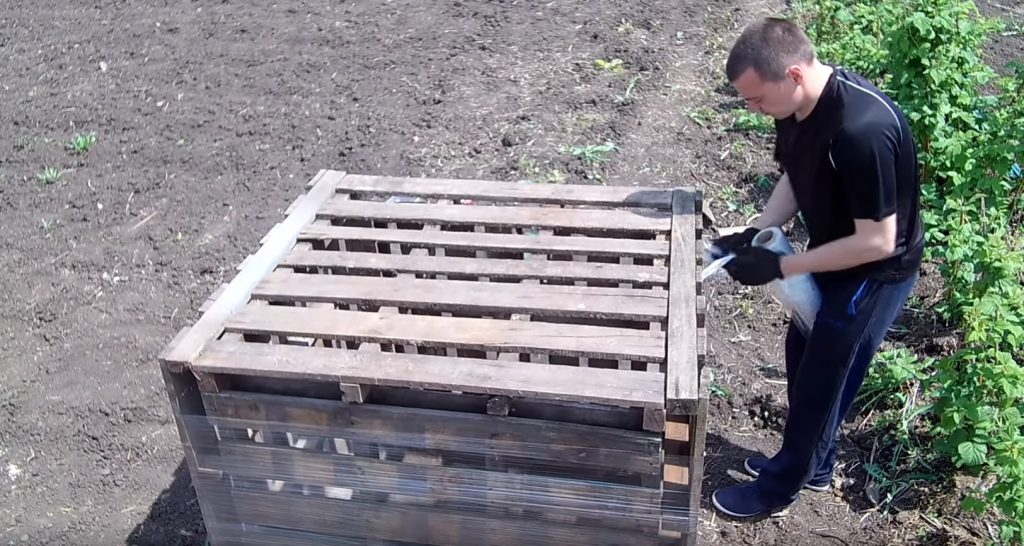
Film winding must be done with gloves
Gloves are required for safety. Without them, when working with stretch, you can get burns at the points of contact between the fingers and the bobbin on which it is wound.
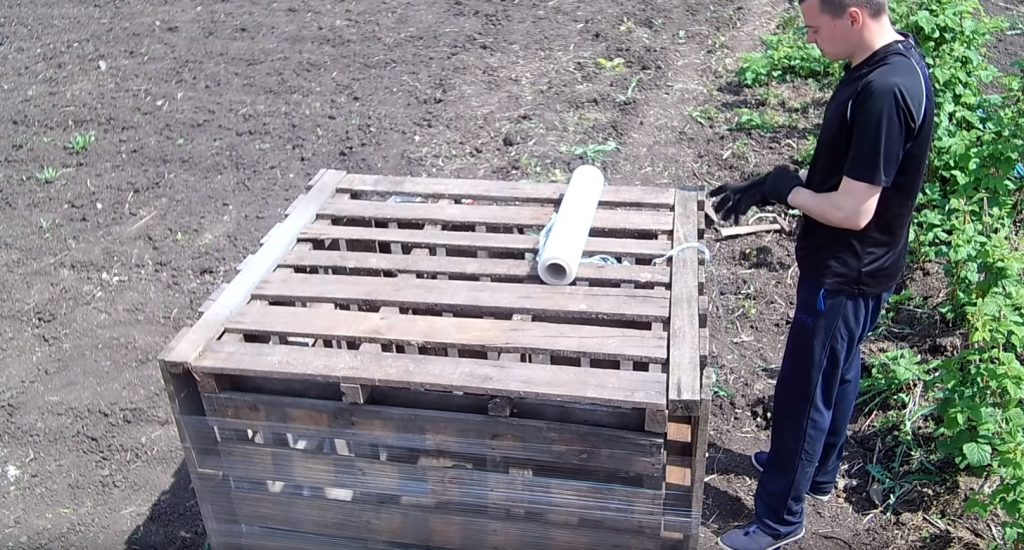
Attaching the film to the frame
Winding starts from the bottom of the frame. First, the film must be tied to a wooden structure.
Film stretching during winding
In the process of winding the film, it needs to be stretched a little.
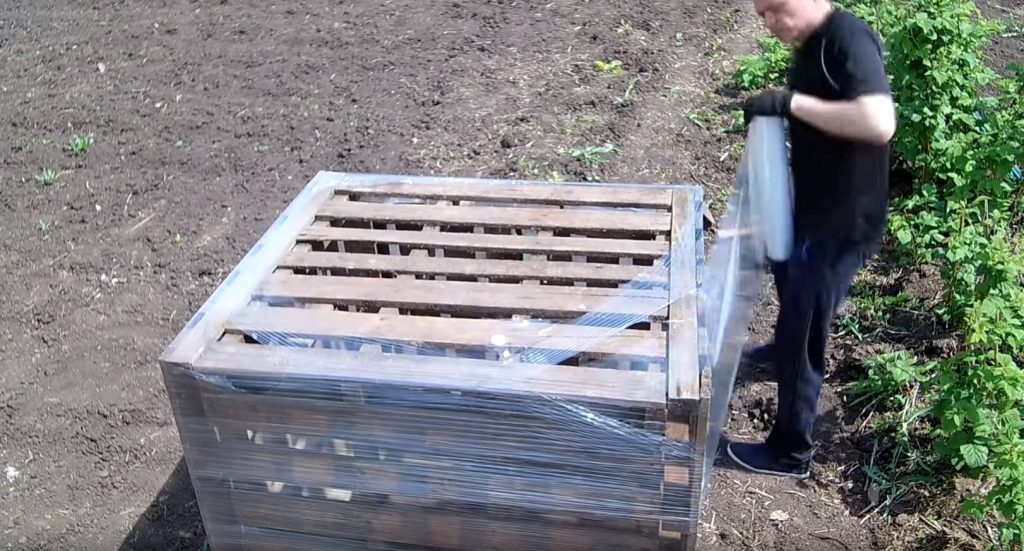
It is necessary to wrap the perimeter of the tank 3-5 times
The stretch sticks quite well, so there should be no problems with winding.
And then proceed to laying the film on the bottom
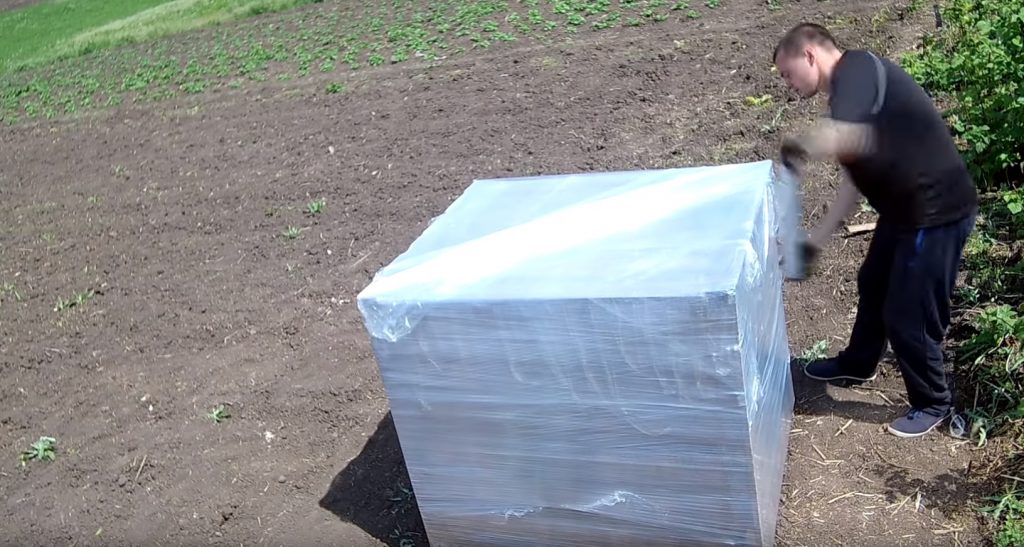
Next, you need to wrap the remaining surface of the tank walls.

The bottom must be wound with a large number of layers (5-6)
All the time of winding, the film should be stretched, almost until it breaks. If this is not done, the stretch will sag and the container will not be very strong; it may start leaking water.

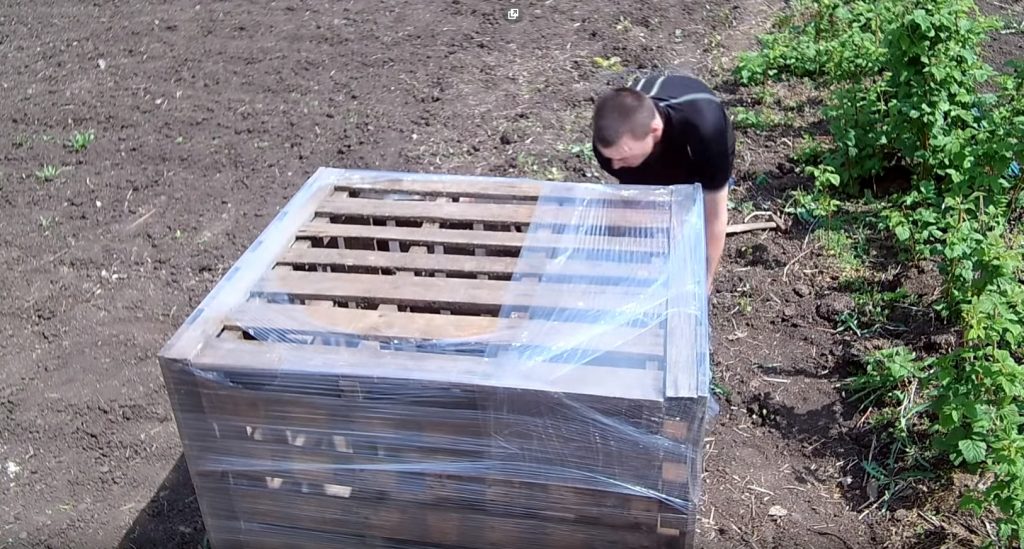
Film winding on tank walls
There is another important point in stretching the film: the stretched film is better connected to the layers that were applied earlier. This provides additional strength to the wall structure.
You can also additionally strengthen the bottom of the tank by winding the film crosswise at the corners of the structure
It is also recommended, at the end of the wrapping of the frame with a film, to make an additional strengthening of the structure with a rope.
View of the reinforced tank bottom
Action #3 Filling the tank with water

Filling the container with water
After the film is wound, the structure should be installed in its permanent place and filled with water.
On this, the manufacture of the tank can be considered completed.
VIDEO: SUPER IDEA 1000 L IRRIGATION TANK FOR $2

SUPER IDEA 1000 L IRRIGATION TANK FOR $2
How to make a do-it-yourself watering tank for 1000 liters: step by step instructions


It is strange that the winding is done from the outside ... The tree inside will begin to rot, the water will stretch the walls .. The idea is good, but I would put a dense film inside, maybe even black, so that the water does not bloom. The loose edges on top can be shaped like a lid to keep debris out.
Yes, Svetla, you are right, a more advanced version of the container will be just like with a film inside, as in the main photo at the beginning of the article.