
The specifics of the use of end saws, and the high market price make them an infrequent guest in small carpentry workshops. In our article we will tell you how to make a miter saw with your own hands. An ordinary electric drill, which is now in the arsenal of almost every home master, will be used as an engine. The main material for the manufacture of the machine is wood, which does not require welding. Are you interested? Then read our article.
Content:
 Read also: Sliding gates: making a practical design with your own hands. Schemes, drawings and sketches (100+ Photos & Videos) + Reviews
Materials for manufacturing
To make end saw, you will need:
- electric drill;
- thick plywood;
- galvanized plywood for the bed;
- saw;
- jigsaw;
- screwdriver or screwdriver;
- tin;
- scissors
- saw blade ø125 mm;
- two furniture guides;
- one-piece loop;
- bolts, nuts, washers, self-tapping screws;
- furniture varnish;
- sandpaper;
- marker;
- cardboard for the pen template.
Step 1. Making the frame
From plywood galvanized on one side, we cut out a bed measuring 50x35 cm.
Closer to the left side at the end of the bed, we cut out the galvanization, for the possibility of attaching the rack.
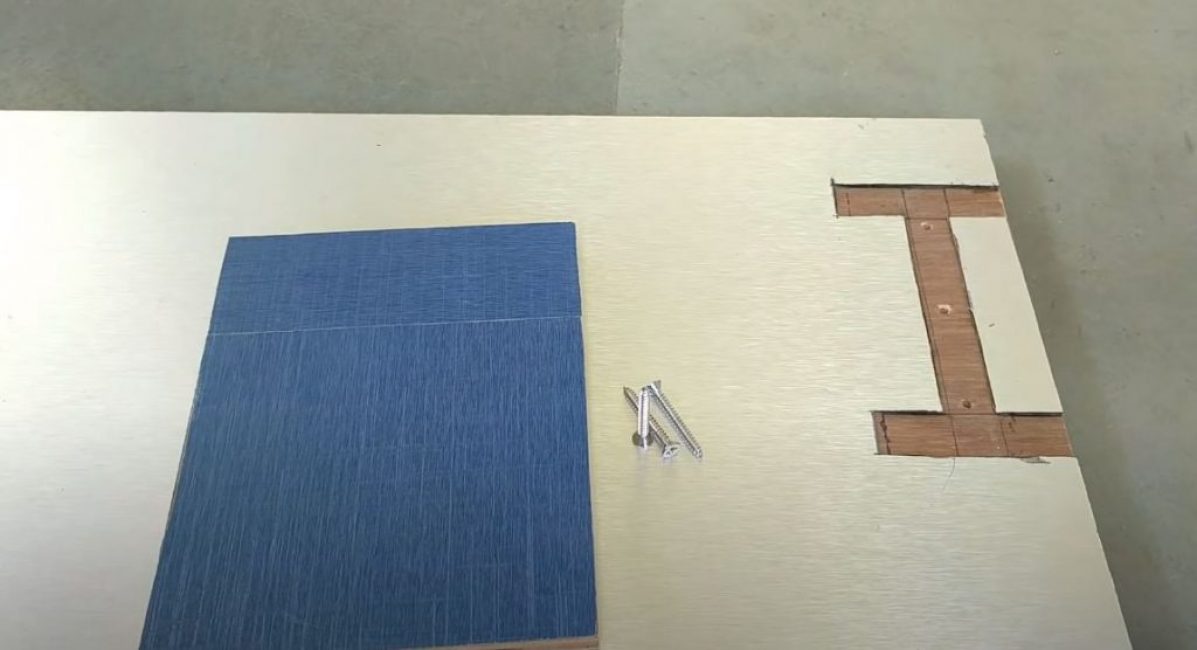
From a piece of thick plywood we cut out a rack measuring 14x18 cm and 4 corners to strengthen it.
We glue the rack and corners to the part of the frame with cut out galvanization.
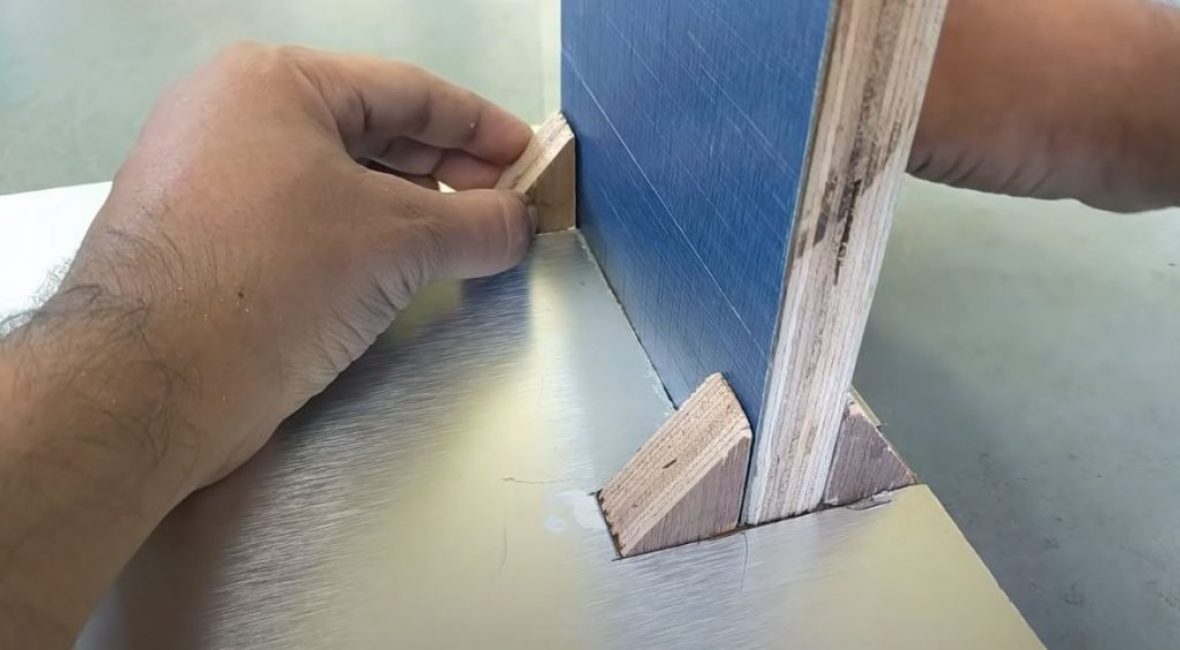
We fasten the rack from below with self-tapping screws.
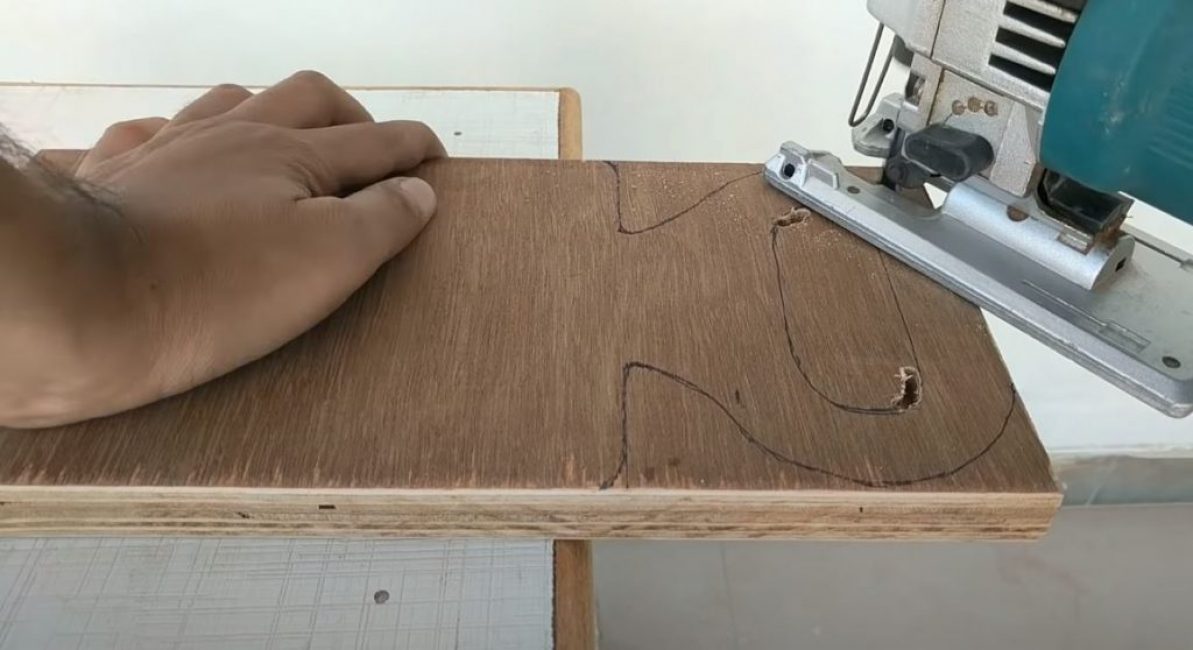
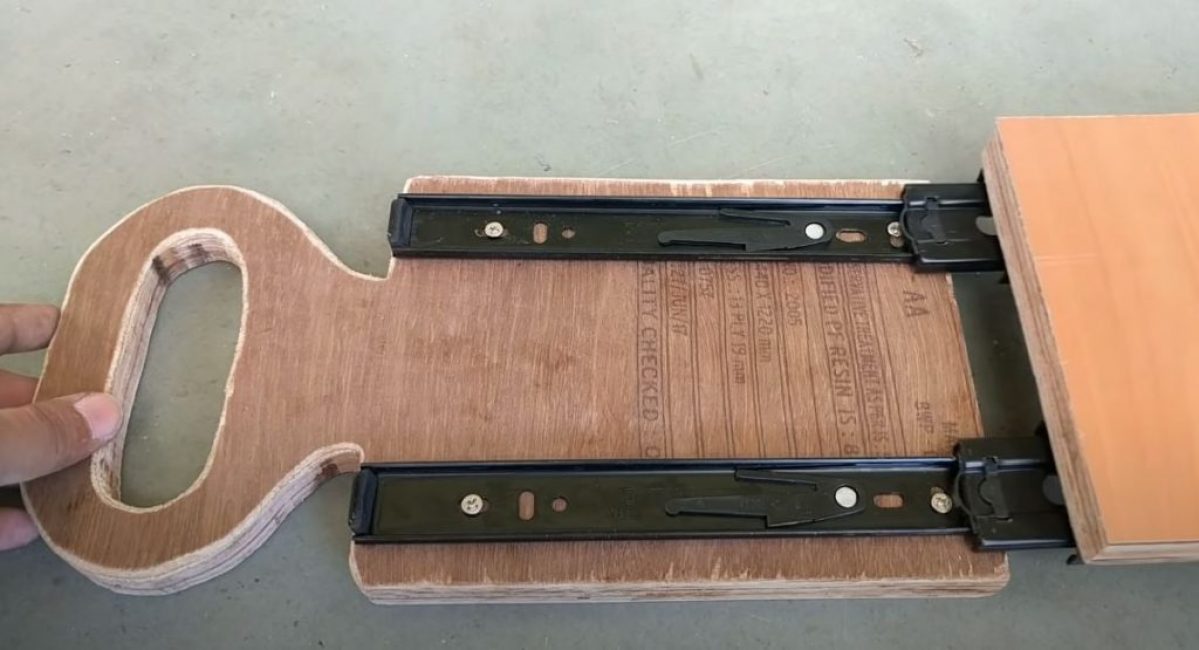
Step 2. We make the carriage
We draw on cardboard and cut out a template for the carriage handle.
We transfer it to a rectangle cut out of thick plywood measuring 15x30 cm.
We cut out the movable part of the carriage with a handle with an electric jigsaw and grind the cutting points with sandpaper.
From the same plywood we cut out the base of the carriage measuring 15x24 cm.
We install guides on the moving part and the base of the carriage to ensure the possibility of longitudinal movement of the machine.
Step 3. We assemble the machine
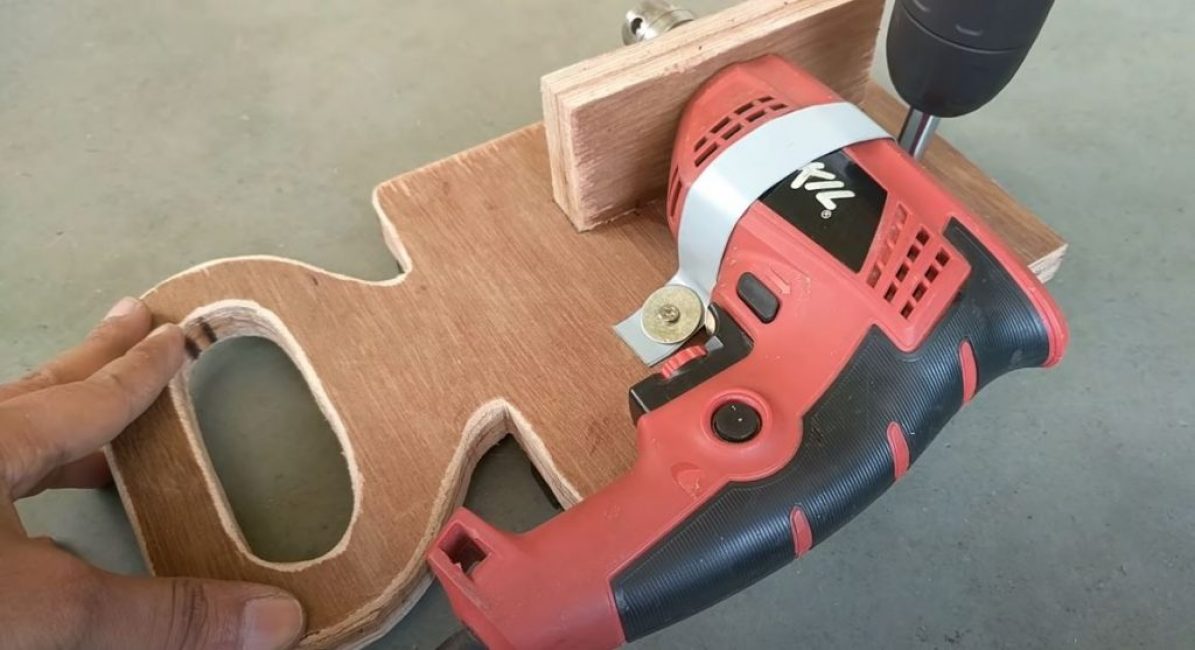
On the opposite side of the guides of the movable part of the carriage, we attach a drill. To do this, we cut out a small rectangle from thick plywood and drill a hole in it for a drill chuck.
We glue it to the carriage and fasten it with self-tapping screws.
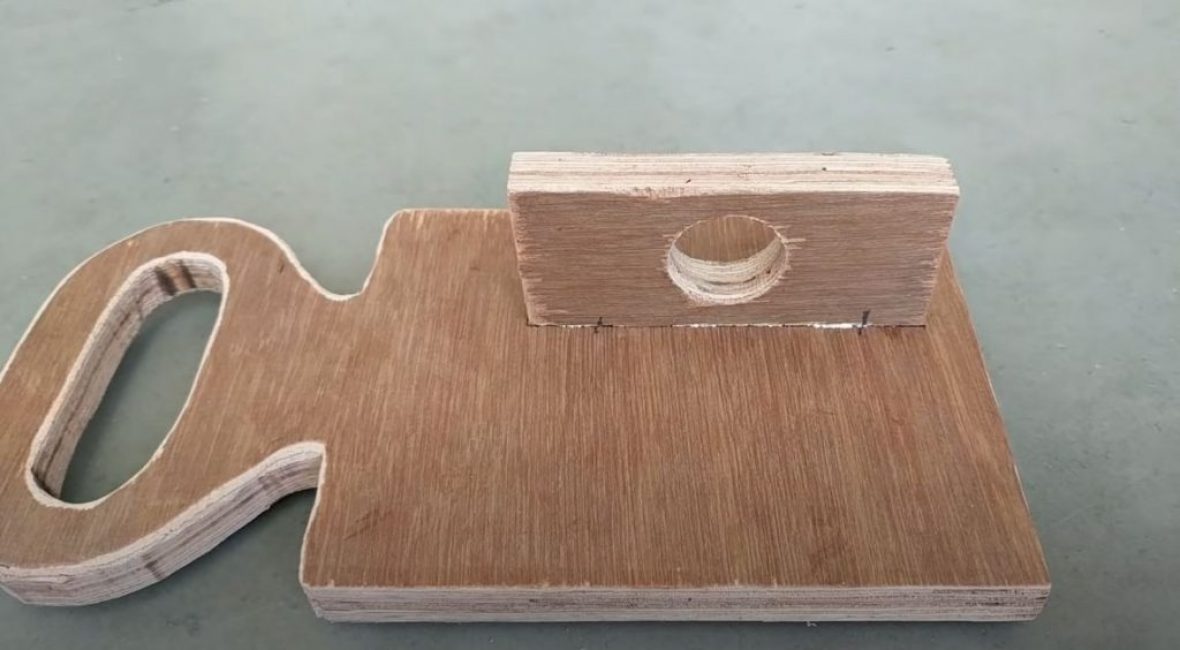
We place the drill chuck in the hole, and fix the drill itself with a strip of tin, screwing it with self-tapping screws. This design will make it easy to release and use the drill for its intended purpose.
We connect the base of the carriage to the rack with a one-piece loop. Such a connection will enable the vertical movement of the saw blade and at the same time serve as a limiter for its movement below the bed.

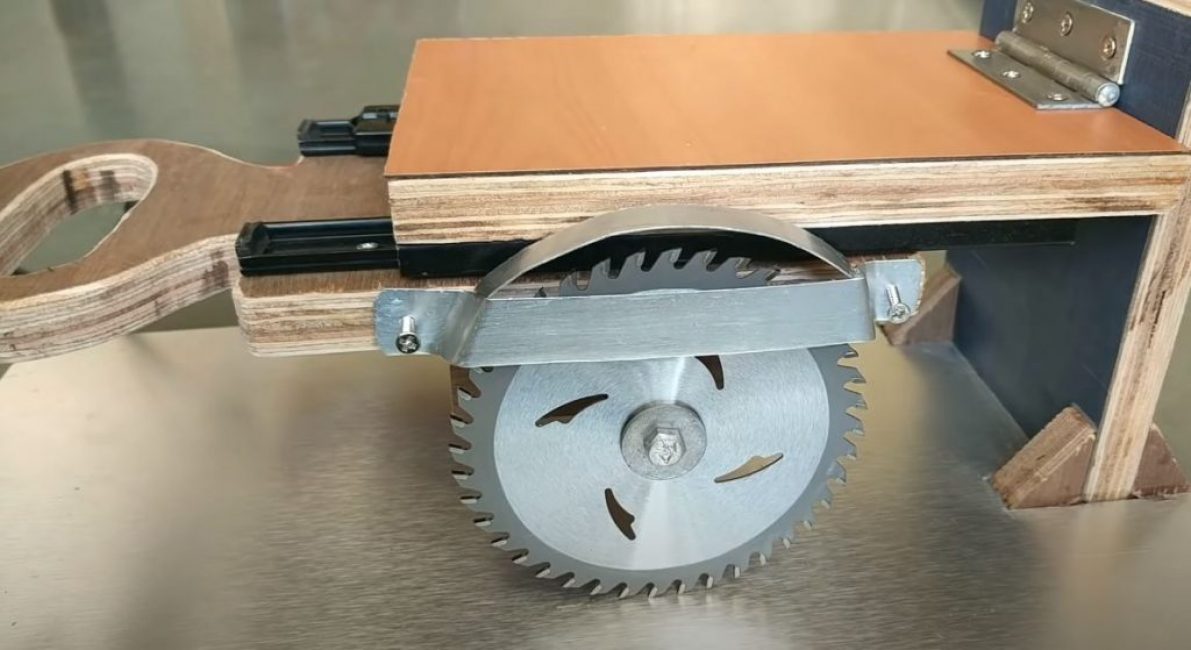
We fix the saw blade on a long bolt, clamping it with large washers and nuts.
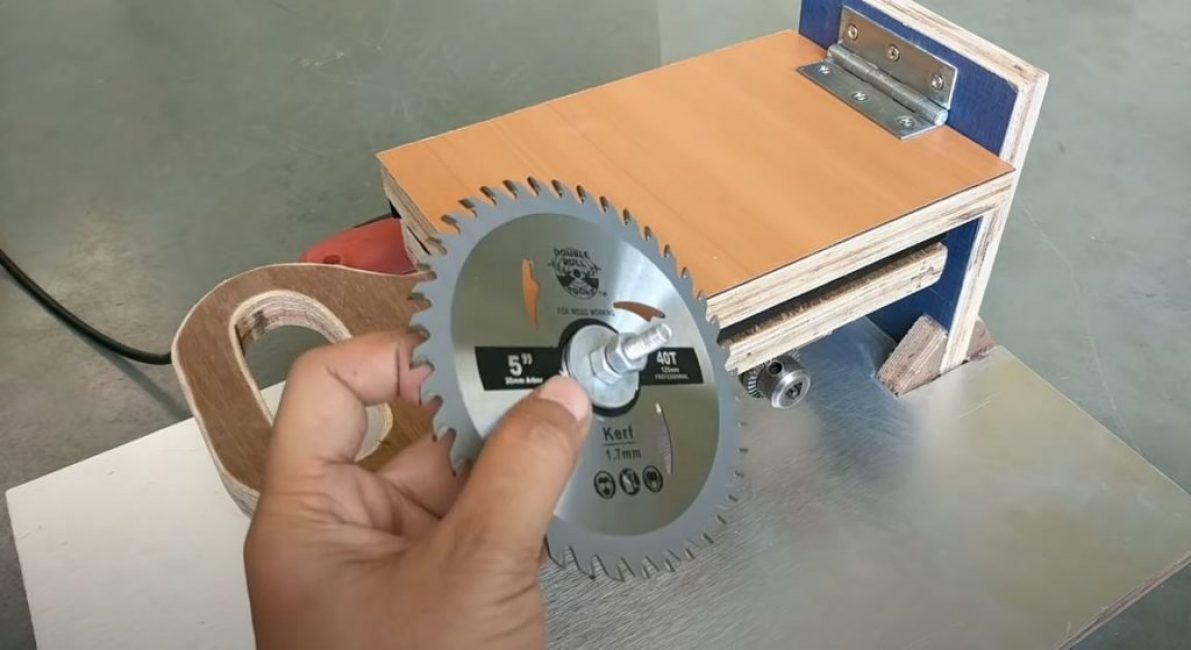
We clamp the saw blade in the drill chuck.
We cut it out of tin and fasten the protective cover.
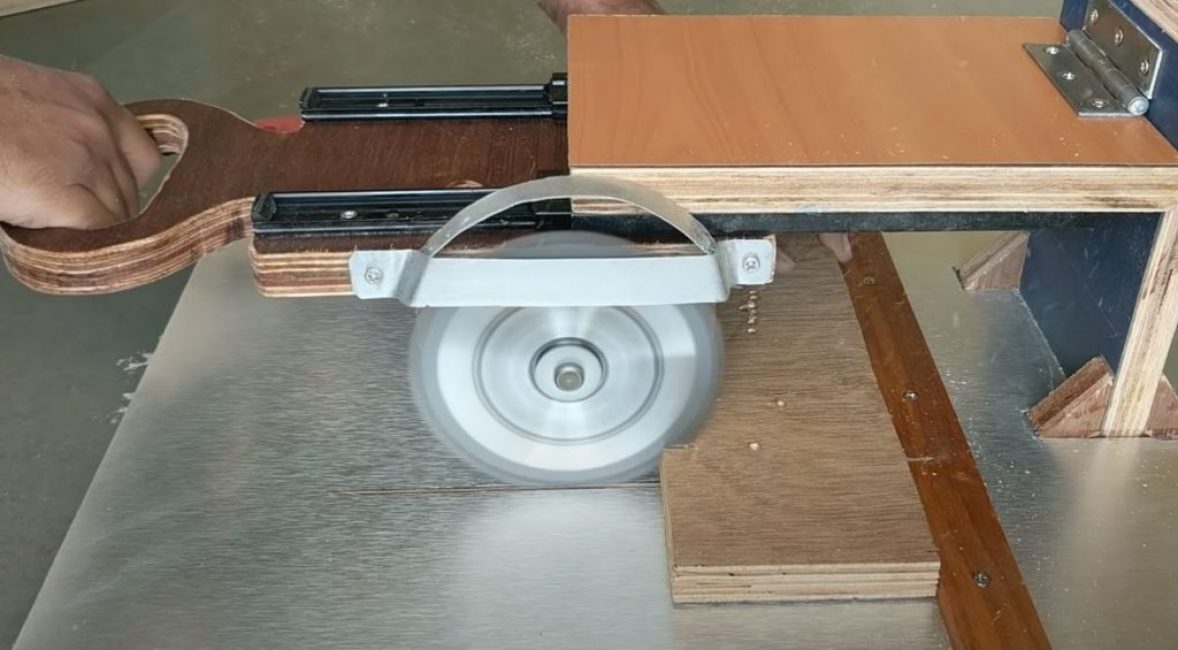
Step 4. Testing
Turn on the drill and fix the button.
We carry out a furrow on the frame to the end forward and deep.
At the end of the furrow we attach a restrictive bar.
Now you can start cutting. The machine cuts not only the ends of the strips, it can also make small longitudinal cuts.
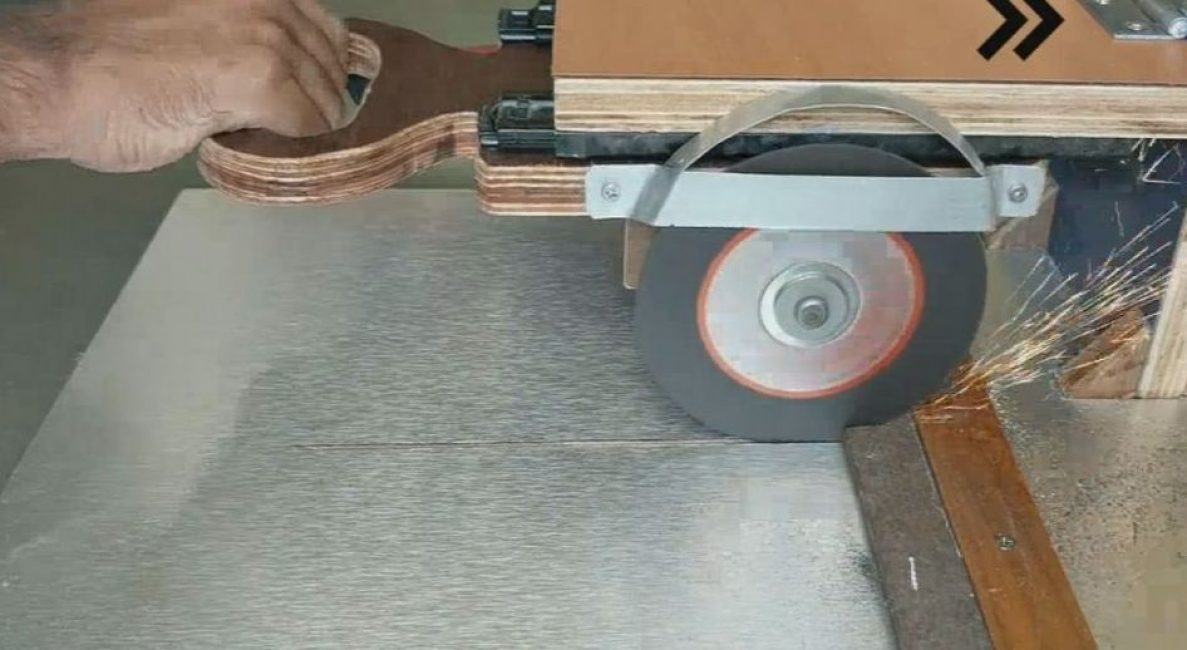
And if you change the saw blade to a cutting blade for metal, a machine in the teeth and small metal structures.

How to make a miter saw with your own hands
How to make a miter saw with your own hands? | Video


Thank you, simple, practical and informative!
We are glad that the article was useful to you.