
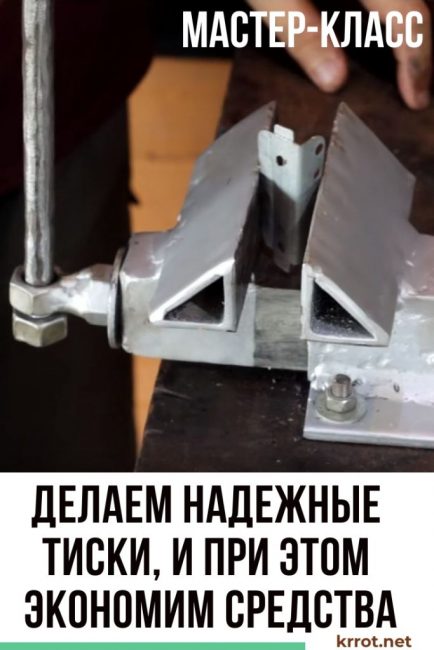
Many locksmith work without a vice is difficult, and sometimes impossible. In the store, locksmith vices are quite expensive. In this article, we will try to help you make a vice from improvised materials.
Content:
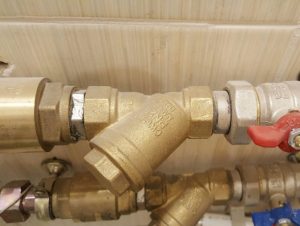 Read also: How to unscrew the strainer nut in the plumbing system: step by step instructions
Materials for manufacturing
To make a vise, you will need:
- cutting of rectangular pipes and corners;
- threaded rod and 7 nuts;
- 4 bolts, nuts and washers for fastening to a workbench;
- metal sheet with a thickness of at least 5 mm;
- paint can;
- Bulgarian;
- electric welding machine;
- clamps;
- hand vise;
- metal brush;
- screwdriver;
- screwdriver.
Step 1. Making a Guide
From a square pipe of the required section, cut off a piece of the desired length. If a suitable pipe is not at hand, then it can be welded from two corners.
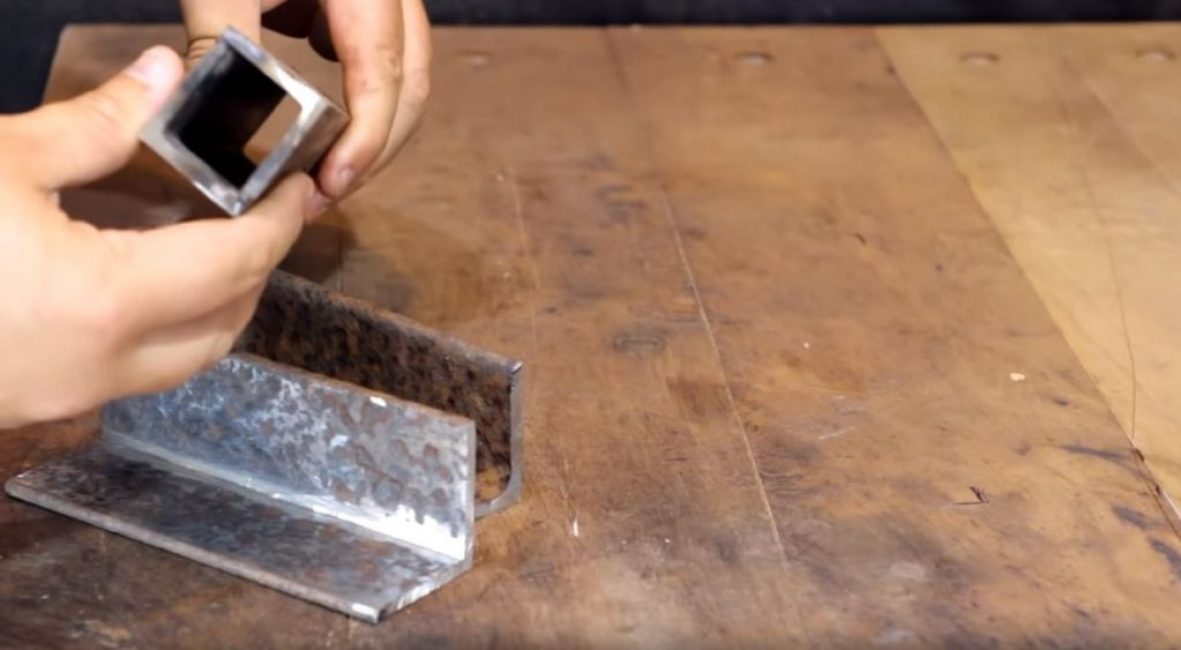
From the corner, the width of the inner side of which is slightly larger than the width of the outer side of the square section of the pipe, we cut off two pieces.
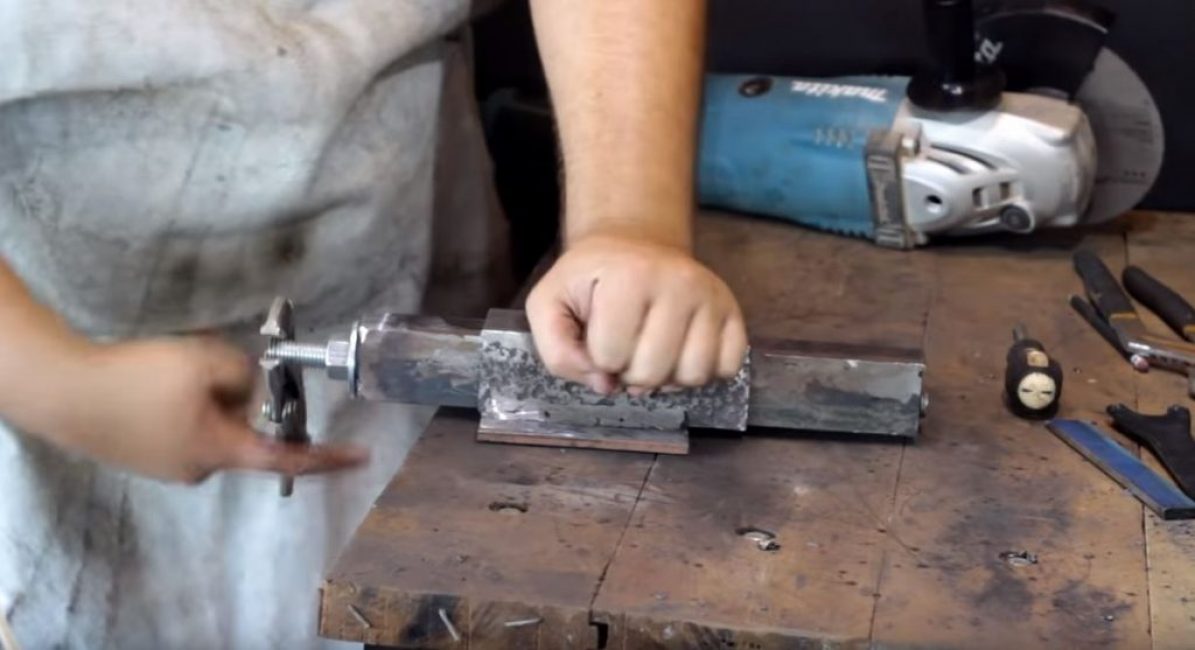
We clean the inner sides of one workpiece with a grinder, fixing it with a clamp. And cut off a strip from the second corner.
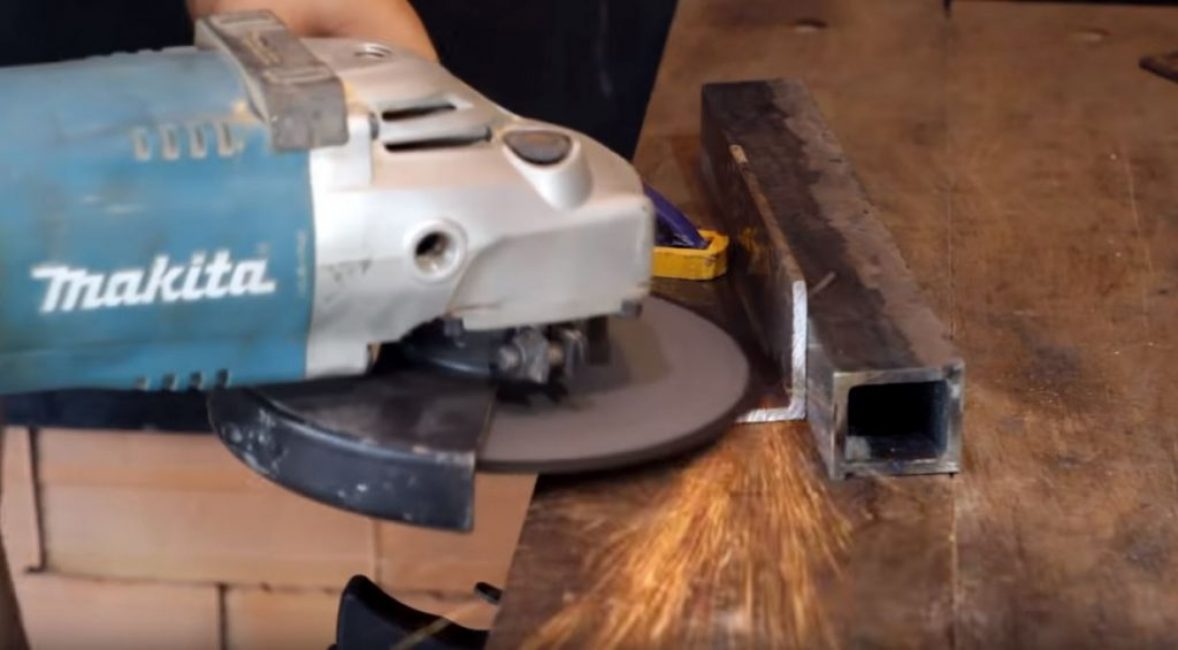
We clean the cut strip with a grinder.
From an iron sheet, at least 5 mm thick, cut out a square for the base of the vise.
We put a square pipe on the corner. We put folded paper on the pipe, and a prepared plate on top.
We weld the folded parts together, getting a guide.
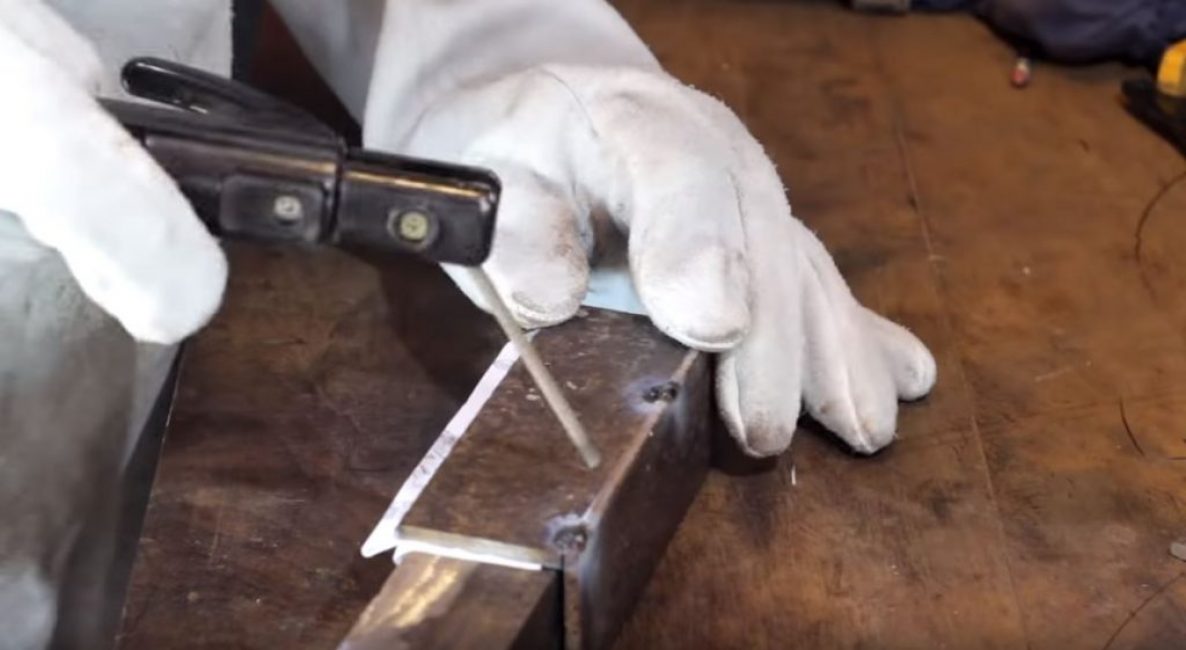
We turn over the guide with the pipe and process the surfaces.
Step 2. Making the running gear
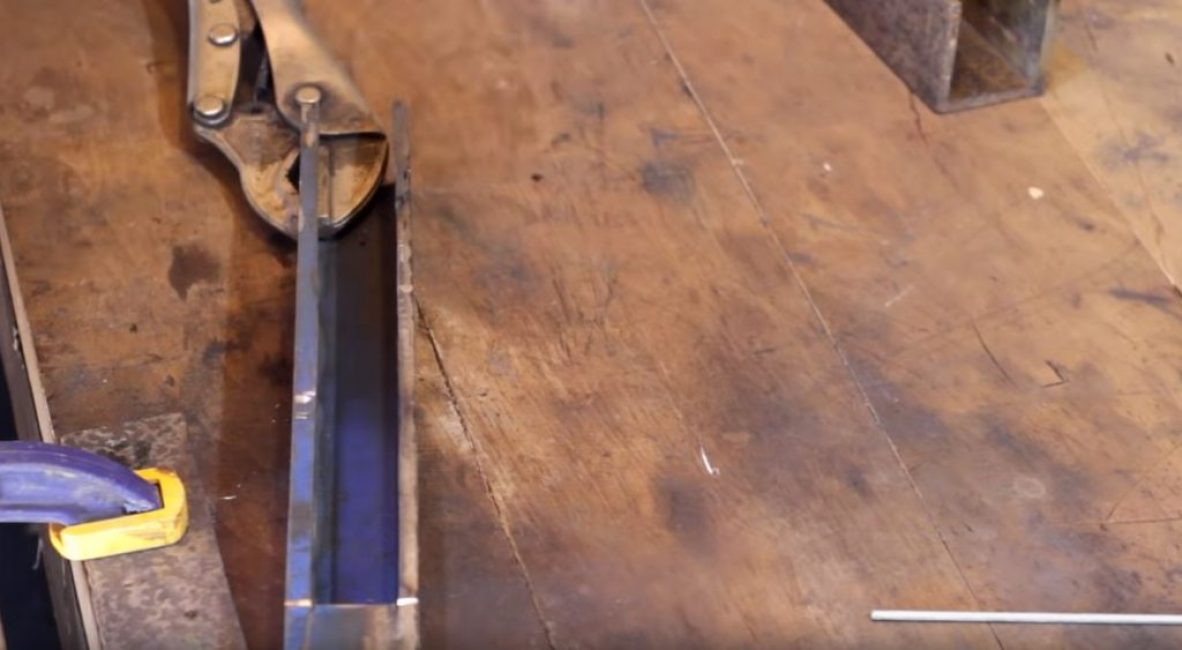
We cut a longitudinal slot in a square pipe, not reaching its end 30 mm.
We weld a strip in the middle of the square plate. Then, in the center of the plate, we weld two nuts screwed tightly onto the screw.
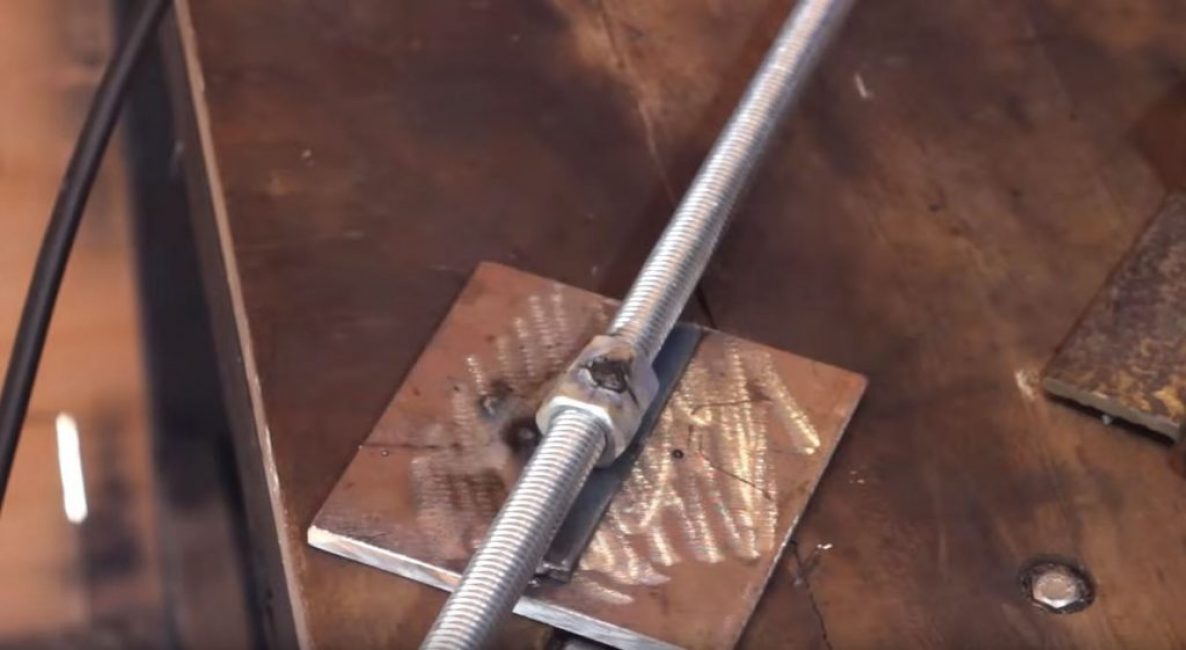
We unscrew the screw to the limit and cut off the excess part.
We clean the welding seams and check the ease of movement of the plate.
We put a guide on the plate with the pipe and weld it with a double seam. We clean the scale with a metal brush and a screwdriver, and then we clean the seams with a grinder.
We screw a rounded nut onto the lead screw about 50 mm from the end and weld it.
We cut out a U-shaped plate from a metal sheet according to the size of the end of a square pipe. We weld the cut plate to the end of the pipe.
We put a washer on the screw and screw the nut so that the screw can easily rotate. Weld the nut to the screw.
We weld a plate to the pipe.
Step 3. Making the vise jaws
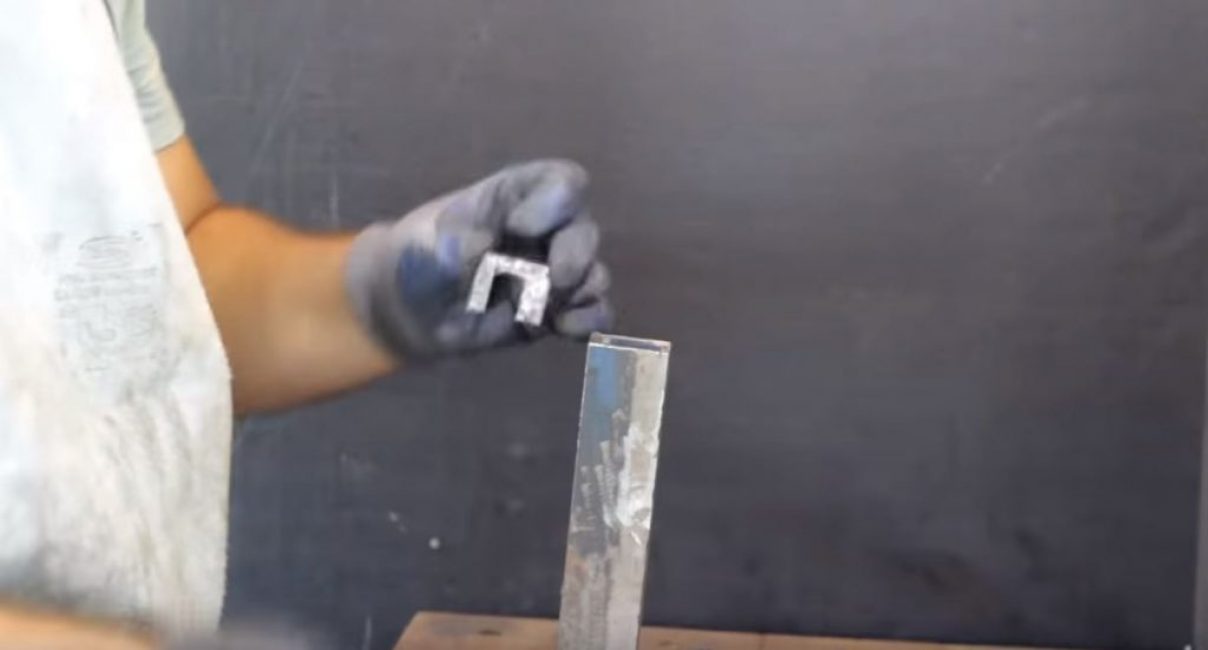
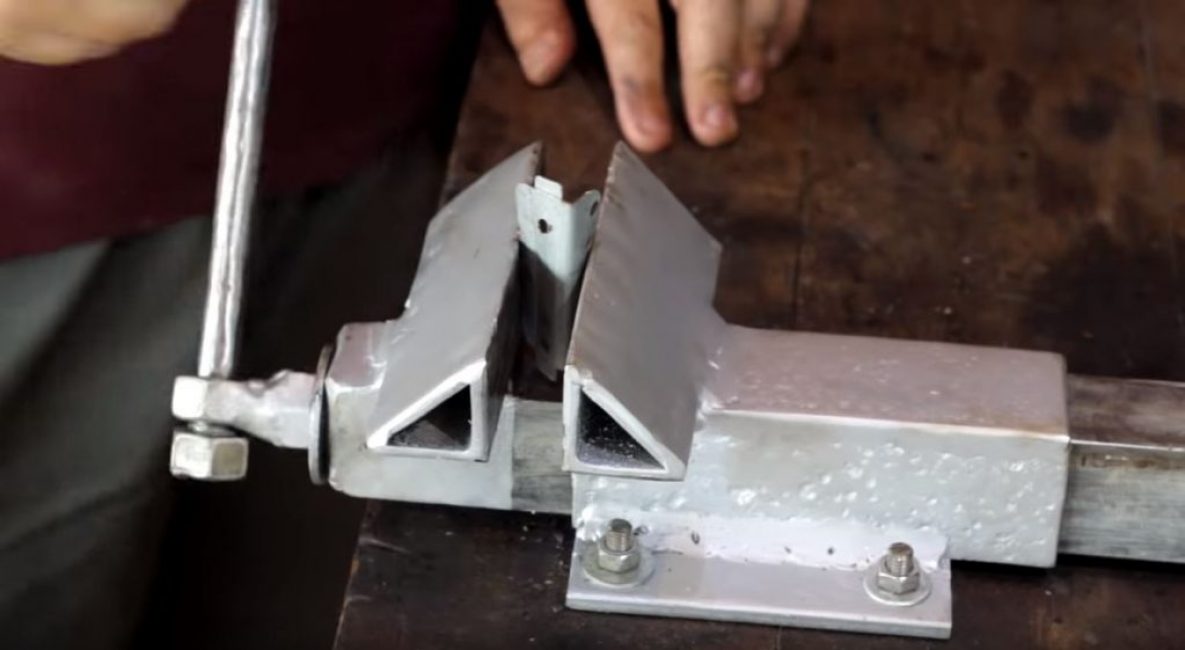
We cut out two corners, clamp them with a hand vise and weld them. One to the pipe and the other to the guide.
We turn off the lead screw and take out the pipe with the guide. Sponges, strengthen with diagonal plates.
We clean the welding seams with a grinder.

Step 4. We make a collar
We will make a collar for rotating the lead screw from the rest of the screw, approximately 200 mm long. We screw nuts onto the edges of the screw and remove the thread from the middle part of the screw using an emery wheel.
We move one of the extreme nuts to the middle. In its place, screw the third nut. We weld the middle nut to the end of the lead screw, and the outermost to the ends of the gate.
Step 5. The final stage
We drill holes along the edges of the rectangular plate using a screwdriver.
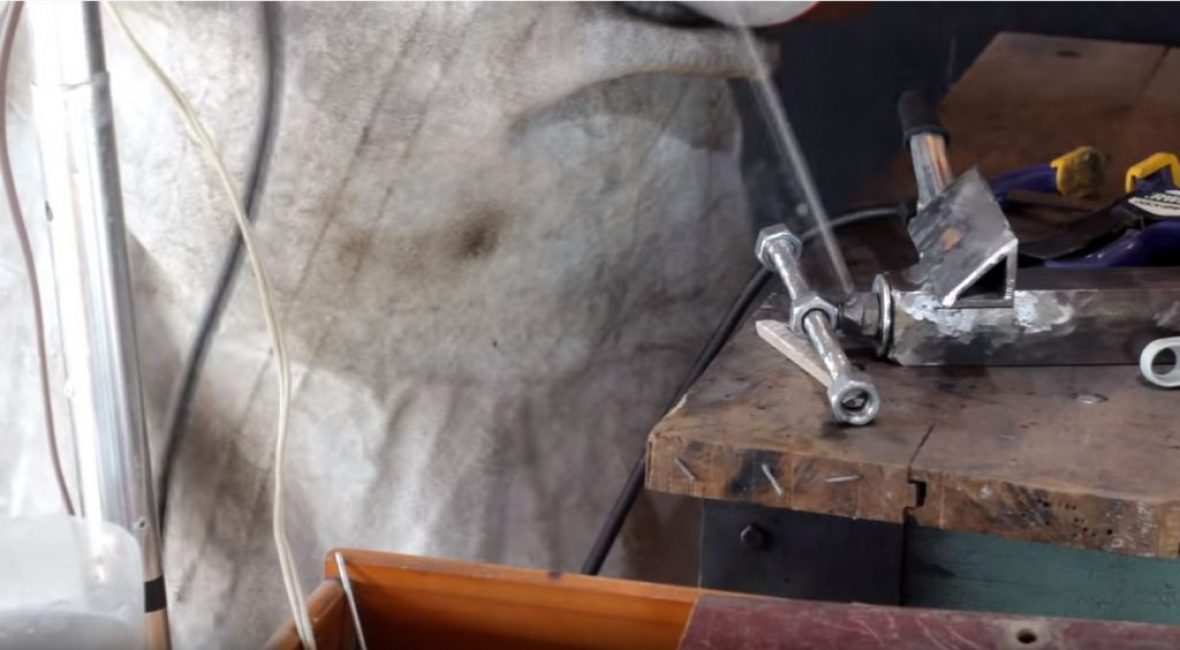
We close part of the tube with paper and tape, paint all the knots.
We outline and drill four holes in the countertop and fasten the vise.
Our vise is ready to go!
Source: https://youtu.be/8eb0D6zA5K4

How to make a vise with your own hands
How to make a vise with your own hands? | An indispensable locksmith tool? from improvised materials


