
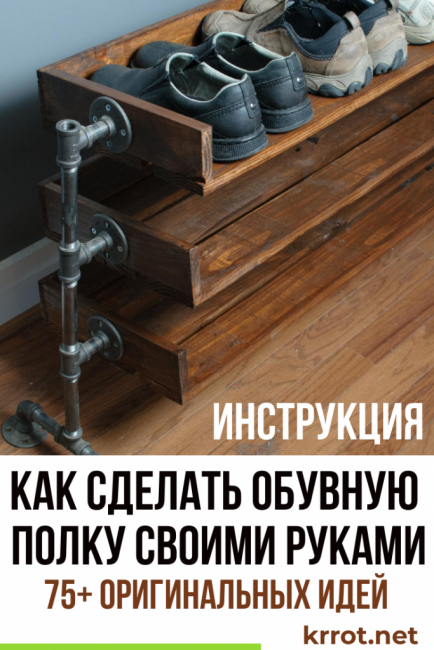
In any hallway, there must be a hanger and a shoe rack. These two interior elements make it possible to significantly simplify the placement of outerwear and shoes and save free space in an already relatively small room. Usually, a shoe rack contains several tiers in order to make the most of the hallway area.
Without it, shoes will not only take up a lot of space on the floor, but also pollute the room to a much greater extent: the stand will allow you to localize the spread of dust and dirt brought by shoes from the street.
Pieces of furniture of this kind, despite their relatively small dimensions, can have a fairly high cost. The article will consider how you can make a shoe rack with your own hands at minimal cost.
Content:
- How to make a shoe rack
- PHOTO GALLERY
 Read also: Manual sewing machine for leather: do it yourself for only $ 2
How to make a shoe rack
The shoe rack will allow you not only to put things in order in hallway, but also be at the same time a decoration of your interior. Below is a simple step by step guide.
Action No. 1 Making a drawing of a shelf for shoes
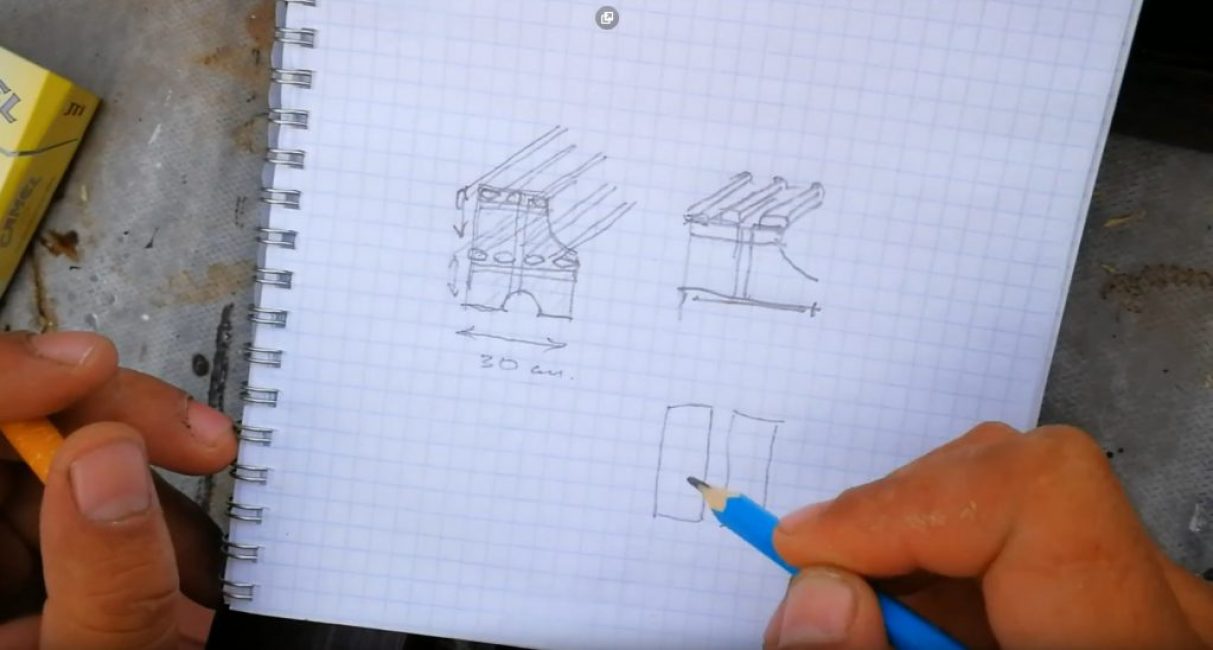
Making a shelf for shoes begins with determining its dimensions and the general idea of \u200b\u200bdesign. It makes no sense to make a single-tier shelf: it is impossible to place a sufficient number of shoes on it. The number of tiers is generally determined by the number of residents of an apartment or house and the number of pairs of shoes they use.
Usually, the width of the shelf is determined either by the maximum allowable free dimension of one of the walls, or the size of some piece of furniture already present in the hallway (for example, the same hanger). And the overall style or design in which the shoe stand will be implemented should match the existing furniture in the hallway.
Thus, the design of a shoe rack should take into account the following factors:
- geometric dimensions of the hallway
- furniture used in it
- number of residents of the apartment or house
Action No. 2 Selection and preliminary preparation of the material
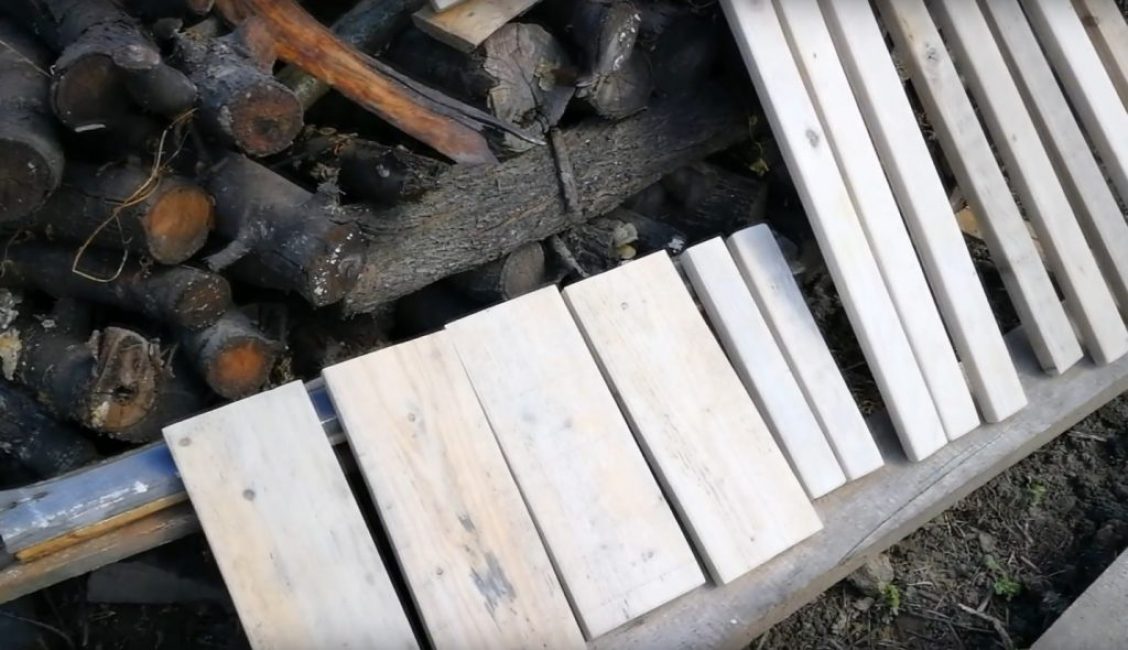
Used for the manufacture of shoe shelves wooden structural elements
After the drawing is drawn, proceed to the choice of material for the shoe shelf. It can be any type of wood available. The shelf structure will experience small loads, so wooden planks 15-20 mm thick will be enough.
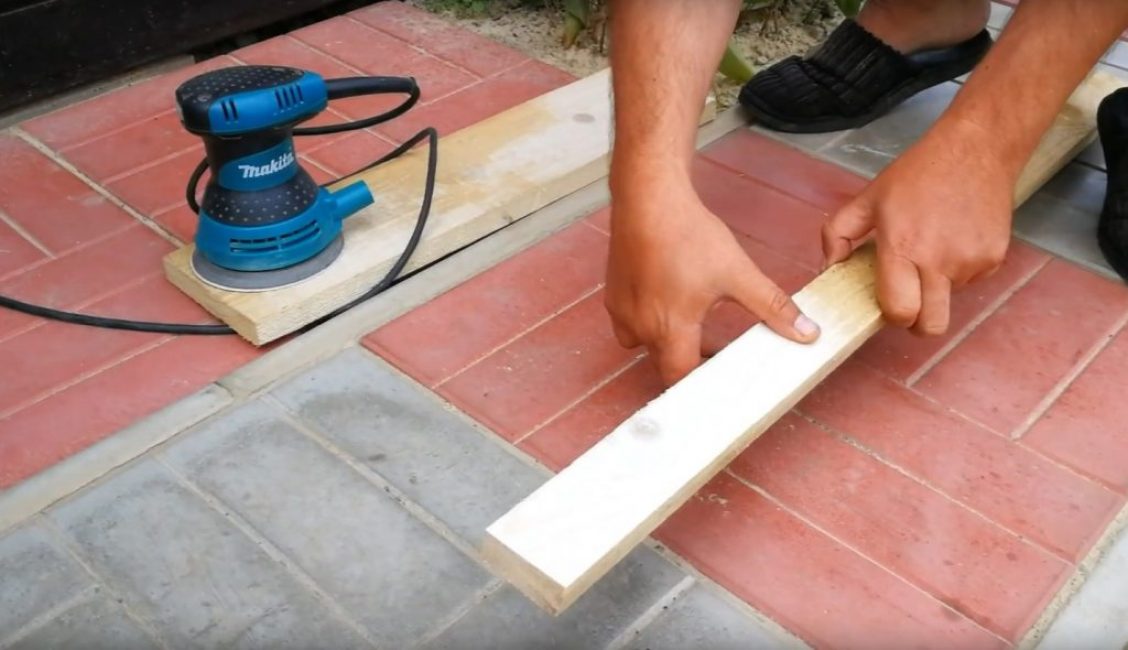
It is necessary to select boards of appropriate sizes and, using a saw or a jigsaw, cut structural elements of the required dimensions from the boards according to the drawing.
Next, you need to sand the surface of the boards using any means. This can be sandpaper, a grinder, a grinder, etc.
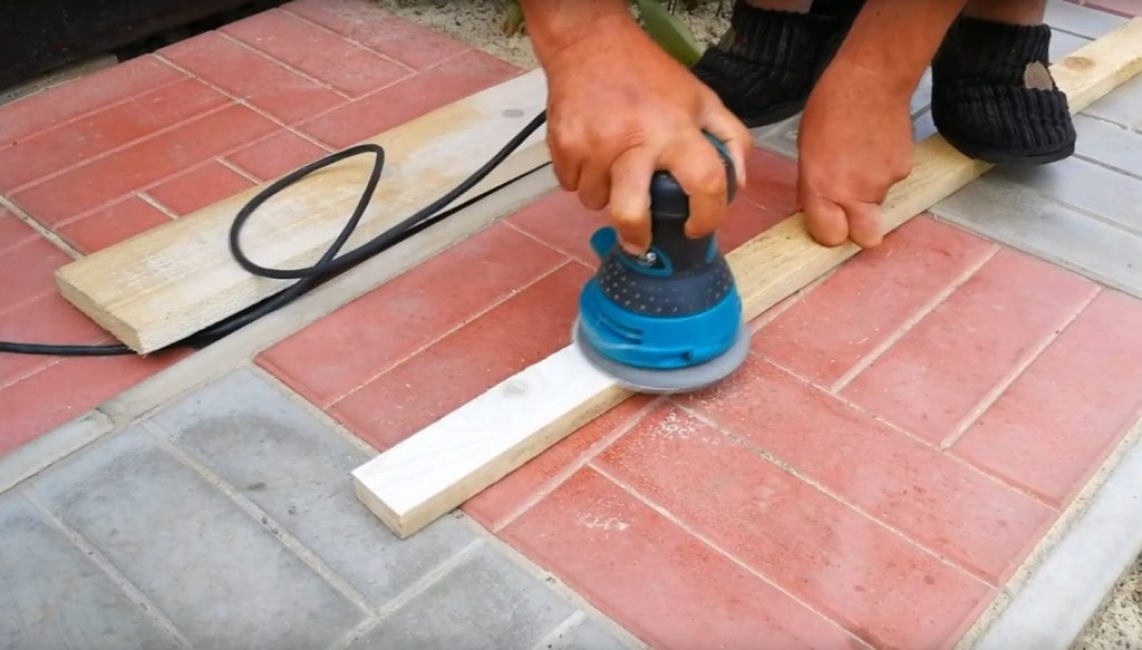
Sanding structural elements of a shoe rack with a grinder
This will not only get rid of burrs and give the tree an attractive look, but it will also greatly facilitate further work with it, for example, the painting process.
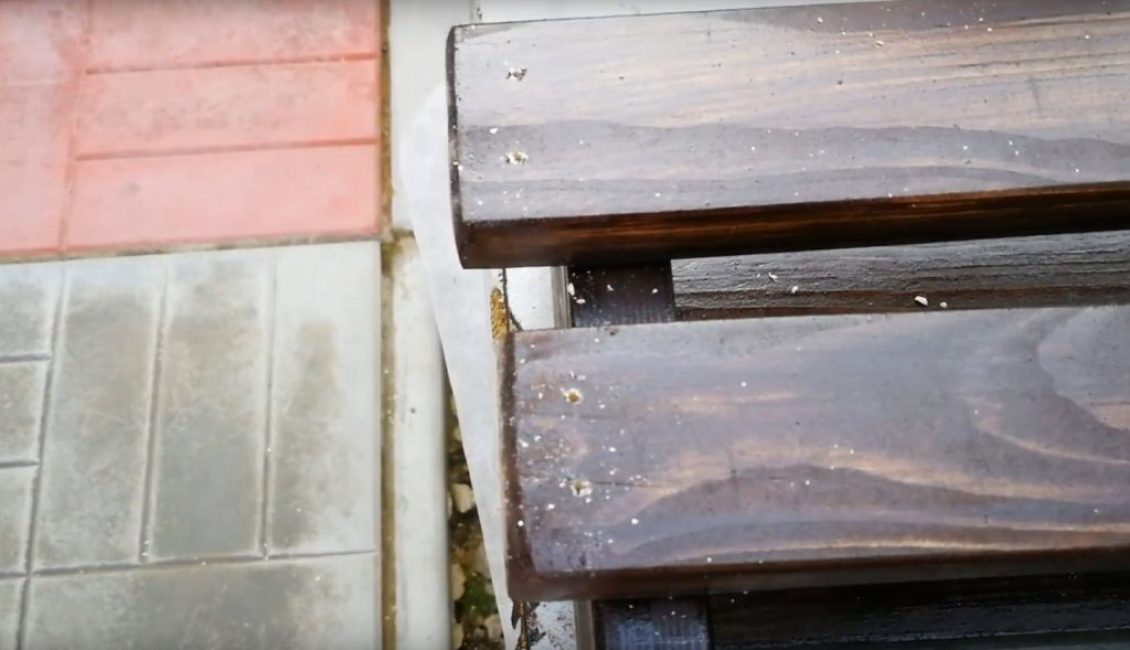
Appearance of sanded boards
Before you start painting the elements of the shelf structure, you must complete all the work on their decoration. You can, of course, make a stand in the form of a regular rack with rectangular side racks and identical shelves, however, often the owners make small artistic changes to the design of the structure to make things more aesthetic.
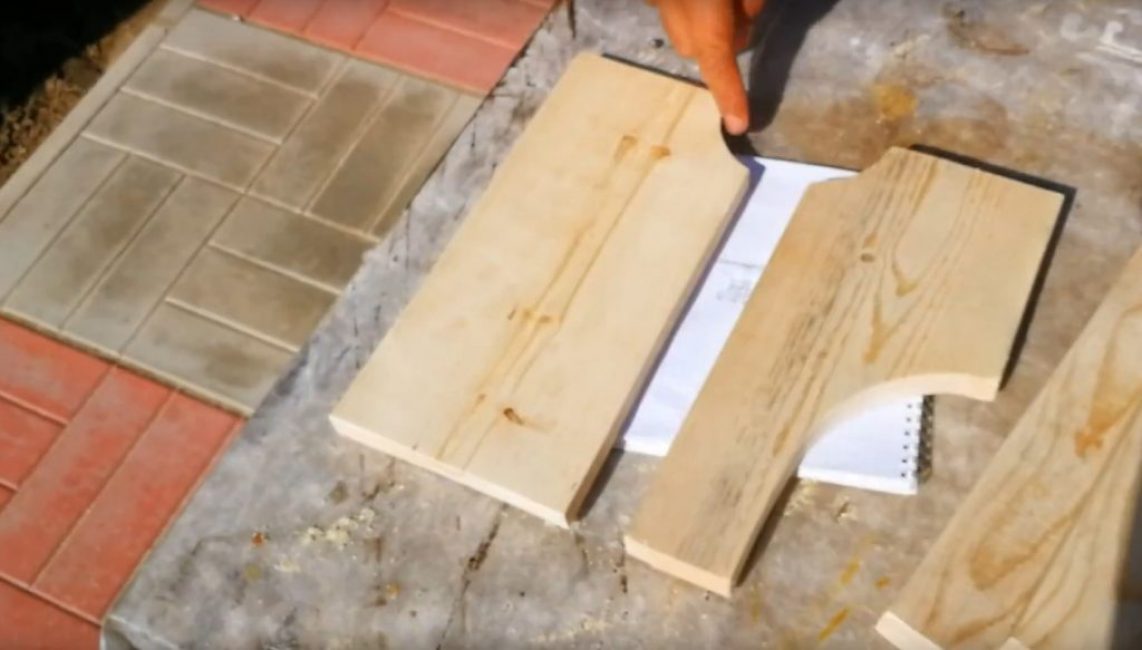
Side racks with custom design
In any case, all such ideas should be implemented at the previous stage (creation of a drawing), and the structural elements themselves should be made before the moment of painting. If there are some curly surfaces and roundings on the side racks, they must be cut out in advance, for example, using a jigsaw.
Action #3 Painting
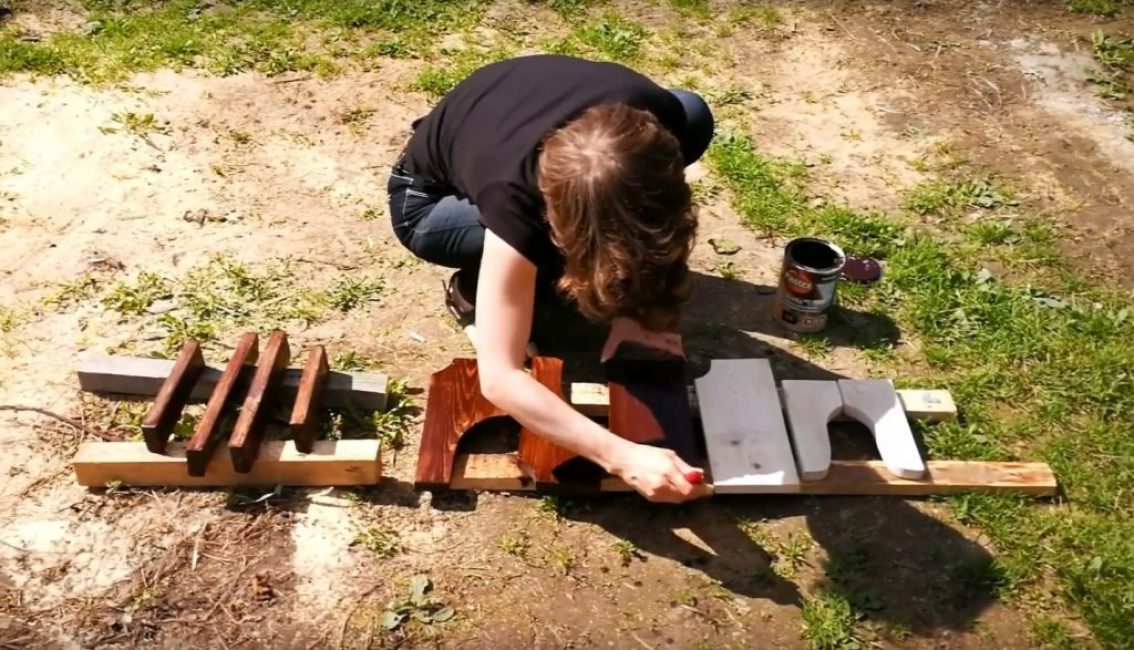
Painting wooden elements
After all the components of the stand are ready, they should be painted before final assembly. It is better to do this before assembling the structure, since this greatly simplifies the painting process - in the finished structure it will be more difficult to get to some places with a brush.
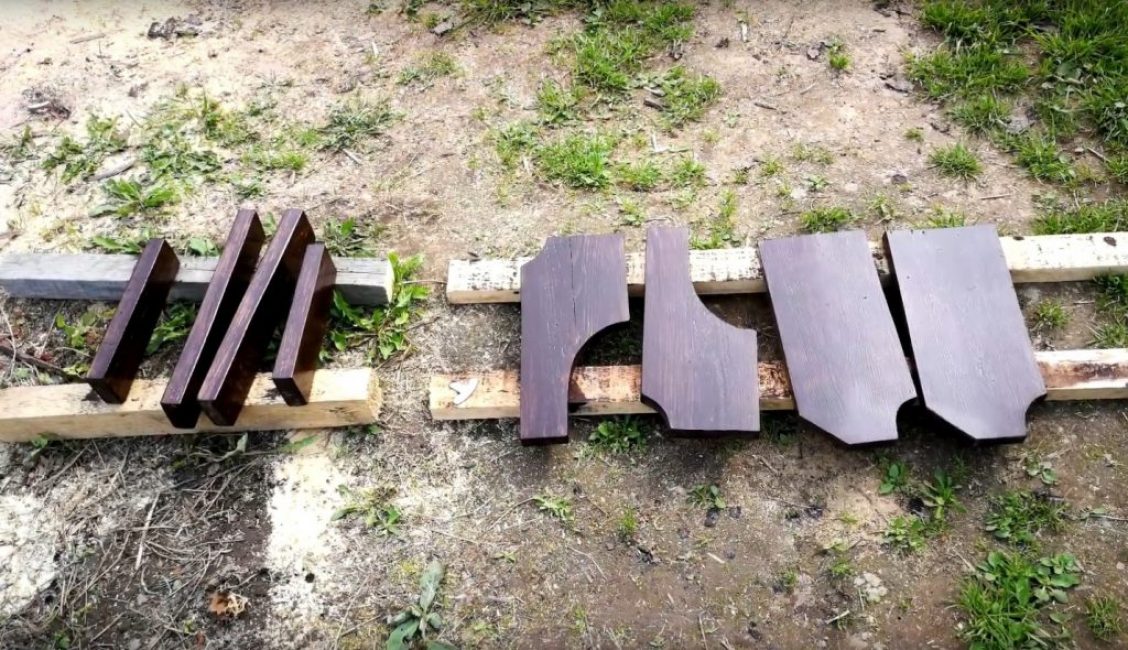
Drying painted elements
The paint used should be consistent with the overall design idea of the hallway. Usually, a hanger and a shoe rack are painted in the same color. Instead of paint, you can use stain or varnish. After painting, it is recommended to dry the structural elements for several days.
Action #4 Preliminary preparation for assembly
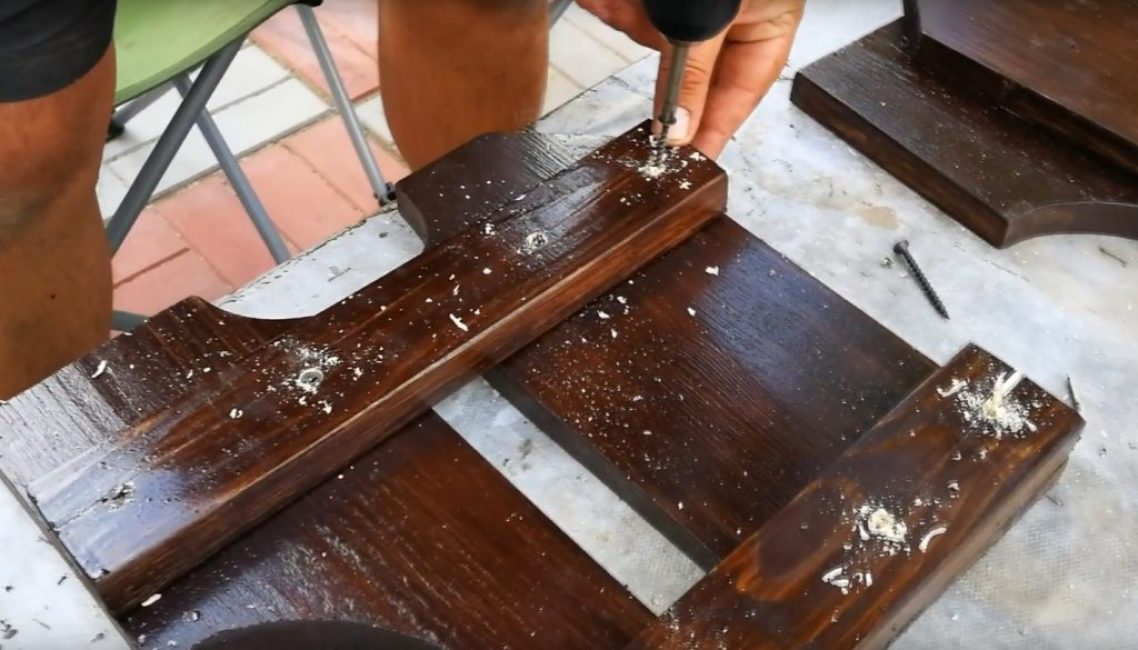
Drilled holes for self-tapping screws
Before starting the assembly, holes for self-tapping screws should be drilled at the junctions of the structural elements. This is necessary because if you screw in self-tapping screws without pre-drilled holes, wooden structures can crack in places close to the ends.
After all holes are drilled, start assembling.
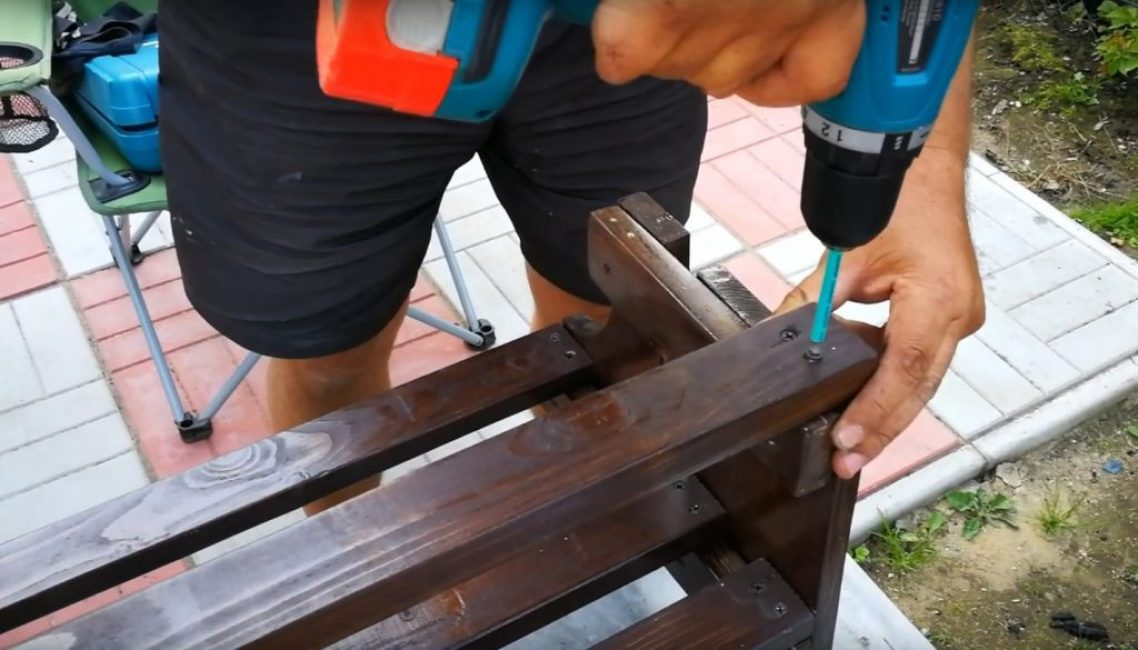
Step #5 Assemble the Side Racks
Assembly of side racks with self-tapping screws and a screwdriver
The load-bearing structural elements are assembled first. They must be strong enough, so it is recommended to use additional self-tapping screws to strengthen the structure.
Action number 6 Making the first tier
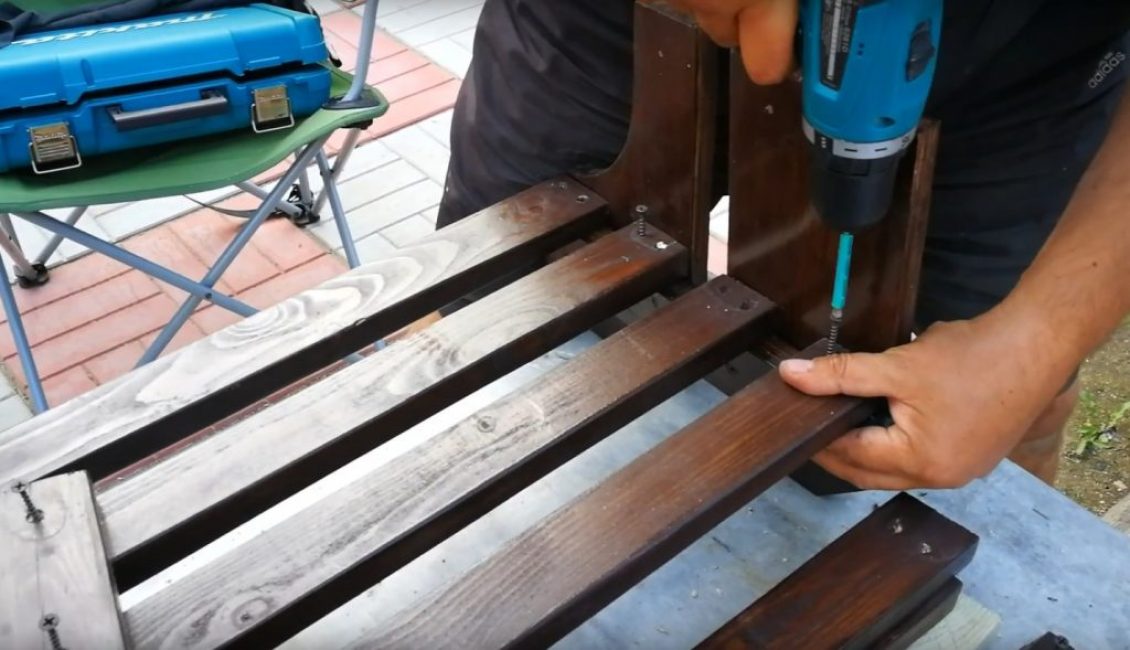
Assembly of the first tier shelf
The shelves of the first tier must be connected to the racks using the drawing. When assembling, you should be careful not to tighten the screws too deeply so that the caps do not damage the end parts of the shelf structural elements.
First, it is recommended to “bait” each of the boards that make up the shelf with two self-tapping screws from different ends of the board. Then you should align the structure and fasten the outer boards well first, and only then the inner ones.
Action number 7 Making the second tier
Installation of the second tier shelf
Similarly, the shelf of the second tier is screwed with self-tapping screws.
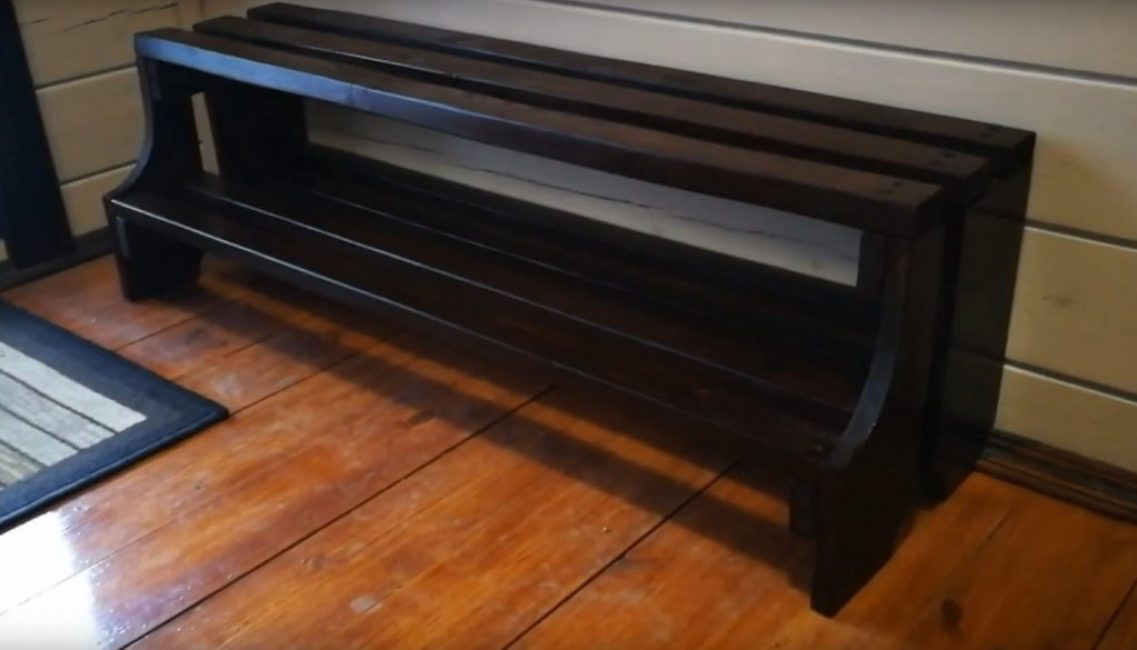
Appearance of the finished shoe rack
After the stand is ready, it is installed in the hallway.
VIDEO: Stylish do-it-yourself shoe rack

Stylish do-it-yourself shoe rack
A simple do-it-yourself shoe rack in just 2 hours
![Do-it-yourself paper pencil stand [Master Class]](https://iherb.bedbugus.biz/wp-content/uploads/2020/02/zastavka-8-300x152.jpg) Read also: Do-it-yourself paper pencil stand [Master Class]
Read also: Do-it-yourself paper pencil stand [Master Class] 


