
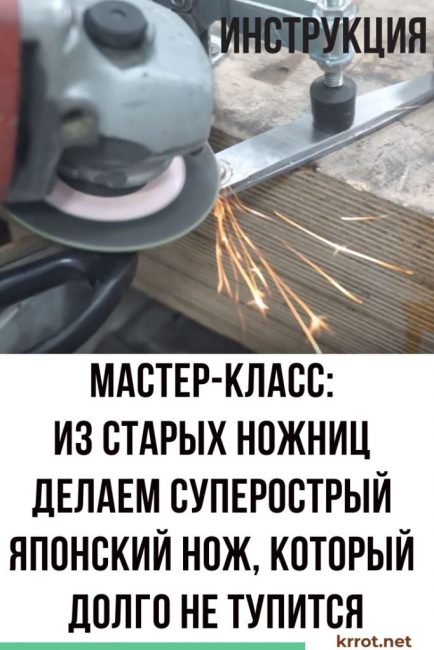
Good old scissors broke - it does not matter. Let's make a universal Japanese knife out of them. Moreover, its narrow blade allows it to be used in carving and woodcarving. Yes, and in the kitchen, he can take a worthy place, displacing competitors, due to its lightness and convenience.
Content:
Content:
 Read also: We make liquid wallpaper with our own hands: step-by-step instructions, tips, application techniques, as well as useful ones (85 Photos & Videos)
Materials for manufacturing
In order to make a Japanese knife, you will need:
- old scissors;
- Bulgarian;
- pencil;
- angle grinder;
- belt sander;
- clamps and vise;
- cutter;
- sandpaper of different grain sizes;
- saw;
- polyurethane and plastic blanks;
- glue for plastic;
- 2 rivets of different thickness;
- hammer;
- oil and napkin.
Step 1. Disassemble the scissors
We press the scissors with clamps (if they are not, we fix them in a vice) and cut off the fixing screw with a grinder.
Step 2: Making the Knife Blade
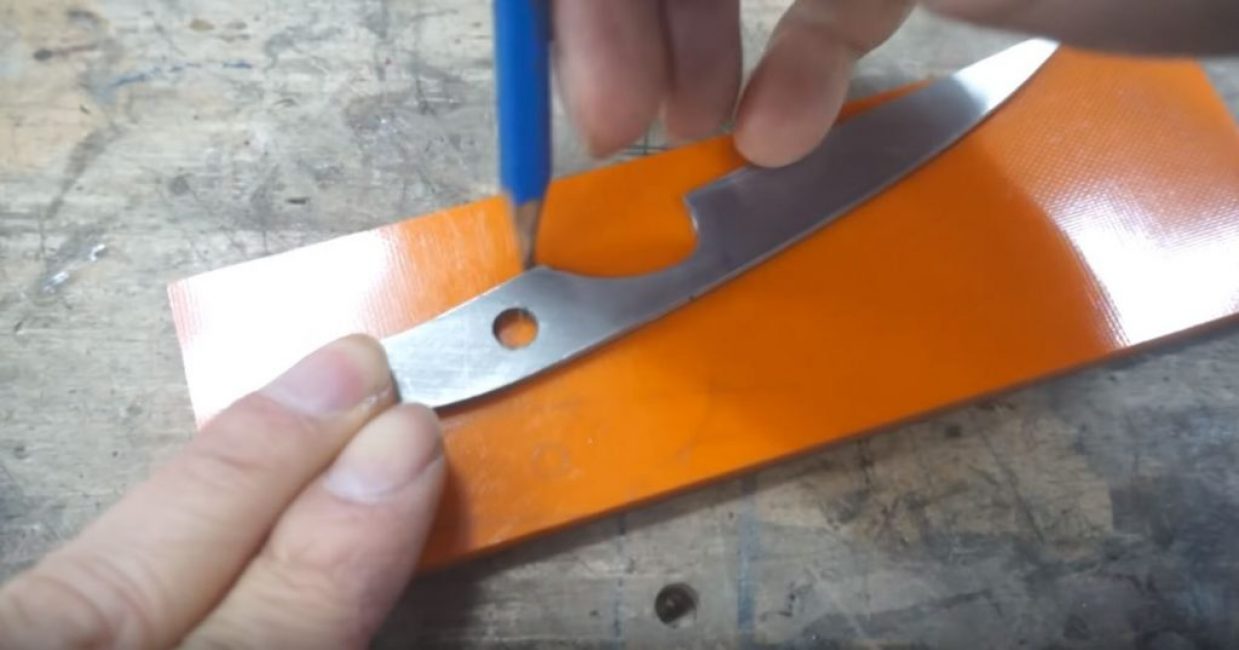
We choose the part of the scissors that suits us best, and draw on it the shape of the cutting part of the future knife and handle.
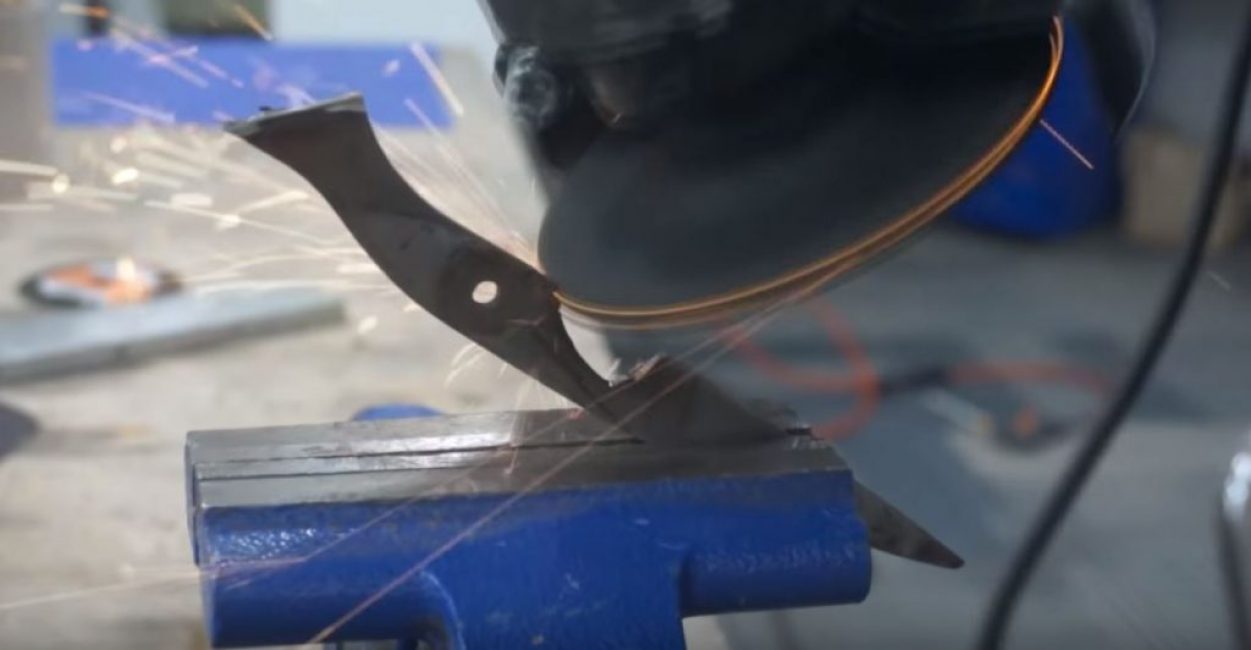
We cut the workpiece with a grinder along the marked lines.

As a result, we get something like this.
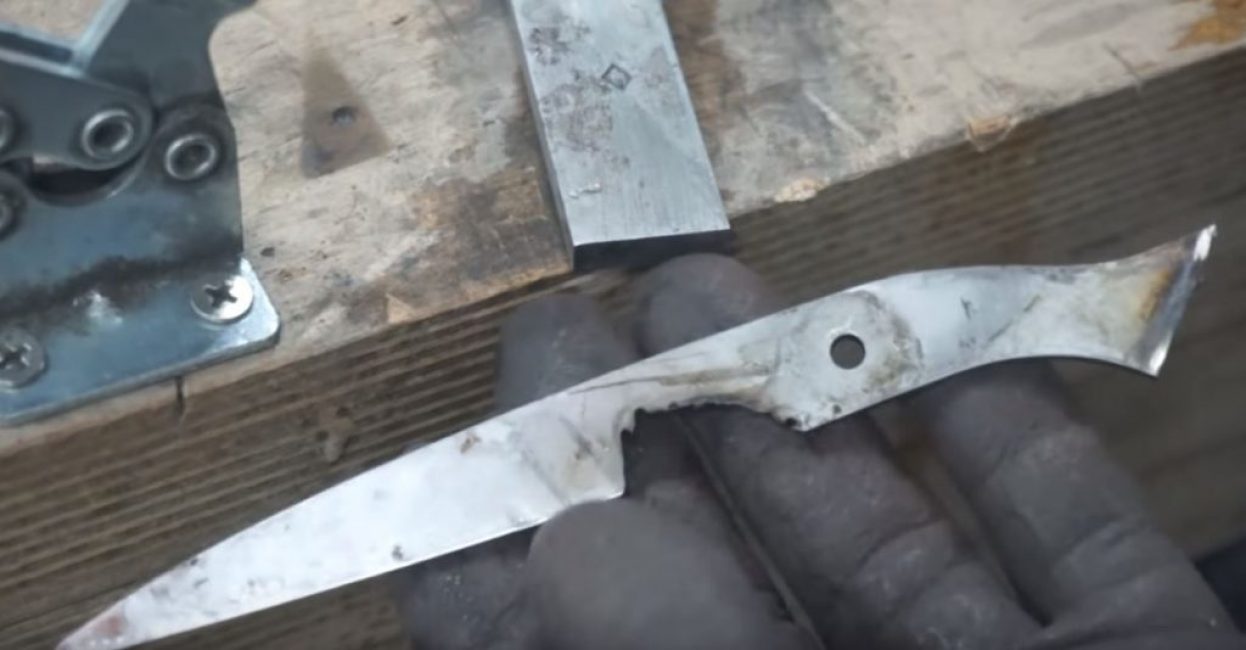
Clamping the workpiece in a vice, using grinding tools, we give it a streamlined shape.
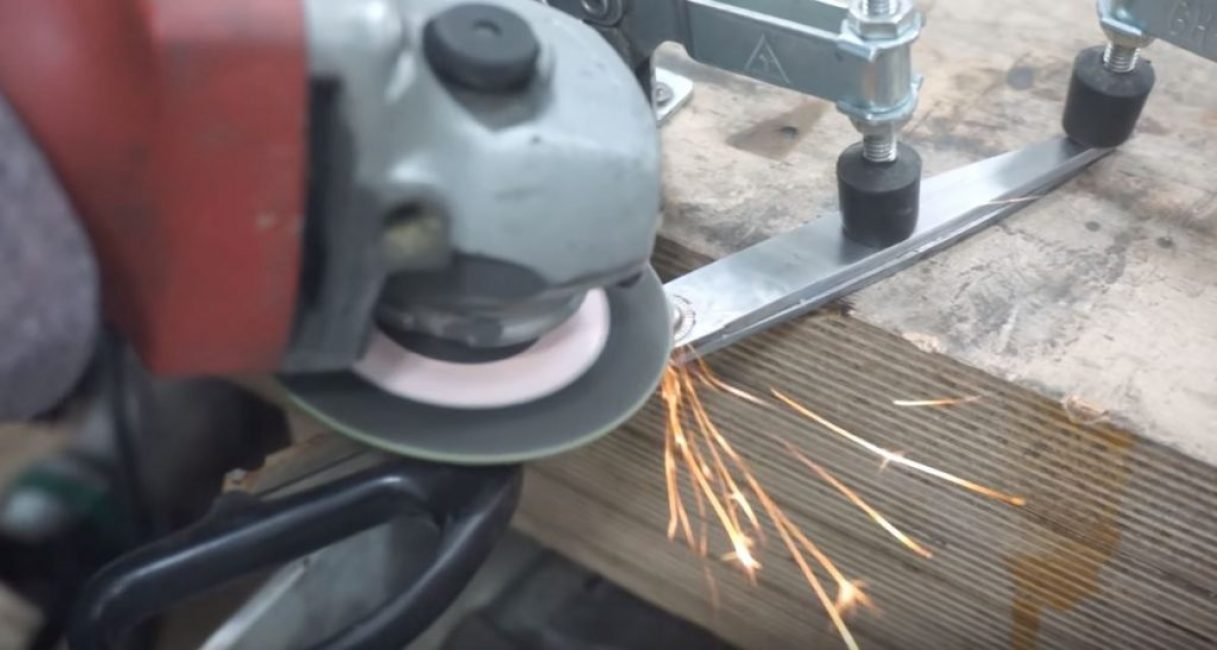
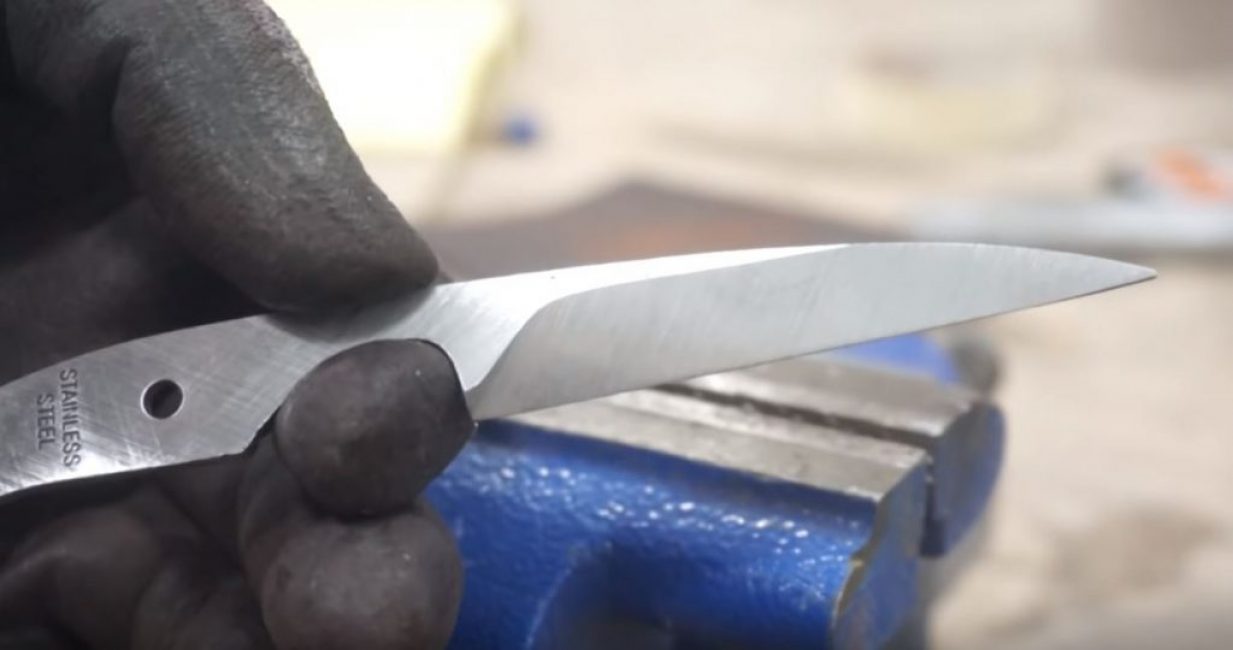
We sharpen the knife blade on a belt grinder. We smooth out all the bumps.
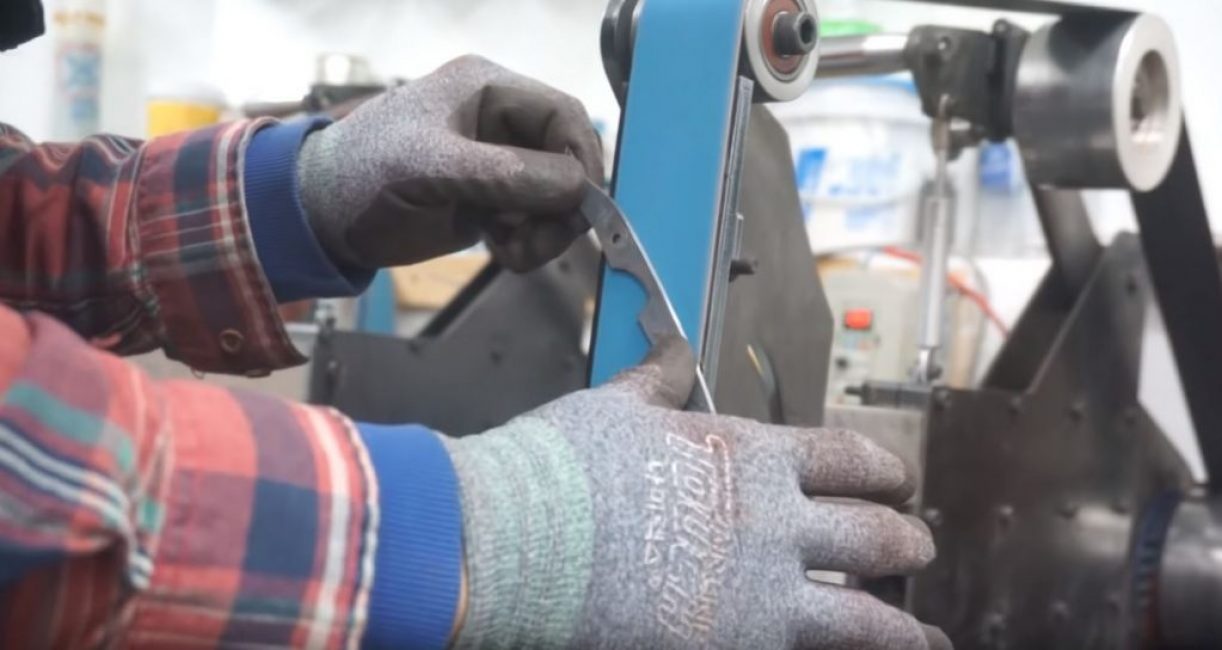
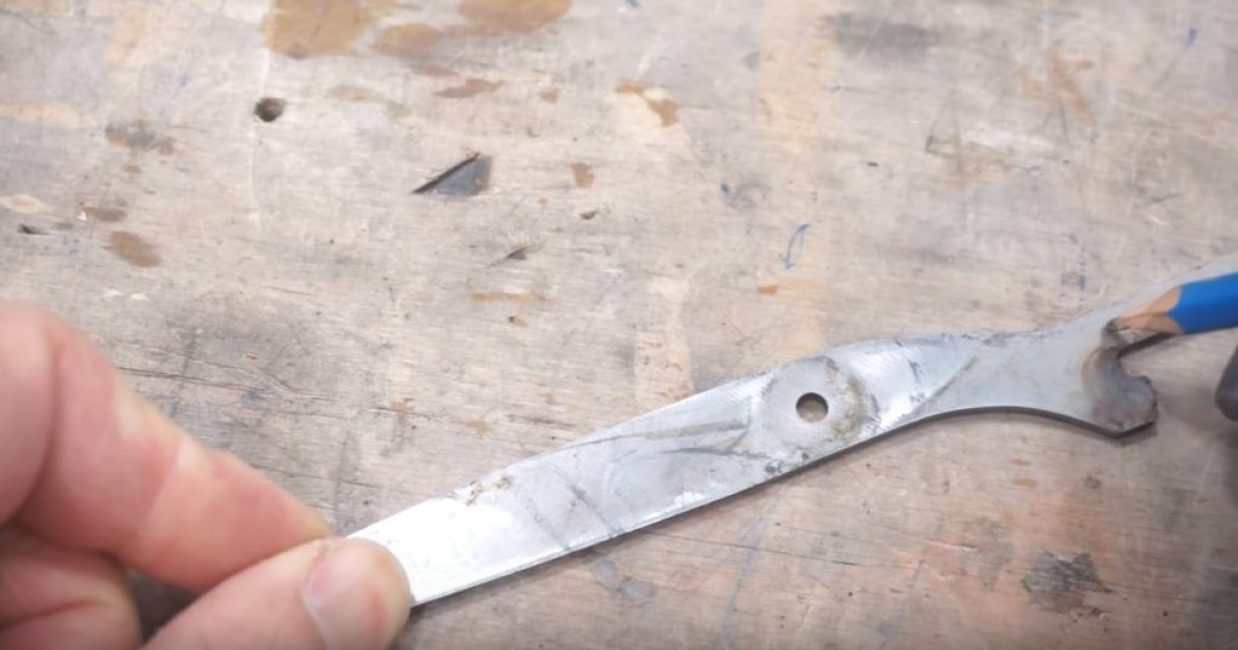
Here is the look our workpiece has acquired.
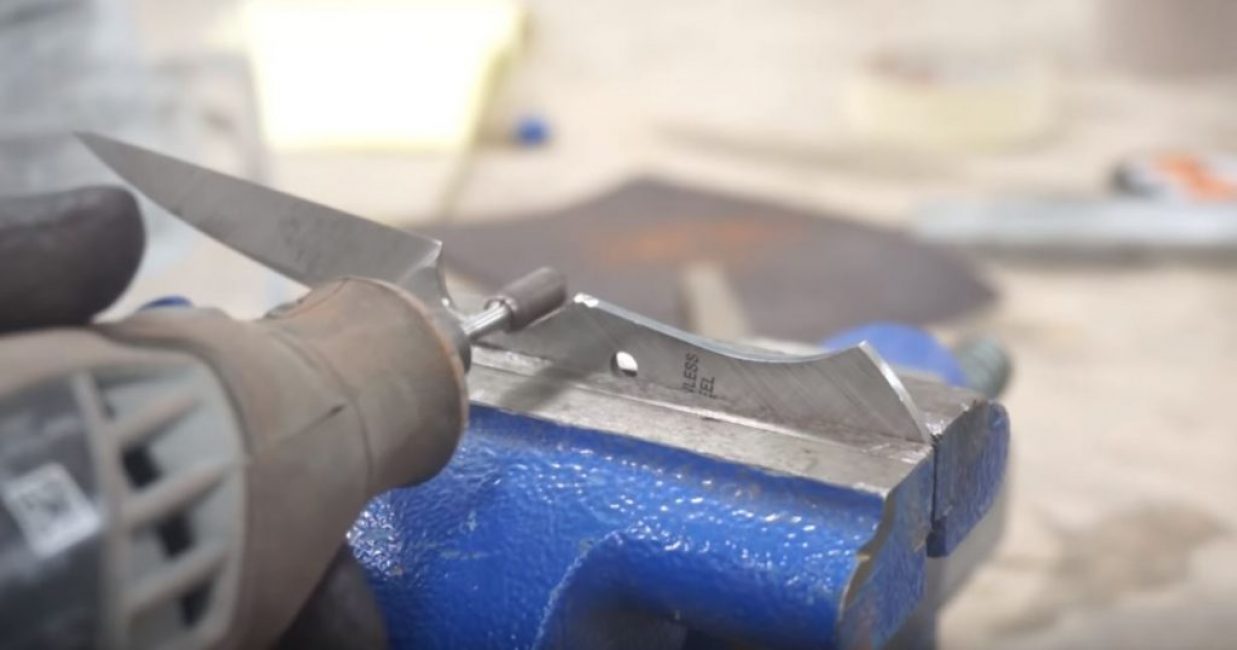
With a cutter, we correct the notch for the finger.
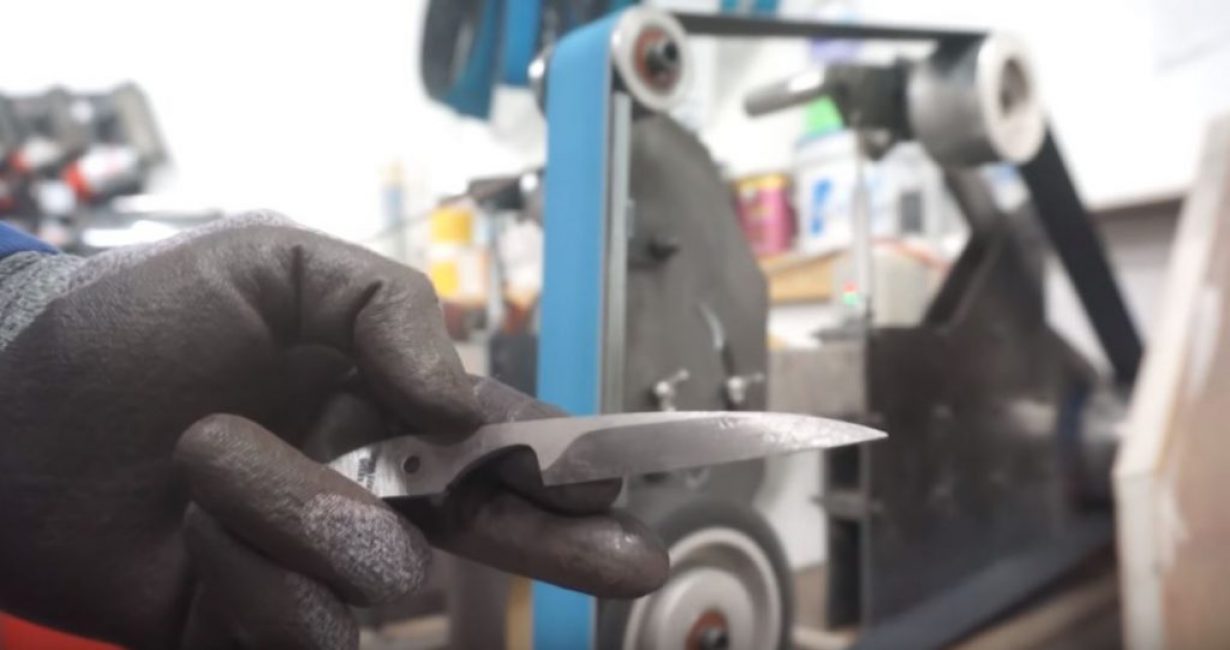
Intermediate result.
Step 3. Making the handle
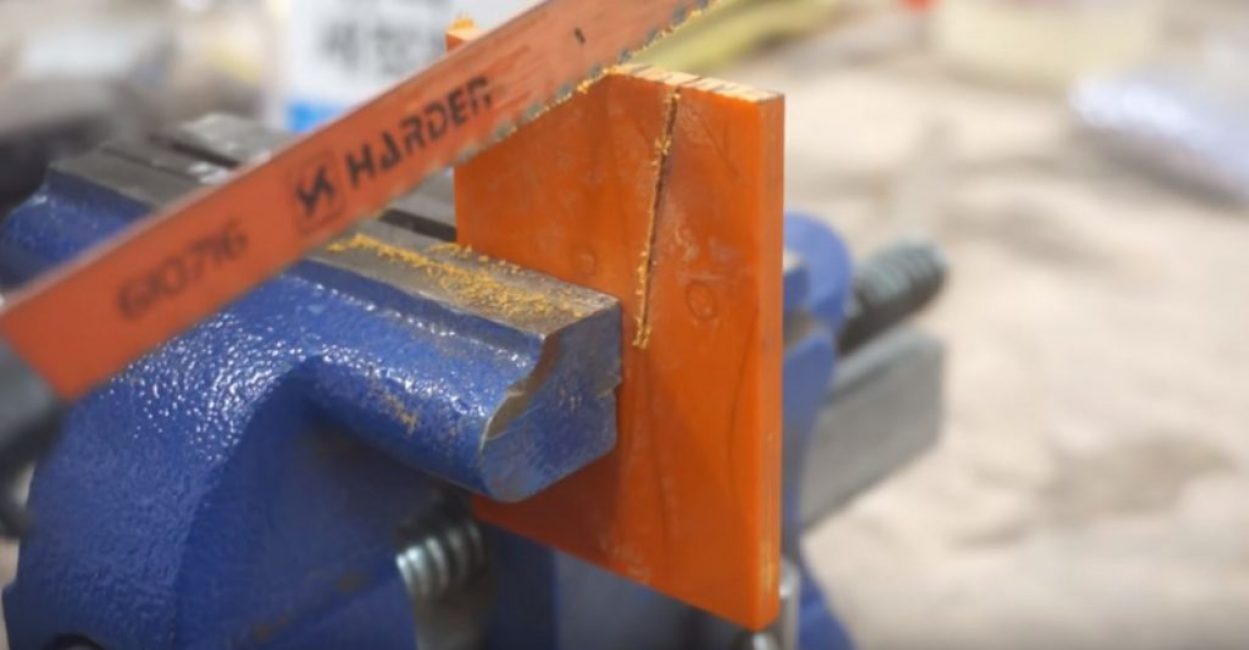
On the polyurethane plate we draw two blanks that repeat the shape of the knife handle (one of them is drawn in a mirror image). We draw exactly the same blanks on plastic.
Using a vise to fix, cut out the drawn blanks with a saw.
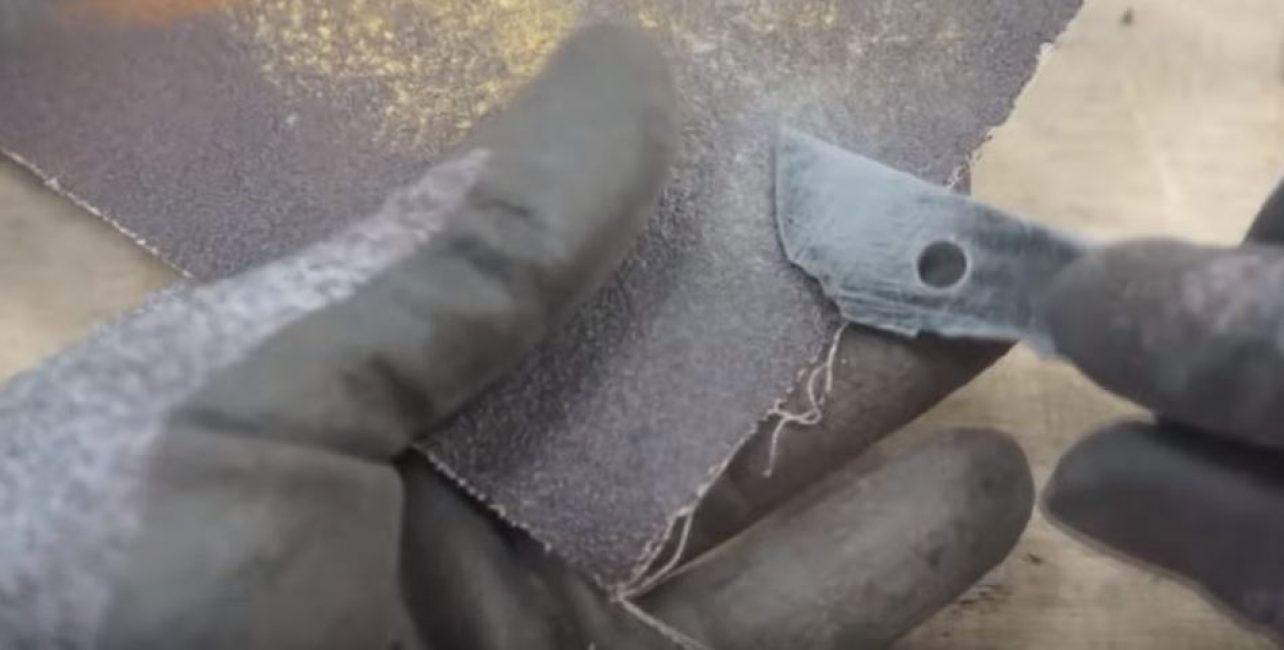
Using sandpaper with a coarse grain, we grind polyurethane and plastic blanks for better adhesion to the glue.
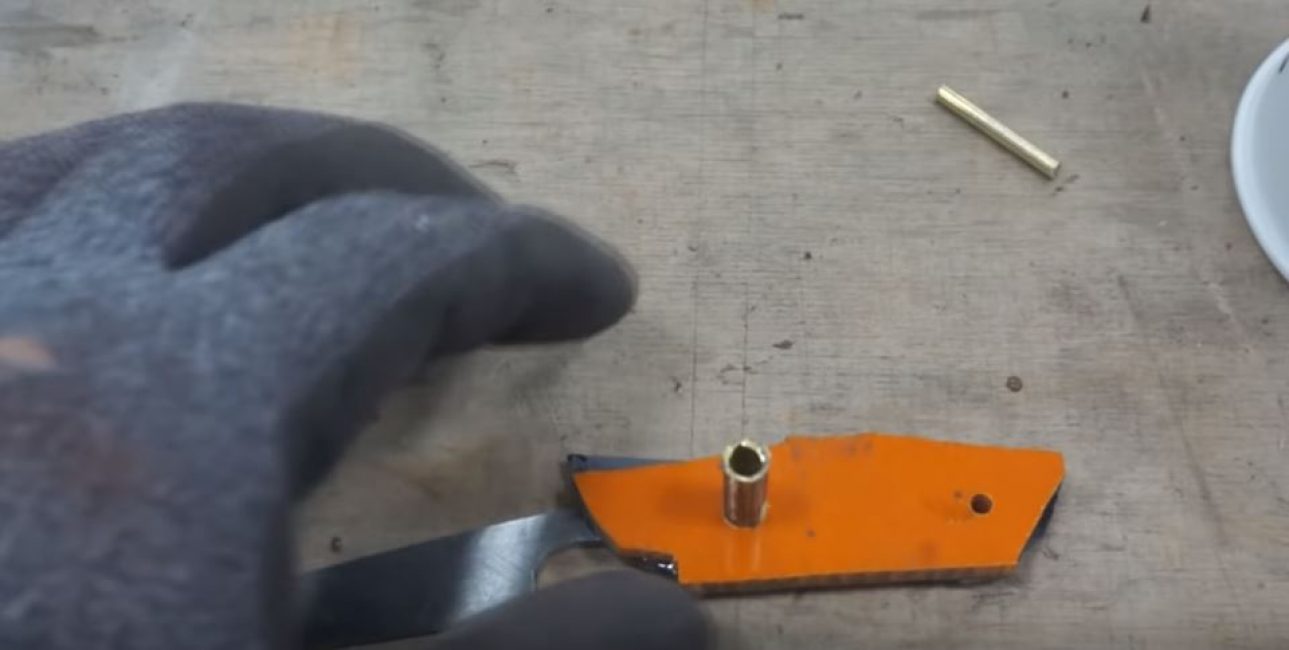
Using glue for working with plastic, first we glue a plastic overlay to the shank of the knife on one side, and then a polyurethane one. We insert the rivets into the pre-drilled holes and hammer them with a hammer so that part of them is on the back of the handle. Then we glue two plates to this side of the shank, putting them on the rivets.
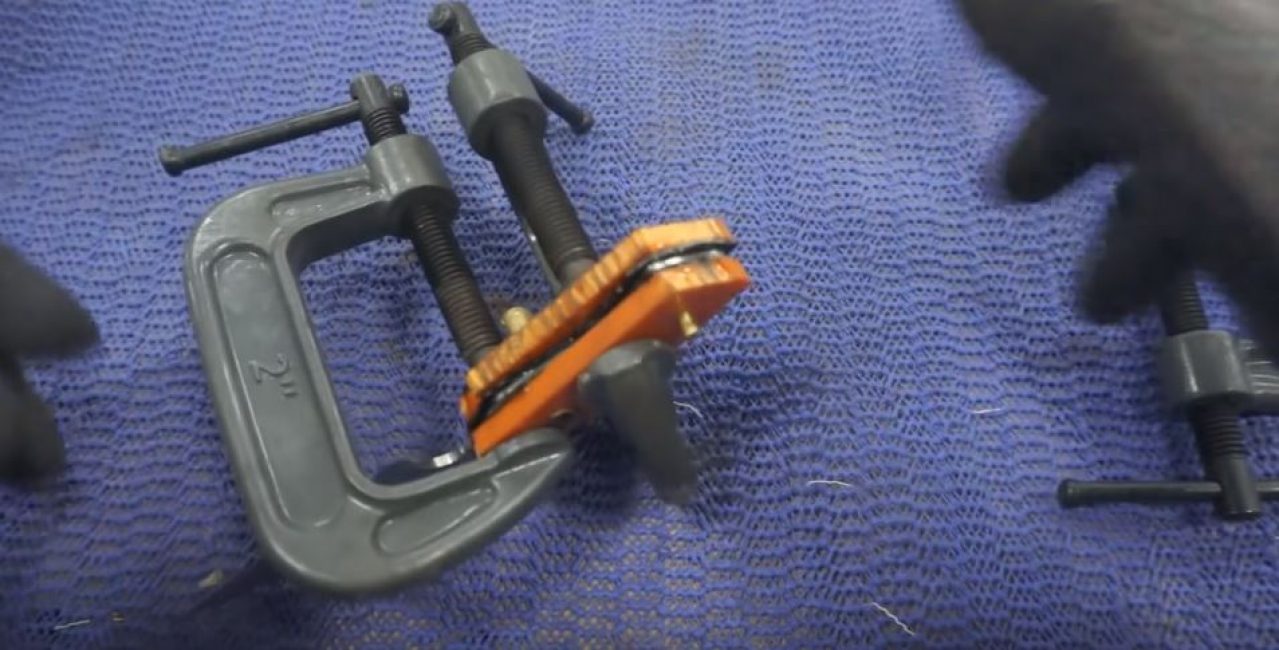
Clamping both sides of the handle with clamps, let the glue dry.
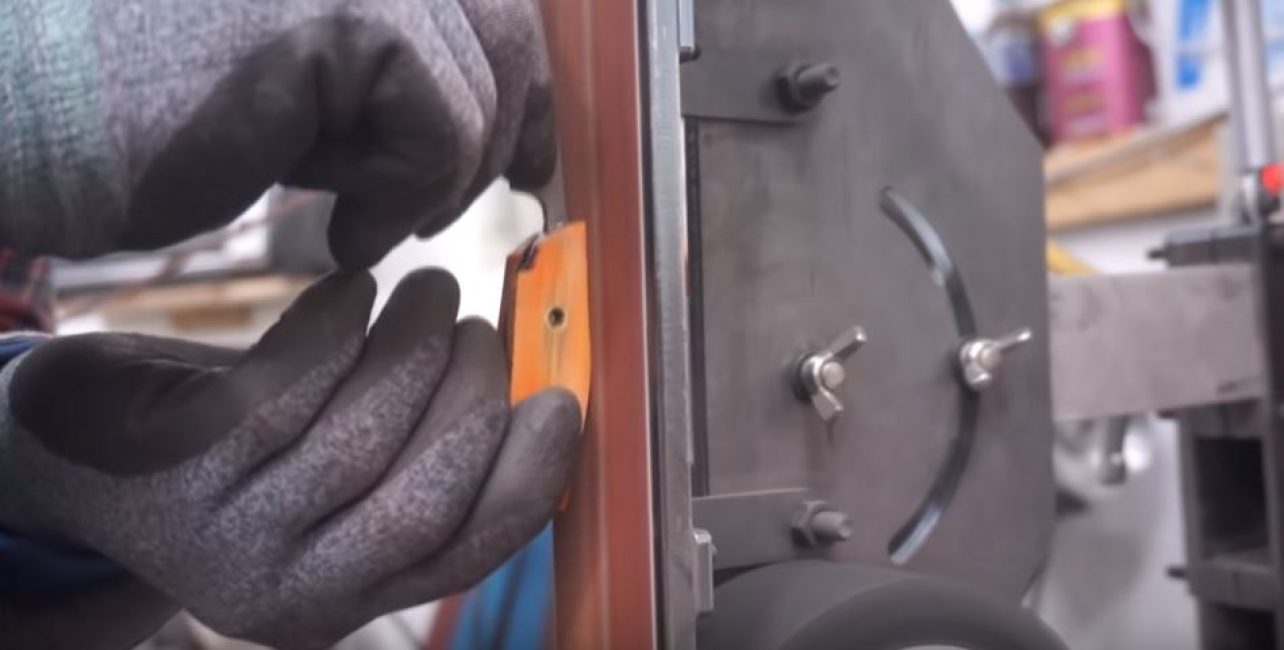
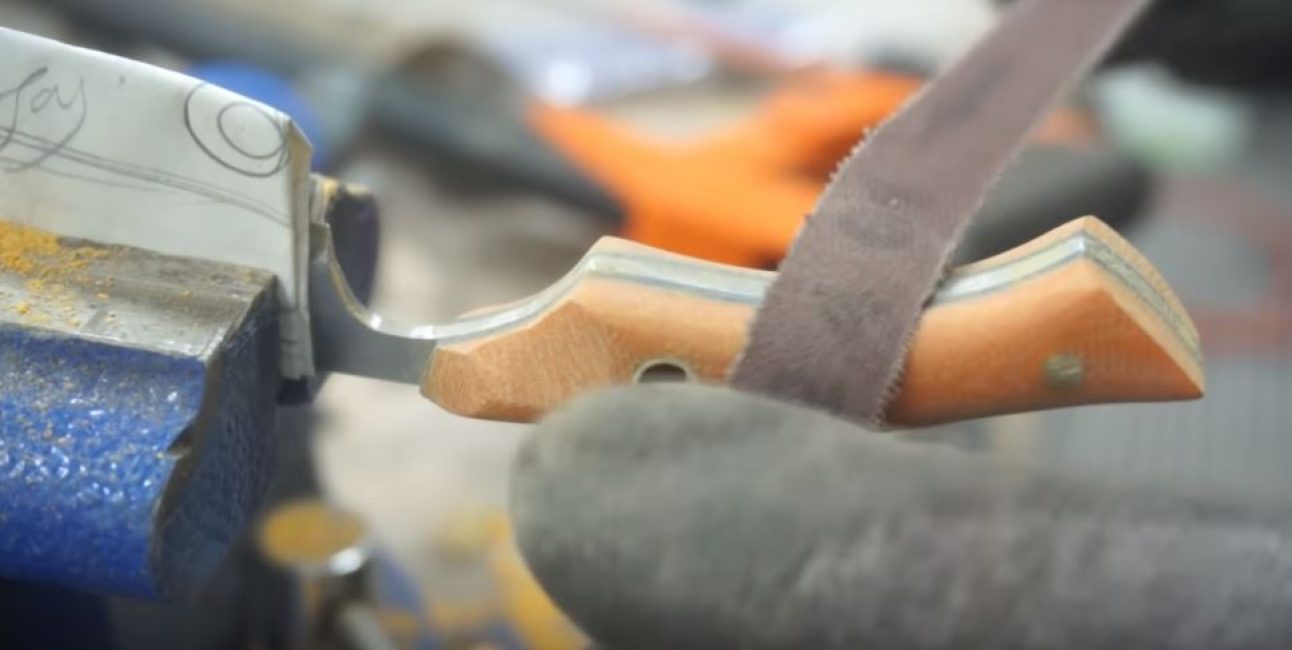
Using a belt grinder, we grind the protruding parts of the rivets and smooth the side surfaces of the handle.
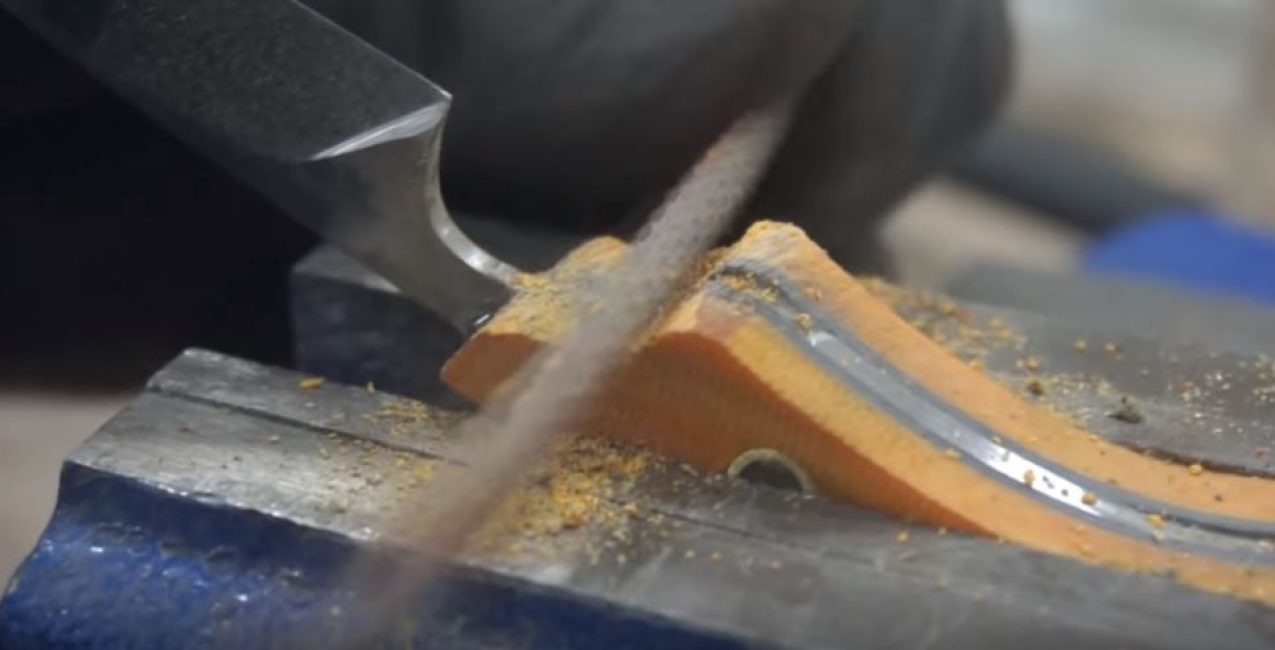
We rivet the rivets on the handle and, holding it in a vice, continue to smooth out the bumps on the side surfaces of the handle with a file. Then, removing the workpiece from the vise, we make bevels on the handle.
Wrapping the blade of the knife with cardboard, clamp it in a vise and give the handle its final shape with a strip of fine-grained sandpaper.
Step 4: Finishing
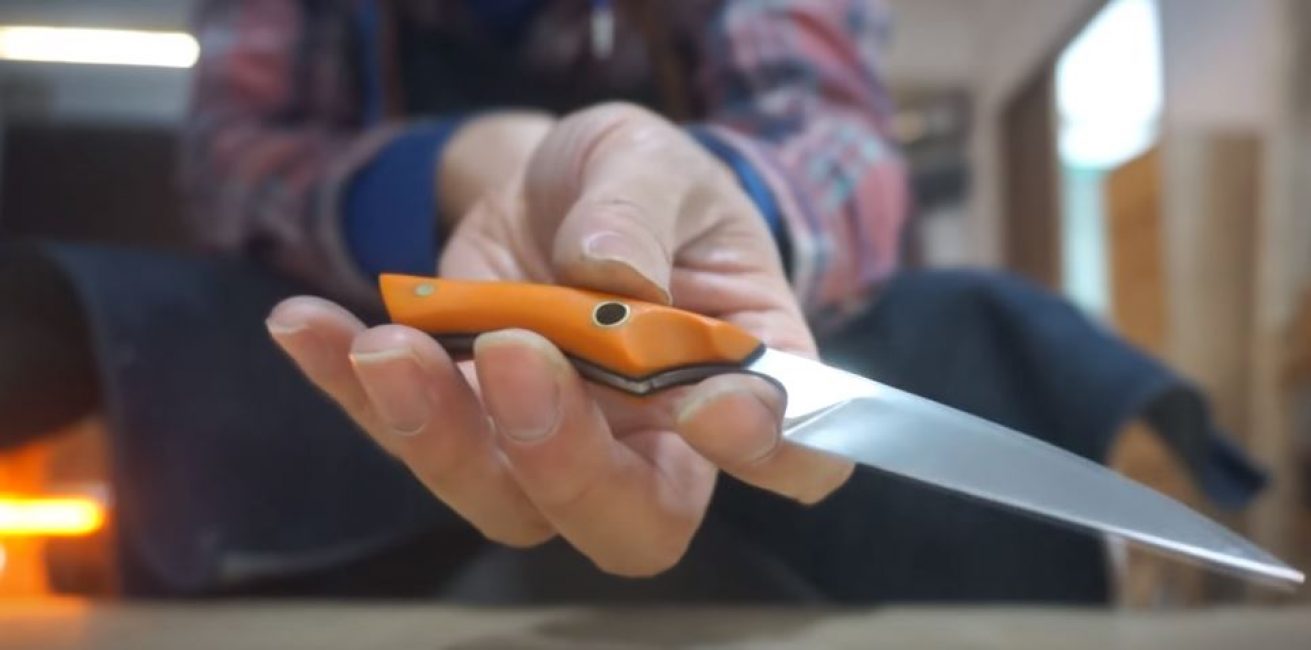
We sharpen the blade of the knife. To add shine to the handle, grease it with vegetable oil. As a result, we got such a knife.
 Read also: Ax for all occasions | TOP 10 Best: Rating + Reviews
 We carry out tests
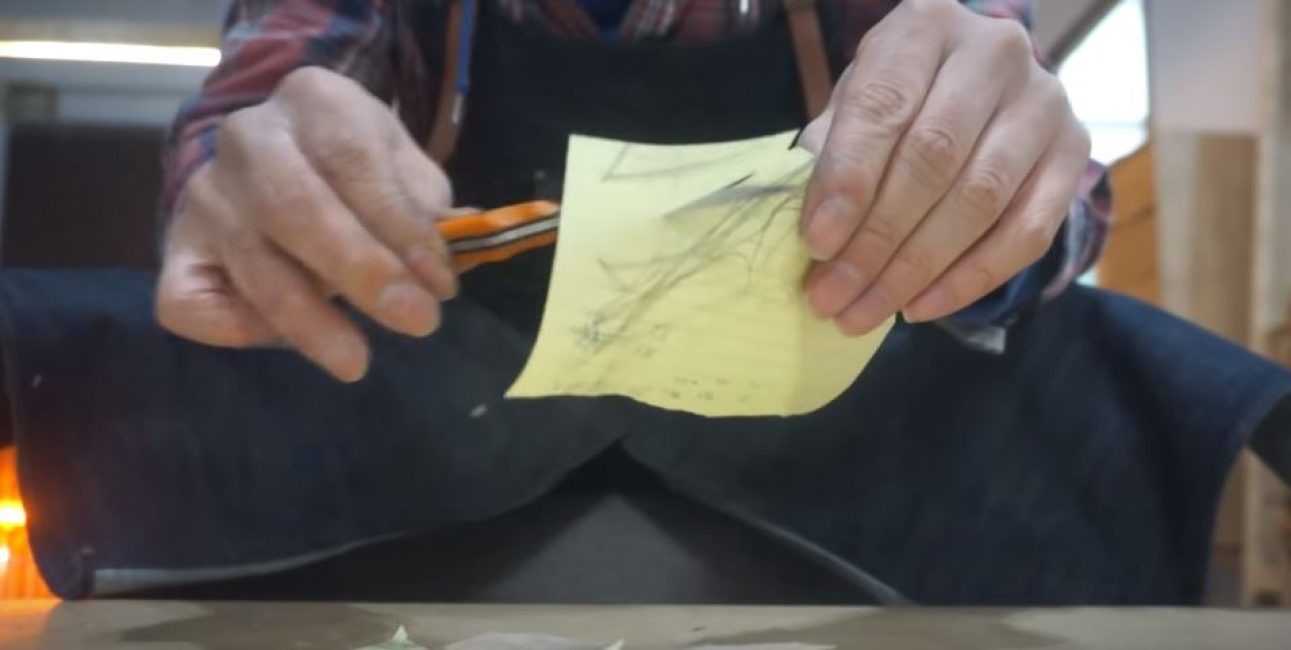
The knife turned out to be so sharp that the canopy cuts paper with a light touch.
Video: How to make a knife with your own hands

How to make a knife with your own hands
How to make a knife? from scissors with your own hands? | We make a universal Japanese knife


