
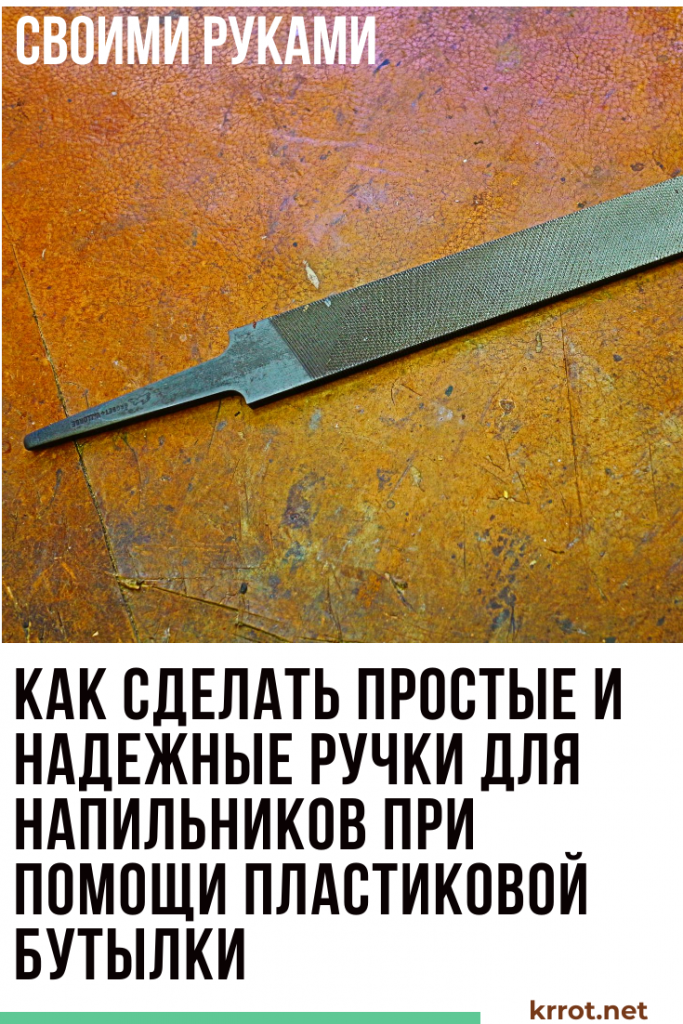
Dismantling in the garage, I found a large number of old files. Having restored them with citric acid, I ran into a slight difficulty. Where can I get so many tool handles and how to make a reliable file handle?
The solution was found, about which I want to share with you.
 Read also: Hunting belt for fruit trees from garden pests: description, types of belts, DIY making (Photo & Video) + Reviews
Essence of the question
Now everything is correct - you can use
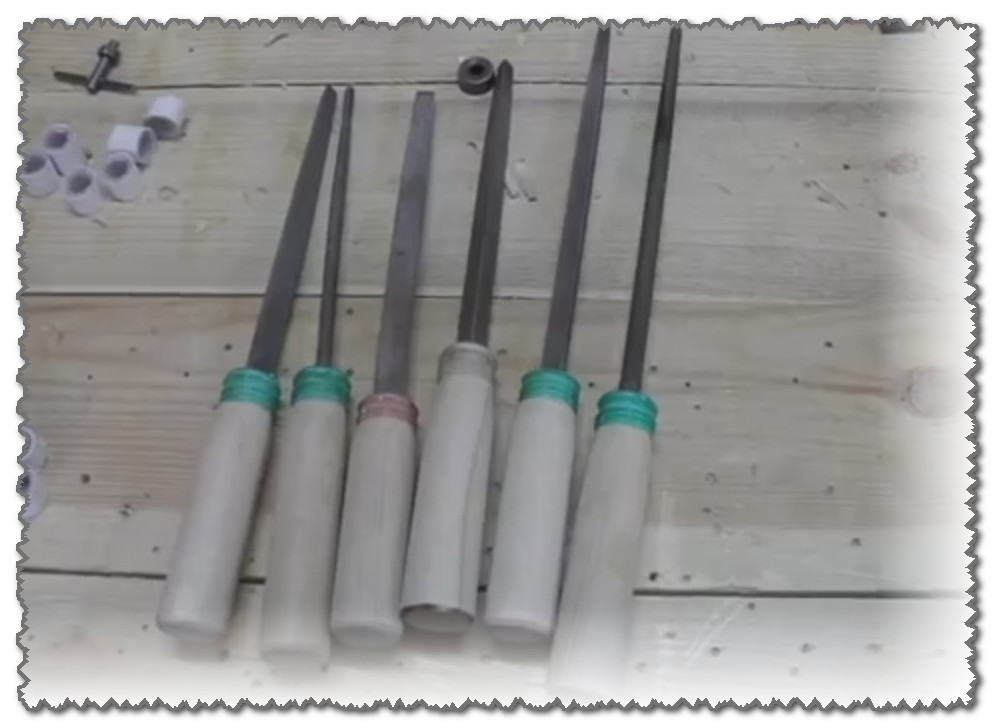
How and from what to make a handle for a file is not a question - there are always scraps of a wooden bar or a cutting from an old mop. The main difficulty is where to find the crimp rings on the handle, without which the latter does not live for a long time - if it does not crack when the file is inserted, then it will definitely break a little later.
For this purpose, thin-walled metal tubes are used, but I did not have them available. But empty eyes caught plastic bottles. An idea was immediately formed - to use their necks as clamping rings.
 Read also: Do-it-yourself drip irrigation device in a greenhouse: from a barrel, a plastic bottle, and even an automatic system. For tomatoes and other crops (Photo & Video) + Reviews
 Step-by-step instruction
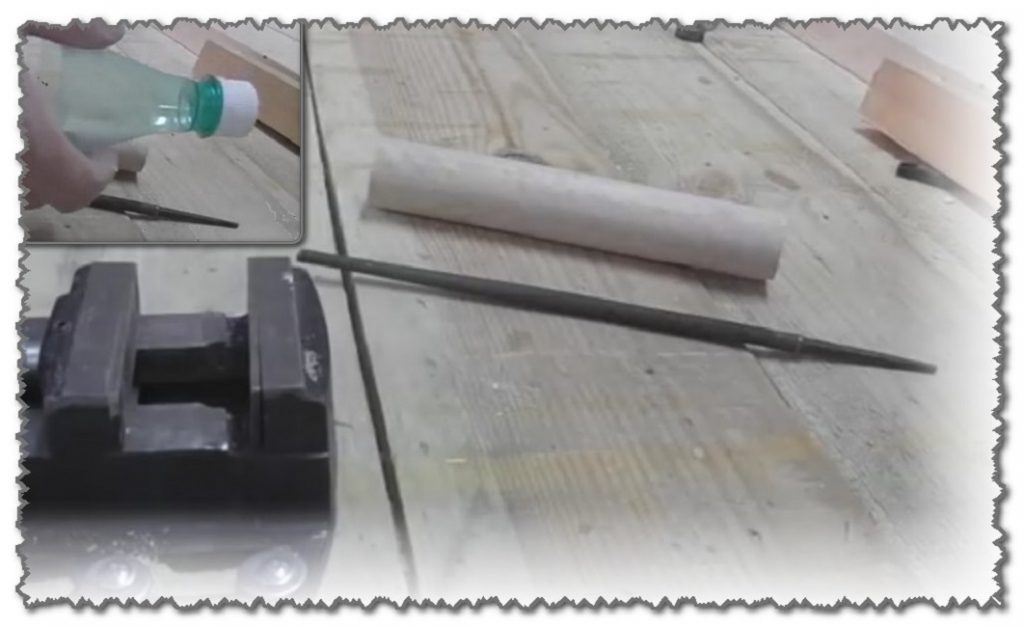
Shank, file and bottle
For work you will need:
- the handle from the mop - it is thin enough, and therefore fits comfortably in the hand
- plastic bottles with a narrow neck - future rings
- universal glue - it is possible on wood, but it is possible without it
From tool:
- hacksaw for metal
- sharp knife
- stames
- emery or a cleaning power tool - you can without it
Step #1 - Making the Crimp Rings
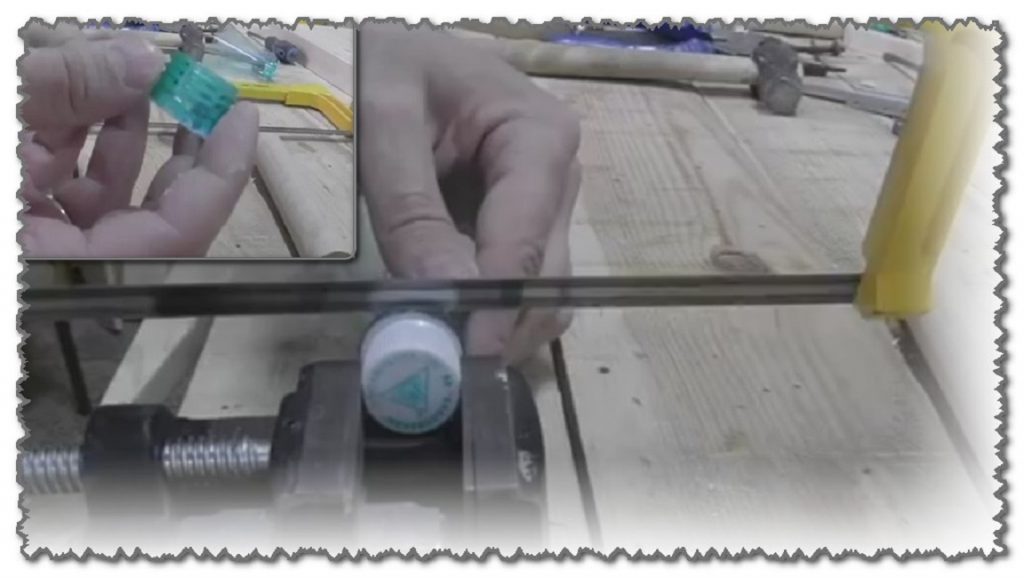
Saw off the neck of the bottle
We fix the bottle in a vise.
With a hacksaw for metal, cut off the top of the neck from the bottle. The material is very durable, and therefore the handle will be reliably protected from the formation of cracks in it.
Step 2 - prepare the wooden handle
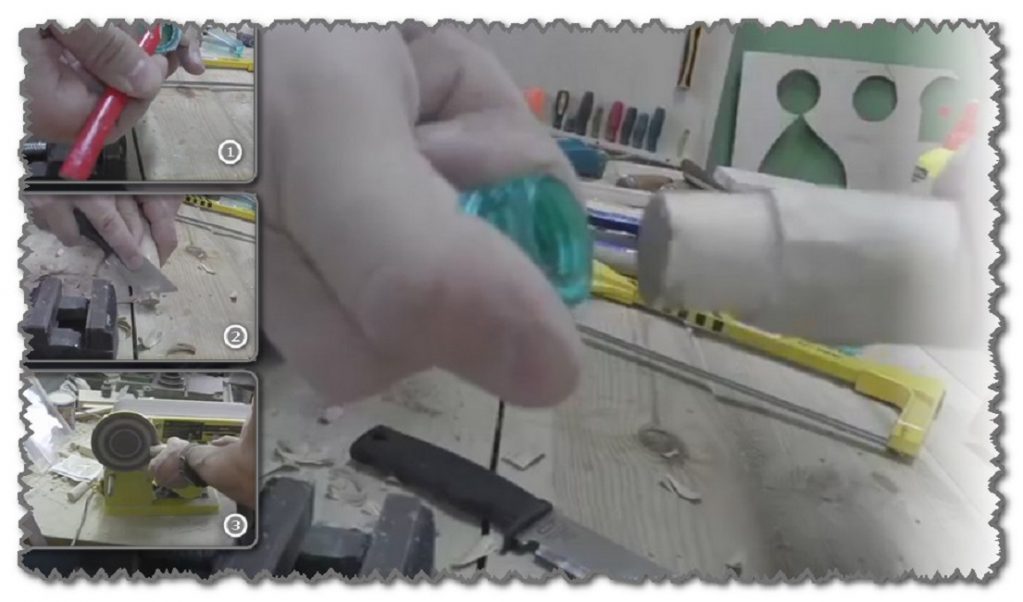
Handle preparation
We apply the sawn-off neck to the end of the wooden blank and make markings of the desired diameter.
With a knife we cut off the end of the wooden blank according to the outlined markings - it is necessary for control in the next step.
With emery we select a seat for the crimp ring in a wooden blank - in order not to grind off the excess, we are guided by the cut end. You need to sharpen a little with a cone.
If there is no emery, then shallow cuts can be made at the end of the wooden blank, to the distance of the width of the seat ring. Then, with a knife or chisel, select the excess from the end and clean it with a file.
Step #3 - Fitting the ferrule onto the handle
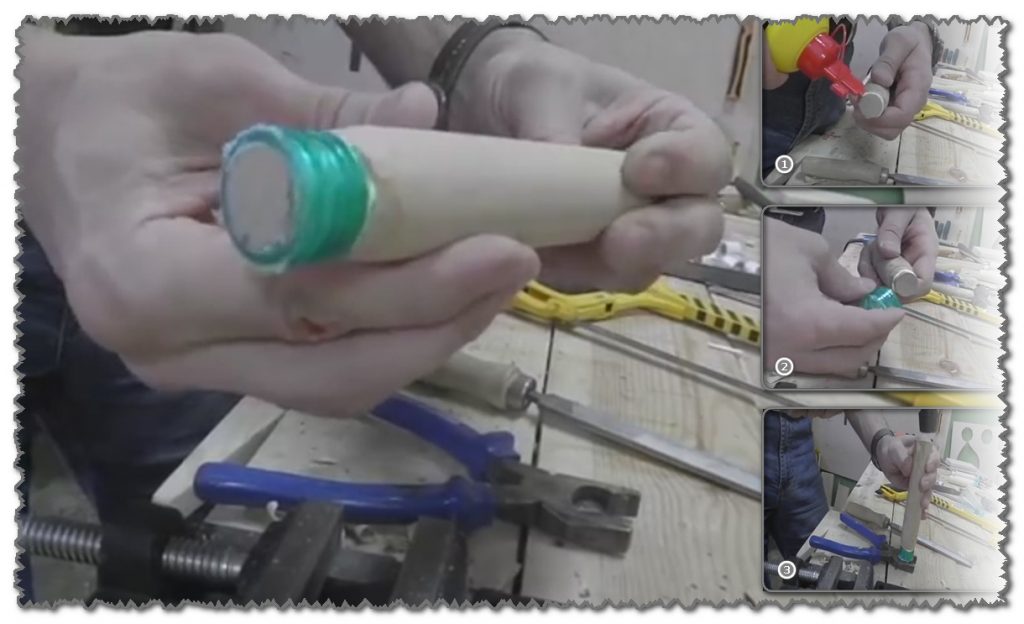
Crimp ring in place
After fitting, we sit the ring on a wooden handle.
We process the seat with glue.
We put the ring on the handle.
We drive the ring into place.
The ring should go onto the handle with effort, but if it settles easily, then it's okay. The glue gives additional fixation, and, in addition, when the file is installed, it will wedge the structure somewhat.
Step number 4 - install the handle on the file
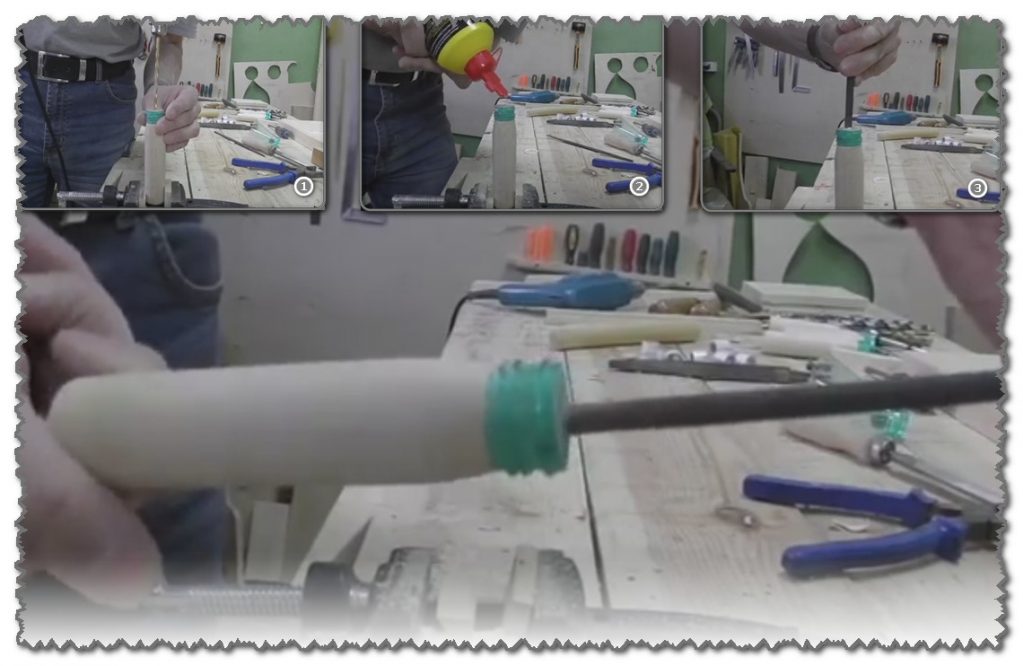
We bait a file
We drill a hole in the end of the handle - the diameter should correspond to the size of the tip of the file shank.
To securely fix the tool, pour glue into the hole - not necessary.
We bait the handle on the file.
Almost done.
Step number 5 - the final fixation of the instrument
Just like this and nothing more
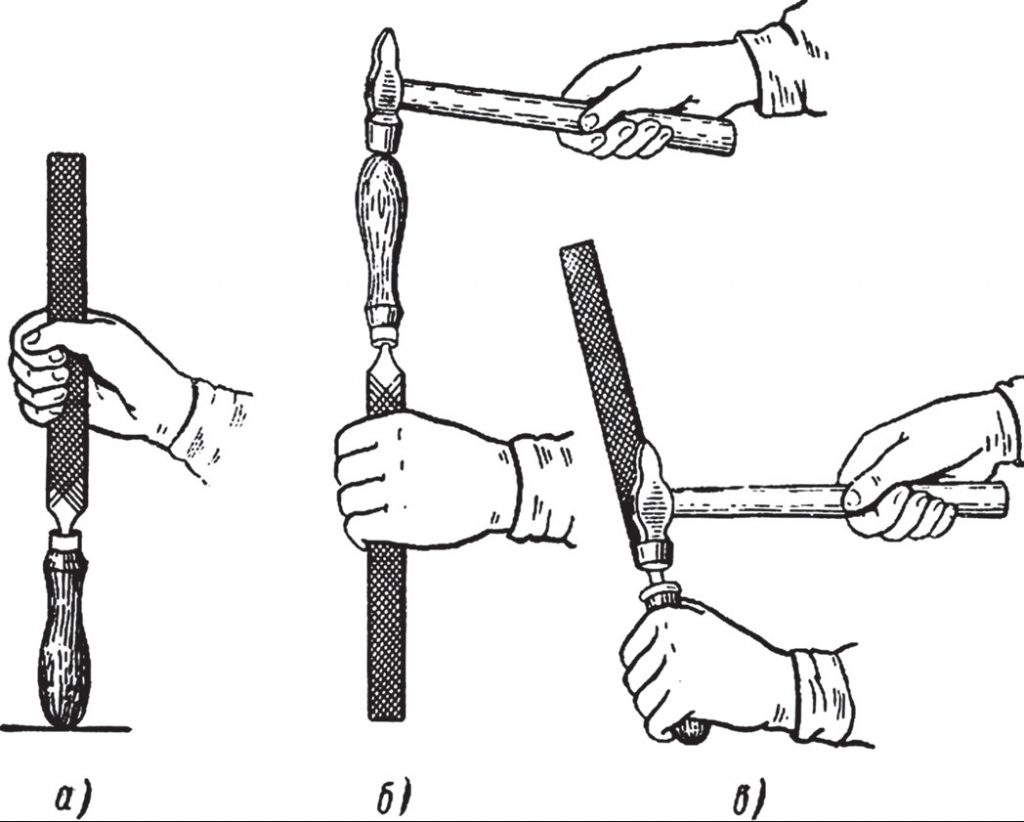
Many do this action incorrectly - some fix the files by hitting the working canvas from above with a hammer; others, holding on to the hilt, drive them with a blow on the table. In the first case, the tool deteriorates - the metal breaks off, and in the second case, they inflict serious injury on themselves: upon impact, the file can slip out of the handle and the hand strikes the sharp part of the shank.
This is done correctly as shown in the figure above: a) and b) - the landing of the file, c) - the removal of the handle.
VIDEO: Simple and reliable file handles

Simple and reliable file handles
Simple and reliable file handle - will you be surprised by this method?


