

A bookcase is an indispensable attribute of almost any home. Making it out of wood is quite simple, it requires a minimum of tools and materials. As for the place where the rack will be located, everything is also relatively simple here. It can be almost any free corner in the room. In rare cases, the bookshelf will be the center of a particular composition.
The dimensions of the rack are usually determined by the size of the free space between some interior items. Usually, it is placed between two closets, between a closet and a corner of a room, above a desk, etc. Shelves for books should be of small depth, since the width of the books themselves does not exceed 20-25 cm.
It is preferable to have a rack resting on the floor, but this is not essential. In extreme cases, you can use the hinged installation of the structure. Consider the manufacture of the rack in detail.
Content:
 Read also: How to make a bird feeder with your own hands? 19 original ideas (180 Photos & Videos) + Reviews
Action #1 Material selection
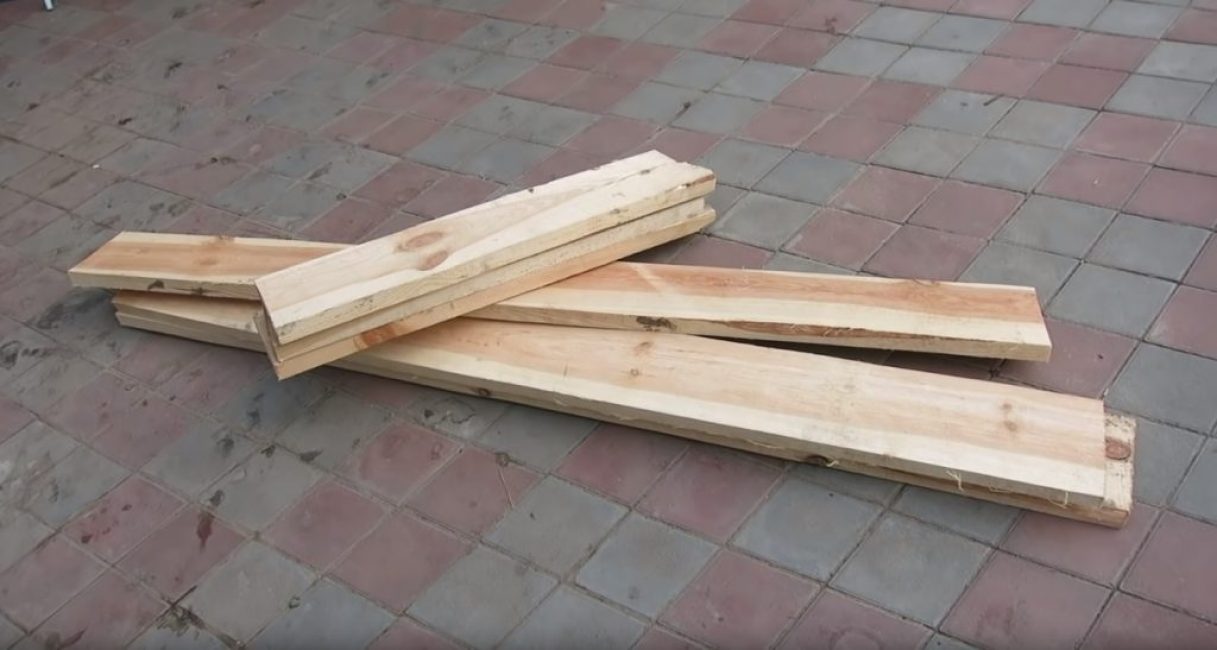
Boards for the manufacture of a bookshelf must be at least 20 mm thick
Usually, as a material for making bookshelves, choose a soft wood - pine or aspen.
It is advisable to use well-dried wood of the same thickness. So it will be easier to assemble the entire structure. The ideal option would be to use several boards with a section of 200 by 30 mm, which will be cut into pieces corresponding to the size of the structures.
 Read also: Projects of country houses for 6-10 acres: 120 photos, description and requirements | The most interesting ideas
 Action #2 Pretreatment of the material
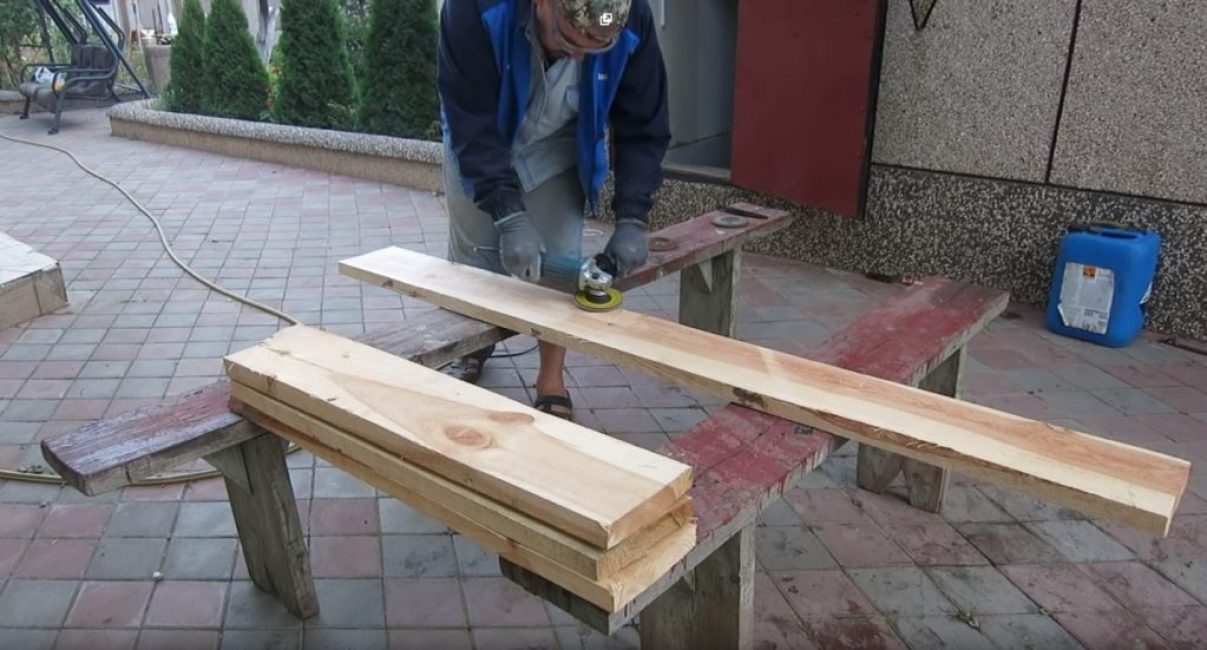
In order to make the boards smooth, you can use, for example, a grinder with an appropriate nozzle for working with wood
Before starting the manufacture of a bookshelf, it is necessary to carry out the initial processing of wood. It consists in planing the boards so that they do not have burrs and roughness.
Alternatively, you can use sandpaper or a planer. In the most extreme case, you can use a thicknessing machine for this purpose - with this, you are guaranteed to get boards of the same thickness.
 Read also: Veranda attached to the house - expanding the living space: projects, tips on how to create your own hands (200 original photo ideas)
Action No. 3 Manufacturing of the supporting structure
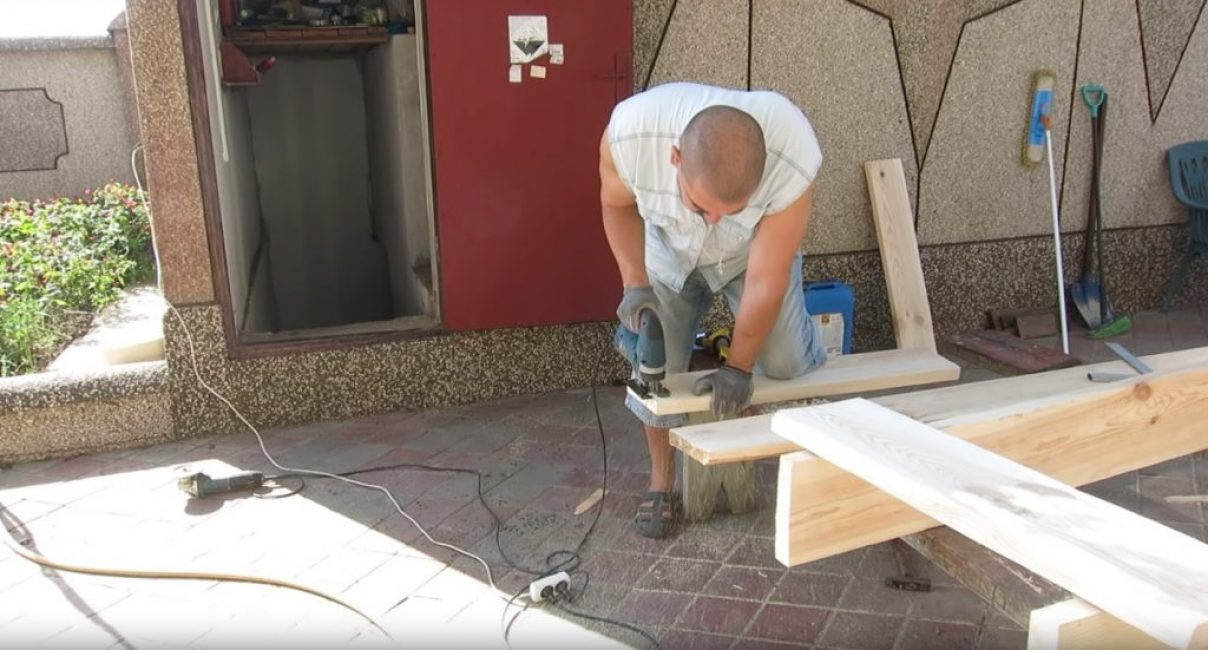
Given the thickness of the boards from which the rack will be made, it is best to cut them with a jigsaw
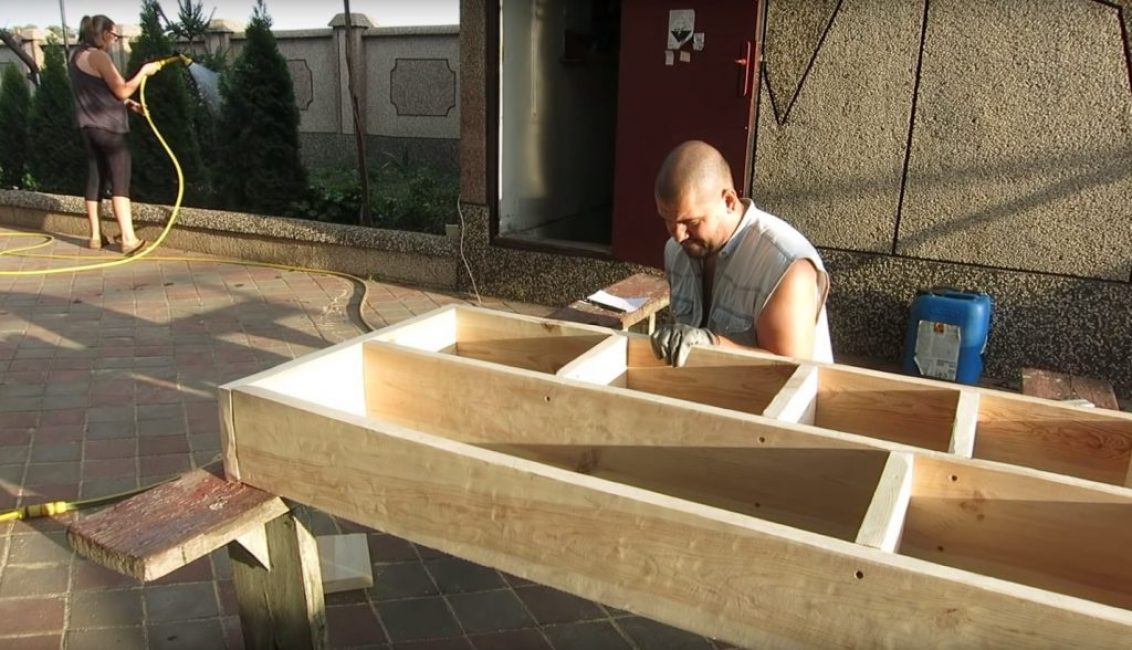
Any carpentry product has a kind of "base" - a structure to which functional or decorative elements are attached. It is the supporting structure that withstands all the main loads on the entire product.
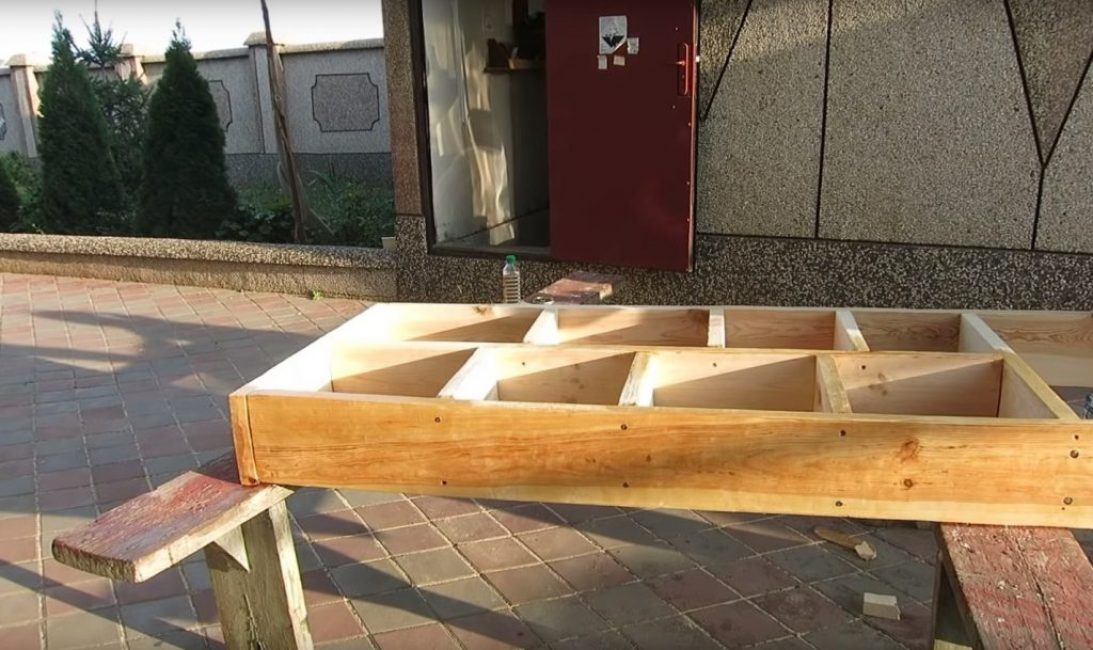
In the case of a rack standing on the floor, the structure will consist of two parallel boards, to which two crossbars are attached. It is these structural elements that must be connected with maximum strength and reliability.
Before starting the manufacture of the supporting structure, it is necessary to mark the material.
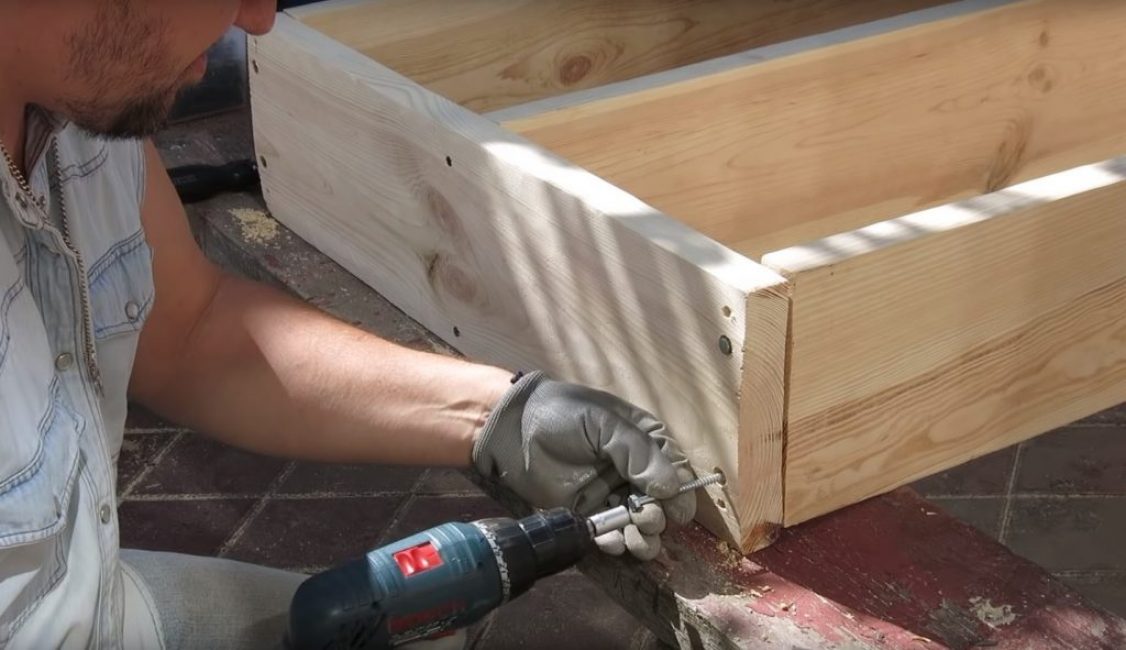
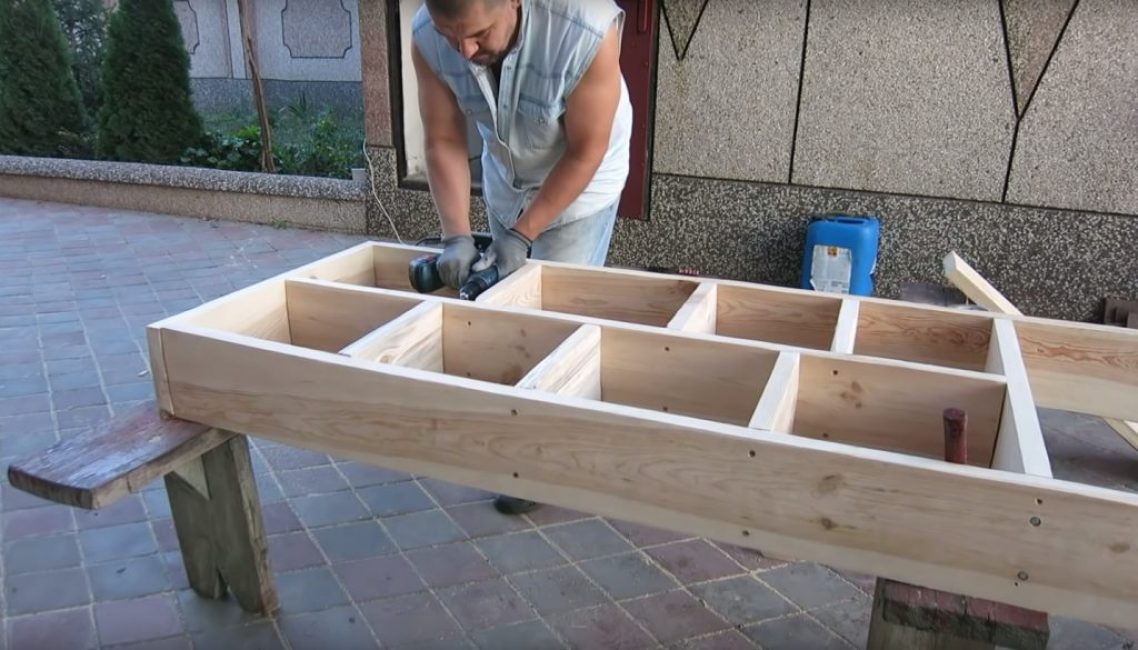
Screwing the upper crossbar to the vertical posts is carried out with large-diameter self-tapping screws
After all the details of the supporting structure are cut according to the drawing, proceed to its assembly. To assemble the supporting structure, it is necessary to use thick self-tapping screws (at least 6-8 mm in diameter); tighten the screws with a screwdriver with the appropriate nozzle.
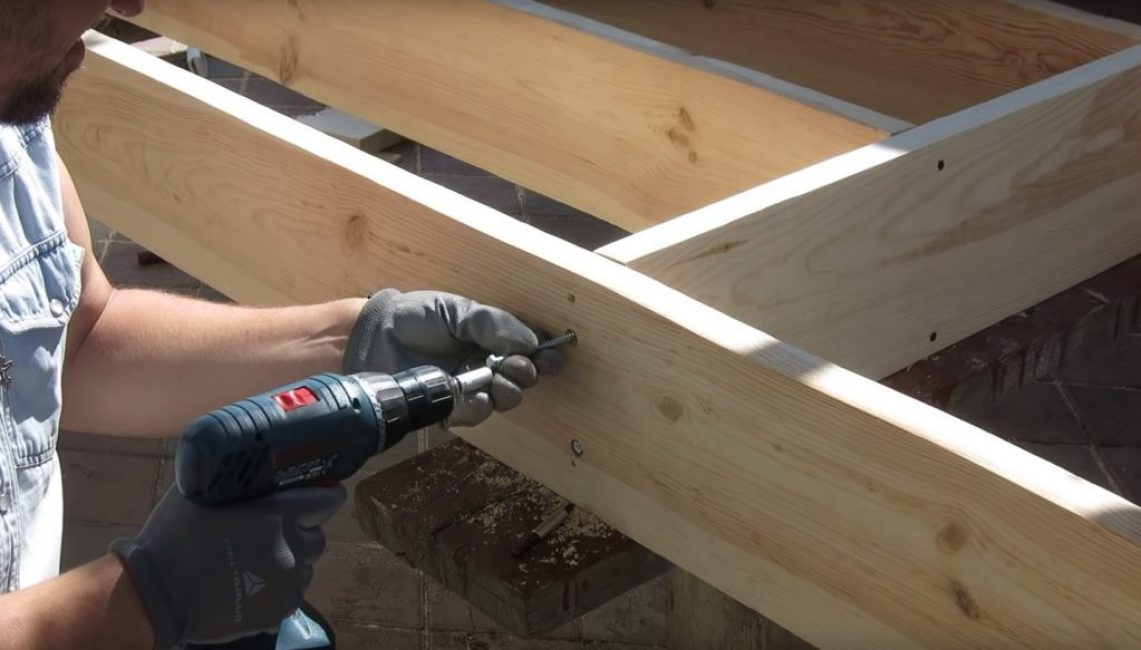
Screwing the bottom rail to the uprights. In this case, reinforced self-tapping screws are also used.
Whenever possible, end connections should be avoided during installation, or use them only in structural elements of the same type (for example, in boards that are located exclusively horizontally).
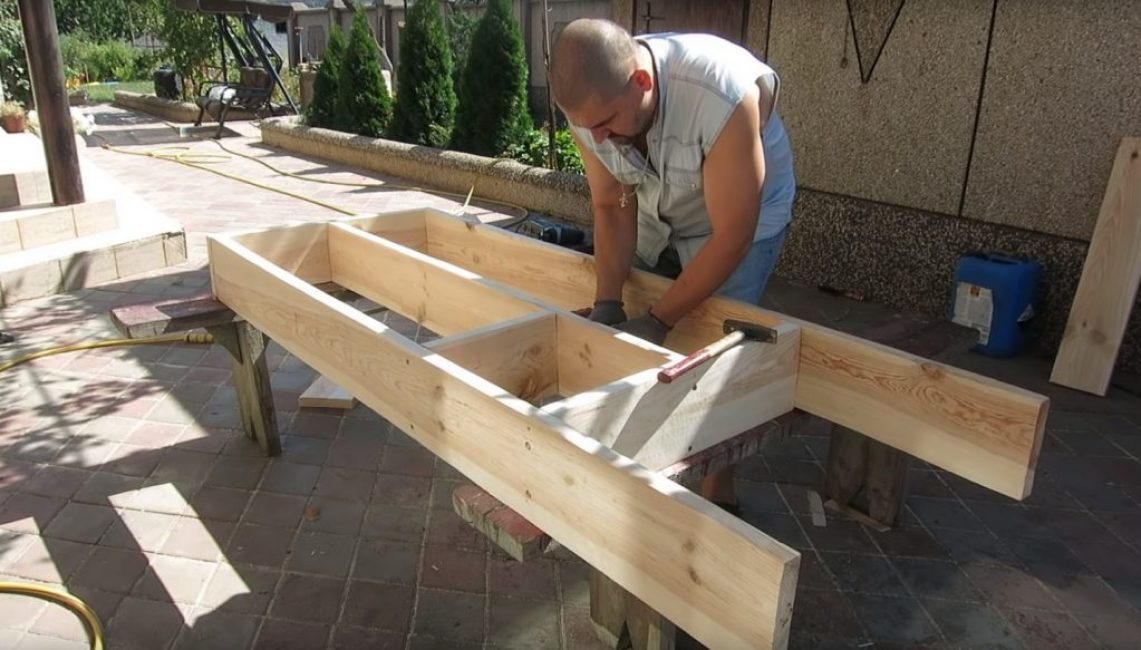
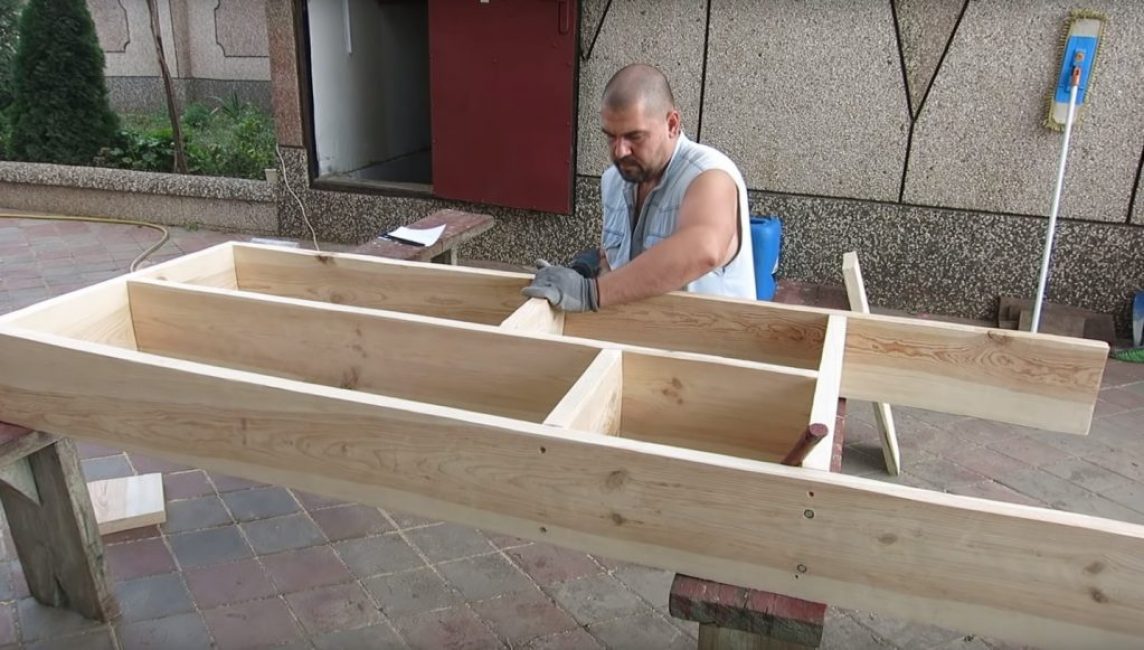
Fully assembled shelving frame
To give the rack extra strength, you can add an additional vertical board located in the middle to the design.
 Read also: Making a greenhouse with your own hands from a profile pipe and polycarbonate: a complete description of the process, drawings with dimensions, watering and heating (Photo & Video)
 Action number 4 Making shelves
Making shelves on the left side of the rack
After the frame of the rack is assembled, proceed to the manufacture of shelves. For their fastening, ordinary self-tapping screws 70-80 mm long and 3-4 mm in diameter are used.
Shelves on the left side finished
It is desirable to assemble the entire structure modularly. Roughly speaking, fill each "window" in turn. Thus, it will be possible to deform the supporting structure to a lesser extent.
Complete shelving design
At the end of work with one segment, they move on to another, and so on.
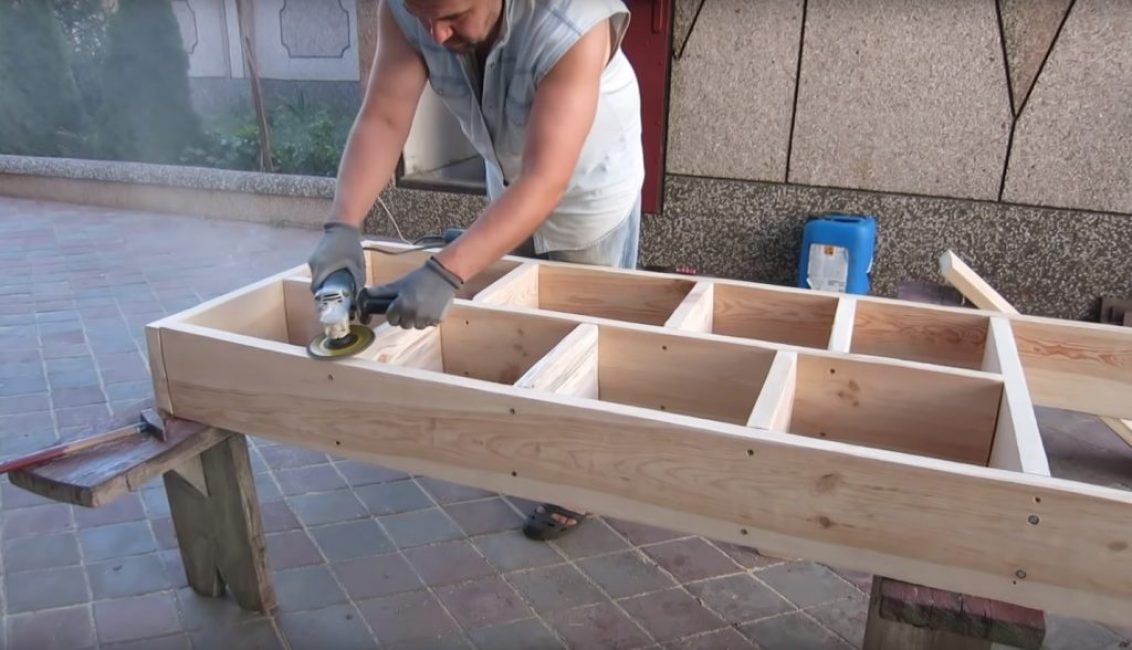
As well as at the pre-processing stage, the best tool for this operation is a grinder with a woodworking attachment.
Next, you need to once again process the surface of the boards, to remove all the bumps and roughness that may have appeared when working with self-tapping screws. These can be various flaws in the design, extra holes, etc.
 Read also: How to make flower pots with your own hands: outdoor, indoor, hanging | Step by Step Charts (120+ Original Photo Ideas & Videos)
Action #5 Varnishing
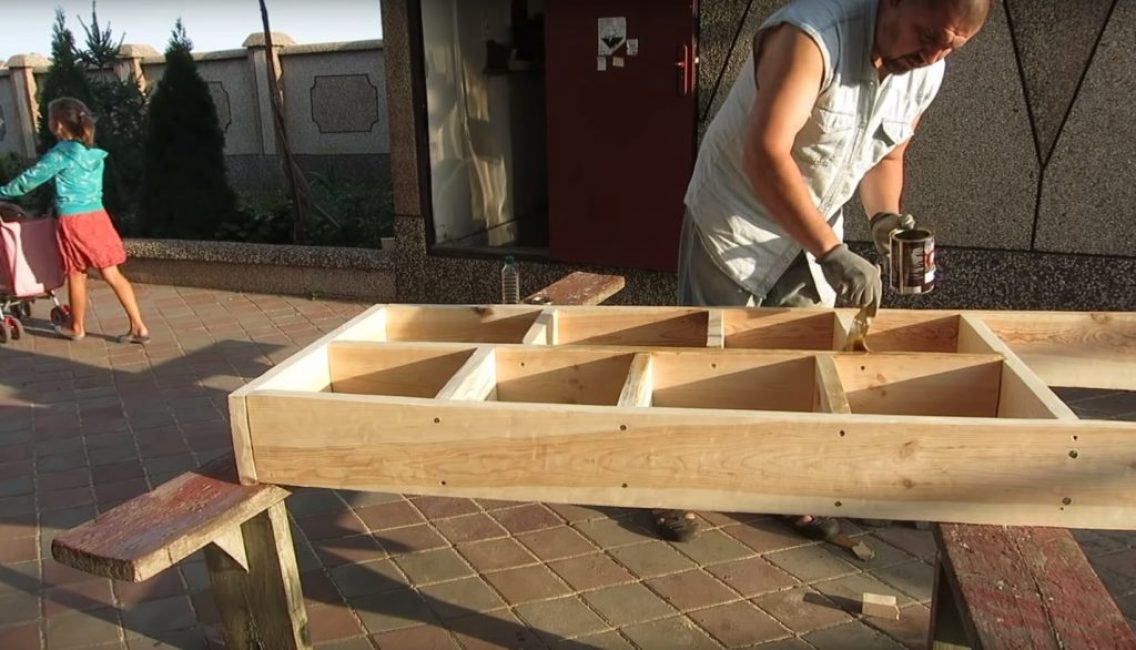
Shelving varnished
When the rack structure is assembled and cleaned of roughness, it is desirable to open it with varnish to give a beautiful appearance and extend the service life.
An alternative may be painting the structure with paint or stain. The choice in this matter depends on the aesthetic needs of the owner. The main thing to remember is that at least something, but the wood should be processed. This material does not like dampness and will not last long without a protective layer. In addition, do not forget about the burrs and other troubles that an untreated tree carries.
Drying the rack after varnishing
After the structure is painted or varnished, it should dry out for a few days.
 Read also: How to make a children's house with your own hands: from wood and other materials. Dimensional drawings | (80 Photo Ideas & Videos)
 Action No. 6 Mounting the structure on the wall
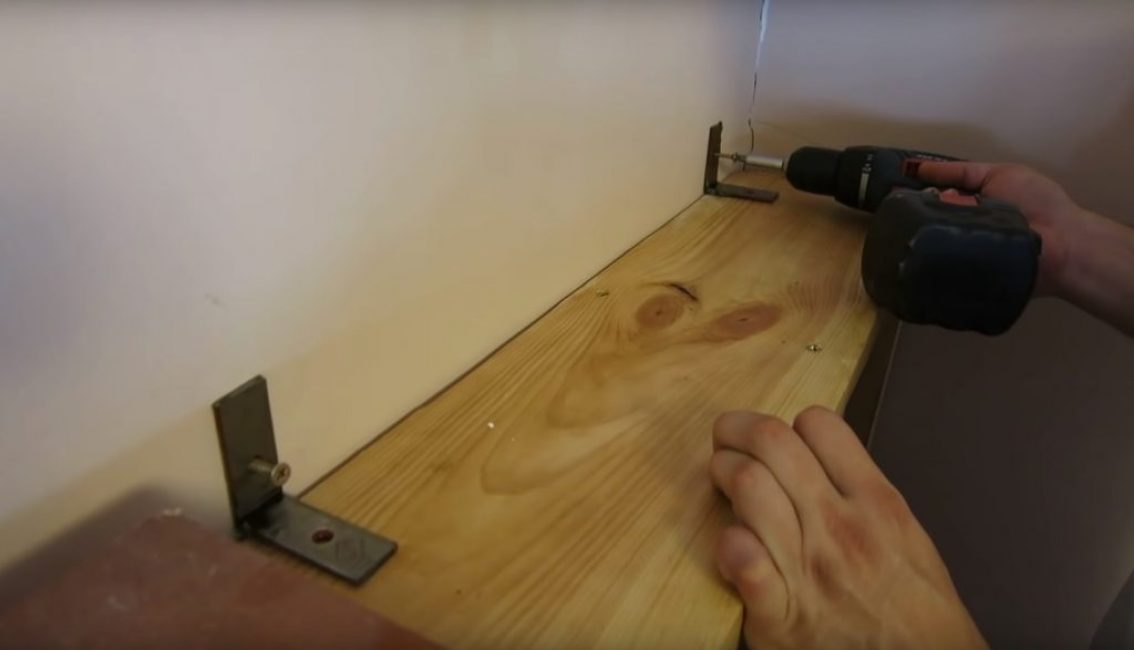
Installation of corners to the wall
The shelves are finished. It remains only to install them in the apartment. Ordinary steel corners made of steel of the appropriate thickness are best suited for these purposes. For boards with a thickness of 30 mm, it would be optimal to use a steel corner with dimensions of 60 by 20 mm and a thickness of 3 mm.
Drill holes in the corners to which it will be attached to the wall and rack.
For wall mounting, dowels or anchors are used, for attaching to shelves - ordinary screws.
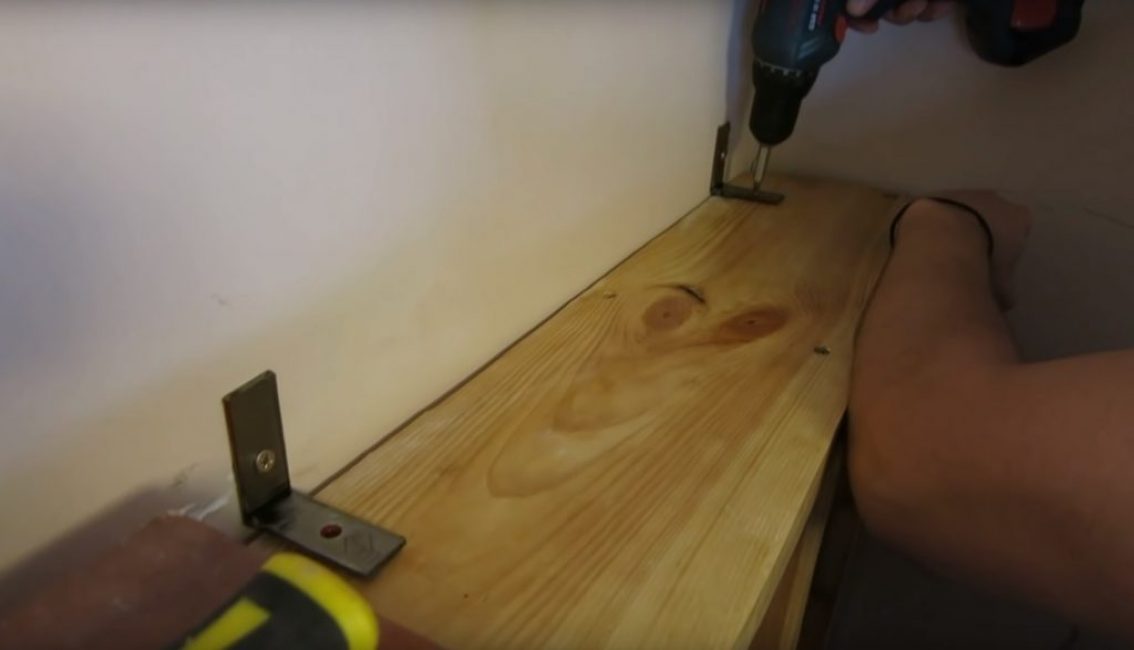
First, the corners are mounted to the wall, and only then the rack is attached to them. If this sequence is violated, it will be quite problematic to make holes in the wall while holding the weight of a heavy bookshelf structure.
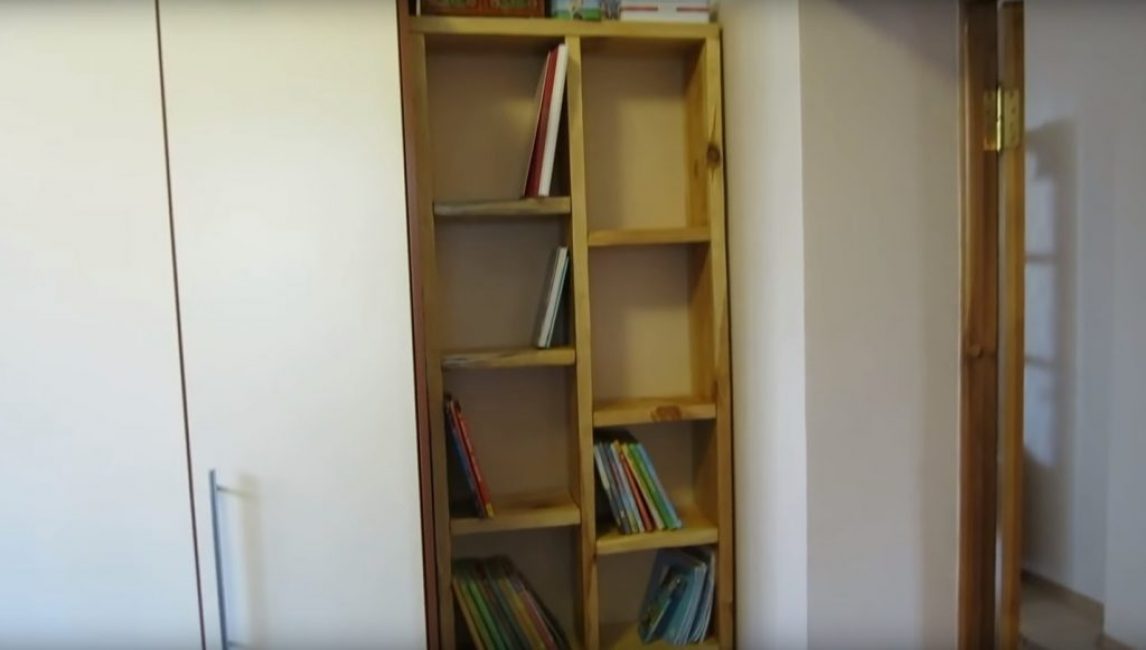
Appearance of the finished bookcase
After fixing to the wall, the installation of the book shelf can be considered complete.
VIDEO: How to make Bookshelves in 5 MINUTES 😉 DIY Book Rack

How to make Bookshelves in 5 MINUTES 😉 DIY Book Rack
The simplest do-it-yourself book shelf | 90+ Original Ideas


