
Carbonated drinks are obtained by saturating a fruit solution in water with carbon dioxide. To carry out such a procedure, carbon dioxide is required under a pressure of several atmospheres.
It is believed that this can only be done using an industrial installation or a special siphon. But in fact, having a set of simple and unpretentious items at hand, this can be done at home.
The article describes how you can prepare carbonated drinks at home using a minimum of materials and technical means.
Content:
 Read also: How to cook beets in the microwave in 5 minutes: fast and tasty
Required products and materials
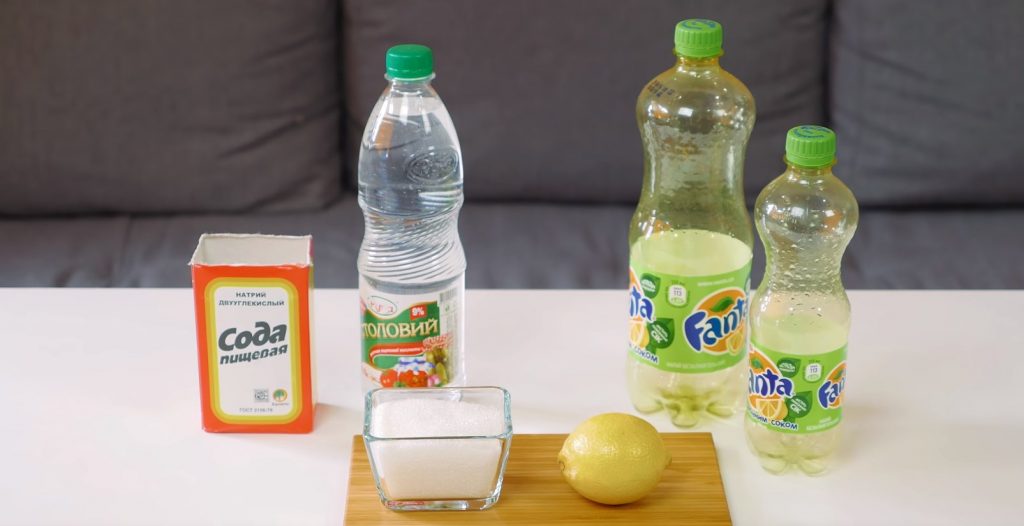
Necessary ingredients for making lemonade
To make lemonade you will need:
- sugar
- lemon
- vinegar
- two plastic bottles (large 1.5 l, small 0.5 l)
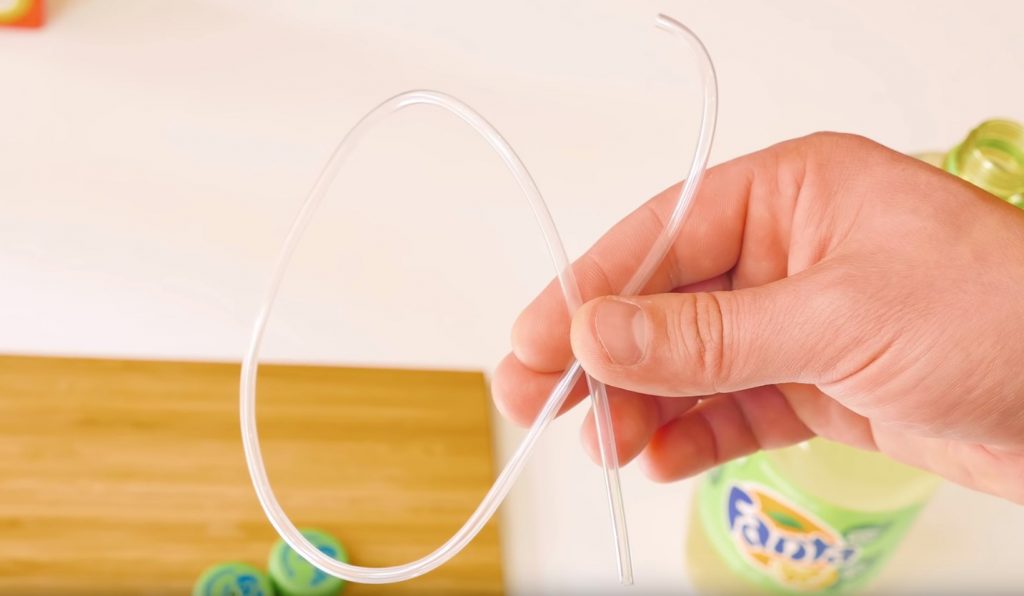
A tube from a dropper through which carbon dioxide will enter the lemonade
In addition, you will need the following tools:
- drill
- hot glue gun
- drip tube
- small plastic bag
Step #1 Preparing the Lemonade Container
Fill a large bottle with water
In a large bottle, you should draw water, almost completely filling it.
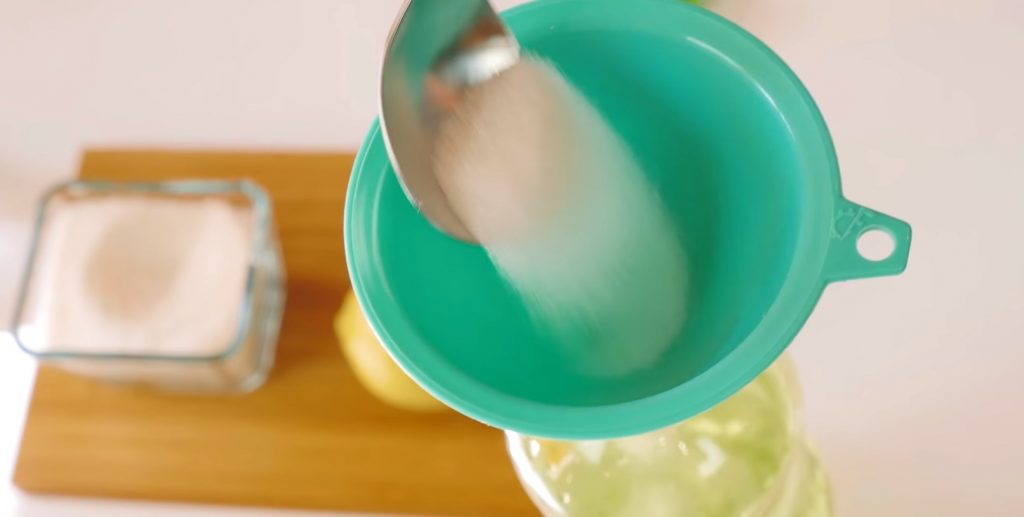
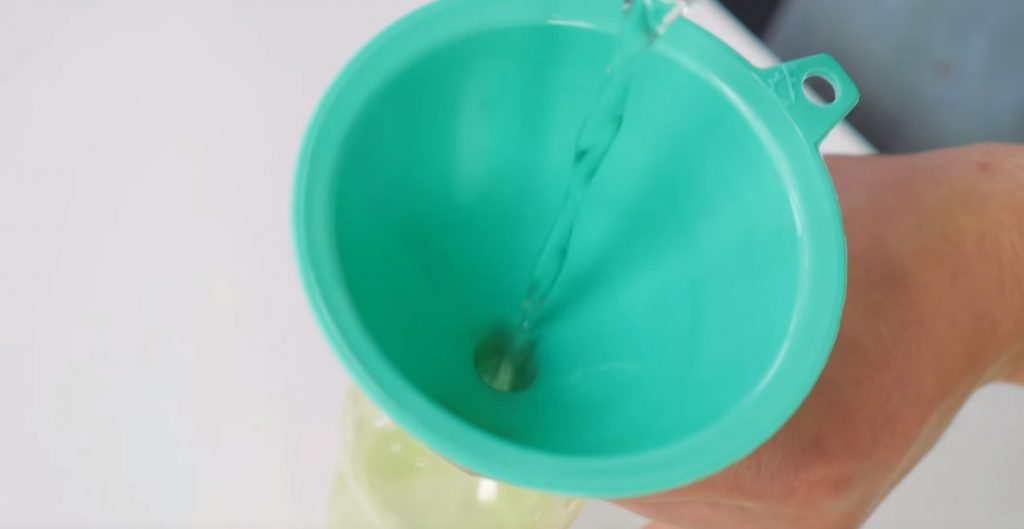
Adding Sugar to Lemonade
Then, using a funnel, 3-4 tbsp. spoons of sugar.
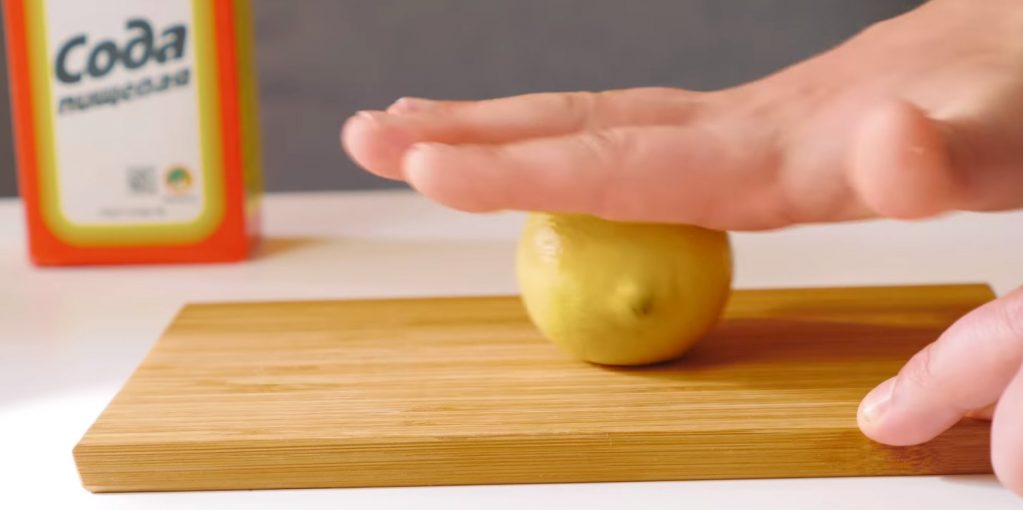
Lemon slightly rolled
The lemon must be softened by rolling it slightly.
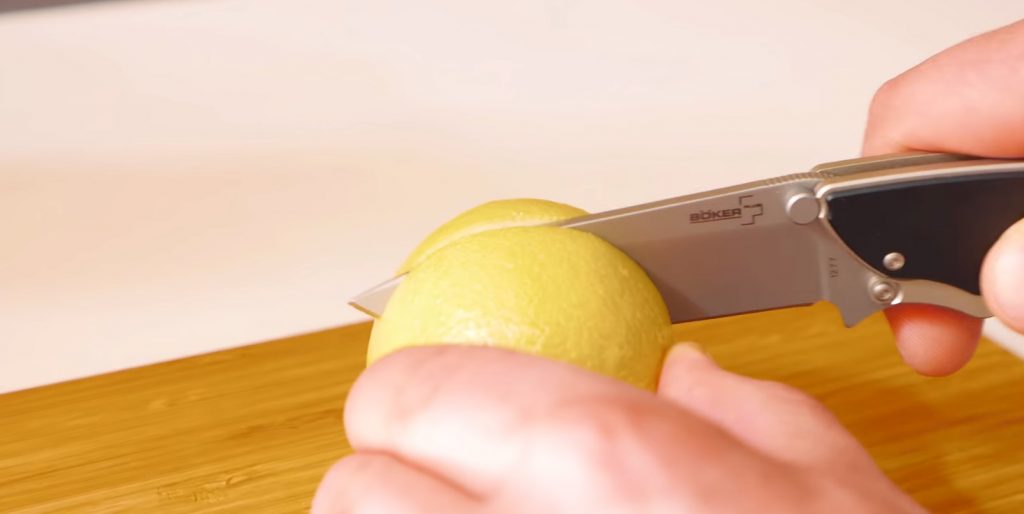
Lemon cut into two halves with a knife
Next, it must be cut with a knife into two halves. After that, both halves of the lemon are squeezed into a large container.
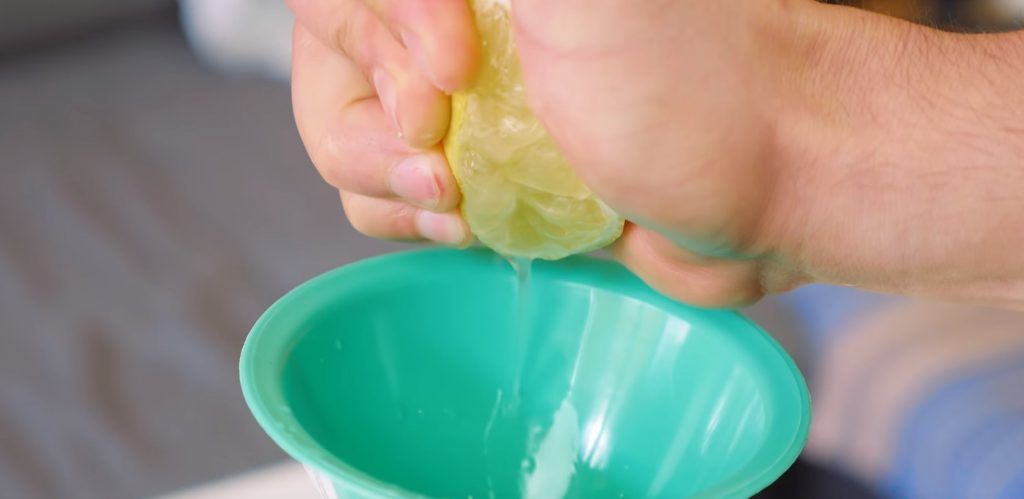
Lemon halves squeezed into a large bowl
Action #2 Fabrication of the gas exchange system

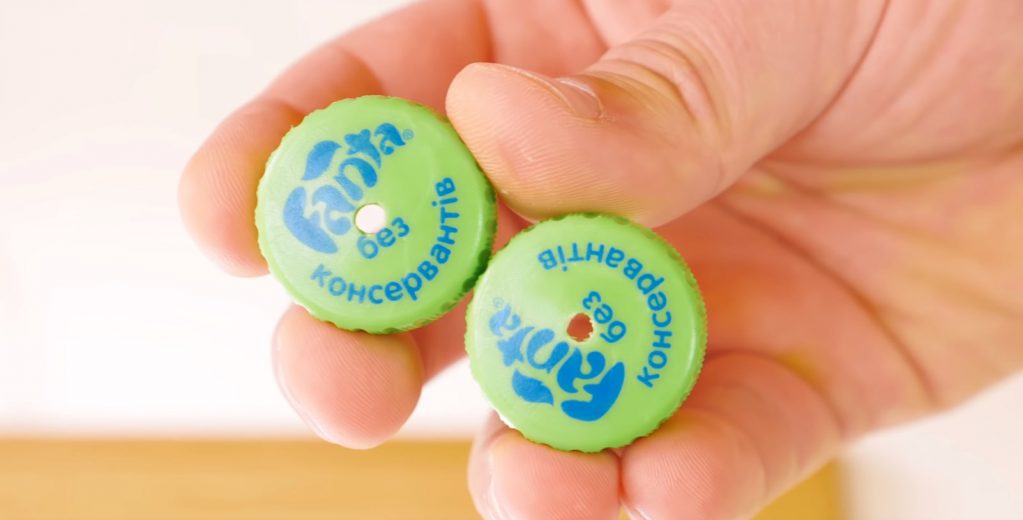
Drilling holes in lids
Using a drill, holes should be made in the lids with a diameter equal to the diameter of the tube from the dropper.
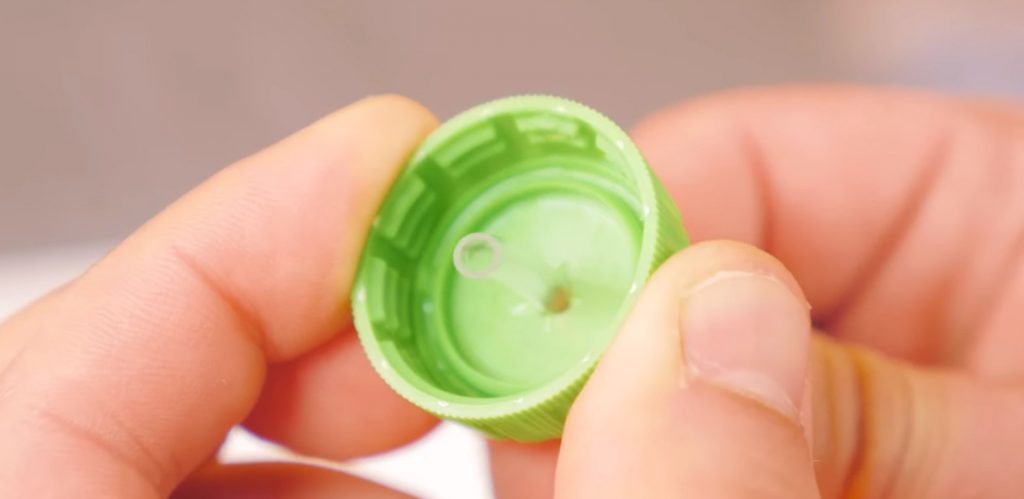
The result of working with a drill
The tube should be inserted into the holes in each of the covers.
The tube is inserted into the opening of the lid
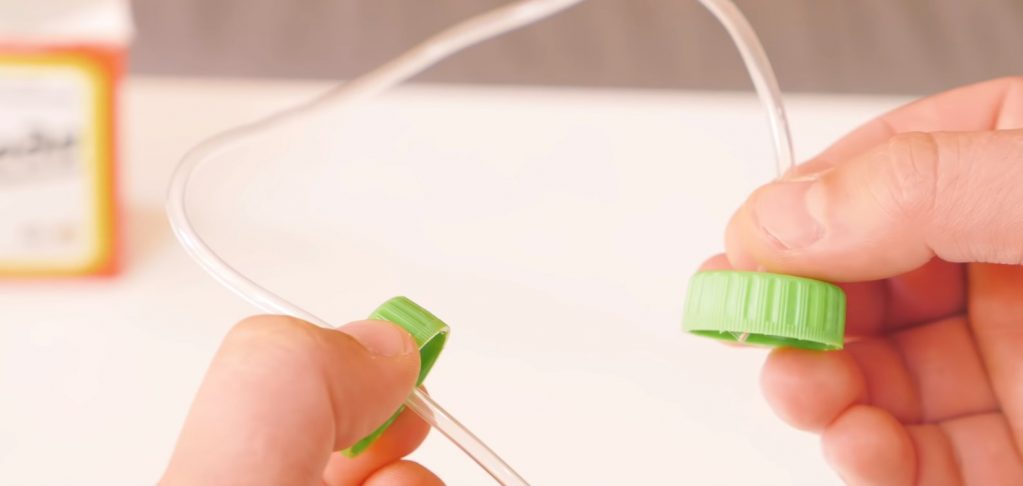
The result should be the following structure
In both covers, the tubes are fixed with hot glue.
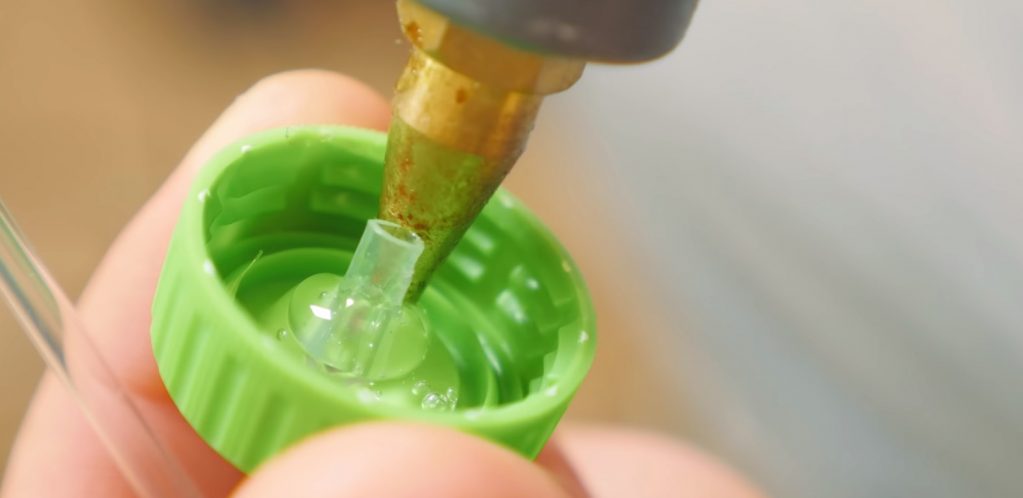
The tube is fixed with hot glue
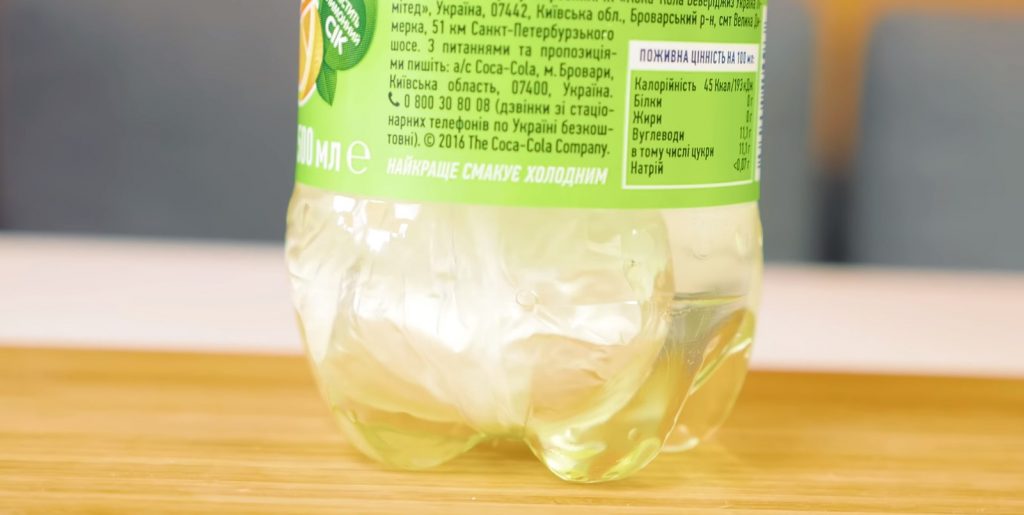
Then screw the cap on a large bottle.
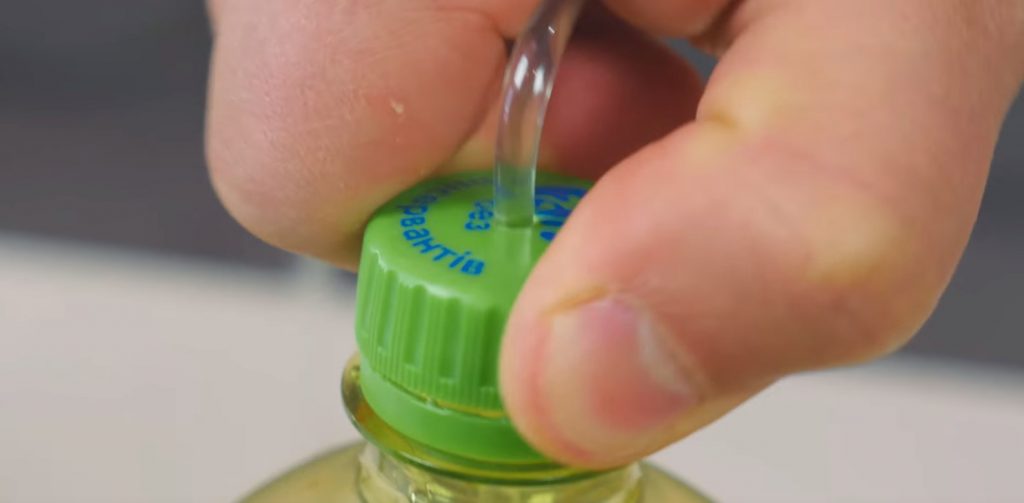
Screw cap on large bottle
Step #3 Loading Reagents and Assembling the Gassing Unit
300 ml of vinegar is poured into a small bottle
Now you should start loading the reagents into a small bottle. Pour 300 ml of vinegar into a small bottle.
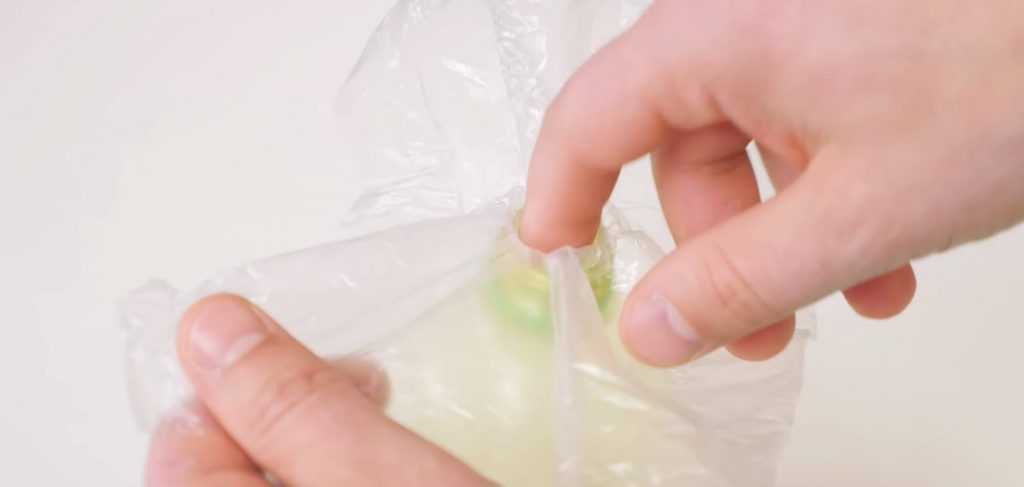
Make a small hole in the bag with your finger.
A bag is placed on the neck of a small bottle and a small indentation is made in it with a finger.
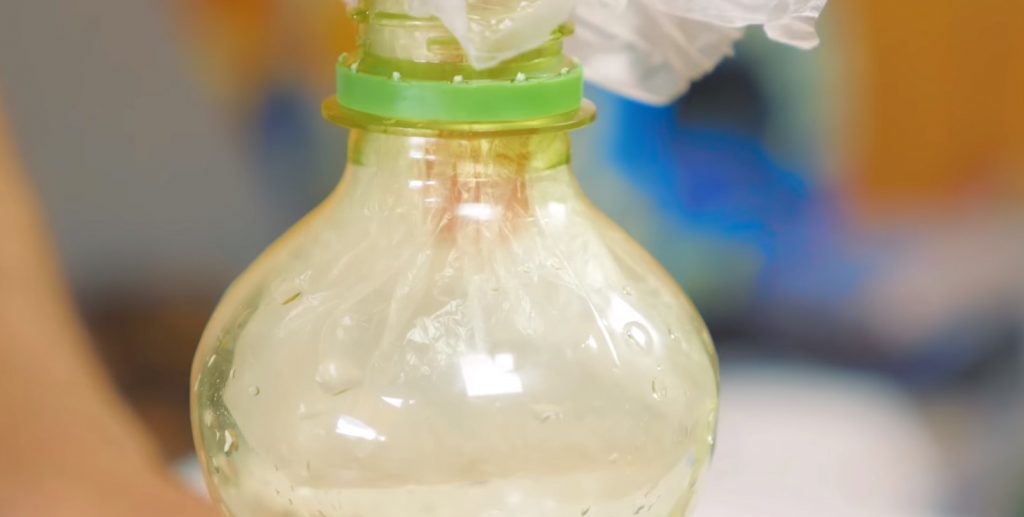
Soda bag ready
Gradually immersing the package into the bottle, they achieve the formation of a kind of “bag” in its upper part.
3-4 tbsp fall asleep in the bag. spoons of soda
Next, 3-4 tbsp are poured into the bag. spoons of soda.
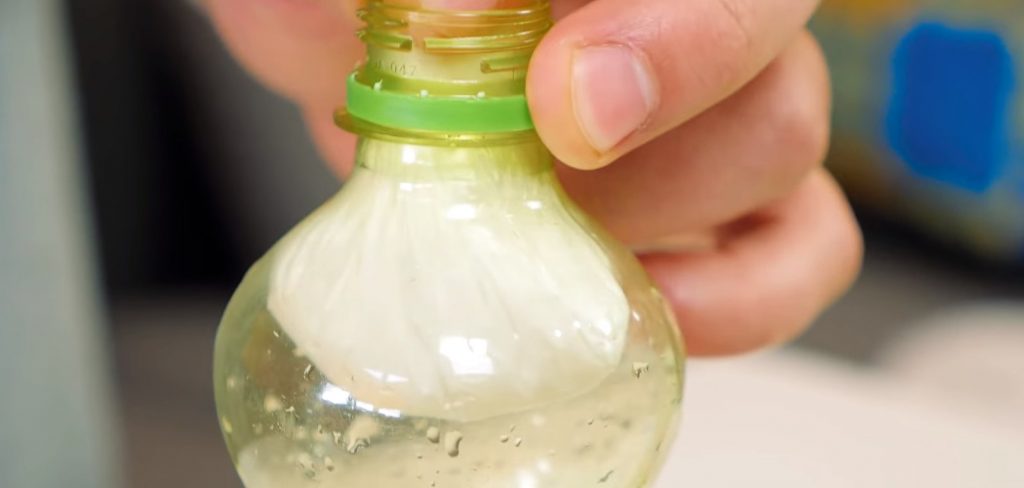
From above, the bag is loosely tied and immersed in vinegar.
Soda sinks to the bottom, but thanks to the presence of a reaction package, it is not yet with vinegar
On this, the assembly of the installation can be considered complete.
The gas installation is assembled and ready to go
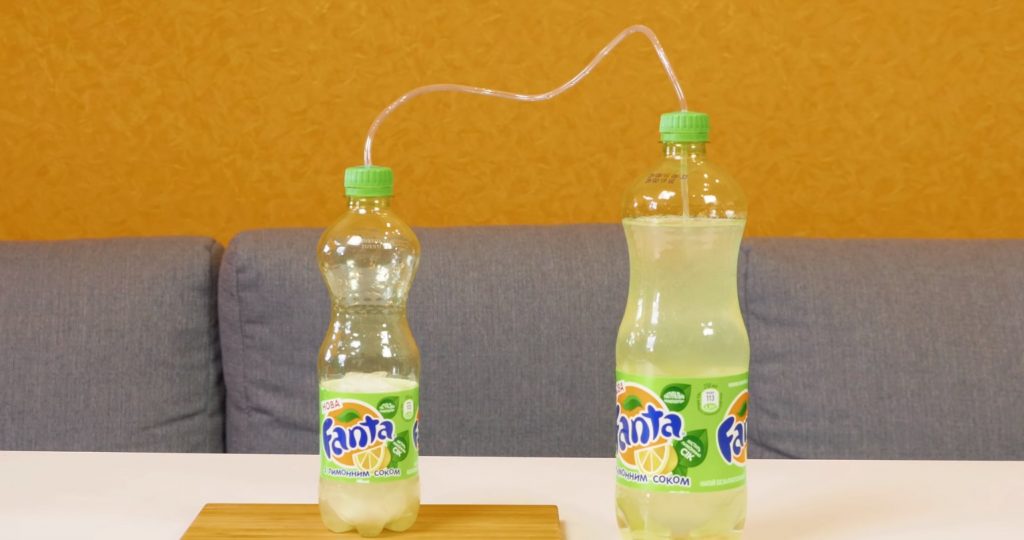
Action #4 Starting the gas plant

Starting up the gas plant
To start the process of gas formation, a small bottle should be shaken a little. In this case, the plastic bag will untie and the reaction of soda and vinegar will begin, leading to abundant gas separation.Through the tube, carbon dioxide will flow into a large bottle, and dissolve in lemonade.
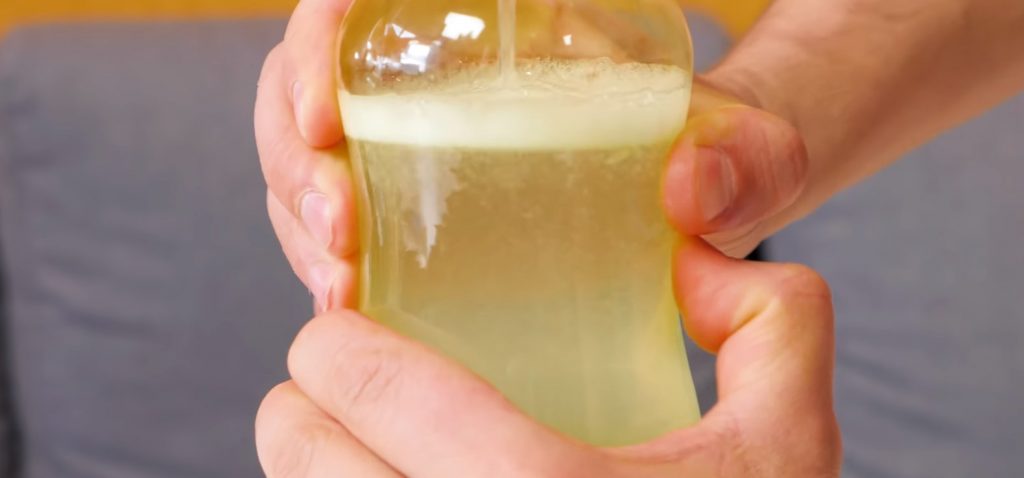
Carbon dioxide entering lemonade under high pressure
After some time, the pressure in both bottles will exceed several atmospheres and the gas will begin to actively dissolve in the lemonade.
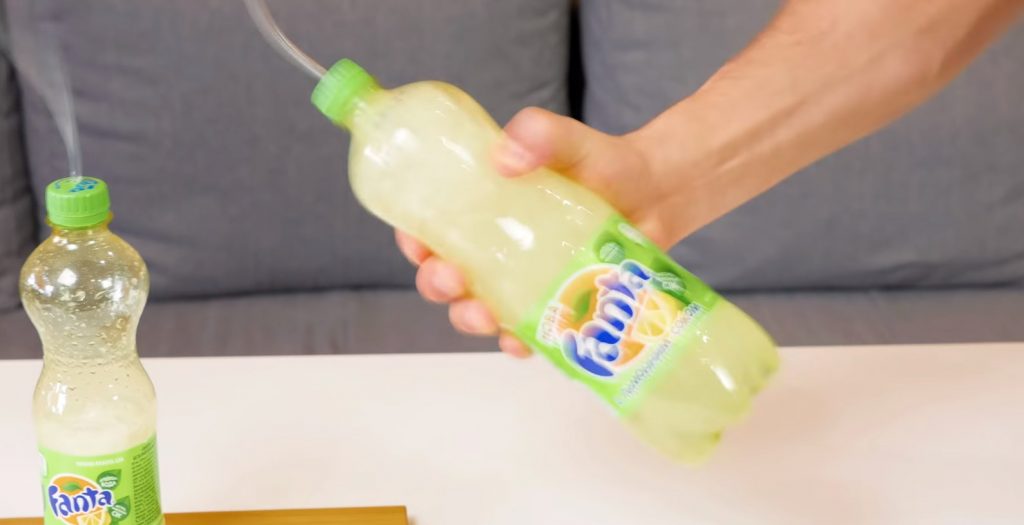
Before opening a large bottle, shake it a little
After the gas evolution process is over, the lemonade can be considered ready. Before opening a large bottle, shake it a little.
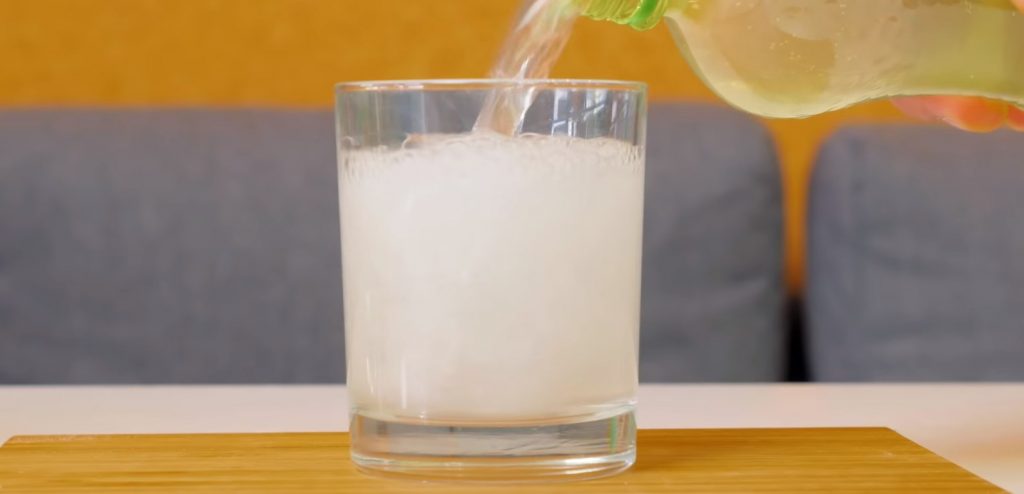
Pouring drink into glasses
And pour the drink into glasses.
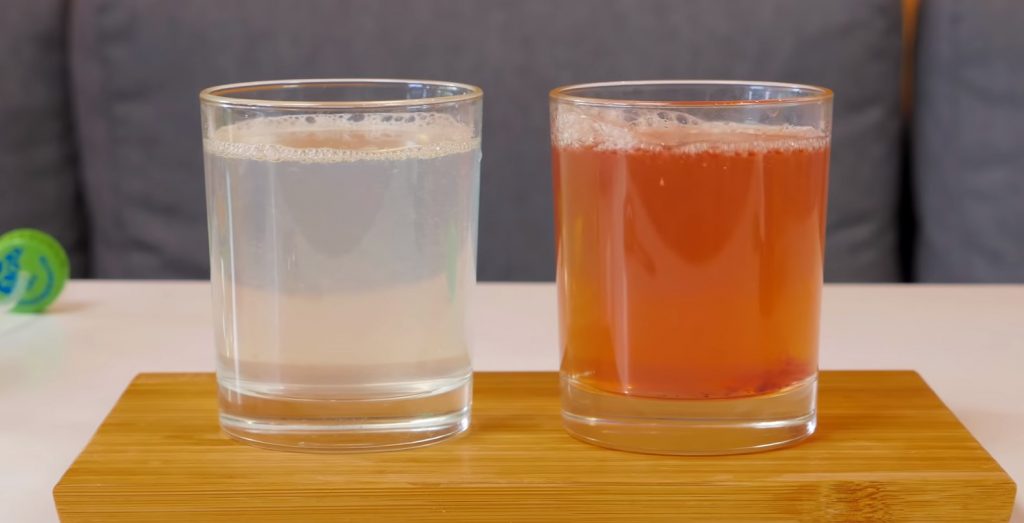
Lemonade and fruit jam drink
As an alternative to lemon juice, you can use various jams, to diversify the choice of drinks.

HOW TO MAKE SODA!
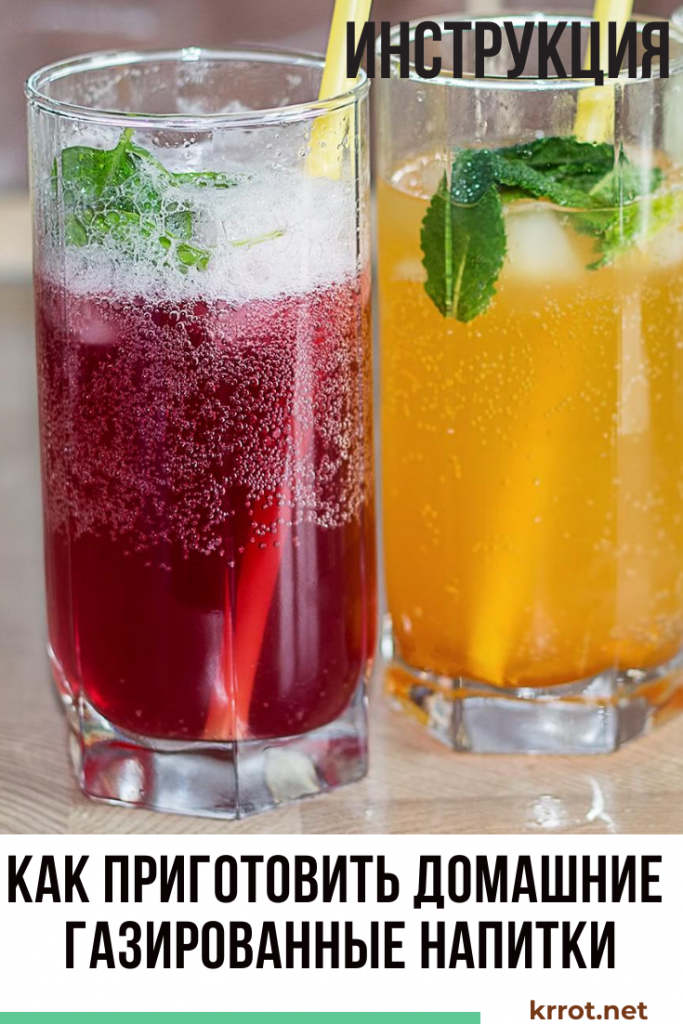
How to make homemade carbonated drinks: tasty and healthy


