
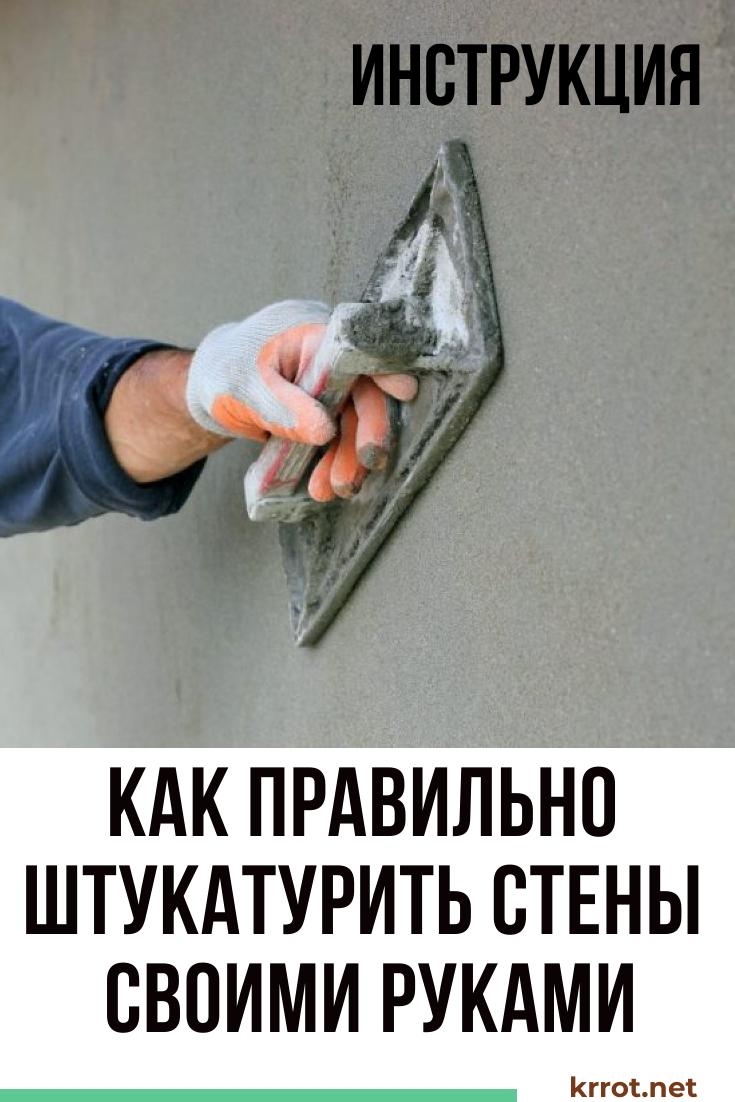
No repair is complete without leveling the walls. Otherwise, even the most expensive wallpaper or tile will not look very presentable. We will describe in detail and in stages how to properly plaster the walls with your own hands.
Content:
 Read also: Projects of country houses for 6-10 acres: 120 photos, description and requirements | The most interesting ideas
Tools Used
Plaster beacons
Before you start plastering, you should prepare all the necessary tools. We will need:
- metal brush for cleaning walls
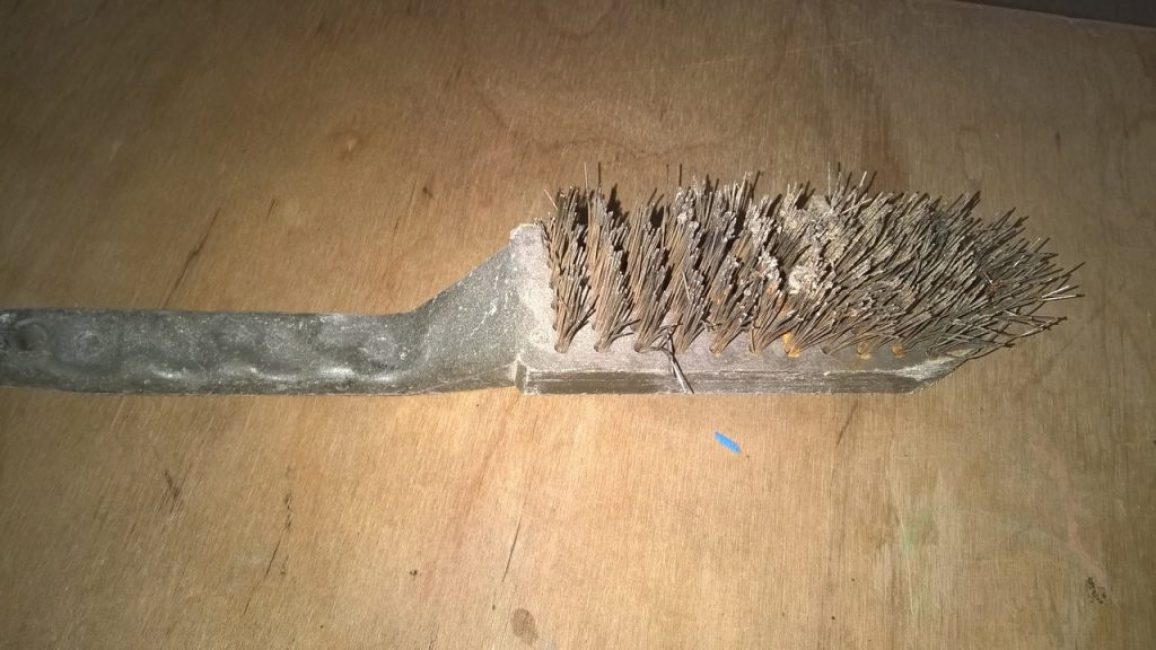
Metal brush
- perforator for chipping large flows of old mortar
- building level and plumb line (weight tied to a cord or fishing line)

Level
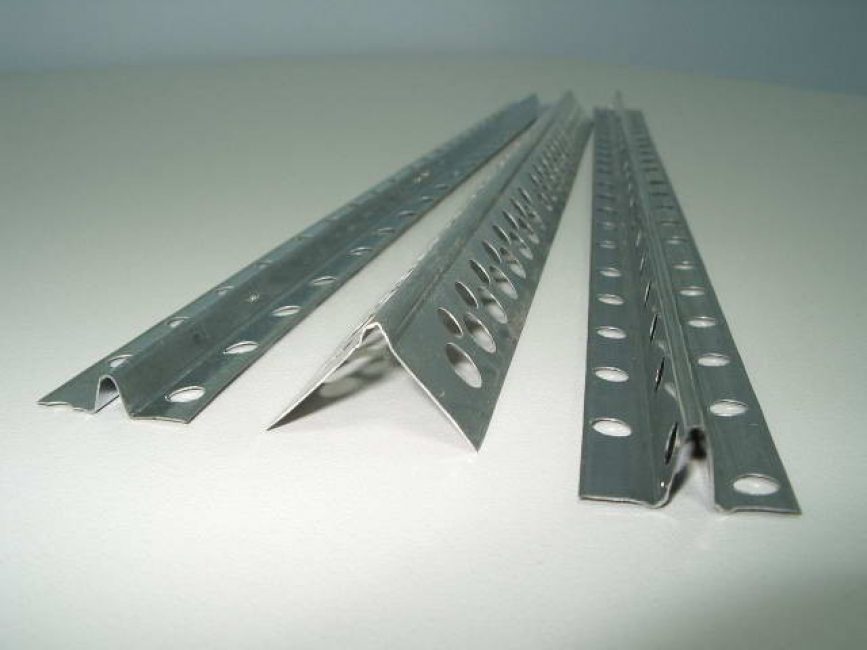
- lighthouses: long metal strips that will serve as a guide when leveling the surface; they are mounted vertically along the entire length of the wall
- solution container

Solution container
- drill with a special nozzle for its thorough mixing
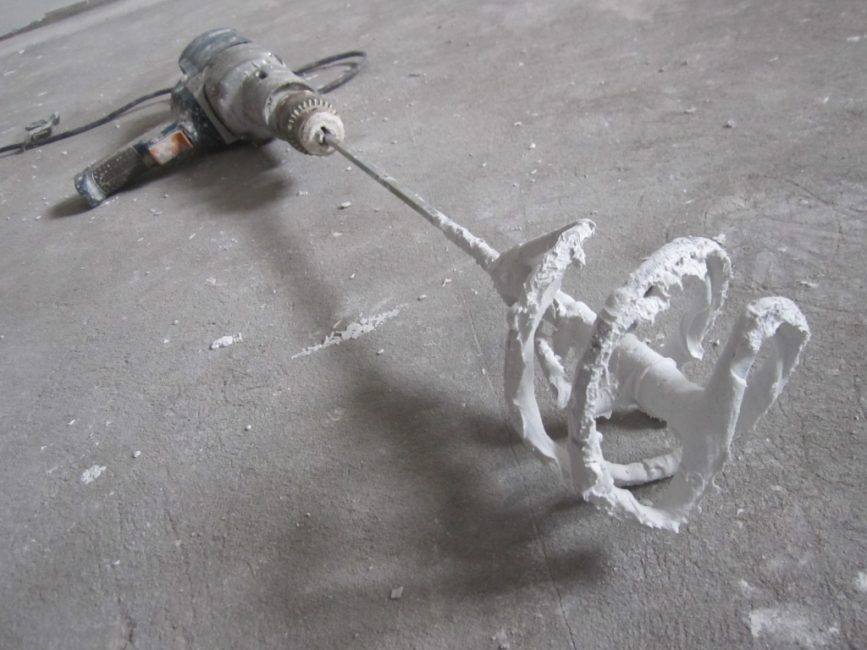
Drill with grout nozzle
- Master OK
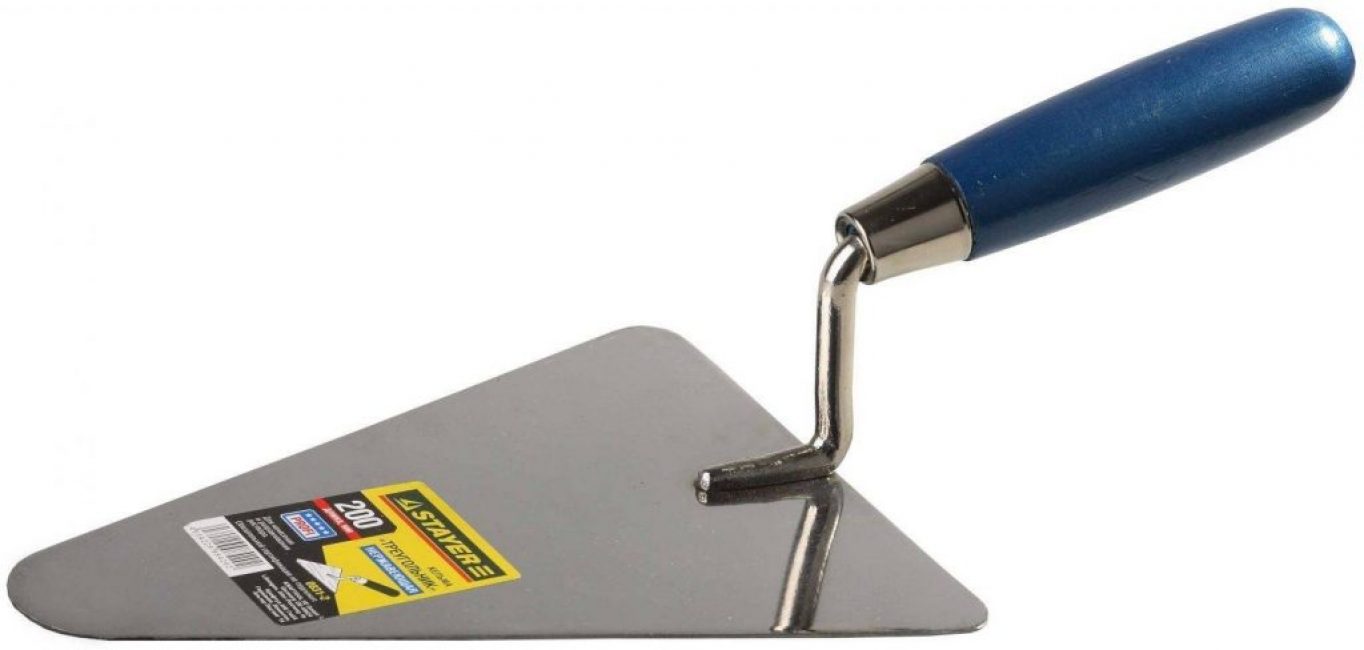
Master OK
- a ladle with a capacity of about a liter for throwing a solution (having adapted, you will understand that with the help of a ladle you can significantly speed up the work process);
- corner spatula for leveling plaster in the corners; you can do without it, but in this case, the alignment process will take longer
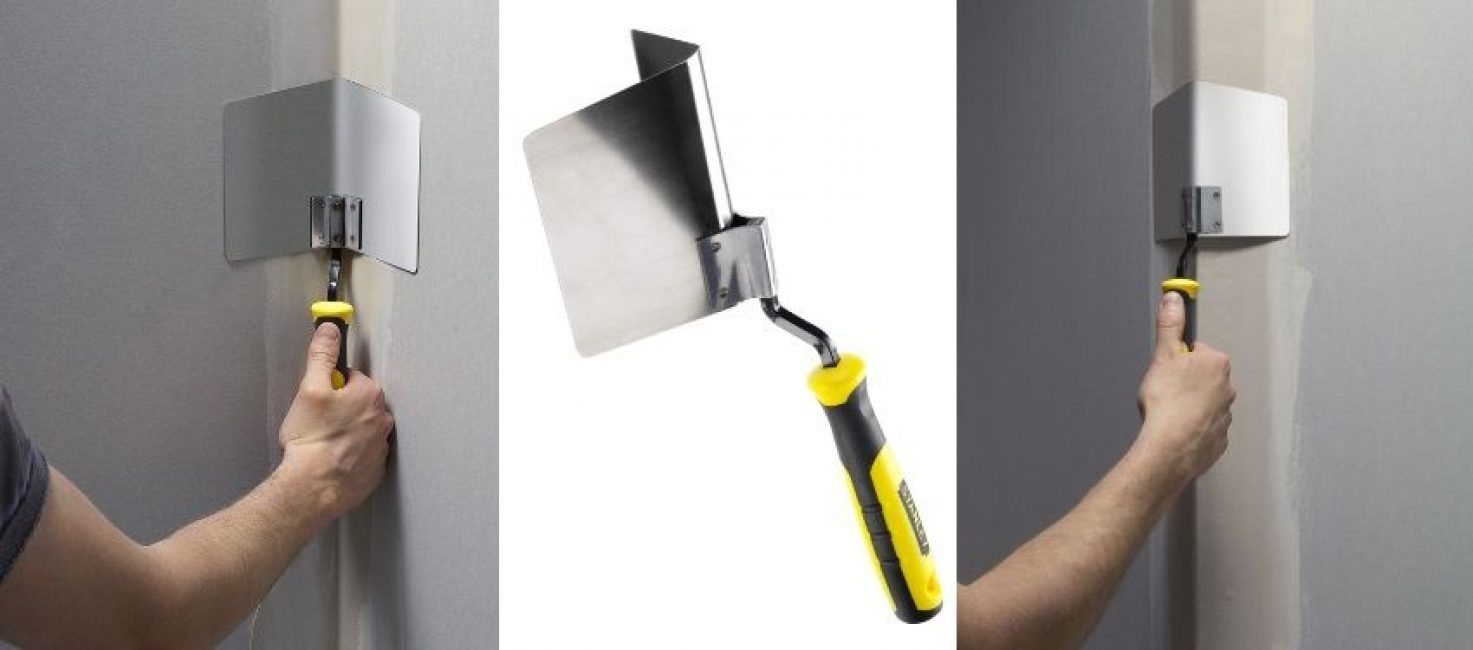
Angle spatula
- metal rule: a tool with which we will stretch and level the plaster between two adjacent lighthouses
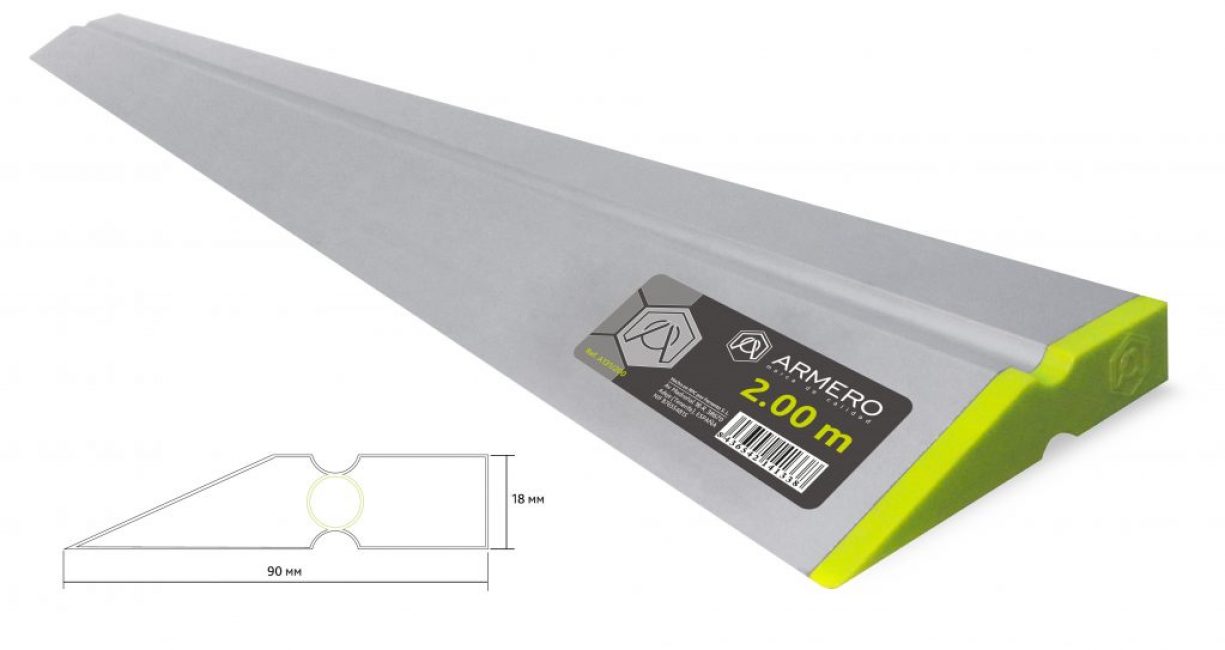
building rule
- trowel for leveling the solution in small areas; it helps to better push it into the wall, thereby increasing adhesion to the surface
- mortar grout
- falcon: an optional tool, but very handy; you can throw a small amount of solution on it for greasing in corners or small areas
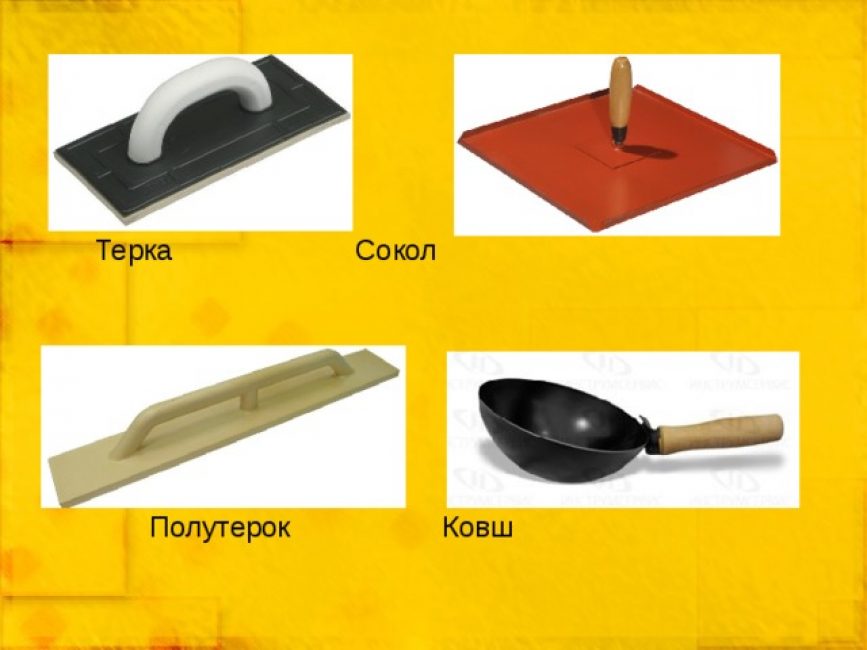
Plasterer's tools
 Read also: How to insulate a private house with your own hands: roof, walls and foundation, description of thermal insulation materials offered on the market (Photo & Video) + Reviews
 Surface preparation
It is important for a novice repairman to know not only how to properly plaster walls, but also how to prepare them for finishing. Before starting work, the surface must be cleaned of old, crumbling plaster.
Otherwise, under the weight of the new layer, it will simply crumble:
- the wall must be tapped with a hammer to locate the voids; when they are found, the old plaster in these places is knocked down
- it is desirable to completely clean off the paint from the walls; if it is difficult to do this, you can make multiple notches over the entire surface, and then cover it with a primer; it is also allowed to use a plaster mesh screwed to the wall with self-tapping screws; when applying a small layer of mortar, it is possible to replace the plaster mesh with grooves of tile adhesive
- it is necessary to remove all small particles of crumbling plaster from the walls, do this with a metal brush
- to remove dust, the walls must be washed with a damp cloth
- the last stage is priming; you should not skip this stage; after all, primer mixtures increase the adhesion of the solution to the surface; the likelihood that over time the plaster will begin to delaminate and finish is much reduced
Priming solution
 Read also: How to make flower pots with your own hands: outdoor, indoor, hanging | Step by Step Charts (120+ Original Photo Ideas & Videos)
The choice of plaster mixture
The classic cement-sand mortar is used for finishing facades, bathrooms and showers (rooms with high humidity). It adheres well to brick and concrete. Cement mortar finishes the walls before sticking heavy tiles.

Proportions of cement-lime mortar
To finish wooden walls, lime is added to the mortar or gypsum-cement mortars are used. They shrink less and adhere better to such surfaces. It is also possible to add slaked lime to the cement mortar to reduce the weight of the plaster. But, since it is able to absorb moisture, its use is permissible only for the interior decoration of heated rooms.
Since the cement mortar is capable of shrinking strongly and cracking when dried, it is applied with a layer of 3-5 mm. A large amount of the solution is allowed to apply only in layers. Moreover, each previous one must be well dried.
 Read also: How to make a children's house with your own hands: from wood and other materials. Dimensional drawings | (80 Photo Ideas & Videos)
 Preparation of cement mortar
The proportions of a classic cement mortar are 1 part of cement and a little more, 3-5 parts of sand. Its quantity directly depends on the brand of cement. For example, when using cement M400, the proportions will be 1: 3.5.
The literature often indicates the brand (that is, the strength) of the resulting solution. We repeat, not cement, but already obtained solution! (see photo). Naturally, the higher this figure, the stronger the surface will be.
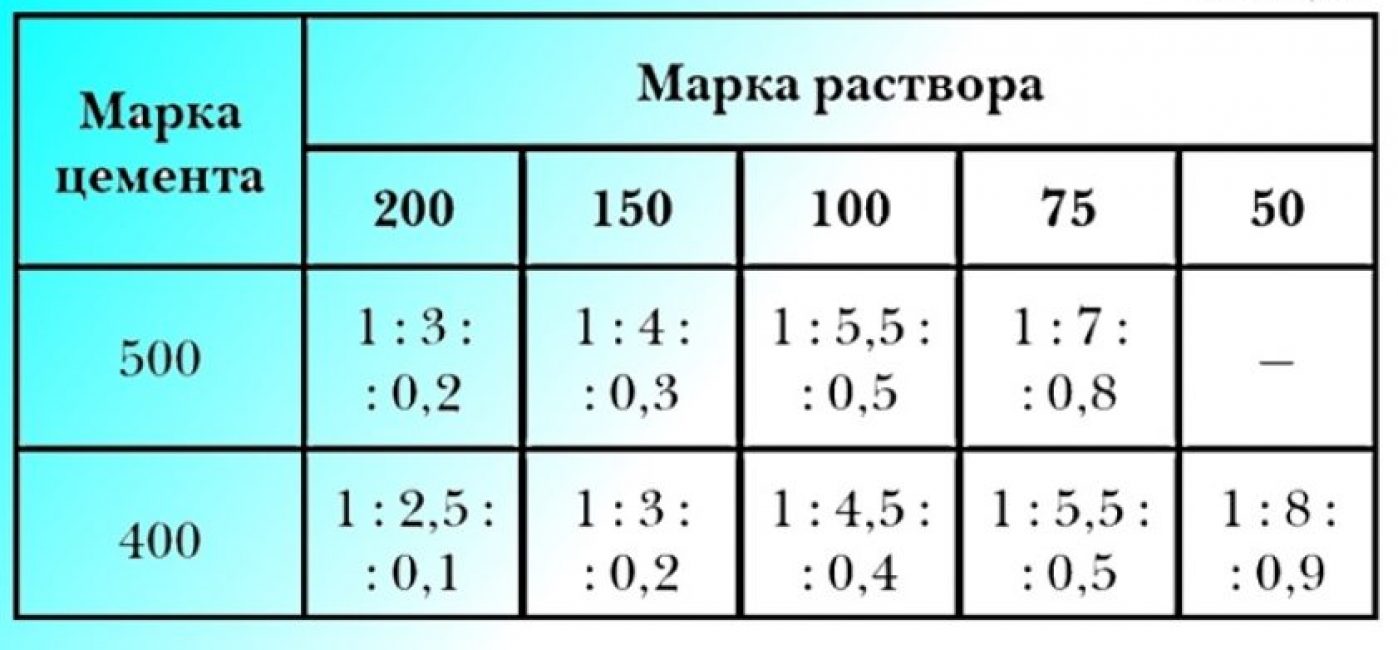
Proportions of sand-cement mortar
Cement M150-200 is best used only for interior work. To finish the facades, stronger mixtures are used with the addition of cement M300-M400. Since its quality has not been up to par in recent years, it is better to play it safe and even use cement M300 and higher for interior work. To level places with increased mechanical stress (corners, doorways), it is better to take mixtures with the addition of cement M400-M500.
Sand is used only clean, dry, without impurities of stones and clay, preferably river. So that the plastered surface does not crack, it is not worth adding too fine sand. The size of its fractions should be 0.5-2 mm.
The amount of water is determined empirically. The mixture should not be too liquid and run off the trowel. Water is always added only after mixing the dry ingredients, in small portions.
 Read also: How to make a greenhouse with your own hands: for seedlings, cucumbers, tomatoes, peppers and other plants. From polycarbonate, window frames, plastic pipes (75 Photos & Videos) + Reviews
Solution consumption per sq. m
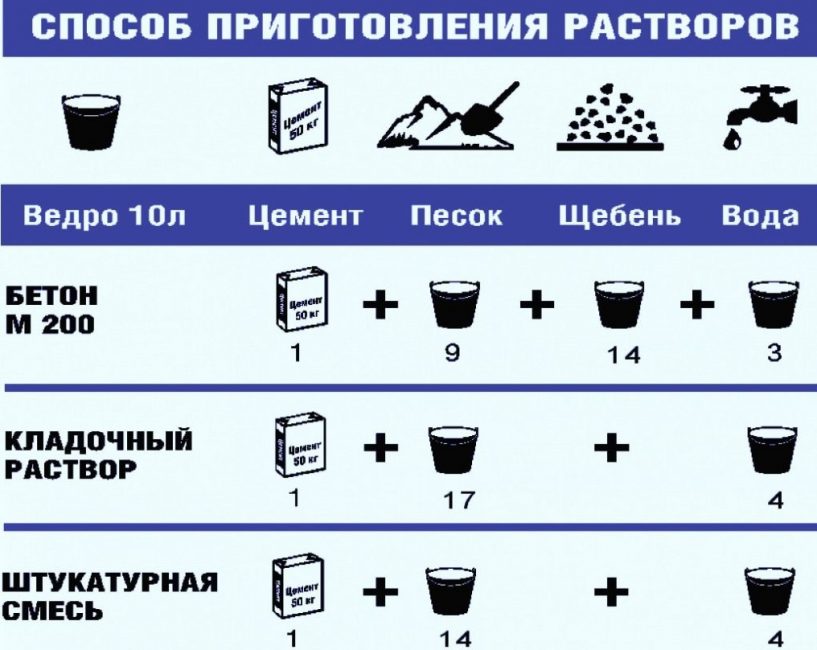
cement mortar
Although the cement-sand mixture seems to be cheaper, it should be borne in mind that its consumption is higher than that of a gypsum mortar. Calculating the cost is easy. Cement mortar when applying a layer of 1 cm per square meter will require 17 kg. Accordingly, with an increase in the layer thickness, the consumption will increase. Plaster will need much less - about 9 kg. The exact consumption of the mixture per square. m the manufacturer always indicates on the packaging.
![[Instructions] How to make beautiful and unusual wall shelves with your own hands: for flowers, books, TV, kitchen or garage (100+ Photo Ideas & Videos) + Reviews](https://iherb.bedbugus.biz/wp-content/uploads/2018/05/19-6-300x213.jpg) Read also: [Instructions] How to make beautiful and unusual wall shelves with your own hands: for flowers, books, TV, kitchen or garage (100+ Photo Ideas & Videos) + Reviews
Read also: [Instructions] How to make beautiful and unusual wall shelves with your own hands: for flowers, books, TV, kitchen or garage (100+ Photo Ideas & Videos) + Reviews The technology of applying the plaster mixture
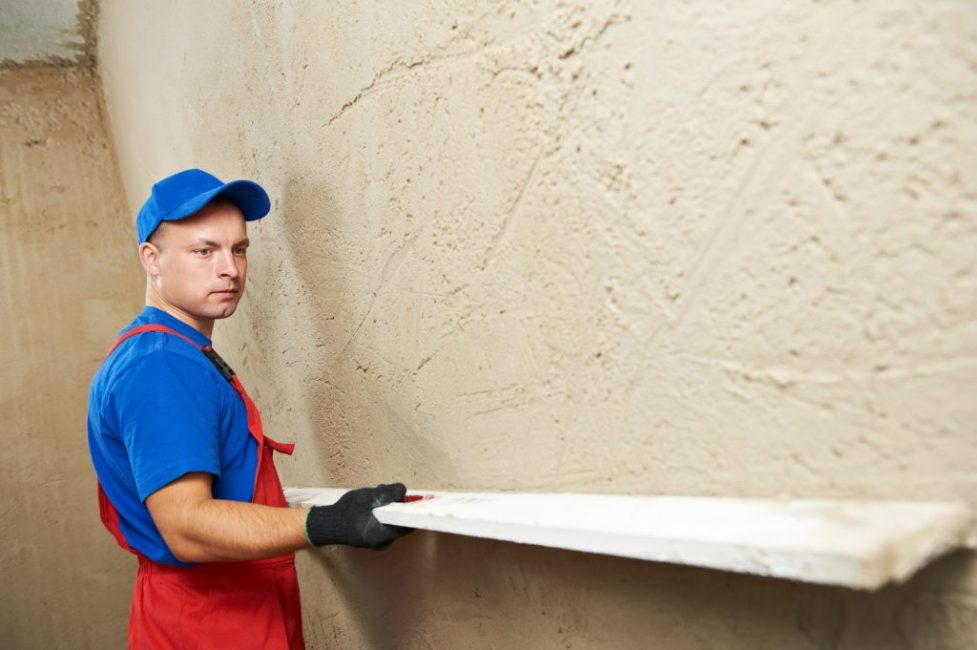
Wall plastering
There are a lot of videos on how to properly plaster walls on the net. But in such videos, the process of work is often only visually shown, without explaining individual subtleties. Therefore, we will tell about the technology of applying the solution in as much detail as possible.
The process of plastering the surface consists of several stages: leveling with self-tapping screws, fixing beacons, applying the plaster mixture and leveling it.
Exhibiting self-tapping screws
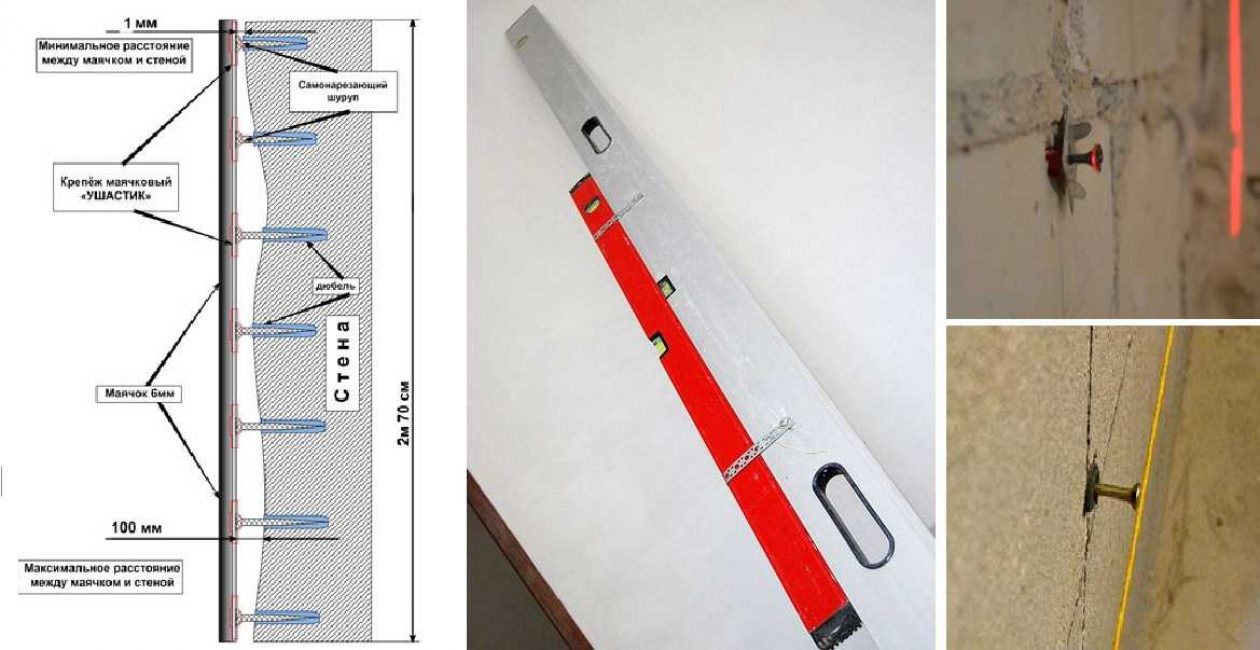
Alignment of walls and ceilings without special devices is possible only if the height differences are insignificant. In other cases, beacons are used - metal slats, which are placed strictly vertically on the surface.
Building level
But, before proceeding with their fastening, it is necessary to verify the level of their location. This is done using self-tapping screws:
- First you need to determine the degree of vertical elevation differences. To do this, you need to find the highest point. It is more convenient to do this with a laser level. If it is not there, use a long 2-meter bar to which the building level is attached. We draw it along the surface, determining the most protruding part
- We will have to align the wall precisely at this highest point. Therefore, before setting up beacons, try to knock down all the bumps protruding above the surface. Otherwise, the plaster layer will turn out to be too thick.
- Horizontal elevation differences are more conveniently determined using a weight (plumb line) tied to a fishing line. She is tied to a nail driven into the edge of the ceiling and checked to see how much the load deviates from the surface.
- Be sure to pay attention to the recesses. If they are significant (more than 50 mm), you will need to use a plaster mesh. Otherwise, too much plaster layer will fall off over time.
- The distance between the beacons is slightly less than the width of the building rule. When smoothing the solution, it will rest on the extreme beacons. For a standard 1.5-meter rule, they are placed at a distance of 1.1-1.2 m
- With a pencil or chalk, we mark the first lighthouse. To do this, we retreat from the corner a small distance of about 10-30 cm and draw a line
- When plastering near windows or doors, beacons are installed on both sides with a small indent of 10-30 cm
- We beat off two horizontal lines at the top and bottom of the wall with the help of a masking cord (a thread dyed with a colored tint, stretched between the marks). The distance from the floor and ceiling is 5-10 cm each. You can simply draw strictly horizontal lines using a level
- Now, at the intersection line of horizontal and vertical lines, it is necessary to screw in the screws so that their caps are in the same plane. Thus, we denote the thickness of the layer of future plaster
- Using the building level, we verify the degree of their screwing in and out
- Similarly, we arrange the remaining pairs of self-tapping screws along the lower and upper drawn lines.
- We stretch the cord between the lower and upper self-tapping screws located on the same line. Thus, we will outline the plane on which we will be guided by screwing the rest of the screws.
- We place self-tapping screws along each vertical line in increments of 40-50 cm
Arrangement of lighthouses
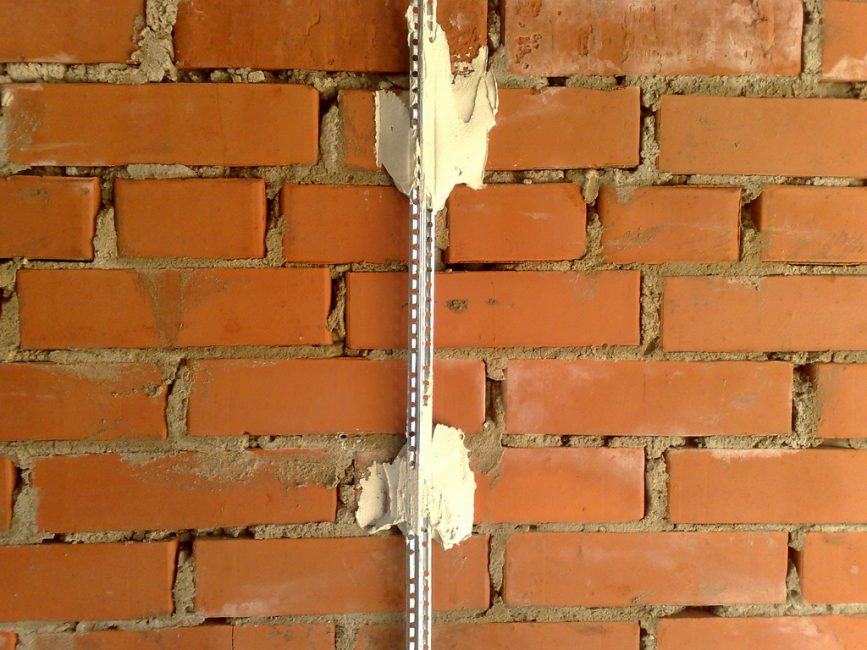
Arrangement of lighthouses
We are preparing a solution for fixing beacons. It should be slightly thicker than the one that will be used for plastering:
- The solution is not applied to the screws (otherwise we will increase their height), but near them
- Now we need to determine the height of the hats of the remaining self-tapping screws.
- We apply a metal bar to a pair of extreme self-tapping screws, pressing it into the solution so that it lies flush with the caps
- We check the level of the location of the beacons using the building rule. If the metal on the beacons is slightly bent, the set level will be knocked down. For this, such a check is required.
- Beacon profiles can be replaced with wooden slats. They are attached to dowels or nailed
- We leave the wall with exposed beacons to dry. All subsequent work should be started only after the solution has completely solidified.
splatter
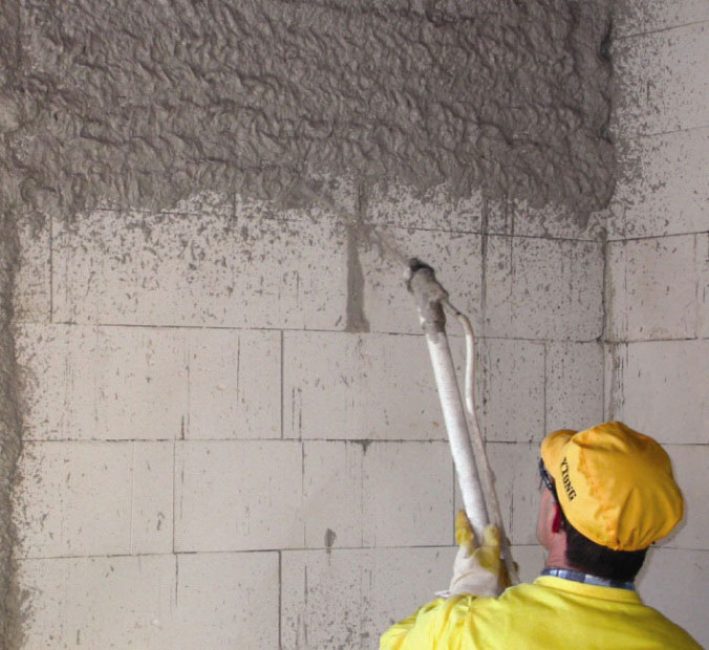
Spraying with a spray gun
How to plaster walls with cement mortar? Let us describe in detail the standard scheme for its application. The process starts with a spray:
- After applying the primer mixture, the walls are well dried.
- A viscous sand-cement mortar is thrown onto the wall with a trowel (trowel) with a sharp movement of the brush. It is very convenient to use a ladle for these purposes. Work will go faster
- Novice repairmen often replace the trowel with a spatula. After all, its form needs to adapt. But with large volumes of work, it is still better to put the spatula aside. Believe me, after you collect a few "slaps" that fell on the floor, things will work out for you
- First, a small layer of plaster is applied to the wall - spray. This requires a fairly liquid solution, similar in consistency to thin sour cream. Sand for such a mixture is taken fine, with a fraction of 0.3 mm
- The solution for spraying should be thrown in very sharp movements, otherwise you will smear everything around.
- Leveling the first thin layer is not required. Its task is to fill the smallest pores. The next layer will close and even out the previous flaws.
Primer base coat
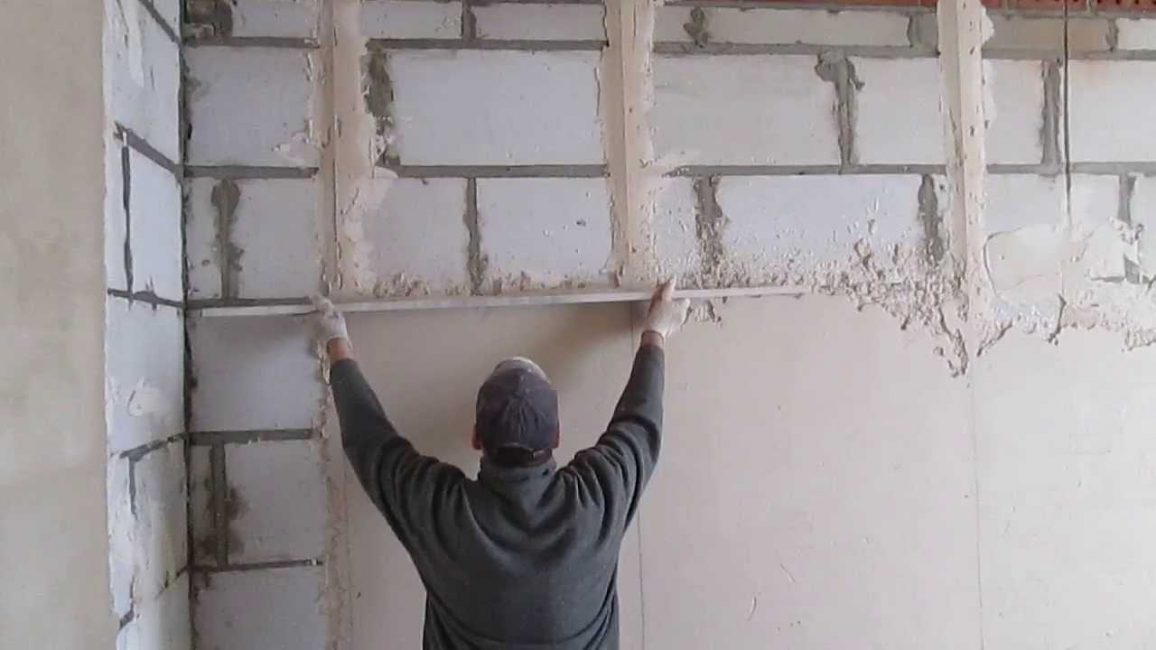
Lighthouse Alignment
- The second, main (primer) layer is applied a couple of hours after the spray has set - the first layer
- You can check how dry the spray layer is by lightly pressing it with your fingers. If the layer has ceased to crumble, a primer layer can be applied.
- To improve adhesion, the surface is well moistened with water before plastering. Make it easier with a spray bottle
- The solution is applied to the wall from the bottom up, from the floor to the ceiling.
- The recommended primer layer thickness is 5 mm. For lime mortars 5-7 mm
- If the height differences are significant, several such layers are made. Before applying each subsequent layer, the previous layer is well dried.
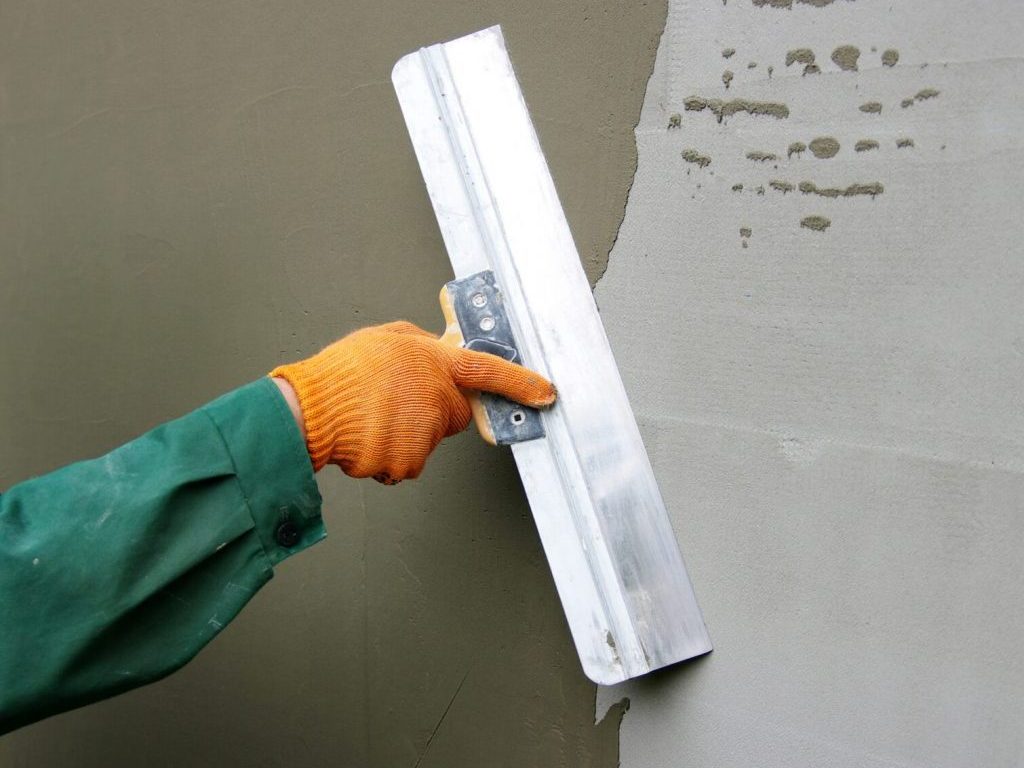
- It is more convenient to throw the solution in small sections between adjacent beacons, gradually moving up to the ceiling. After filling the first of them, the solution is pulled by the rule. To do this, it should be leaned on the side beacons and tilted slightly at an angle. The first movements of the rule are zigzag
- If, after pulling it, some of the sections remain unfilled, the solution is added, and again ironed with the rule
- Excess solution is dumped into a container
Nakryvka
Applying a coating layer
- For the final smoothing of the surface, a third, final layer is applied, called a covering. They begin to sketch it after the previous one has dried
- The coating solution is made more liquid and applied in a thin layer. Such a layer is softer and lends itself better to grouting. Coating thickness - up to 2 mm
- So that grains of sand do not leave on the surface of the furrows, the sand is first sieved through a sieve with small cells.
- With further painting of the surface without the use of putty, sand can be omitted
![[Instruction] Do-it-yourself laminate on a wooden floor: a complete description of the process. Laying schemes, what materials should be used (Photo & Video) + Reviews](https://iherb.bedbugus.biz/wp-content/uploads/2018/05/laminat-300x200.jpg) Read also: [Instruction] Do-it-yourself laminate on a wooden floor: a complete description of the process. Laying schemes, what materials should be used (Photo & Video) + Reviews
Read also: [Instruction] Do-it-yourself laminate on a wooden floor: a complete description of the process. Laying schemes, what materials should be used (Photo & Video) + Reviews The use of reinforcing mesh
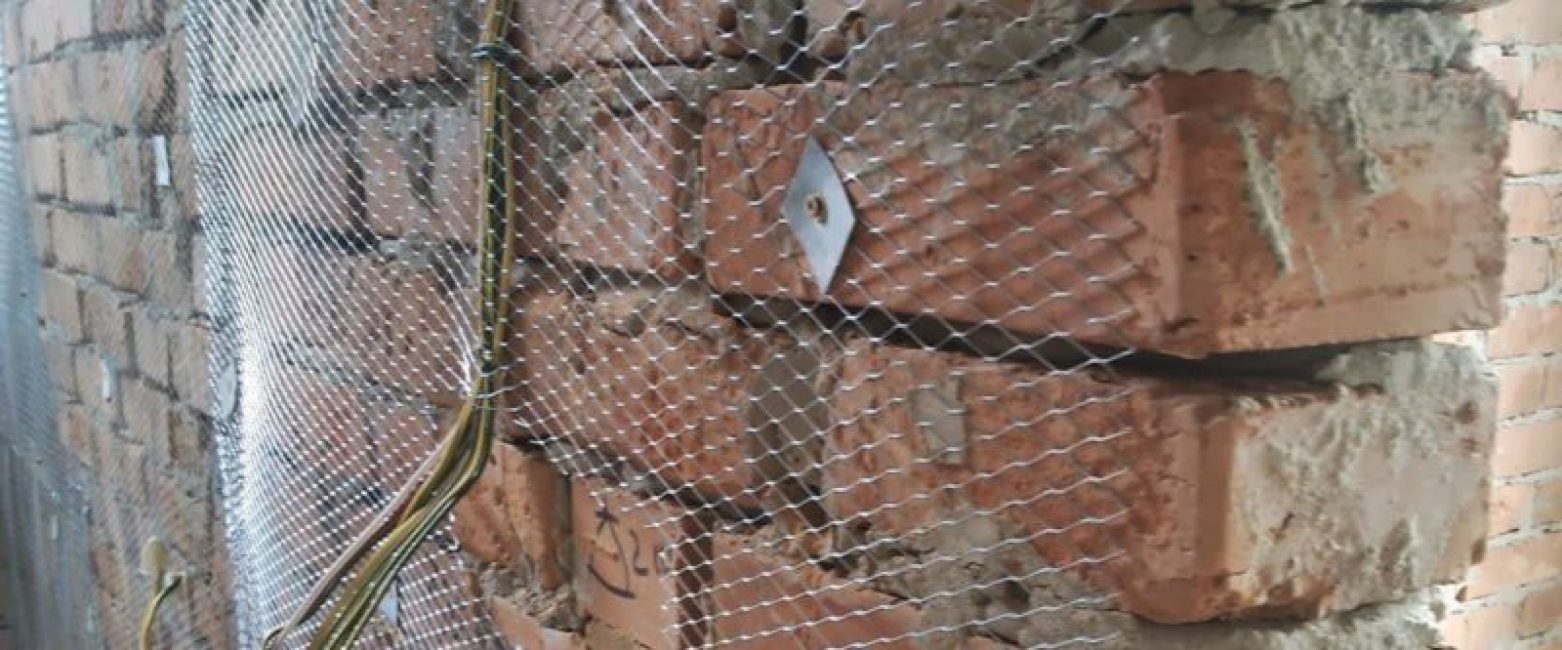
Reinforcing metal mesh
When applying thick layers of plaster, a plaster mesh is used. It helps to increase the adhesion of the solution to the surface and protect it from cracking. It is also used when finishing surfaces made of silicate bricks.
For gypsum mixtures, a plastic mesh is used. Fiberglass products can only be used to fasten a small 2-3 cm layer of plaster. In other cases, metal meshes are used.
- They are fixed on the wall with dowel-nails or self-tapping screws (see photo). To do this, the mesh is simply passed through the screw heads. In metal products with small cells, holes are pre-drilled for inserting fasteners
- The mesh is laid with an overlap of 10 cm
- When applying the first layer, it is allowed to simply press it into the solution. In a similar way, a plastic masking grid is attached.
- Lighthouses are installed after the installation of the reinforcing mesh
- If height differences are observed in small areas, the paint grid is applied pointwise
 Read also: Do-it-yourself furniture and other wood products: drawings of benches, tables, swings, birdhouses and other household items (85+ Photos & Videos)
 Important Tips
Corner rails
There are many subtleties in the work of a plasterer that have a significant impact on the final result. We will describe how to properly plaster walls with mortar, and what errors can occur in the work:
All work is carried out only at a positive temperature in the room. At temperatures below 5°C, the plaster will dry unevenly and eventually crack. If there is a need to work at low temperatures, the room is preheated using heaters
When working in heat above 25 ° C, the surface must be moistened more often with water, so that the solution does not dry out so quickly
At temperatures up to + 10 ° C, it is desirable to add Portland cement to the solution, in which binders are introduced in the form of gypsum and calcium silicates
Cement mortar to foam and aerated concrete, as well as to wooden surfaces, does not adhere well. Such walls are plastered with a gypsum-based mortar.
For large height differences, the plaster is applied in two passes. After applying the first, base layer, notches are made on the surface, and then primed to increase adhesion (sticking). The second layer in this case will hold better
Novice finishers believe that it is not necessary to apply a primer layer: “I plastered without it and nothing fell off.” Indeed, when working on smooth surfaces, defects are less common. When plastering aerated concrete, bricks, foam and cinder blocks, a large amount of moisture from the solution is quickly absorbed into the surface. As a result, the plaster cracks or even crumbles.
If for some reason the walls were not primed, Thoroughly spray the surface with water from a spray bottle before applying the plaster. Otherwise, the wall will absorb moisture from the solution, and its strength will decrease.
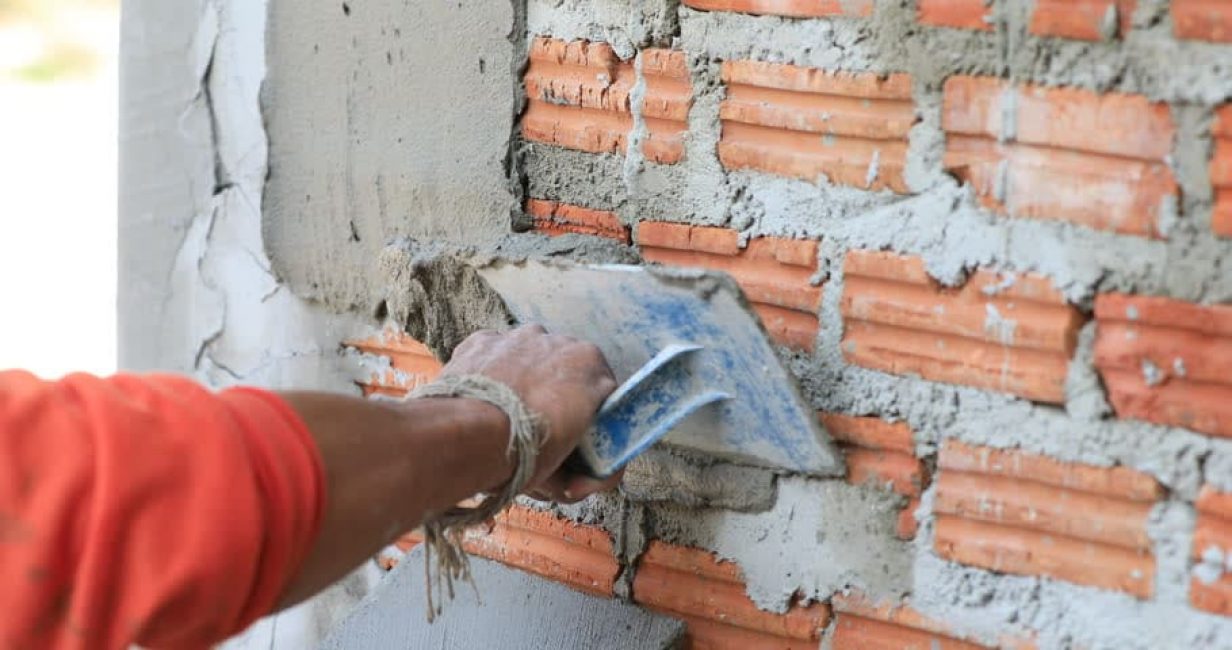
Plastering brickwork
To prevent the plaster from cracking when it dries, the room must have good air exchange
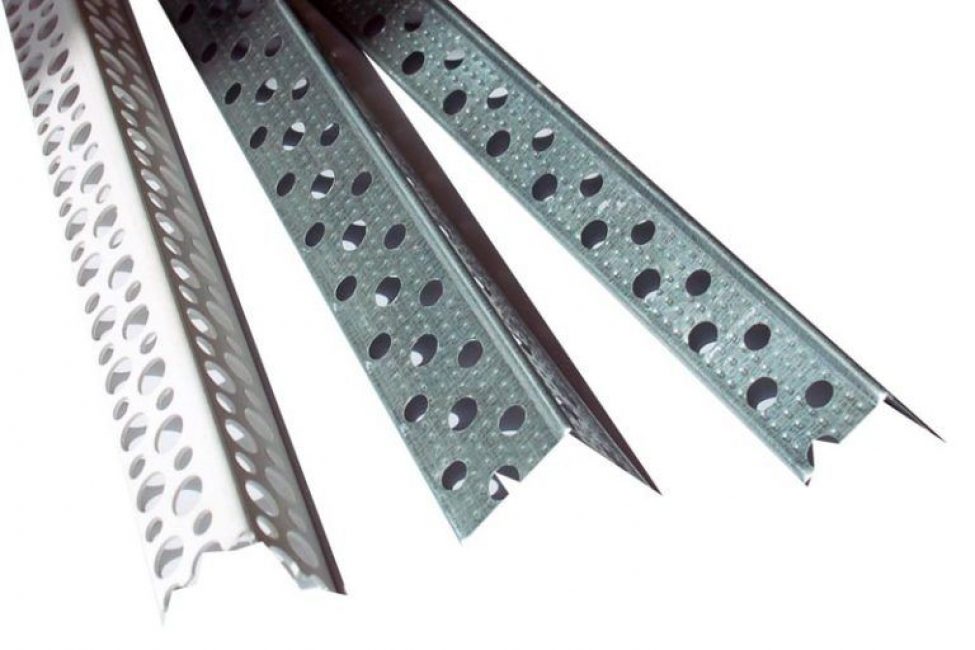
Expansion joints should be provided at corners and at joints with door jambs and window frames. For this, special expansion rails are attached. Otherwise, cracks will appear in the corners over time. Such slats will help and perfectly align the corners. Installed in places with high traffic, they will also protect them from spillage.
After plastering with cement mortar, the surface is too porous. For its final alignment, it is better to use a small layer of gypsum mortar.
How to plaster walls with gypsum mix? It is not recommended to apply gypsum directly to the cement surface. After all, cement is able to enter into a chemical reaction with gypsum, as a result of which the surface may swell. Therefore, the surface plastered with cement mortar must first be “closed” with a 4 mm layer of lime mortar
Cement mortar is not applied over gypsum - the heavy layer will just collapse
Heating pipes must be laid in special casing bushings. Otherwise, with the beginning of the heating season, the plaster next to the hot pipelines will immediately begin to crack. Plus, when in contact with wet metal, rust stains will appear on it.
Cement mortar gains strength for a long time - 3-4 weeks. Any work before the expiration of this time is not allowed.
Details about the process of plastering walls with your own hands - from mixing the mortar to applying the last covering layer - are described in the following video:

VIDEO: How to plaster walls with your own hands
How to plaster walls with your own hands: instructions for beginners (Photo & Video) + Reviews


Very well lit, - without redneck and narcissism - THANK YOU.