
For more than a hundred years, electricity has been the most popular type of energy used by mankind. We are surrounded by many devices, the purpose of which is to convert electrical energy into useful work.
To control the performance of various devices powered by electricity, special tools are needed. One of these tools is a device capable of measuring electrical quantities - a multimeter.
Content:
 Read also: Interesting ideas for decorating your favorite dacha with your own hands | 150+ original photo tips for craftsmen
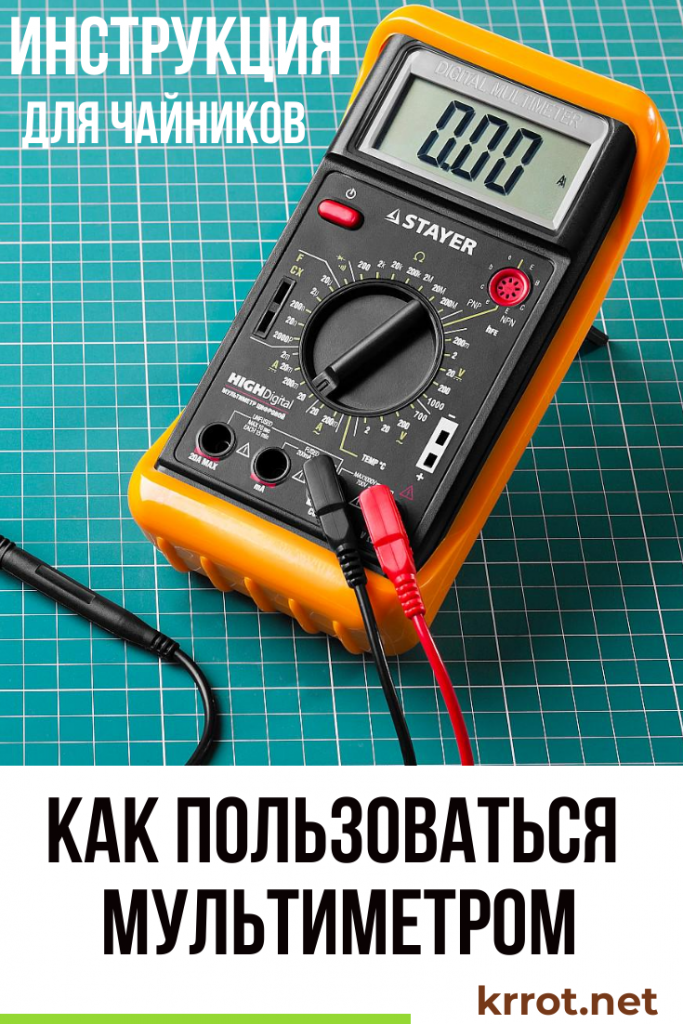
What is a multimeter
multimeter
This is a special device designed to measure several quantities (and not always electrical). Most modern multimeters are made using discrete electronics, so they are digital (digital) devices.
One of the features of such devices is the use of a digital display in the form of an LCD display to indicate the measured value; analogue instruments use pointer indication.
A multimeter is an electrical measuring device that combines the functions of several devices:
- voltmeter
- ammeter
- ohmmeter
- etc.
Often the multimeter is equipped with additional functions. All of them (even those that do not relate to the measurement of electrical quantities) are somehow connected with the conversion of electrical energy.
Actually, this is not surprising, the multimeter is able to record only electrical quantities and it is not able to measure the temperature directly.
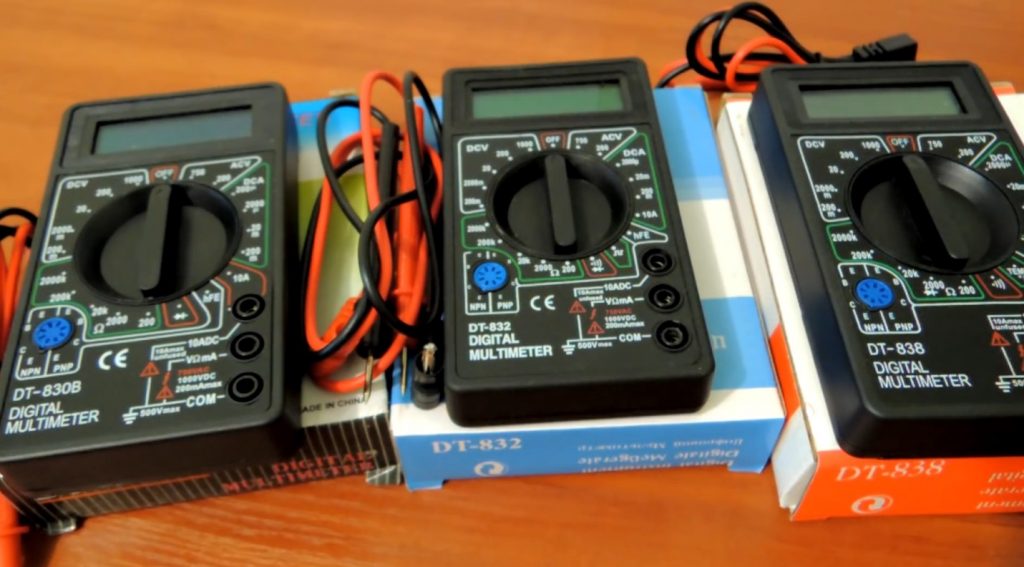
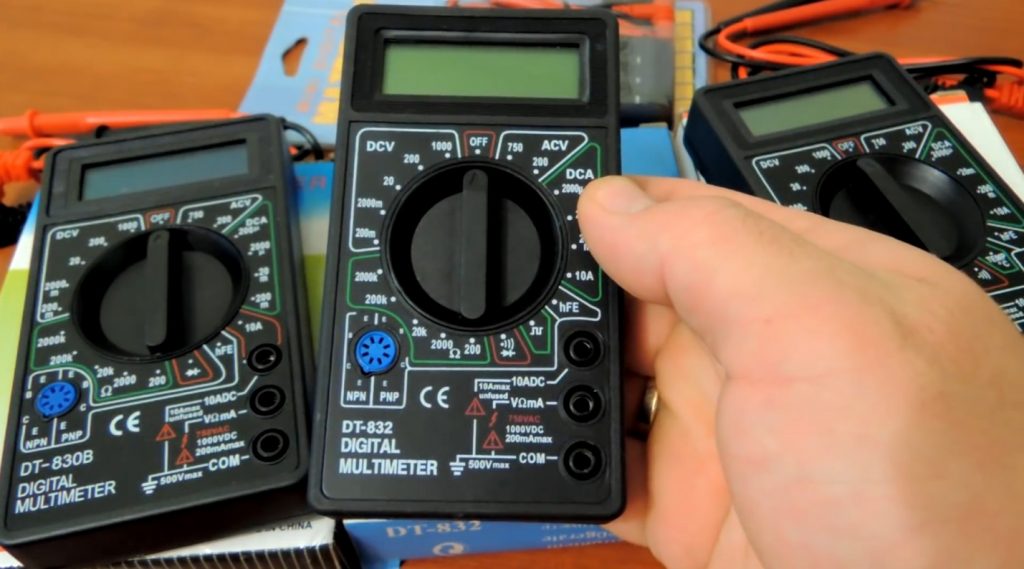
Multimeter Models
The considered series of multimeters DT-8XX, in addition to the standard for these devices for measuring currents, voltages and resistances, can also perform the following operations:
- conduct "dialing" chains (all models)
- do the same operation with sound indication (DT-832 and DT-383)
- measure the temperature of an environment or an object using a thermocouple (DT-838)
- determine the parameters of bipolar transistors (both, p-n-p and n-p-n types) - all models
- act as a square wave generator (DT-832)
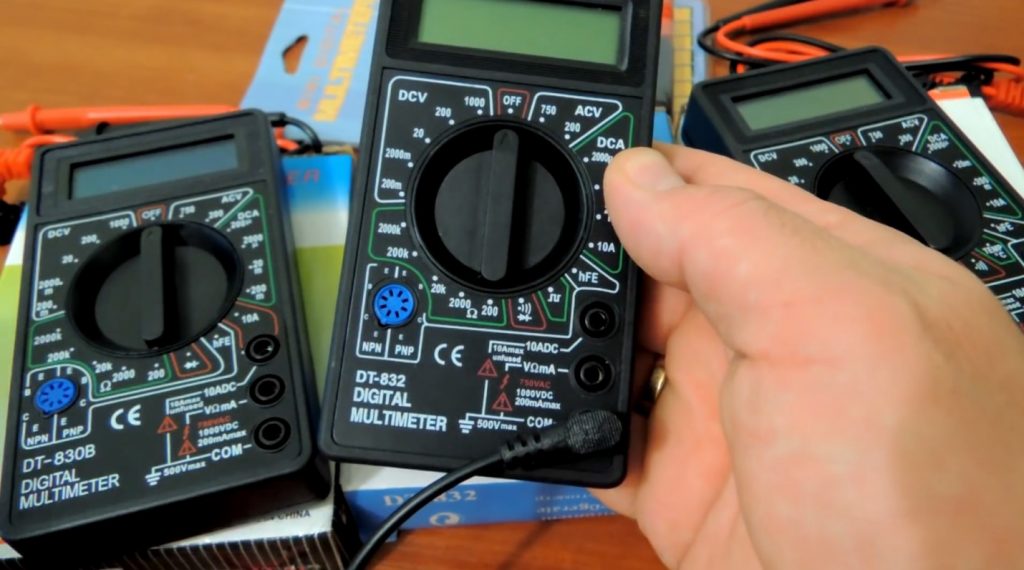
There are also compact multimeters belonging to other series, having smaller dimensions and weight. Such a device can be easily placed in a small bag or even in a pocket of clothing.
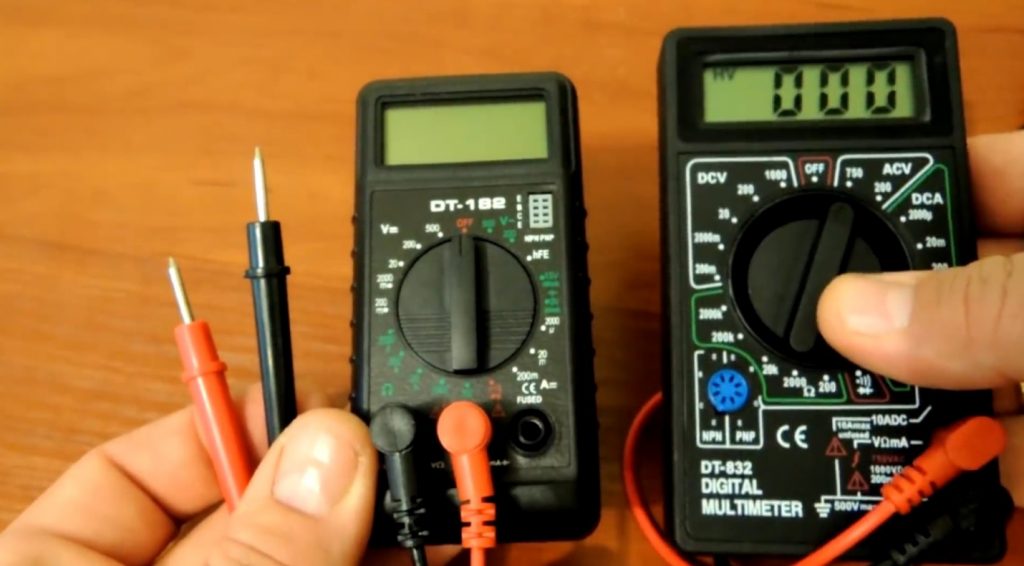
Different options for multimeters
The functionality of a miniature device fully corresponds to the functionality of a standard size device. Such devices are convenient as mobile measuring devices, they can be carried with you for measurements outdoors.
The disadvantages of such a device include perhaps its lower mechanical strength, because in all other parameters (including measurement accuracy) it is in no way inferior to a standard size multimeter. Also, a disadvantage may be a shorter operating time of the device, but only if different power sources are used.
Traditionally, a 6F22 or Krona element is used to power the multimeter.. However, in miniature multimeters, AAA batteries with a lower capacity can also be used.
 Read also: Landscaping your site with your own hands - (130+ Photo Ideas & Videos) + Reviews
 Preparing to work with the device
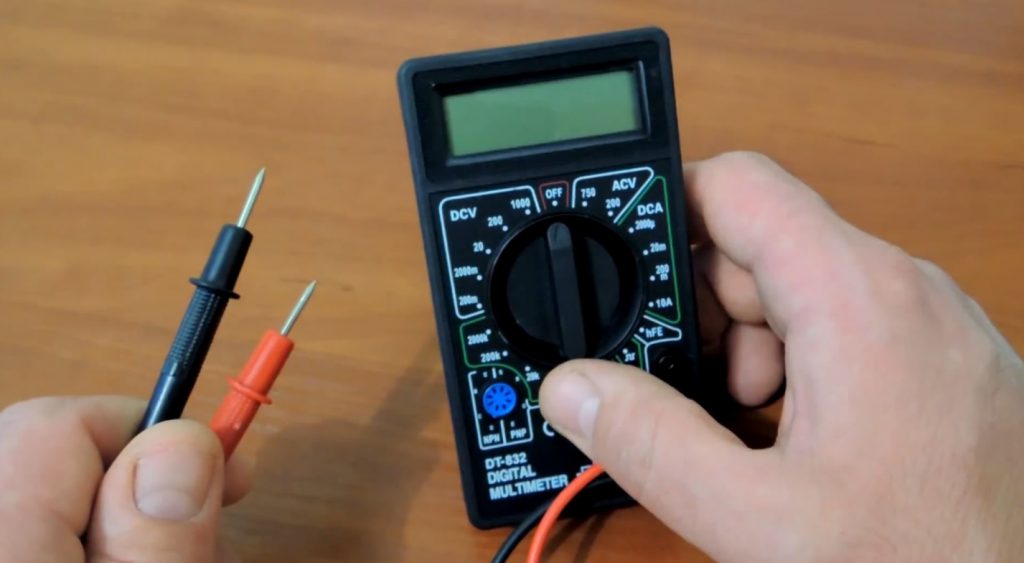
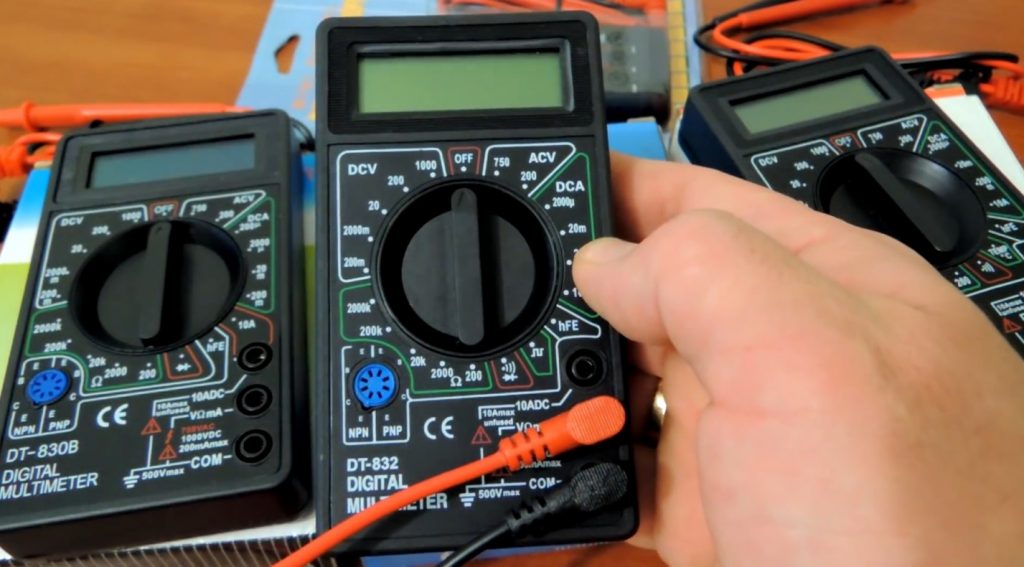
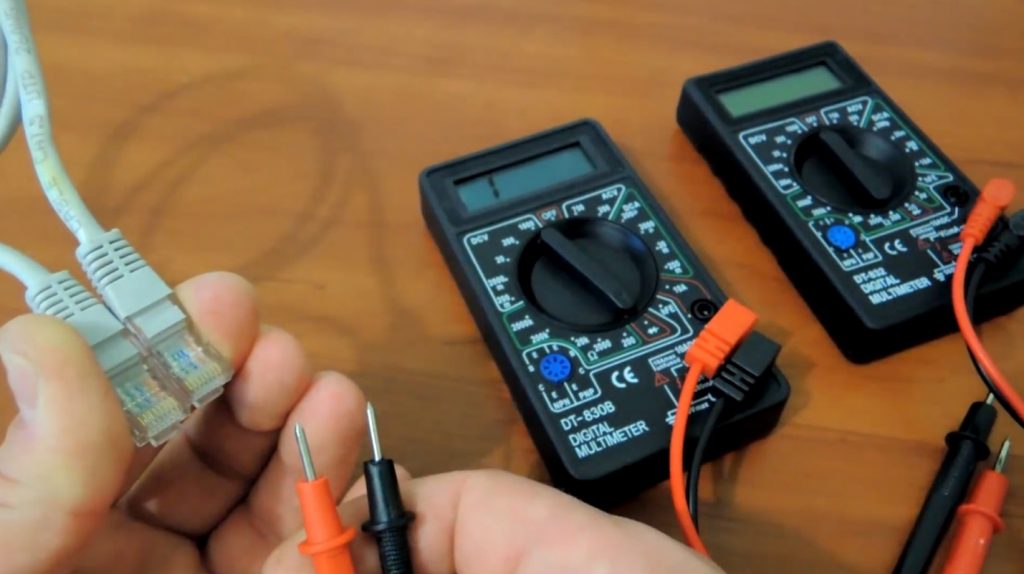
Multimeter measurement limits
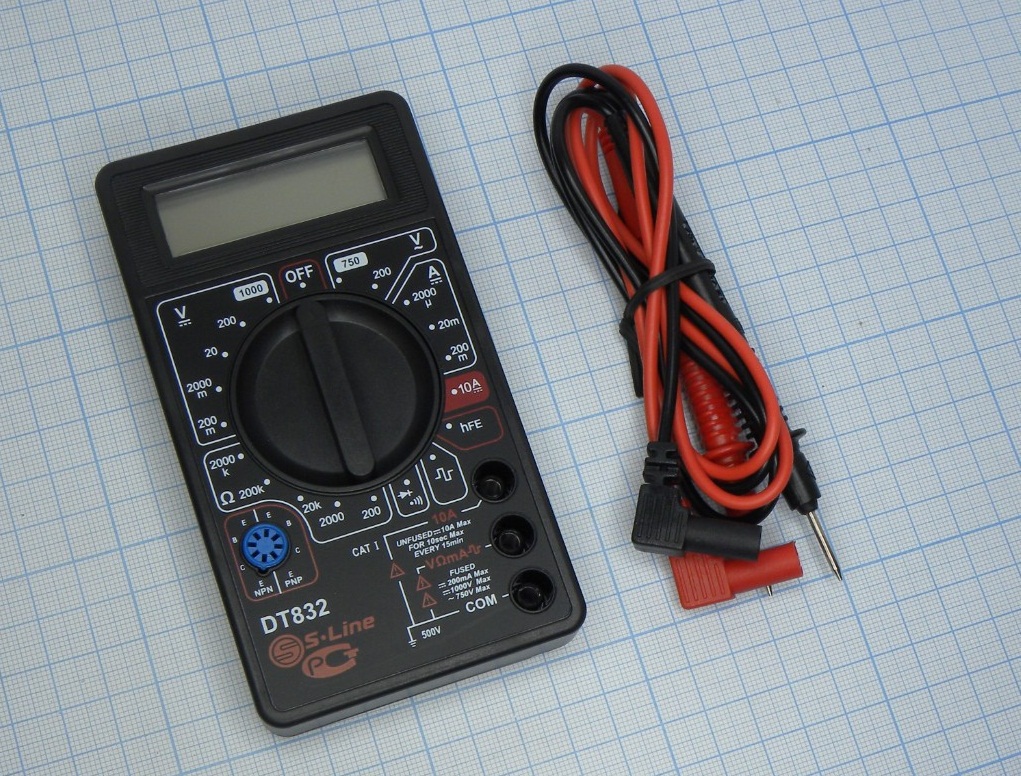
In order to start working with the device, you need to connect the probes to it. The standard number of probes is two - red and black. Traditionally black is used to connect to "minus" or "earth" (if we are talking about direct and alternating current, respectively).
Sockets for connecting probes
The black probe is inserted into the bottom socket marked COM
 Read also: Perennial flowers (TOP 50 species): garden catalog for giving with photos and names | Video + Reviews
Working with the device
Tester multimeter
After the battery is installed in the device, the probes are connected to it and the mode of its operation of the multimeter is selected, it can take measurements. Let's consider how the work with the device is carried out using the example of measuring various electrical quantities or for checking the electrical conductivity of circuits:
dialing
The simplest and most common way to use a multimeter is an elementary continuity test. Using this procedure, it is determined whether there is a contact in the circuit or not.
cable continuity
To operate the multimeter in this mode, its switch is switched to the continuity position (the icon on which the diode is shown, or the minimum resistance limit). The probes are inserted into the sockets in the standard way (black - in COM, red - in the second socket).
Next, you need to connect the pointed ends of the probes to the beginning and end of the measured circuit. If there is a contact, the device will make a sound similar to a buzzer, and some figure will be displayed on the screen - the contact resistance in ohms.
In the event that there is no contact, the device will show the number “1”, which is in the most significant digit of the digital indicator (the leftmost position). If there is no sound during the dialing, or the indicator reading does not change, then the current does not flow, that is, there is no contact in the circuit under test.
Temperature measurement
Model with temperature measurement
If the device comes with a probe with a thermocouple, they can measure the temperature.

Temperature measurement
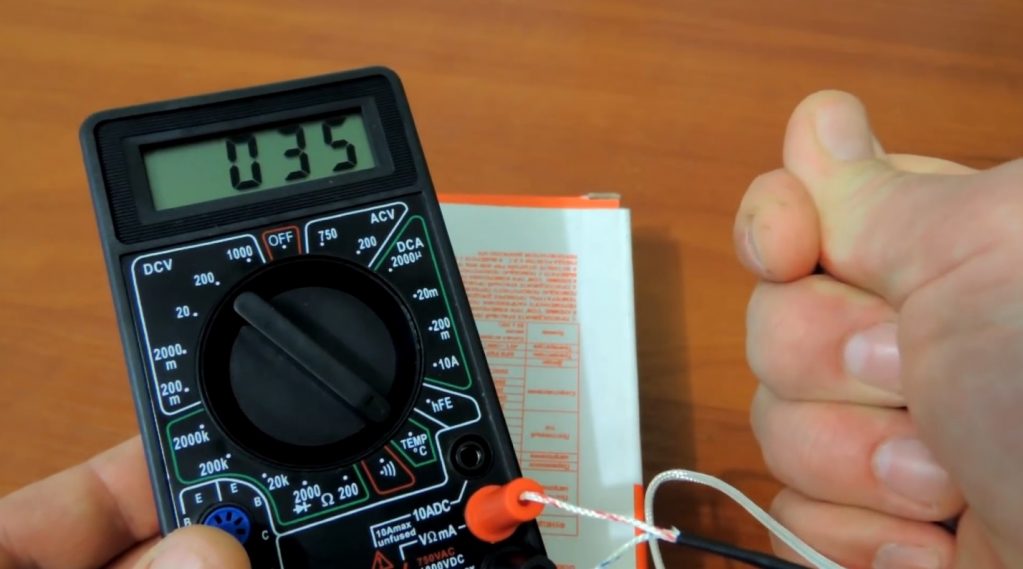
The device will show the approximate value of body temperature
Classic voltmeter (voltage measurement)
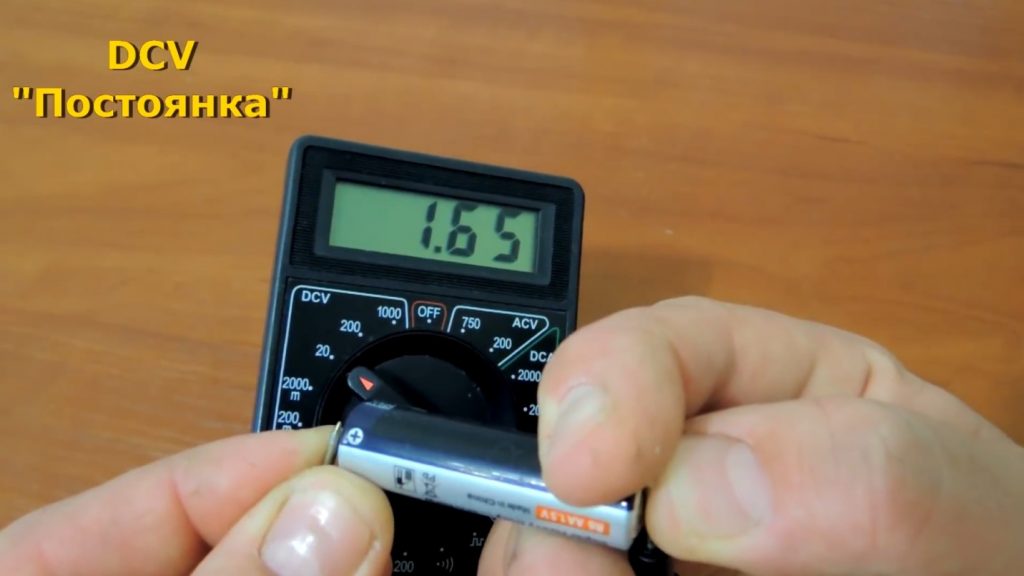
Battery voltage measurement
In this case, one of several measurement limits can be selected on the multimeter:
- 200 mV
- 2000 mV
- 20 V
- 200 V
- 1000 V
[/wpsm_titlebox]
Similarly, you can measure the voltage on a 12-volt power supply.
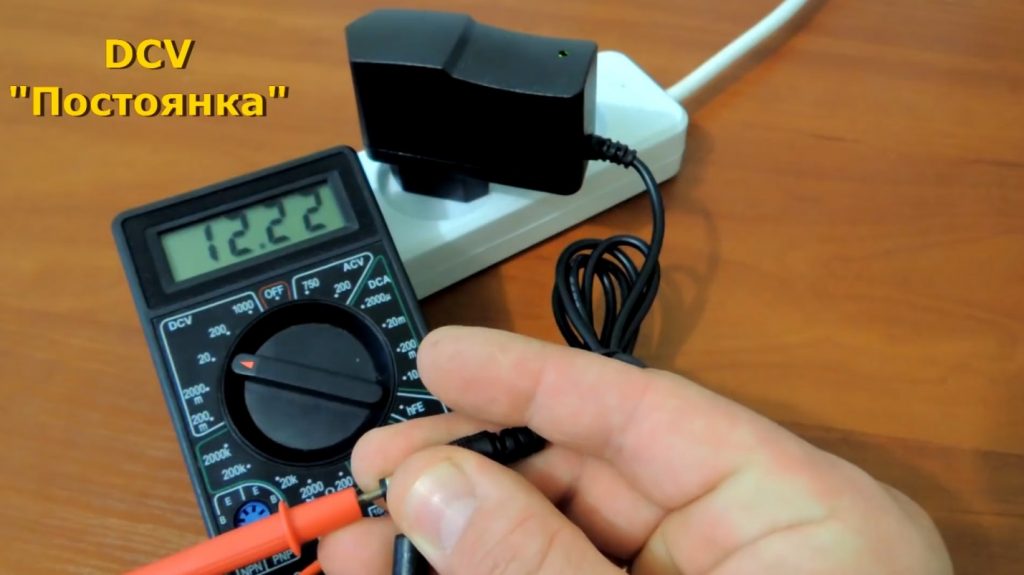
Power supply voltage measurement
In the event that during the measurement of DC voltage the polarity is accidentally reversed (that is, the black wire is connected to plus, and red, respectively, to "minus"), nothing bad will happen.
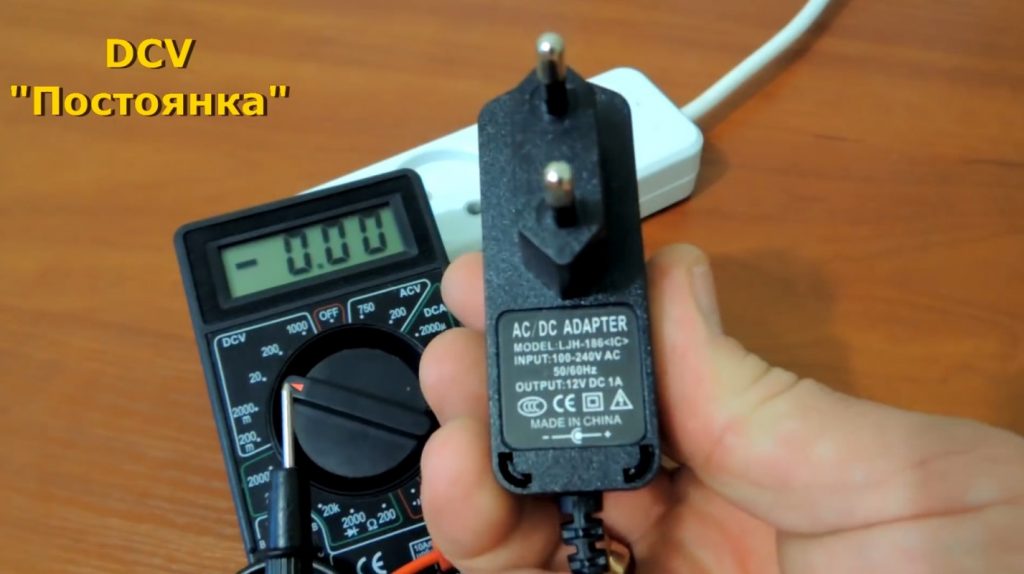
With the wrong polarity selected
The device will not burn out, the protection will not work in it, and it will not fail at all. Just the indicator will display the measured voltage with a sign "minus"; the “–” icon will appear in the high-order digit of the digital indicator. It just says that the polarity is not correct. If you swap the probes, the sign "minus" will disappear.
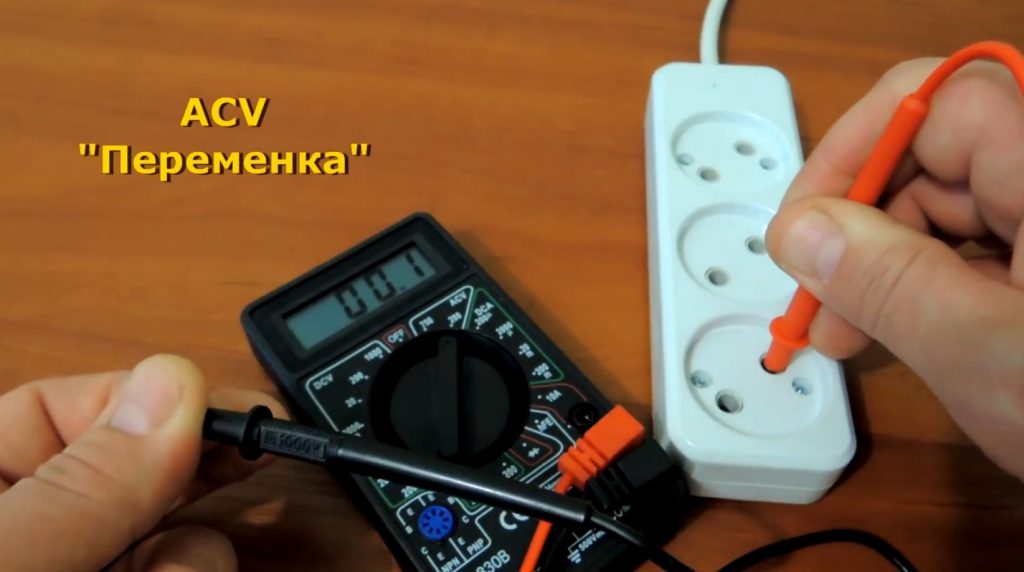
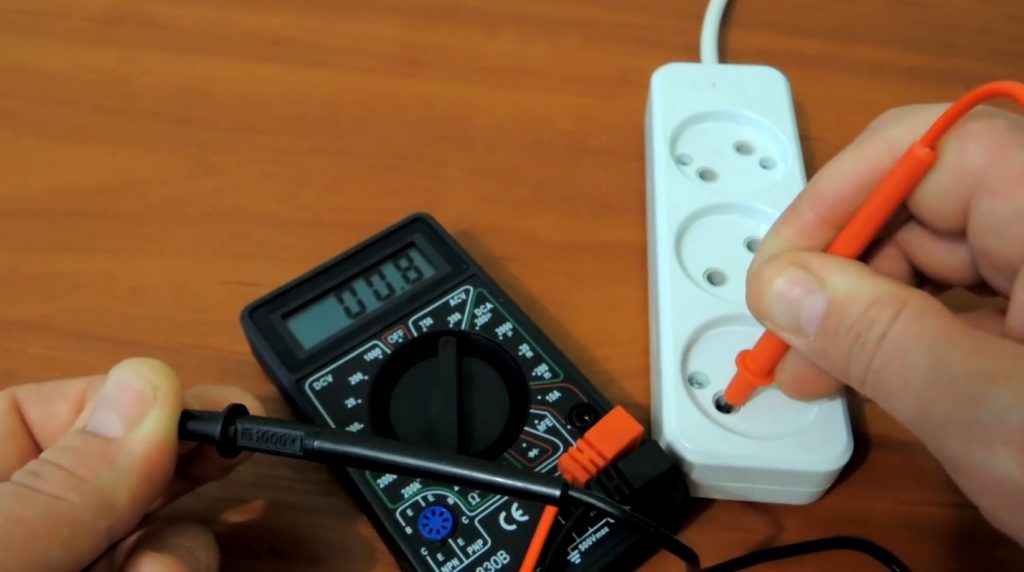
For AC voltage switch position
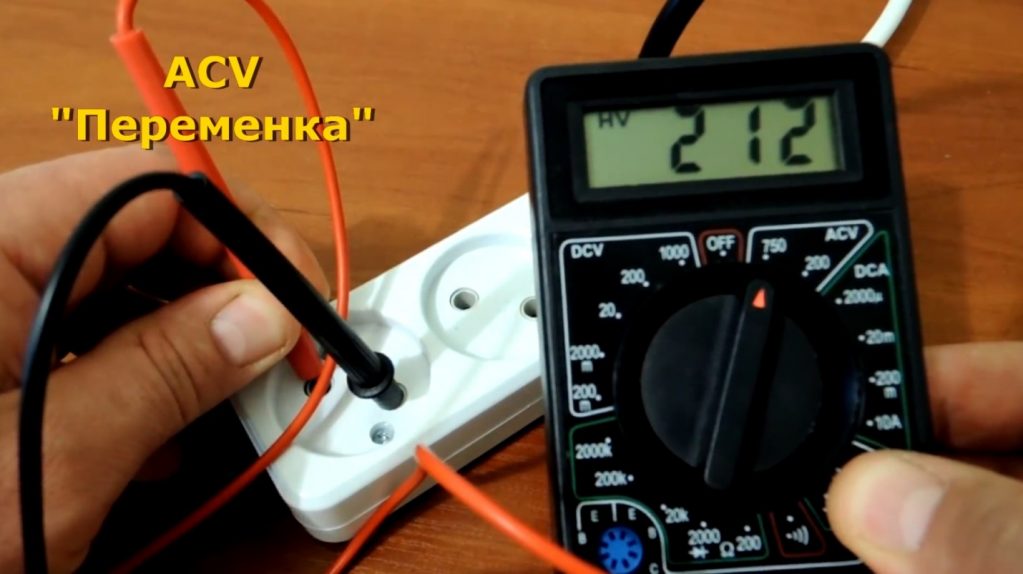
Measurement of voltage in the network 220V
In addition, it is not recommended to take the probes with both hands when measuring high voltage. Traditionally, one of the probes is somehow fixed on one of the electrodes (in our case, it is simply inserted into the socket), and the other touches the second electrode. Thus, the probability of electric shock is significantly reduced.
Phase detection
AC voltage phase detection
AC voltage phase detection
 Read also: Projects of country houses for 6-10 acres: 120 photos, description and requirements | The most interesting ideas
 Features of working with a multimeter
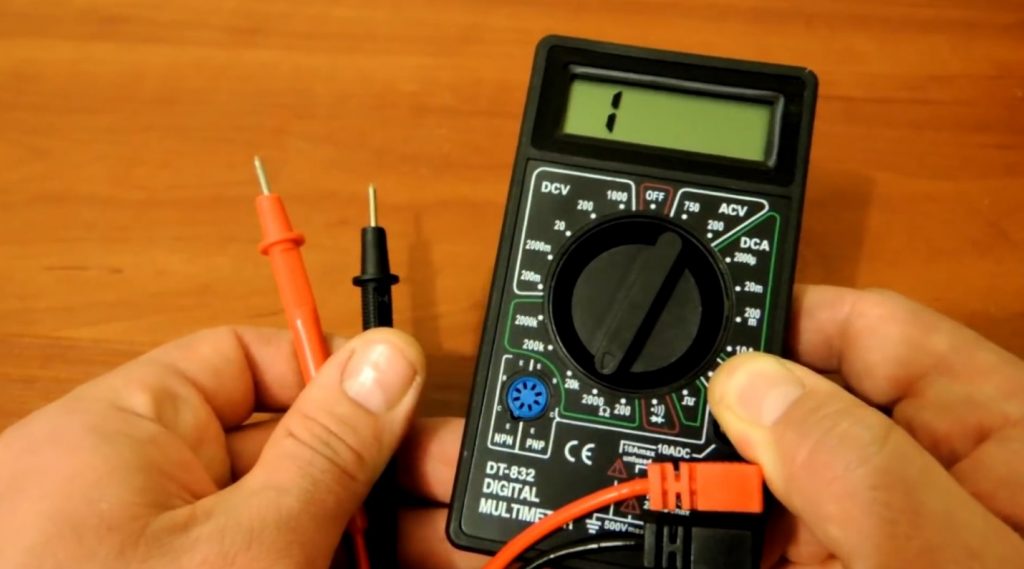
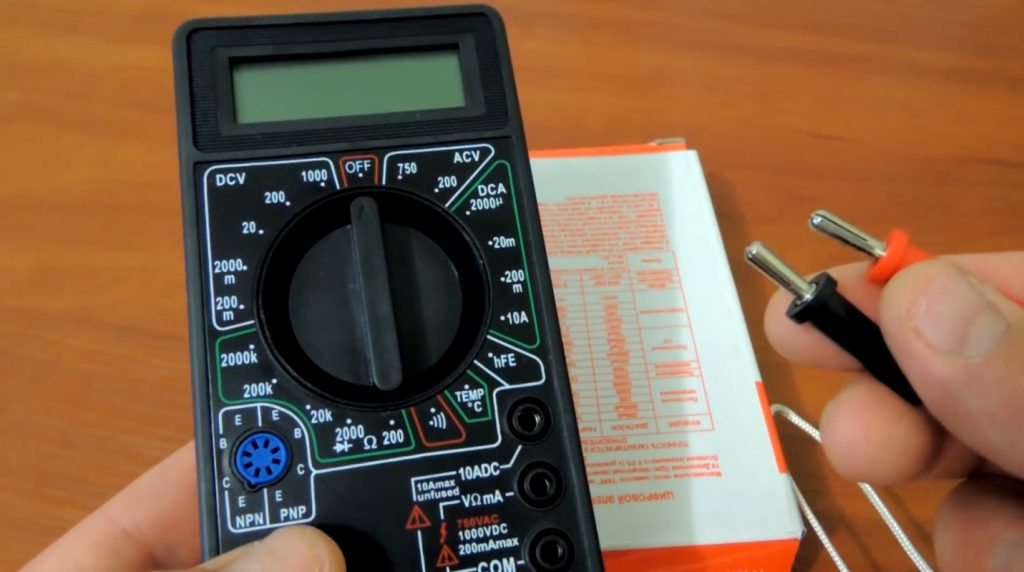
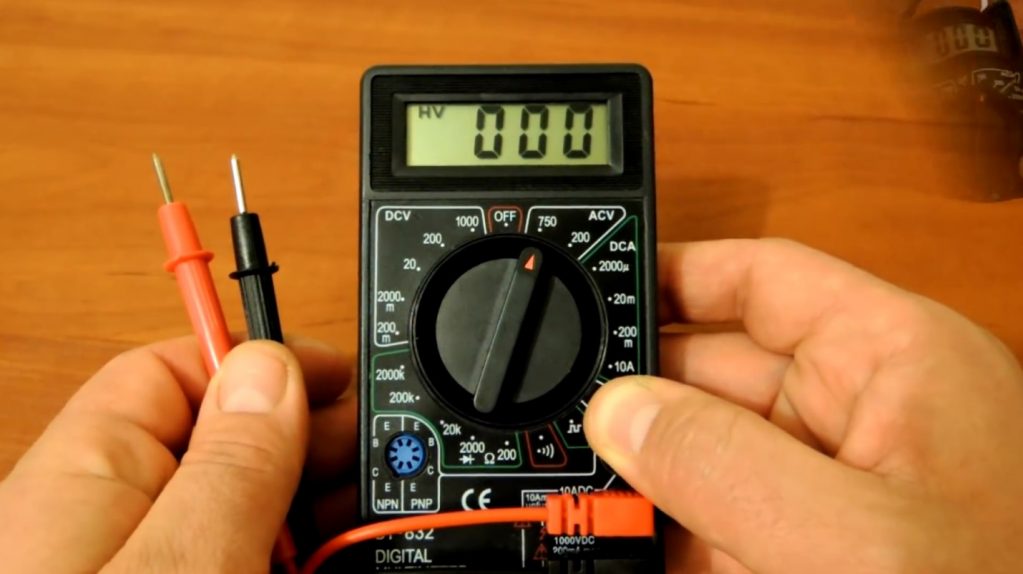
You need to check its working mode before measuring
- When working with a multimeter, you need to be very careful, because in some cases it is easy to confuse its mode of operation.
- For example, the position of the mode indicator used to measure resistance, may be perceived as a measurement of high AC voltage.
- If at the same time you turn on the device in the network, then a short circuit will occur and, at best, the fuse inside the device will simply blow. In the worst case, the measuring part of the device may burn out from the impact of a 220V change and it will have to be thrown away.
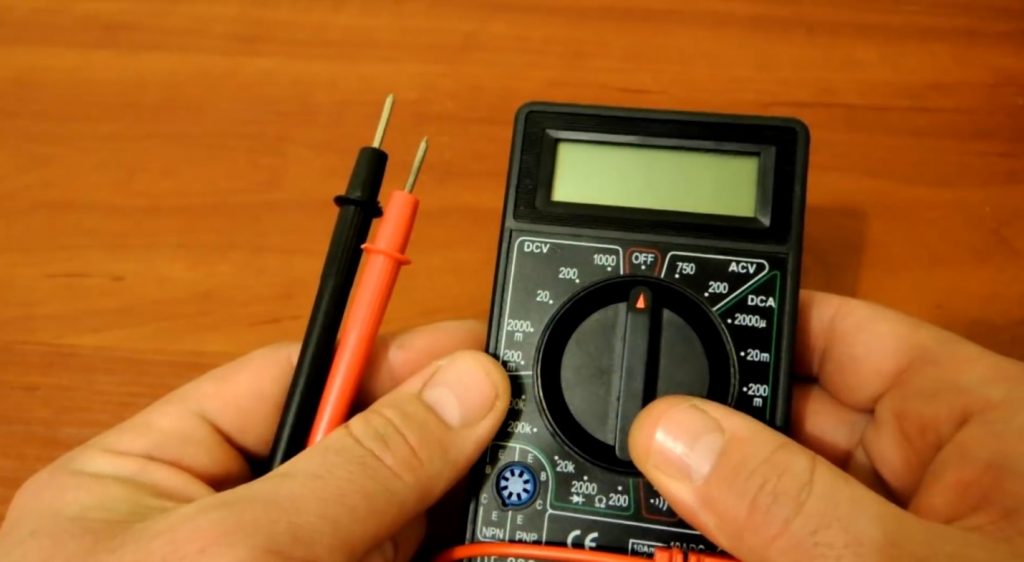
Multimeter off
To avoid such situations, it is recommended to mark the operating mode indicator (arrow) with something bright, for example, by sticking a piece of bright paper or electrical tape on it, which will be clearly visible.
VIDEO: Multimeter. How to use a multimeter
![[Instruction] How to use the multimeter: basic modes](data:image/gif;base64,R0lGODlhAQABAIAAAAAAAP///yH5BAEAAAAALAAAAAABAAEAAAIBRAA7)
Multimeter. How to use a multimeter
[Instruction] How to use the multimeter: basic modes
![[Instruction] How to use the multimeter: basic modes](https://iherb.bedbugus.biz/wp-content/uploads/thumbs_dir/hqdefault-oanws9ie0xkmaer54y69j5p02d9onpycfoth62atz0.jpg)
![[Instruction] How to use the multimeter: basic modes](https://iherb.bedbugus.biz/wp-content/uploads/thumbs_dir/Privivka-plodovyh-derevev-1-oaprfsw6qccyibaginv7855cm48zfgye0ava8ahbuk.jpg)


briefly and clearly.
They do not measure AC or DC voltage, but DC or AC voltage.