
It is deep autumn outside - the interior decoration in the house is almost finished, and heating system still not ready.
It is impossible to freeze the premises - there will be disastrous consequences, and therefore we will build temporary heating using electricity.
How to connect an aluminum radiator to a heating element is the topic of our article.
Content:
 Read also: Making a greenhouse with your own hands from a profile pipe and polycarbonate: a complete description of the process, drawings with dimensions, watering and heating (Photo & Video)
What you need and how to connect
Heating without connection to the central heating supply
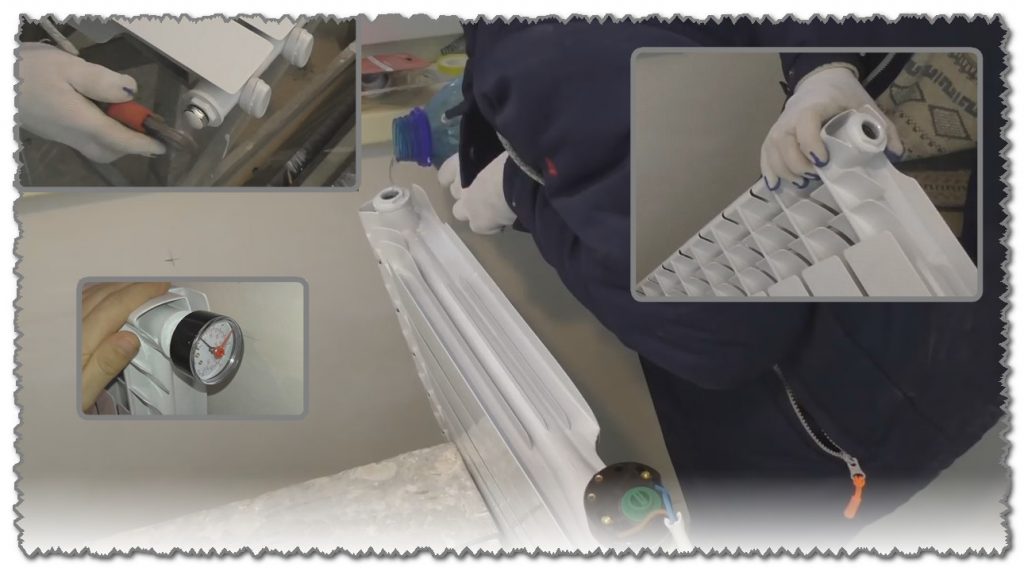
In addition to the heating radiator itself, a heating element is needed. We will use a 700 W heating element - this is more than enough to heat up a 10-section aluminum battery.
You will also need a pressure gauge to monitor the pressure in the batteries. Water will be used, and as you know, it tends to expand when heated. Although the radiator is designed for use in systems up to 6 atmospheres, we decided to be safe.
Heating element for 700 central W with thermocouple
In addition to the above, you will need a standard set of plumbing:
- wrench
- fum tape
- and silicone gaskets
For a better connection of the heating element to the mains, we will use a soldering iron.
Step number 1 - installing a heating element
Installation of heating elements
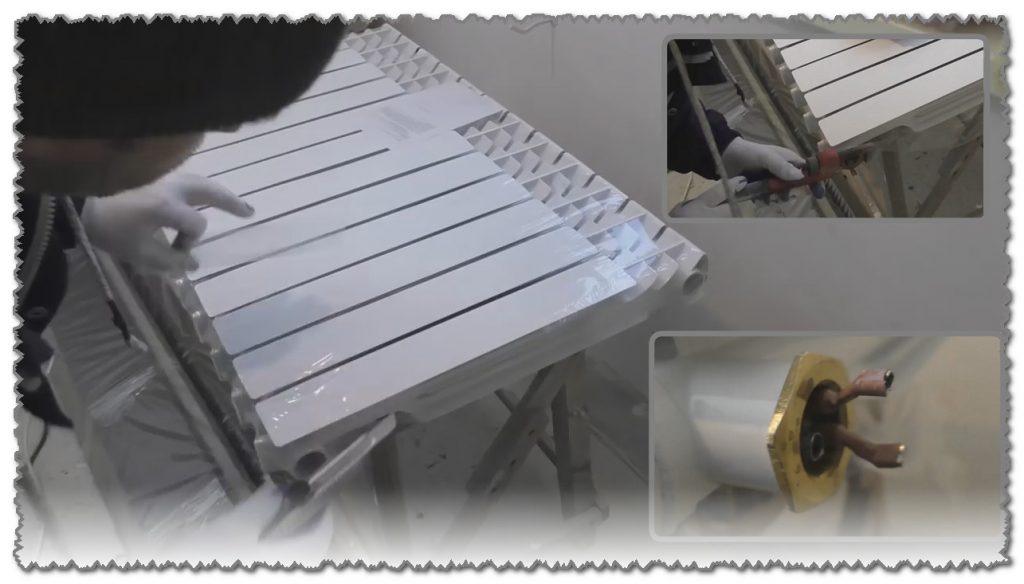
We unpack the radiator battery. We examine it for defects, also look inside, and check the absence of foreign objects in the collectors - this can also happen.
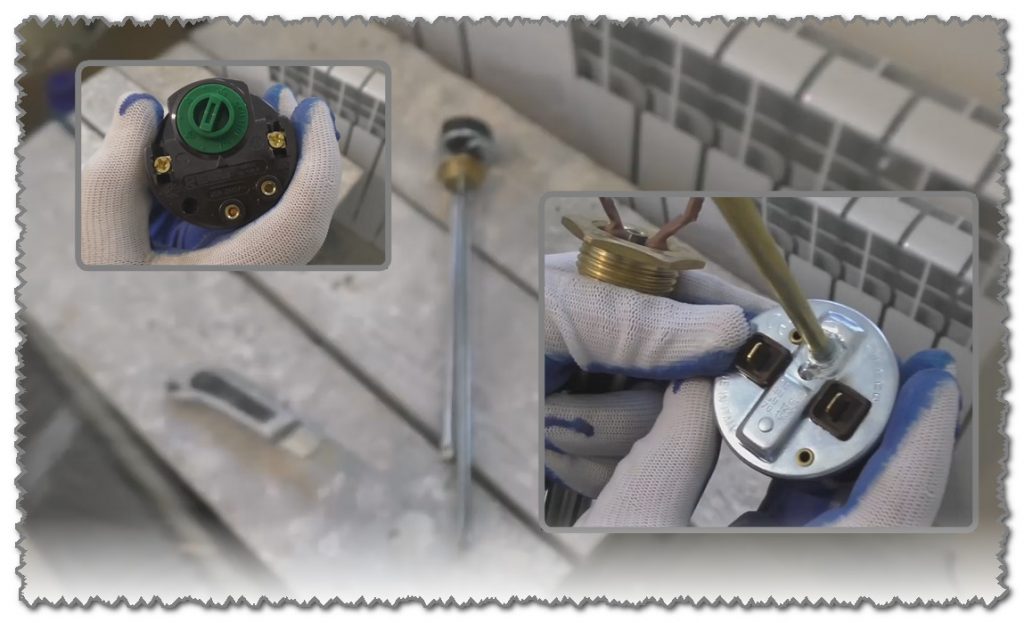
To mount the heating element, apart from the silicone sealing gasket, nothing else is needed, so we remove the thermal relay from the electrical appliance and install it in the lower radiator manifold.
Step number 2 - installation of electricians

A bit of electrics
Now you need to connect the thermostat. To do this, we prepare a wire with a cross section of 1.5 mm².
We clean the ends and use a soldering iron to tin them. It is not necessary to solder the wires.
We connect the wire to the thermostat, tighten the terminals with a screwdriver.
We install the relay back on the heating element.
Step number 3 - coolant
Works related to the coolant
Before pouring water into the radiator, it must be prepared for this.
Plug the lower manifold with an inch nut, which is located opposite the connection point of the heating element, install the Mayevsky tap (nut) to drain the water and install a pressure gauge. The latter is not required to be installed.
Pour water into the radiator. The volume of radiators may vary, in this case 0.28 liters per section. You do not need to fill it completely - since the battery does not have an expansion tank, you need to leave room for the expansion of the coolant.
If you make a mistake, then it’s not scary, you can bleed off excess pressure through Mayevsky’s nut. To determine the pressure, we decided to equip the radiator with a pressure gauge.
 Read also: Infrared ceiling heater with thermostat - modern technology in your home (Prices) + Reviews
 First run - pressure testing of the autonomous heating system
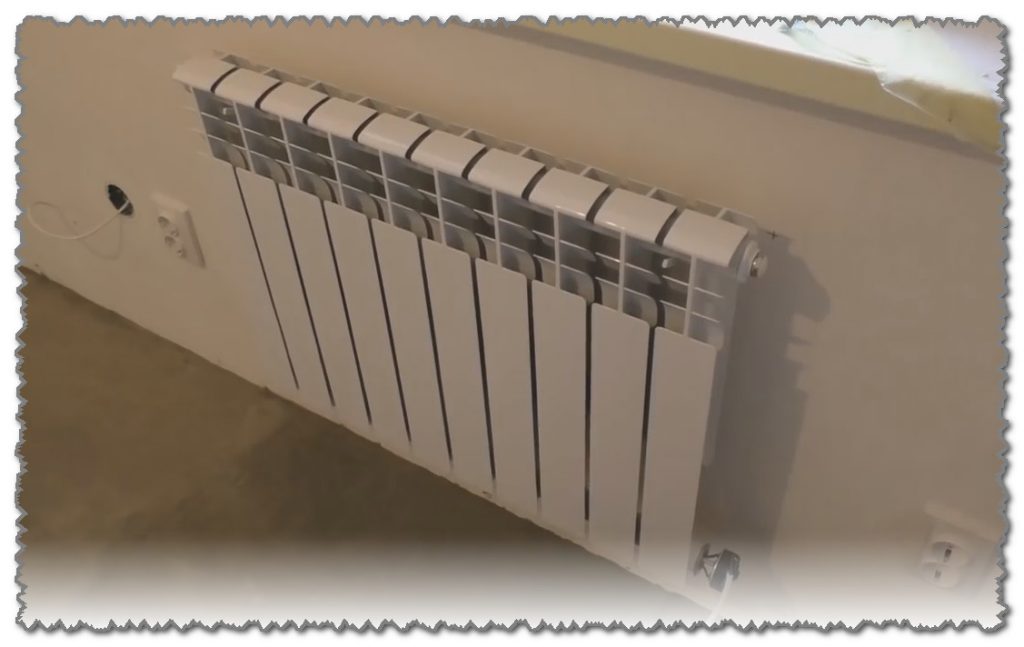
warms
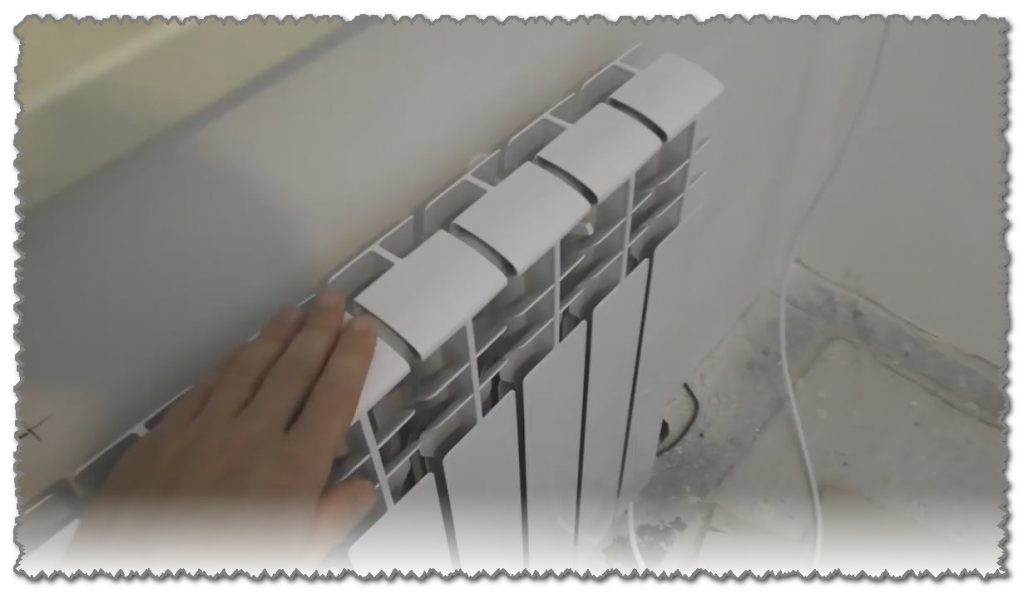
Having installed the radiator on the wall, we connected it. After 20 minutes, the battery reached operating temperature.
Heats well but on the one hand, where the heating element temperature is slightly higher, it is not critical.
There are no leaks, the tightness is not broken.
VIDEO: Ten with an aluminum radiator - temporary heating of the house
![How to connect a heating element to an aluminum radiator [Instruction]](data:image/gif;base64,R0lGODlhAQABAIAAAAAAAP///yH5BAEAAAAALAAAAAABAAEAAAIBRAA7)
Ten with an aluminum radiator - temporary heating of the house
How to connect a heating element to an aluminum radiator [Instruction]
![How to connect a heating element to an aluminum radiator [Instruction]](https://iherb.bedbugus.biz/wp-content/uploads/thumbs_dir/poleznye-prisposobleniya-oes8kl1w5d4lhmkzefdza025nomn6ixwlc52xlitrw.jpg)
![How to connect a heating element to an aluminum radiator [Instruction]](https://iherb.bedbugus.biz/wp-content/uploads/thumbs_dir/Izgotavlivaem-prochnuyu-i-anatomicheskuyu-rukoyat-dlya-nozha-oenzi0c9j5kcvr01ag8fikqp2djx6yc8ais5b03vwc.jpg)


