

Herring is quite affordable and at the same time very healthy food. The main component that herring is rich in is Omega-3 polyunsaturated acid, which has a beneficial effect on maintaining normal brain function.
Of all seafood, herring is the cheapest source of this compound. In addition, herring is simply delicious. Cooking herring dishes has several unpleasant nuances. Few are able to quickly and efficiently clean it without contaminating a sufficiently large number of kitchen utensils, which then have to be washed to get rid of the persistent fishy smell.
Another feature of herring that many do not like is the large number of small and thin bones in the fish. Since most herring dishes require fillets, deboning can take a long time. The article discusses how to quickly and efficiently clean this fish without any problems.
Content:
 Read also: Sage: a description of its medicinal properties and possible contraindications for women and men, herbal infusions and other useful information about a natural healer
Action number 1 Preparing fish for cutting
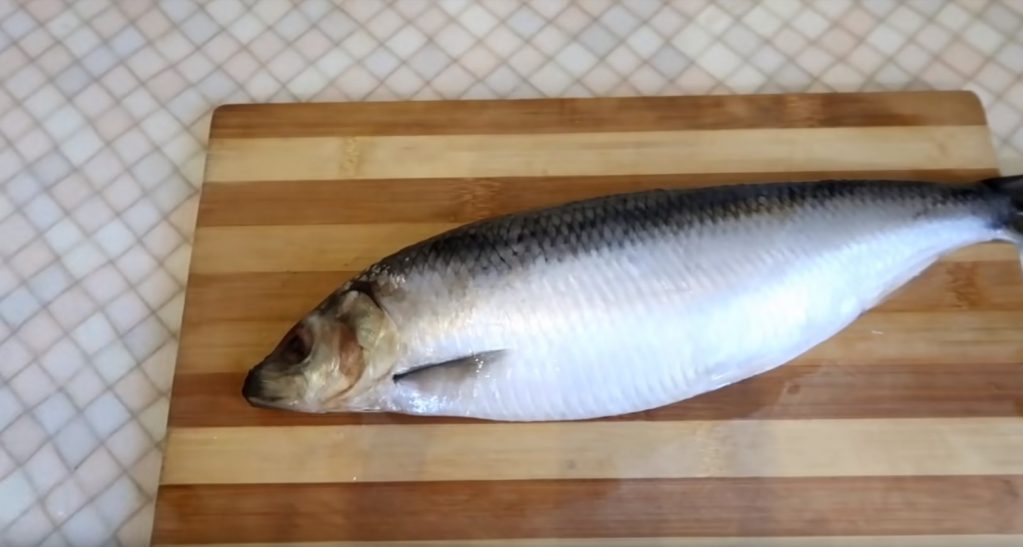
Herring prepared for cleaning
The fish must be washed and placed on a cutting board.
 Read also: The legend of St. John's wort, its medicinal properties, methods of application, restrictions and contraindications for use by men and women (Photo & Video) + Reviews
 Action #2 gutting the fish

Cutting off the head of a herring
Gutting consists of removing the head and entrails of the fish. First, cut off the head of the herring.
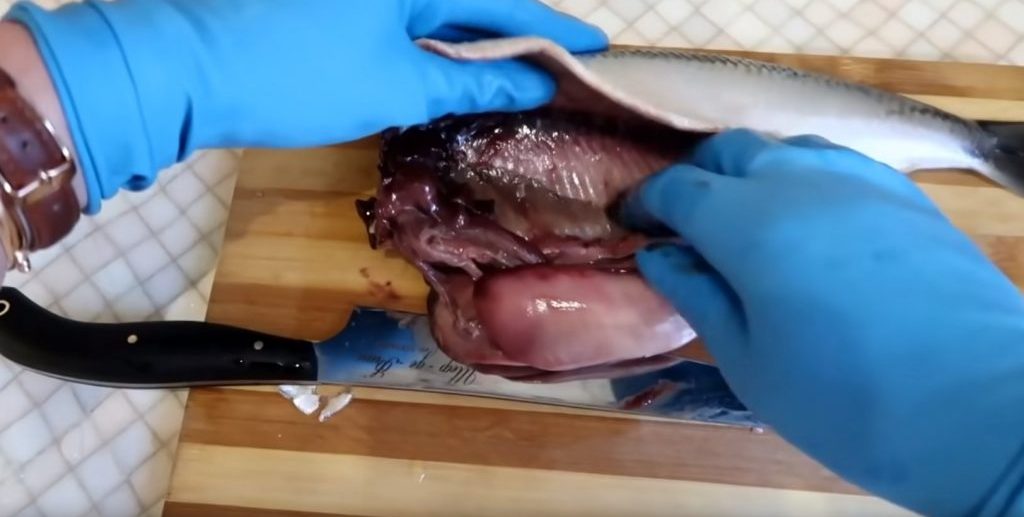
Cleaning the abdominal cavity of the fish from the insides
And then - clean out her abdominal cavity from the insides.
Then it is necessary to remove the black film from the surfaces of the abdominal cavity.
If there is caviar or milk in the carcass, they can not be thrown away, but used for other dishes, for example, for sandwiches.
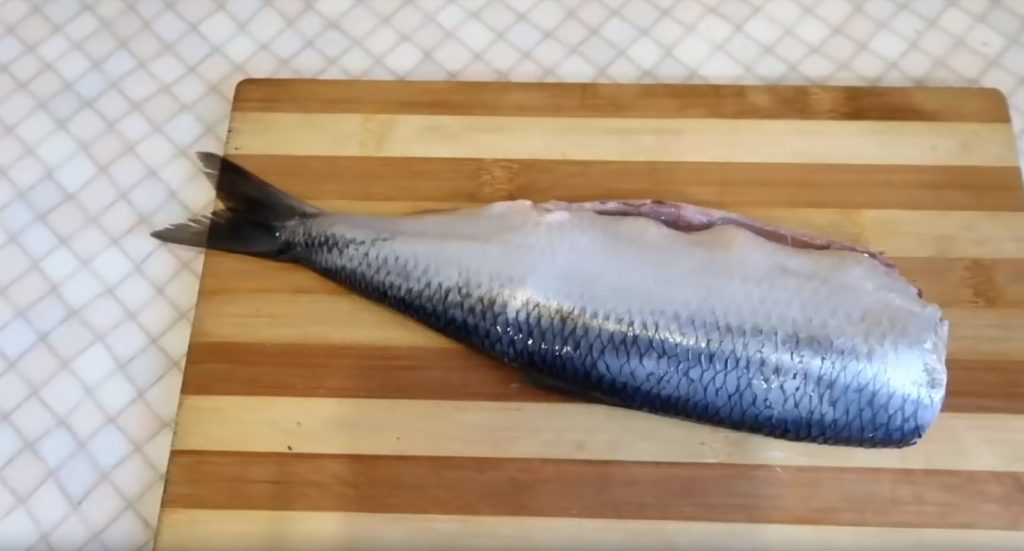
Gutted herring carcass
After that, the carcass is again washed under running cold water.
 Read also: Snacks for beer: TOP-25 Best and original recipes that you can cook with your own hands
Action #3 Skinning
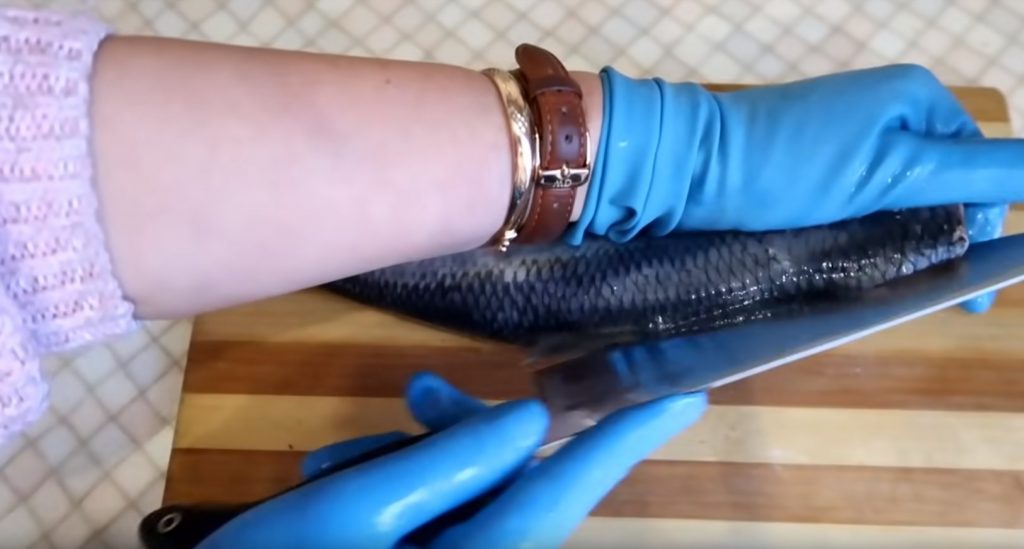
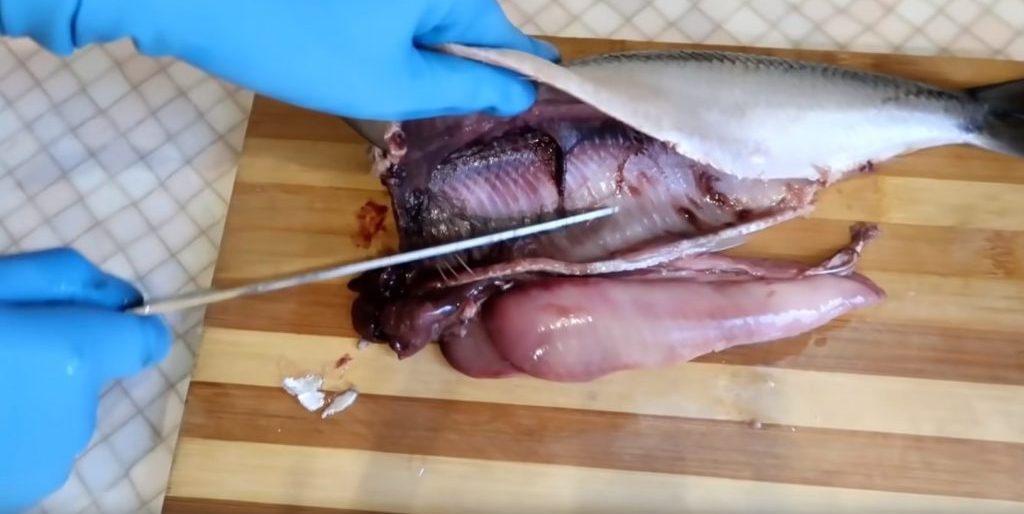
Cutting the back of a herring with a knife
To remove the skin from the carcass, you need to make a longitudinal cut in the center of its back from head to tail. An incision is made along the entire length of the carcass.
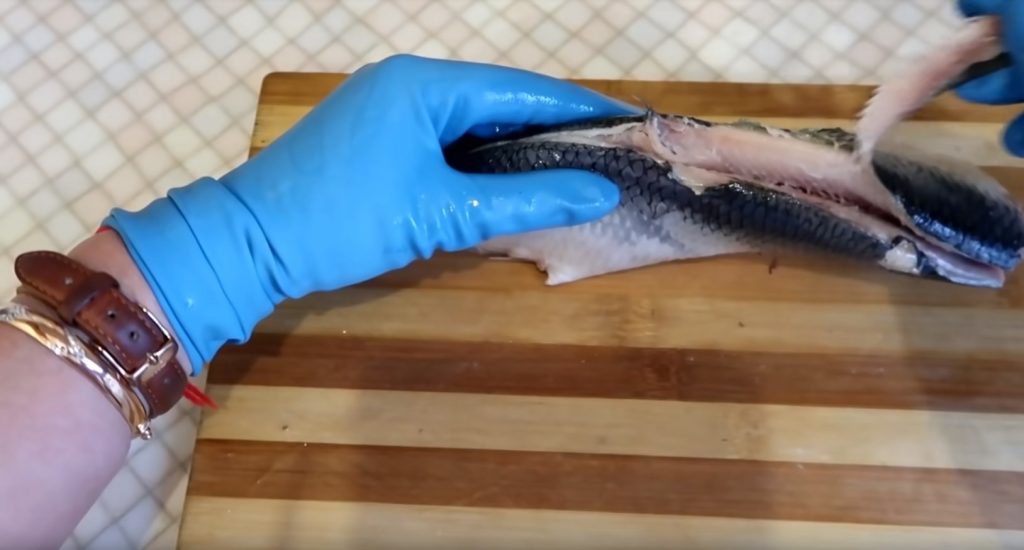
Removing the dorsal fin
Removal is carried out in the same way as cutting - from head to tail.
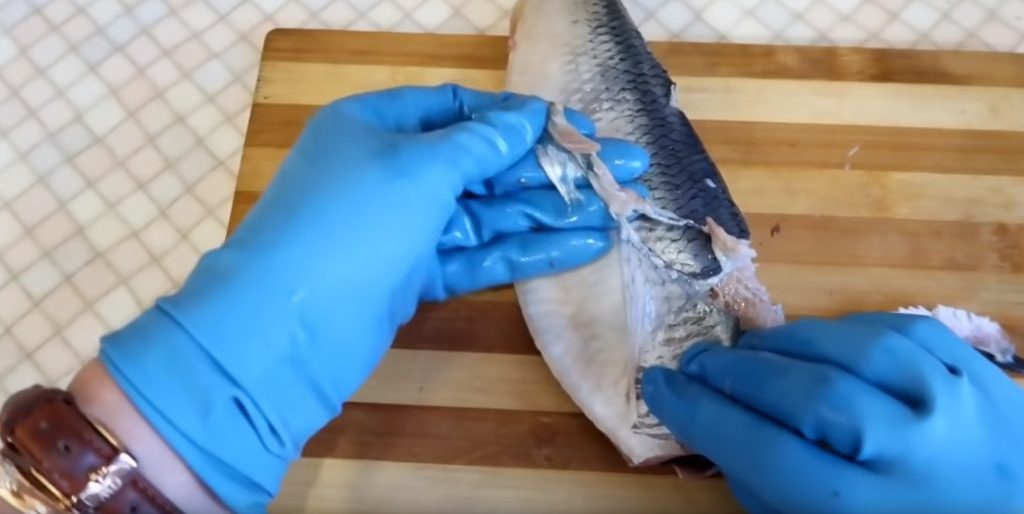
After that, remove the skin
The skin is removed from both sides of the carcass.
Skin removed from carcass
 Read also: TOP-23 Recipe for salads with canned tomatoes: with tuna, beans, corn and other ingredients. Cooking Tips (Photo & Video) + Reviews
 Action number 4 Cutting the carcass
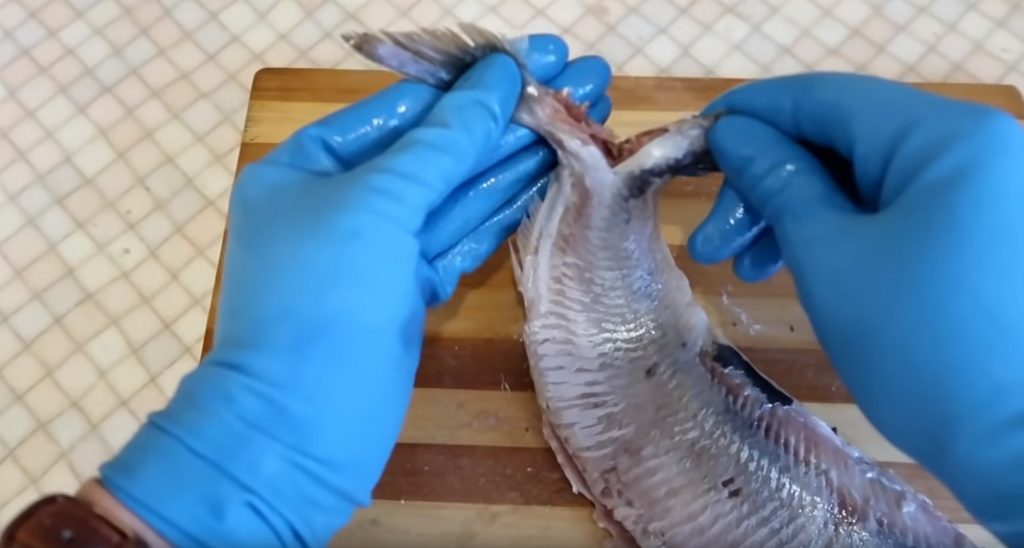
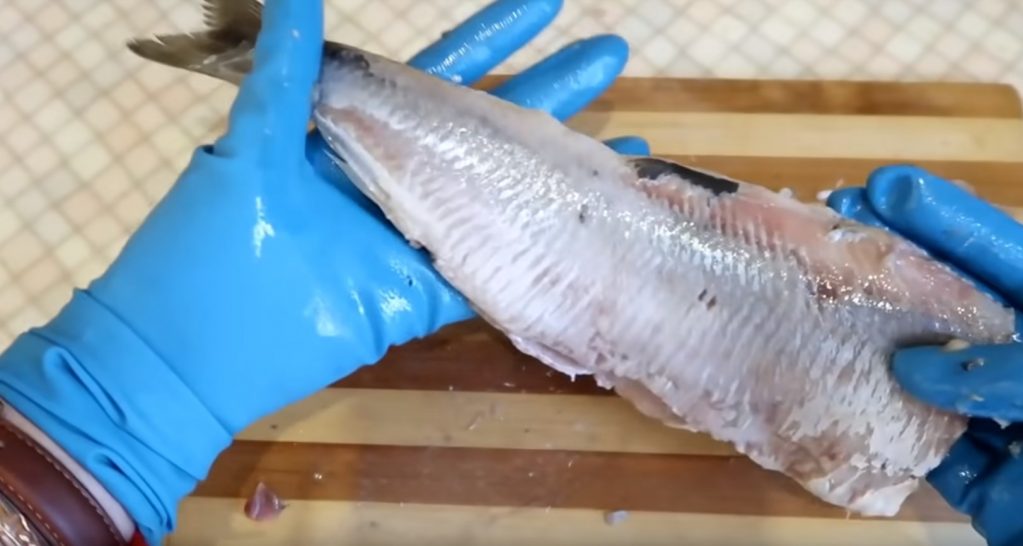
Dividing a herring into two parts by breaking the caudal fin
Cutting a herring consists in removing the bones from it along with the ridge. To do this, you need to break the tail fin in the middle and continue to separate the upper and lower parts of the carcass along its entire length from tail to head.
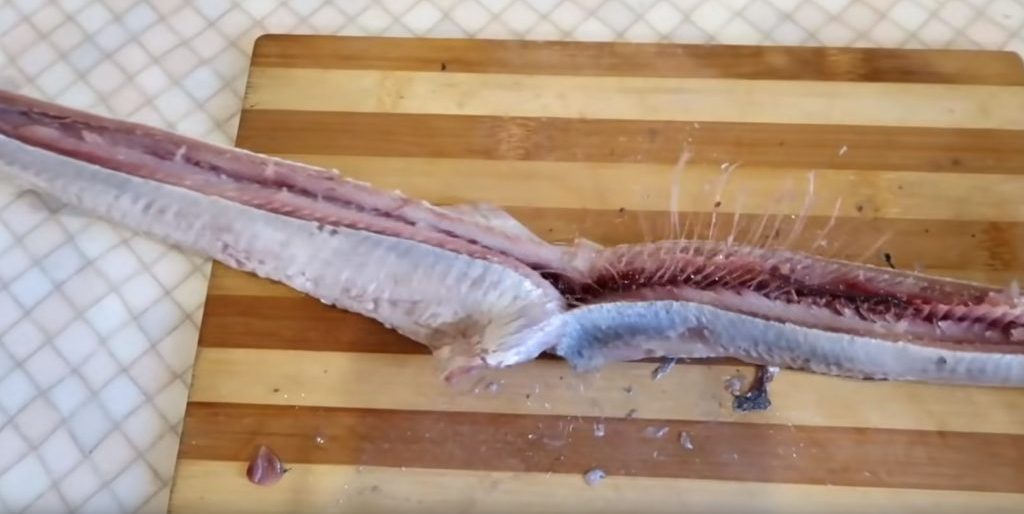
Completion of the separation of the upper part of the carcass from the lower
After this procedure, the lower part of the carcass is completely freed from bones, since all of them remained attached to the ridge.
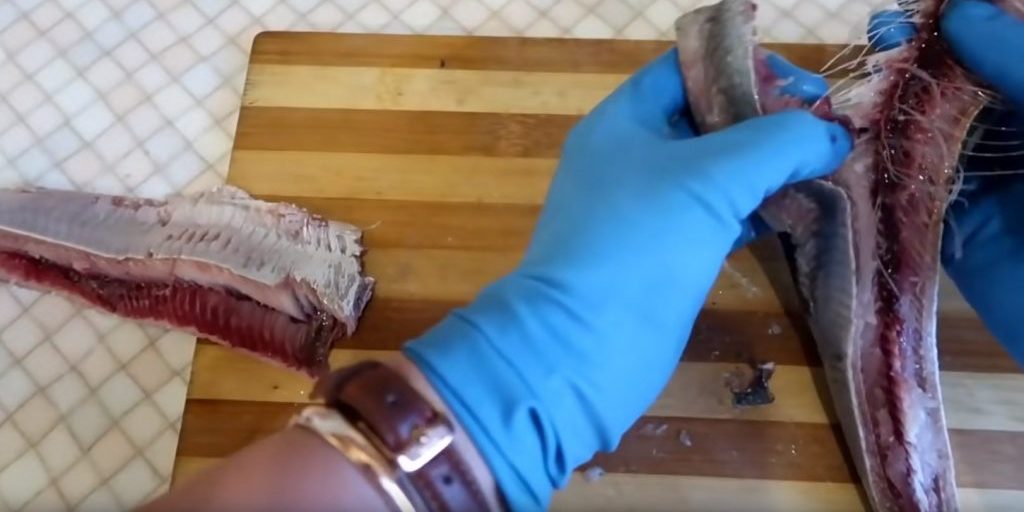
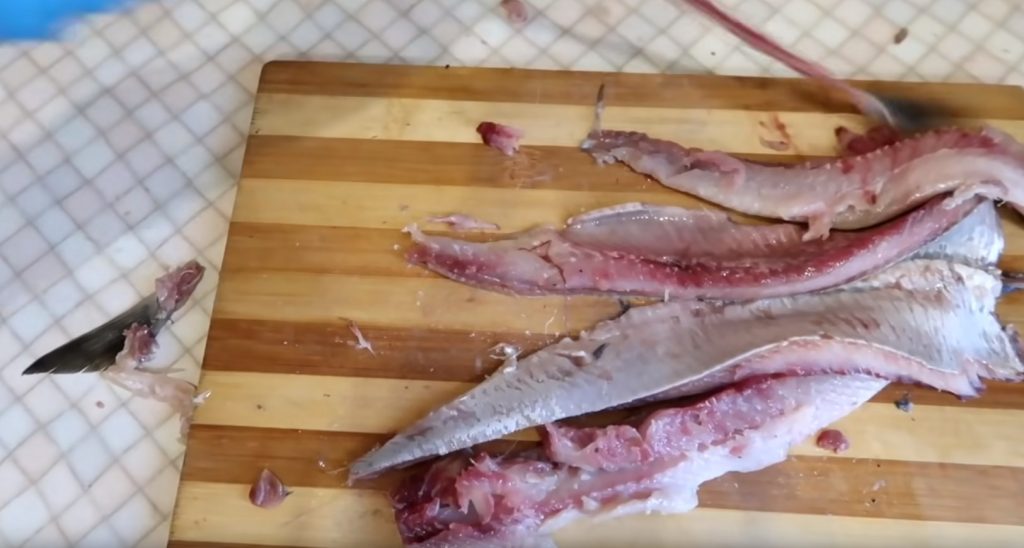
First, one half of the carcass is separated from the ridge
Next, you need to remove the ridge from the top of the carcass.

Separation of the halves
Then the remaining half is separated.
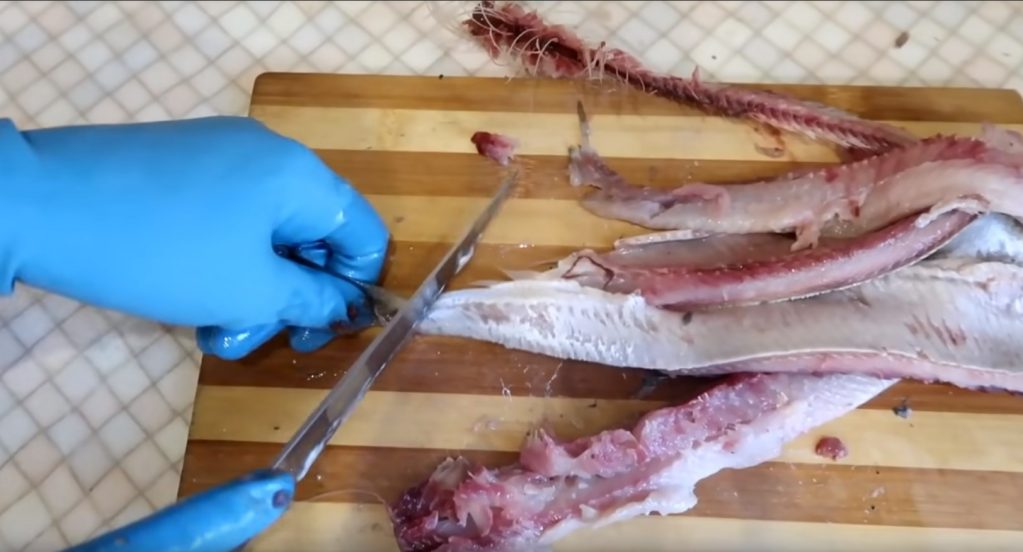
Cutting off the tail fin
After the ridge with ribs is separated from the fillet, you need to cut off the remains of the caudal fin.
Appearance of a cleaned herring fillet
VIDEO: A tricky trick on how to peel a herring in 10 seconds

A tricky trick to peel a herring in 10 seconds
How to properly and quickly clean a herring from bones: a simple step-by-step instruction


