
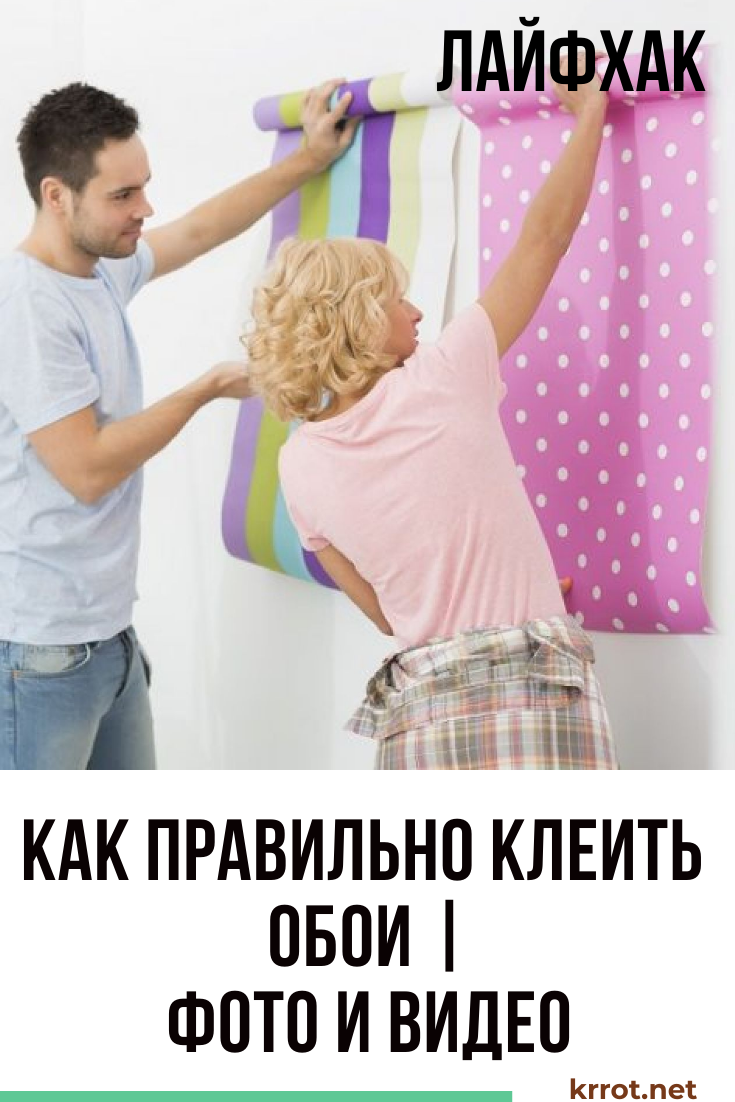
Wallpaper has long been the only way wall decoration in apartments and houses. Until now, they have not lost popularity, although they have undergone a number of changes: in addition to paper, special polymers are now used. Despite the apparent complexity, even a person far from construction will cope with the gluing work. How to glue wallpaper without errors and defects with your own efforts, we will tell further.
Content:
 Read also: Veranda attached to the house - expanding the living space: projects, tips on how to create your own hands (200 original photo ideas)
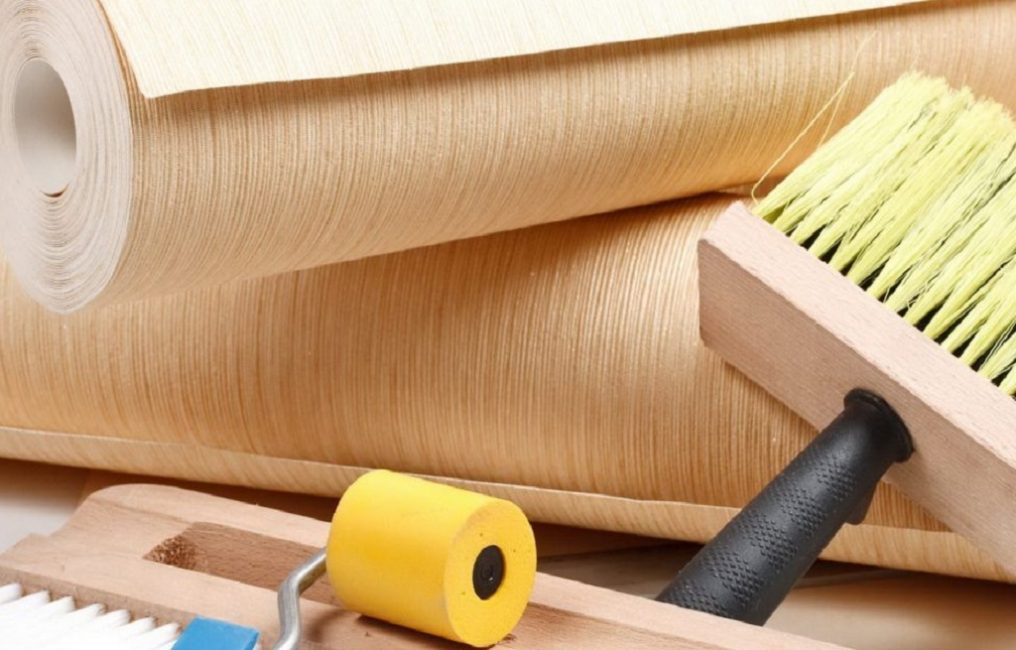
Varieties
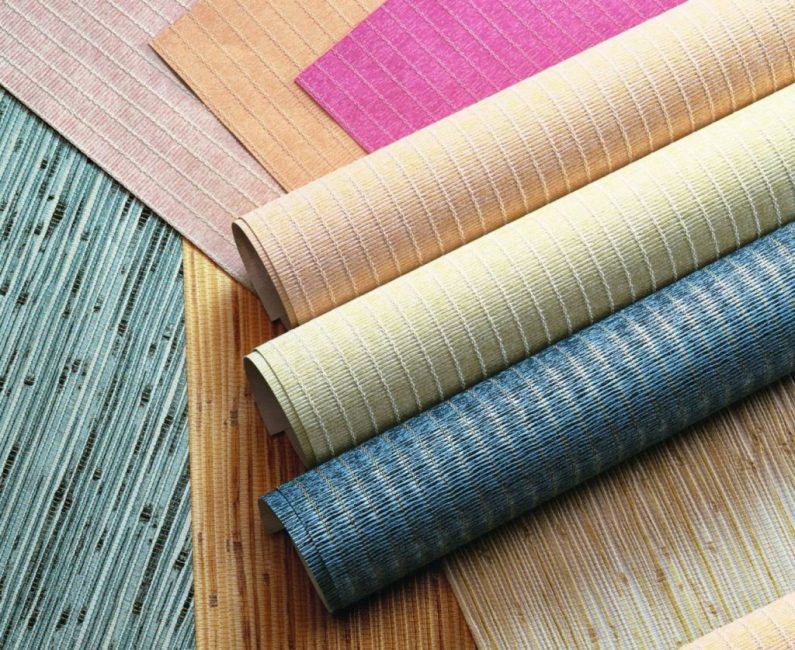
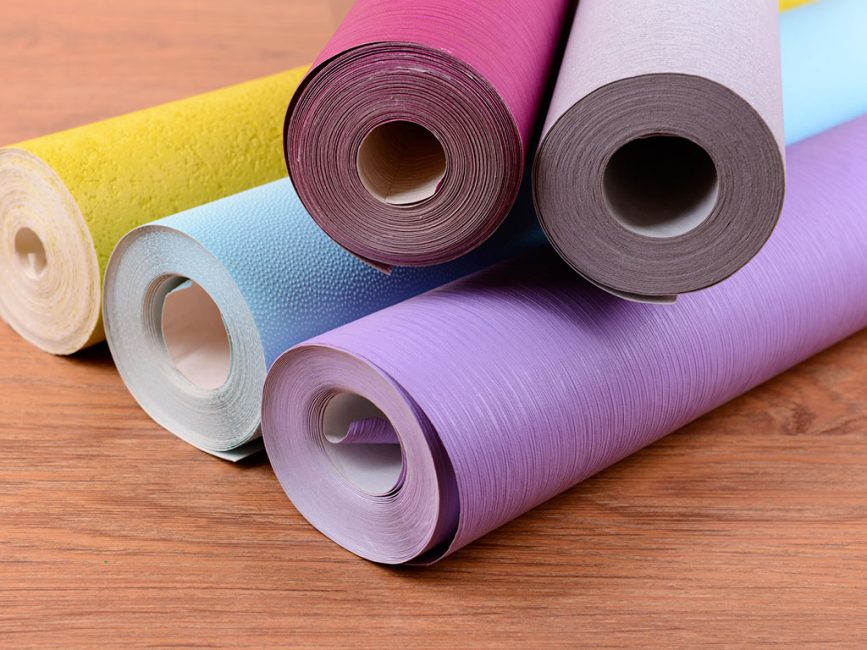
Most often, paper, vinyl and non-woven wallpaper is used to decorate houses and apartments.
For decorative wall decoration, the following types of paintings are used:
- paper
- vinyl
- non-woven
- fabric (silk, linen, felt, velor)
- fiberglass
- liquid
In everyday life and for self-sticking, the first 3 types are most often used. The rest are either too exotic, or (like liquid wallpaper) are related to plaster work.
Paper
Paper wallpapers are inexpensive, but are afraid of moisture and fire
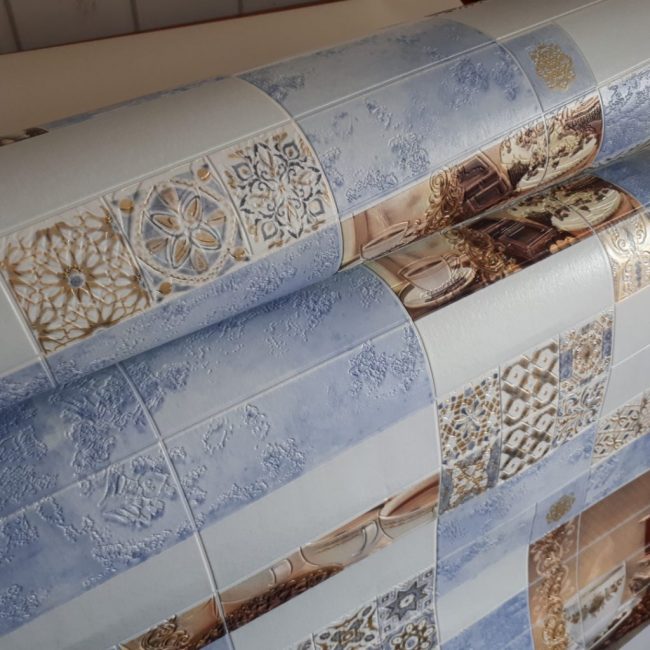
The most common finishing materials are made of paper and are:
- single layer (simplex)
- two-layer (duplex)
Paper towels are inexpensive, pass steam well and are safe for humans. However, such a surface is not resistant to wear, is damaged by moisture and easily torn.
The optimal solution is considered to be gluing structural paper wallpapers, which are made in white and can withstand 2-3 painting cycles. They do not need to be joined, and the composition contains crushed sawdust.
Vinyl
Vinyl wallpapers are easy to clean, but they are not suitable for living rooms.
Cloths, the top layer of which is made of polyvinyl chloride, are highly moisture resistant: they are easy to wash even with the use of detergents. Sticking is allowed in the bathroom, bathroom, kitchen.
The disadvantages of this type of finish include the tendency of the cloth to stretch. Vinyl wallpapers do not allow steam to pass through, which can cause condensation on the walls, and they also have a characteristic unpleasant odor.
It is not recommended to finish living rooms with polyvinyl chloride material, especially children's and dining rooms.
non-woven

Non-woven wallpaper is superior to paper counterparts in terms of performance
The material of the panel is based on interlining, which is considered a type of paper, but has greater wear resistance. Withstands moisture, environmentally friendly and easy to stick.
The disadvantage is a thin layer of coating, due to which even small defects in the surface of the walls are visible through the finish. Non-woven rolls are also more expensive than paper rolls.
 Read also: Making a greenhouse with your own hands from a profile pipe and polycarbonate: a complete description of the process, drawings with dimensions, watering and heating (Photo & Video)
 How to choose wallpaper and calculate the quantity
The calculation of the number of rolls is made, focusing on the area of \u200b\u200bthe walls in the room, minus window and door openings
When choosing canvases for wall decoration, the following parameters indicated in the marking are taken into account:
- roll width
- moisture resistance (moisture resistant, washable, super washable)
- susceptibility to ultraviolet radiation (relatively or very lightfast)
- gluing conditions (completely or not completely removable, glued end-to-end or overlapped, direct or reverse gluing)
- requirements for the glued surface
Speaking about the varieties of wallpaper, they take into account the operational characteristics of each material, strengths and weaknesses. Usually guided by the following principles:
- Paper canvases are chosen for living rooms, bedrooms and nurseries.
- Vinyl coatings are optimal for kitchens and bathrooms where there is high humidity and the surface needs to be washed frequently.
- Non-woven finish is suitable for sunny rooms, because it does not fade for a long time under direct rays
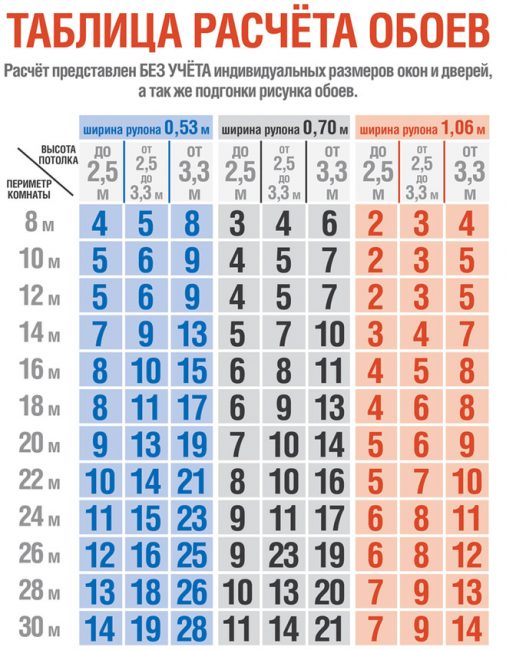
How to calculate wallpaper
The calculation of the number of rolls for gluing is carried out based on the parameters of the room: width and length, ceiling height minus the area of window and door openings.
The total area of \u200b\u200bthe walls is divided by the width of the panel - the resulting figure is the required number of rolls. An additional 1 unit is added for the stock if part of the material is damaged.
If canvases with a pattern are used, the required footage is increased by 25% - this amount is laid for joining parts and patterns.
The number of cans with glue is calculated according to the number of rolls: on each container with a binder, the standard for average consumption is indicated. When priming the walls, they acquire 1 more can of adhesive in excess of the norm.
 Read also: How to insulate a private house with your own hands: roof, walls and foundation, description of thermal insulation materials offered on the market (Photo & Video) + Reviews
Wallpaper glue
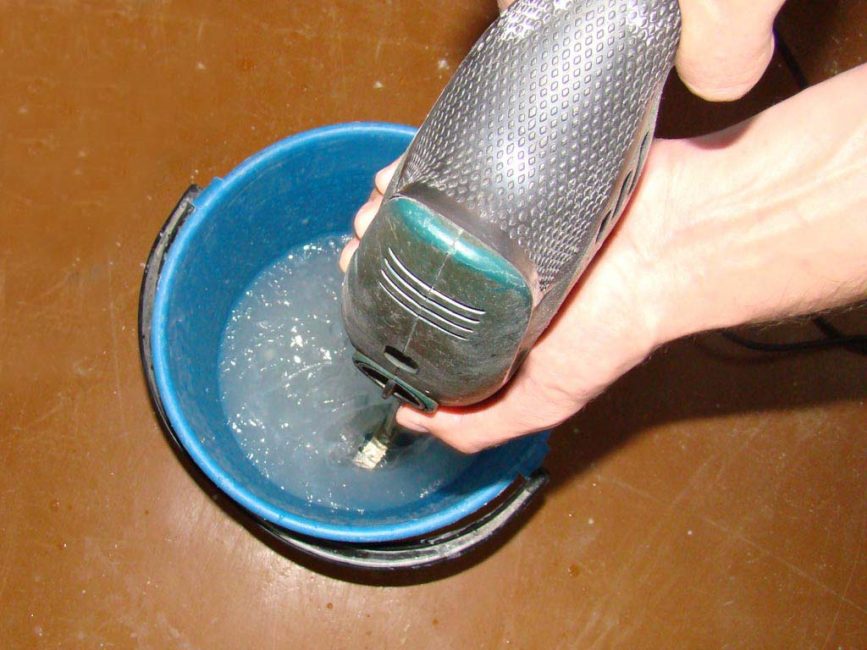
Glue is stirred to a state of jelly
Wallpaper glue is chosen after the purchase of the finish: it must be suitable for the type of base of the canvases. For paper, interlining and polyvinyl chloride, different adhesives are used that cannot be replaced.
The building material is diluted according to the instructions on the package, following the general rule: the dry mixture is poured into water in a thin stream. As soon as the mixture becomes like a thick opaque jelly, the glue is ready for use.
It does not make sense to dilute the entire amount of the composition at once: the substance quickly hardens and loses performance.
 Read also: How to make a booth for a dog with your own hands: building a home in the yard and in the apartment. Drawings, dimensions and original ideas (55+ Photos & Videos) + Reviews
 Required Tools
Necessary tools for gluing
Before starting work, prepare the necessary equipment so as not to waste time looking for it during gluing. The optimal set of tools and auxiliary items is as follows:
- container for diluting glue
- synthetic bristle roller or wide construction brush
- tailor's scissors, a knife or a wide blade for cutting fabrics
- putty spatula made of metal for leveling and removing air "bubbles"
- yardstick
- simple marking pencil
- plumb or building level to check for even bonding
For applying glue to paper and vinyl wallpapers, it is convenient to use wide tabletops, and for wall decoration near the stream, scaffolding or a stepladder.
 Read also: Do-it-yourself furniture and other wood products: drawings of benches, tables, swings, birdhouses and other household items (85+ Photos & Videos)
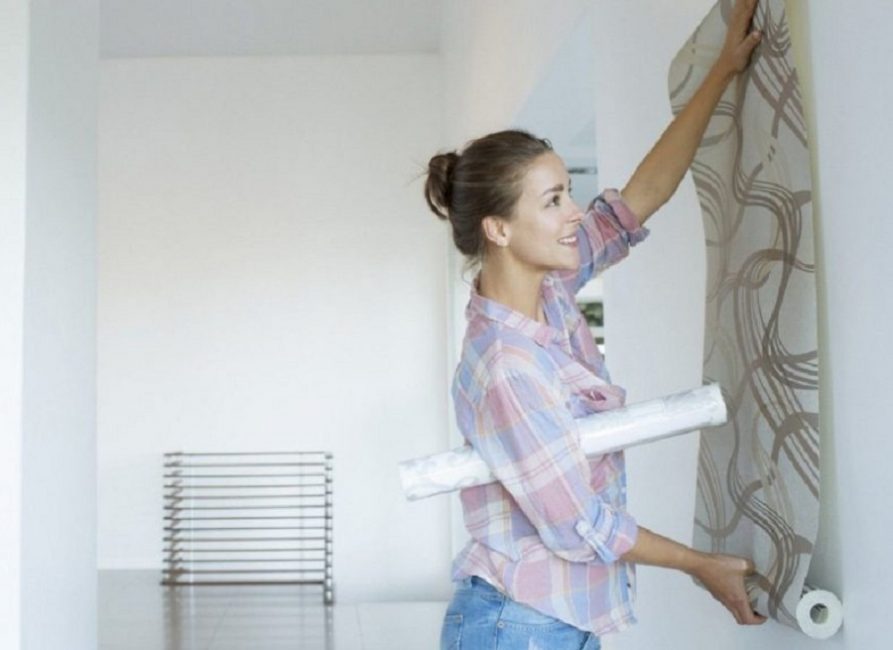
Preparatory work
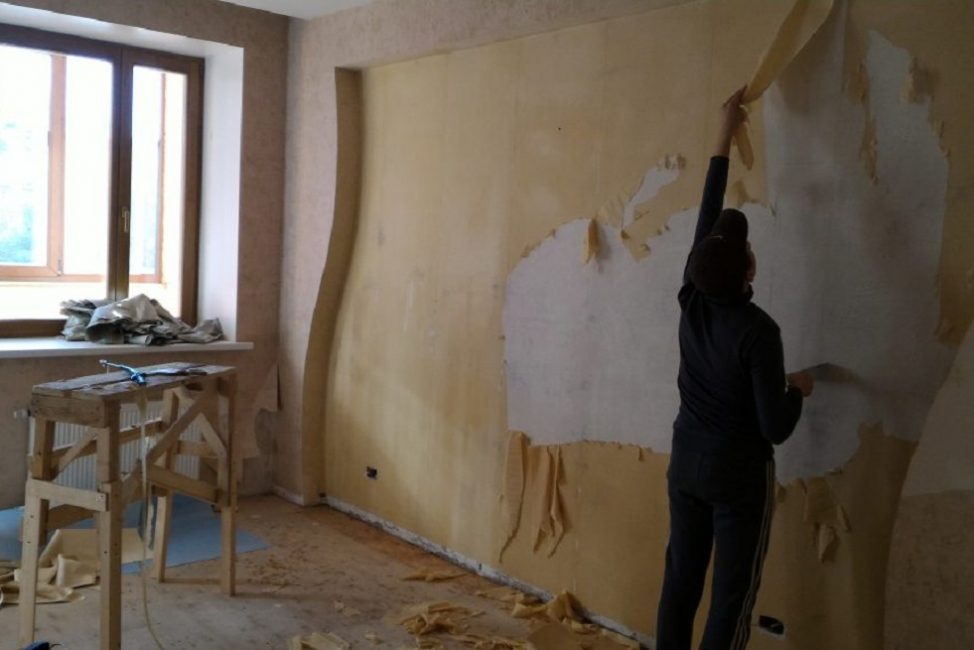
Before sticking new wallpaper, the old finish is removed, cleaning the wall clean
Before proceeding with wallpapering, it is recommended to carry out the following preparatory work indoors:
- Remove items and furniture. Cover large objects and the floor with plastic wrap or old newspapers
- De-energize the room so that glue or water does not get into the sockets. If it is not possible to provide artificial lighting, then electricity is left
- Arrange stepladders and a table for applying glue to the surface
- Close windows and doors to avoid drafts
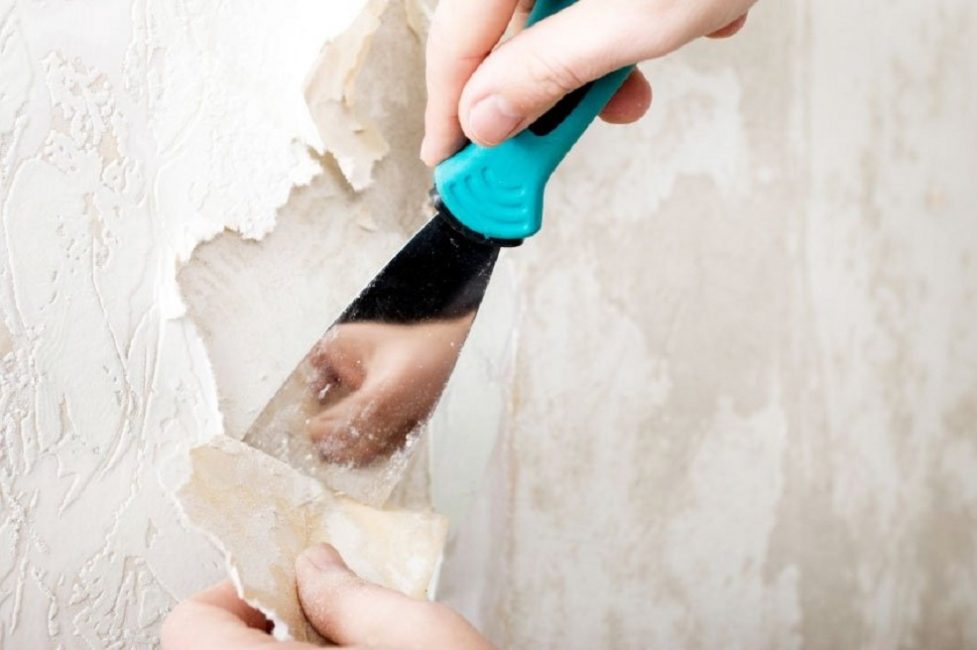
Work surface preparation
Then proceed to the preparation of the working surface:
- The walls are cleaned of old wallpaper (soaked with soapy water) or paint
- Irregularities and defects are corrected with cement mortar, the surface is puttied and leveled
- Concrete and brick walls are primed and wait until completely dry.
- Rolls are cut into segments according to the height of the room. If the panels are with a pattern, then this must be taken into account when gluing. The correctness of the combination of patterns is controlled at the cutting stage
 Read also: Building a garage with your own hands: details about each of the stages. Description, step-by-step instructions, drawings of the roof, inspection pit, interior arrangement (75 Photos & Videos) + Reviews
 Sticking instructions
For each type of wallpaper there are nuances when gluing
Depending on the type of finish, the following nuances are taken into account:
- Paper wallpapers are coated with glue horizontally and vertically, paying special attention to the edges. The processed section of the roll is folded in half with the adhesive sides inward and left for 15 minutes, then glued to the work surface
- Before gluing the vinyl finish, the walls must be primed, and the glue is kept on the base for no longer than 4-5 minutes
- When using non-woven fabrics, the glue is applied in a thick even layer immediately to the wall
Where to start
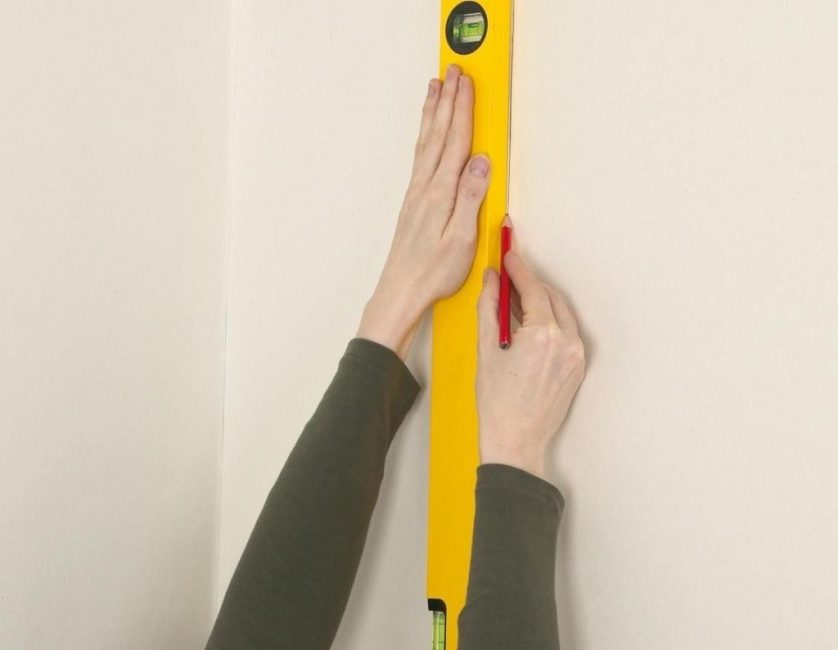
Begin to glue the wallpaper from the second strip, stepping back 50 cm from the window or doorway
When using panels that are glued with an overlap, they start from the window opening, since it is easier to navigate this way. Wallpaper end-to-end begin to stick from any edge. Sticking is carried out in divergent directions until they reach the docking point at the front door.
First, mark on the wall the place of gluing the second strip - at a distance of 50 cm from the edge of the wall, door or window opening.
With a pencil using a level or plumb line, draw a vertical line, along which they will be guided in the future. The first strip is left unused, returning to it last, when the whole segments on the walls are already pasted.
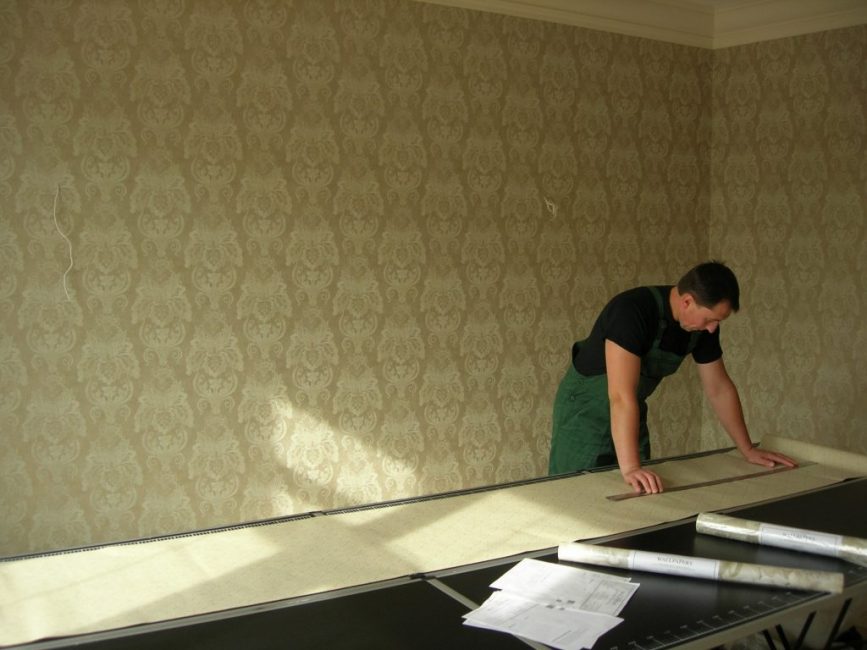
Step-by-step algorithm of actions
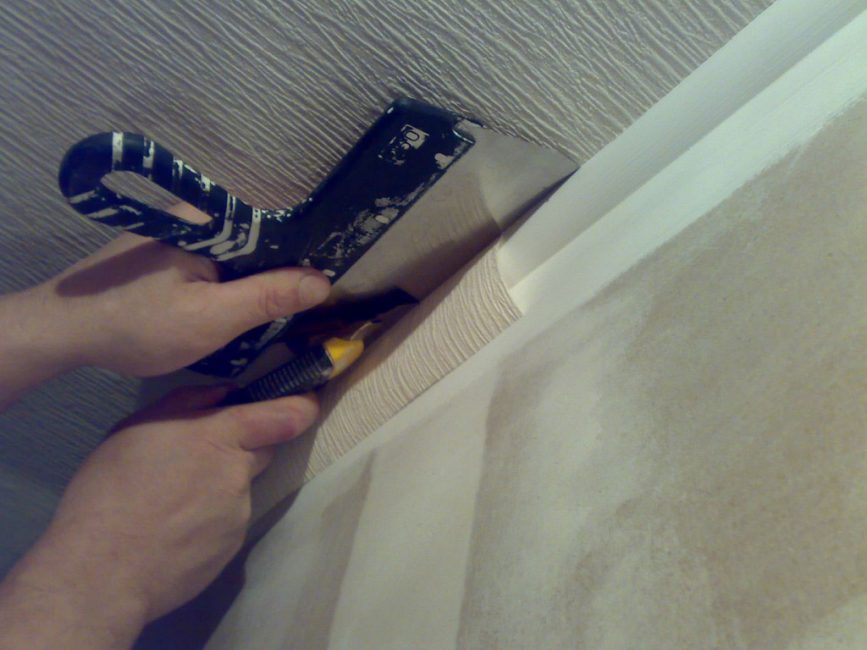
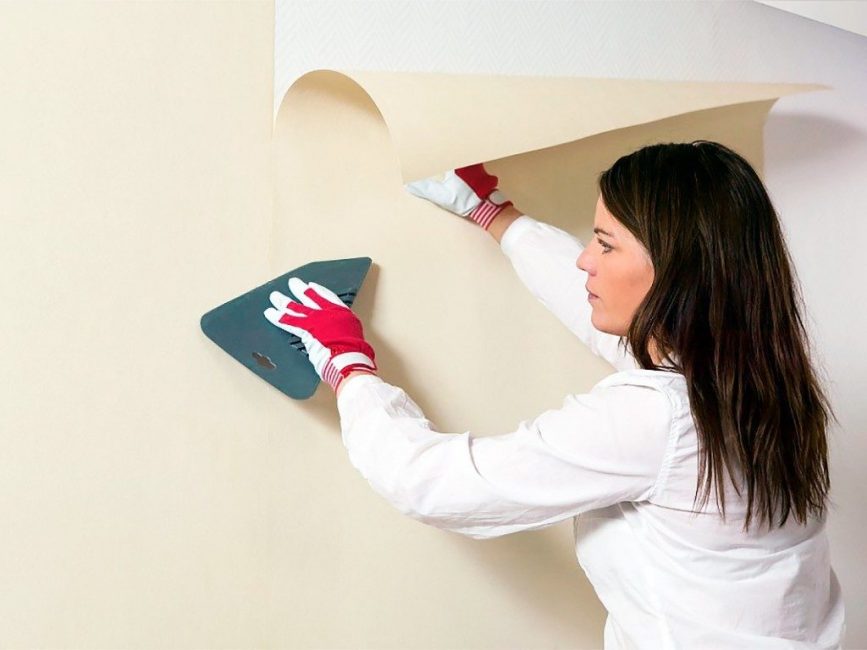
Backlogs of the canvas at the ceiling and floor are cut off along the spatula blade
When sticking plain paper, duplex and vinyl wallpapers, proceed as follows:
- A piece of cloth is smeared with a uniform layer of glue and left for impregnation for 4-10 minutes
- Sticking on the wall starts from the ceiling. The smeared canvas is applied to the upper edge of the wall with an overlap of 2-3 cm on the ceiling. At the bottom, the wall is also pasted over with a margin
- The canvas along the entire length is pressed against the wall. Perpendicular gluing is checked with a level
- With a spatula, moving from top to bottom, the finishing material is smoothed diagonally with smoothing movements. So air bubbles and excess glue are removed from under the canvases.
- The panels at the junction of the wall and ceiling are pressed down with a spatula edge. The edge of the canvas is cut with a knife inextricably, in one confident smooth movement at an angle to the junction
- With a spatula, press the edges of the wallpaper to the wall. Do the same with the backlog from below. The edges are treated with a sponge and a plastic spatula.
- The next canvas is glued in the same way, focusing on the first segment
- The joints are smeared with glue, the excess of which is removed. Places of overlapping cloths are washed with a spatula and rolled with a dry roller. Connections and joints of segments should be visually indistinguishable and only slightly noticeable by touch.
- Leave the finish to dry. Fully finished work is considered after 20 hours for paper canvases, 1 day for non-woven fabric and 2 days for vinyl wallpaper
- Top and bottom skirting boards
The joints are carefully leveled with a spatula.
Finishing corners and hard-to-reach places

Visual instructions for wallpapering in the corners
The greatest difficulty for beginners is wallpapering in the corners. Correctly this operation is carried out in this way:
- Two segments are glued with an overlap of 4 cm so that there is an inseparable canvas in place of the corner. The joint is located on a flat wall
- Two layers of cloth are cut with a knife at the overlap
- Remove the segment from above, then bend the edge and remove the piece remaining inside
- The resulting joint is smeared with glue, leveled with a spatula and a dry roller
Before gluing the strips on the ceiling, a piece of wallpaper is folded with an accordion, and the remaining piece is held at the top edge of the wall mop. To make the joints invisible, the panels are glued perpendicular to the window opening.
To level the wallpaper behind the radiator, use a rag or cardboard roll. Before gluing, remove covers from sockets and switches. On the finished canvas in the middle of the hole, an incision is made crosswise, the edges are moved to the sides. Covers and switches are put in place.
 Read also: Secrets of soundproofing walls in an apartment: we use modern materials and technologies (25+ Photos & Videos) + Reviews
 Nuances and advice from professionals
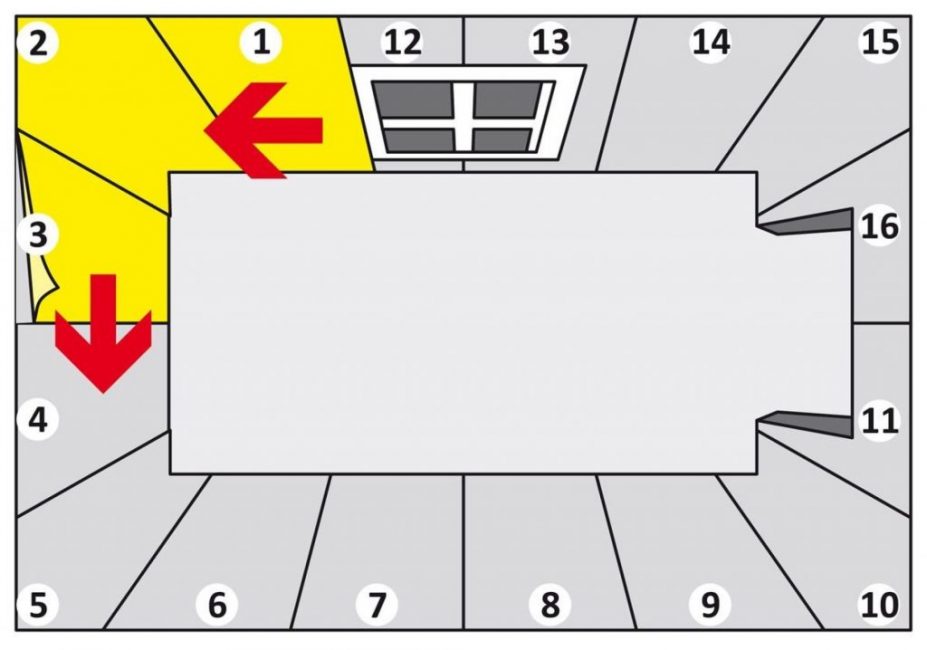
The scheme of movement when sticking wallpaper in a room
Tips from experienced craftsmen will help you avoid annoying mistakes in your work:
- Paper-based wallpaper (single-layer and double-layer) is overlapped and only after the sheets smeared with glue become perfectly even
- Non-woven fabrics have the same gluing scheme, with the difference that the latter can be quickly removed and pasted a second time when a defect is detected. Vinyl panels on the walls are placed end to end
- It is not recommended to stick old newspapers as a basis for wallpaper: the panels are glued either on “bare” walls or on a special substrate from the old coating
- The optimal conditions for high-quality gluing are a temperature of at least 22 degrees Celsius in the room and the absence of drafts. Otherwise, the panels will simply peel off from the walls.
- If a long break is made during gluing, then the rollers and brushes are soaked in water. If this recommendation is neglected, then the inventory will dry out and without a solvent it will not be possible to return softness to the tool pile
- Excess glue that protrudes while smoothing the surface of the canvases is removed with a wet sponge.
Self-sticking wallpaper does not require special building skills and, subject to the technology, passes quickly. Knowing how to properly glue certain types of panels and how to avoid mistakes when gluing, you can effectively and efficiently decorate the walls in the apartment with your own hands.
A master class on wallpapering on your own is given by a finishing master in a video -

How to glue wallpaper with your own hands
How to glue wallpaper correctly: the secrets of fast and high-quality wall decoration with your own hands | Photo & Video
Professionals share the nuances and recommendations for beginners in the video -
HOW TO GLUE WALLPAPER WITHOUT STRAINING
How to glue wallpaper correctly: the secrets of fast and high-quality wall decoration with your own hands | Photo & Video
The secrets of how to properly glue the canvases in the corners are revealed in the video tutorial -
How to glue wallpaper in the corners
How to glue wallpaper correctly: the secrets of fast and high-quality wall decoration with your own hands | Photo & Video


