
Modern composite materials have made it possible to independently manufacture plastic parts on their own, with their own hands.
Today we will learn how to mold plastic parts at home.
Content:
- A little about casting technology at home
- Manufacturing process of plastic blank
- Step number 1 - preparation of polyurethane
- Step 2 - Preparing the Injection Mold
- Step number 3 - fixing the injection mold on the substrate
- Step 4 - casting funnel
- Step number 5 - preparing the polyurethane composition
- Step number 6 - mix the reagents
- Step number 7 - casting
- Step 8 - remove the product from the mold
- Result and summing up
 Read also: How to make a swing with your own hands: design features, step-by-step instructions (drawings with dimensions) | (100 Photos & Videos)
A little about casting technology at home

5 plastic items in two hours
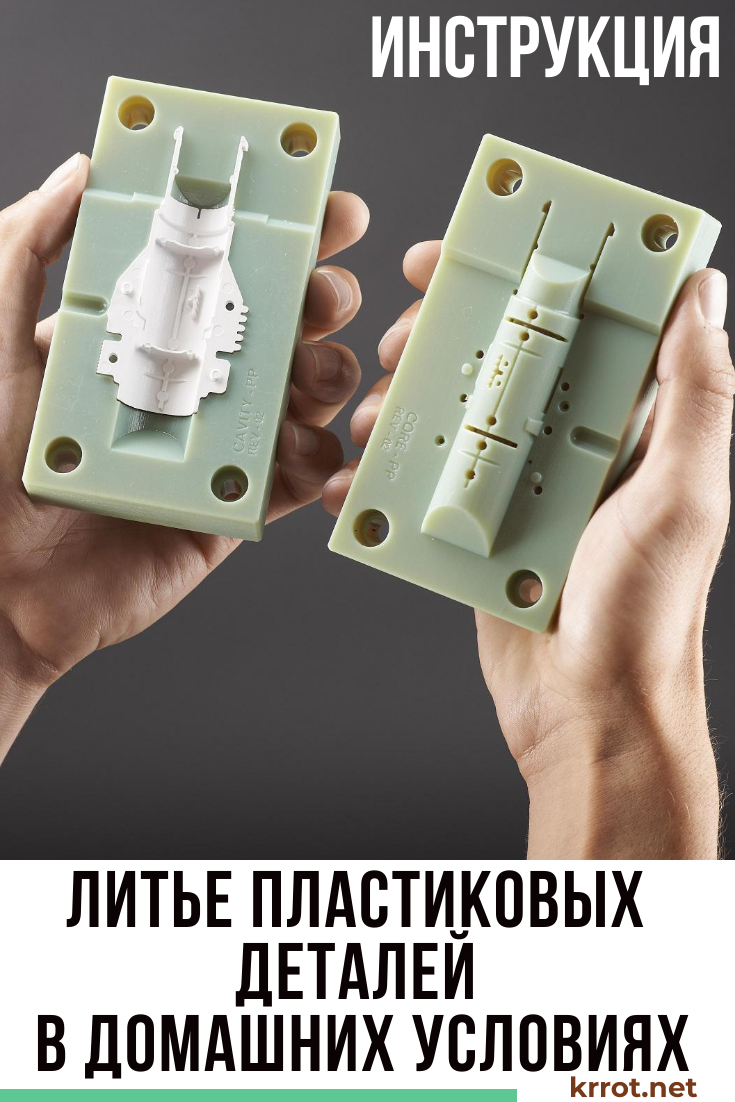
For the manufacture of plastic products, some preparation will be required - it is necessary to make a silicone matrix, as well as a countertop substrate from the same material.
Casting molds are made of high quality Elastolux silicone. As a source, they take master models made on a 3D printer, or the original model of industrial production.
Substrates are usually made from cheaper silicone materials, such as Elastoform.
 Read also: Making a greenhouse with your own hands from a profile pipe and polycarbonate: a complete description of the process, drawings with dimensions, watering and heating (Photo & Video)
 Manufacturing process of plastic blank

Molding plastics into silicone
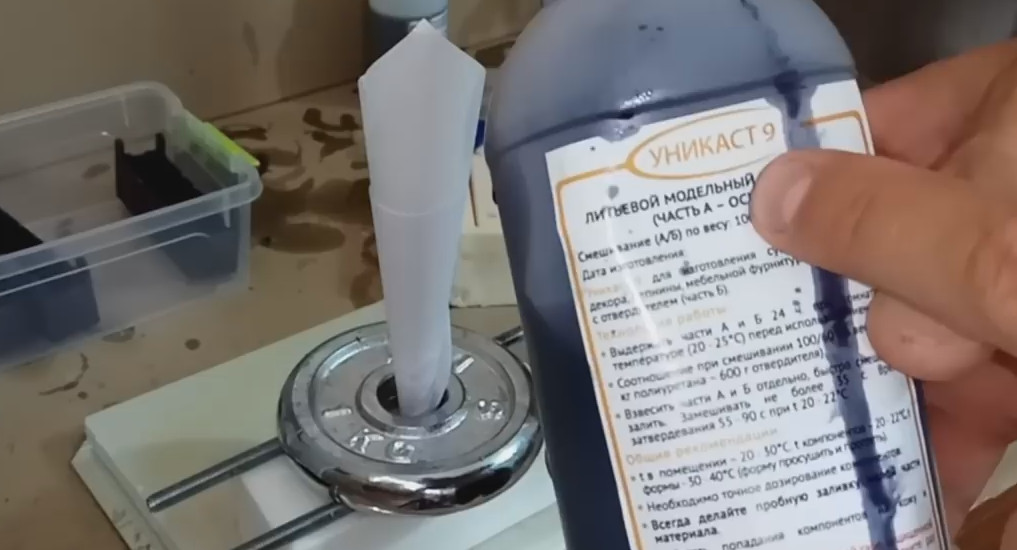
We will use two-component polyurethane “Unikast 9” as a casting material, consisting of the polyurethane itself and the hardener.
The price for 1 pack of this consumable in stores is about 900 rubles, where about.5 kg of base and 0.3 hardener.
Step number 1 - preparation of polyurethane
Adding dye
Since the product requires a dark color, first you need to add color to the base. It is sold separately. About 100 drops are required for one package of Unikast 9 - for a dark blue color.
So that the shades of the products do not differ, the color must be added to the entire volume of the polyurethane base.
Step 2 - Preparing the Injection Mold
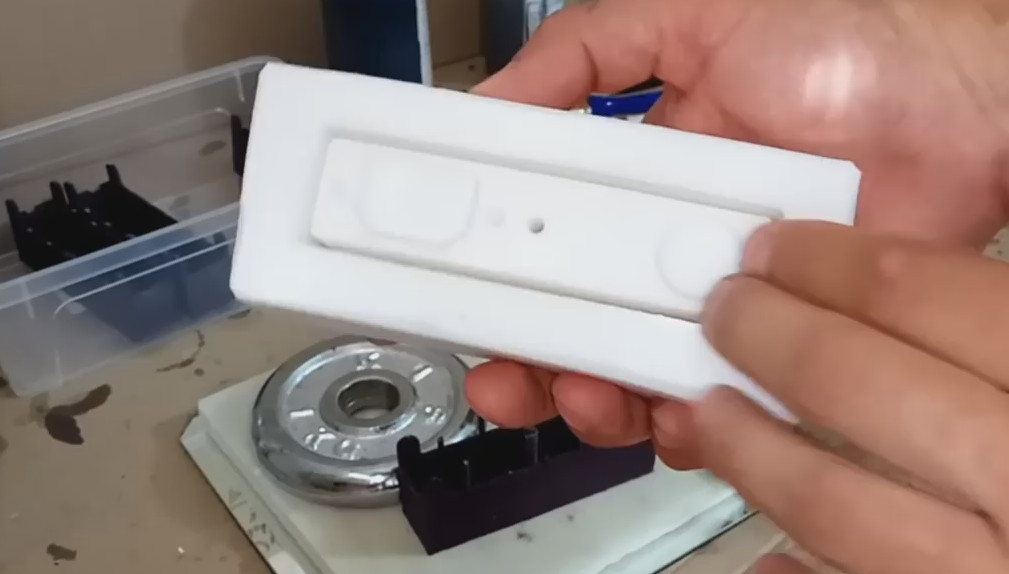
Delimiter processing
The silicone mold must be prepared before starting work - process it with a separator. For this role, both vaseline mixtures and kerosene-based separators are perfect.
Step number 3 - fixing the injection mold on the substrate
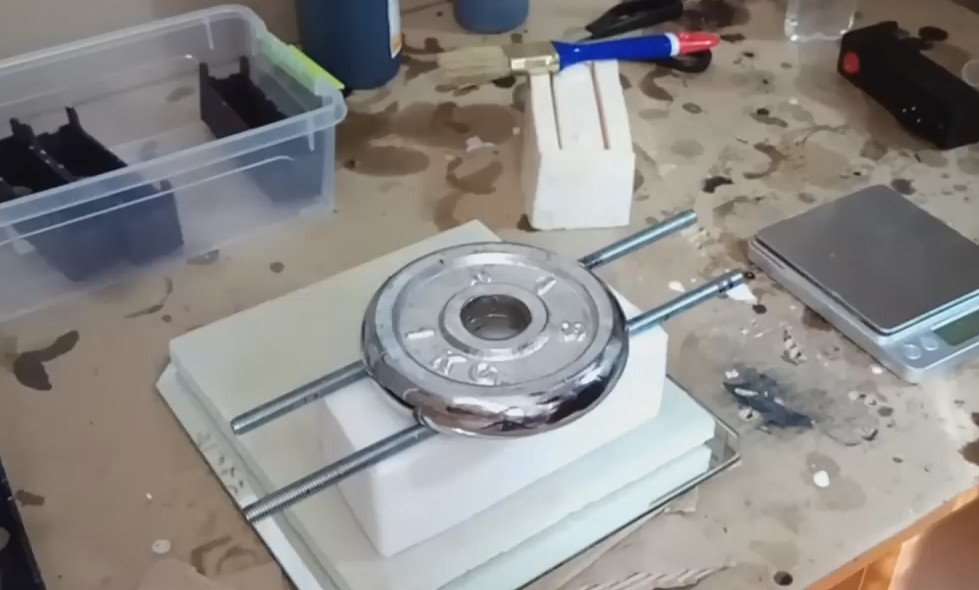
Adding oppression to the form
Since a substrate of the same material is used as the base for the silicone mold, they fit snugly together. However, in order to completely eliminate the smudges of the solution, you need to press the mold against the silicone substrate with an additional load.
Step 4 - casting funnel
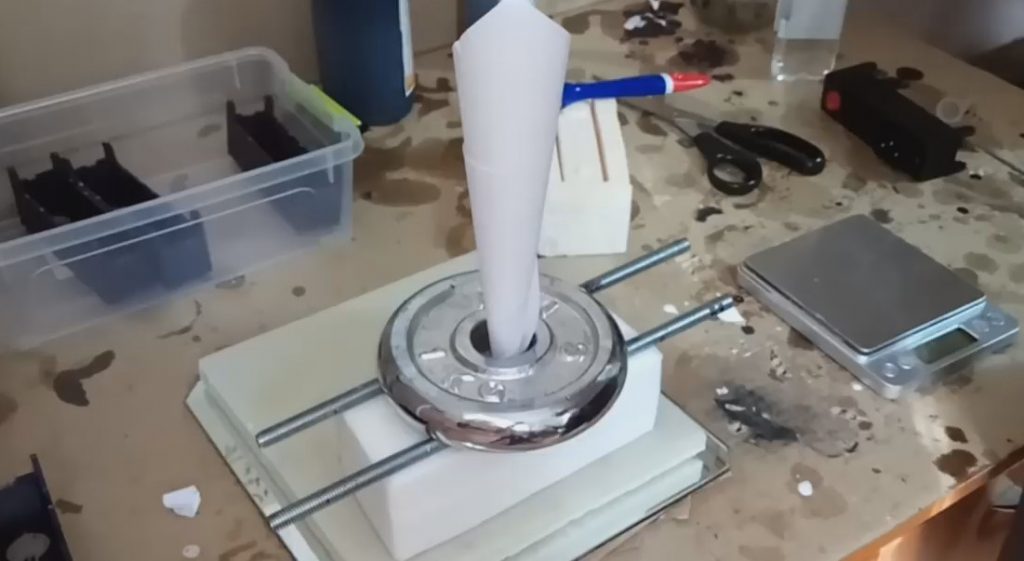
Disposable funnel
We make a disposable funnel out of paper and insert it into the sprue of the mold.
Step number 5 - preparing the polyurethane composition
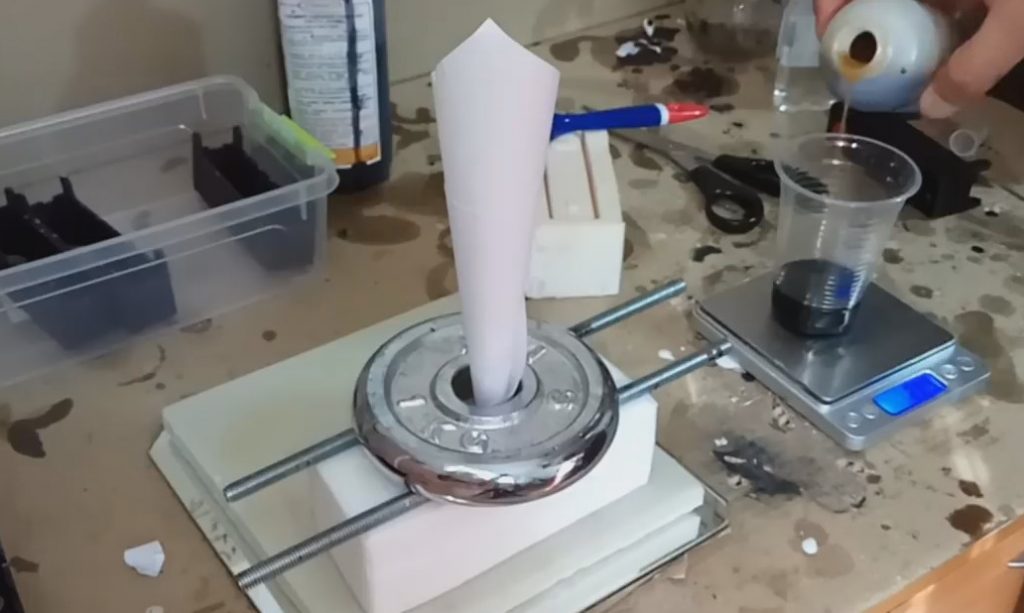
Preparing reagents for mixing
For this purpose, it is better to use accurate electronic scales.
We place a plastic container on the scales and reset the latter.
Pour the required amount of polyurethane base - for each form, the volume is calculated separately.
We add a hardener at the rate of 0.6 to 1. Ie. 20 grams of base need 12 grams of hardener.
Step number 6 - mix the reagents
No more than 30 seconds
Stir for no more than 30 seconds a chemical reaction begins quickly, as evidenced by the heating of the mixture.
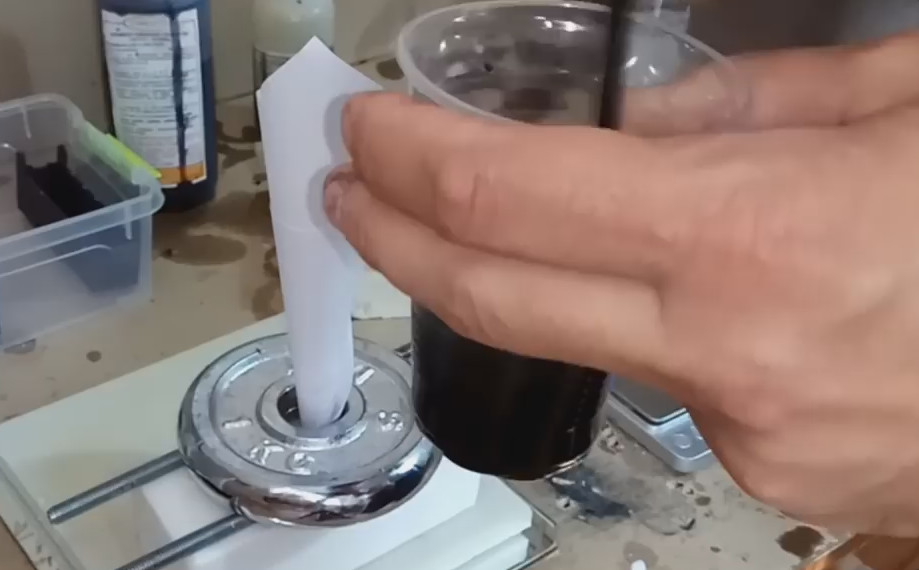
Step number 7 - casting
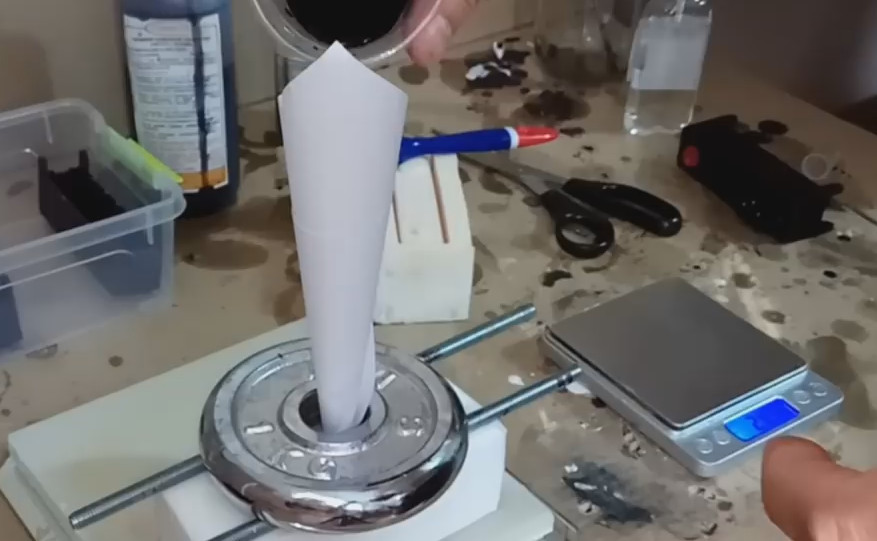
Filling the form
Pour the contents of the container into the silicone matrix.
Step 8 - remove the product from the mold

To get it, you need to remove the legs from the sprues
After 20 minutes, you can take out the plastic product.
To do this, remove the funnel with frozen excess plastic, and select the plastic “legs” from the sprues.
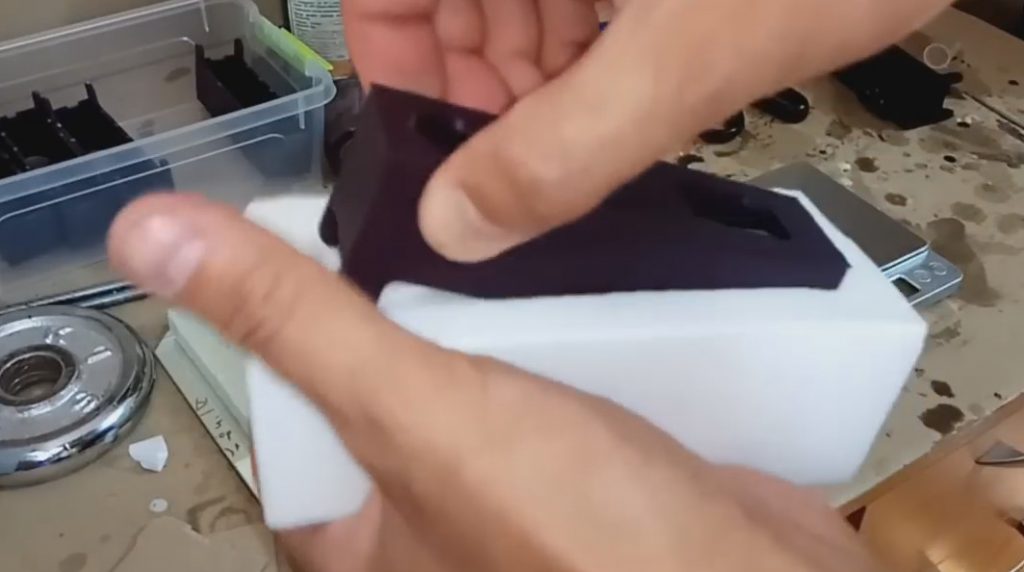
Removes easily
We take the finished product out of the mold.
 Read also: How to make flower pots with your own hands: outdoor, indoor, hanging | Step by Step Charts (120+ Original Photo Ideas & Videos)
Result and summing up
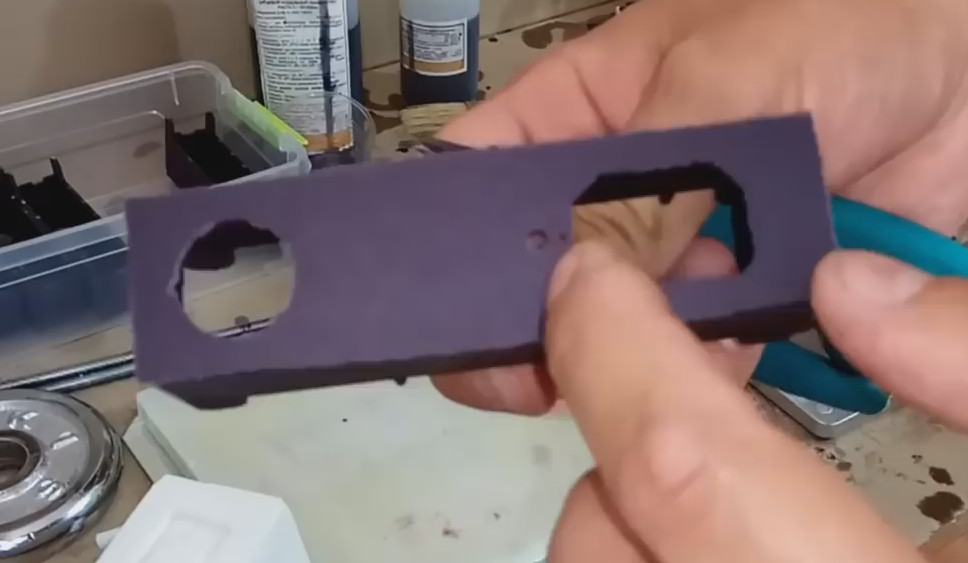
Excellent result
The product turned out to be of excellent quality, the whole process took about 30 minutes. It remains only to slightly modify the workpiece: cut off the legs of the sprues, clean the product a little with sandpaper.
If we compare this technique for manufacturing plastic products with 3D printing, then we can say with confidence that molding wins in terms of production speed: 1 piece in 30 minutes versus 4 hours. As for the cost of raw materials, 3D printing is 3-3.5 times more expensive.
Featured video: FLOAT CASTING - Molding plastic into silicone

FLOAT CASTING - Molding plastic into silicone
Making plastic parts at home???


