
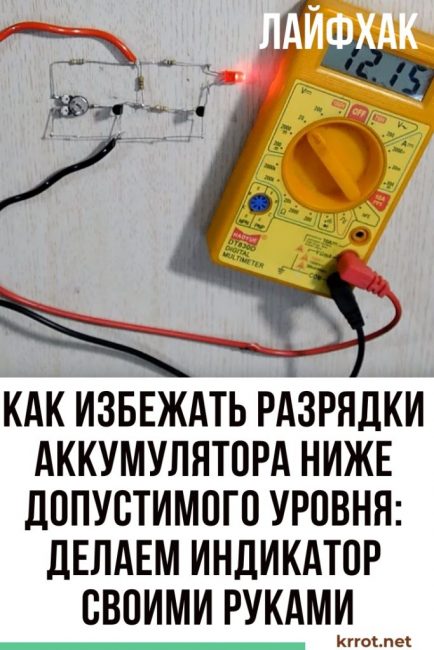
Many batteries are afraid of over-discharging. Therefore, it is very important to control the battery charge level. Monitoring the battery status can be done using a simple device. We suggest you make a device with your own hands that allows you to monitor the condition of batteries in the range from 3 to 12 V.
Content:
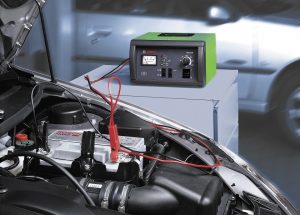 Read also: TOP 10 Best Car Battery Chargers | Prices + Reviews
Materials for manufacturing
In order to make a battery discharge indicator, you will need:
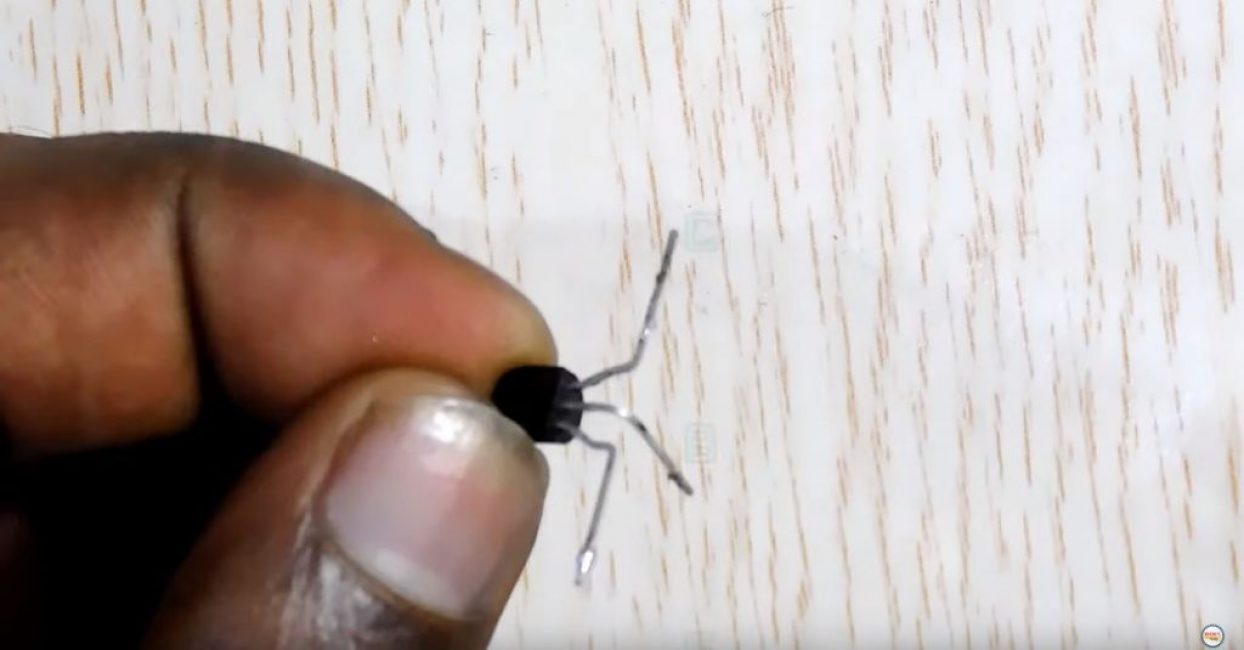
- transistors PN2222 NPN 2 pcs.;
- 4.7 kOhm resistors 2 pcs.;
- 460 Ohm resistor 1 pc.;
- 56 kOhm resistor 1 pc.;
- 10 kOhm potentiometer;
- 3V red LED 1pc;
- two insulated wires of different colors;
- DC power supply from 3 to 12 V;
- multimeter;
- soldering iron.
Step 1. Soldering the indicator circuit
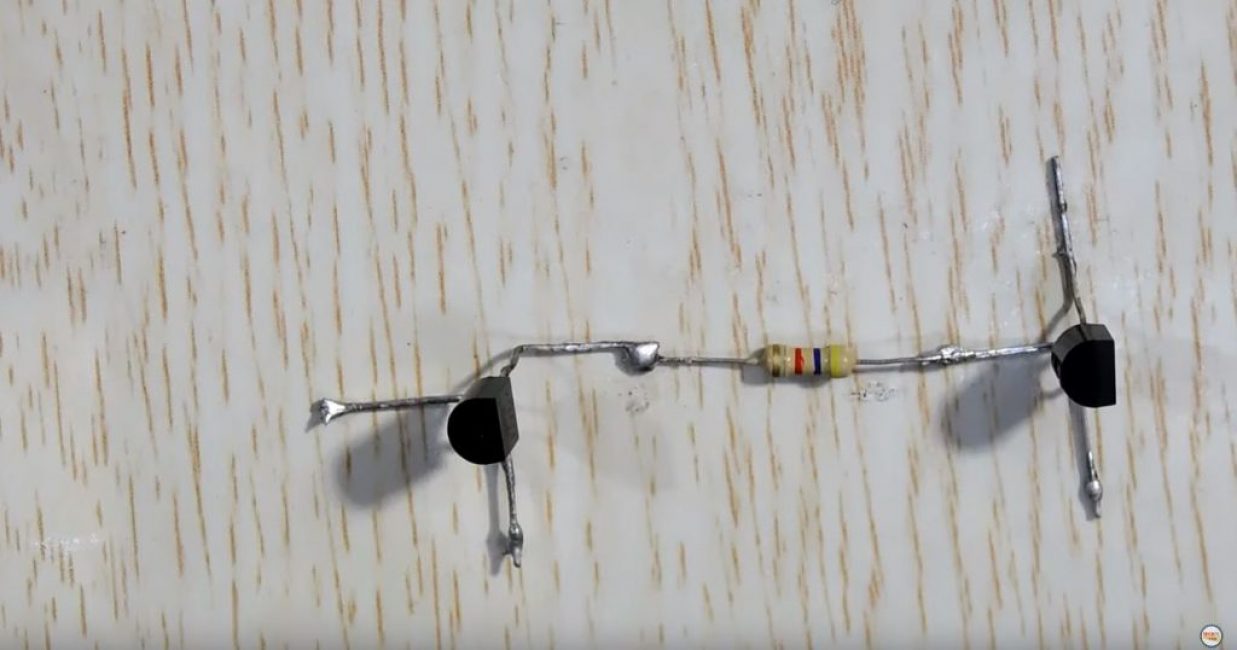
To begin with, we unbend the conclusions of the transistors (collector, base, emitter).
We solder a 4.7 kΩ resistor to the base of the first transistor.
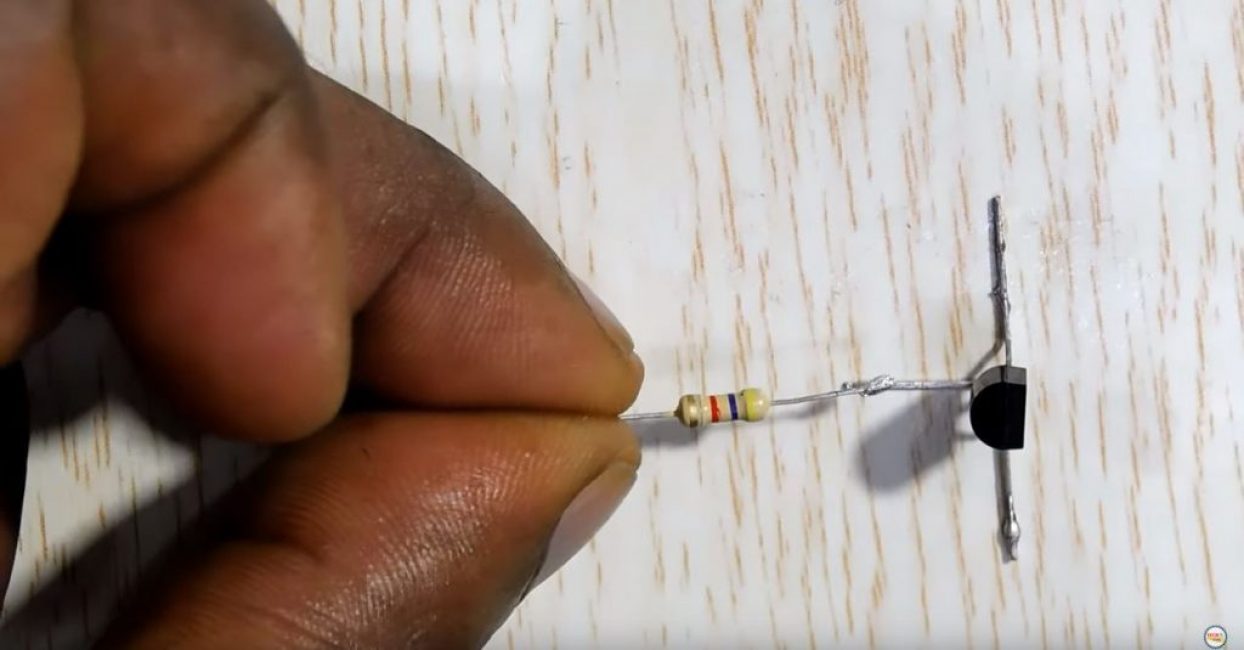
We solder the collector of the second transistor to the second end of the resistor.
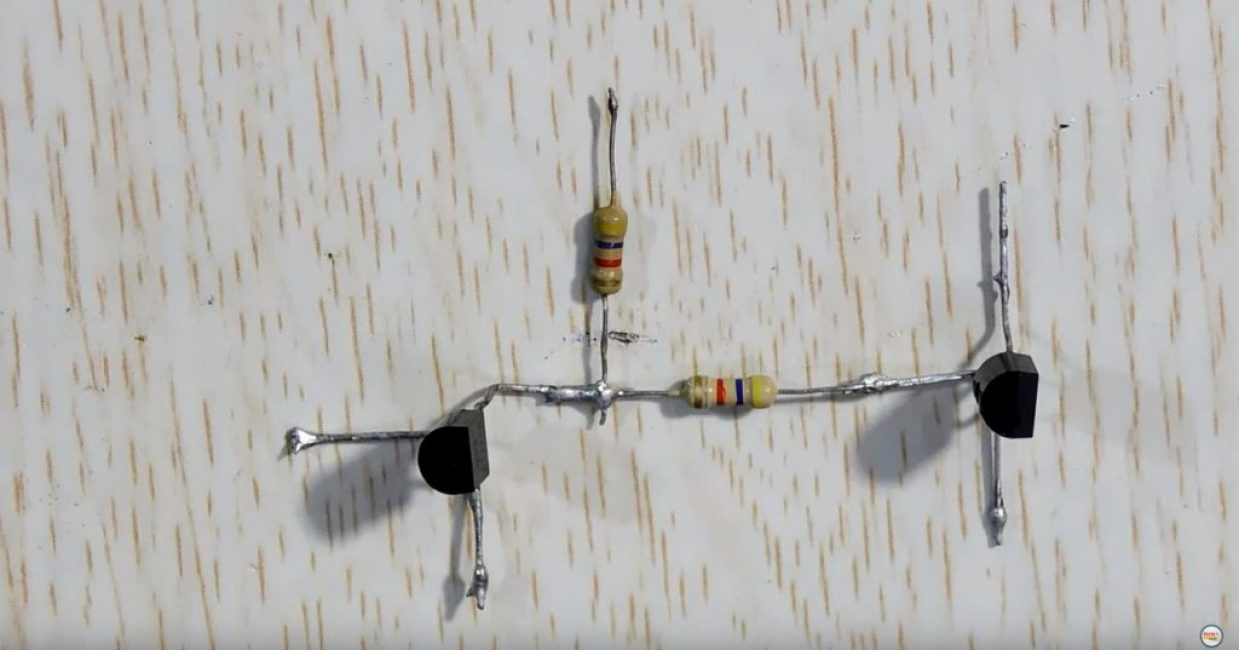
Here we also solder the second resistor 4.7 kOhm upwards.
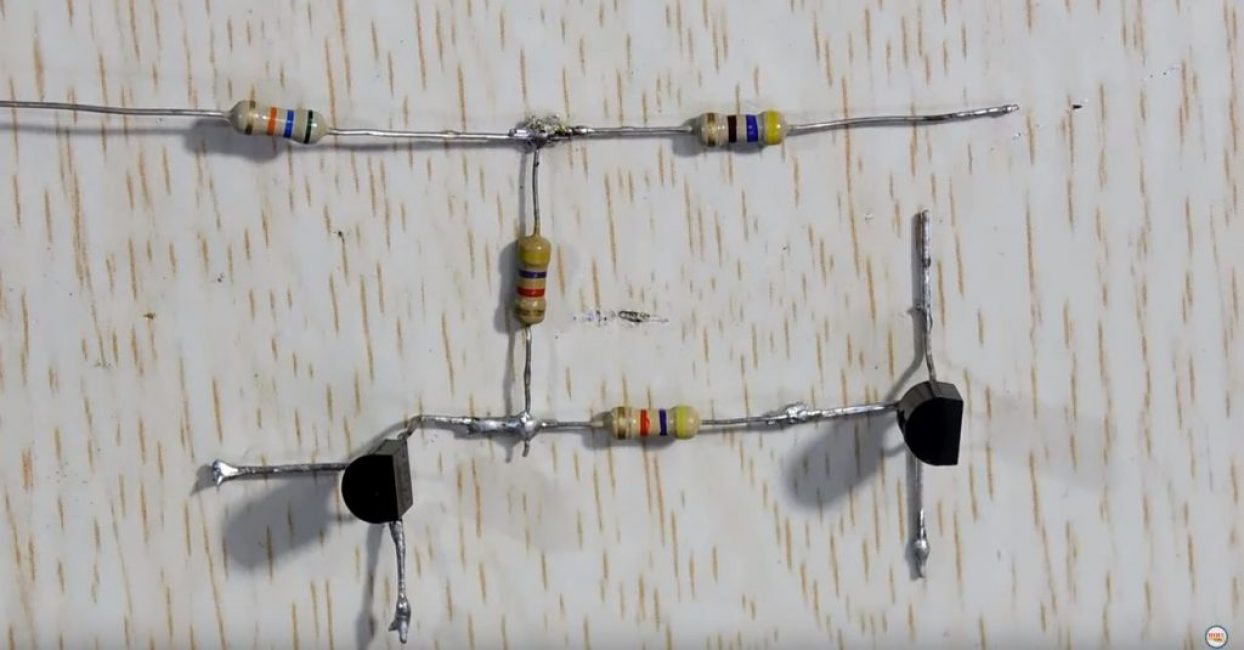
To the end of the second resistor, solder a 56 kOhm resistor on the left, and a 460 Ohm resistor on the right.
We solder a potentiometer to the base and emitter of the second transistor.
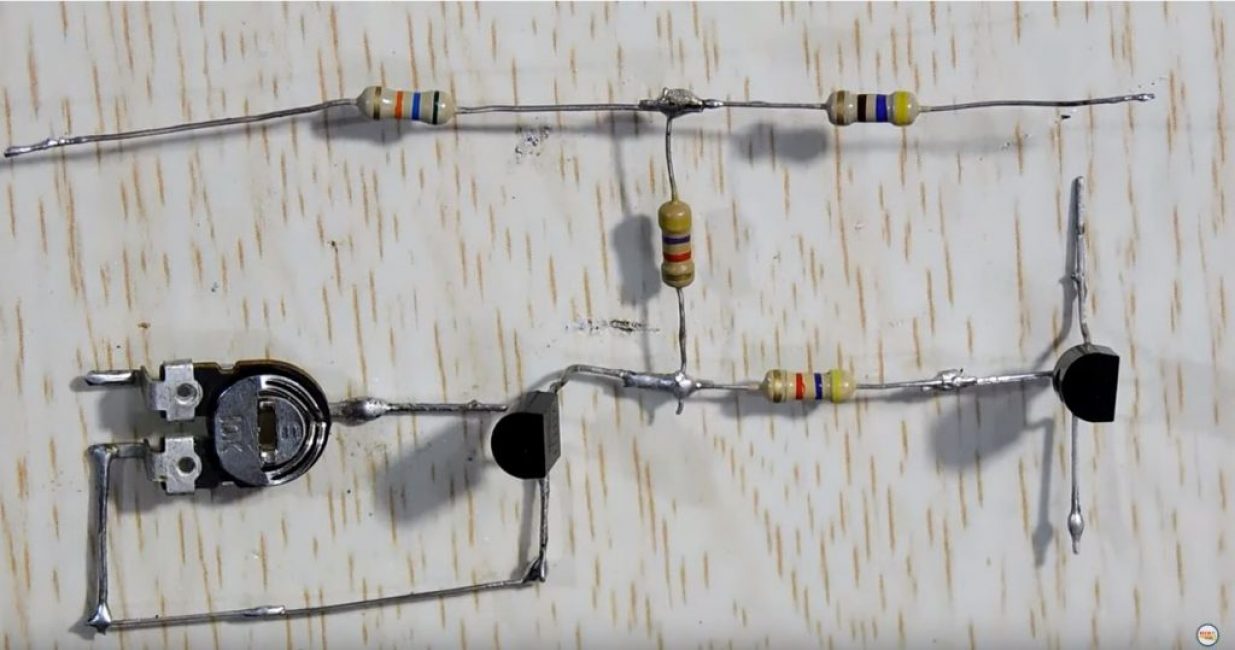
Solder the LED, observing the polarity.
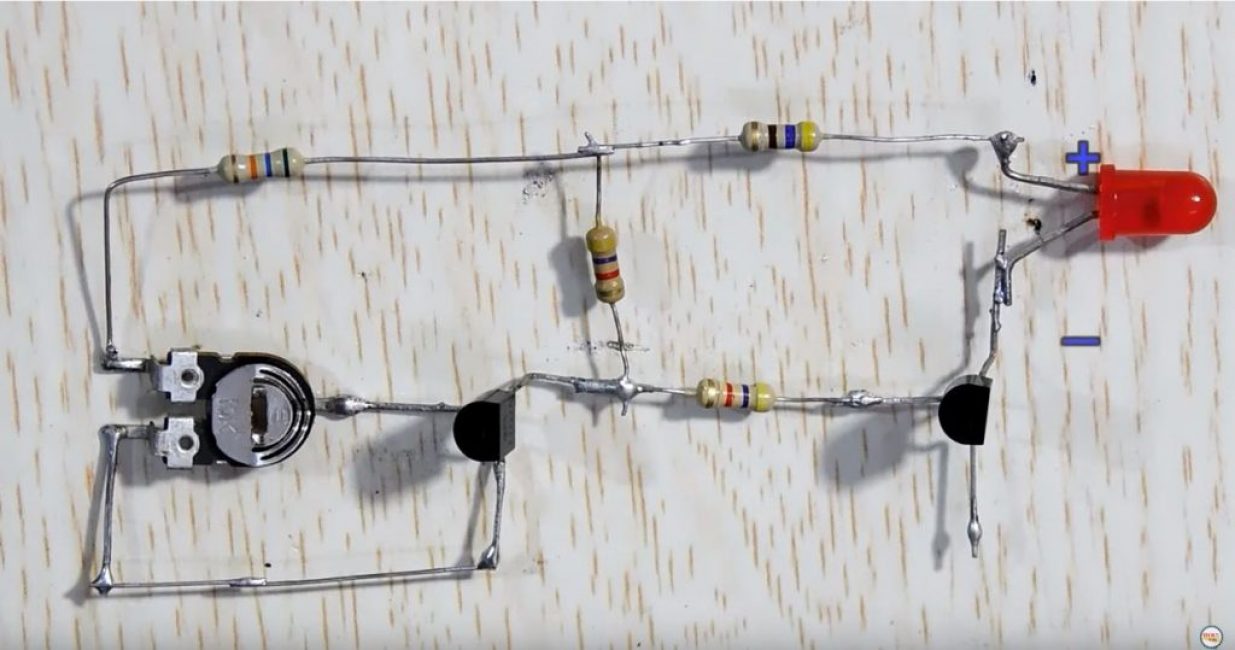
We connect the emitters of both transistors with a conductor.

Solder two insulated wires of different colors.
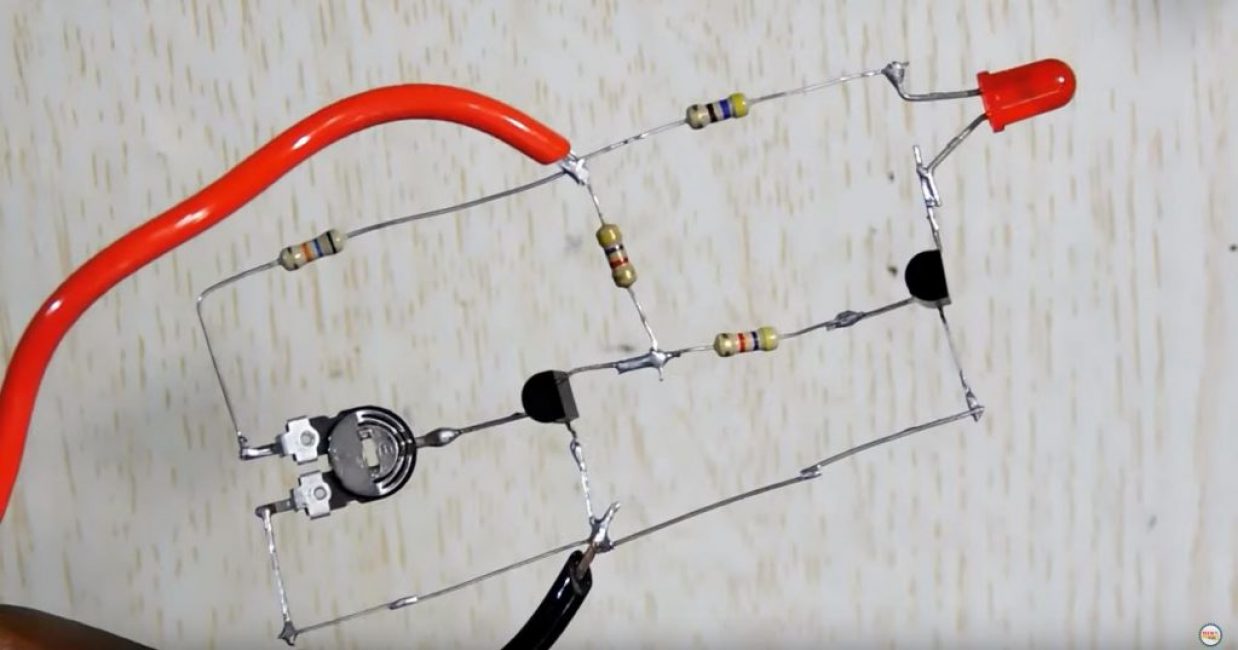
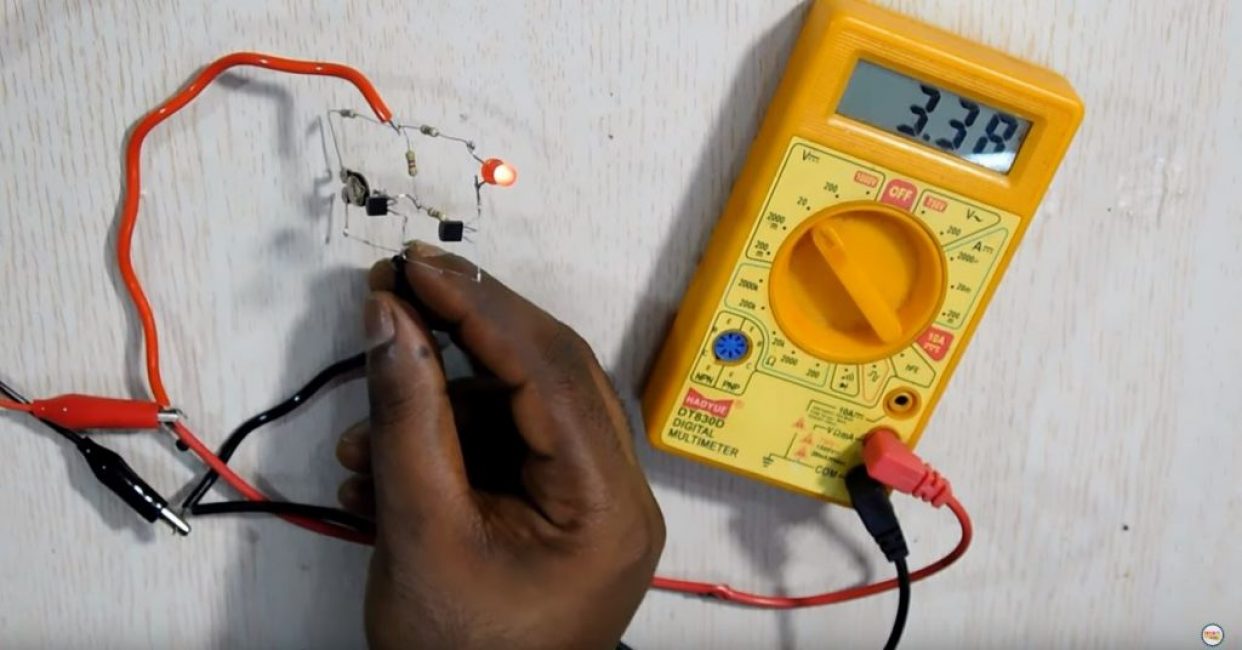
Step 2. Testing
Connect the wires to the power source. With the help of a potentiometer, we set the response threshold (from 3 to 12 V.). If the voltage is above the threshold, the LED will not glow. When the voltage is below the threshold value, the LED lights up, indicating that the battery is low.

DIY battery discharge indicator
Low battery indicator? do it yourself


