
With the advent of the sun and the first warm days, there is a massive movement of summer residents from the stuffy, gray city to suburban areas. Here you can relax and enjoy complete silence, take care of your favorite beds or just fry shish kebabs.
However, the cottage has one small drawback - the lack of plumbing and hot water. How to be and what to do in the circumstances? The answer is obvious: you need to build a shower with your own hands.
 Read also: Projects of country houses for 6-10 acres: 120 photos, description and requirements | The most interesting ideas
Plan
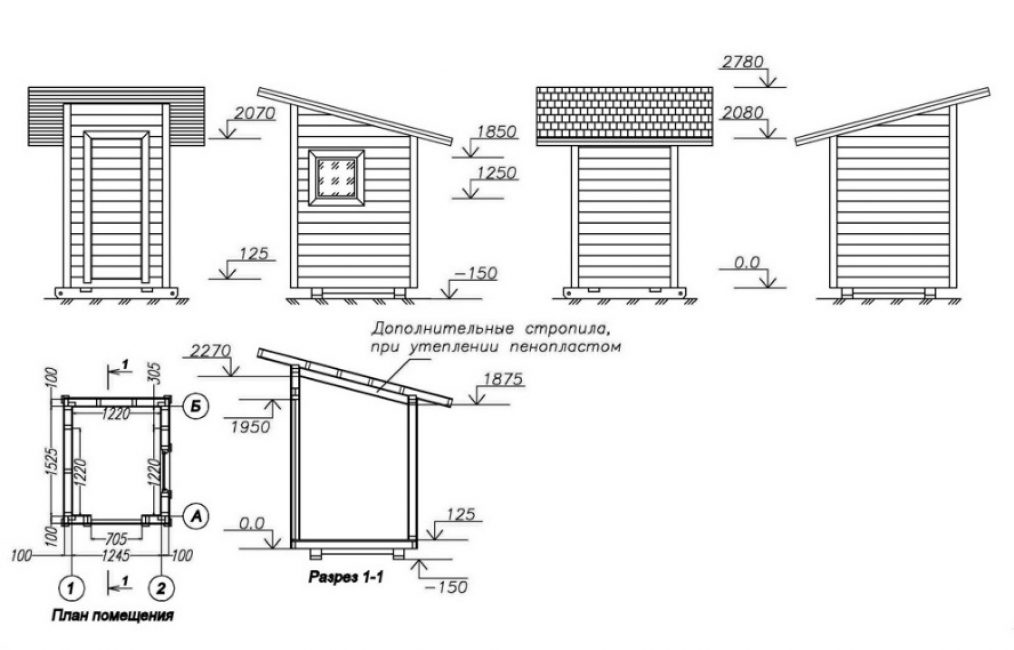
Detailed plan of the shower room from different angles
Before you go to the hardware store and purchase materials, you need to find out a number of questions for yourself:
- determine the features of the foundation
- select available materials for the manufacture of walls, doors and floors
- choose a tank with sufficient volume
- consider a way to supply water and heat it if necessary
Before starting large and small construction, it is necessary to draw up a detailed plan. It will help to visually see the object on a scale, make an estimate and calculate the total cost of construction.
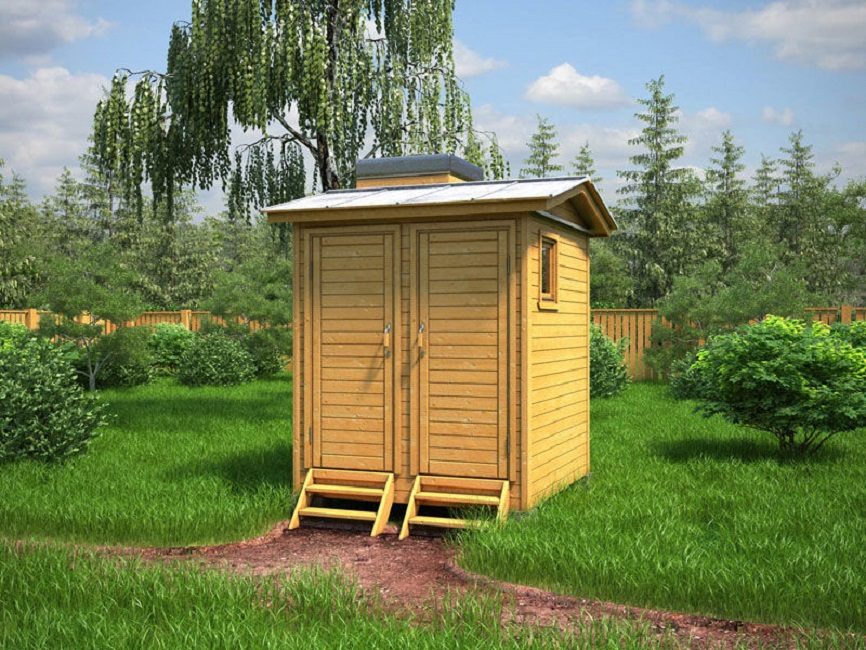
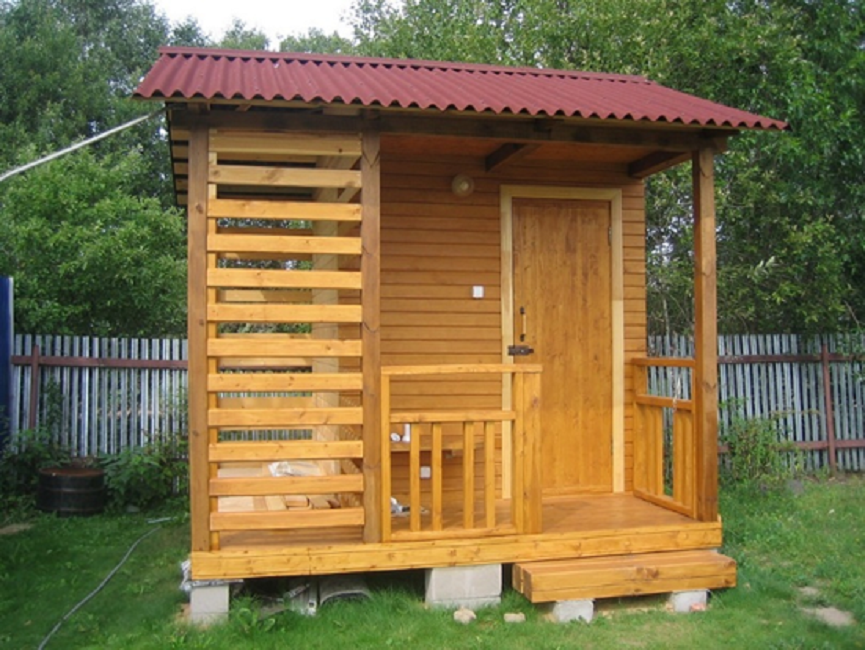
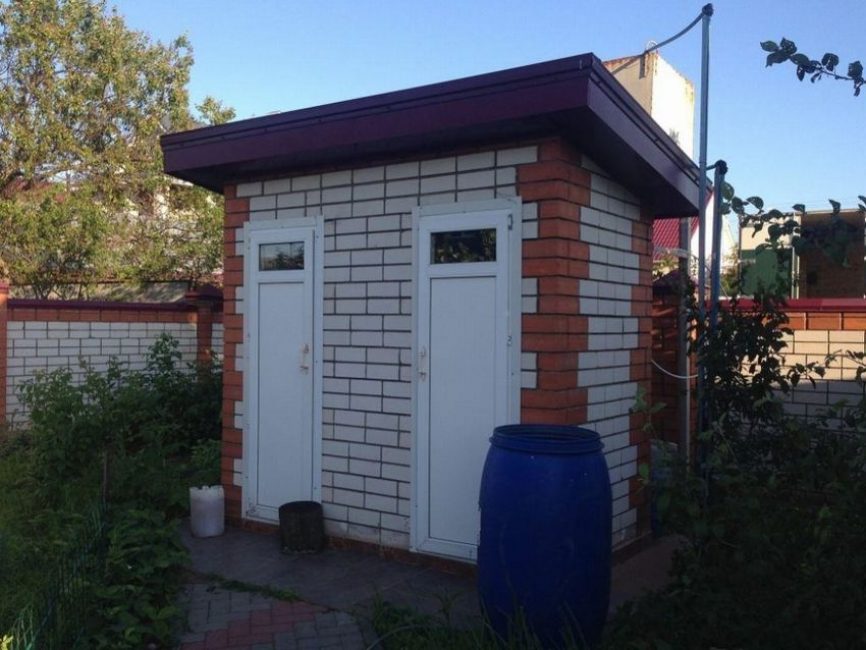
In small summer cottages, to save space, it is convenient to combine several buildings under one roof at the same time, placing them in sections. Such buildings take up little space and are easy to maintain.
 Read also: Veranda attached to the house - expanding the living space: projects, tips on how to create your own hands (200 original photo ideas)
 Choosing the right place
The open area contributes to uniform heating of water throughout the daylight hours
Before starting work, choose the location of the shower. It should be easy to maintain and comply with legal regulations. For this, a secluded corner, remote from the wells and the well at a great distance, is suitable.
An area open on all sides, not cluttered with trees and tall bushes, will provide access to the sun during the day.
 Read also: Making a greenhouse with your own hands from a profile pipe and polycarbonate: a complete description of the process, drawings with dimensions, watering and heating (Photo & Video)
Stages of building a summer shower
Has the plan been drawn up, all the necessary materials purchased, and the ideal site chosen? You can start a fascinating and exciting activity - building your own soul.
It is performed in the following sequence:
- equip the drain
- weld metal frame
- sheathe the walls
- install doors
- equip the interior if necessary
Let's take a closer look at each stage.
shower drain
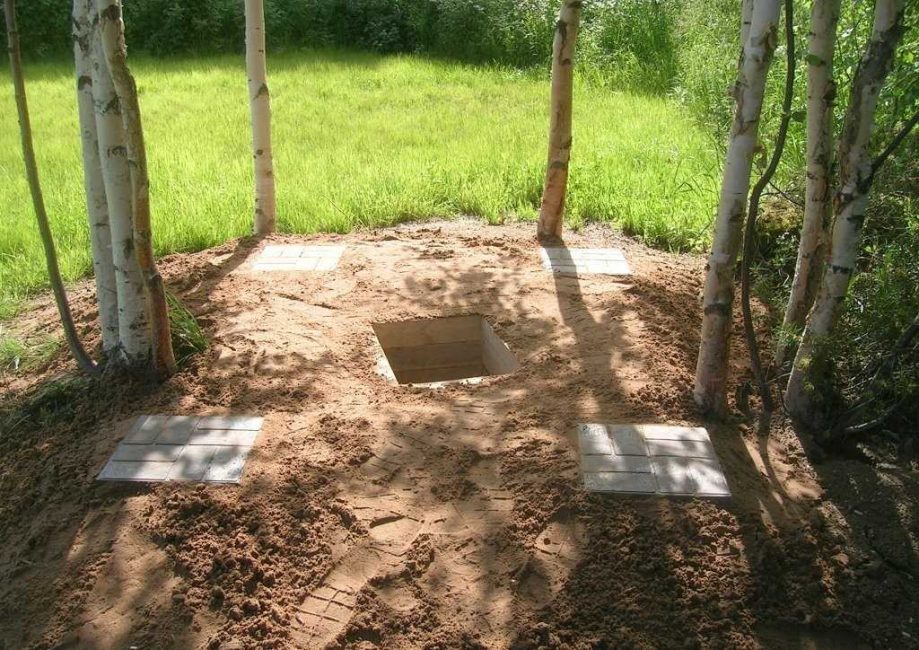
Drainage pit for draining used water
With active use of the shower, a reliable drain will be required. It is necessary to think about its device at the planning stage.
To drain water organize:
- drainage well
- cesspool
- septic tank
The size of the drain hole depends on personal preferences, the characteristics of the shower and the number of active users.
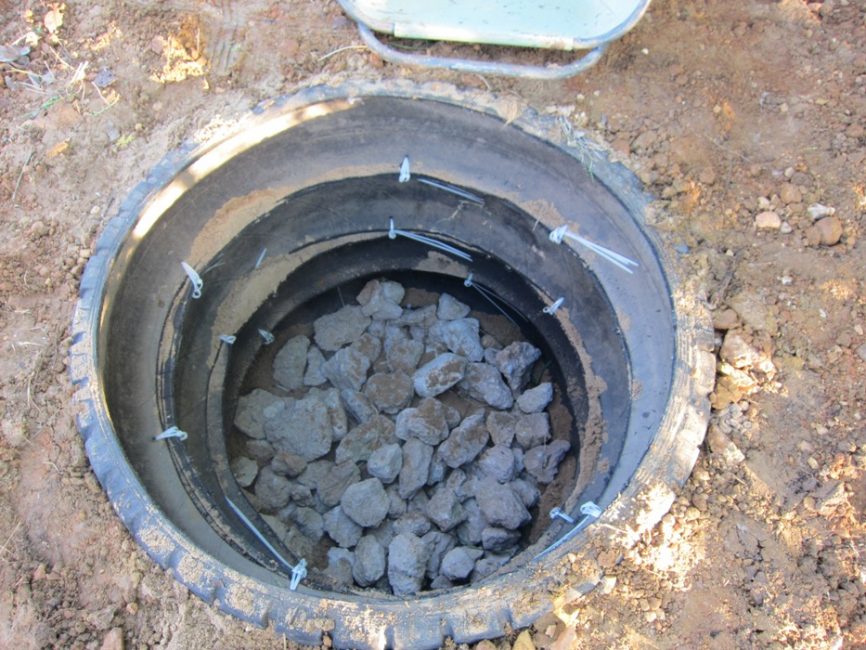
Old wheels will prevent premature shedding of the drainage pit
To avoid shedding, the walls of the drainage pit are reinforced with sheet metal, bricks, boards or worn-out wheels. The pit is covered with coarse gravel, a layer of sand is laid on top and lightly tamped.
Foundation
Cabin installation without foundation
In summer cottages, they often practice installing a shower without capital foundation. When installing temporary buildings, this option is quite acceptable. In this case, a cinder block or bricks installed at the corners serve as the basis for the shower.
Strong winds can cause the shower enclosure to topple over. Digging the side posts into the ground will help prevent a fall. If desired, the racks can be concreted.
Metal carcass

A profile pipe with a square section is great for making a frame
The simplest option is to build a shower using frame technology. Work is carried out in the following sequence:
Racks are made of a profile steel pipe with a square or rectangular section with dimensions of at least 40x40 mm. For the manufacture of the frame, four main racks and one additional one for installing the door will be required.
As a reliable connection between the racks, horizontal jumpers made of the same profile pipe are used. Jumpers are installed from below, above and in the middle of the structure.
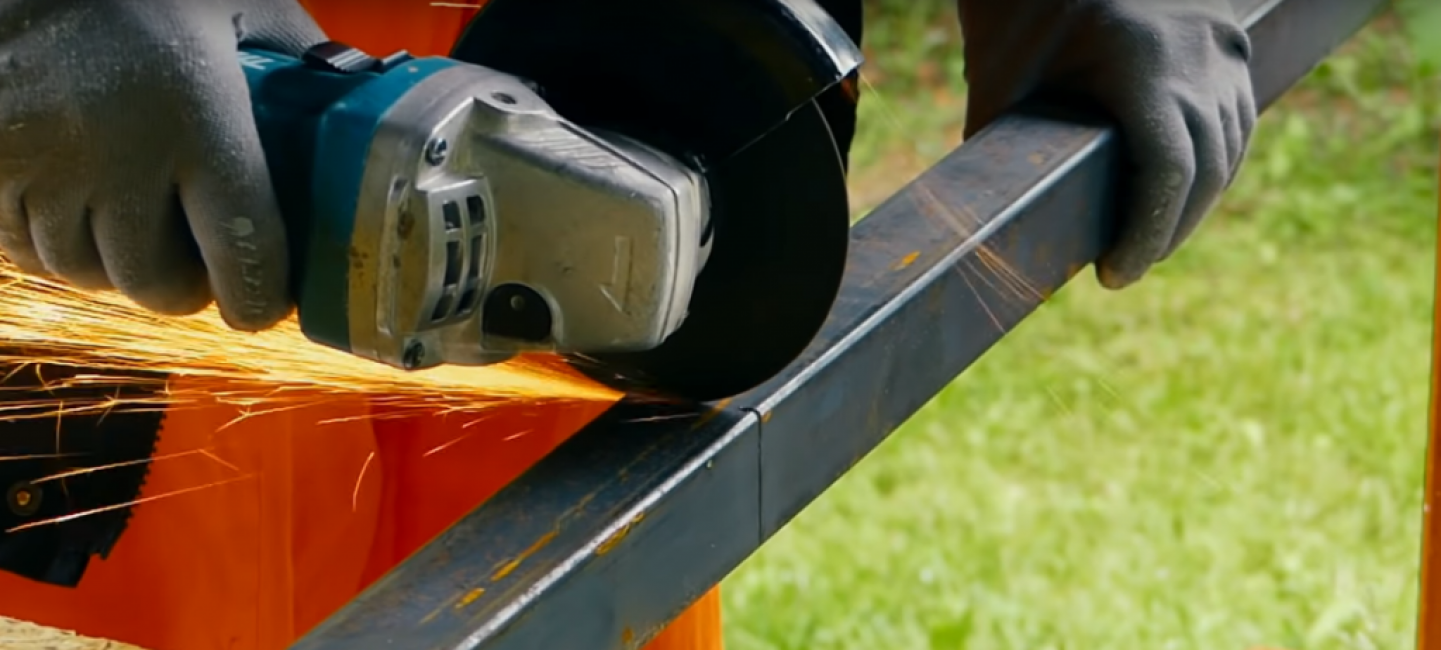
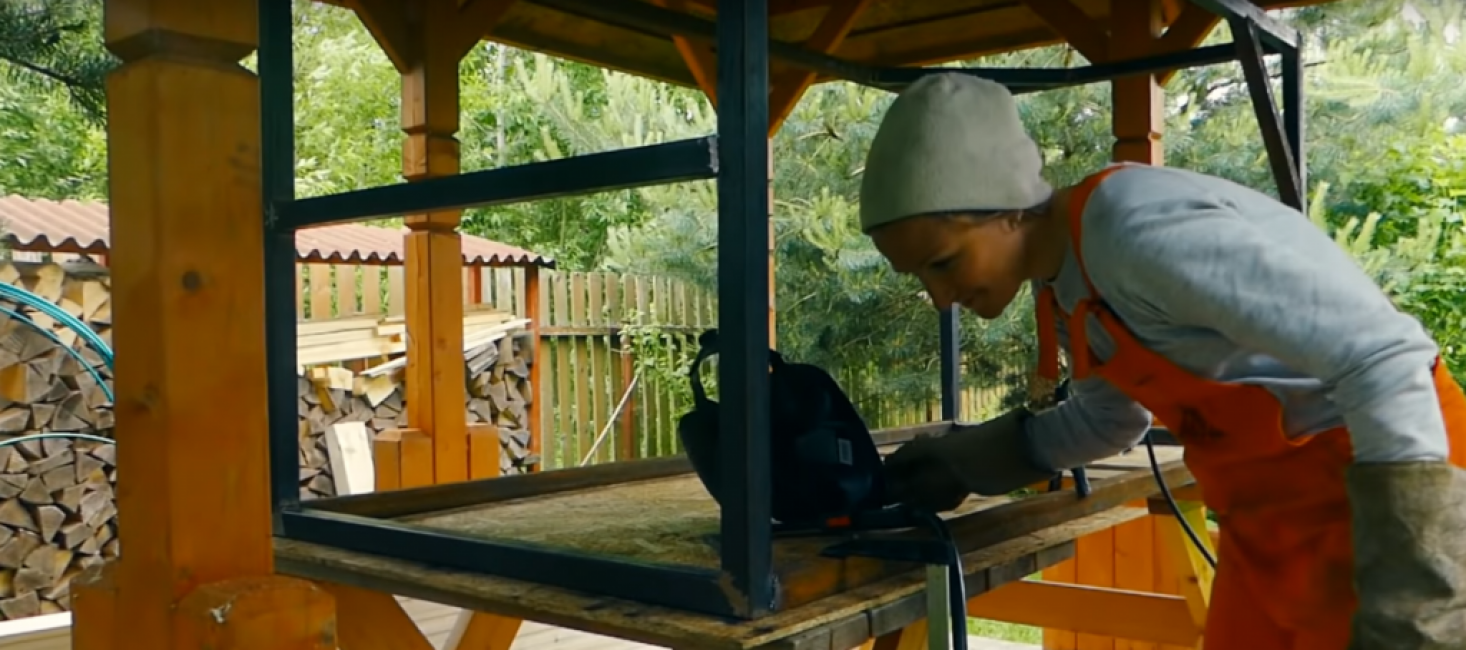
Pipe cutting
A small shower 2.2 x 1.2 m is usually quite enough for a summer residence. Based on these dimensions, the profile pipe is marked and cut with a grinder. All elements of the frame are laid out on the ground or a workbench. They are set geometrically correctly and in the same plane. Check the correspondence of diagonals and angles.
The most reliable way of fastening metal elements to each other is welding.
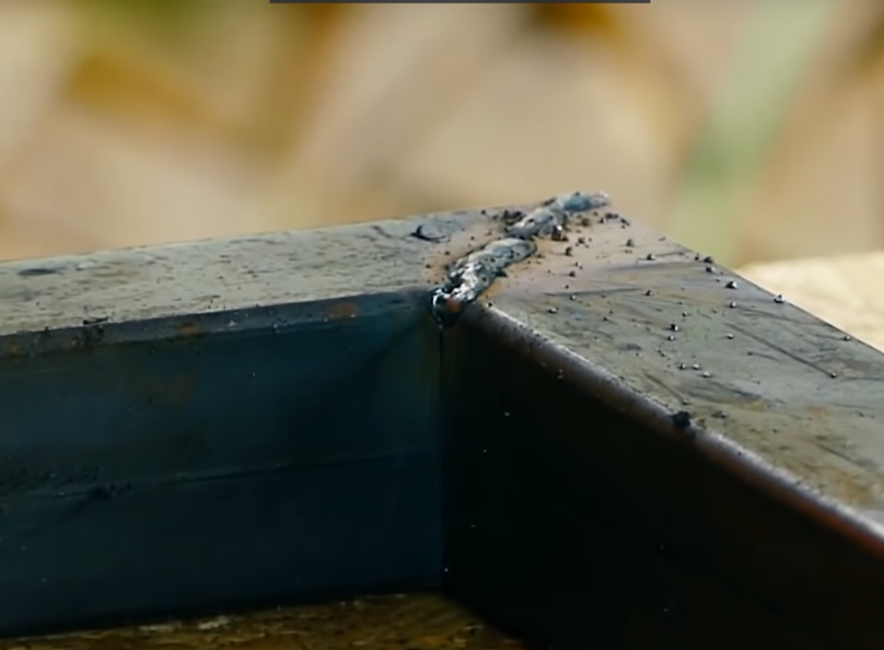
Pipe welding
However, if there is no possibility to make a welded frame, metal corners and metal screws or screw connections are used as fasteners. The fastening is reinforced with steel corners-kerchiefs.
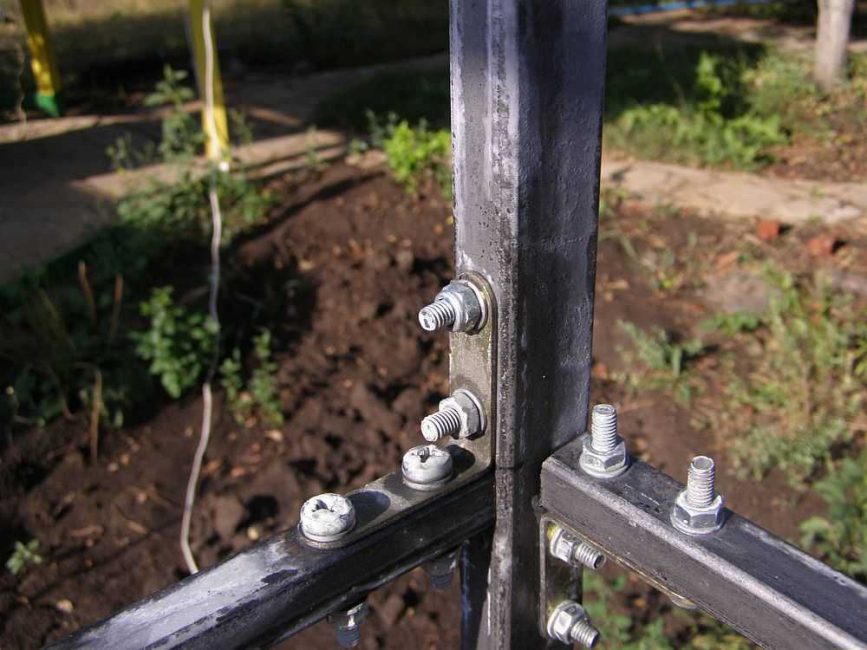
Corner fixing
The contour and transverse elements of the frame are welded or bolted together, leaving openings for the door and holes for ventilation.
Reinforcement of fasteners
Weld seams are carefully cleaned with a grinder.
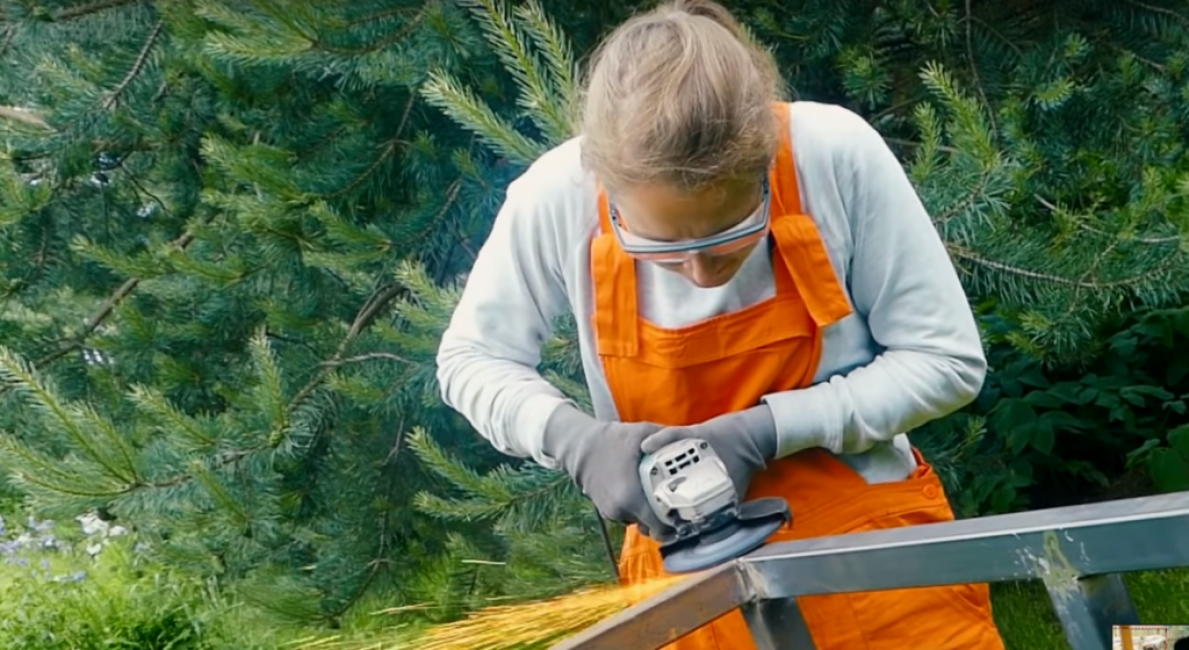
Grinding seams
All elements of the frame are cleaned of contaminants. Then primed and treated with anti-corrosion agents. Top painted with waterproof paint or varnish in several layers.
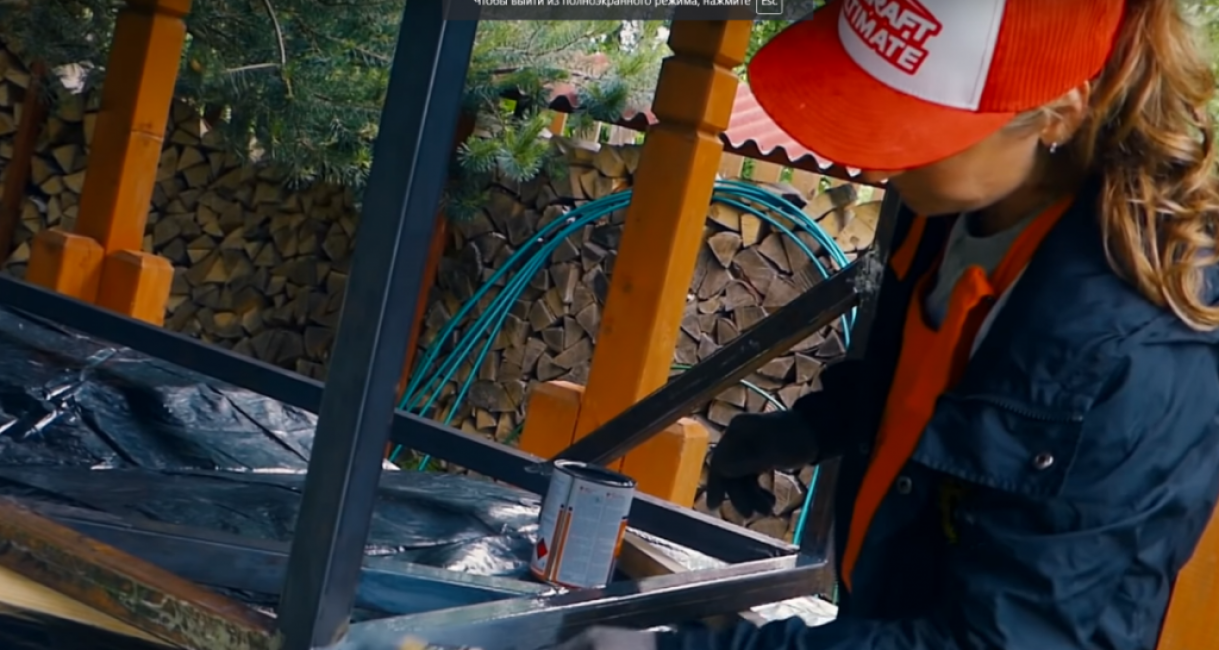
Painting
Tank installation
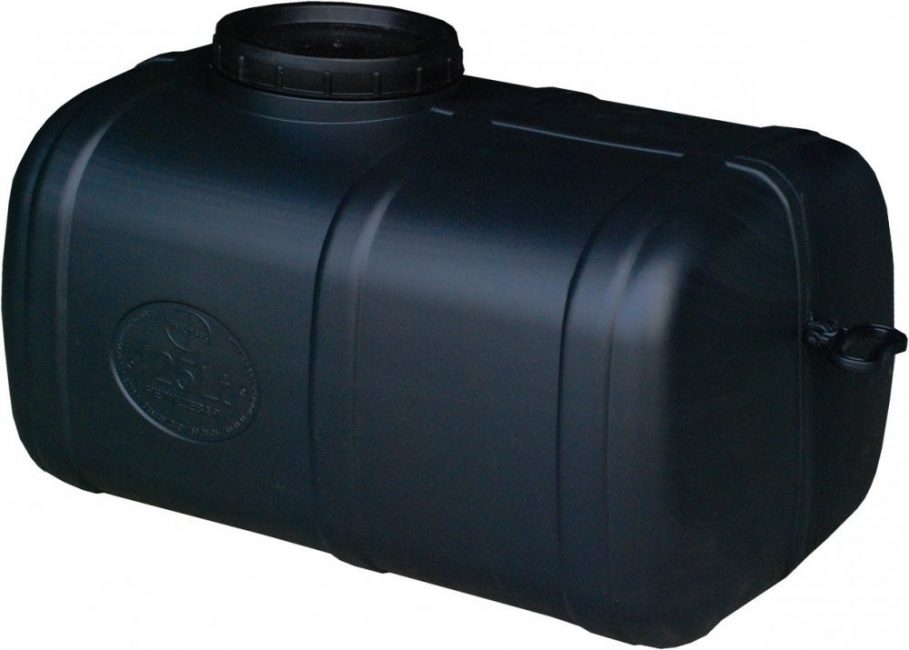
Water tank
Most often, large-volume tanks made of the following materials are used to store water:
- plastic
- black steel
- of stainless steel
- galvanized metal
In a finished tank with holes for a shower and water intake, you must:
- install hose for water supply
- install a crane
- put on a spray bottle
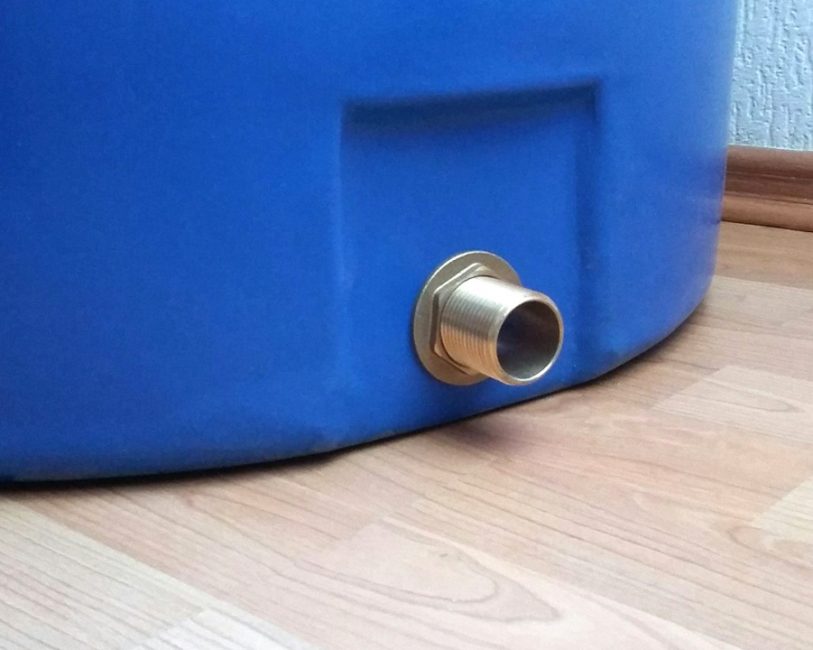
Water hole
When using a conventional container, you will have to drill holes yourself. Such tanks require staining in dark colors and only after complete drying they are installed on the roof.
The size of the tank is chosen taking into account the number of residents. If necessary, install two interconnected containers.
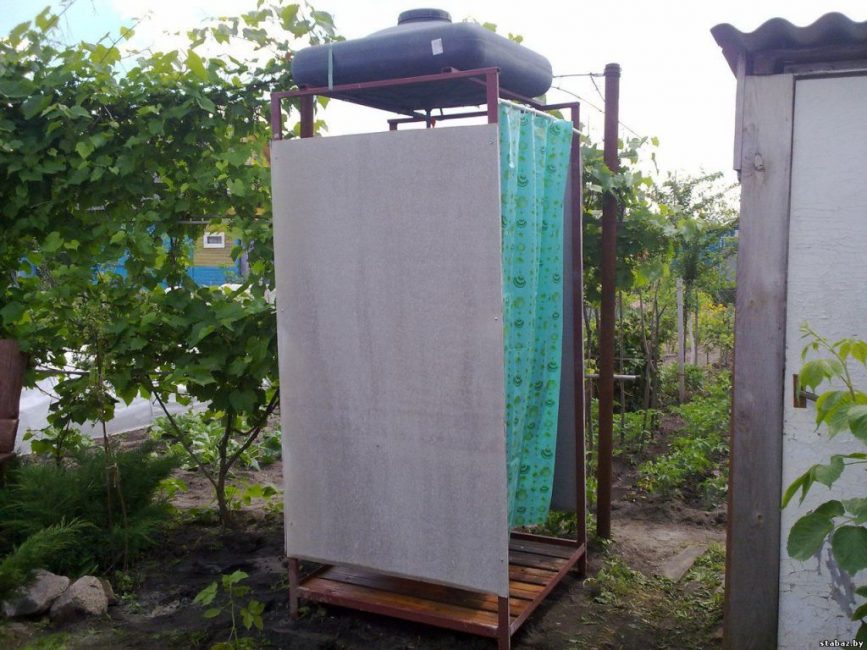
The dark tank heats up perfectly from the sun and provides warm water for the whole family
You can fill the tank with water manually. However, it is much more convenient to automate the process. A pumping station will help supply water in the absence of a centralized water supply.
On hot days, the rooftop tank heats up quickly and cools down slowly. It allows you to easily wash with warm water. However, in cloudy weather and with the onset of cool autumn days, the water heats up slowly and often remains cold.
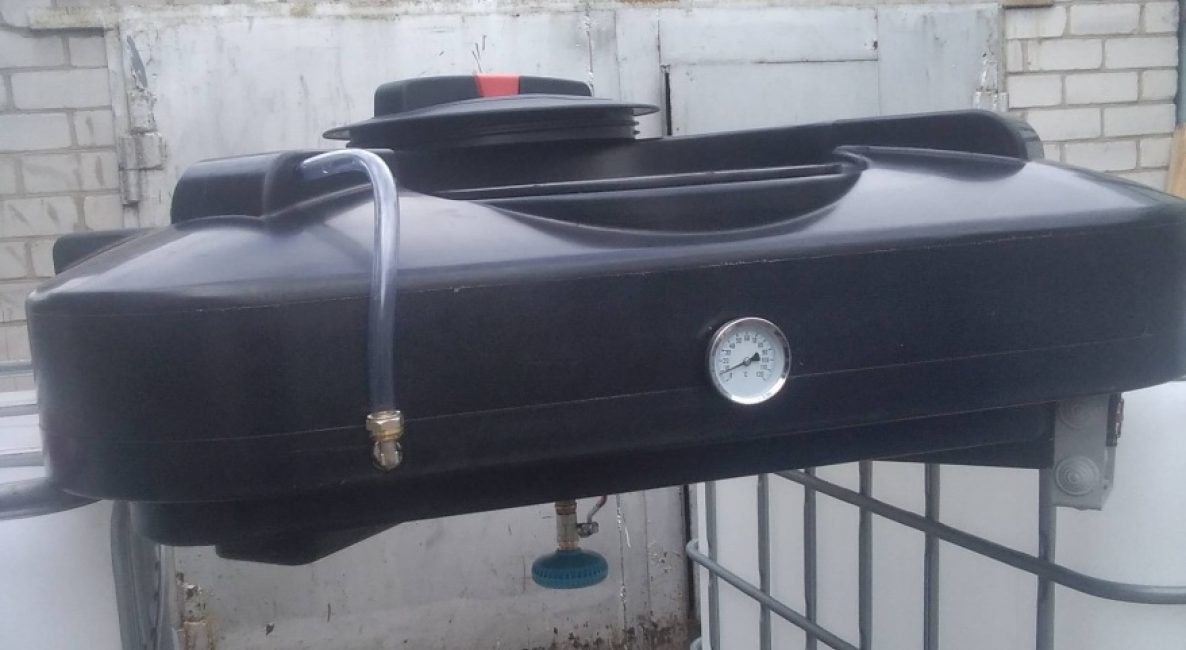
The heated tank will provide the family with warm water in cool weather
During this period, it can be difficult to wash comfortably. This problem can be solved by installing a heated tank.
You can equip a heated shower using one of the options:
- buy a metal tank with a heating element installed
- independently put the heating element in the system
Also, ready-made water heaters are often used to heat water in summer cottages:
- flowing
- funded
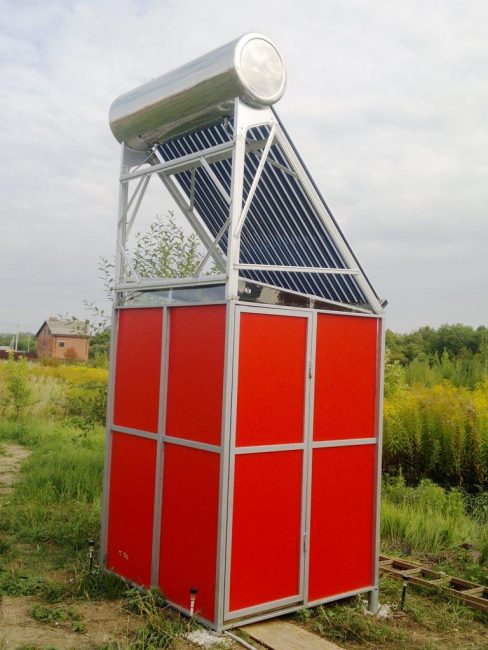
Solar water heating
External and internal lining

For exterior decoration, a board is often used.
The frame is installed and dug into the ground. It's time to start decorating the walls.
If a dry edged board is chosen as the outer skin, the work is performed in the following sequence:
Boards are marked in accordance with the required dimensions.
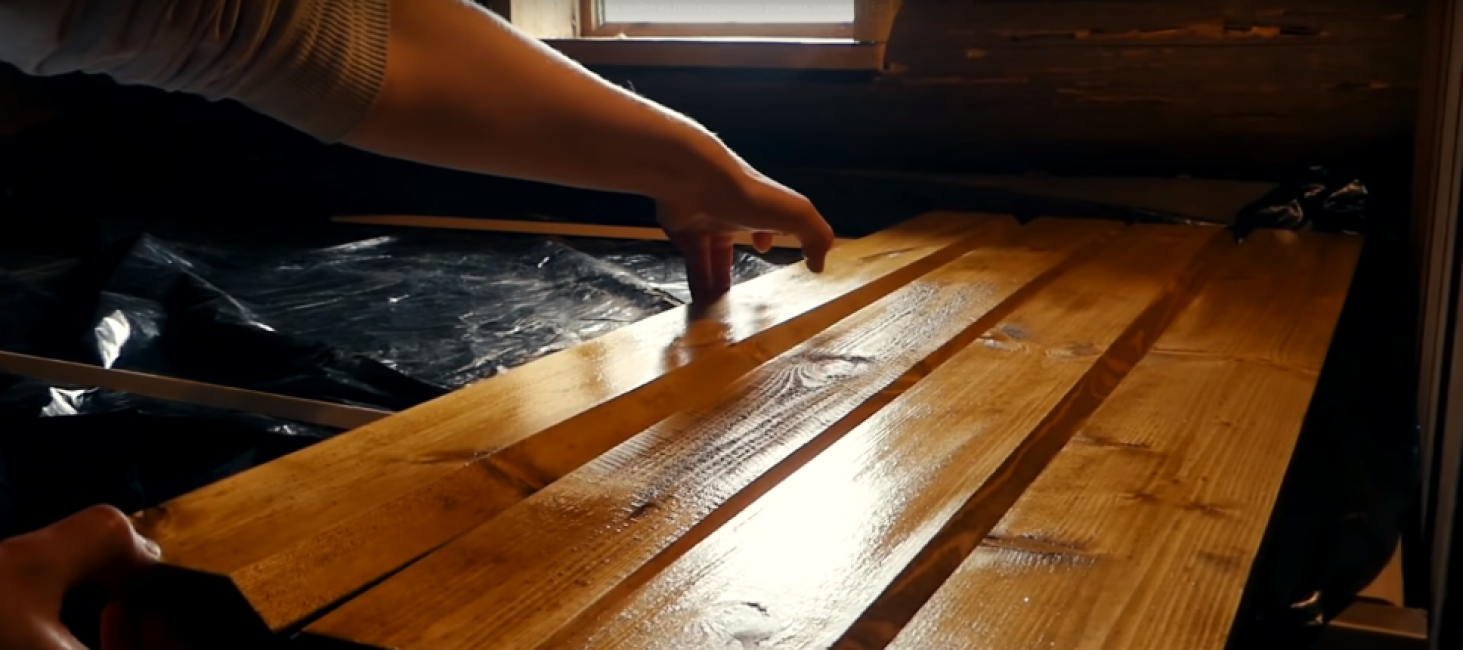
Board marking
Cut with a circular saw
The blanks are treated with a primer, antiseptics and several layers of paint or varnish
Installation of boards starts from the bottom up. The bottom board is leveled and fixed to the metal frame with self-tapping screws.
Installation of boards
Many summer residents sheathe the room inside. Internal work is carried out using moisture-resistant materials:
- edged board
- PVC panels
- lining
- OSB boards
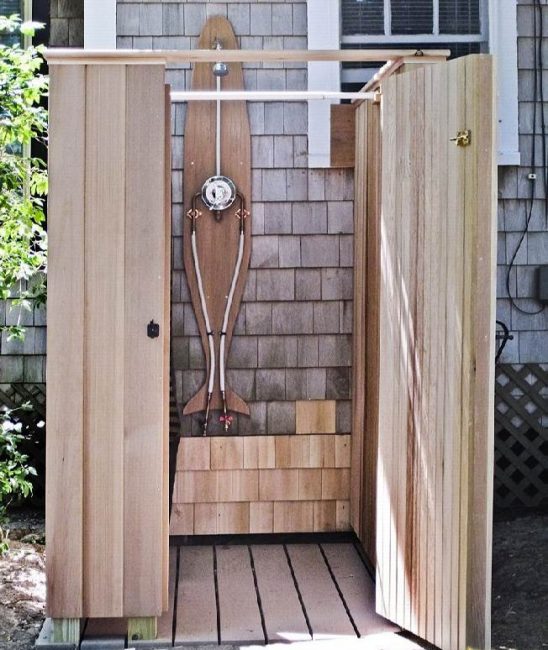
A shower with an interior finish acquires a beautiful appearance and is very convenient to use.
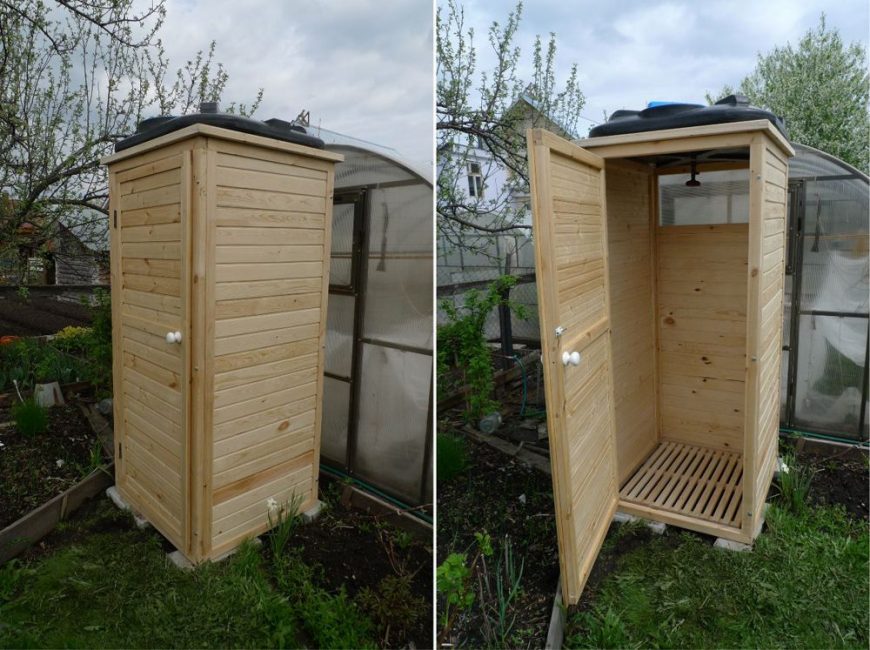
Sheathed outside and inside shower
doors
A wooden porch will facilitate the descent and prevent injury
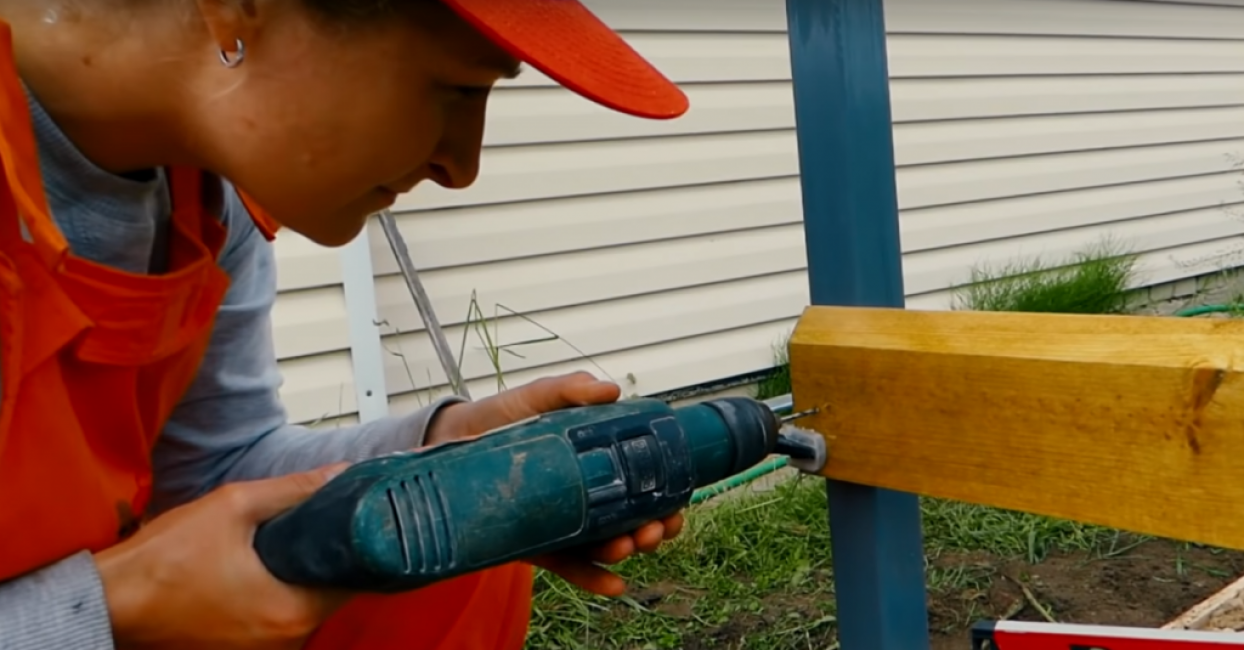
The frame for the manufacture of the door is assembled from a bar. The fastening is reinforced with jibs and jumpers. The frame is sheathed with the same material that was used for finishing the outer walls. Doors are hung on hinges, having previously installed handles and locks.
If the frame is installed at a sufficiently high height, a porch can be arranged for convenient exit from the shower.
- unnecessary brick
- logs sawn in half
- edged board
- gravel
- stones
Above the door, you can install a polycarbonate entrance canopy that protects the porch from rain.
Warming
The capital room allows you to comfortably wash in any season
Some summer residents live outside the city all year round. However, with the onset of cold weather, taking a shower becomes problematic. There is a way out of this situation - you will have to take care of high-quality wall insulation in advance.
- Styrofoam
- stone wool
- polystyrene foam
The insulation is placed between the frame tightly to each other, trying to avoid large gaps. To protect the insulation from moisture and premature destruction, waterproofing materials are used.
 Read also: How to make a patio in the country with your own hands: a variety of design options, decoration and arrangement (85+ Photo Ideas & Video)
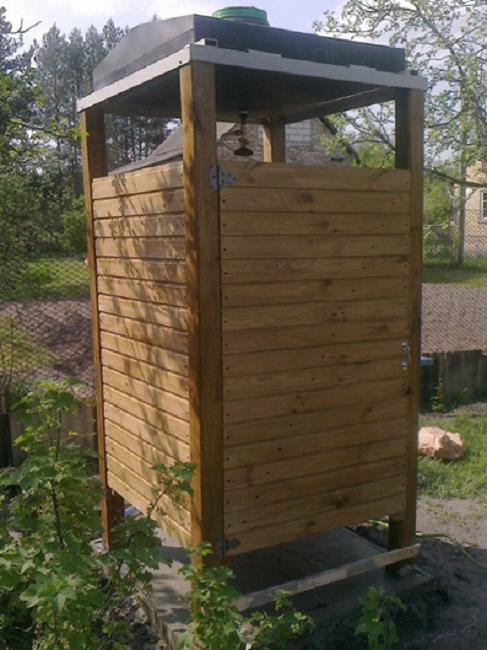
 Arrangement of the interior
Wooden shower for giving
For a calm adoption of hygiene procedures, it will be necessary to organize a drain of water. To do this, use ready-made shower trays or a home-made lattice made of wooden slats.
We collect a pallet from wooden slats
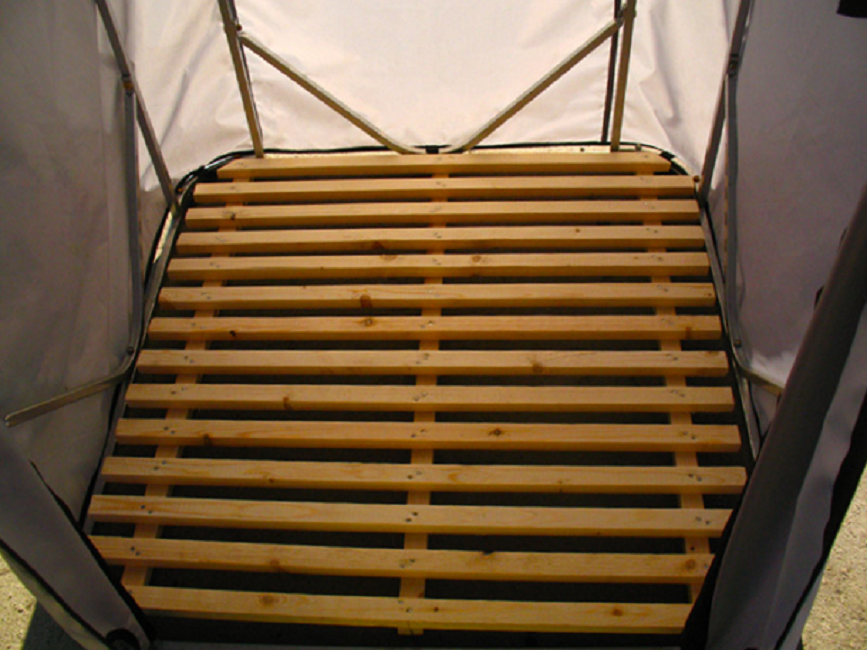
The wooden grate will prevent the accumulation of water
For the manufacture of pallets, dry wooden slats with a width of at least 50 mm are used.
The pallet is assembled in the following sequence:
We install the finished pallet
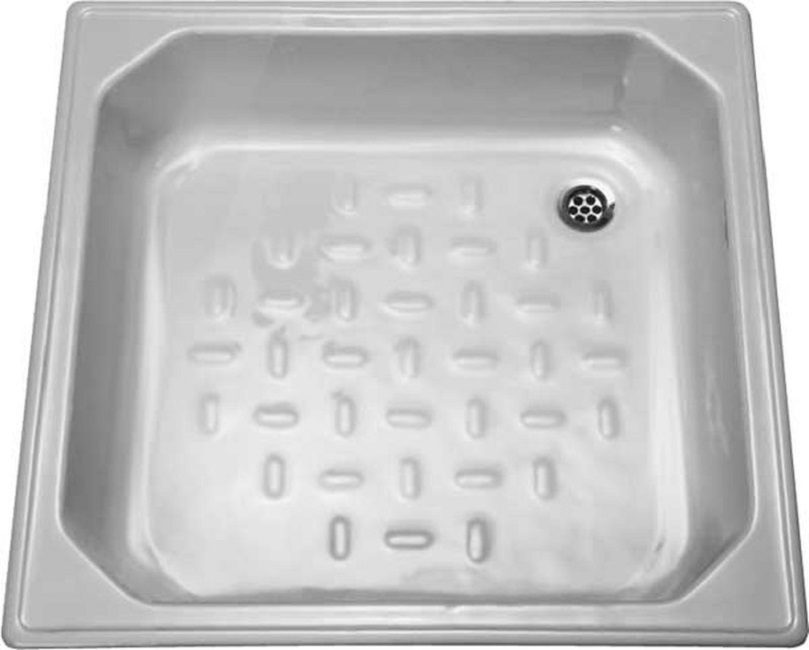
Installing a ready-made pallet greatly facilitates the disposal of used water into the drain pit
For arranging a shower in the country, you can use a ready-made pallet. It is especially useful when the drainage pit is installed next to the shower. In this case, the installation of sewer pipes will be required to drain the water.
However, the installation of the finished pallet must be provided for at the stage of welding the metal frame. Installation of the finished pallet will be facilitated by additional profile pipes welded to the base of the shower stall. A pallet is installed on them.
Building a summer shower in the country with your own hands is not at all difficult. A little effort - and you can comfortably take procedures even on cool and cloudy days.

How to make a summer shower in the country with your own hands (with dimensions)
Do-it-yourself summer shower in the country: step-by-step instructions for construction and arrangement | (30 Photos & Videos)


