
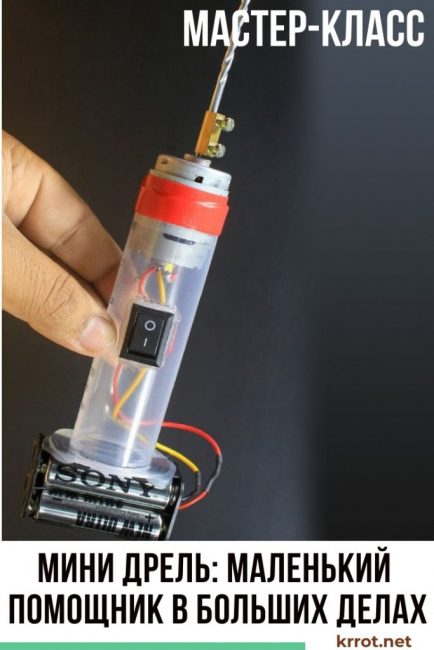
A mini drill is mainly used by radio amateurs for drilling textolite boards. But if you apply other special mini nozzles to it - a milling cutter, a grinding head, a circular saw, then it will become an indispensable tool in everyday life. Especially if you are engaged in modeling or other kind of creativity. In our article we will tell you how to make a mini drill from a motor with your own hands. Its great advantage is autonomous power supply, which allows you to use it everywhere.
Content:
 Read also: Do-it-yourself furniture and other wood products: drawings of benches, tables, swings, birdhouses and other household items (85+ Photos & Videos)
Materials for manufacturing
In order to make a mini drill, you will need:
- 6 V motor from an old tape recorder or radio-controlled toy;
- 50 ml syringe;
- hacksaw;
- glue gun;
- switch;
- soldering iron;
- insulated wires;
- 4 AA batteries and a holder for them;
- electrical tape or thermocambric;
- electrical wire connector.
Step 1. Assemble the drill
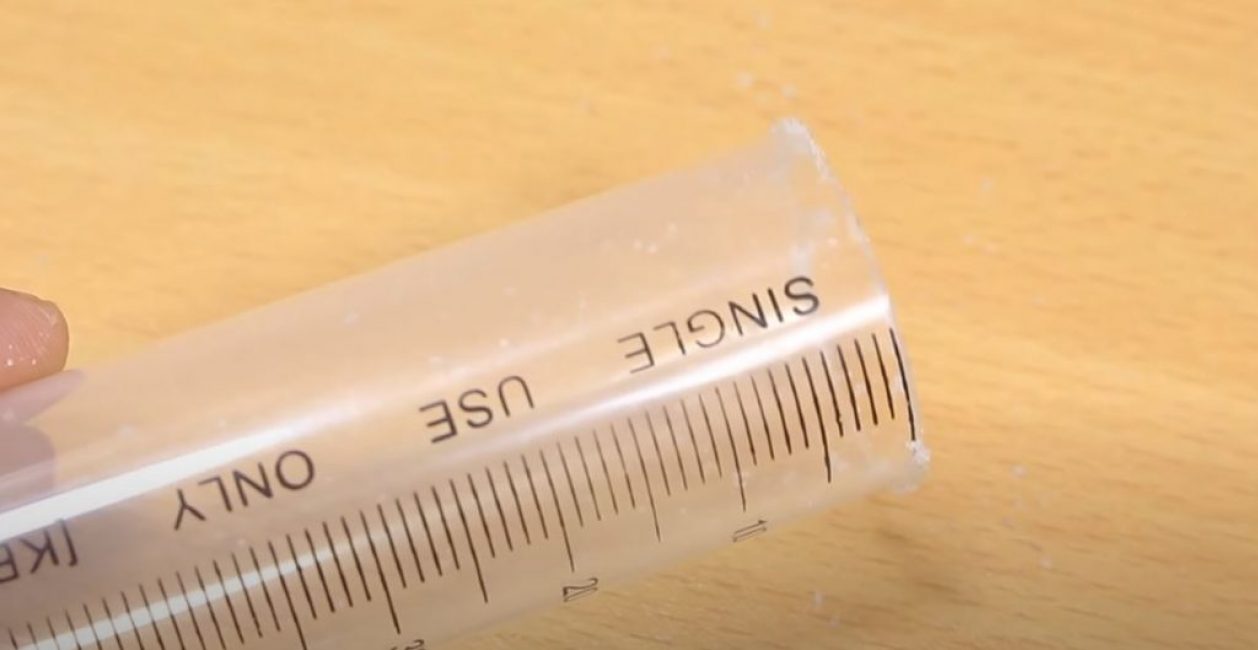
We will make the body of a mini drill from a 50 ml syringe. You can also use a plastic antiperspirant bottle or PVC pipe of a suitable diameter.
We take out the piston with the handle from the syringe and cut off the front part with the needle cone.
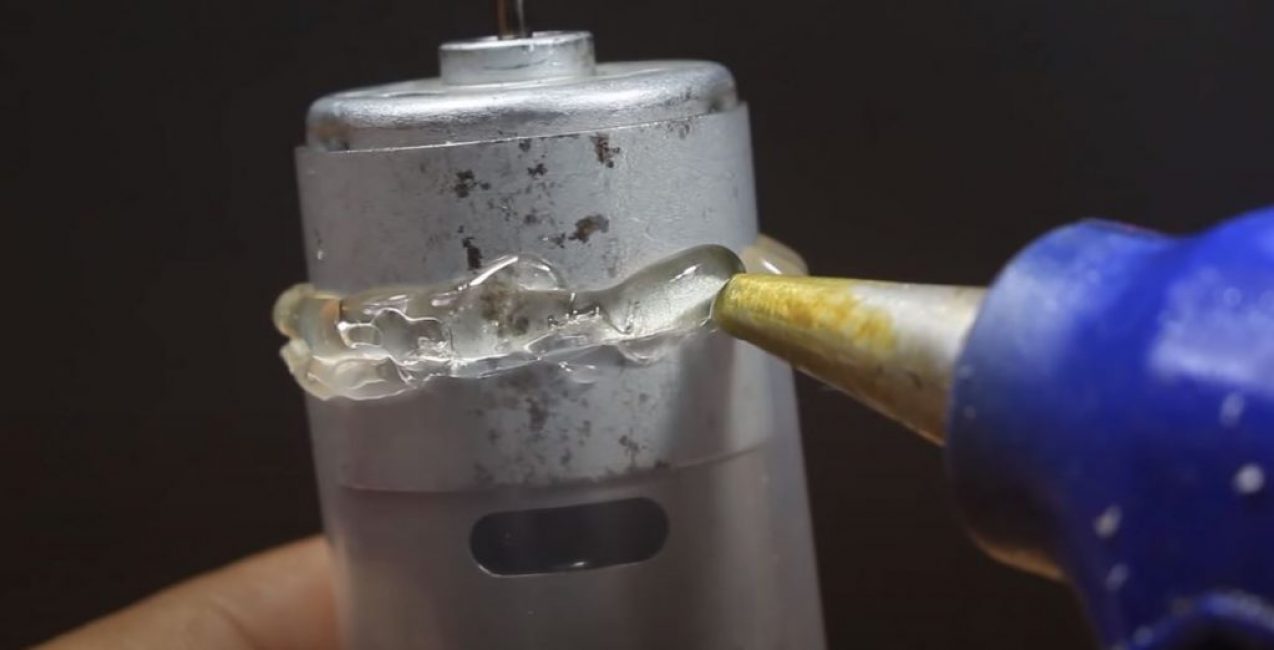
We insert the motor into the syringe and glue it with hot glue.
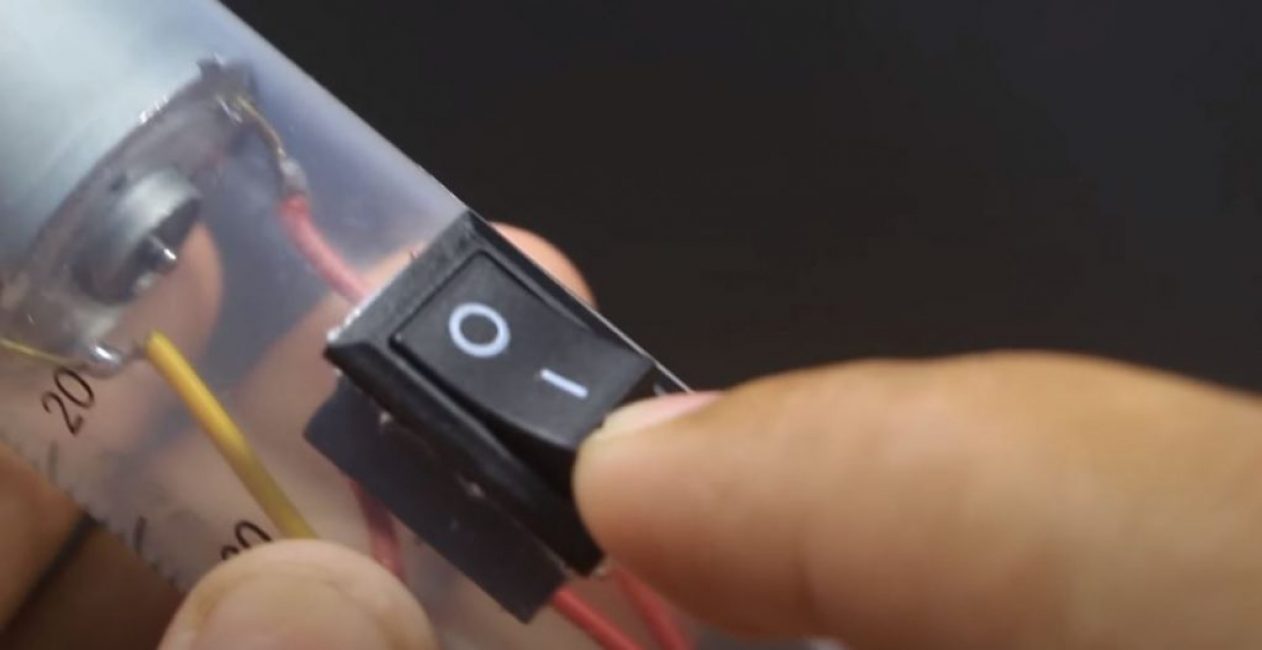
We cut a hole in the housing for the switch.
We solder the wires to the switch and also glue it on hot glue.
In the cylinder of the syringe, closer to the edge, we make a hole with a soldering iron and bring the wires into it.

Glue the battery holder to the end of the case and solder the wires to it.
We isolate the places of soldering with thermocambric or electrical tape.
A mini drill chuck can be ordered online, but we will make it ourselves from an electrical wire connector.
We take out the connecting terminal from the connector and put it on the motor shaft, clamping the screw.
On the other hand, insert the drill and also clamp the screw. Of course, there will be beats during operation, but insignificant.
Step 2. Testing
We insert the batteries into the holder and turn on the drill.
Let's drill through the plastic first. The drill handles this task perfectly.
It also drills thin metal with ease.


DIY mini drill from a motor
DIY mini drill from a motor


